
Quick Jump
This is part 1 of a 4 part series (read part 2, part 3, part 4)
- An overview of the detail to be performed
- Assessing the easily damaged Acura paint
- Starting the detail
- Wash the wheels, tires, and wheel wells first!
- Properly washing soft black paint
- Cleaning and washing your exhaust tips
- Engine bay detailing
- Drying black paint without adding swirls
Acura NBP paint and the detail to be performed (Return to Top)
Since I am the owner of a 2007 Acura TL Type S in Nighthawk Black Pearl (NBP), I get asked a lot of questions from Acura owners (and owners of black cars in general) on the proper car and maintenance and how to keep them looking their best.
NBP is a very challenging paint to care for to say the least, but if you combine the proper detailing techniques and products, you can keep it looking absolutely beautiful. Acura/Honda paint is soft and therefore it’s easy to scratch, mar, and swirl the finish. And since NBP is black, every little flaw stands out where it could be difficult to detect on a lighter color. Fortunately though, Acura/Honda paint is relatively easy to correct by machine polishing.
Like I mentioned already, I have a NBP TL-S that I’ve owned for 2 1/2 years now, and it is my test vehicle for all products. I am continuously trying different products and techniques to see which achieve the greatest results. In 2 1/2 years of ownership…that’s a lot of testing to see what works best on NBP! So as you read through this article, you can be assured that any recommendations I provide are based on countless hours of trials and field testing with my own personal NBP Acura TL. I don’t mean to come across as brash, but I do consider myself to be a bit of an expert on this one!
Here are a few photos of the results I’ve been able to achieve on the official test vehicle.


My plan is to write this article a bit differently than what I usually do. I am going to specifically address techniques, procedures, and products for the NBP Acura paint, as well as areas of concern on the TL. Having said that though, these techniques can be used on any color/manufacturer of paint. If you can follow instructions for a challenging color like NBP, then you can be assured that it will work on yours.
The ultimate goal of this article is to create a detailing reference of sorts for Acura owners.
Assessing the easily damaged Acura paint (Return to Top)
The owner of this particular TL had seen some of my work, and contacted me about a consultation to see what we could do to correct some problems and take the finish to a new level. When he found out that I owned a NBP TL-S, he knew that I was the right person for the job. One interesting note is that he’s an engineer for American Honda here in Ohio, and was part of the design/development team for this particular model.
Although he’s taken pretty good care of it over the years, it had its fair share of scrapes, swirls, and bumps and bruises. The biggest issue he was concerned with was a stain on the trunk lid from milk…more on that later. Because of all the fine scratches and swirls, the finish looked a bit dull, and the blue flake that owners of NBP love so much was quite muted. I knew that leveling the clear coat and then jewelling it with an ultra-fine polish would restore it to its original beauty (or better).
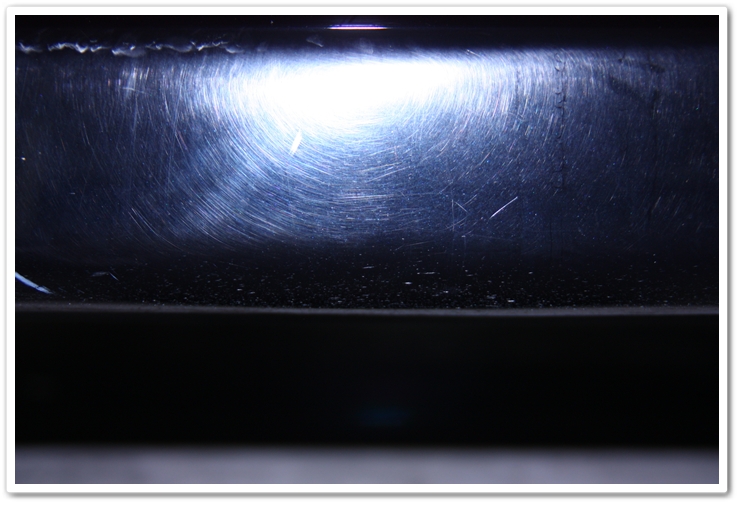
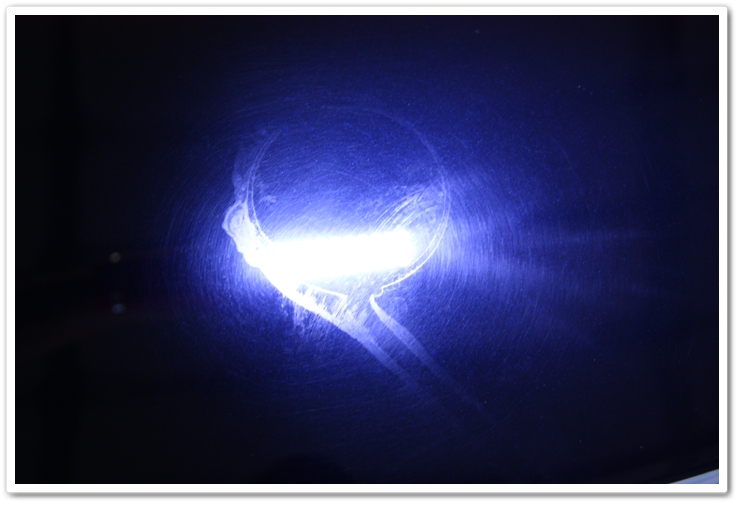
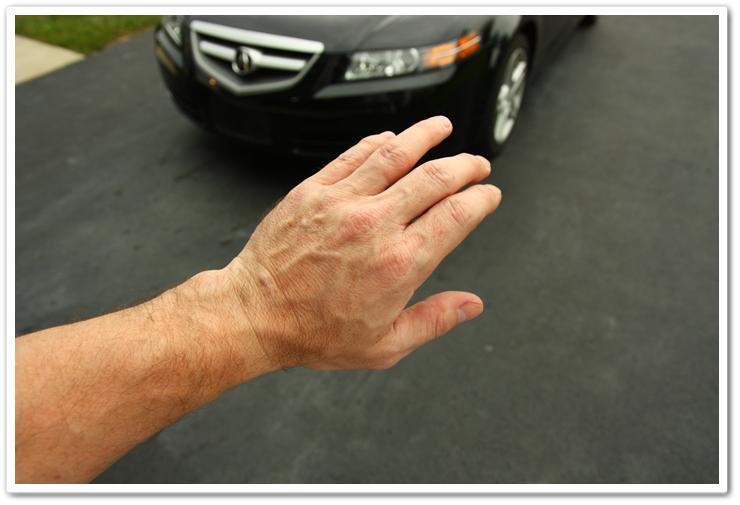
When the car arrived it was cloudy out, so I was unable to get any good “before” photos in the sunshine to show the level of swirls and defects in the paint. I had to settle for some shots with the flash, and with an inspection light, but you’ll be able to get a good idea of what I was dealing with.
First up are the lower rocker panels. This is a problem area with most cars, but they get exceptionally bad on the TL. They are very easily scratched, and get abused by road debris and from shoes/legs while getting in and out of the car. Since they get so dirty, it’s easily to scratch them up during the wash process as well. The finish on these was so bad that there was no reflectivity or depth whatsoever. They also had a lot of very deep vertical scratches (from shoes) and I knew they would be too deep to fully correct.
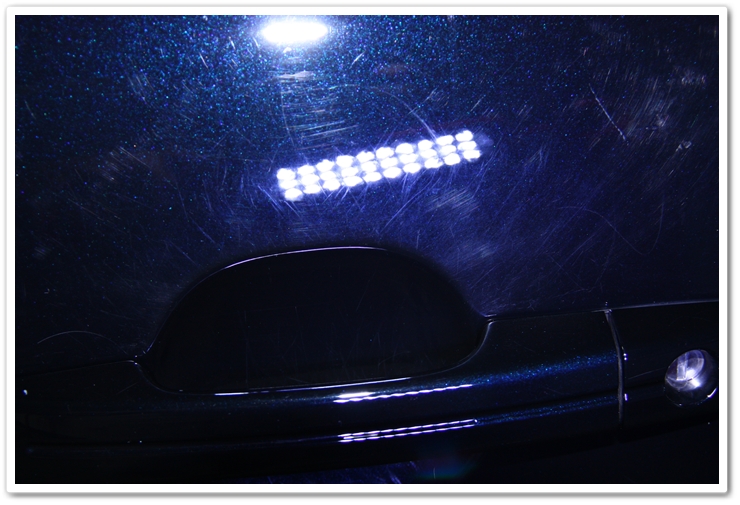
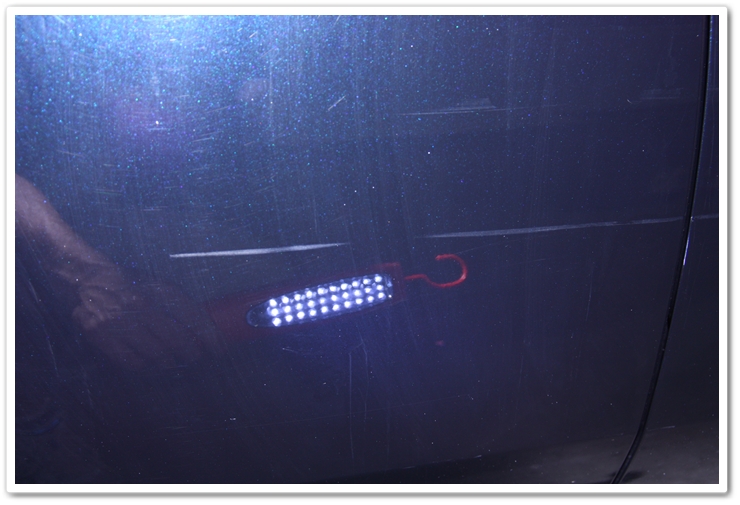
The areas around the door handles were in rough condition as well. You need to keep rings, keys, and long fingernails away from the paint otherwise you’ll end up with this. When opening and closing the door, always (lightly) use the handle…don’t grab the door to close it. I even have my 9-year old trained to use this method, and the door he always gets in and out of remains completely scratch free.
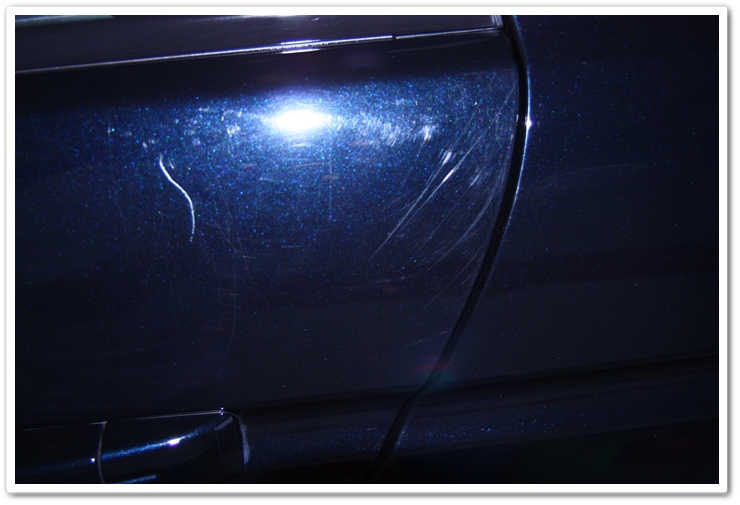
This is the rear door, and these types of scratches are usually a good indicator that somebody has been closing the door by pushing/sliding against it instead of using the handle. If you have friends/family regularly getting in and out of your car, kindly ask that they use the handle and not to touch the painted surfaces. Sure they’ll think that you have serious OCD issues, but your paint will remain in good condition and you will maintain a higher resale value as a result.
And here’s the infamous milk stain on the trunk lid that I was telling you about. The owner had set his son’s sippy cup of milk there and it managed to get on the finish. You can see the ring where the cup was, and then where it started to run off of the back. I’m not sure how long it set on the surface, but this stain wasn’t coming off easily. So another important safety tip…never put anything on the surface of your car. No coffee mugs, no gear bags, no purses, and no briefcases because it WILL cause damage! And never, ever lean against or sit on a car otherwise you’ll be coming to visit me to fix it. Paint really does damage that easily.
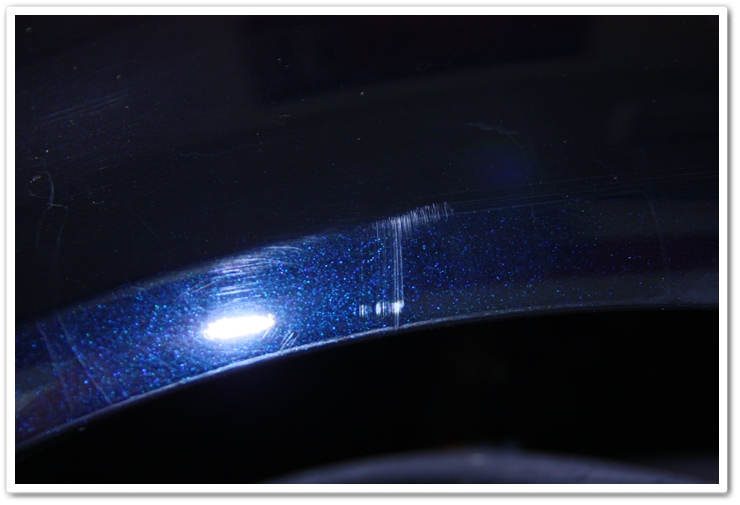
Here’s a nice scrape that went down the entire length of the car courtesy of somebody’s suitcase. This is exactly why I always park as far away from other cars as possible at places where “stuff” is being carried…the airport, grocery store, the gym, or at the mall.
There were scuffs just about everywhere on the car where there were edges or high spots. This is the front fender. This area in particular can get scraped up (just like this) when having your oil changed. You know those “protective mats” they place on your fender when they lean into your engine compartment? Well those typically have been on every filthy car in town, never washed, and then dragged across the surface of your car when they’re removed. That would be equivalent to rubbing sandpaper on the paint. It’s best to clean your car (yourself…the proper way) before having your oil changed, and then ask them to use a clean mat with extra caution when they put it on and take it off.
Now that you’ve got a good idea of the condition of the car, as well as a few lessons in what causes this, let’s get into the work.
Starting the detail (Return to Top)
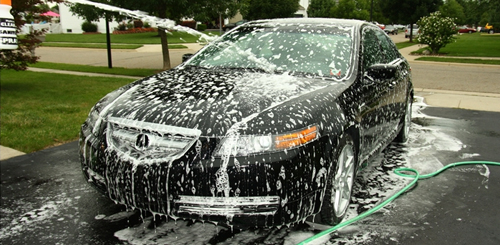
The first step here is to fully wash the TL and to remove any contaminants from the surface prior to polishing.
Since most swirls come from improper washing and drying techniques, and they’re especially noticeable on NBP, I will go into details on the washing and drying process so you can work on your technique a bit.
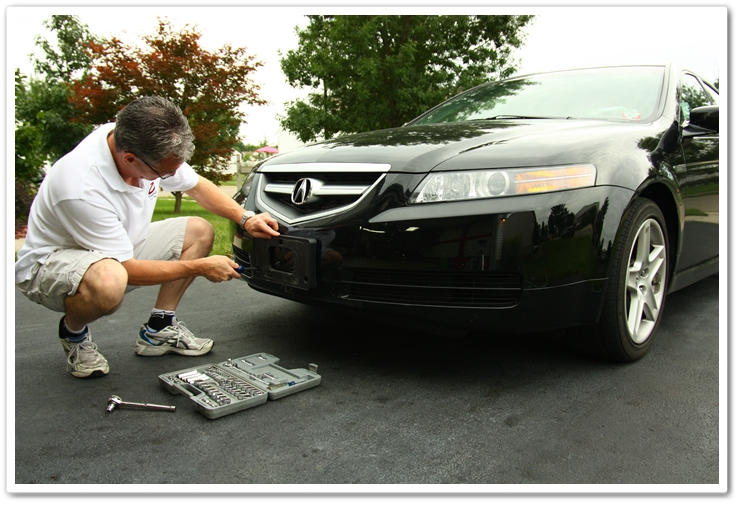
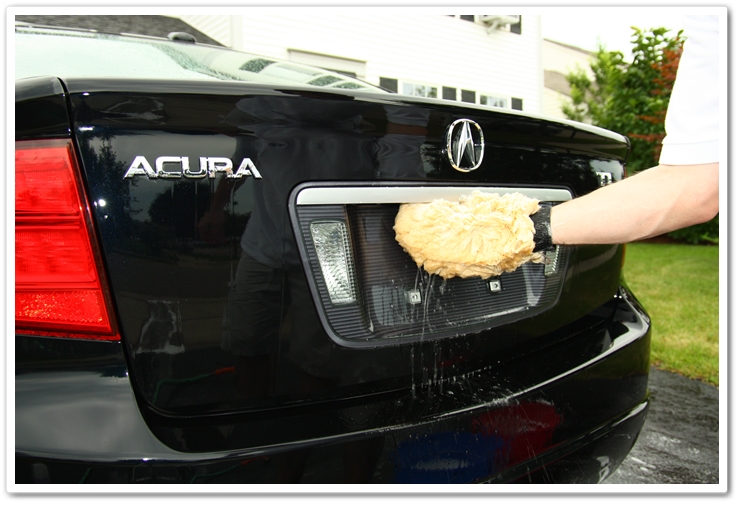
When I am polishing a car, I always start off by removing the front and rear license plates so I can clean and polish those areas as well. Most of the time they’re simply in the way (like on the front of the TL), so it’s easier to take them off then to work around them. If you’re just performing a simple wash, then this step is not necessary.
Here’s another important safety tip for when you’re cleaning/working on your car…remove all your jewelry! All it takes is one little bump with jewelry against the finish, and you have a big ugly scratch.
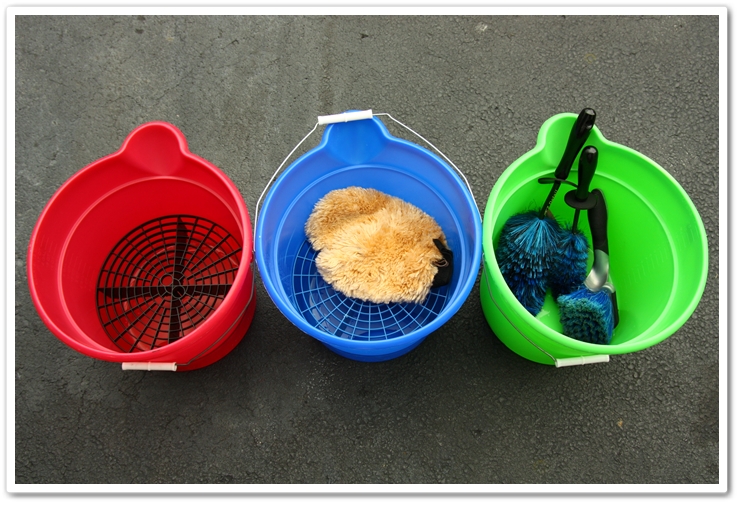
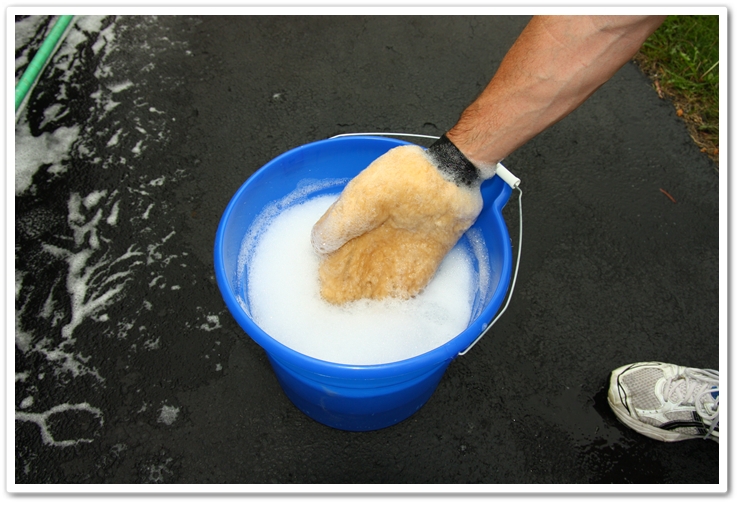
Now you’re ready to prepare your wash buckets. Yes, that was plural, as in more than one bucket! Ultimately you want 3 buckets. One is your wash bucket, one is your rinse bucket, and one is dedicated for wheel cleaning. You could get away with just two, but then you’d have to stop and clean out a bucket after you finish your wheels before you started on the rest of the car. Notice too that I use Grit Guards in both my rinse bucket and my wash bucket. For the rinse bucket in particular, this helps dislodge dirt and debris from the wash mitt, and then keeps the sediment at the bottom where it is away from the cleaner water at the top. I put one in my wash bucket as well for added safety. The reason you need a rinse bucket is because you want the water in your wash bucket to remain clean throughout the entire process. If you use just one bucket that means you’re introducing dirt into your wash water, then using that same dirt to wash your car with…hence all the swirls! For more information on this, please refer to this handy Detailing Guide on Washing and Drying.
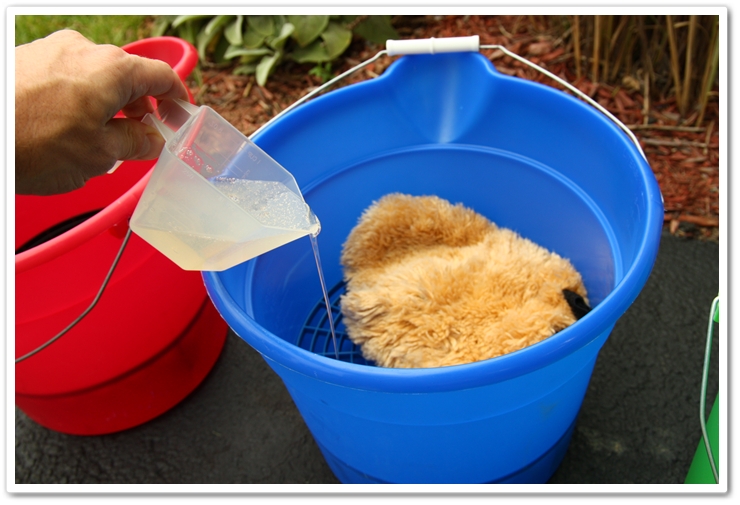
When using your car wash soap, be sure to follow the manufacturers’ instructions on how much to use and measure accordingly. If you’re performing a maintenance wash, and use too strong of a ratio (more is not always better), then you may end up stripping all of the wax off of the car.
Since I’m going to be polishing, I want to make sure that any existing wax is removed so I am using Chemical Guys Citrus Wash & Clear at paint prep ratio (2oz/gal). For my maintenance washes on my NBP TL-S, I use Dodo Juice Born To Be Mild soap. It’s very gentle, provides a tremendous amount of lubricity, leaves no soapy residue, and it smells nice too.
Now my buckets are ready…red for rinse (both start with R…easy to remember!), blue for wash, and green for wheels.
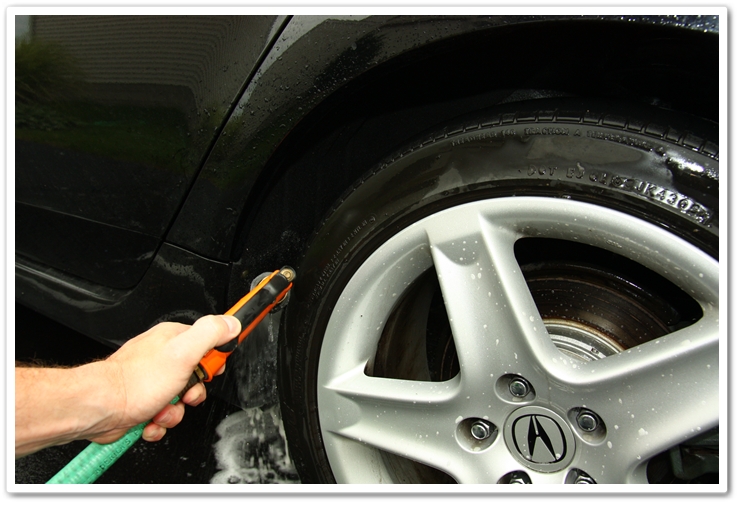
Since the wheels and wheel wells are the dirtiest part of the car, it’s best to start with them first. If you save them for last, you risk getting very dirty overspray on your clean paint.
Wash your wheels, tires, and wheel wells first! (Return to Top)
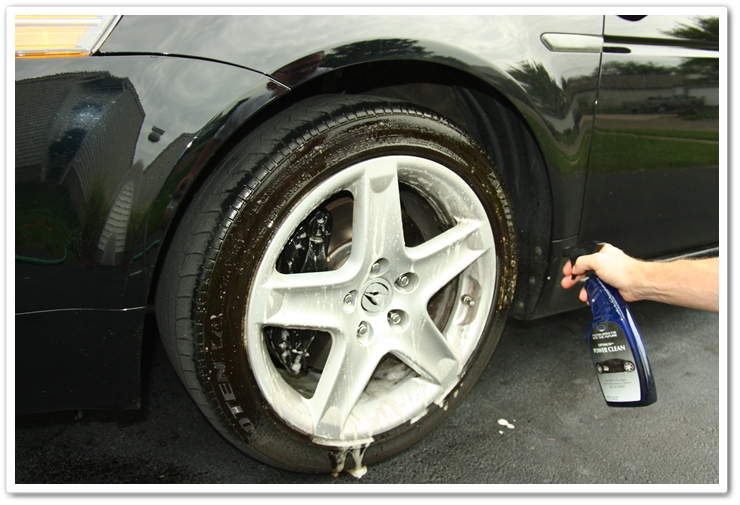
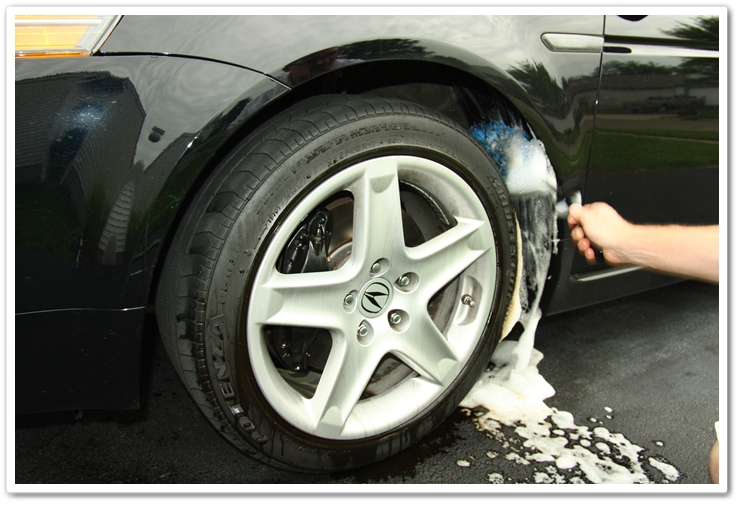
First I’ll pre-soak the rims with P21S Gel Wheel Cleaner. This pH neutral product is safe for all wheel types, and it does a great job on heavily soiled rims. Just spray it onto both the face and the inner barrels of the rims, and then let it dwell for a few minutes so it can start to break down the grime. If you keep your wheels well maintained, you won’t need to use this all the time…just when the dirt and brake dust buildup has gotten bad.

Next step is to apply an all-purpose cleaner to the tires and wheel wells. Here I am using Optimum Power Clean, but I also use Chemical Guys Grime Reaper as well.
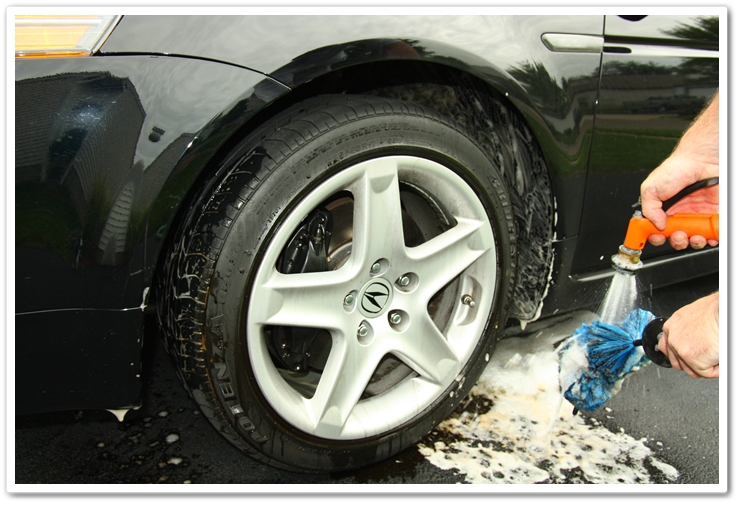
Now take your E-Z Detail brush and clean the wheel well areas.
With all of the wheel cleaning steps, you want to thoroughly rinse out your wash media before putting it back into your wheel-wash bucket. Otherwise by the time you get to the last wheel you’d be washing it with mud.
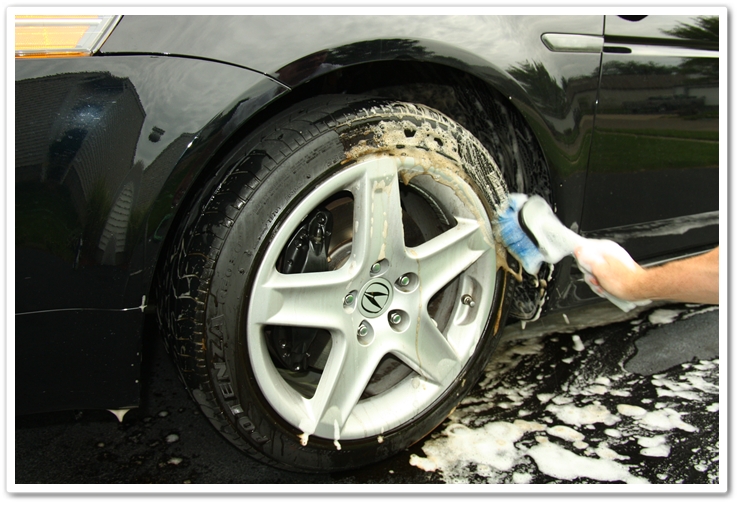
You can use a generic brush to scrub the tires. Notice how much dirt is coming off of them. When they’re completely clean it will help the tire dressing to adhere better and provide a more uniform finish.
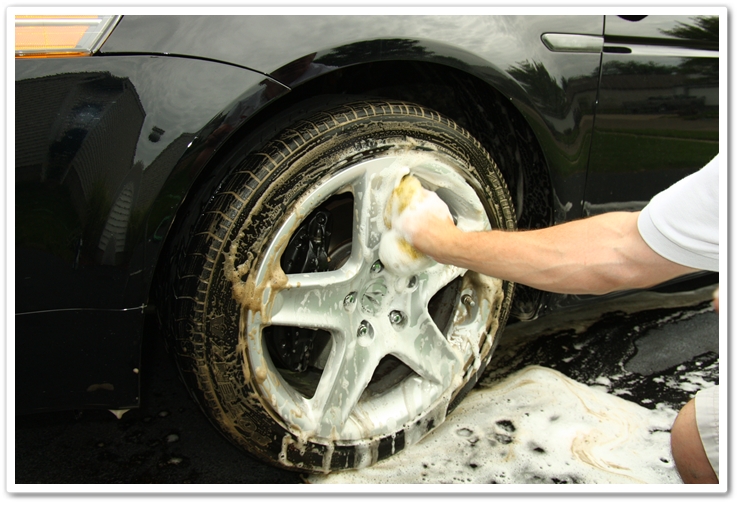
Make sure you have a dedicated wash mitt or sponge for wheels, and don’t use them on the painted surfaces.
Now you can use your Mini E-Z Detail brush to clean the inner barrels and brake calipers. You can also bend the tip of it to get behind the spokes.


On your TL (and most other luxury brands), you’ll find a sound deadening fabric lining the wheel wells on the rear of the car. These are great traps for dirt, rocks, grass, and everything else that you run over on the roads. Simply spray these down with your all-purpose cleaner, and then thoroughly rinse them out with a strong stream of water.
For more detailed information on wheel, tire, and wheel well cleaning, please refer to my Wheel Cleaning Tutorial.
Okay, we’re done with the wheels, so we can set the wheel bucket aside and move on to the painted surfaces.
Properly washing soft black paint (Return to Top)
Since the lower part of the doors and rockers are typically the dirtiest, I will pre-rinse them to remove and loosen up as much of the dirt as possible. The more dirt you remove prior to washing, the less the chances are of scratching your finish.

Now I’ll move on to a few areas that require some special attention, and ones that are often overlooked.
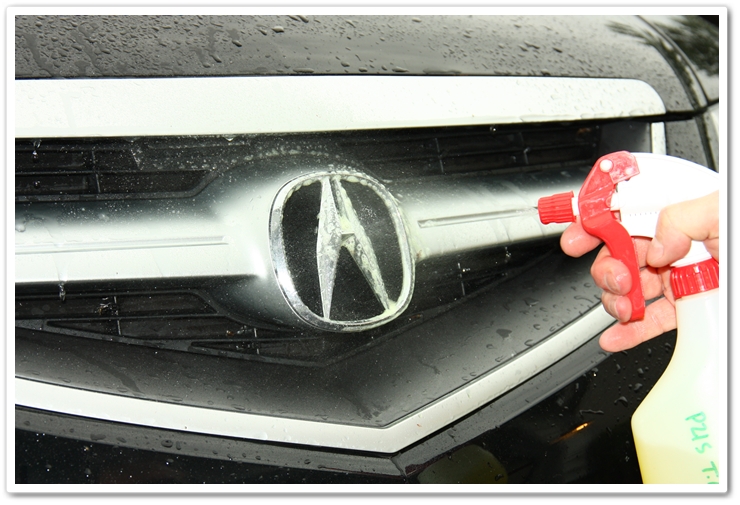
For these areas I use another product that is safe for all kinds of finishes…P21S Total Auto Wash. Don’t use any harsh cleaners because they can stain plastic or paint. When in doubt, read the product label.
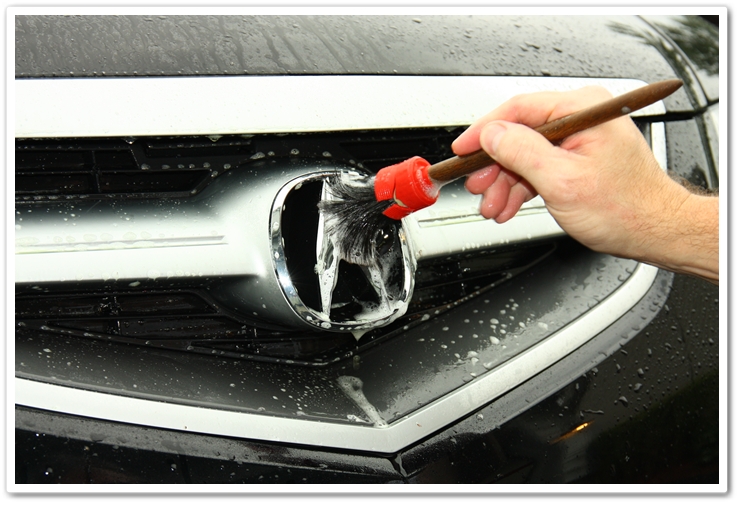
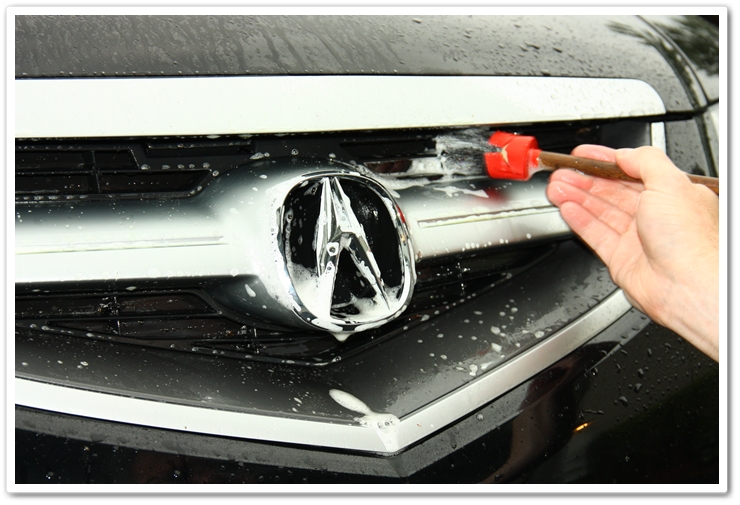
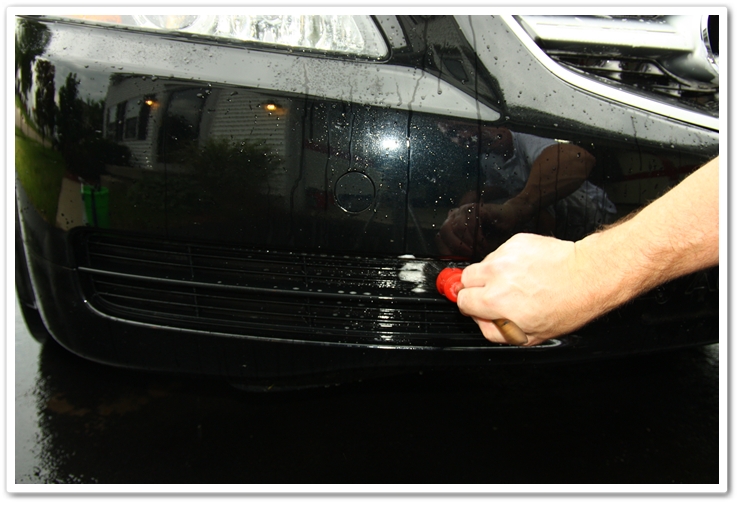
The front end of the car catches all of the nastiest stuff, so be sure to thoroughly clean out the emblem and the grills. Spray on some P21S TAW, agitate with a soft brush, and rinse off.
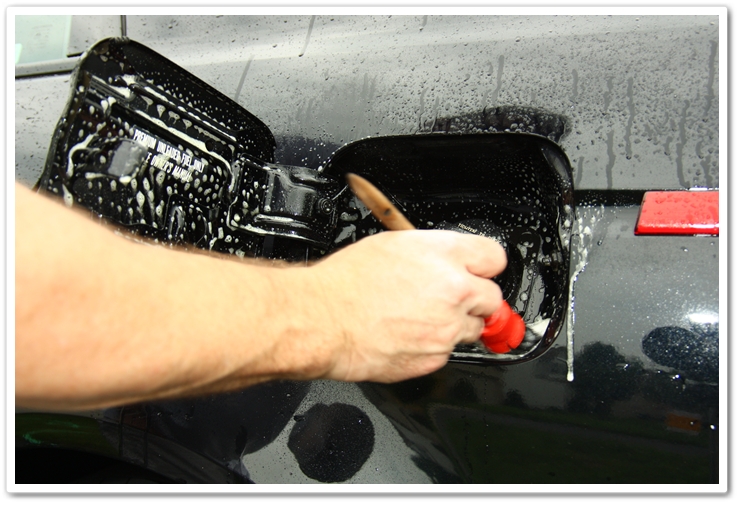
When was the last time you cleaned inside your fuel-fill area? It gets dirty too, so don’t neglect it. Once again, P21S TAW is your friend here.
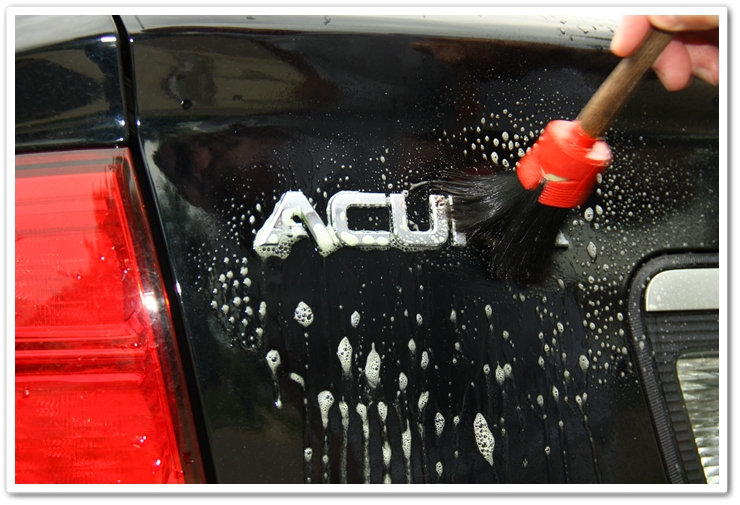
And the emblems…
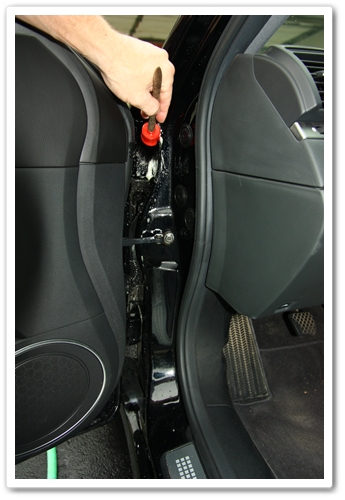
If your door jambs have more than a light dust buildup, then you can use the same process in here. When rinsing off, just use an extremely light spray of water, and keep the nozzle very close otherwise you’ll soak the interior and door panel of your car.

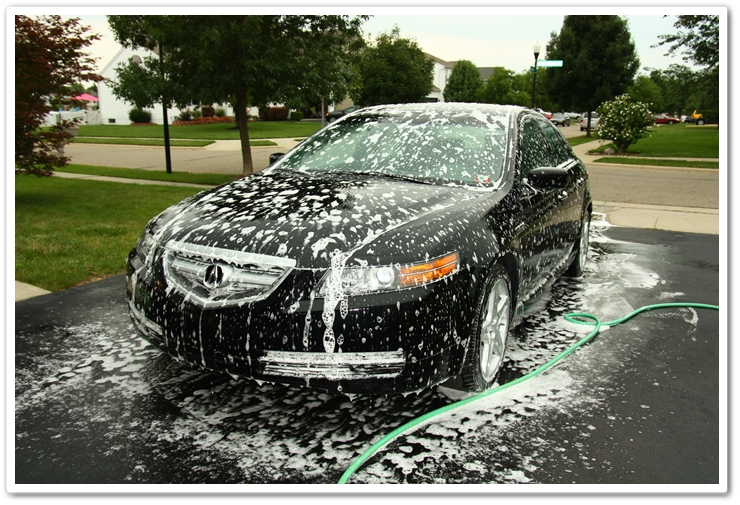
I realize that most people don’t own a Foam Gun, but I find it to be a tremendous tool for fighting the battle against wash-induced swirls. You just put your car shampoo in the bottle, attach it to the hose (it comes with a quick disconnect), and thoroughly pre-soak the vehicle in suds. This will further help to break down the dirt and debris, and will provide plenty of lubrication to help float away the dirt from the surface. The more gentle the process, the better the chances are of keeping your NBP looking its best.
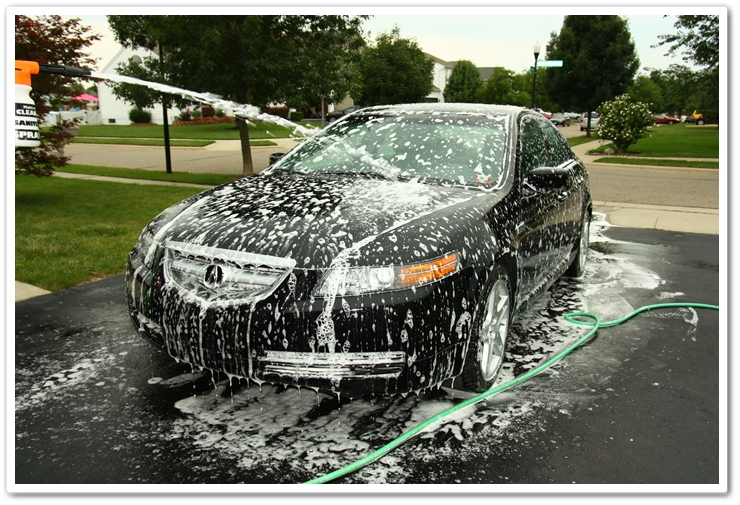
I usually let the foam dwell on the surface for a few minutes first.
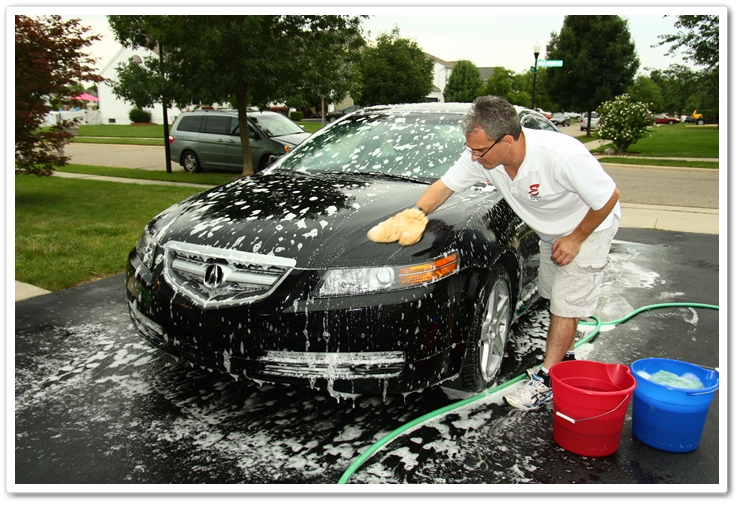
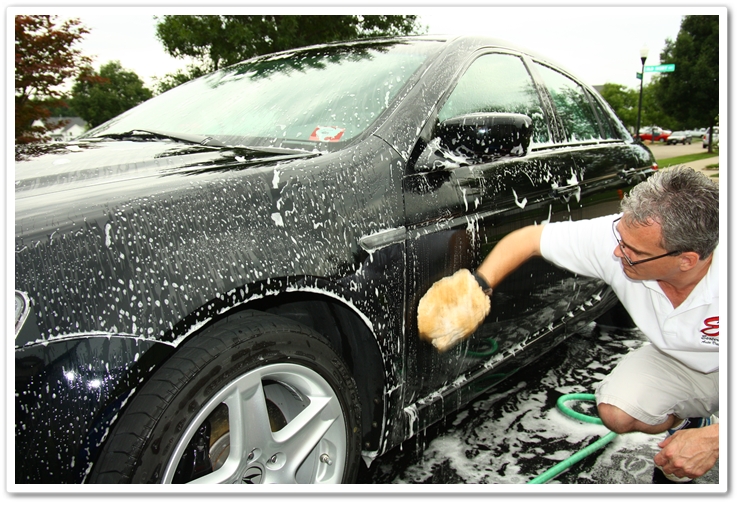
Now I’m ready to start washing. You want to make sure you’re using a very soft wash mitt otherwise, you guessed it, you’ll induce swirls! I have found the DI sheepskin wash mitt to be a proven winner for safe washing. I will do only small sections at a time (i.e. half the hood, a fender), and then completely rinse out the wash mitt before moving on to the next section. Remember you’re using little to no pressure at all. I always start with the top horizontal surfaces first, and work my way down.
(Note: Be sure to thoroughly hand-wash your mitt after each time you wash your car to ensure it’s clean and free of any debris the next time you use it)
After one small section, dip your wash media into the rinse bucket and gently rub it against the Grit Guard at the bottom to loosen any dirt and debris. This is a critical step in keeping a defect-free finish.
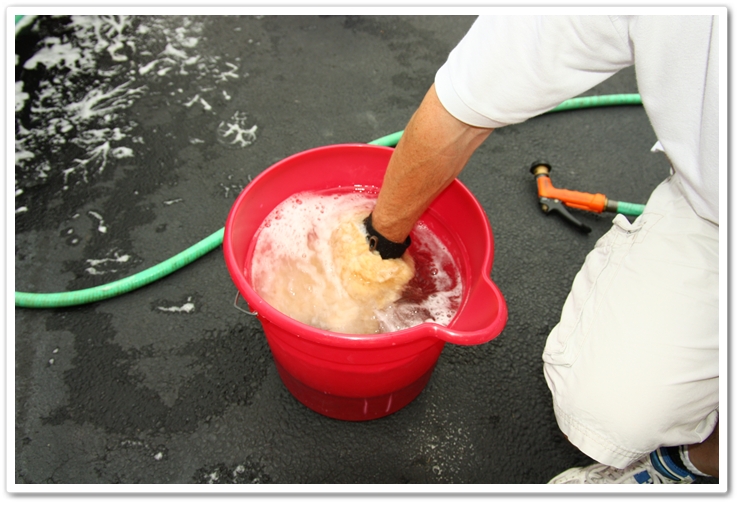
Your wash mitt is now clean, and ready to be dipped into your wash bucket. Once again, when you’re done washing the vehicle, your wash bucket should be as clean as when you started.
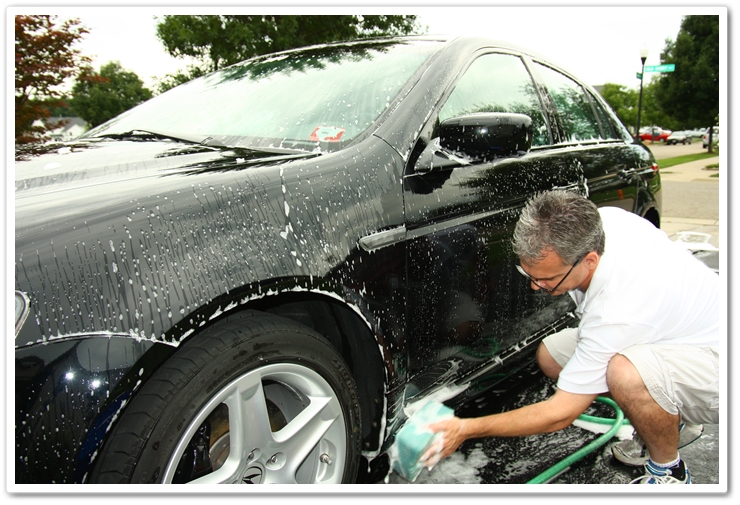
For the sides of the car, I’ll first wash the upper portion with my wash mitt..
…and then I’ll use a separate wash media, such as the Lake Country grout sponge, for the dirtier, lower parts.
Don’t forget to clean up under here…especially if your TL has a backup camera like my Type S does.
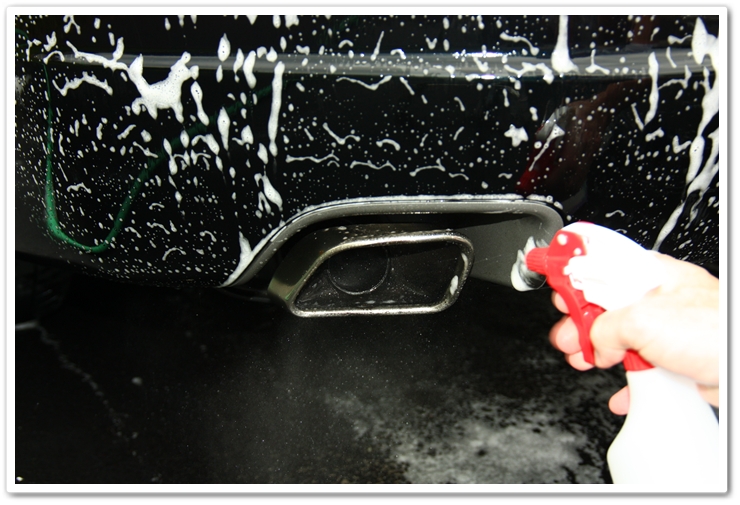
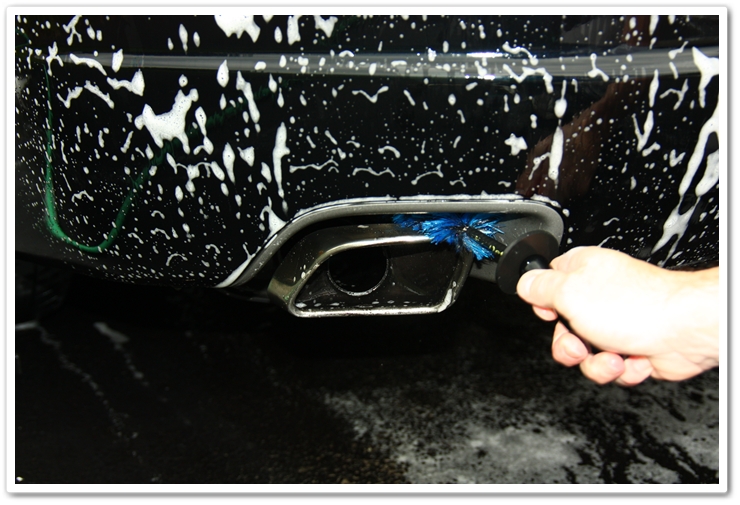
Cleaning and washing exhaust tips (Return to Top)
Chances are that your exhaust tips are looking bad too. Here I’ll use Chemical Guys Grime Reaper, and then scrub it with my Mini E-Z Detail Brush. For a complete step-by-step guide, please refer to my tutorial on Exhaust Tip Cleaning.
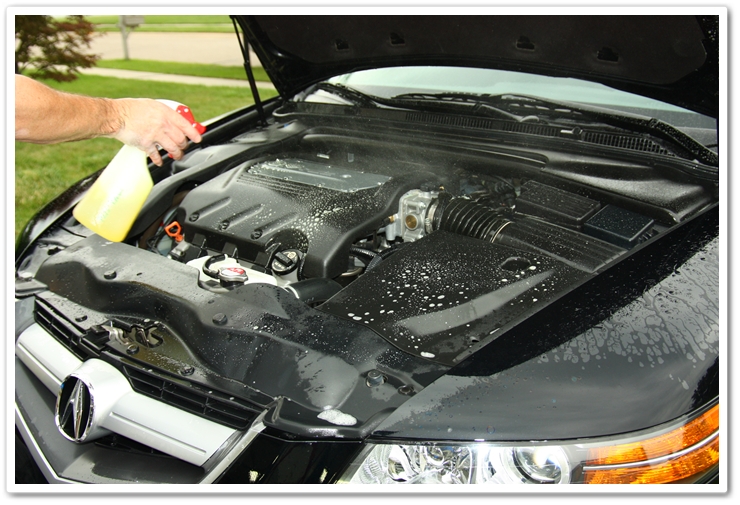
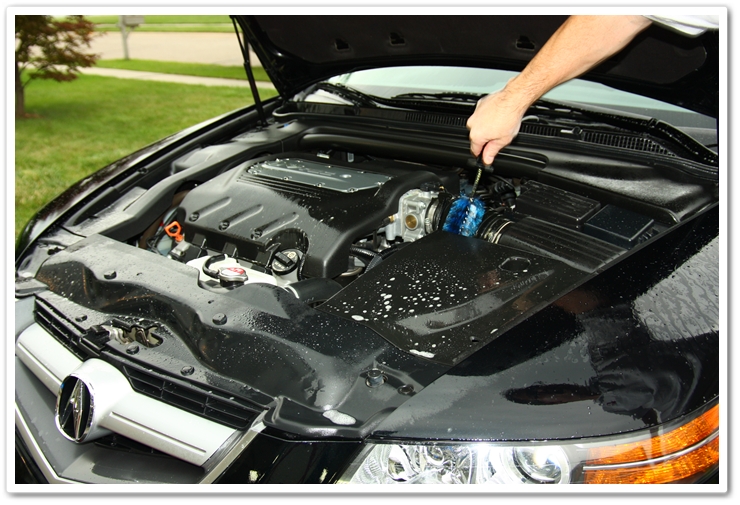
Detailing the engine bay (Return to Top)
Your engine doesn’t need to be cleaned all of the time, but it’s worthwhile to go in and clean it every now and again. Once again my choice of cleaners is P21S TAW. Here you have to be careful, because if you use a strong cleaner, you risk staining plastic components, or worse yet your paint. Be safe and use a gentle cleaner. I’ll spray everything down (including the underside of the hood), and then clean it with an assortment of brushes and sponges. For a complete step-by-step guide, please refer to my tutorial on Engine Bay Cleaning.
Drying black paint without adding swirls (Return to Top)
We’re done with the wash process now, so let’s move on to the proper way to dry it to keep from marring the finish.
Just because you’re armed with some microfiber towels it doesn’t mean that you’re not going to induce swirls in the soft Acura paint. You also need to have the right kind of microfiber, and care for it properly as well. You have to use a very high quality microfiber towel, and use light pressure.
The first thing I do after washing (always in the shade…especially on dark colored vehicles), is pull the car back in the garage and blow off all of the standing water, and water that hides in all of the cracks and crevices. The less you have to touch the vehicle the better. You could use a product like the Metro Vac ‘n Blo, or compressed air. If you don’t have access to one of these, then don’t worry because you can still get it done the old fashioned way.
When you do your final rinse on the car, it’s best to take the spray nozzle off of the hose so that the steady flow of water creates a sheeting action. This will minimize the droplets of water which will help prevent water spots.
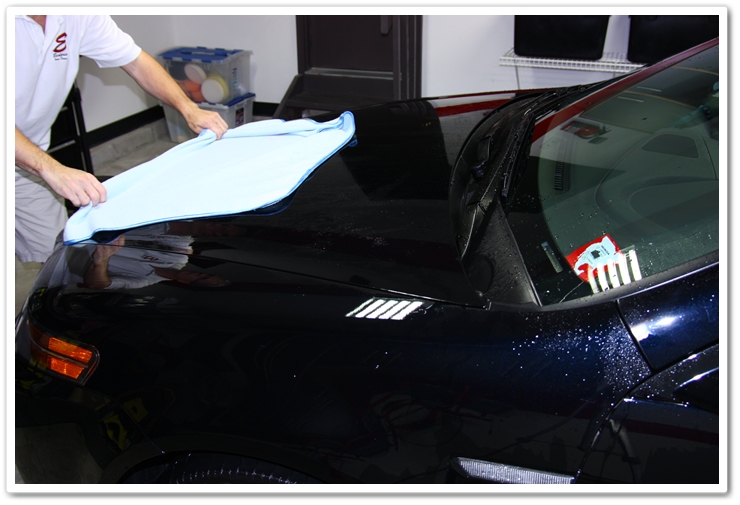
Now that you’re ready to dry it off, first take a waffle-weave micro fiber towel, and gently drag it across the finish to remove the majority of the water.
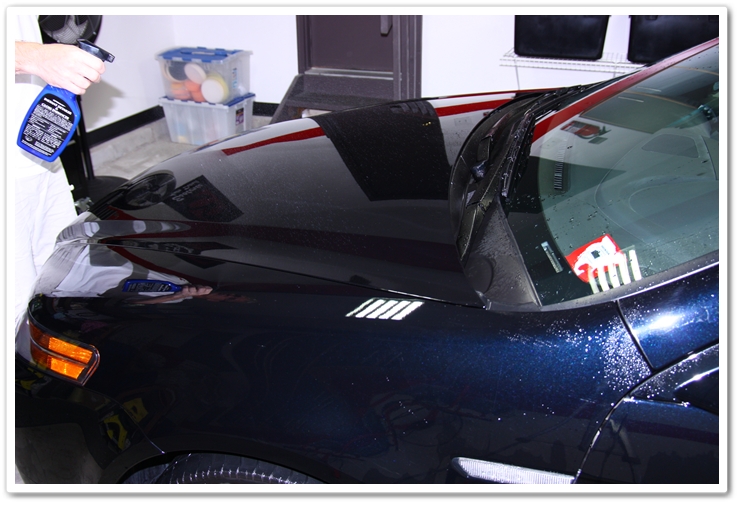
This will leave a little bit of water on the finish, and you want to get that wiped down to avoid streaking. If you just buff that out with a plush, dry microfiber, you still run the risk of marring the finish. For this step, you want to add some lubrication and the best method I have found on my NBP TL-S is to lightly spray either some Optimum Instant Detailer or Optimum Spray Wax onto the still-damp surface.
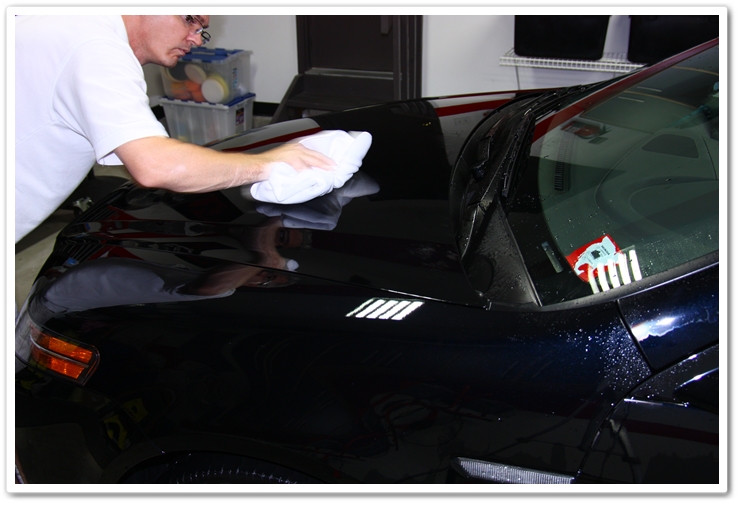
Finally you want to take your plush, clean towel (here I am using the DI Great White), and very gently buff the surface with little to no pressure. Depending on how wet the surface was with water and detailer/spray wax, you may have to wipe it down, and then use a second towel for a final buffing. Once again, you’re using little to no pressure. With this proven method, you should have no streaks or water spots, and you’ll be left with a beautiful finish. It also saves time since you’re doing the drying and waxing/quick detailing at the same time.
If you follow those key steps in washing and drying, you should be able to keep your NBP TL (or whatever else you may be driving) looking its absolute best without inducing swirls in the washing and drying process. I can typically complete the entire wheels/wash/dry/wax process in an hour (without engine cleaning).
Let’s move on…
This is part 1 of a 4 part series (read part 2, part 3, part 4)
If you have any additional comments or questions, please submit your reply in the comment box below.