
You’ve likely seen our article laying out what orange peel is, how it is formed, and why it is a problem in Ask-A-Pro: Orange Peel Part One. In this article, AutoLavish Fine Automobile Detailing will address minimalizing orange peel from your cars surface to greatly improve the look of the finish.
Ask-A-Pro: What is Orange Peel and How Do You Fix It? Part Two of Two.
Factory paint jobs applied by robots from the factory aren’t sanded after the clear-coat is applied. This is the opposite of what happens with hand sprayed paint jobs. Some low volume manufacturers (think certain exotic and supercar brands), and the refinishing industry (paint shops and body shops), often sand down the clear coat to eliminate excessive orange peel, dust specks, or other paint defects after painting. If your car needs to have a panel resprayed because of an accident, a good paint shop will not only work hard to match the color closely, but with work hard to mimic the amount of orange peel in the rest of the finish. Only when color AND orange peel match will the finish look nearly factory.
Please be aware that sanding in any capacity is very risky. If you question your ability, equipment, or overall skill, we at AutoLavish would highly recommend you take your prized possession to an expert. While the benefits can be huge, the risk of making a mistake can often lead to a ruined paint job that can only be fixed through repainting the damaged area.
Wet-sanding (or “color sanding” if you’re old school) is the recommend way to eliminate deep defects, orange peel, or painting defects from a painted surface. This method will ensure a more constant finish and is overall safer than dry-sanding. Needed tools and equipment include a Dual Action buffer / sander, sanding disks/paper, and a lubrication agent. While wet-sanding can be used for multiple reasons, we’re going to focus on removing orange peel in this article.
The lubrication used in wet-sanding is traditionally water, but many people will use things they feel give them a better lubricating medium like a diluted car wash shampoo such as Optimum No Rinse, baby shampoo, or clay lube. We would recommend against anything that evaporates quickly as you want to make sure your lubrication lasts as long as possible, so keep your mineral spirits and alcohol in the cabinet.
Sanding paper/disks that are often used for wet-sanding cars don’t need to be as aggressive as the types used on wood or other finishes. Just as swirls can easy be installed in your clear-coat with the wrong type of care, sanding clear-coat only requires some of the finest grits available. When looking to spot wet-sand a problem area or an entire car, we often reach first for our 3,000 grit paper or disks. Just as with polishing, it is always good practice to use the least aggressive method. While there are many bands and types of sanding paper available, I would recommend Meguiar’s Unigrit papers for their ability to leave extremely consistent finish if you need to work by hand. For disks, we’ve really been enjoying our 3M brand 3,000 grit sanding disks. They have a thin layer of foam backing which helps them to contour to body panels, and we believe they perform extremely well.
A dual-action polisher / buffer gives a more consistently inconsistent finish, which is exactly what you’re looking to achieve. The marks left after wet-sanding should look more like controlled chaos than any uniform marks. Uniform sanding marks are often a sign something was done wrong because they are usually caused by inconsistent pressure being spread on the surface. Rather than this happening, you want the entire finish to be of a uniform depth.
Says Jacob Bunyan of AutoLavish Detailing, “A uniform chaotic finish is an indicator that you’re achieving an even material removal.” This is a key to the steps to follow the sanding; properly polishing the finish. Jacob goes on to add, “Any variation in material removal may result in an uneven finish appearance. In other words, if you remove more orange peel from one area than another, the difference will stand out and will continue to be an eye sore. The goal is to achieve a uniform finish that will provide a consistent reflection.”
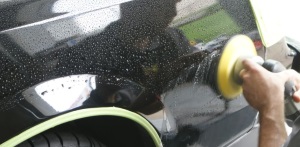
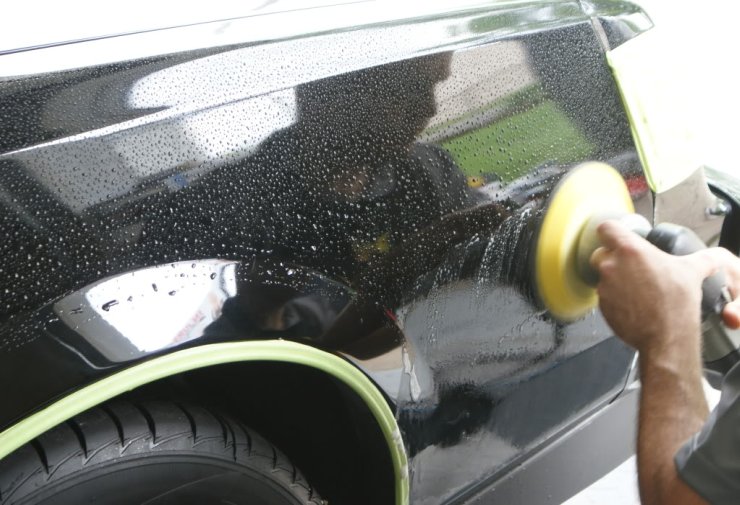
Using plenty of lubrication, the DA sander is steadily moved over the surface with only light pressure and the machine set on medium speed. Once done with a section, it is important to wipe clean the area of clear-coat and the lubricating agent used in the sanding process.

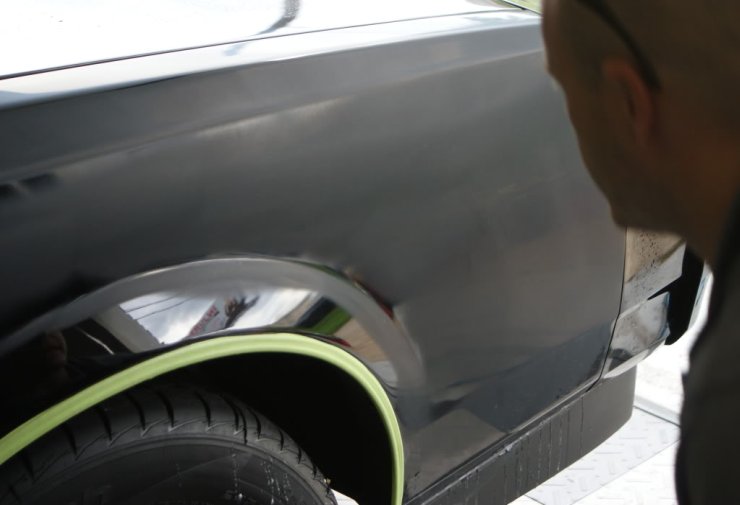
Any area that still shows gloss and shine has yet to be correctly worked. In the following picture, you can clearly see the fender flare needs to be worked further as well as areas around the fender arch. This inspection step is very important as it allows for proper assessment of the finish.
When done, there should be a uniform haze that must then be correctly polished to restore the gloss and shine. In the following picture, you’ll see that the areas formally needing more sanding have been completed, so Jacob moves onto the next step; heavy polishing / compounding.

Inspecting to make sure all sanding marks on gone, the reflection is much more tight and clear.
Not as easily noticeable however, is the haze from the polishing step. I moved in to further refine the finish.

Now refined, absolute clarity and crispness is achieved.

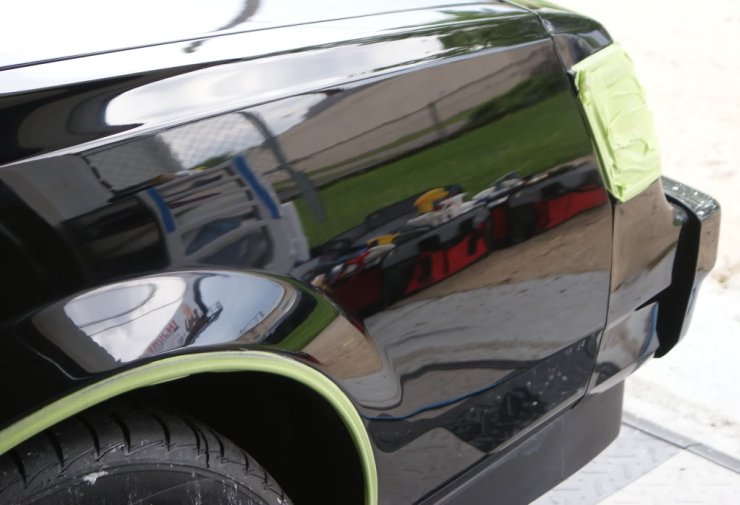
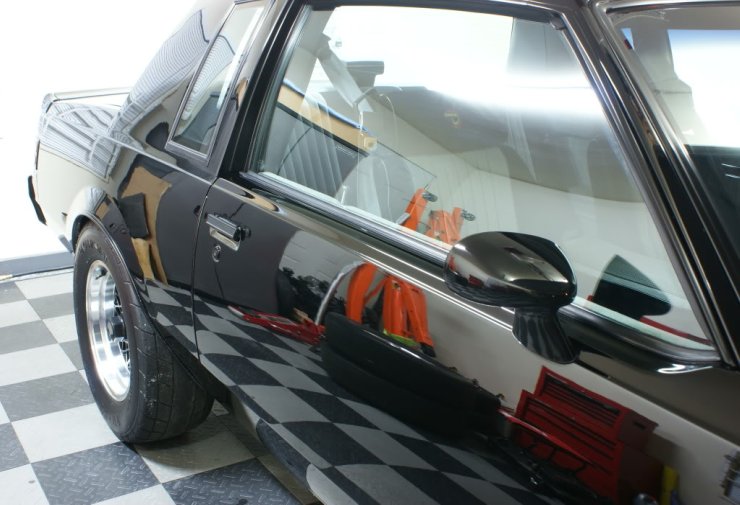
A friendly reminder of what this started as:
This same process was performed over the entire vehicle with outstanding results. While very time consuming, wet-sanding was able to save this Buick Grand National from the paint booth, and over-all was much less expensive than a quality paint job.
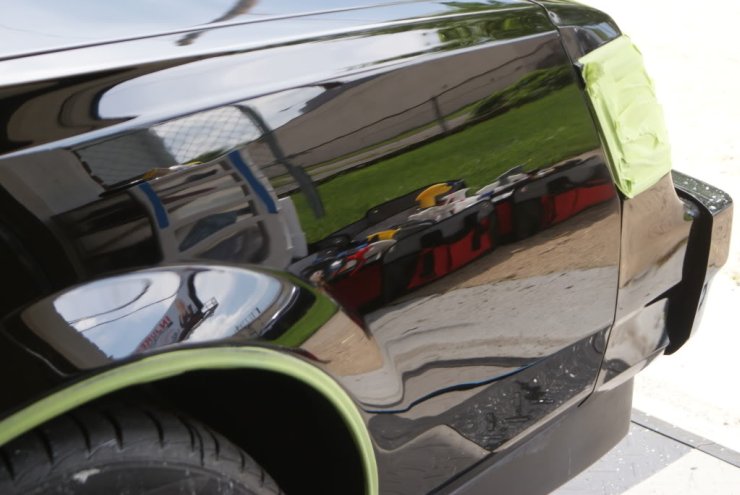
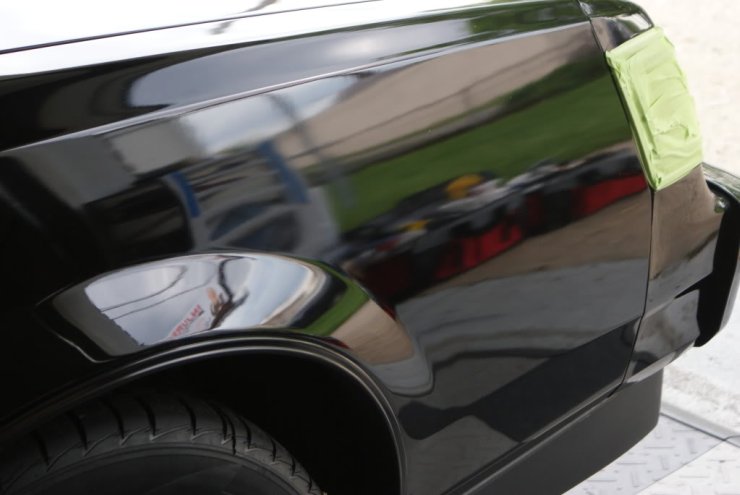
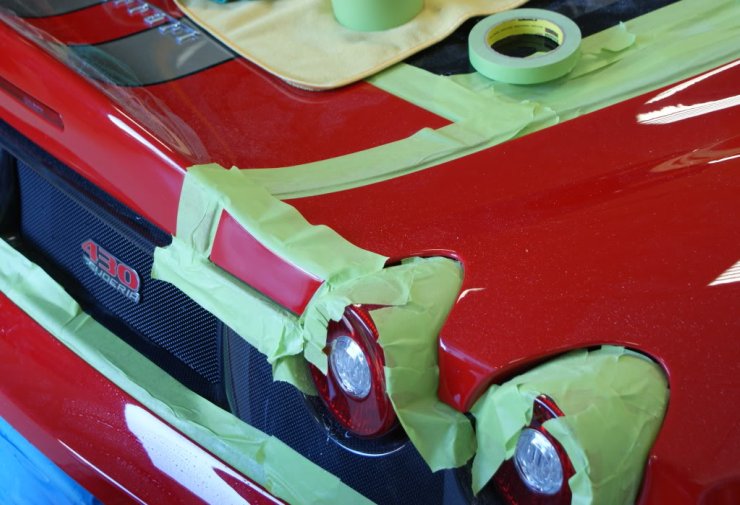
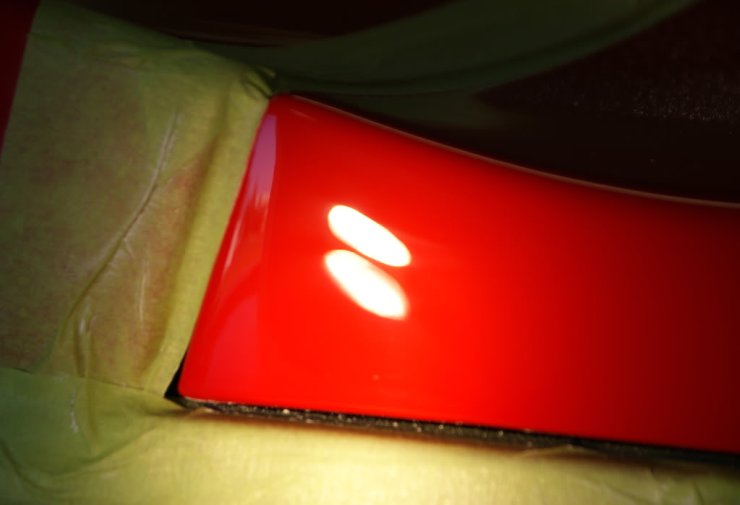
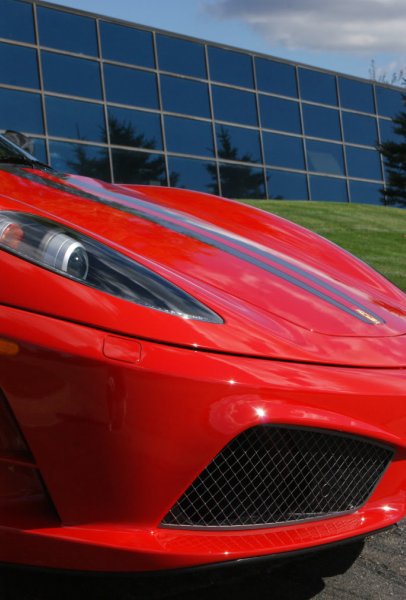
Some vehicles don’t need to be wet-sanded over the entire surface, but rather have spot areas that need the extra work. Such is the case with this 430 Scuderia. While certainly beautiful vehicles, Ferrari’s are infamous for coming from the factory needing the services of paint correction professionals. It seems some forgetful people across the sea forgot to wet-sand and polish a small section of this 430 Scud after it was painted. The “Orange Peel” was quite horrible, but only in this one small area.
Now you can see where the term “orange peel” comes from!


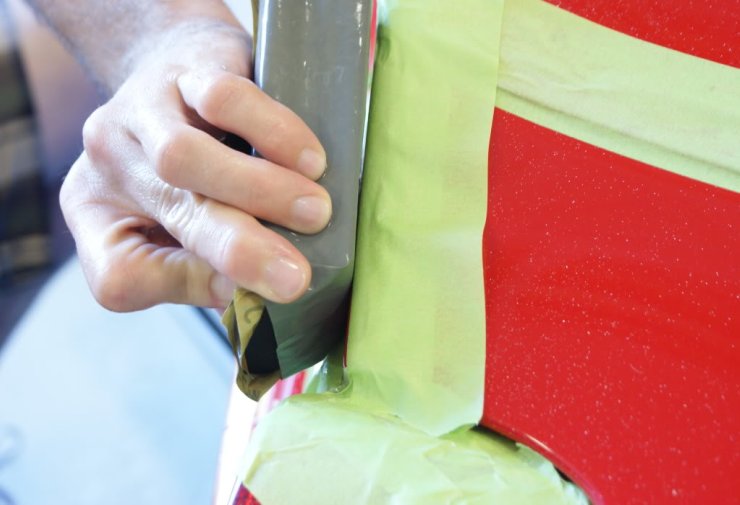
Using 3,000 grit Meguiar’s Uni-Grit sanding paper and a block, Jacob gently works the affected area.
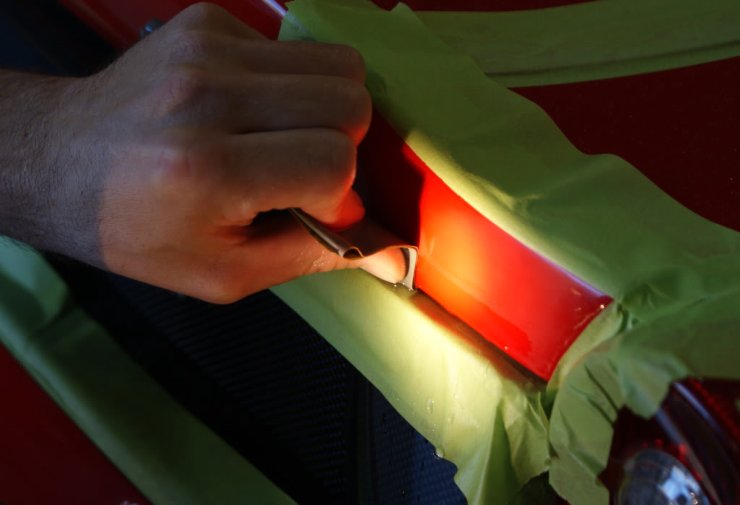
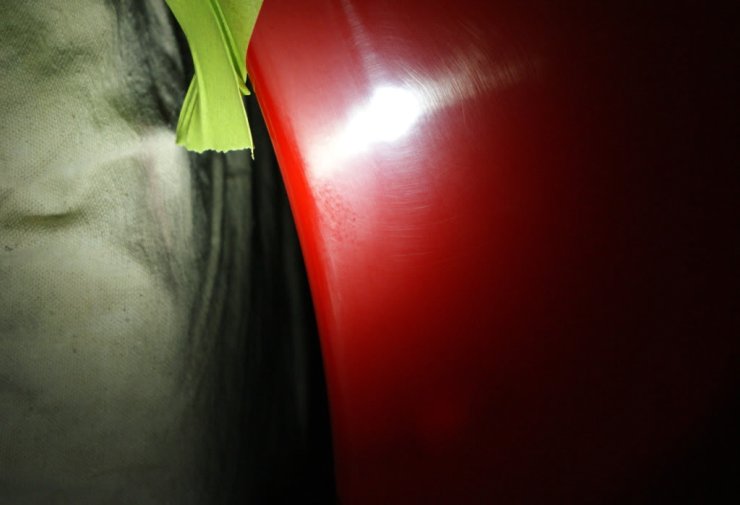
While there is more of a uniform sanding look, you can see in the following picture that the hard-to-reach edges still are shiny, which means they haven’t been properly leveled.
To solve this problem, Jacob very carefully had to use a thumb as the backing device for surgical precision. It is never recommended to “hand sand” or “finger sand” anything, as your digits have natural pressure points which do not allow of a uniform finish.
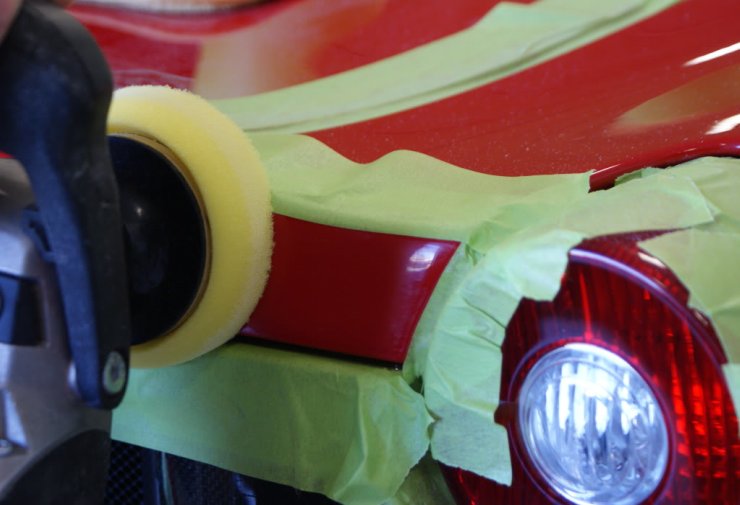
The next step was to polish the surface down enough to rid the finish of sanding marks. A small pad and a rotary polisher were utilized to work the small area’s hard clear-coat.
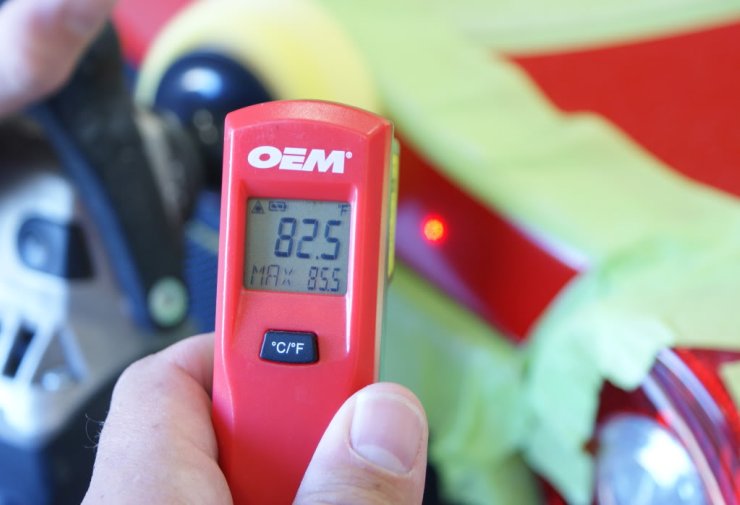
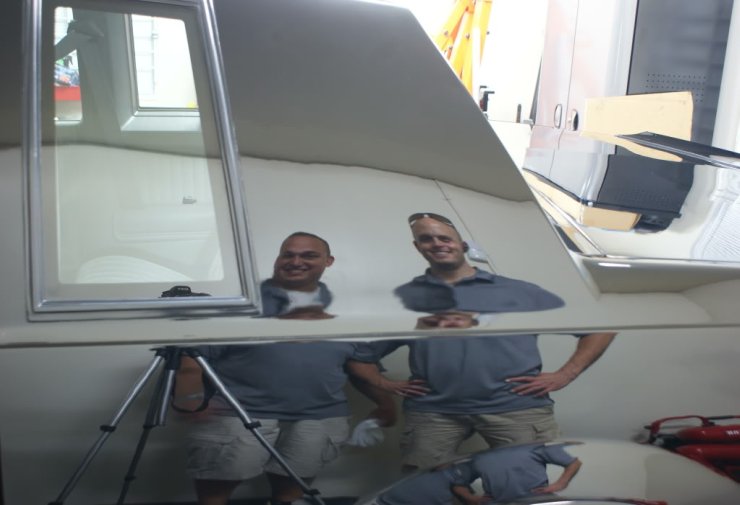
While polishing small delicate areas of a hand-painted car, safety always is in mind. The following picture shows an infrared thermometer being used to ensure no edge or section was becoming too hot. It is an advantage for us to have two people working simultaneously, as one can keep an eye on things the other cannot, like in this case, and be able to warn the polisher of any changes.
Reveling the releveled paint, the excess orange peel texture is now gone. While this section would go on to receive several more refining steps to bring the full potential from the paint, it is clearly already a huge improvement from the start.
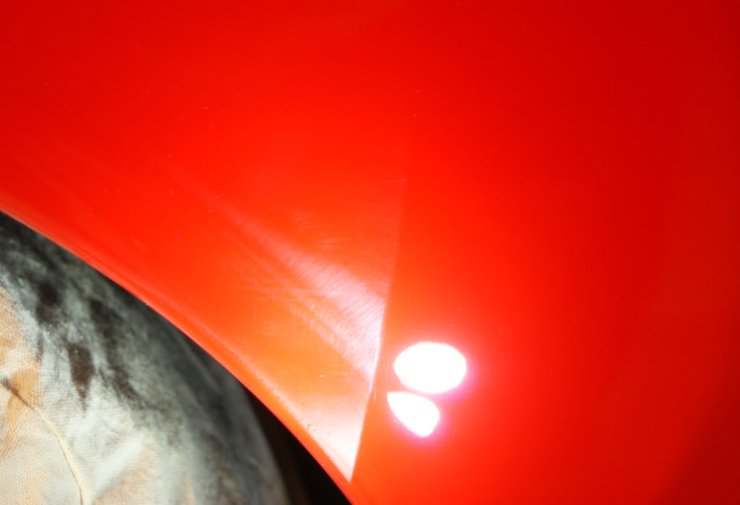
While I don’t recommend any novice to try wet-sanding, if you do decide to learn, make sure to take your time, and make sure to properly polish out the area afterwards. The same Ferrari 430 Scuderia serves as a perfect lessen as to the look of sanded, but not polished and refined finish.
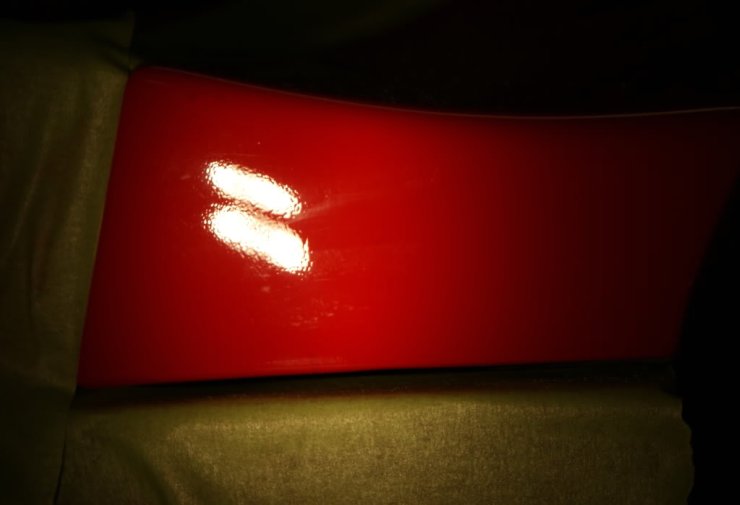
Straight from the factory, here is a section that was overlooked:
After heavy polishing testing, there was a VERY clear and distinct difference as to what had, and had not been polished.
Polishing alone will NOT reduce the orange peel affect, but keep in mind that wet-sanding is very dangerous and time consuming. It seems more and more enthusiasts are discussing and complaining about the increased orange peel in modern paint jobs; something I touched on in the What Is Orange Peel Part 1 article. I hope this two-part series gives a little better insight as to what orange peel is, how it is formed, and a couple of techniques for getting rid of this unwanted look.
Wet-sanding alone won’t make a great detail, but it can certainly be one key ingredient in a successful work.

-Marc & Jacob from AutoLavish Fine Automobile Care. Local to Southeastern Michigan, serving anywhere needed.