
Here’s a quick, but hopefully informative article for the Flex XC 3401 VRG users. After about 3-3.5 years of fairly heavy use, my 3401 finally stopped. It has stopped before only once and that was when the cord was damaged from all the work I put it through, but this time it just “died”. I figured it was the brushes, but before ordering new ones I got some from another one of our 3401 polishers just to make sure. While doing so, I figured I would take some detailed photos and write a sort of DIY article on how to replace these brushes quickly and easily, so I’ll mainly let the photos below do the talking/typing.
Please NOTE: This is one of my older 3401 polishers and you may notice the rubber piece that should be at the end of the cord by the machine is missing. This piece is there to prevent the cord from flexing and bending too much, but again, since this is an old machine, that piece was ripped during one of the times I went to cut the cord due to damage from bending (an article of it’s own that will be done sometime soon). In short, there is normally a small rubber piece surrounding the cord where it meets the red plastic of the machine, but it’s not really relevant for this article. Onto the instructions…
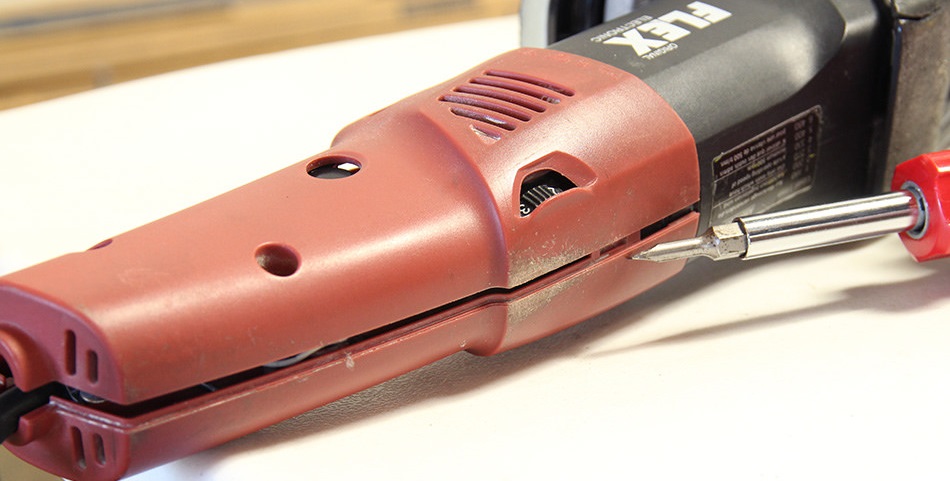
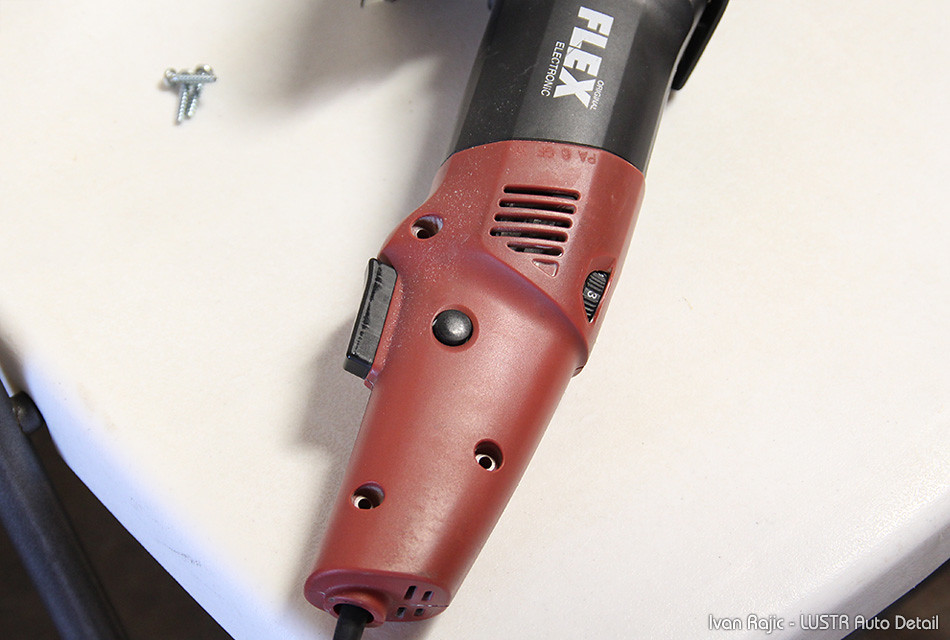
On the left side of the polisher you’ll see three torx screws.

These are removed with a T15 bit or screwdriver.
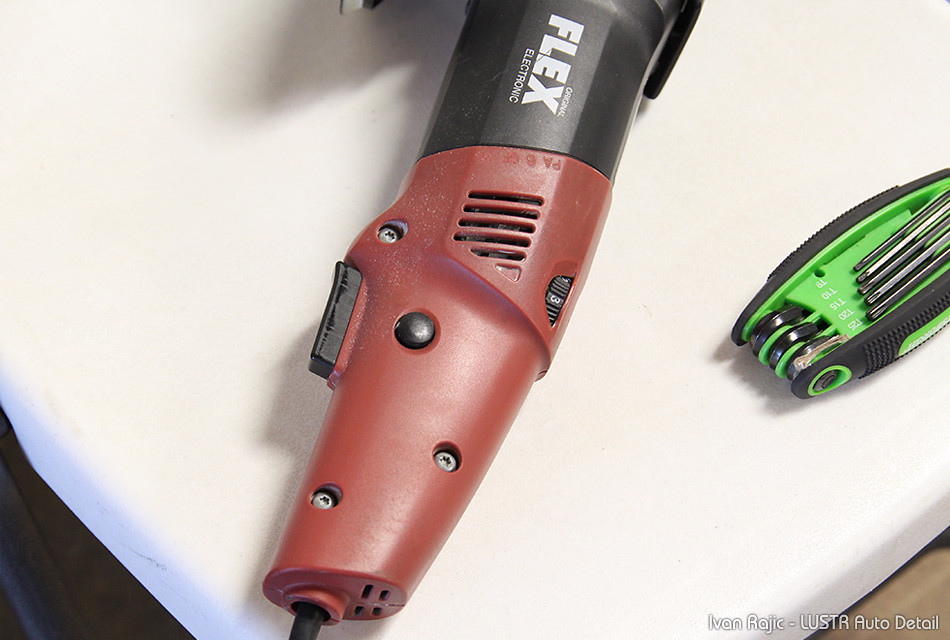
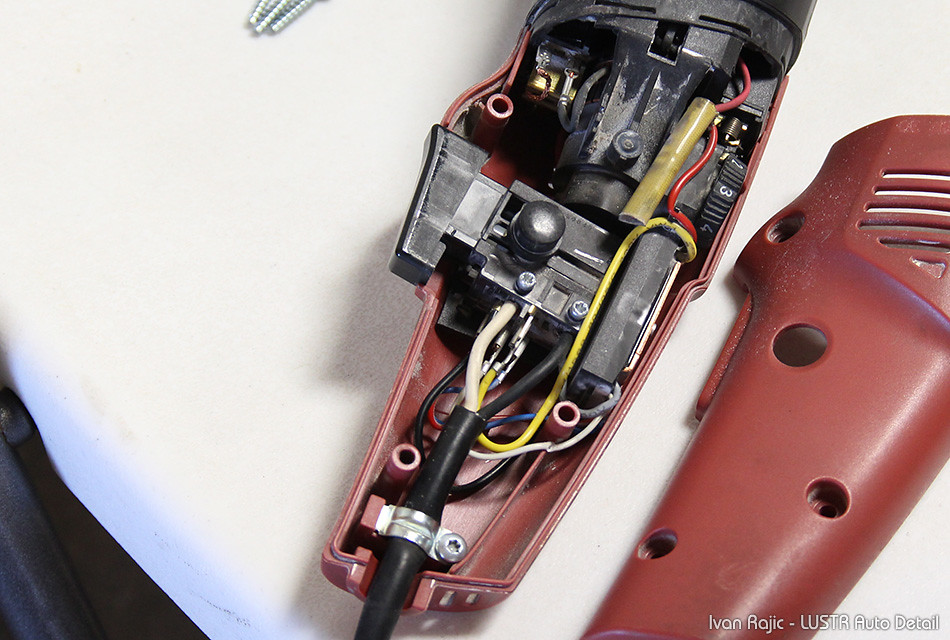
Once all three are out, simply grab that upper plastic cover and lift from the bottom (near the trigger).
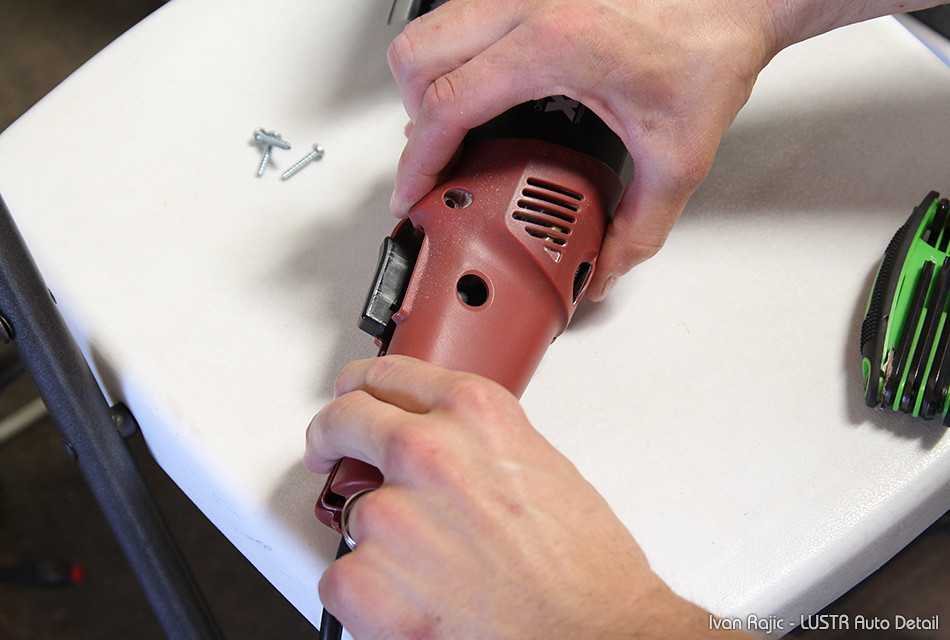
It comes off easily, revealing the trigger assembly and some of the other internal components.
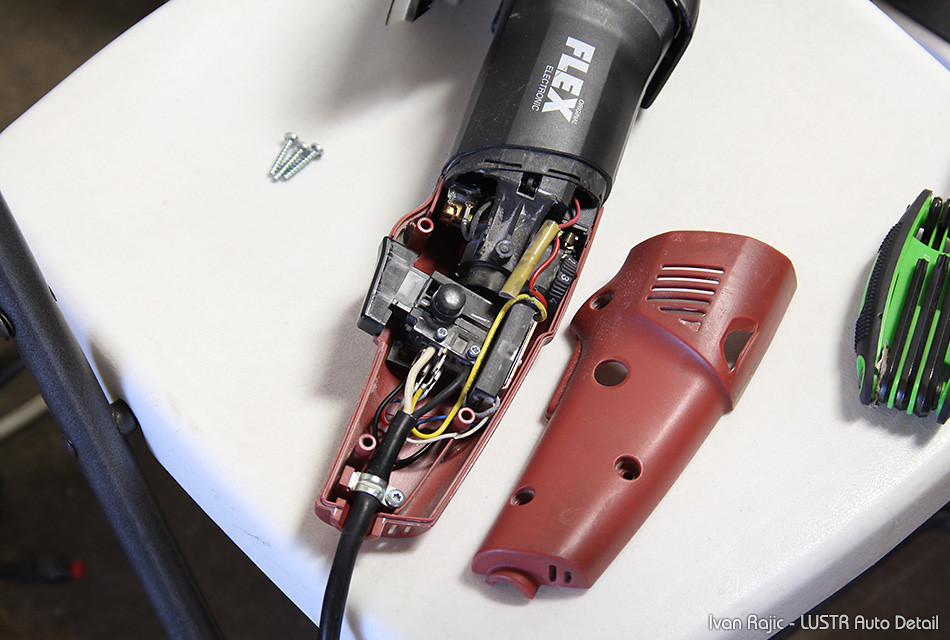
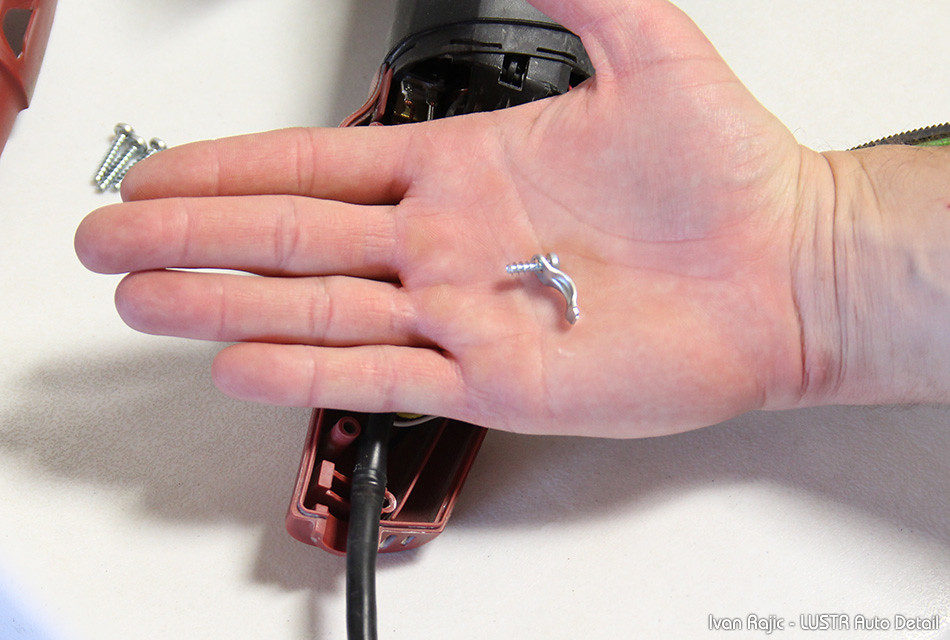
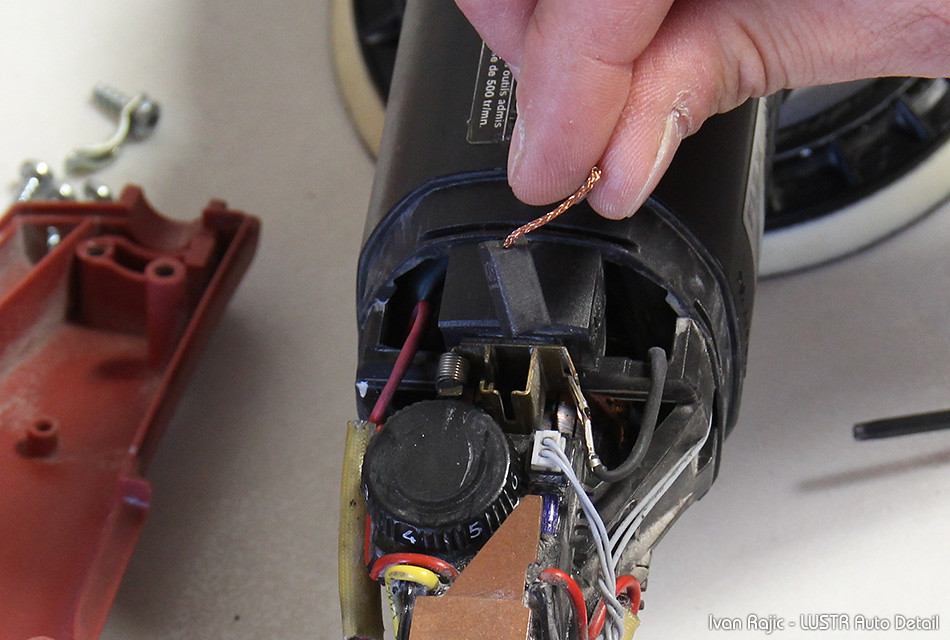
Next you will remove the little metal clamp that holds down the cord from moving around. On a typical 3401, after removing this clamp you will simply lift the rubber piece out of the red plastic cover as it fits right in.

Imagine that rubber piece just in front of my index finger (yes I am making way too big of a deal with this invisible rubber piece!).
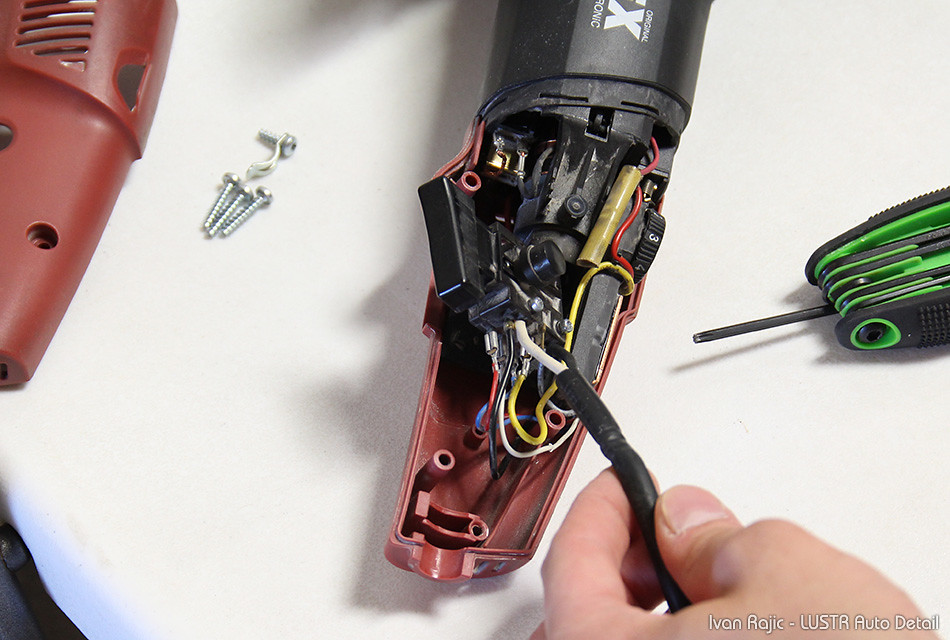
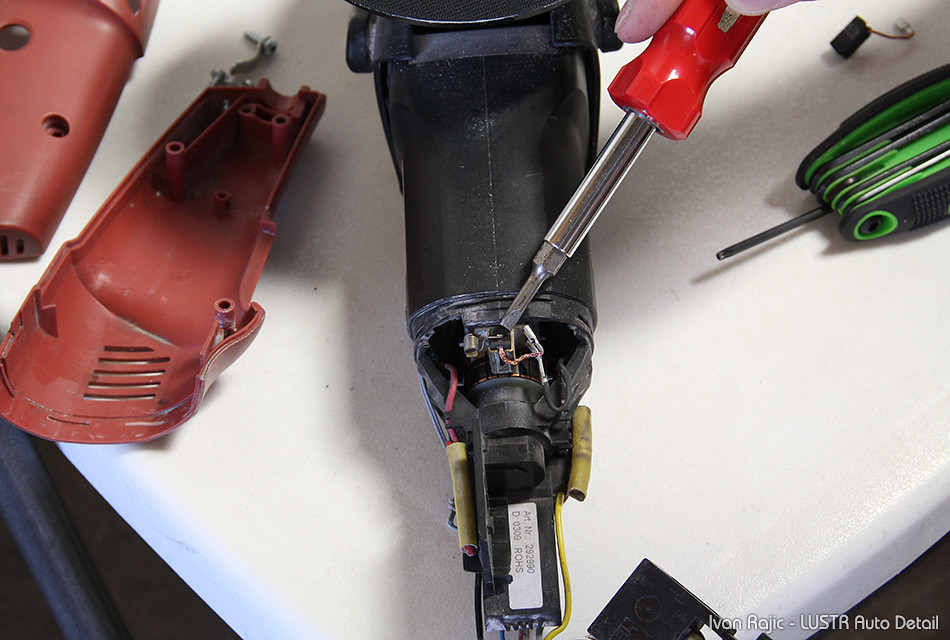
After lifting the trigger assembly up with the cord, simply pull off the right cover (now on the bottom of the photo) and set the polisher to sit on the backing plate.
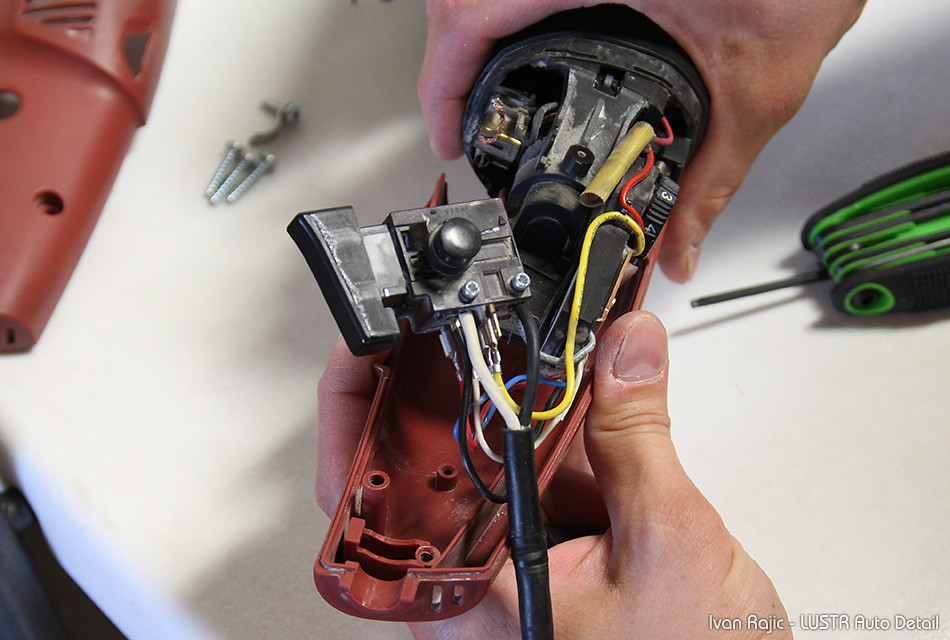
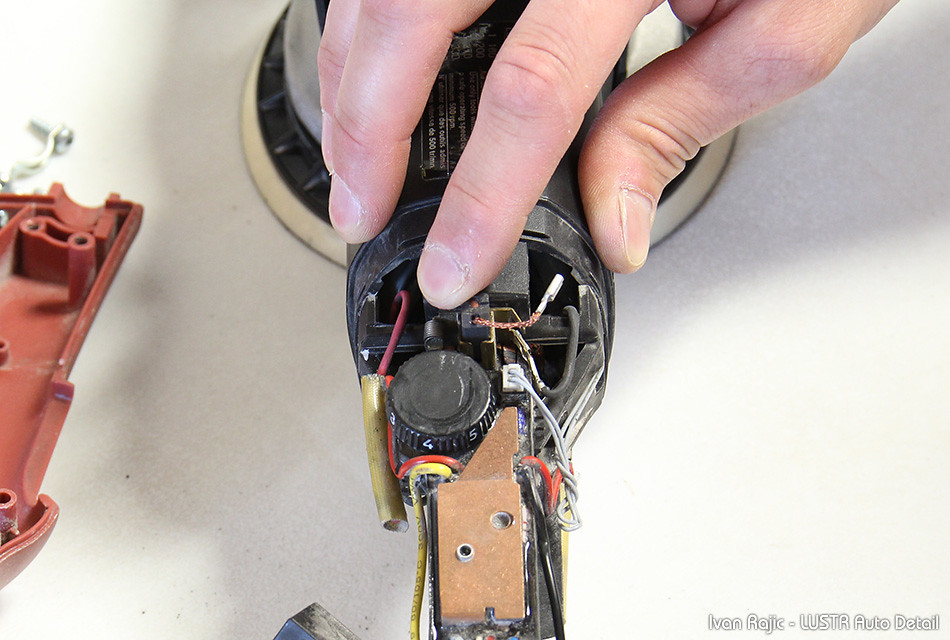
Here is the polisher sitting on the backing plate and we see the first brush on the top, just in front of the speed adjustment wheel.
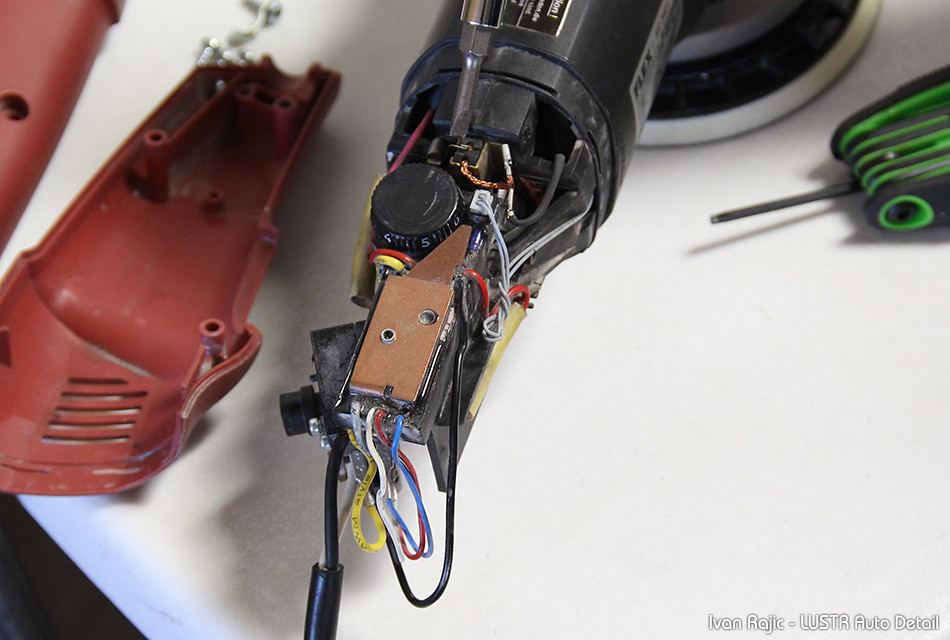
To remove the brush, first push aside the little spring that’s pushing down on the brush. It’s not a strong spring and won’t fly off, so simply pulling up on it with a screw driver and lifting it aside (toward the back of the polisher) will free up the top brush.

Next simply slide off the connector that’s to the right of the brush (I use a screw driver to push it off as it makes it easier).
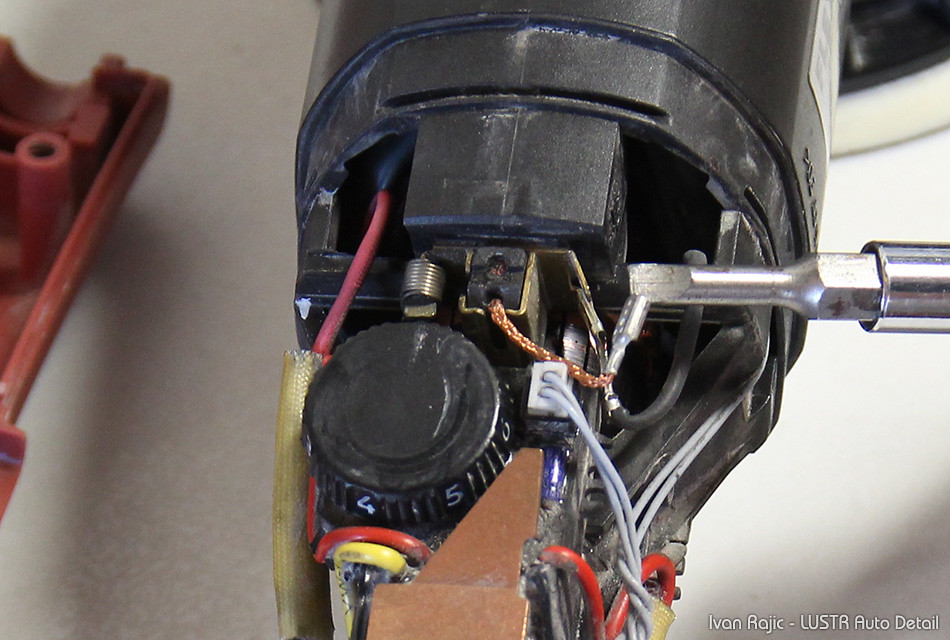
And simply lift out the brush.
The second one is on the bottom, simply opposite the one we just discussed. Same process as above to remove it.
Pop in the new brushes, connect the wire to the right of it. Remember to put the spring back onto the brush so it pushes it down.
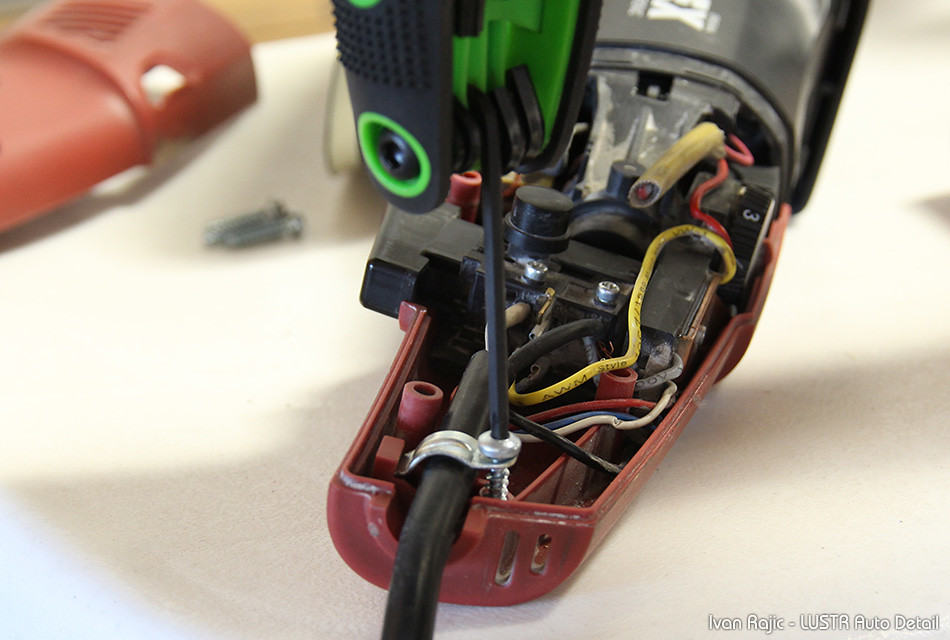
Next, as is said most of the time, installation is reverse of removal. Start with the right plastic cover. Once it’s on, you’ll see the black piece into which the trigger fits.
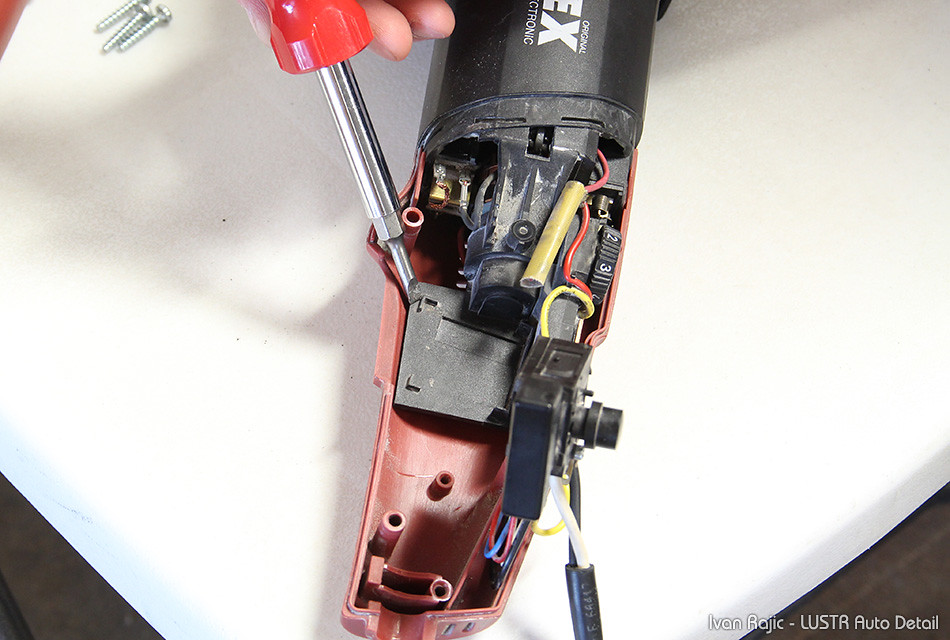
Place the trigger inside so it fits perfectly (this photo already shows the next step, which is the cord clamp already on).
Once the trigger is set in its place, stick the cord clamp into the little recess just below the cord.
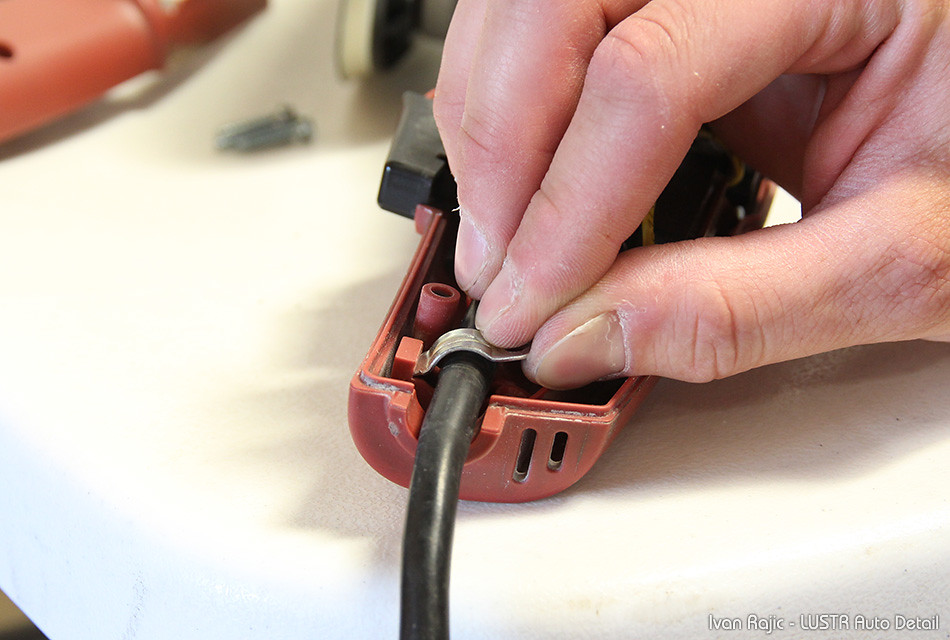
Then screw it in to tightly clamp the cord (make sure to pull the cord a bit “into” the polisher so the wires are loose inside before fully clamping the cord).
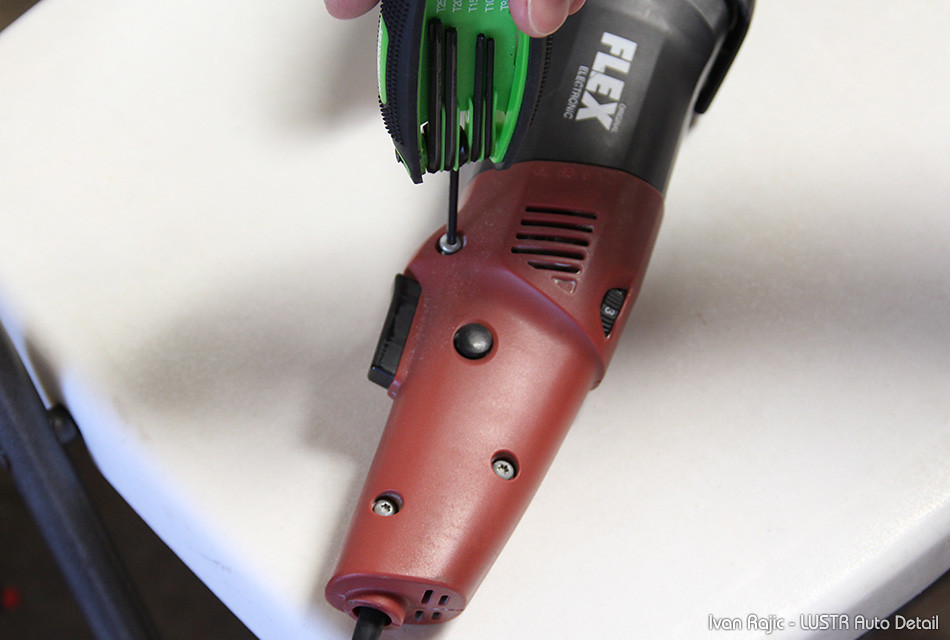
Lastly, simply put back the left cover, starting with the little clip at the top, just above the speed adjustment wheel.

Simple as that! Should be a quick 5-10 minute job to replace these and I hope that these photos help those who will be doing it sometime in the future. I would highly suggest cleaning out the machine as much as possible once it’s open as well. As I mentioned before, I will soon post another article regarding the Flex 3401, this time about the cord replacement or fix when it starts showing age and wires start fraying. This will cause it to intermittently turn off while working, but the fix is another easy 10 minute job without the need to buy a new cord!