
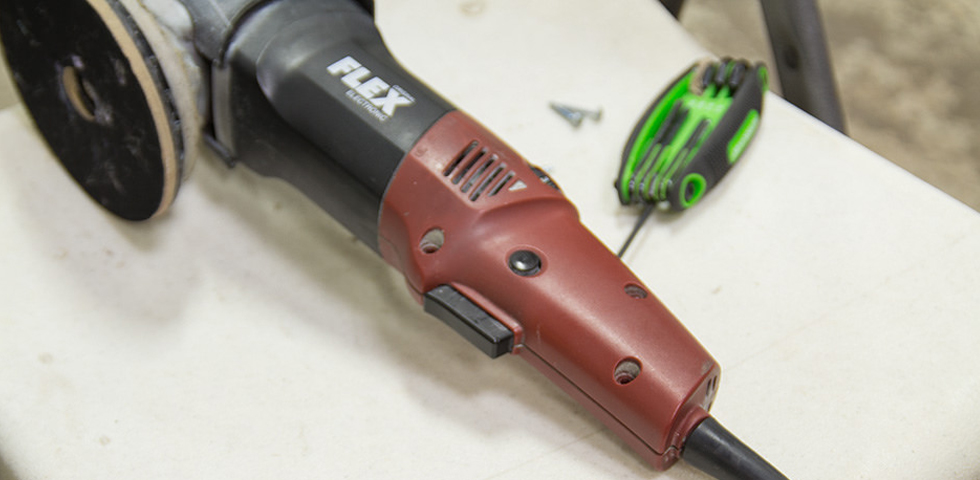
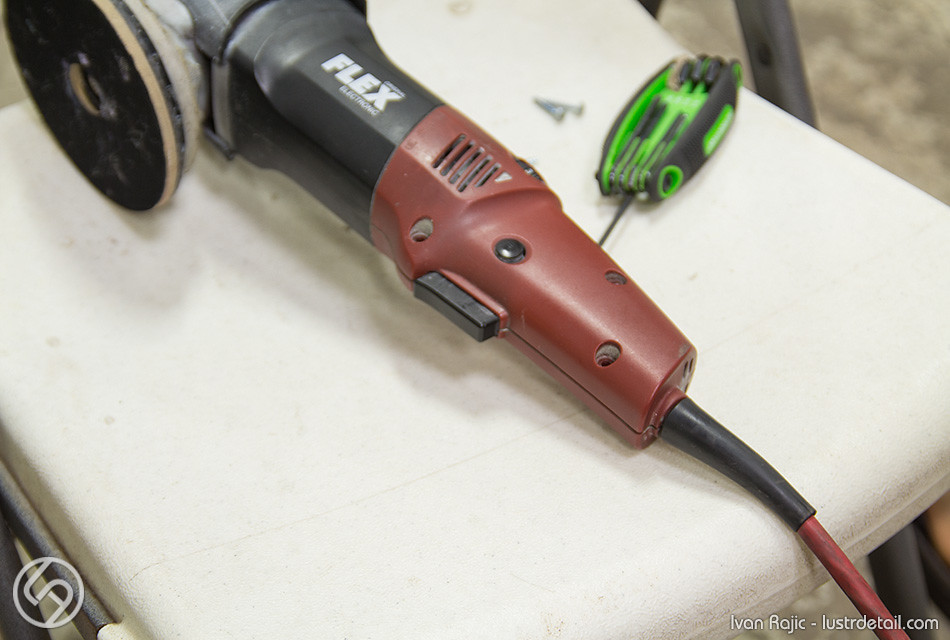
Here’s a sort of follow up article to my quick tutorial on the Flex 3401 VRG Brush Replacement. If you’ve read that article, you’ll be familiar with the steps and also the inside of the Flex 3401 VRG, but for those reading this article first there are photos to guide you from start to finish. I would recommend reading the other article as well to pick up on any notes for removal or installation of some parts, but all in all it’s extremely simple. Needless to say, attempt this at your own risk and UNPLUG the machine before doing anything!
The goal here is to 1. replace a cord that’s faulty, 2. replace the original cord that’s too short OR 3. repair a cord that’s been used a while and the wiring is causing the polisher to act up (normally turns on/off as you move and tilt the machine a certain way). On this polisher, I already have an “aftermarket” cord that needs to be fixed due to issue #3.
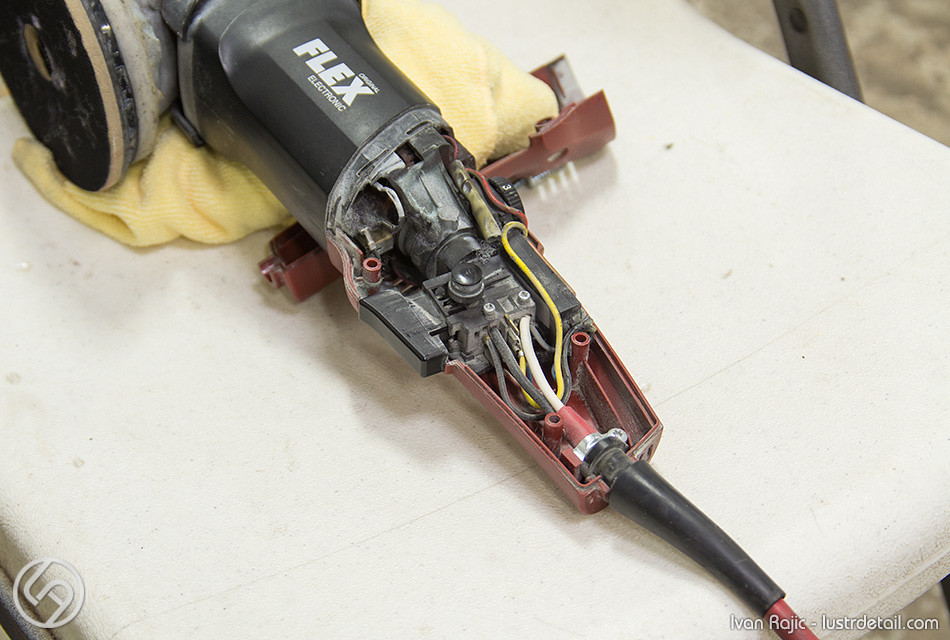
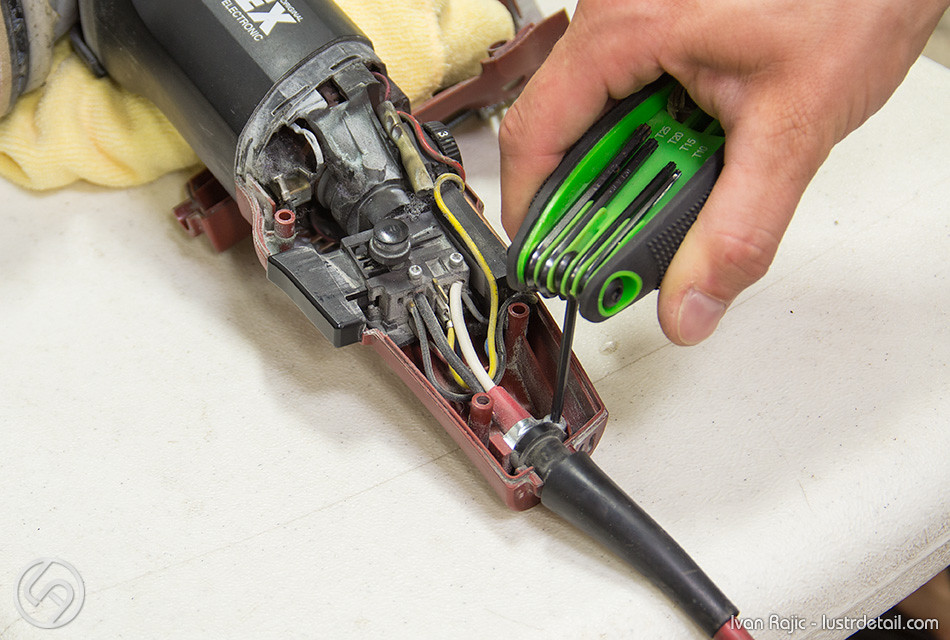
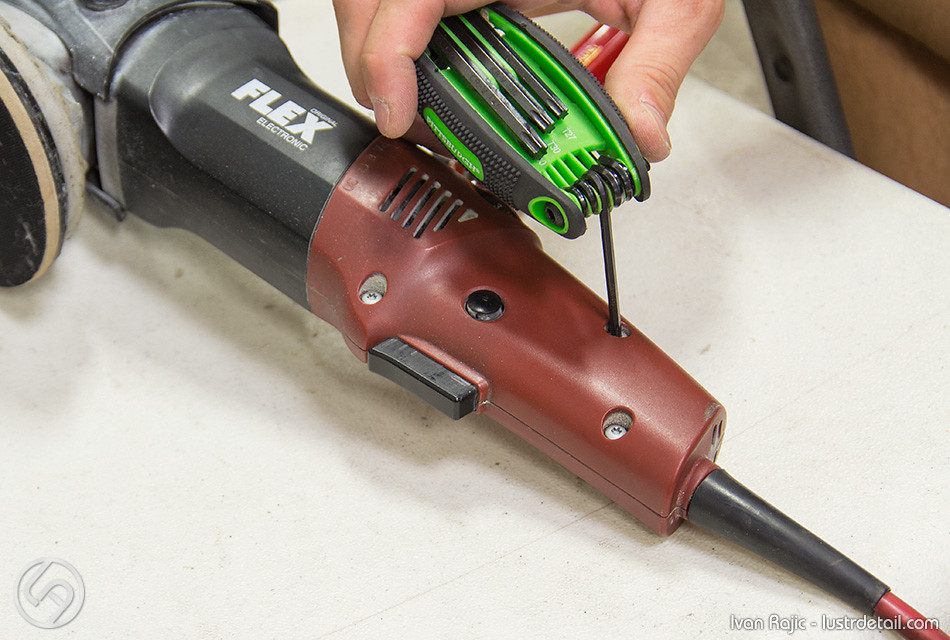
Start by removing the 3 screws (T15 bit or screwdriver) on the left side…

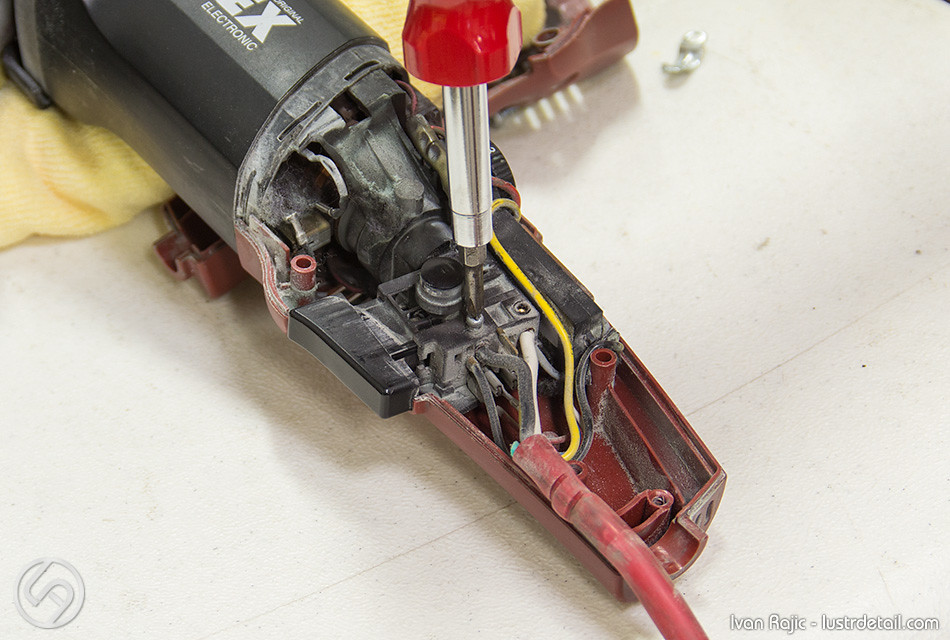
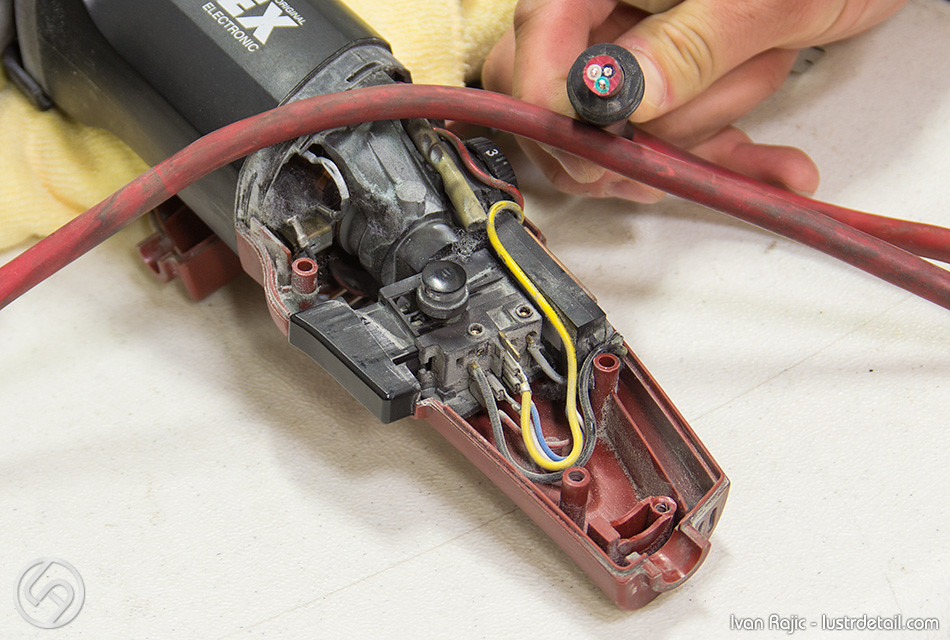
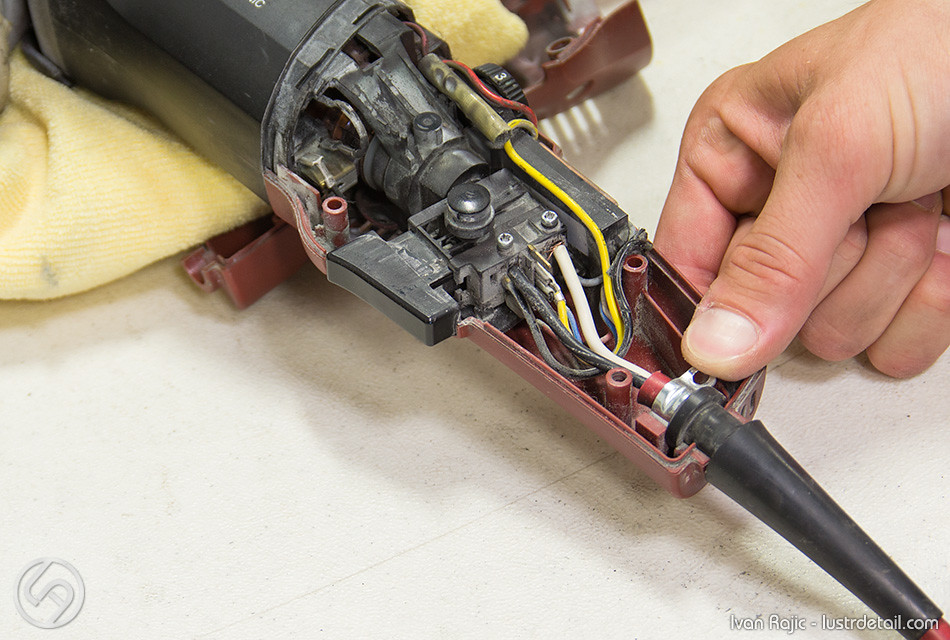
Removing the cover reveals all the wiring and trigger, etc…
Remove the bolt that loosens the clamp, which holds the cord in place…
Remove the clamp…
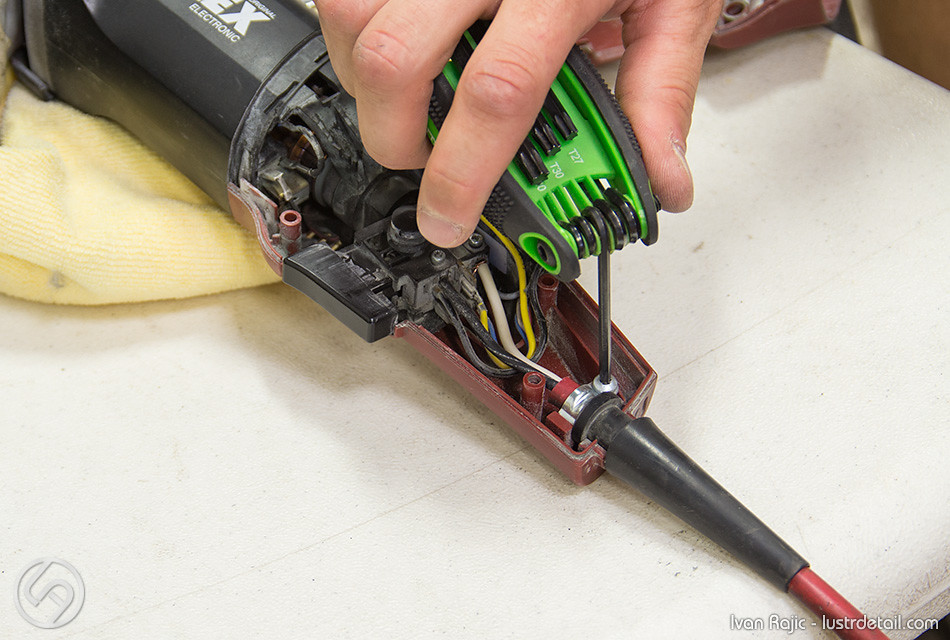
Pull back on the black rubber piece to move it further down the cord…
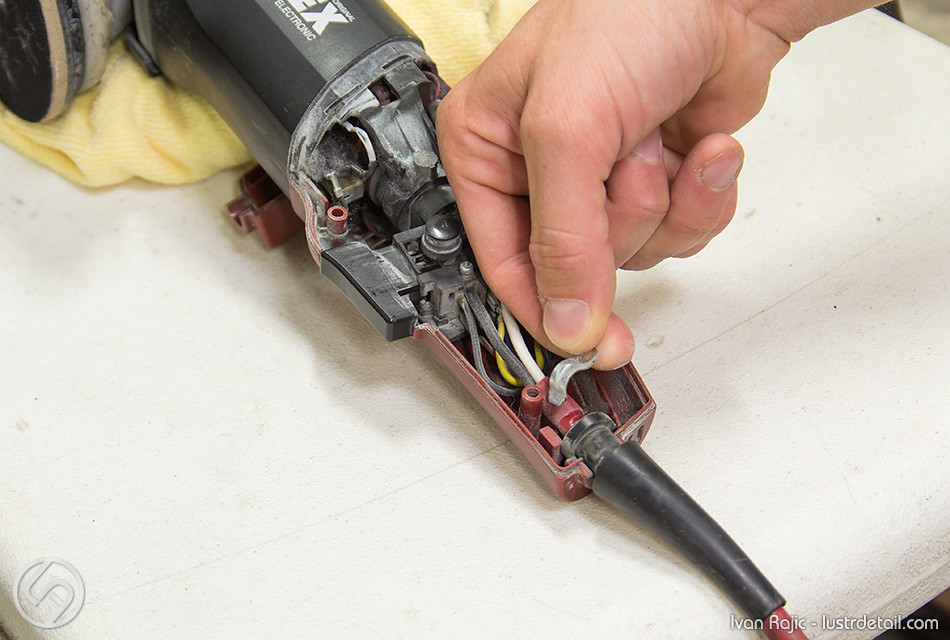
Next, unscrew the two little screws holding in the wires…
Slowly pull out the wires…
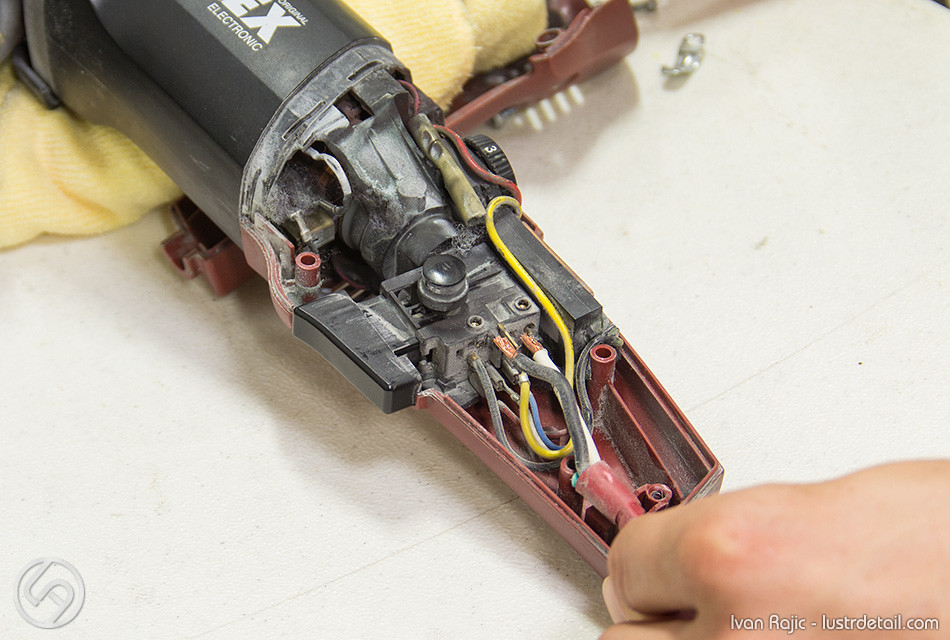
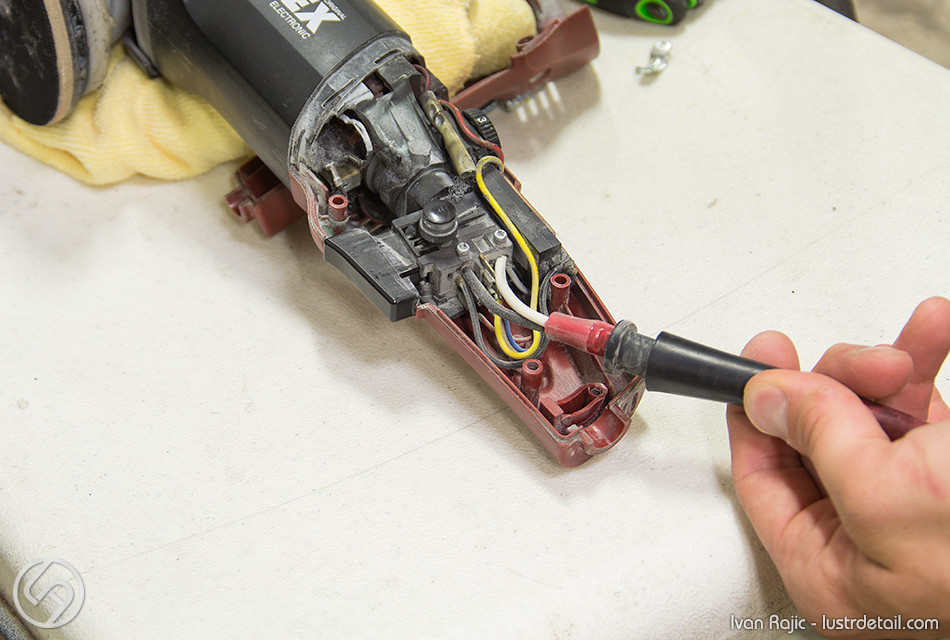
Here you’ll notice this is an old cord that’s grounded (unlike the original 3401 cord that has only 2 wires), so I’m only using 2 of the 3 wires…
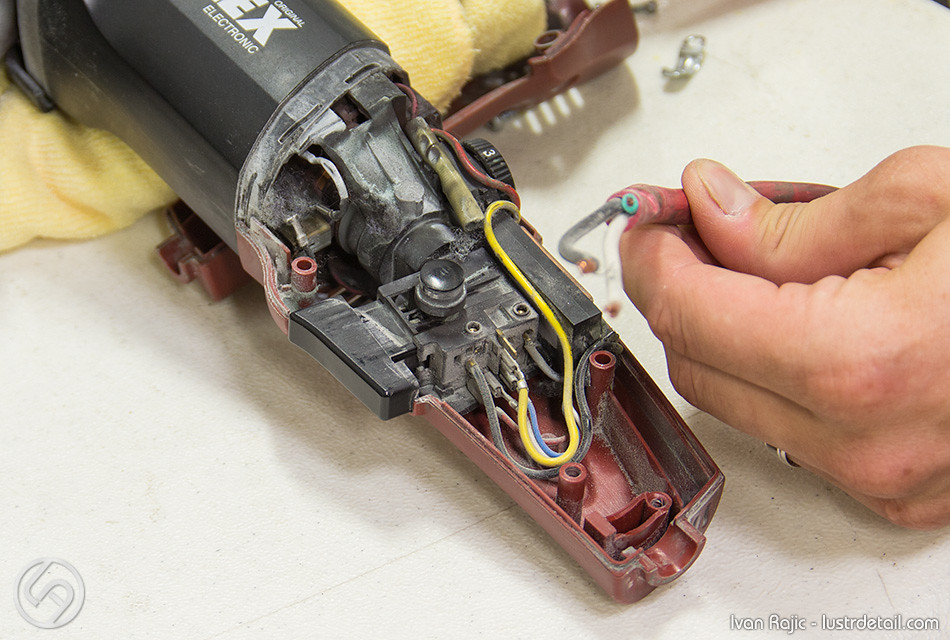
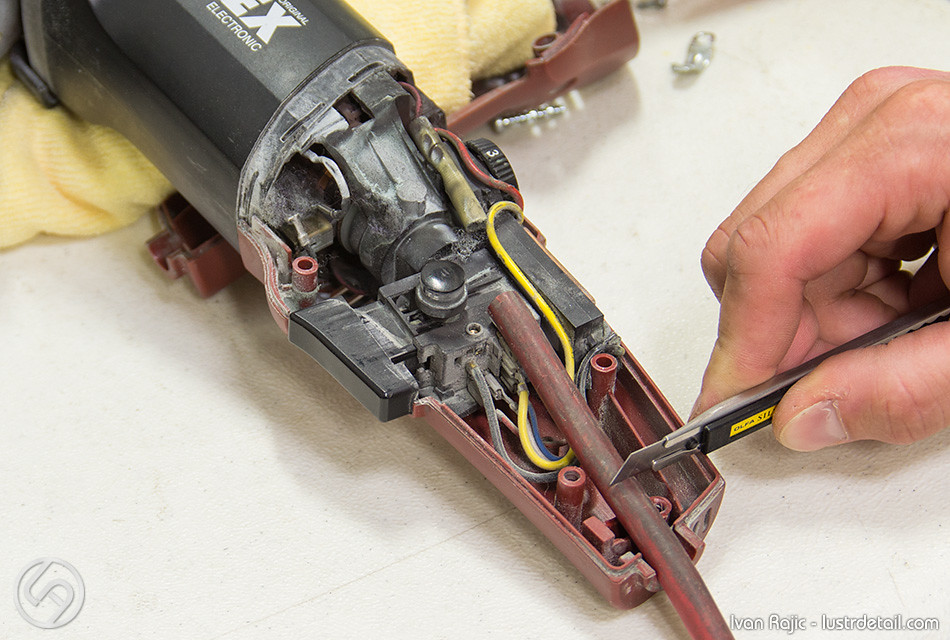
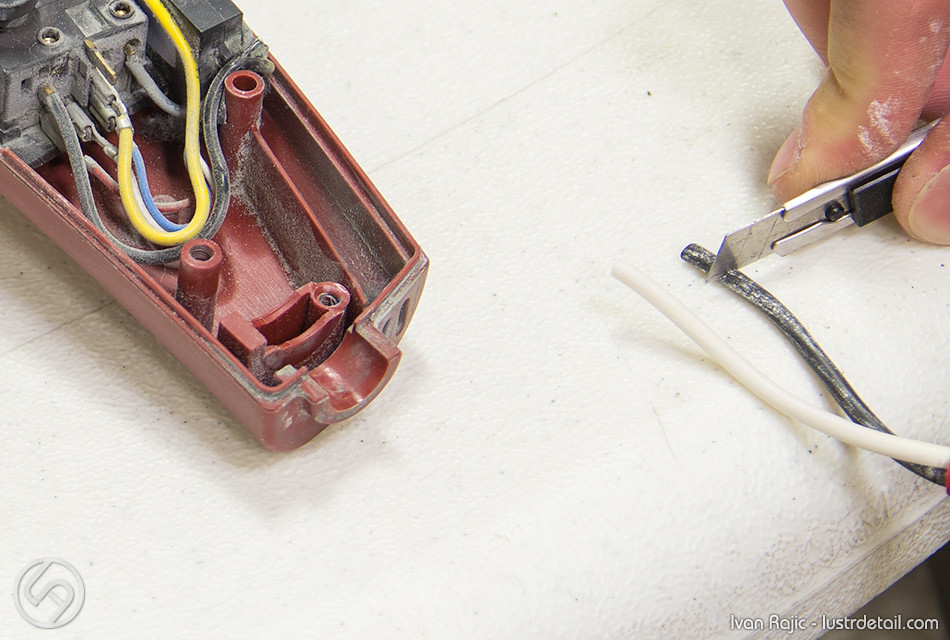
To repair the issue, I normally cut off about 12-15″ of the cord as that should be more than enough to cover the length that actually bends and twists. Here I’m using a small Olfa knife, but normally I’ll just grab for a regular razor blade. Pretty much anything will work just fine except a kitchen knife (unless it’s a very good and sharp knife)…
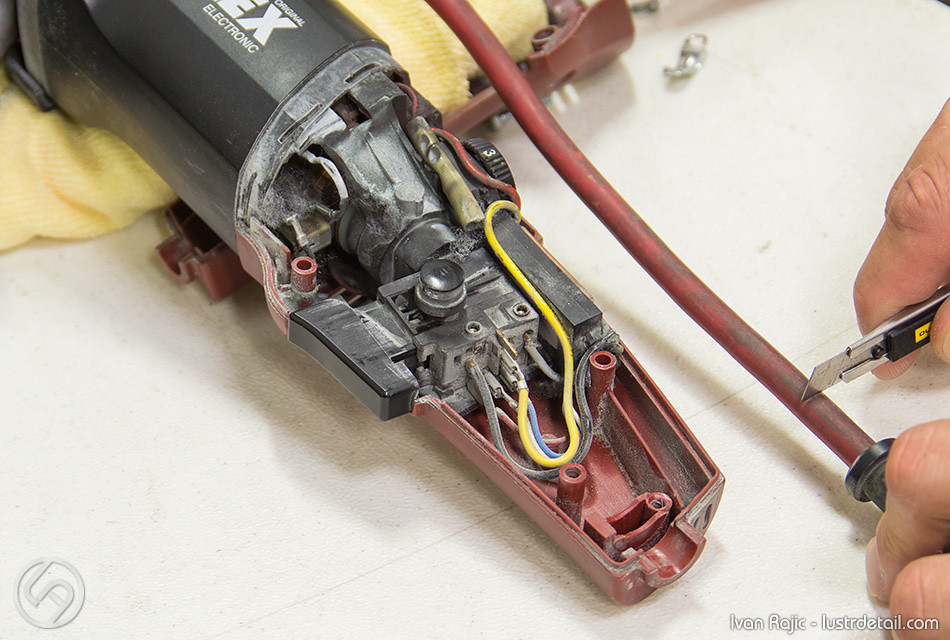
After making the cut, place the cord onto the machine in the place it will normally sit and measure where the outside needs to be trimmed in order to expose the wires. I trim it just after the part where it will be held down by the clamp shown in the first few photos of this article…
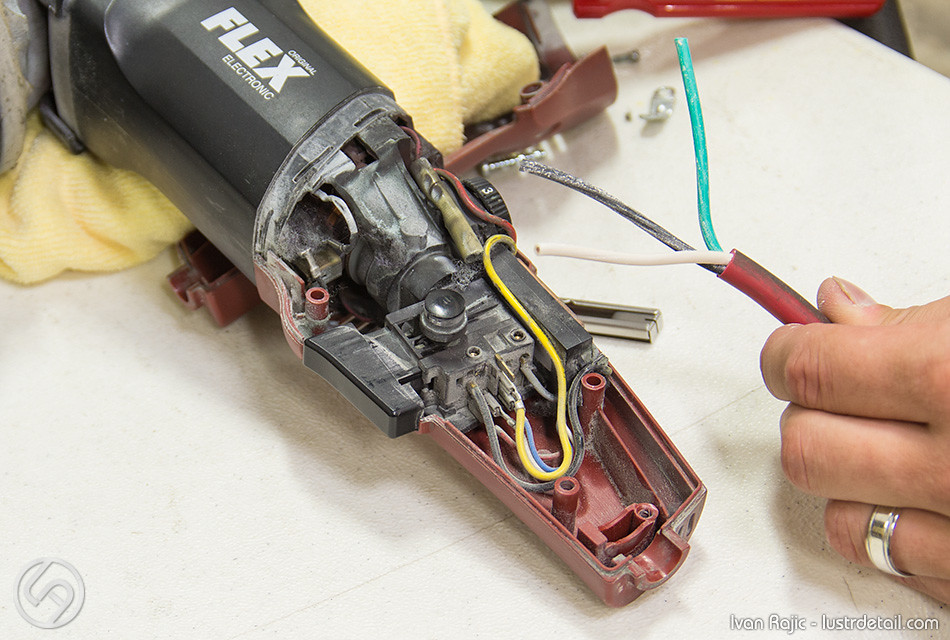
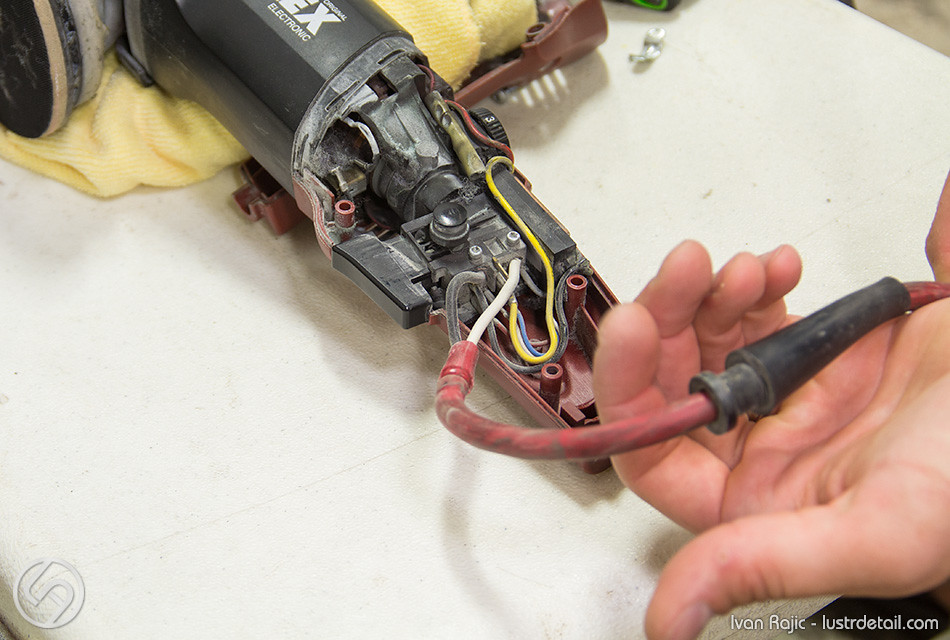
Next, you’ll want to cut off the ground wire as we won’t be using it…
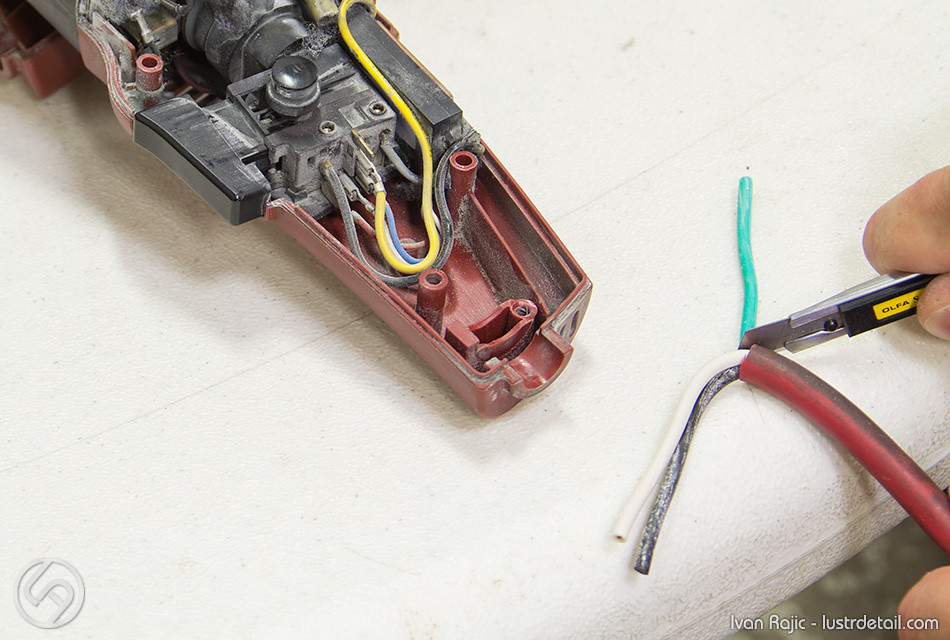
Expose the actual wiring on each of the two wires you have left…
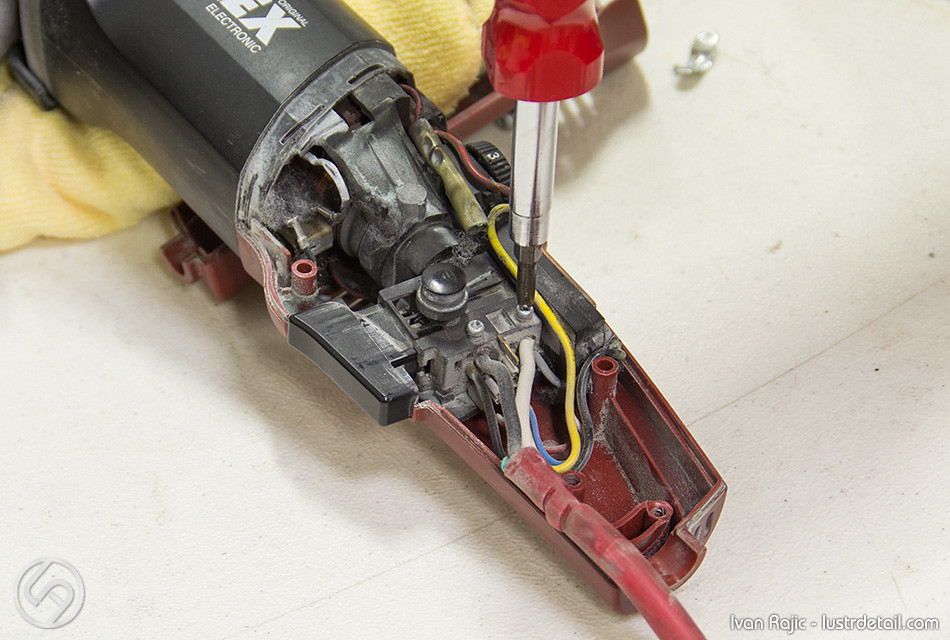
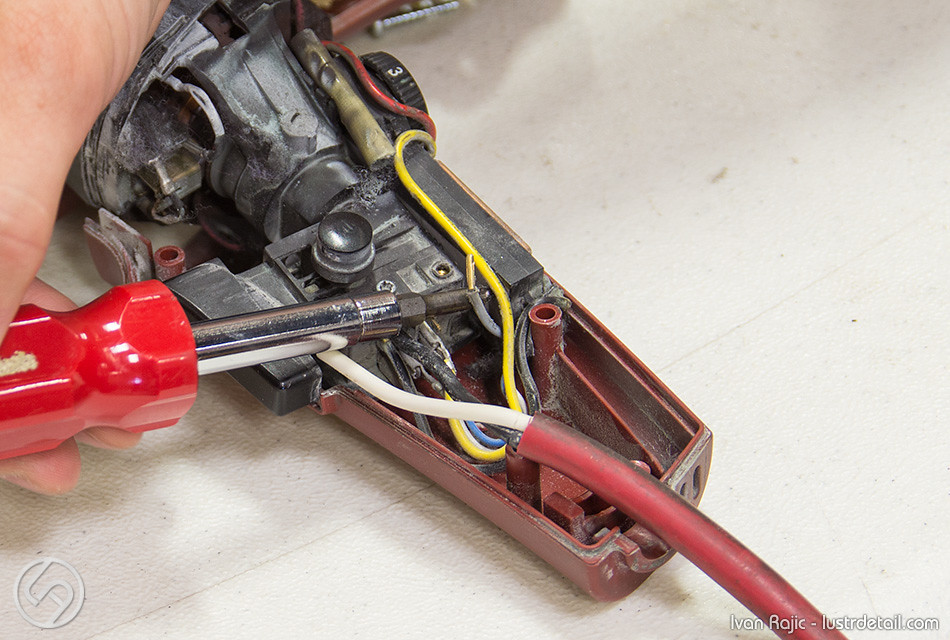
Place the wires back into their respective places…

Please note, the white wire goes in along with a gray wire that’s part of the trigger assembly/inside the polisher (in other words, not part of the cord at all), so putting in the white wire first may be easier than doing black first, white second…
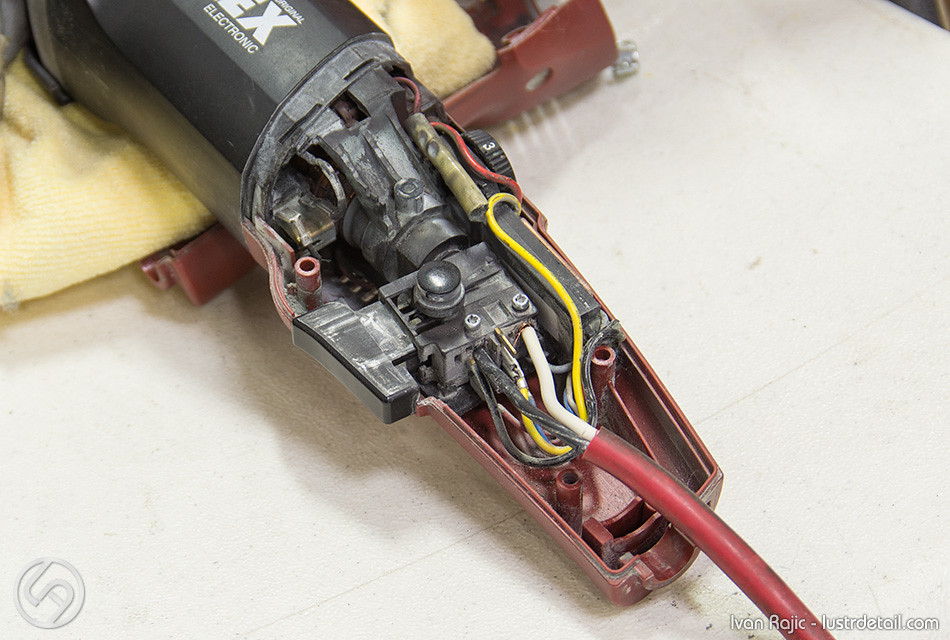
After both wires are in and secured with the screws, pull back up the rubber piece and position inside the handle as it was originally…
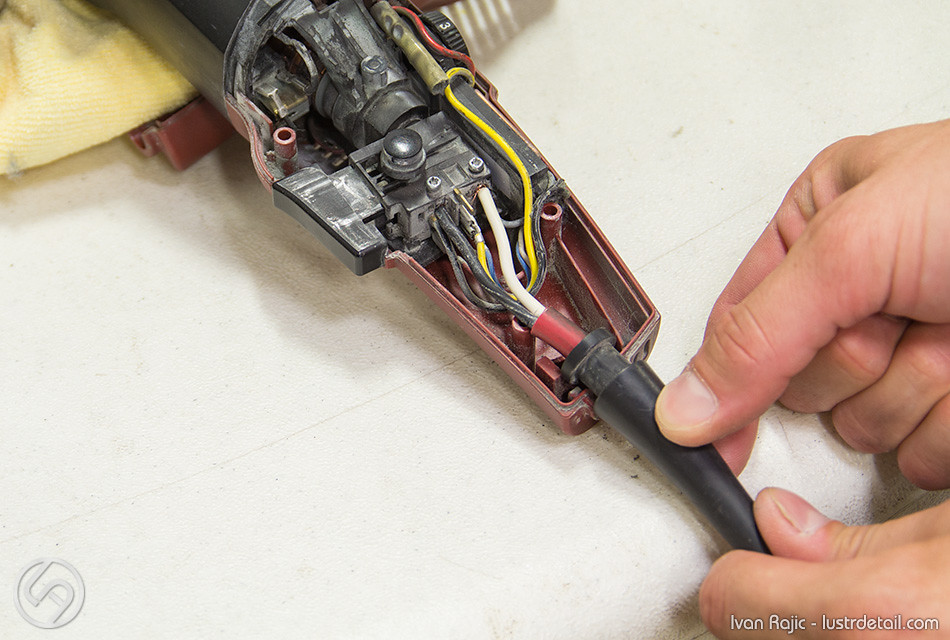
Make sure the two wires aren’t tight and then replace the clamp to hold down the cord in place…
Put the other part of the handle on and you’ll be good to go for quite some time…
As mentioned above, on this particular polisher I had to trim the 50′ cord that I installed 1-1.5 years ago. Due to all the moving, twisting, bending, etc., the wiring gets all bent out of shape and causes the polisher to turn off with certain movement. If you keep going it can get worse and worse, but I do this fix as soon as I notice it happening once or twice.
I usually get a 50′ cord for every new 3401 we get at the shop (they’re such great and durable machines that I’ve never actually had to replace one yet, just added to the collection that currently sits at 4). This makes it a lot easier to just plug in and work around the car, rather than have to fumble with extension cords.
Hope this helps and please post any questions or comments below. Again PLEASE NOTE to UNPLUG the machine before doing any of this work and use at your own risk.