
Klasse High Gloss Sealant Glaze (KSG) has been a favorite product of mine for quite some time now. With so many waxes and sealants on the market these days, it’s tough to pull the trigger on a single product and hope that it does all you expect of it. KSG eliminates the thinking process and provides a great look, long-lasting protection, and worry-free application process. It gives a nice coat of shiny and smooth surface to any paint color, lasts for months on a single application and is very easy to use, leaving no streaks, haze or residue. It’s also safe to use on everything from glass, to rubber, trim, headlights, etc., making it one of the best and most versatile sealants out there.
My favorite characteristic of KSG is the durability. I’ve been using KSG through Chicago winters for 3-4 years now on my own and my clients’ vehicles, and have been more than pleased that 2-3 layers of KSG easily last through 3-4 months of the harsh weather. Second favorite quality of KSG is the slickness and overall protection it provides. Water spots rarely occur and contaminants like bugs, bird feces and tar are much easier to wipe off after an application of KSG. This way paint is protected not only from the harmful spotting and etching the above mentioned contamination causes, but also by allowing you to clean that contamination with less pressure, leaving little to no swirl marks in the paint. In this article, I’ll go through the brief process of prepping the paint for application, applying the product, removing the product, and maintaining the paint after application.
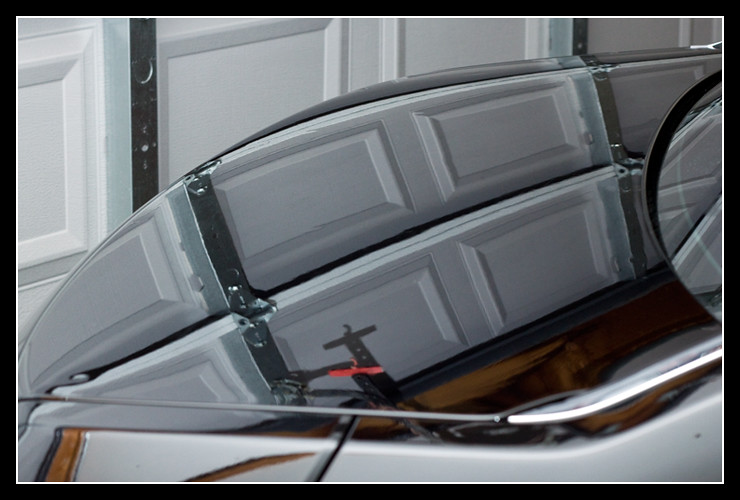
Before even picking up the bottle of KSG, you must ensure the paint is clean and properly prepped for sealing. Just as you would prepare paint for polishing, you need to ensure proper measures are taken for the sealant to be applied and ensure it’ll provide maximum results. While KSG can be used on any freshly washed paint, it’s highly recommended to have a professional detail performed on the vehicle beforehand. This means a proper full detail including a thorough wash, decontamination via clay bar, paint polishing, etc. Assuming the vehicle has been detailed as such recently, the vehicle will simply need a thorough wash, preferably removing any previous waxes, sealants and polishing oils. I always recommend completely cleaning the paint before application. However, I have yet to experience bonding or durability issues with KSG applied over other sealants or immediately after polishing, so take it for what it’s worth.
Once the vehicle is washed and paint is completely clean, a great prep step for KSG is what is usually referred to KSG’s twin, Klasse All-In-One (KAIO). KAIO is a non-abrasive chemical cleaner/polish that works great at removing very light swirl marks, old wax, oxidation, etc. It also leaves a light protection layer, making it the perfect prep step for KSG application! While KSG can be used without a KAIO application, it is highly recommended to ensure proper application and long lasting protection.
Onto the process:
While frequenting many online forums I come across numerous complaints about KSG. I can safely say that 99% of those complaints are about the difficulty with removing the product after application. Klasse recommends applying KSG with the wipe-on-wipe-off (WOWO) method, but I am recommending otherwise. Yes you should always initially follow all manufacturers’ instructions and see how it works. I started using KSG over 5 years ago and I followed their instructions. Most of the time it worked well, however sometimes if I applied a little too much product, it would keep hazing and be very tough to remove. This led me to removing it with quick detailer sprays, which led me to form my own method of using KSG. Hopefully this helps those having trouble with it or provides an easier method of application and removal for the rest of you. Before we go any further, here are the necessary tools and products for KSG application:


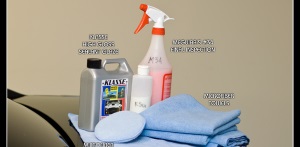
- Klasse High Gloss Sealant Glaze – KSG (I tend to transfer most of my liquids into smaller bottles for easier use and more control when dispensing. In this case, I use an 8oz. plastic bottle)
- Meguiar’s #34 Final Inspection QD (ONR QD ratio works just as well, but I have always used M34 and I don’t like to “fix things that aren’t broken” too often)
- 8 or more Ultra Plush DI Microfiber Towels (The amount of towels needed depends on the size of the car)
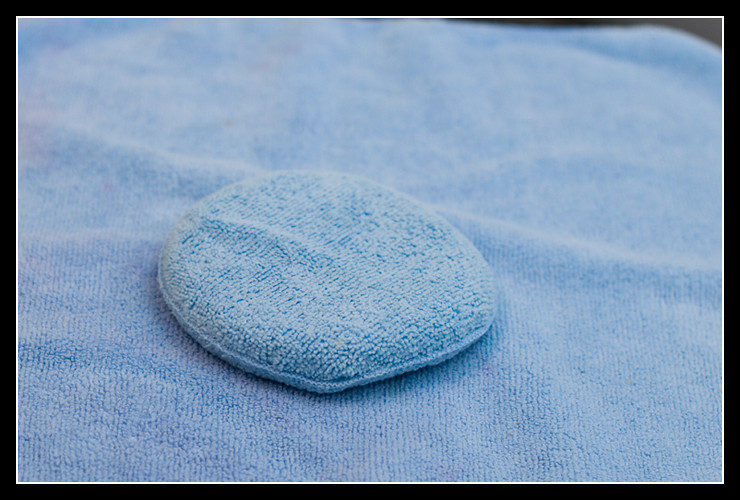
- Microfiber applicator pad (Having a second applicator pad helps in case you over saturate the first)
How it’s done:
So you’re done prepping the paint and ready for a couple coats of KSG. Here are illustrated steps to achieve a well protected, glossy finish with no streaking or residue left over.
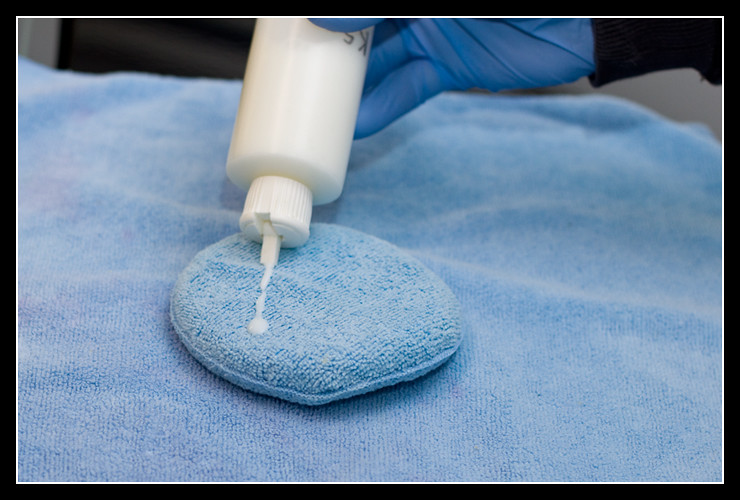
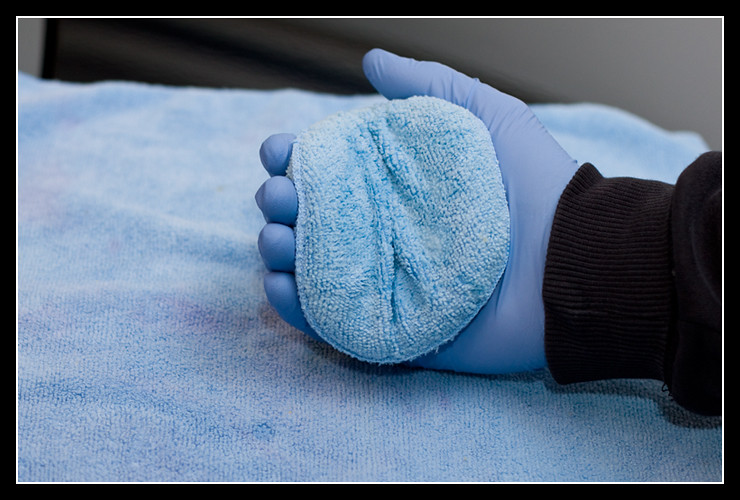
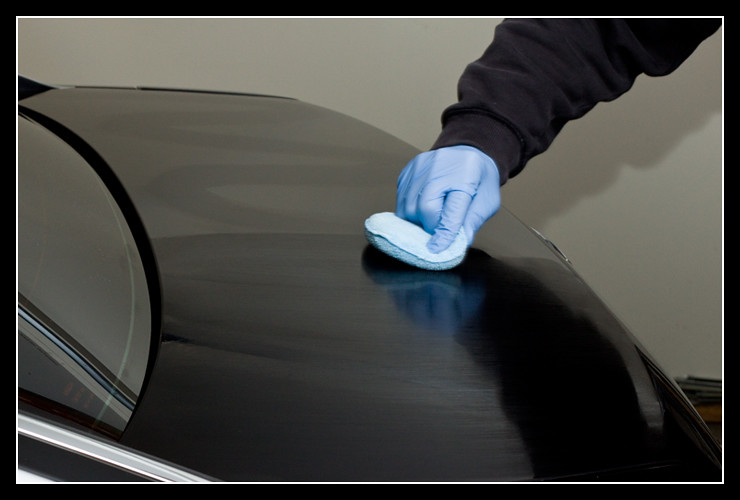
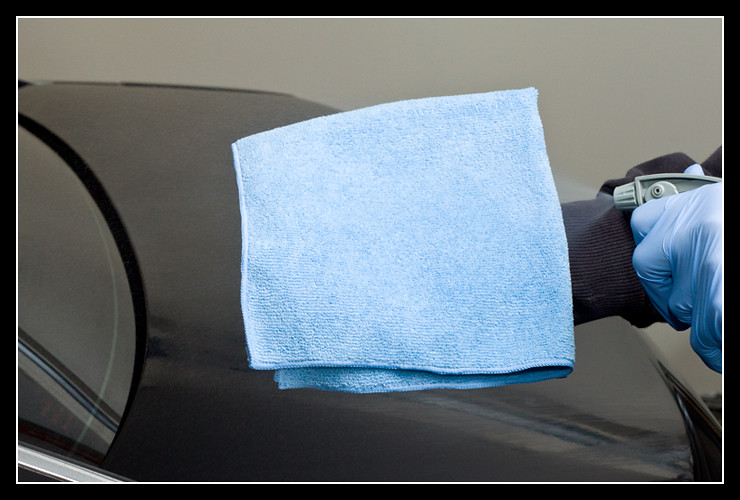
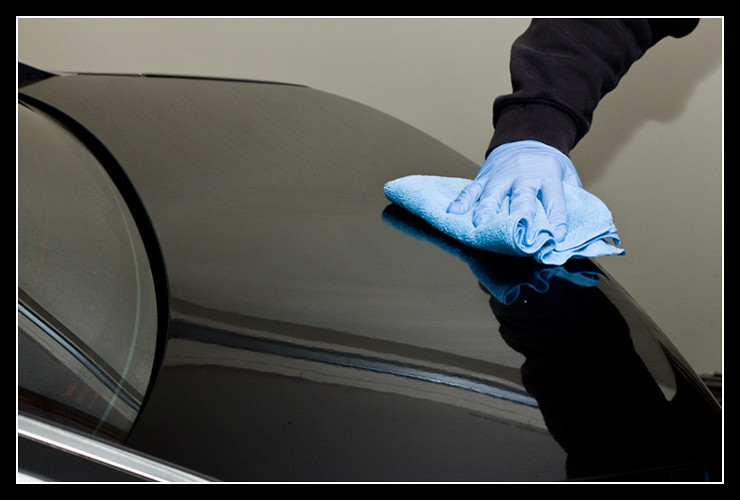
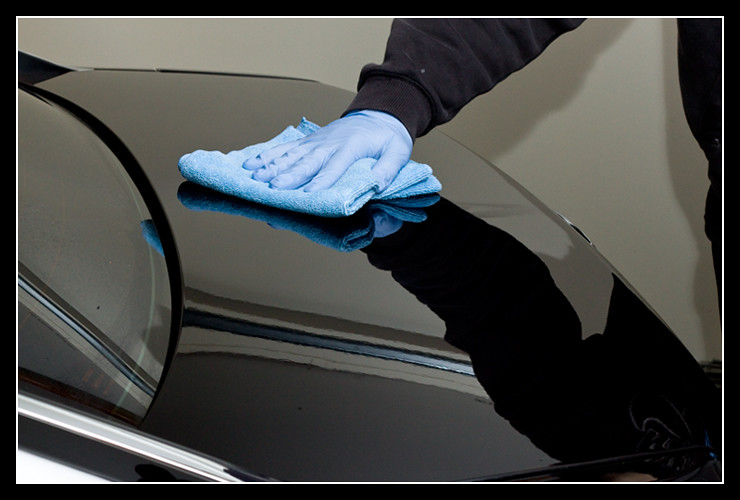
First, you want to apply a small amount of KSG to the microfiber applicator pad…
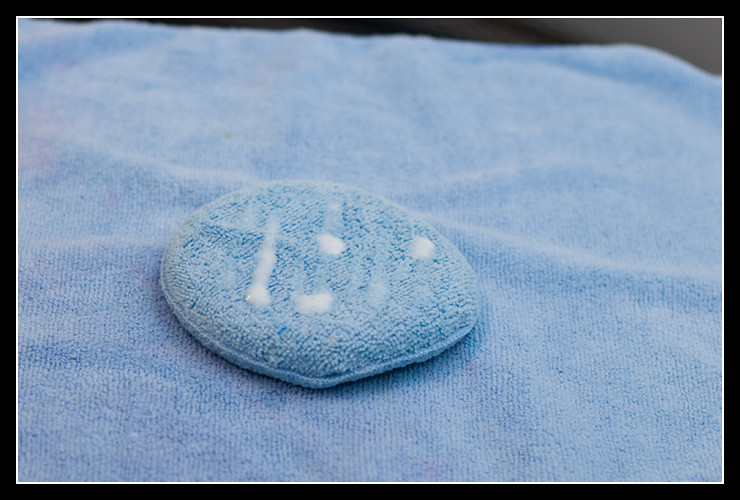
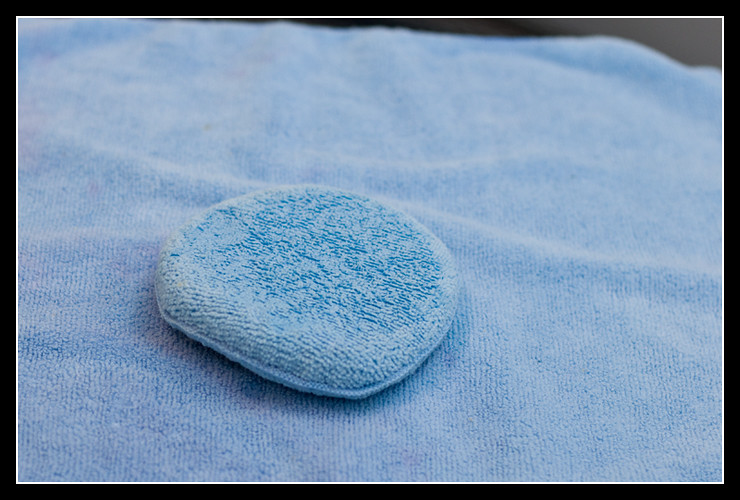
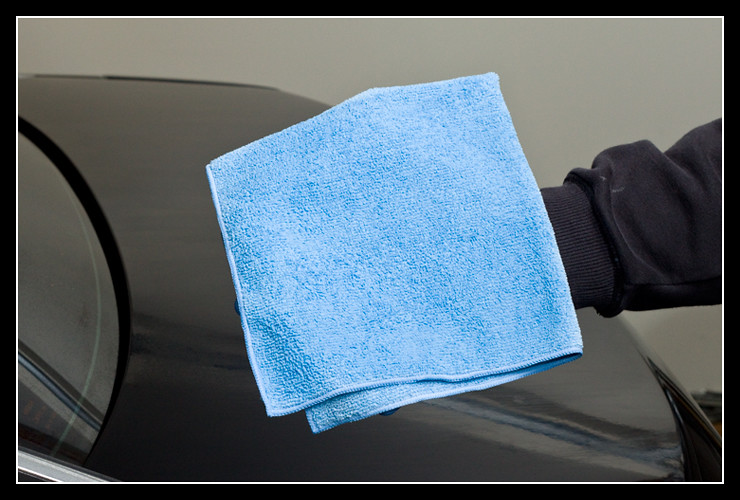
Second, you will fold the applicator pad in both directions in order to evenly distribute the product over the pad surface. This will allow for an easy and uniform application of the sealant.
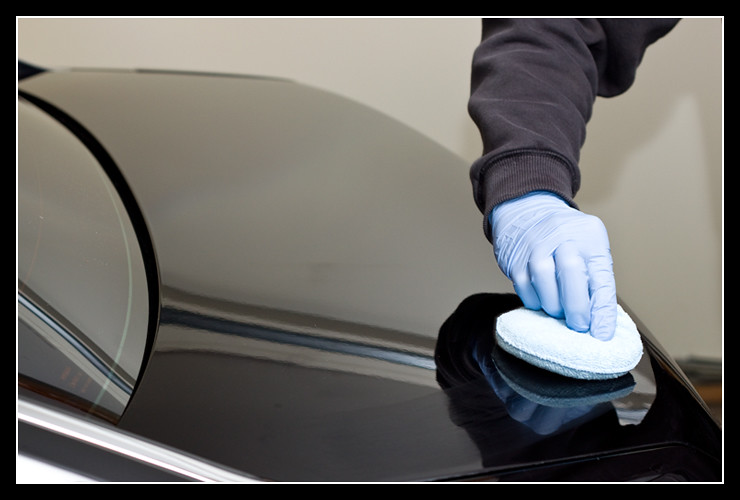
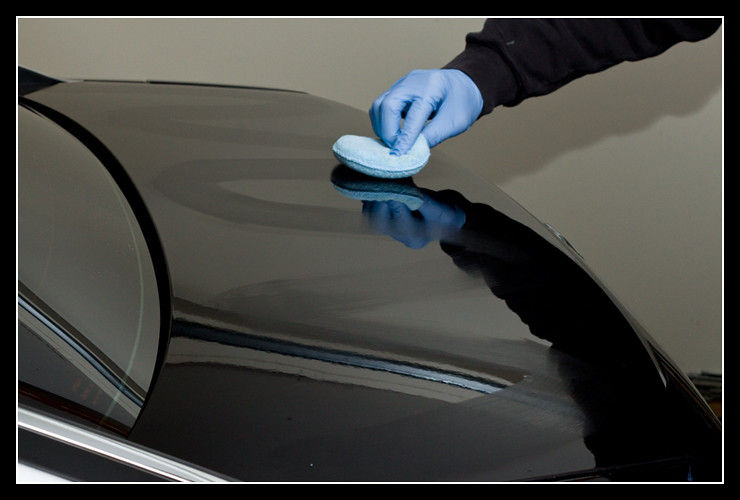
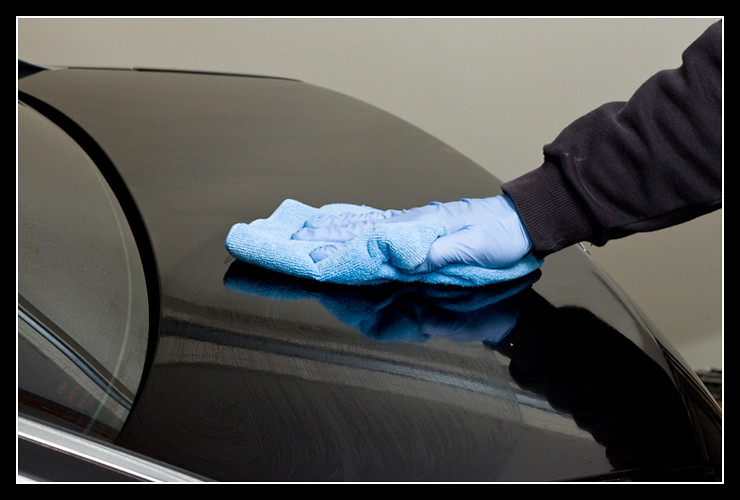
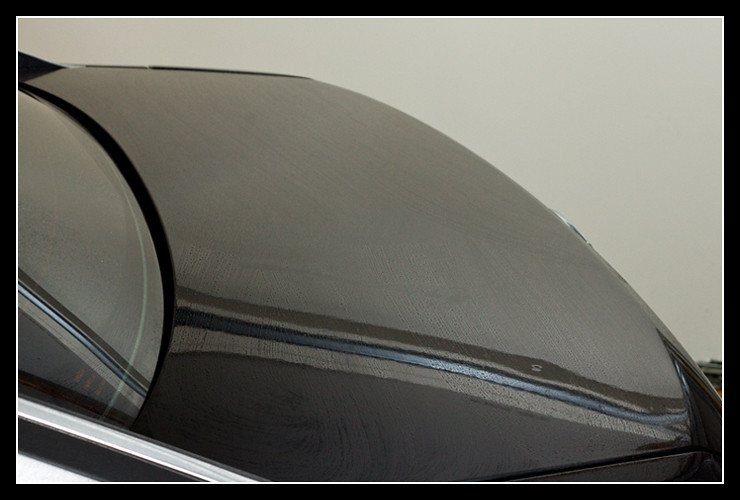
Now you will spread the sealant onto the panel. With the amount of product shown above, you can easily cover the top part of the trunk lid on a car. However, start with smaller amounts and see how large of an area you can cover. Your goal is to cover the trunk area of a regular sedan, or less, and apply as little product as possible. The larger the area you end up covering with the amount of product you applied to the pad, the more chance you have of uneven application and it being too much in some places and too little in others. Thus you want to stick to smaller sections and I have found that a panel size roughly that of a trunk lid or less works great for me. To apply, use very little pressure and swipe the applicator pad slowly across the surface you will be sealing. I generally use either a diagonal line or “S” shapes to simply spread out product more evenly on the section being sealed. Once that’s done, you simply use left to right motions to evenly cover the entire section with the sealant.
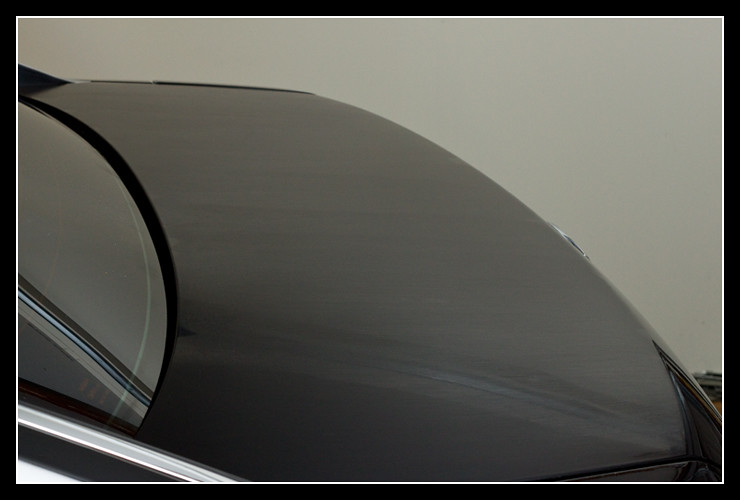
Keep working around the entire car applying sealant to sections of similar size to the above. Once done, you must wait at least 15-20 minutes for the sealant to cure and haze. I always try to let it sit on the paint for an hour or so, but 15-20 minutes is enough time from my experience. The good thing is, by the time you get to the last section on the car and apply the sealant, you have already “waited” about 10 minutes or more for the first section to cure. If you’re in no rush to finish and can wait 30-60 minutes I would highly recommend doing so. Some necessary tools for waiting are a nice comfy beach chair, bench to relax your legs and a nice cold beverage.
Ok ok, back to reality :). What you SHOULD be doing while waiting is preparing for the next step. This involves separating your towels into “dry” towels and “damp” towels. You will need about twice as many “dry” towels as you will “damp”, so plan to divide accordingly. To put it simply, basically grab 2-3 towels and set them aside into a “damp” pile, and take the other 5-6 to put in the “dry” pile. This way you have two piles of towels instead of one. Not really necessary, but helps later on in the process.
Once you spend the 30-60 minutes separating the towels, pleading with KSG to hurry up, and drinking a cold one, you’re ready to move on to removing the sealant.
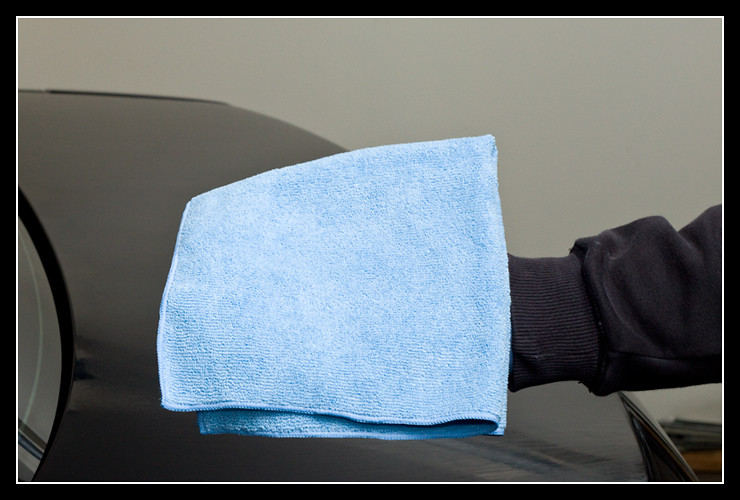
To do so, simply grab a “damp” towel and M34. Fold the towel in half twice, as shown in the photos below, then liberally spray the M34 onto the towel ensuring it’s completely damp on both sides. The towel shouldn’t be dripping wet, but it also should get more than a few mists of the M34 QD.
Next you will simply wipe the paint with the “damp” towel to remove the residue that has dried up. You want to work in sections as big as or smaller than those during the application process. Reason being is that if you wipe off a large enough section, where you started might start drying up and will need to be wiped again with the “damp” towel. As always, use up and down or left and right motions with the towel. I prefer to go “against the grain” or in this case, against the strokes used with the applicator pad.
Now you want to grab a “dry” towel and simply proceed to wipe off the QD and sealant residue on the section you just wiped with the “damp” towel. You do this as you would while using any QD to wipe down a panel, meaning very light hand pressure and wipe slowly until it’s completely dry. I tend to flip and fold the dry towels a lot while drying in order to keep using a portion of the towel that’s more dry and clean than the one I just used. There should be absolutely no residue or streaking, just glossy and protected paint.
As with the application process, simply move on to the next section following the steps above, first “damp” towel, then “dry” towel. You want to have extra towels in each pile because the “damp” towel will become too damp and leave behind too much QD to clean up, while the dry towel also becomes damper and can’t wipe the QD off the paint too well. I switch my “dry” towels to “damp” towels as they start leaving light streaking from being too damp. This noticeably lowers the amount of towels necessary to seal the entire car.
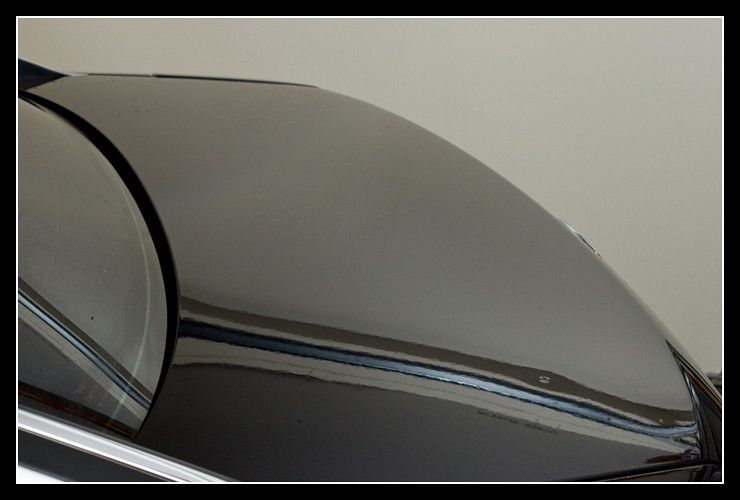
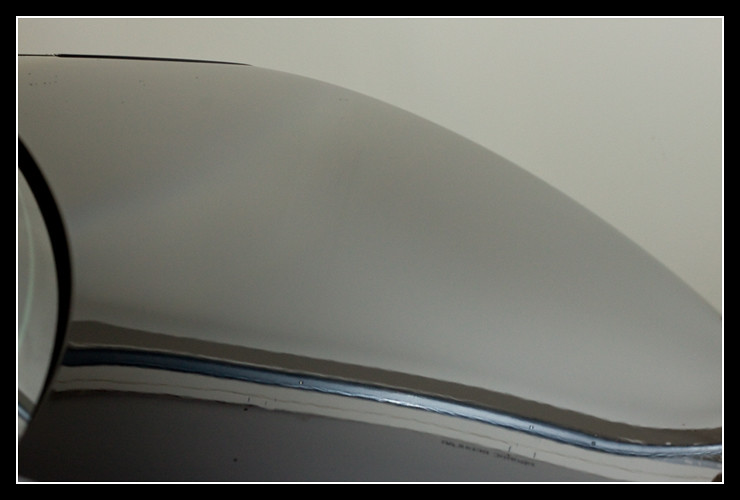
Well that about covers it. The car should now be completely protected and have no streaks or hazing left over. Since KSG dries extremely clear it’s easy to miss a spot when removing the residue with a “damp” then “dry” towel, so inspect the paint once everything is done and go over any missed spots. I almost always apply two or more coats of any sealant, so if you’d like to do the same simply start over with the application and removal process from the beginning.
Hope this helps out a few struggling with KSG and as always thanks for reading!