
Projects | Preowned MK7 Golf R
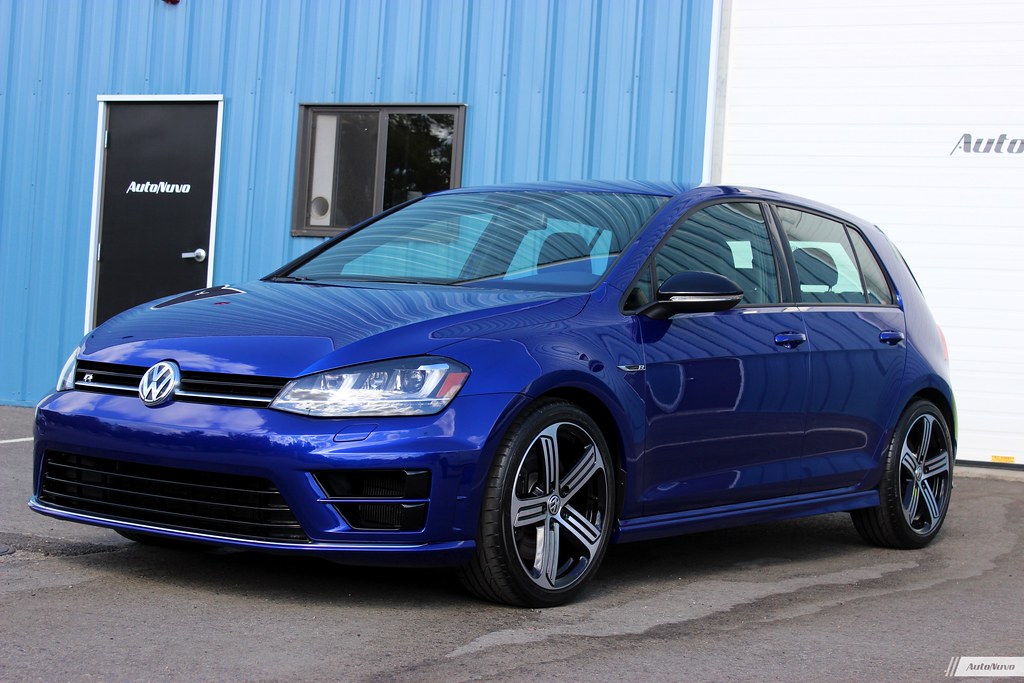
by James MelfiThis article is all about my personal experience transforming a 2015 Golf R and the journey in making it my own. I have always had a soft spot for performance Volkswagens. GLIs, GTIs, Rs, you name it, I have spent some serious google search time looking at these cars. One night after hours of car searching, I stumbled across a 2015 Lapiz Blue MK7 Golf R in upstate New York.
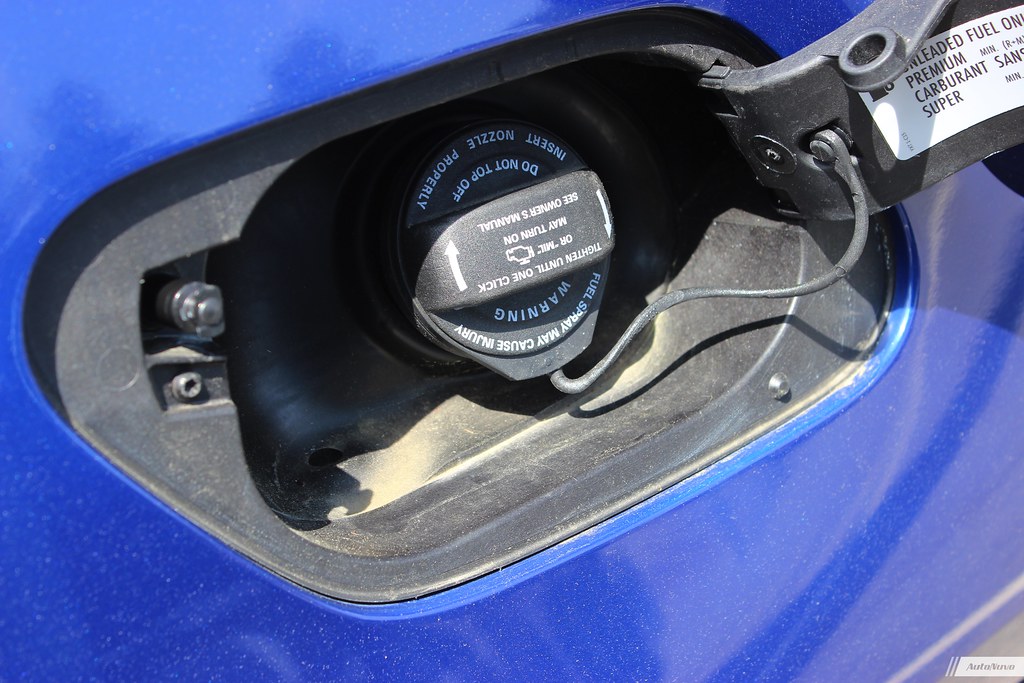
I purchased the car on a beautiful sunny day and had an absolute blast driving it back down to Boston. The vehicle had 4,500 miles on it and had been a Volkswagen corporate car to showcase their OEM accessories line. Once I got it back to the shop, I parked it and gave it a thorough inspection. Here’s what I found.
Exterior Issues:
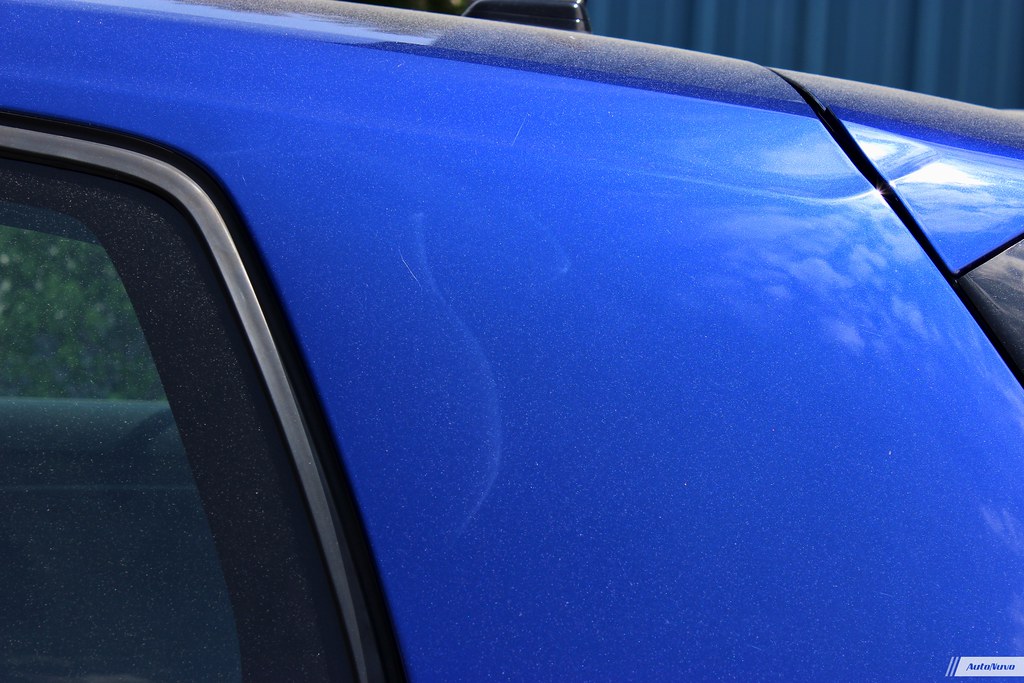
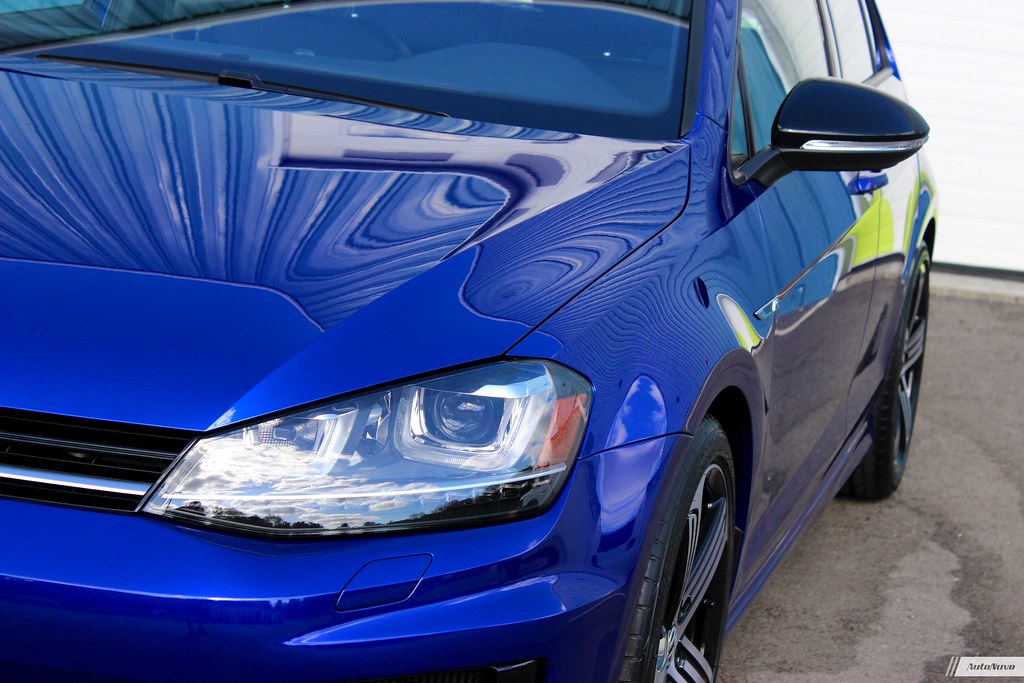
- Severe paint texture on the roof (significant orange peel)
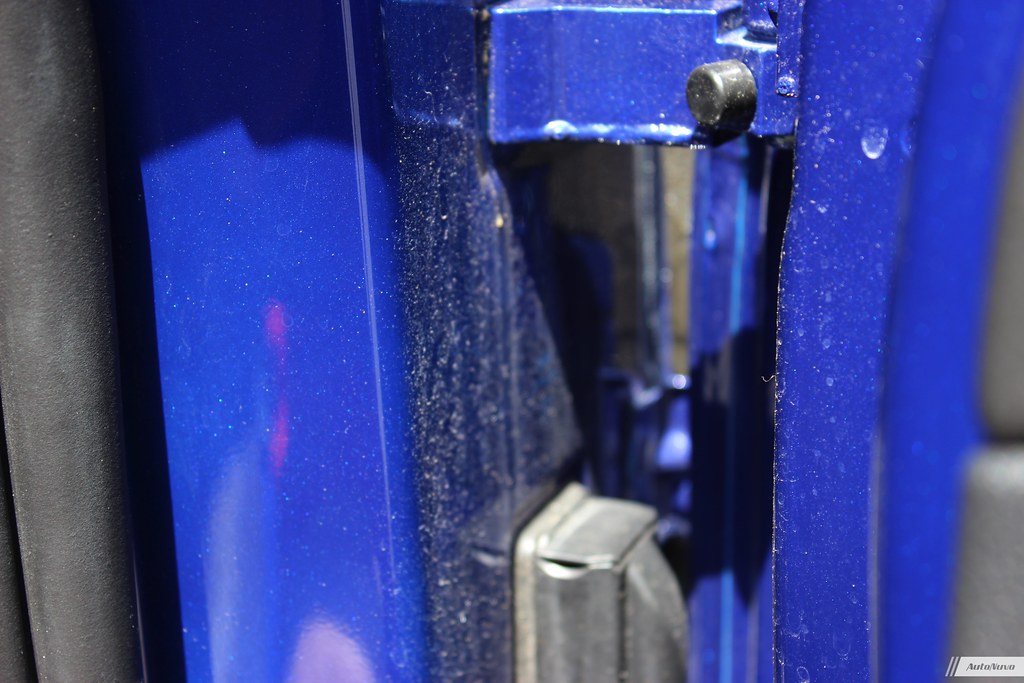
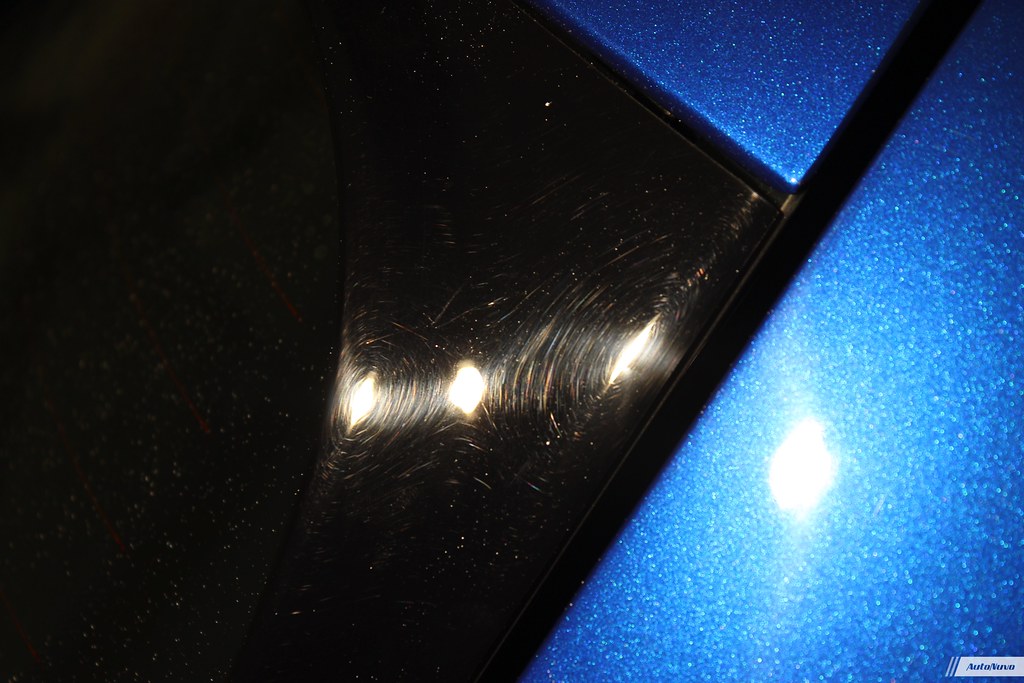
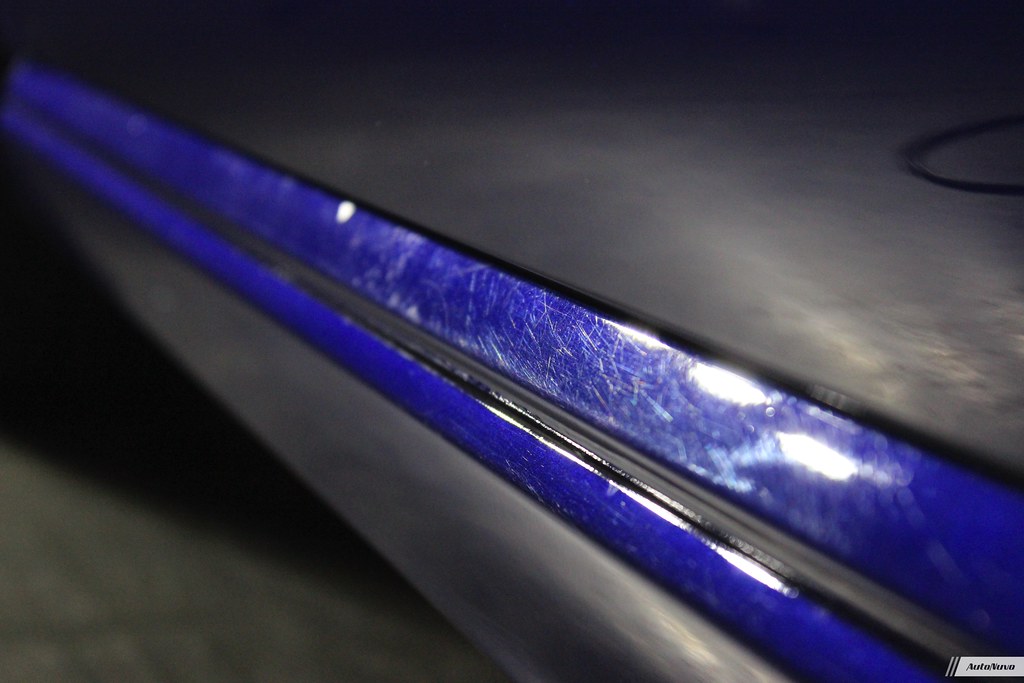
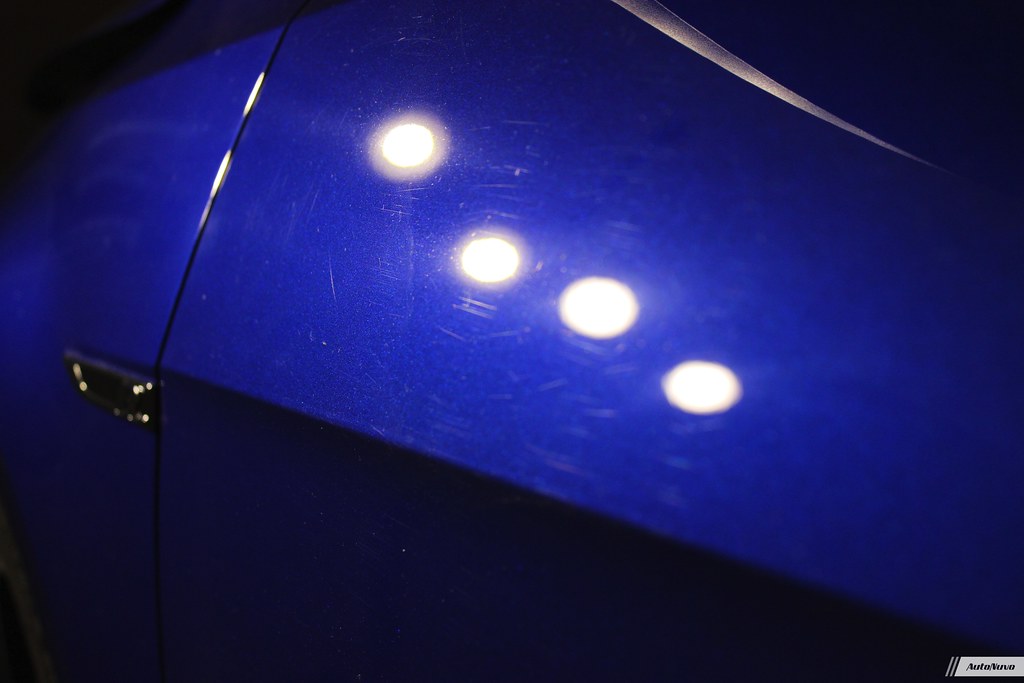
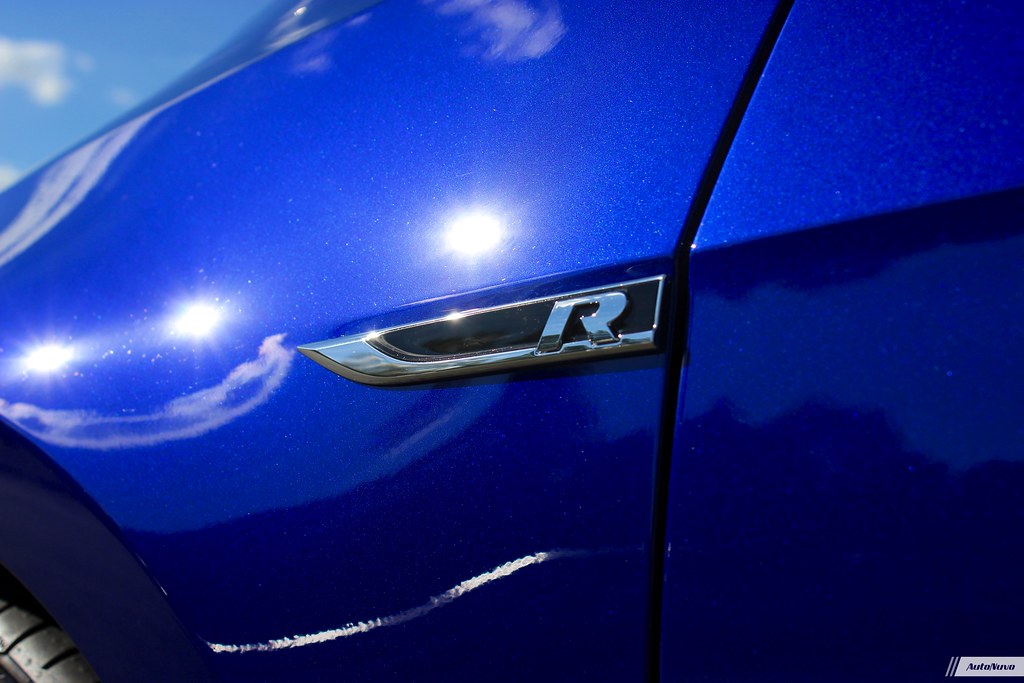
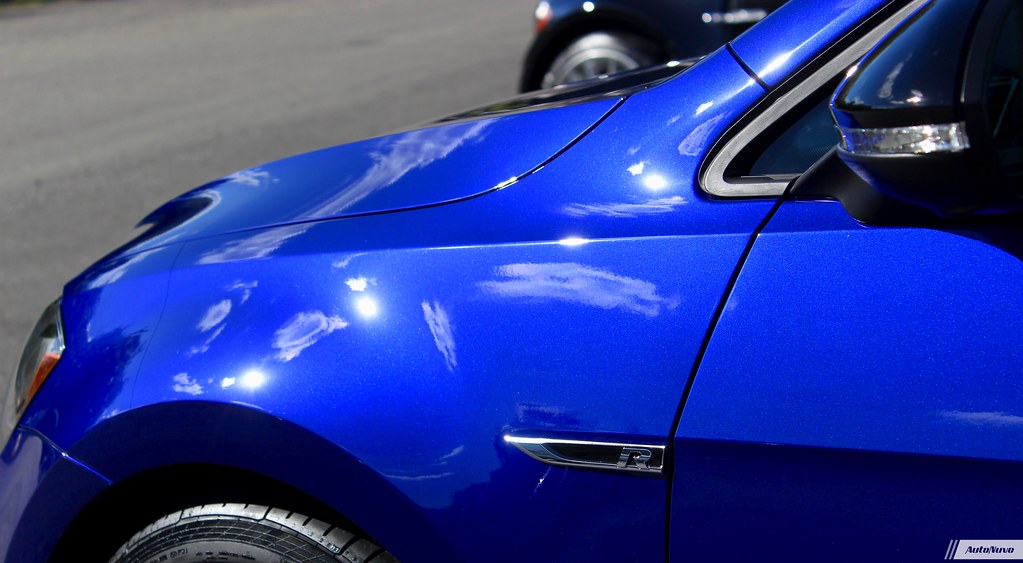
- Heavy scratches around door handles, rear VW emblem, rocker panels and roof
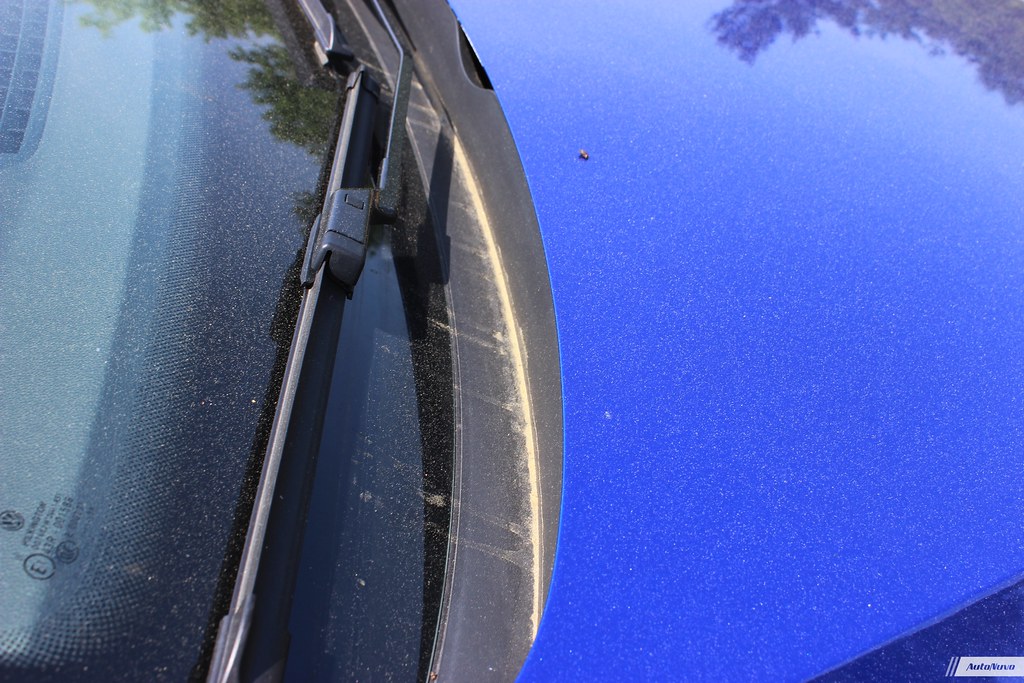
- Factory sanding marks on the doors and roof
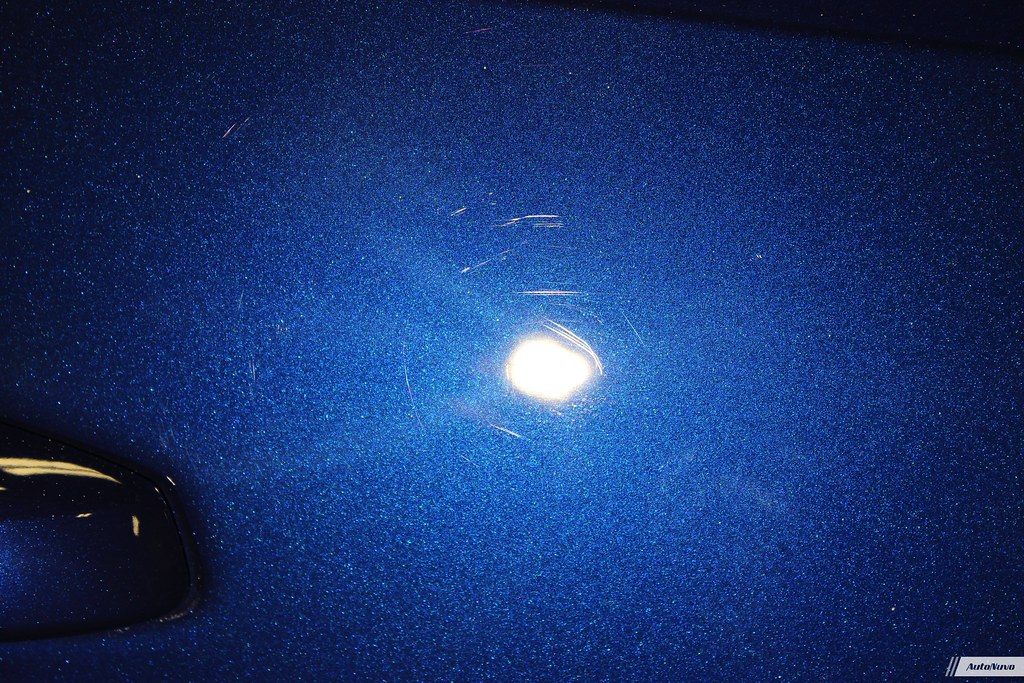
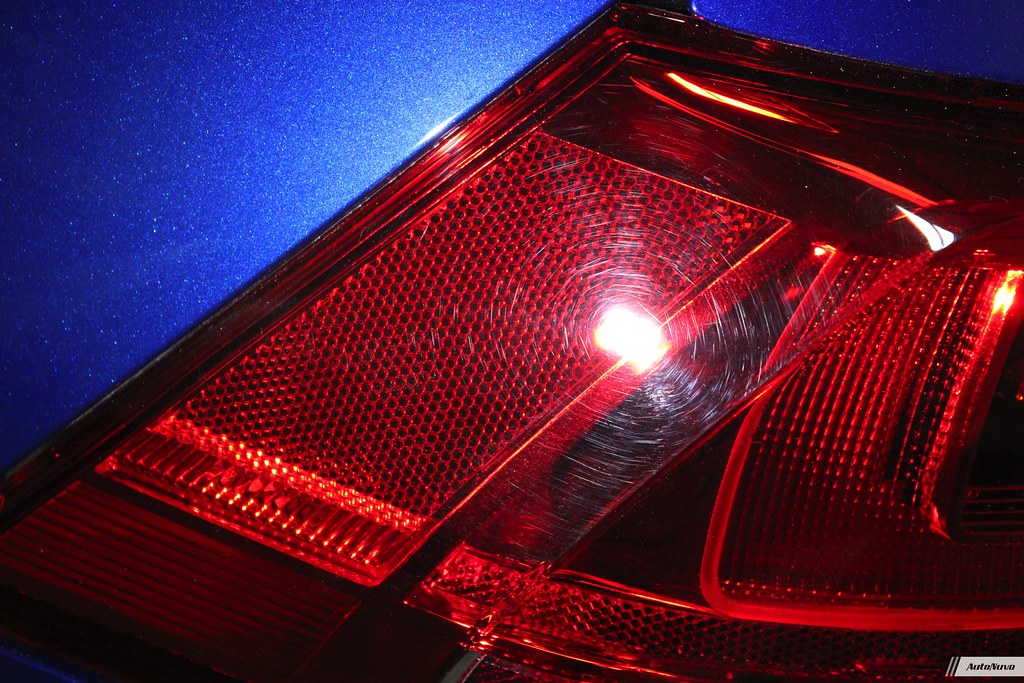
- Swirl marks throughout all the paintwork
- Heavy dirt and grime
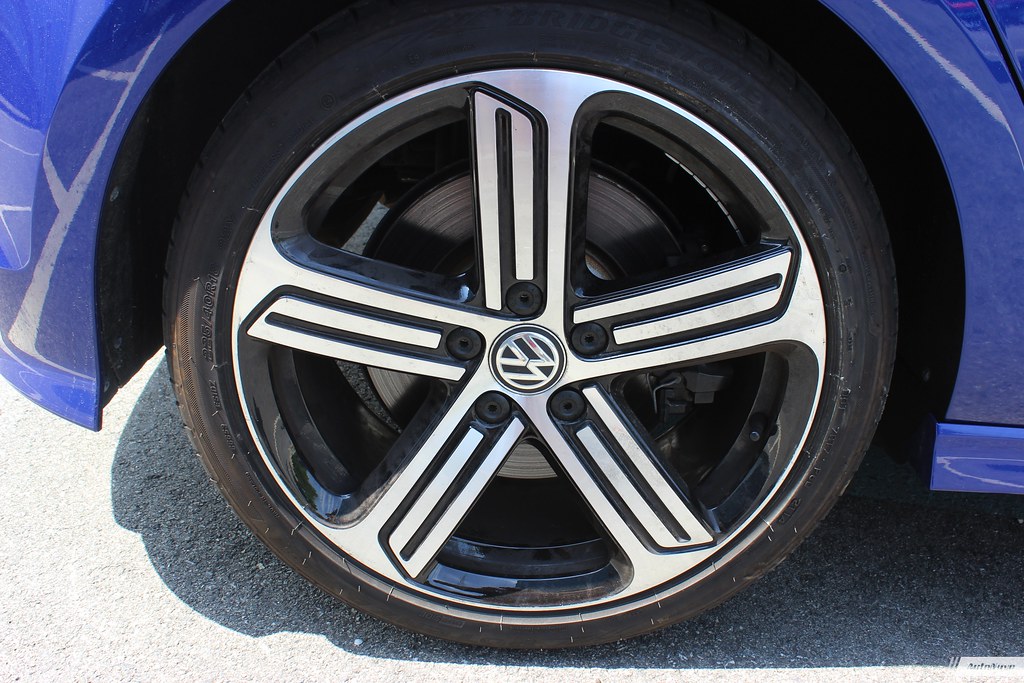
- Wheel wells covered in dirt and sand
- Various paint chips on front bumper, hood, and front fenders
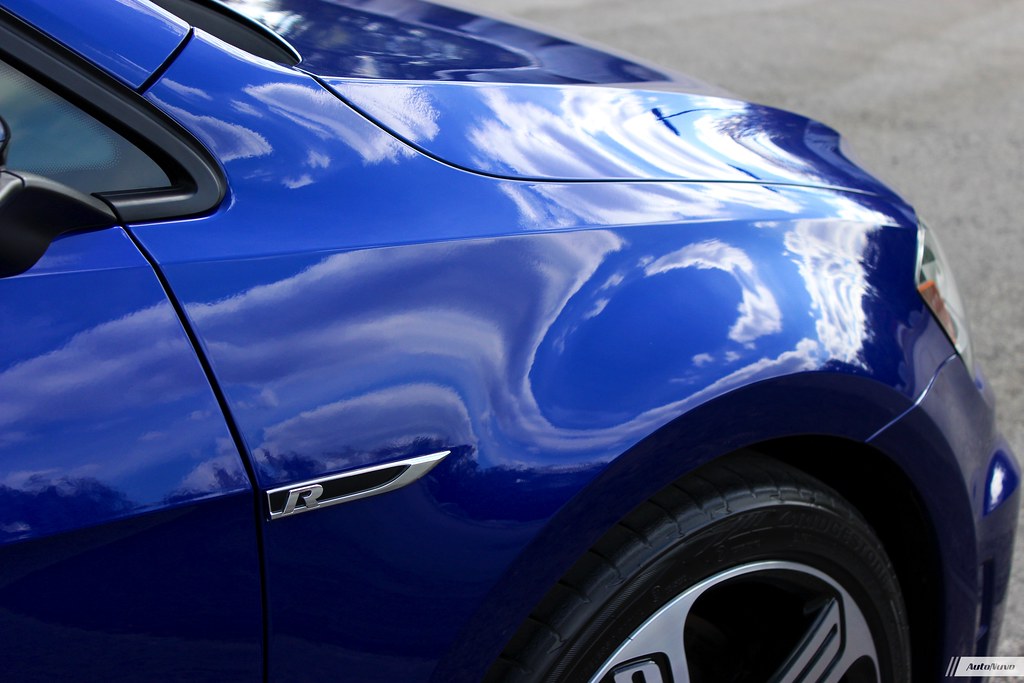
Once I pinpointed the areas of concern, I drew up a project game plan. The goal was to remove as many paint defects as possible using a variety of polishing and sanding techniques. Once the Lapiz Blue paint was restored the plan was to install various coatings and extensive clear bra coverage to make this a truly ultimate daily driver.
Project Guideline:
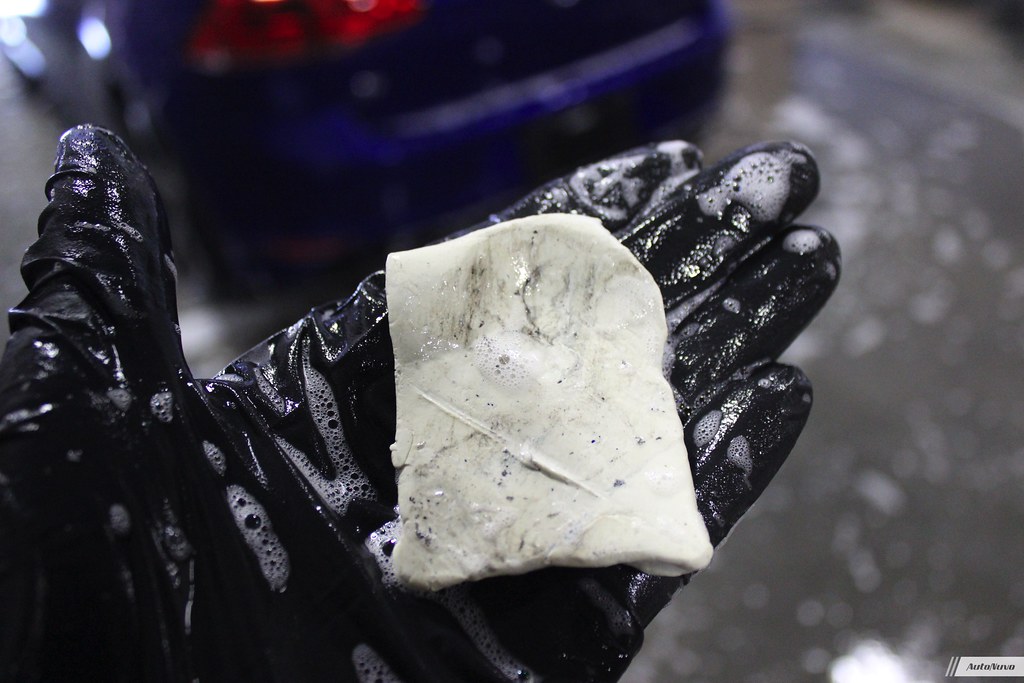
- Wash & Decontaminate
- Color Sanding
- Compounding / Polishing Steps
- Ultra Fine Polishing Steps
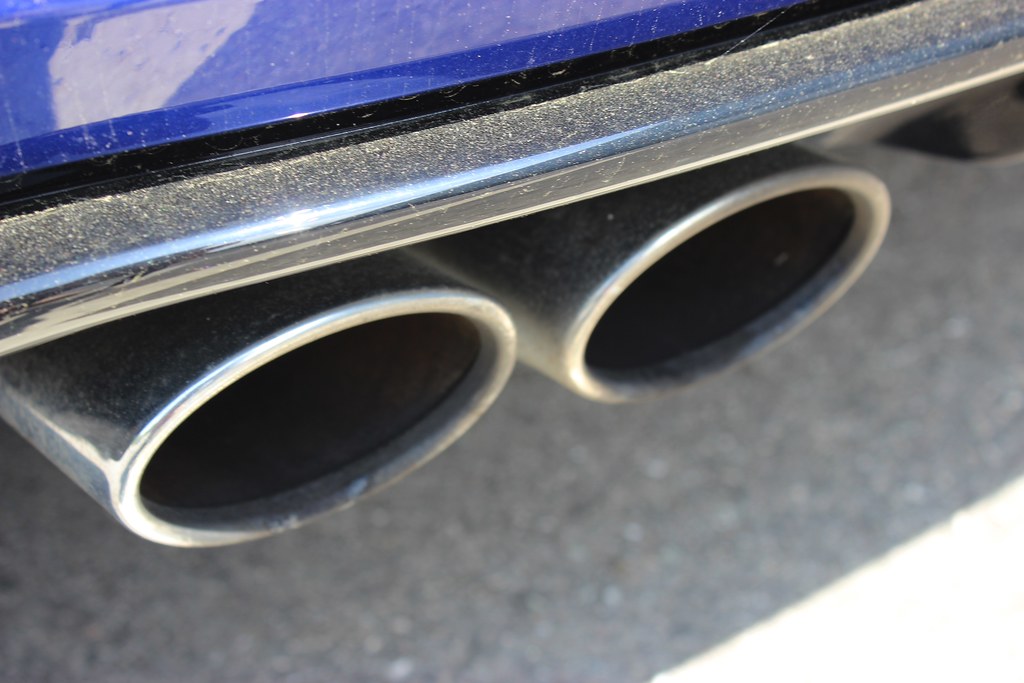
- Ceramic Coating Application (Paint, Trim, Glass, Wheels, Door Jams, Exhaust Tips, Engine Plastics)
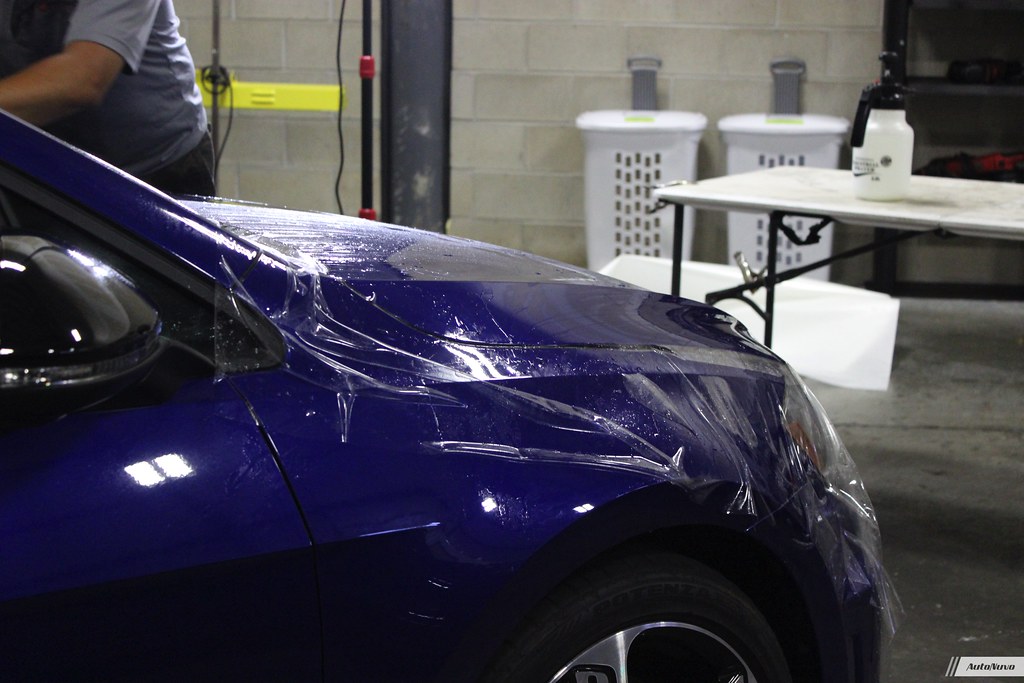
- Clear Bra installation (Full Front End, Rockers, Leading Edge of Roof, A-Pillars, Top of Rear Bumper, B-Pillars)
Now on to the process.

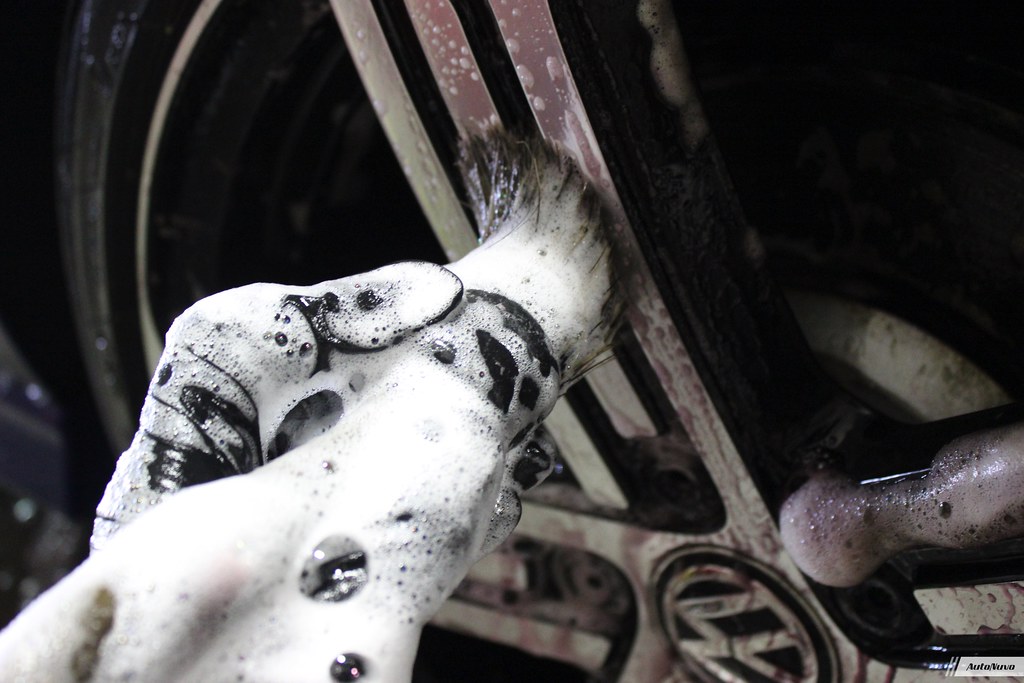
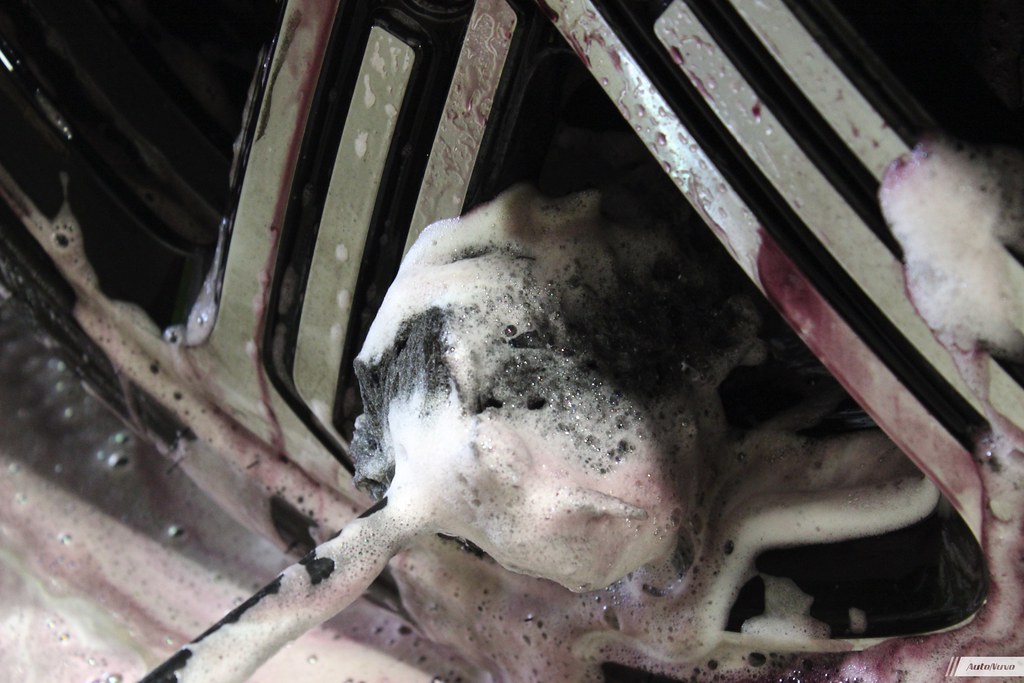
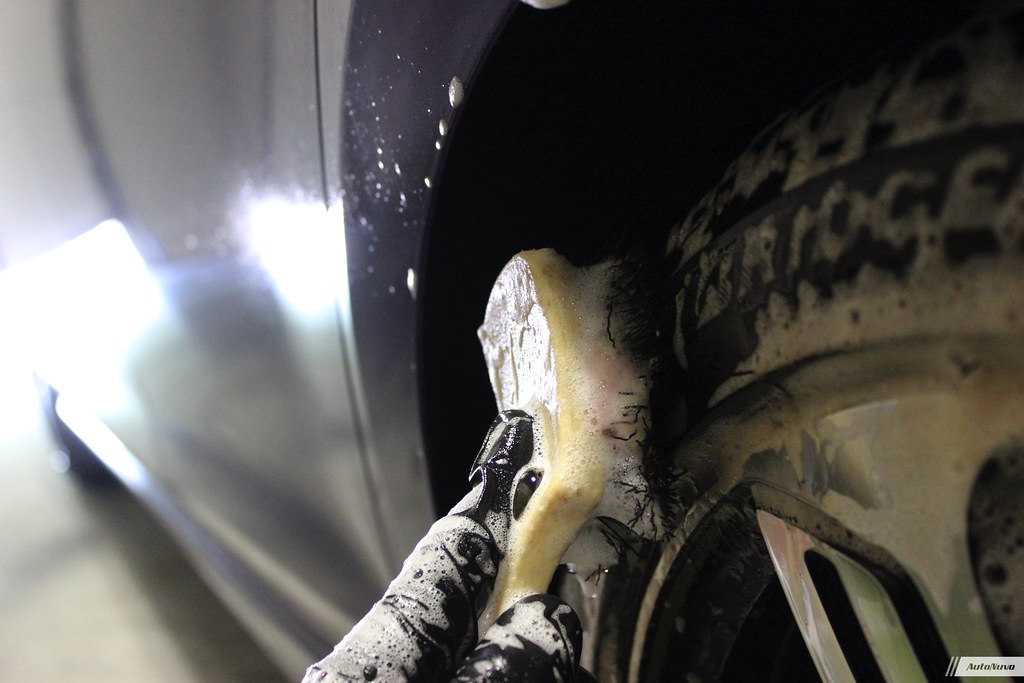
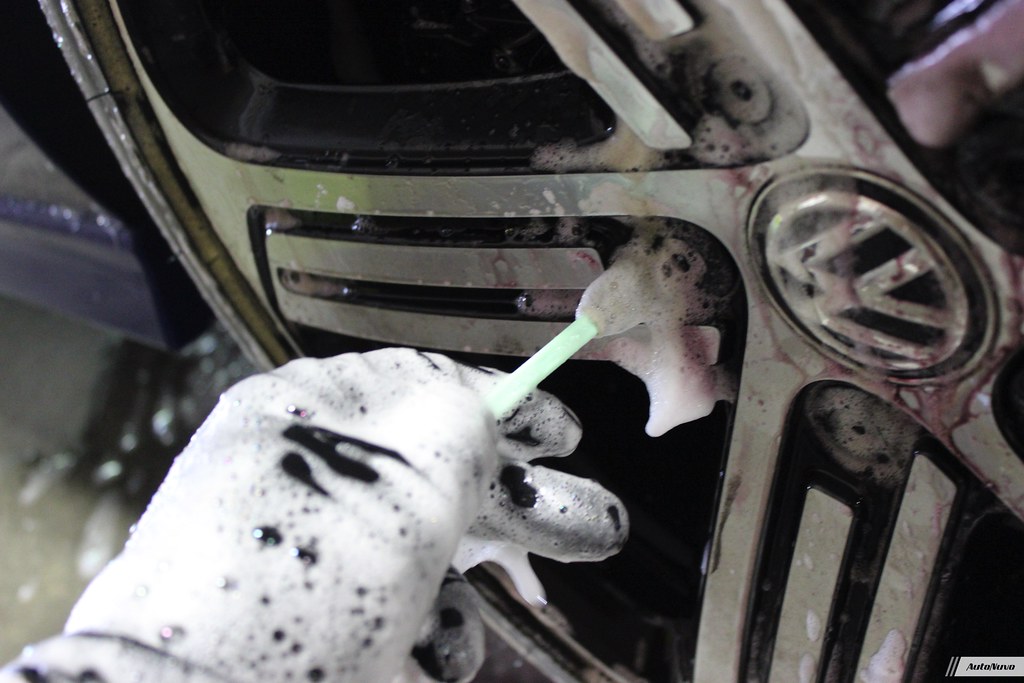
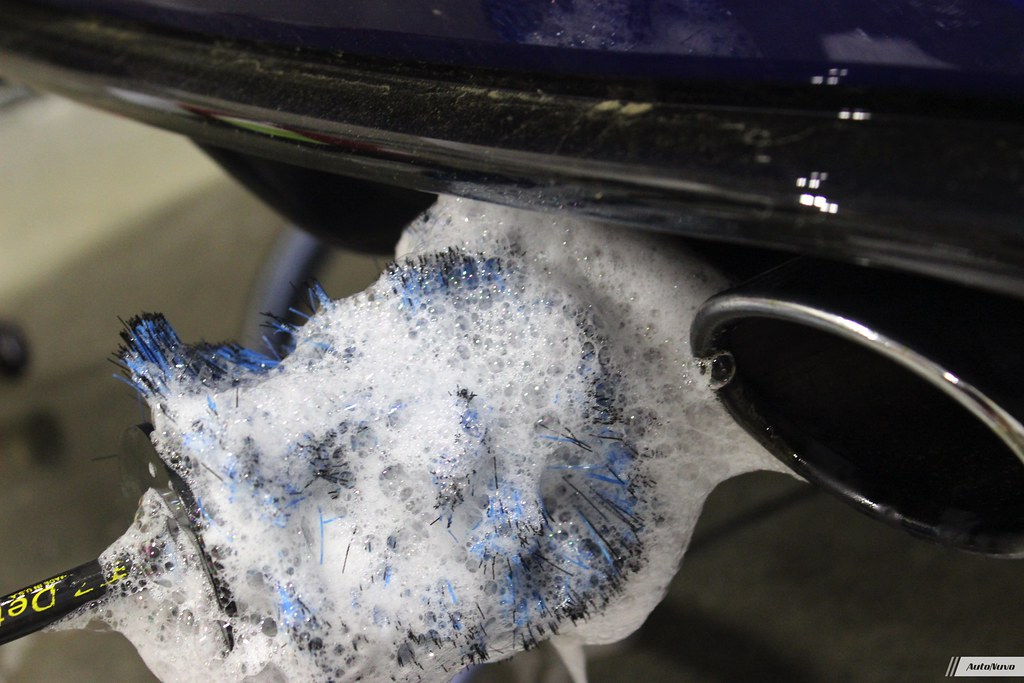
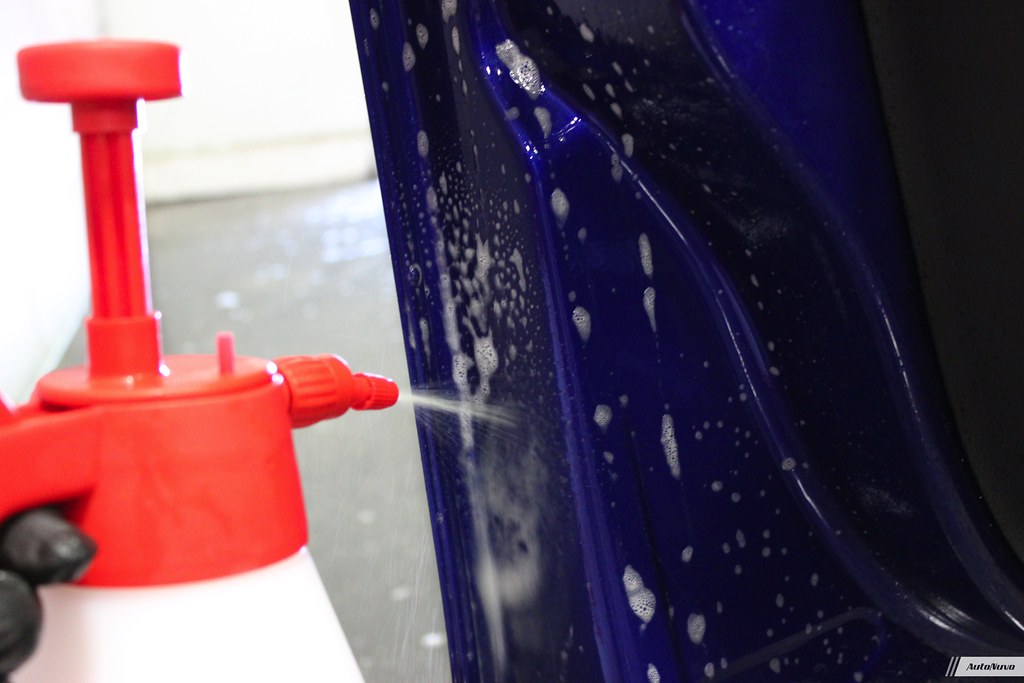
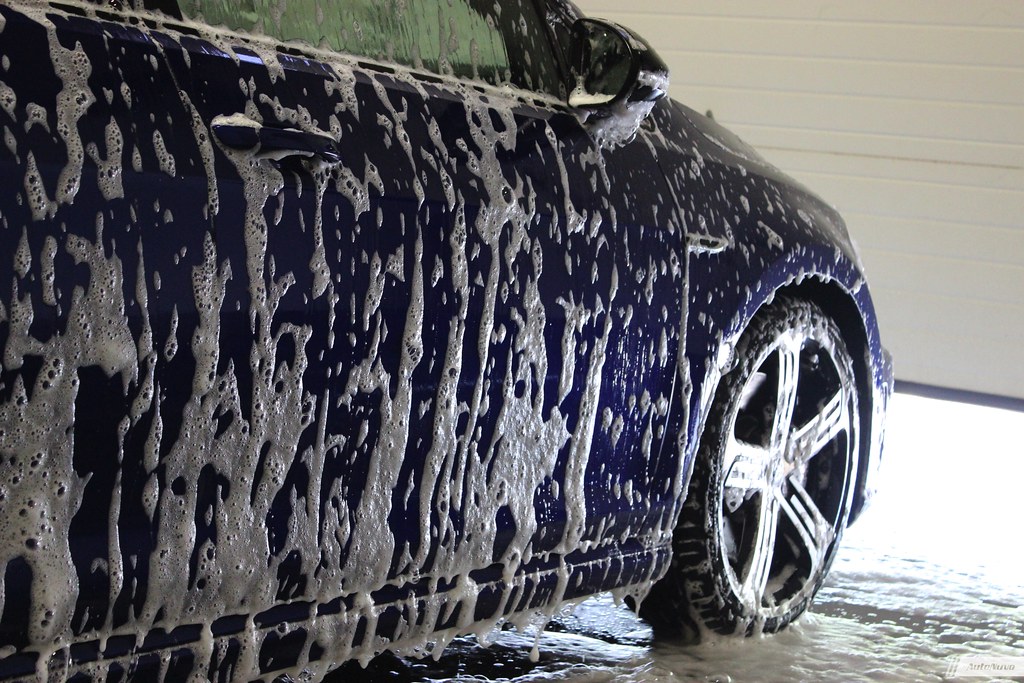
Wash & Decontamination Process/Products:
- Wheel Wells & Tires : Sonax Multi Star APC, EZ Detail Brush, Tuf Shine Tire Brush
- Wheels & Exhaust Tips: Sonax Full Effect Plus, DI Boars Hair Brush, Wheel Woolies, DI Swabs
- Paint PreTreat: Sonax Multi Star APC, DI Boards Hair Brush, Nextzett Pump Sprayer
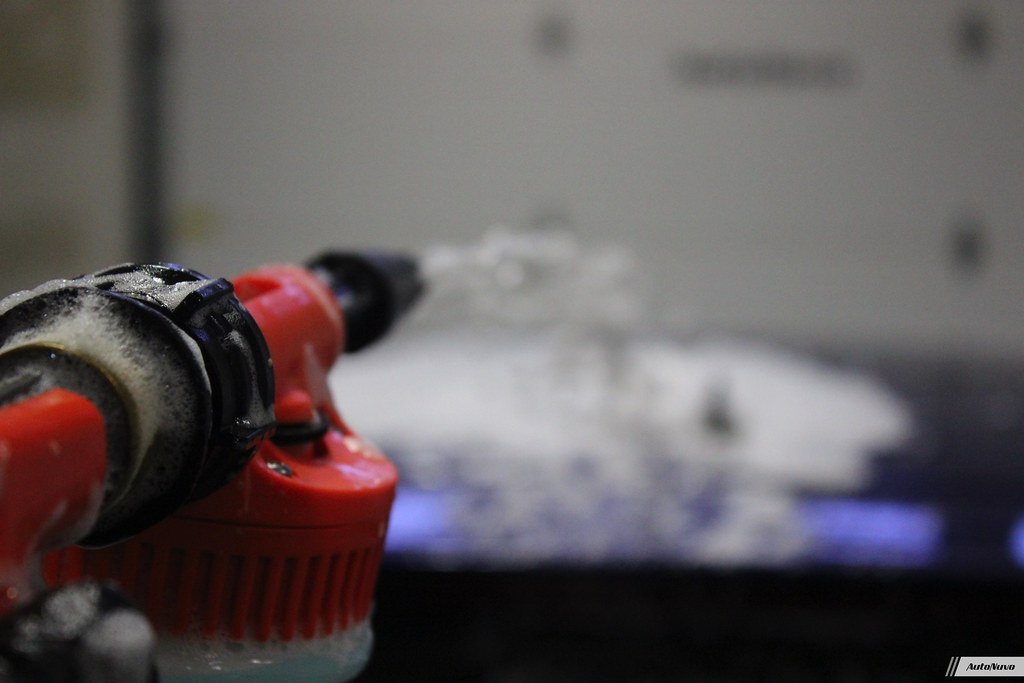
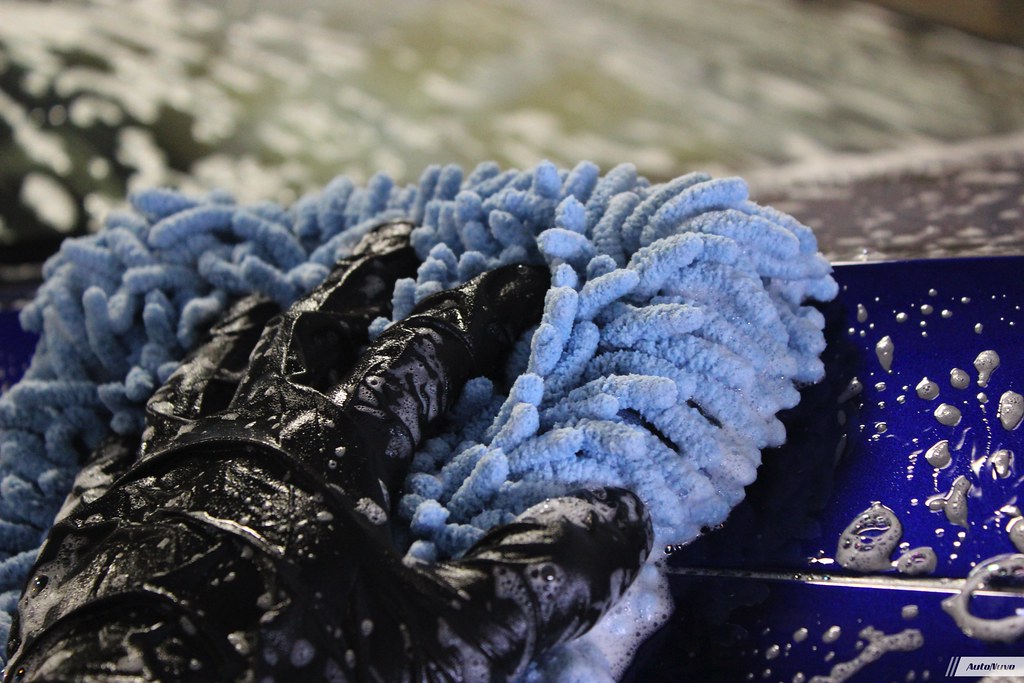
- 2×2 Bucket Wash: Chemical Guys HoneyDew Snow Foam, Chenille Wash Mitt, Grit Guards, Gilmour Foamaster Foam Gun
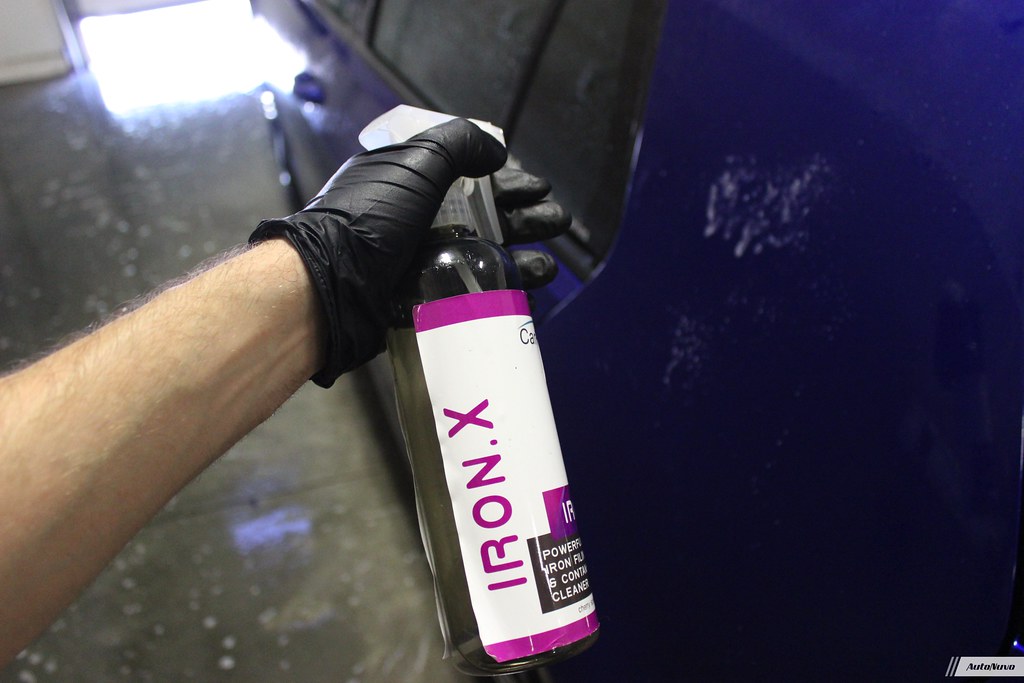
- Iron Remover: CarPro IronX
- Clay Bar: DI Fine Grade Clay Bar


Paint Correction Procedure/Products:
- Texture Leveling: CarPro Velvet 5.5 inch pads, Rupes 21MM Polisher, Meguiars Unigrit 1500 Grit Sand Paper, Sanding Block
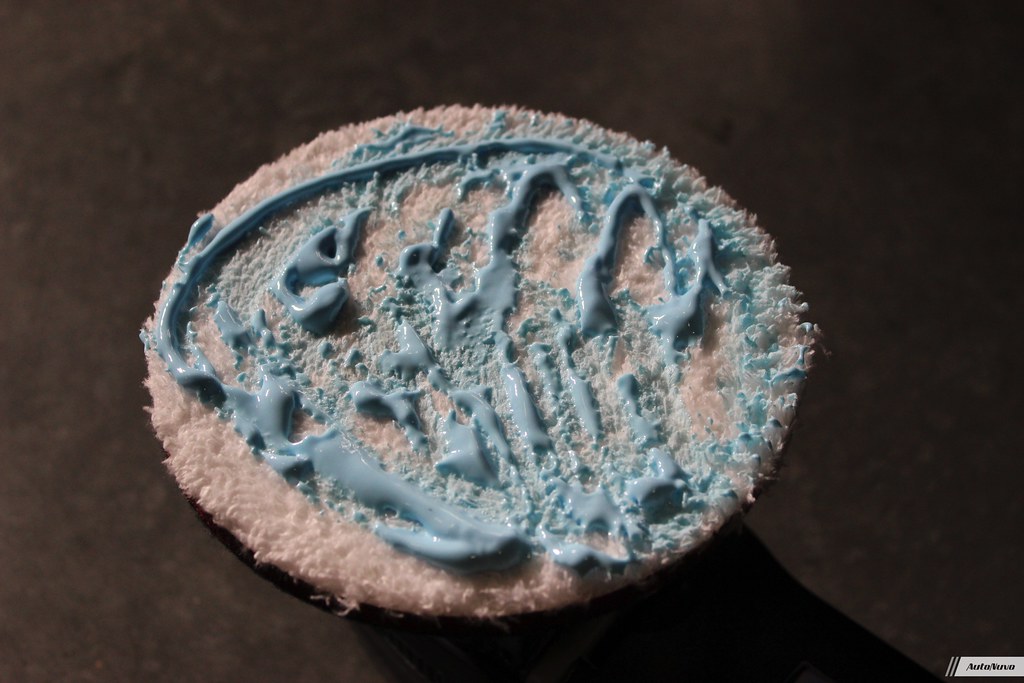
- Compounding: Meguiars M100, Meguiars Microfiber Cutting Pads, Rupes Mini, Rupes 21mm Polisher, Compressed Air
- Polishing: Meguiars M205, Rupes Yellow Pads
- Ultra Fine Polishing: Menzerna Super Finish Plus 3800, Lake Country Force Black Pads
- Towels: DI All Purpose Microfiber Towels
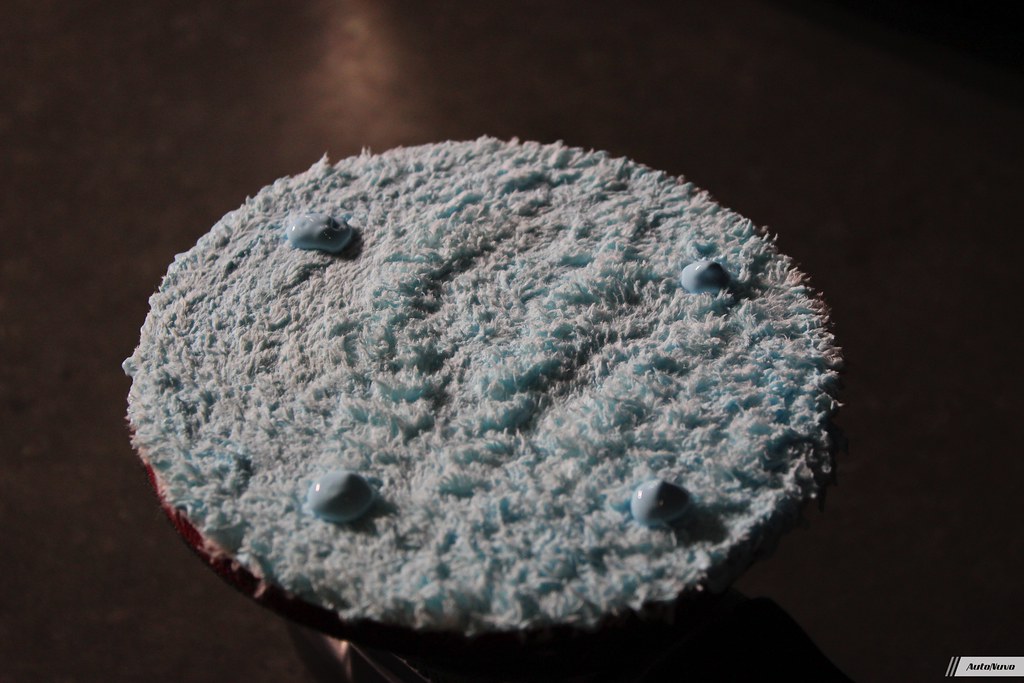
- Pad Cleaning Tools: Compressed Air, DI All Purpose Microfiber Towels
Vehicle Protection Process/Products:
- Preparation: Gyeon Prep / IPA, DI Microfiber All Purpose Towel
- Paint Coating: Gtechniq Crystal Serum Light, Gtechniq Applicator, Gloves
- Paint Coating Topper: Gtechniq C2v3
- Wheels, Calipers, Exhaust Tips: Gtechniq C5 Wheel Armor
- Trim Coating: Gtechniq C4 Permanent Trim Restorer
- Windshield & Glass: Gtechniq G1 Smart Glass
- Tires: Gtechniq T1 Tire and Trim
- Clear Bra (PPF): LLumar Paint Protection Film
This project really made me appreciate the car to its fullest. The process that it underwent just built up the hype for the day I would finally take her out again. There’s nothing better than the feeling of driving a clean car for the first time after you just finished detailing it.
Buy Products From This Article
Related Posts
- Projects | Land Rover Defender 90 | Correction | Clear Bra | Coating
- Projects | Ferrari 458 Speciale
- Projects: Lotus Evora GT, Paint Correction, Clear Bra, Ceramic Coating
- Projects | Jaguar E-Type | Paint Correction | Clear Bra | Modesta Coatings
- Detailing Projects: Ferrari 488 Pista #2 Paint Correction, Clear Bra, & Ceramic Coating


Very impressive work and awesome vehicle. Can’t believe the car had that many imperfections and swirls for 4,500 miles. Must have seen way too many car washes. I’m a big fan of almost all the products you selected and used. Great work James and excellent write up!
Thanks for reading Paul, I think she definitely had some serious abuse early on, but it was fun getting her back!!
I recently did a paint correction on a friends 2012 GTI in Tornado Red which he is selling and people who look at say its a 2015 or 2016.
I am surprised your R needed so much correction given the mileage but indeed people have no clue how to properly care for cars.
Tremendous work James and hope your R gives you good years of service. Looks great!
Leo,
Thanks for reading, that’s awesome, sounds like you guys knocked that detail out of the park!
Melfi,car looks great,nice job explaining your process
Thanks Tom! Hope all is well!
Very impressive results. I’d like to understand better where you used the 1500 grit sandpaper, and how the sanding process works. I have used aggressive compounds with my rotary polisher, but have not yet had a job that would require wet sanding.
Thanks Jim,
I used a variety of texture leveling tools to remove some slight orange peel on the roof and doors. I used a combination of Meguiars 1500-3000 grit sanding discs and CarPro Velvet pads. My goal was to gain some clarity and flatten the clear in certain areas to achieve a more uniform texture across all panels. I would love to get an article together soon highlighting sanding techniques. Thanks again for reading!
Did you do these steps on the lights, VW symbols and black window surround?
Looking to do my White R next week don’t want to miss anything.
Thanks!