
“Why does my Buff Brite Flamethrower only turns on when I have it plugged in?” is a customer service question I get pretty often. I know this question could be answered pretty easily if one reads the manual for this handy little light but it is something that gets missed. I get it, of course, I skip over the instructions for things all the time! So in this article, I just want to go over some of the first things you should do when you get your new Buff Brite Flamethrower unit.
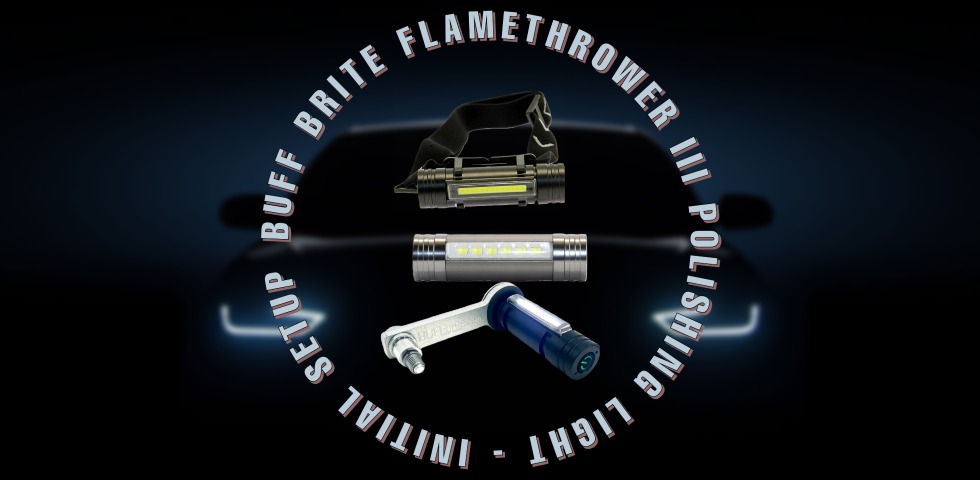
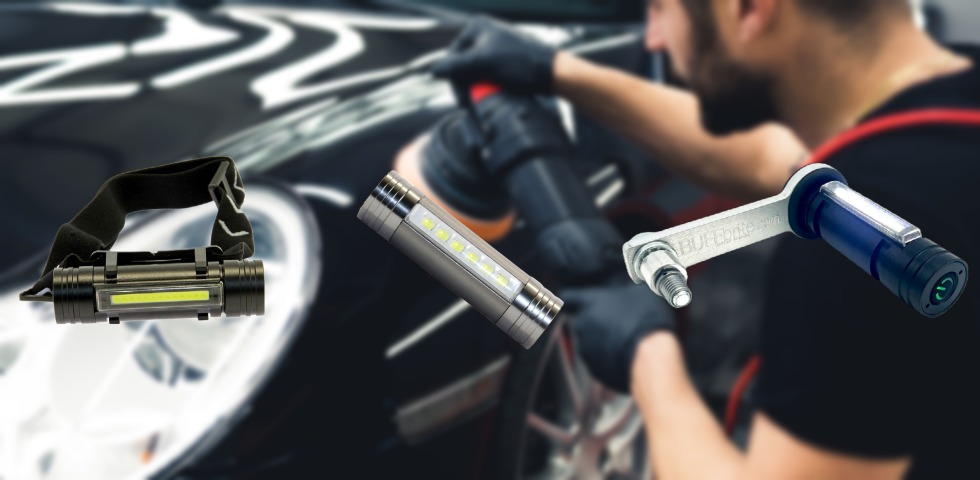
After taking your Buff Brite unit out of the packaging, the first thing you want to do is make sure that you received all of your components. If you purchased the Buff Brite Flamethrower III Polishing Light Kit your unit should come with a charging cable, a snap lock headband, and an arm that the unit sits in, which also works as a wrench. After making sure you have everything, the next thing you want to do is to remove the rechargeable battery from the unit making sure to discard the plastic that is covering the battery terminals. You do this by unscrewing the end cap of the unit. This is the step that is often missed if you toss the instructions. Without removing these plastic coverings, the batter in your unit won’t make a connection and you will not be able to turn the light on without plugging it in. Please note that you might also need to charge your unit for about 10 minutes before the first use.
After this, you are all set to use your new unit! These steps are very simple but you would be surprised how many people miss them. Luckily Buff Brite has a handy Youtube video all about the Flamethrower unit that you can watch below!
Source: YouTube