
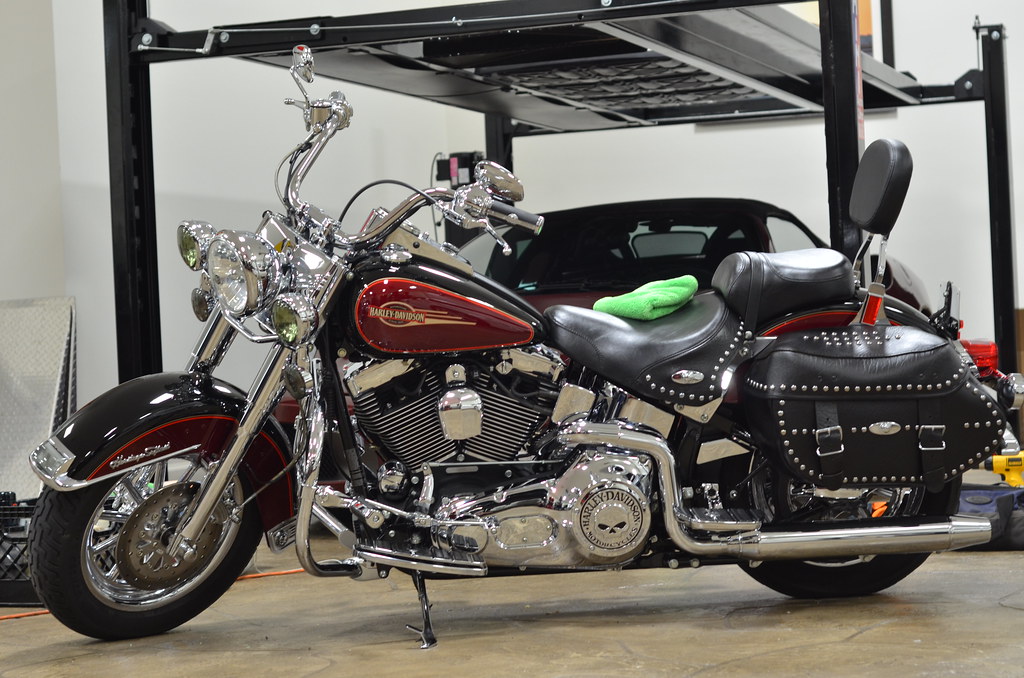
Hey all! Anyone love motorcycles? I sure do! I recently had the privilege to detail this Harley Davidson with a ton of chrome work! This detail took around 20 hours to complete and had just as much effort as the normal correction job put into it. I really enjoyed this detail as it was a great change from car after car!
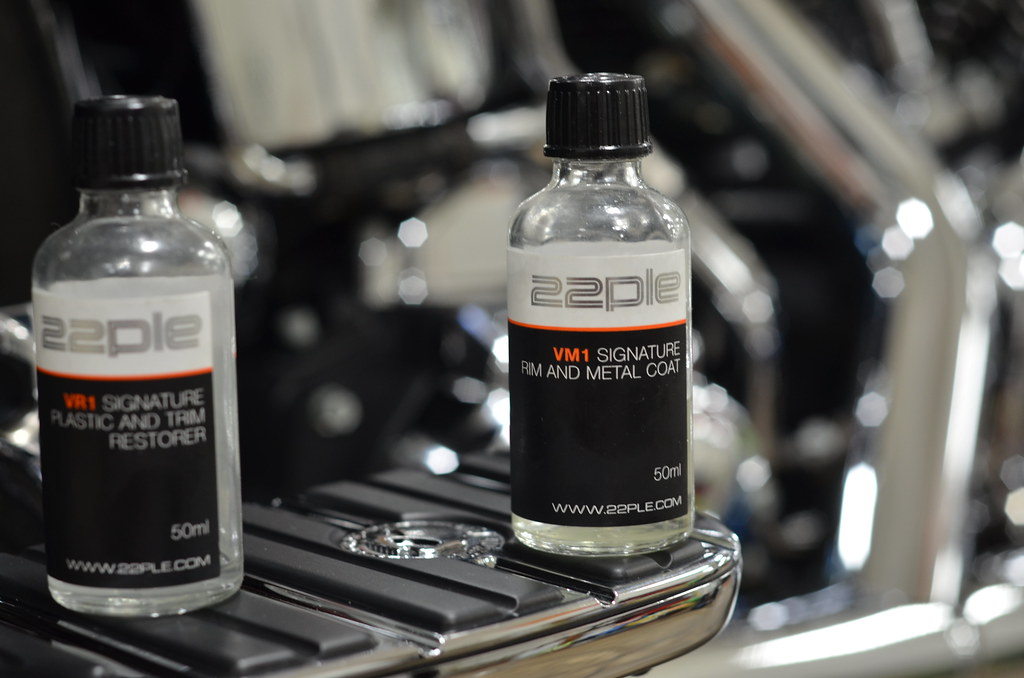
This bike had spent some time by the ocean and was subjected to some salt water corrosion on just about every piece of chrome. Anytime you have chrome and other metals near the ocean it’s something to be mindful of. (The salt in the air will attach metals and cause pitting and corrosion rather quickly). So to better prevent this from happening so quickly again, we decided to coat the chrome with 22PLE VM1 Metal Coating. A little bit of VM1 will go a long ways. With a large 50ml bottle I probably could do about 10 of these motorcycles. Prior to coating, I had my hands full with metal polishing. The meticulous amount of metal prepping consumed the most time in this detail. I loved every minute of it! It made the word detailing mean “detailing”! This detail also had some paint correction and leather rejuvenation to get it to our liking!

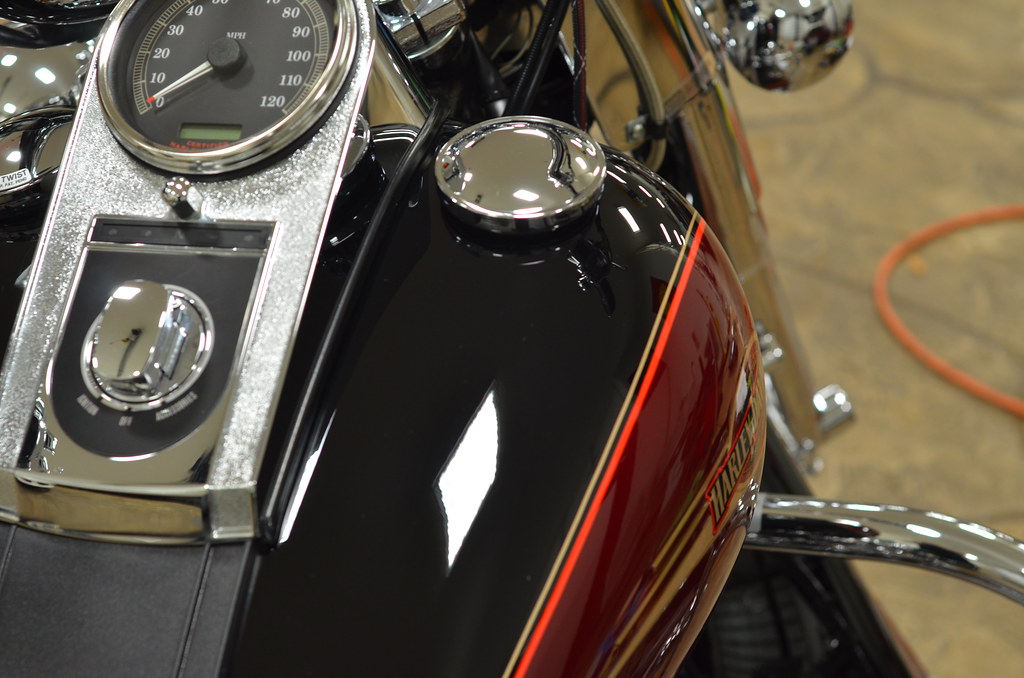
The detail started with the removal of the saddle bags and a basic wash. During the wash I focused a lot on the lower section, cleaning out the fender wells and under carriage. Once clean and indoors I was able to fully inspect what needed to be done. The paint was going to be the easier of tasks with this detail.
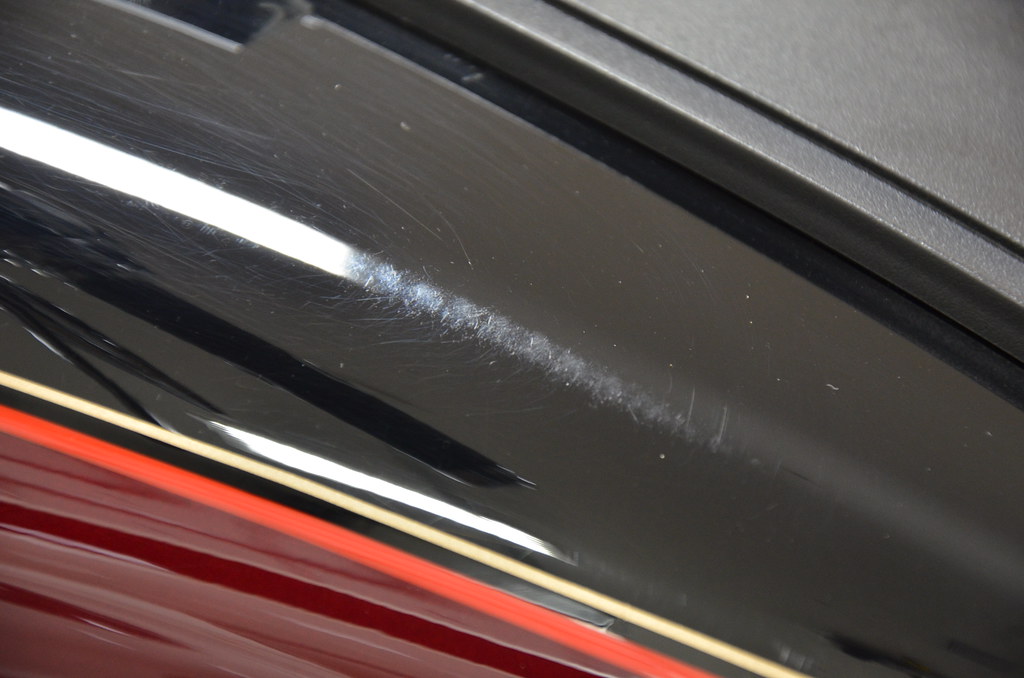
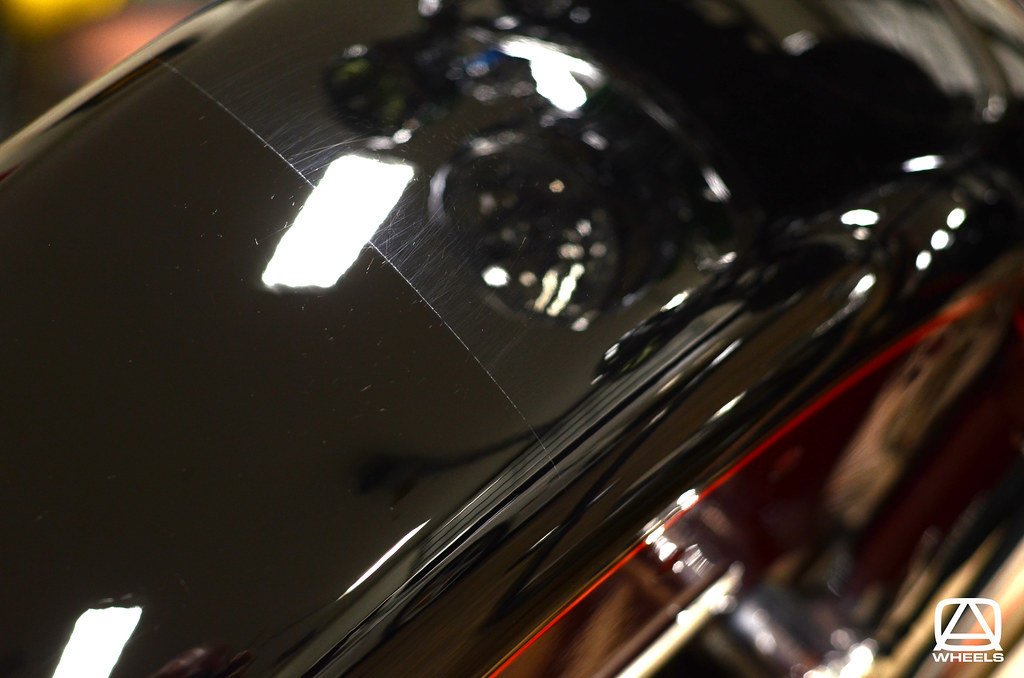
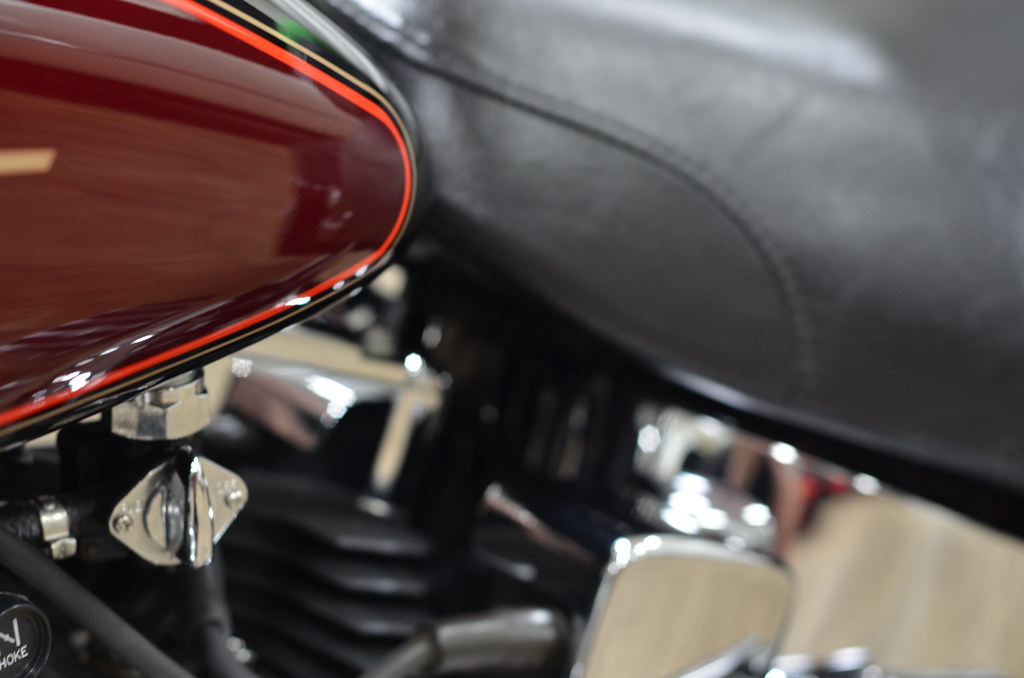
Few pictures of the paint before.

Moving on to the greater part of the detail… “The chrome polishing.”
I removed a few accessories so that I can better reach areas behind and around them. Also being able to clean the back sides of these pieces while they were off.

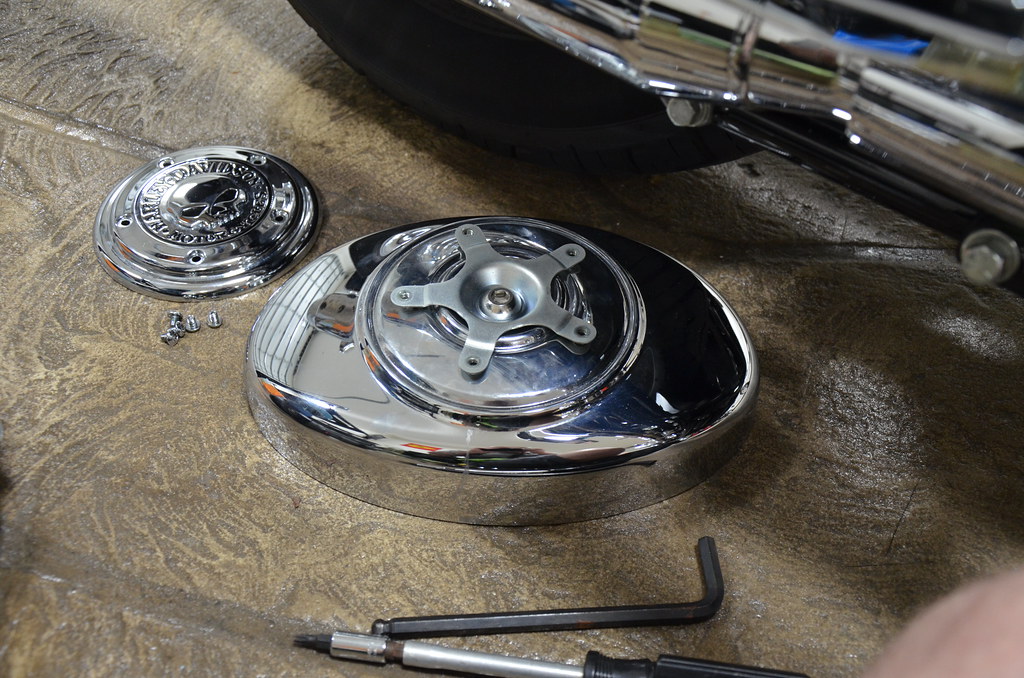
Doing quite a few motorcycles in the past and having a brother who has been servicing motorcycles for several years now, I knew just what tools to bring. When pulling apart or removing anything that has this much chrome, it’s so important not to scratch any of the pieces (even the screws).
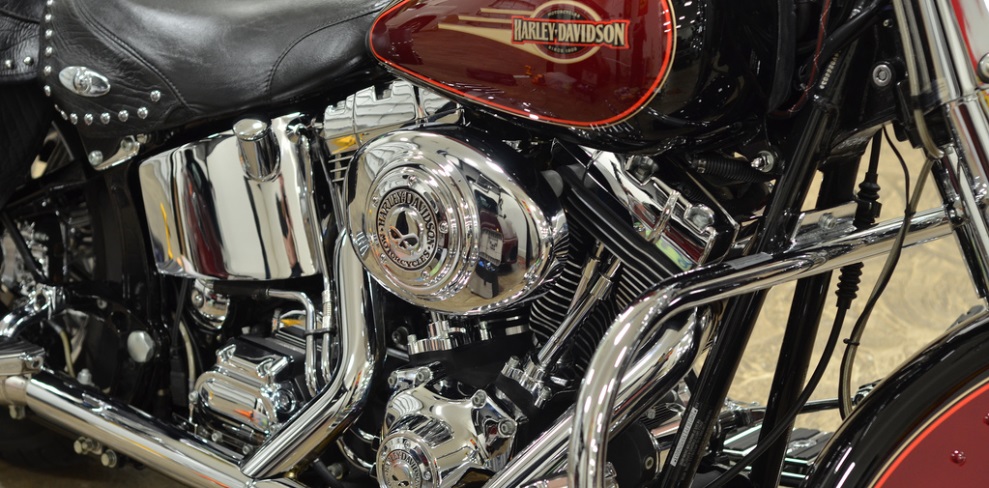
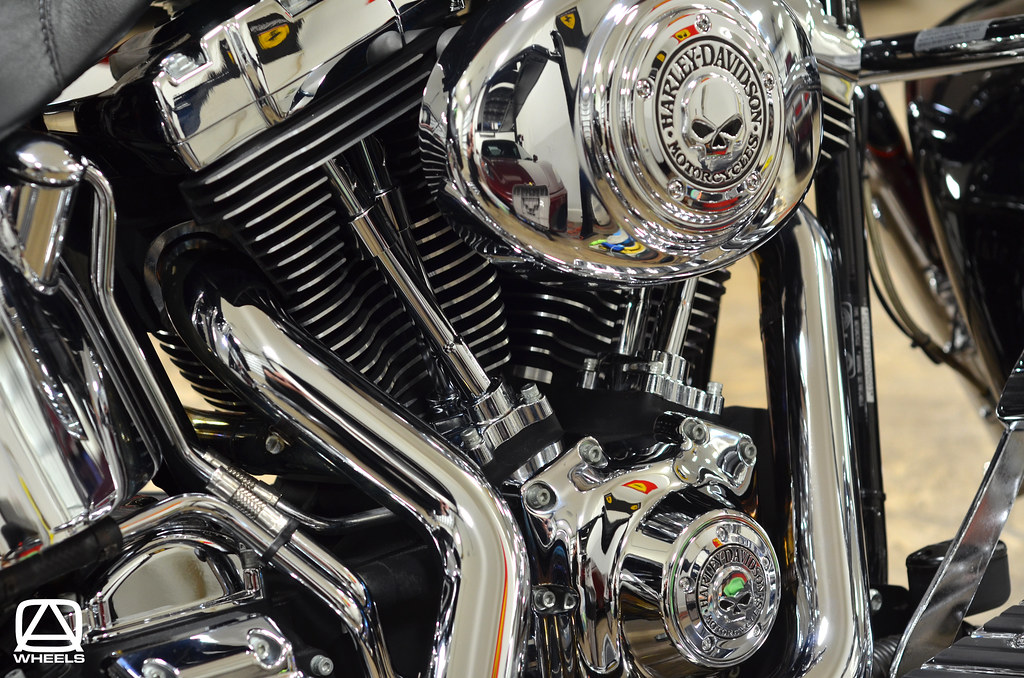
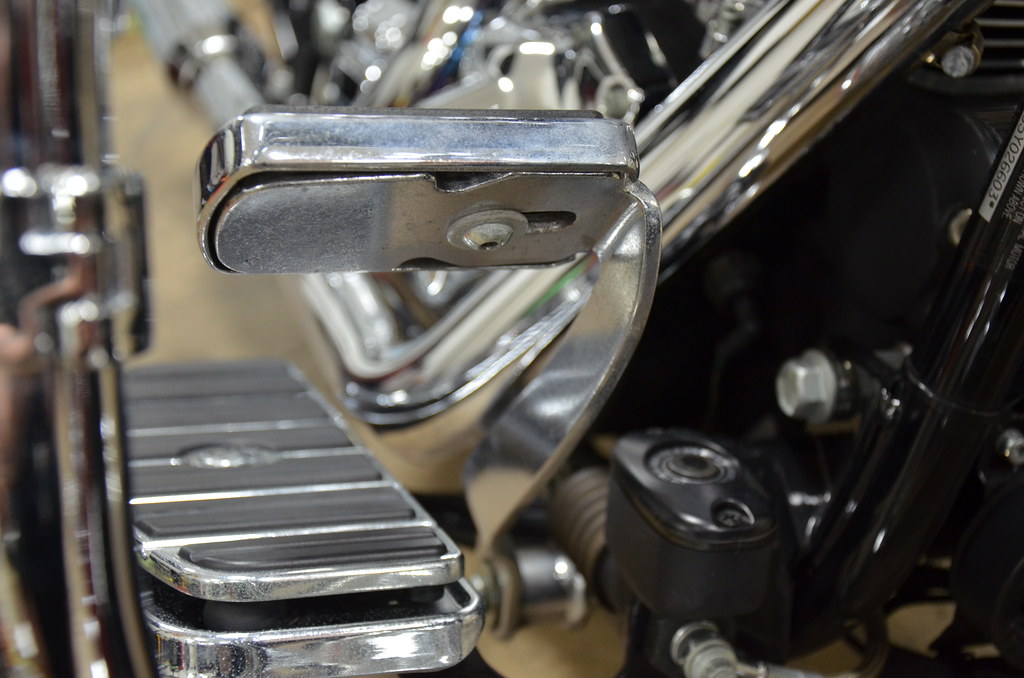
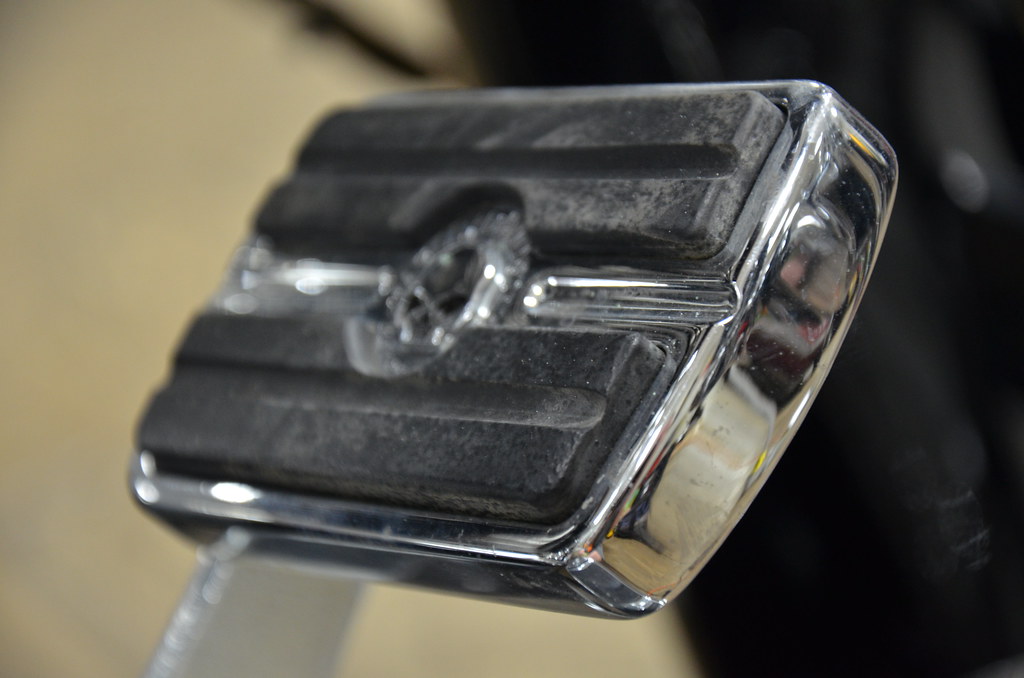
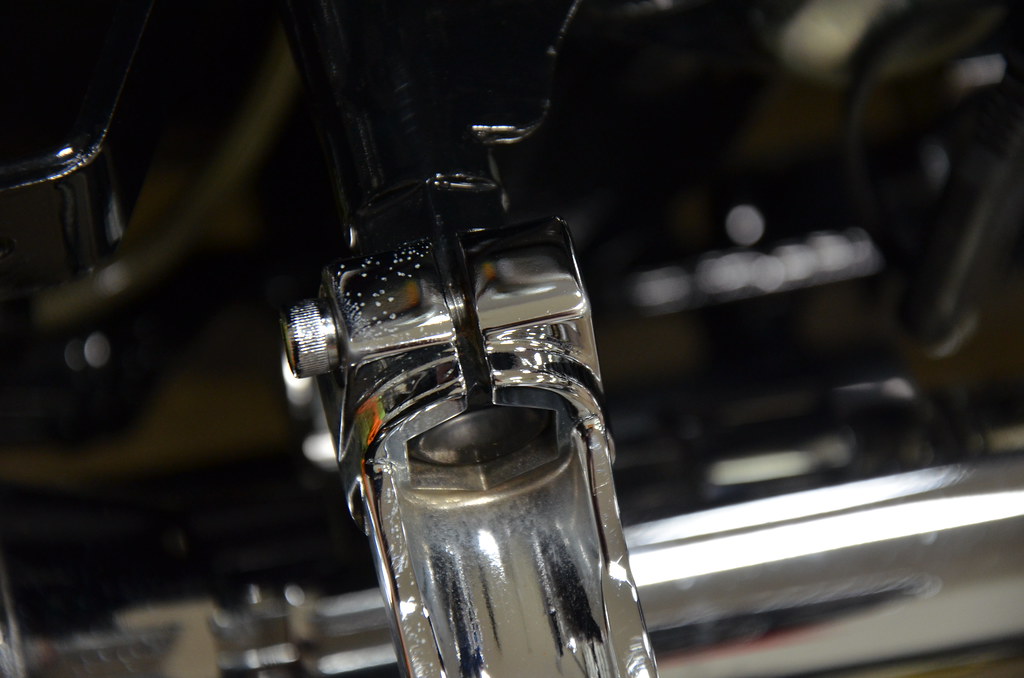
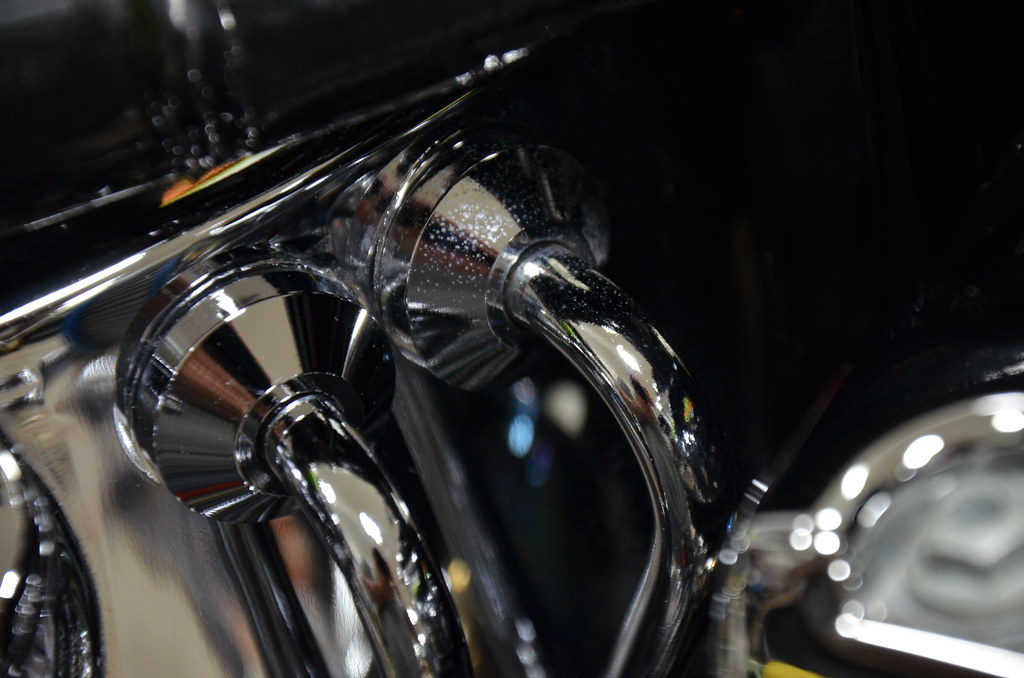
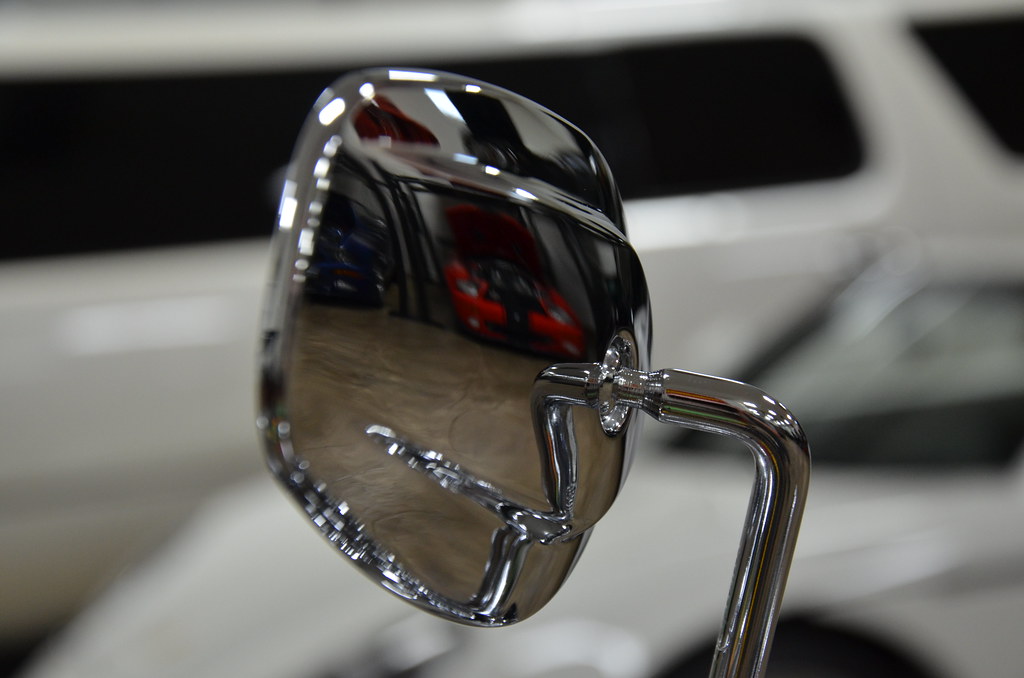
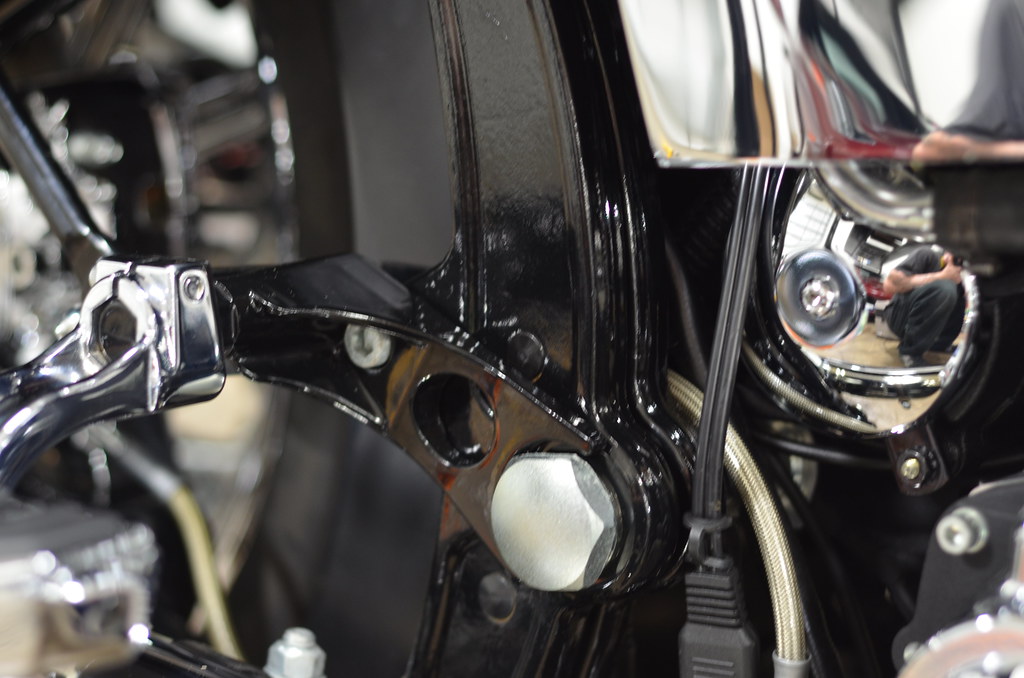
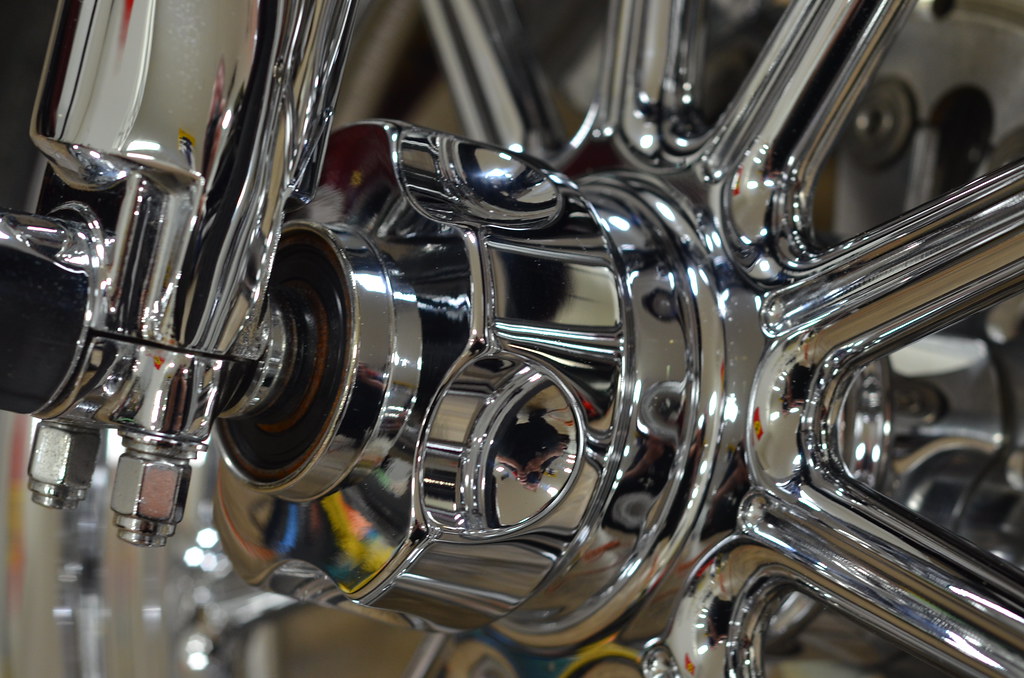
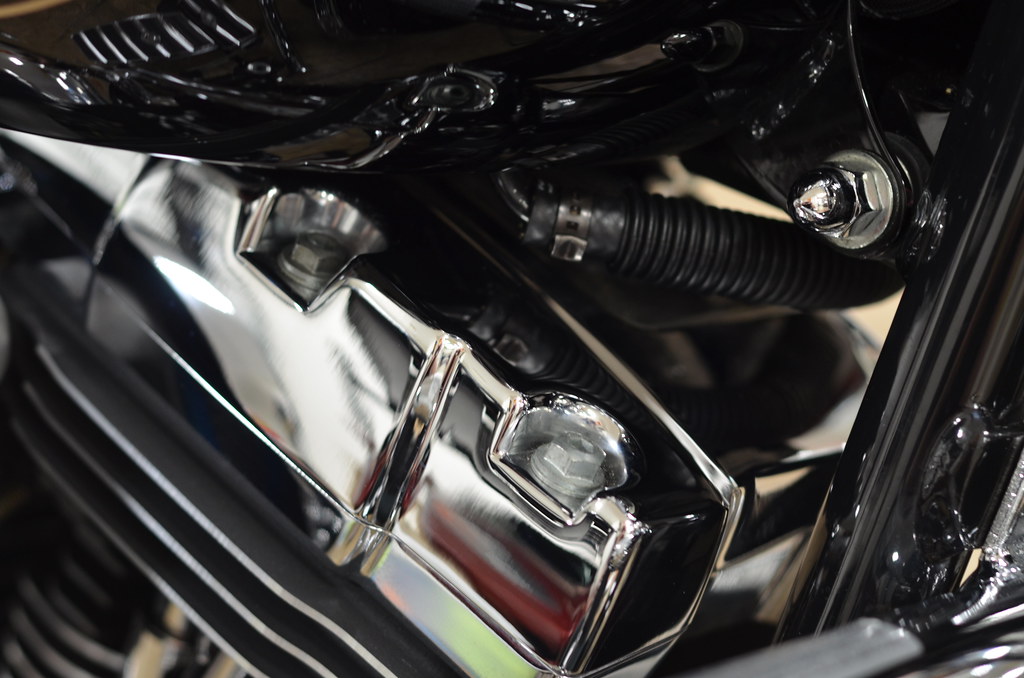
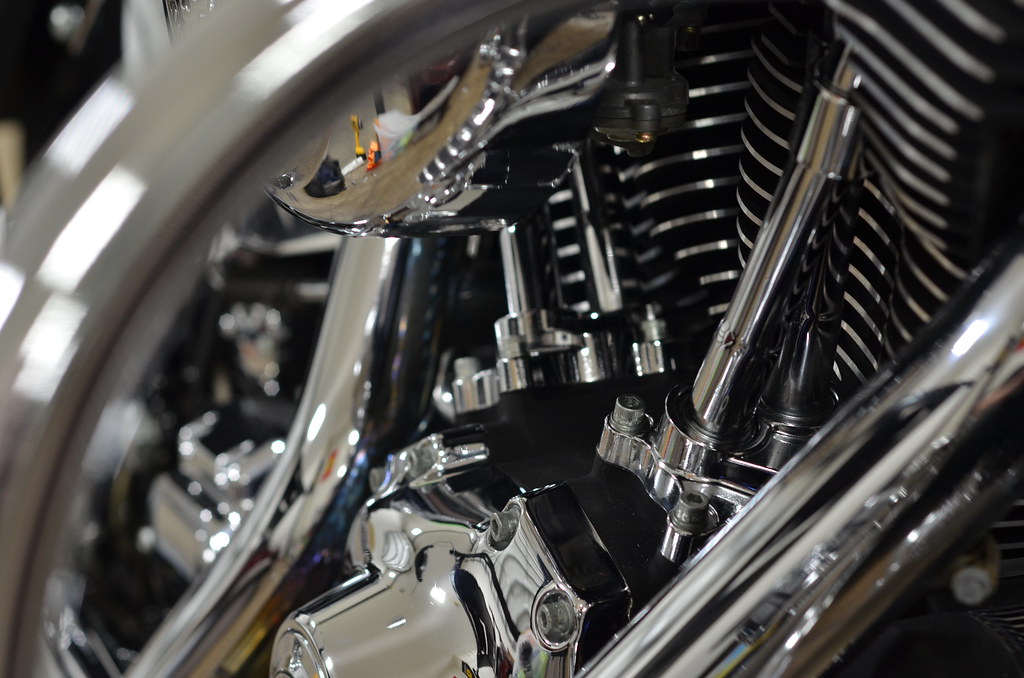
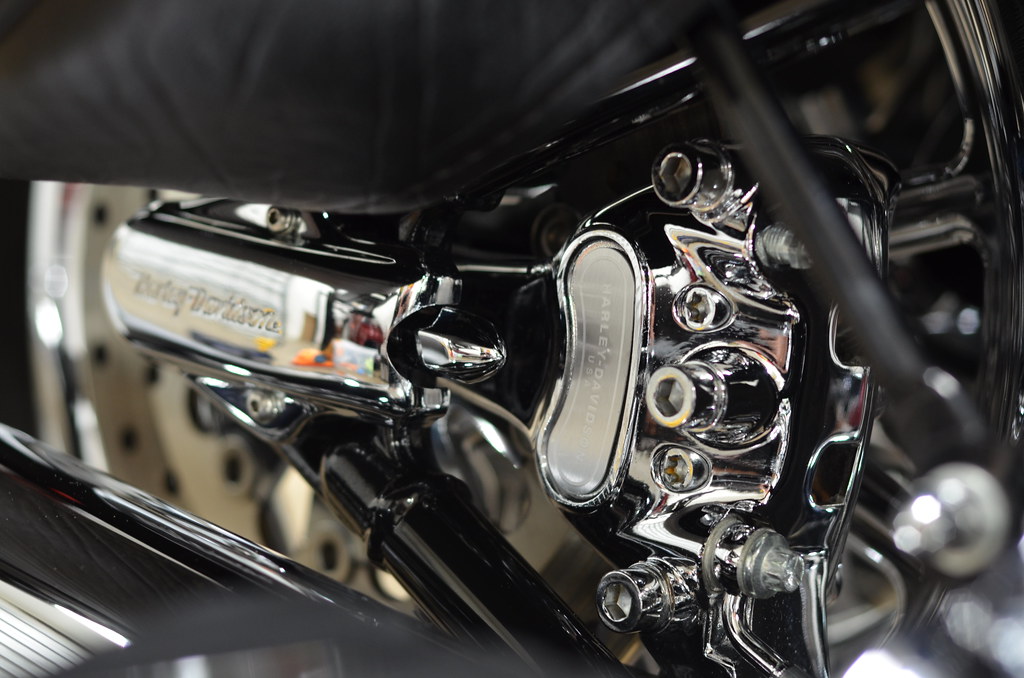
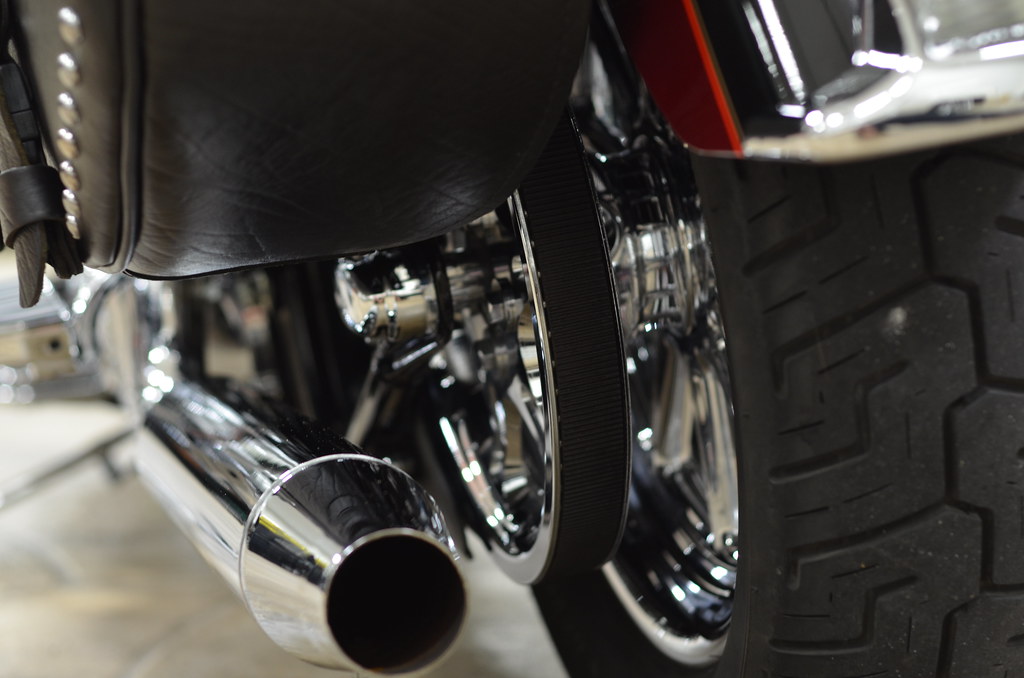
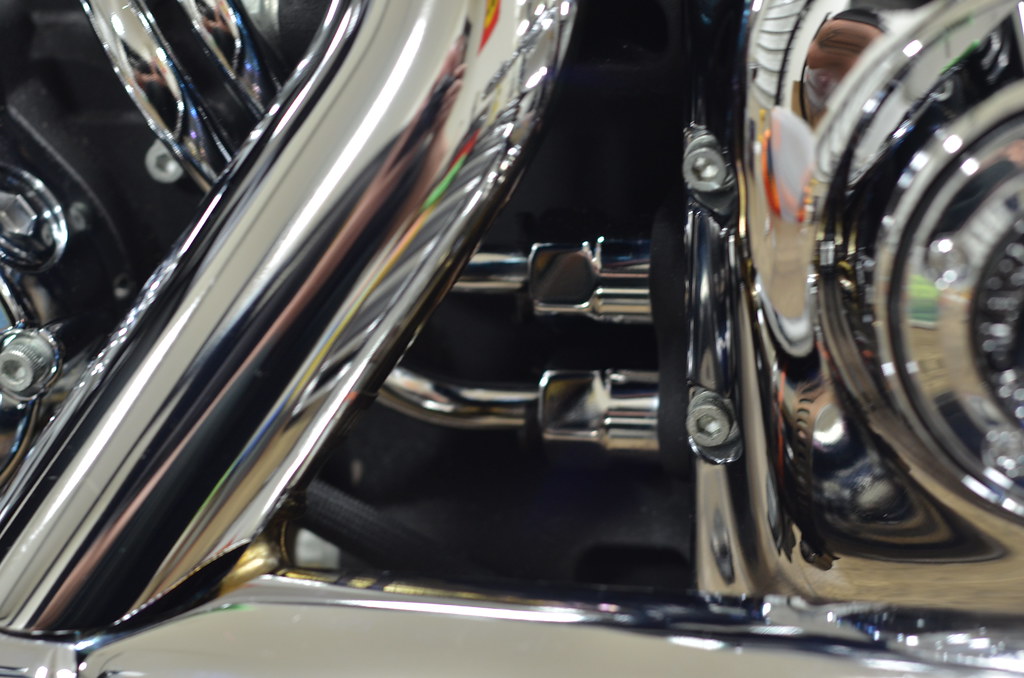
In the next three pictures below we can see a lot of the oxidation build up and some of the harder areas to reach.

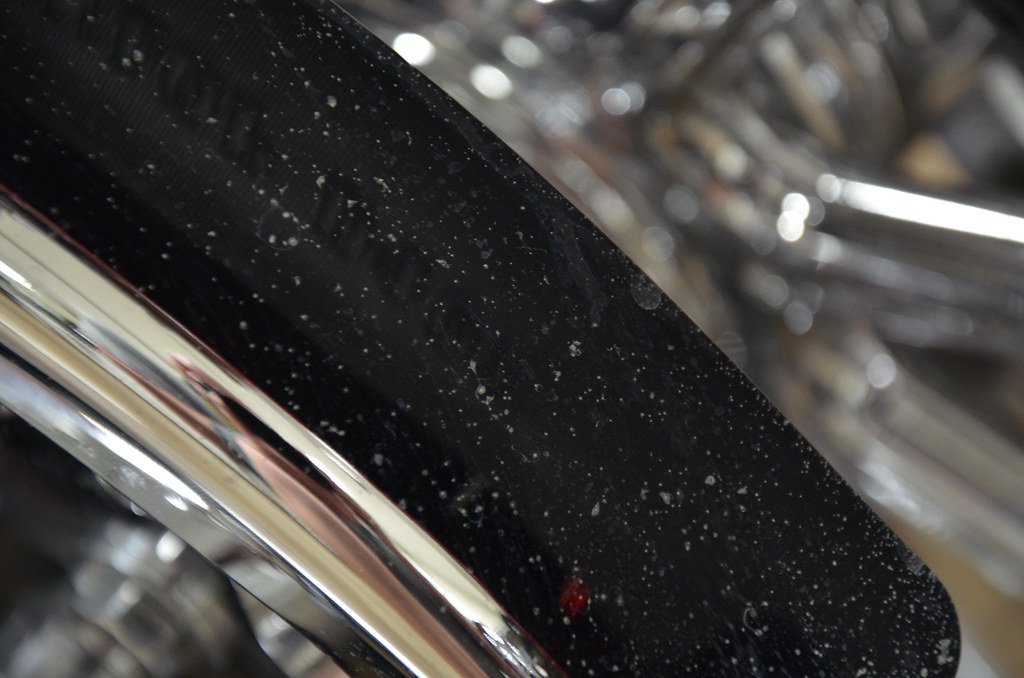
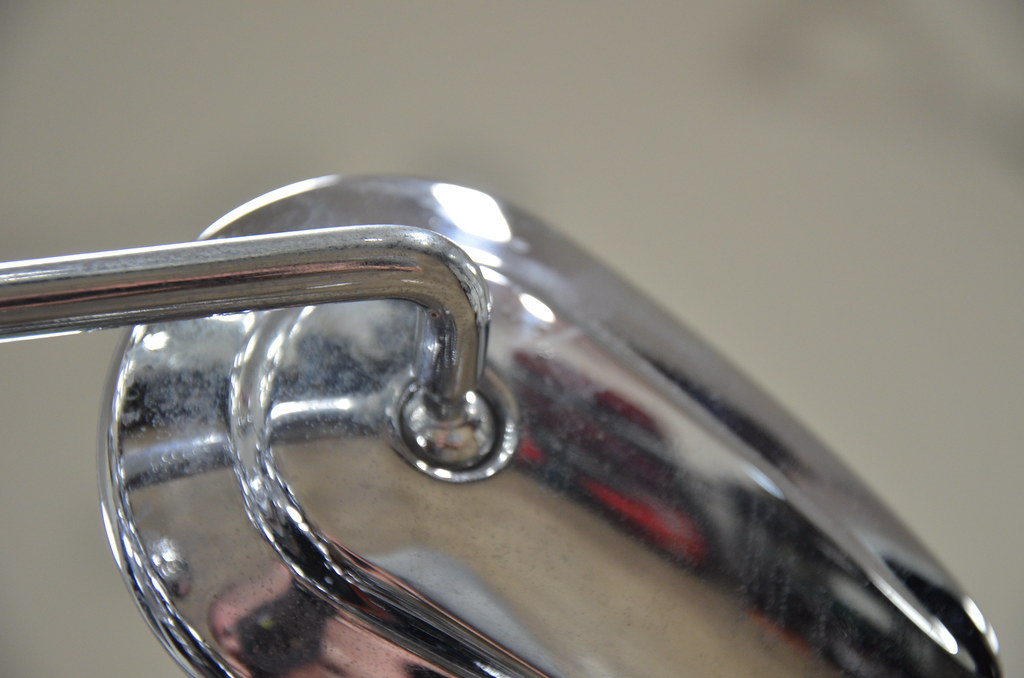
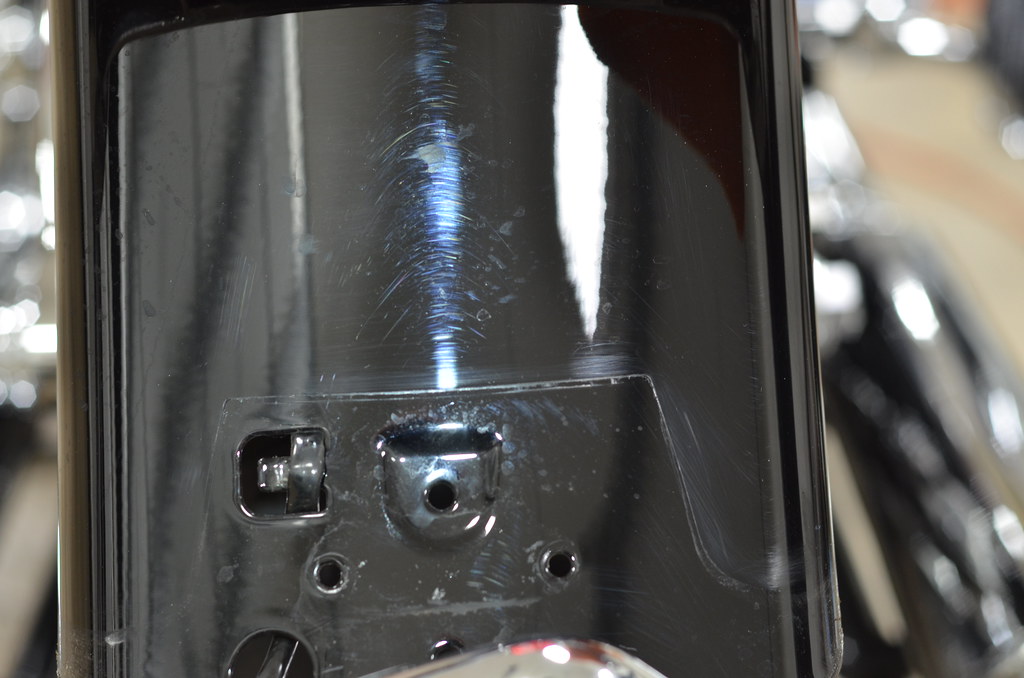
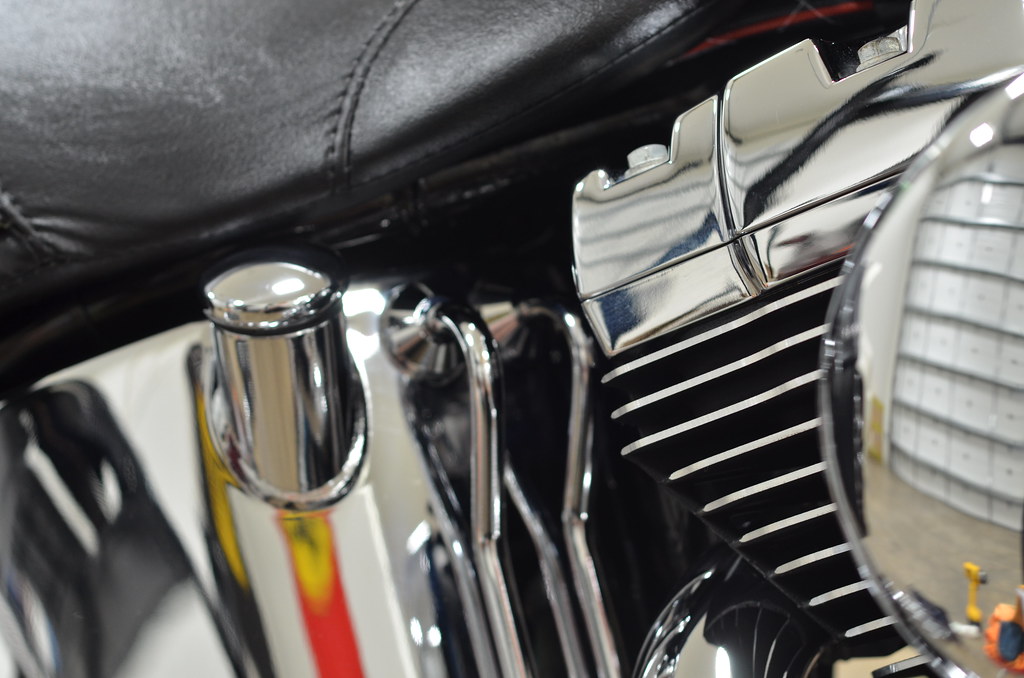
A closer view of the pitting that is in the beginning stages of taking place (below | belt guard).
These spots have a good deal of texture to the touch and are very well embedded to the metal. Without up keep and maintenance, this type of oxidation build up could have ruined this piece metal (Chrome will be a little more tolerant than say aluminum).
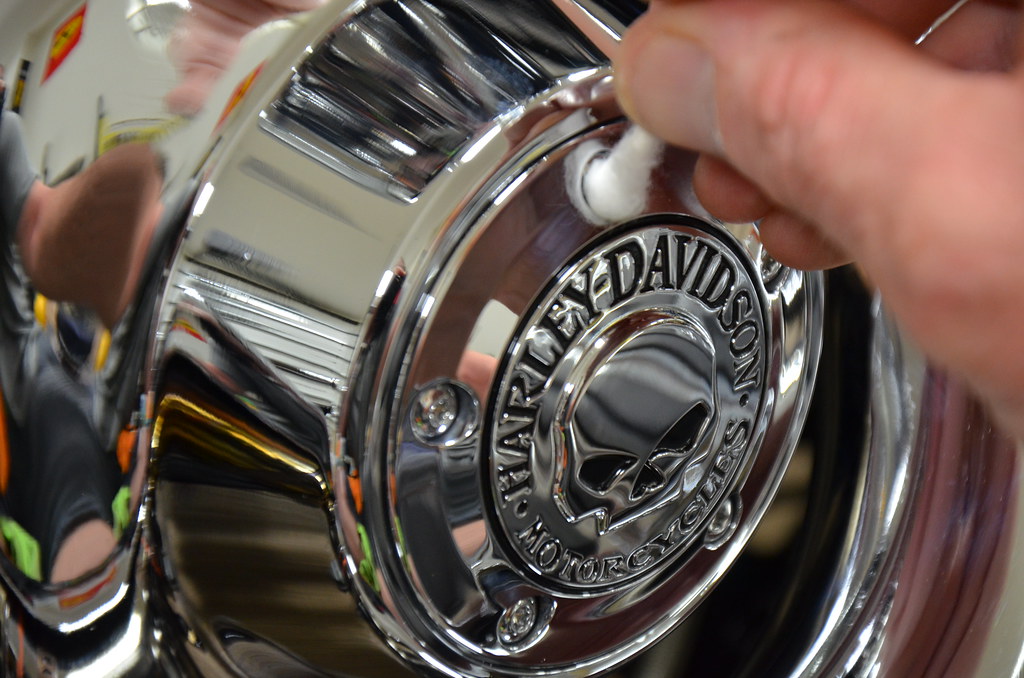
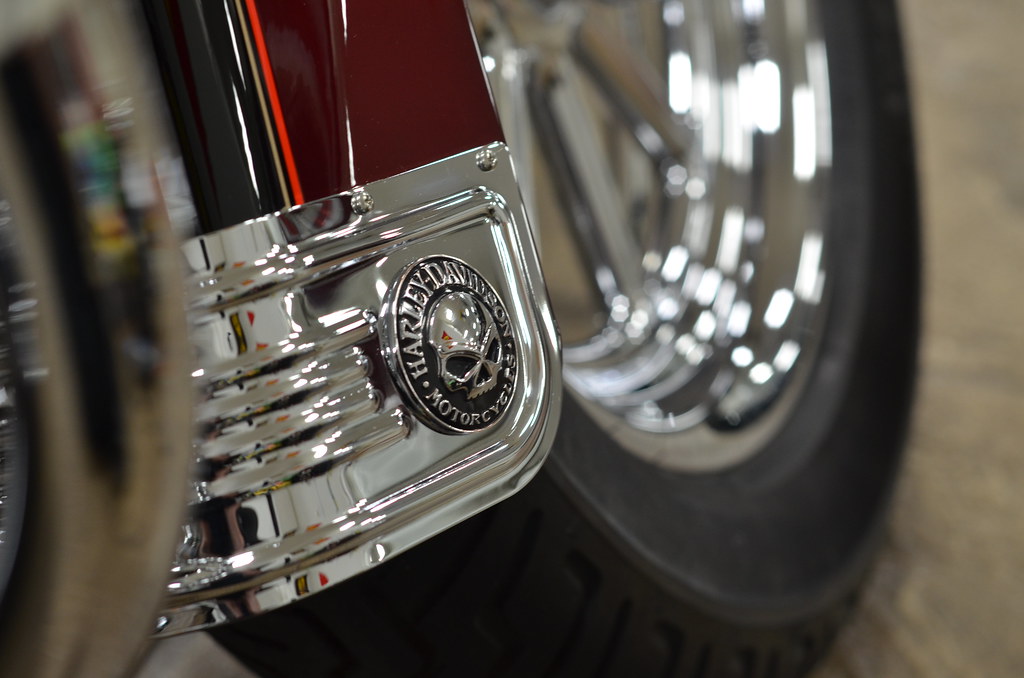
A couple 50:50’s showing the before and after (below).
Most of all of the polishing was done by hand and other various tools.
It was really difficult to pick an area to start on this detail. It seemed everywhere I looked attention was needed. Patience was key as well as getting into a comfortable seating position. I worked my way from the right side of the motor around the front wheel, forks and handle bars to find myself on the left side of the motor working my way to the rear sprocket and wheel area.
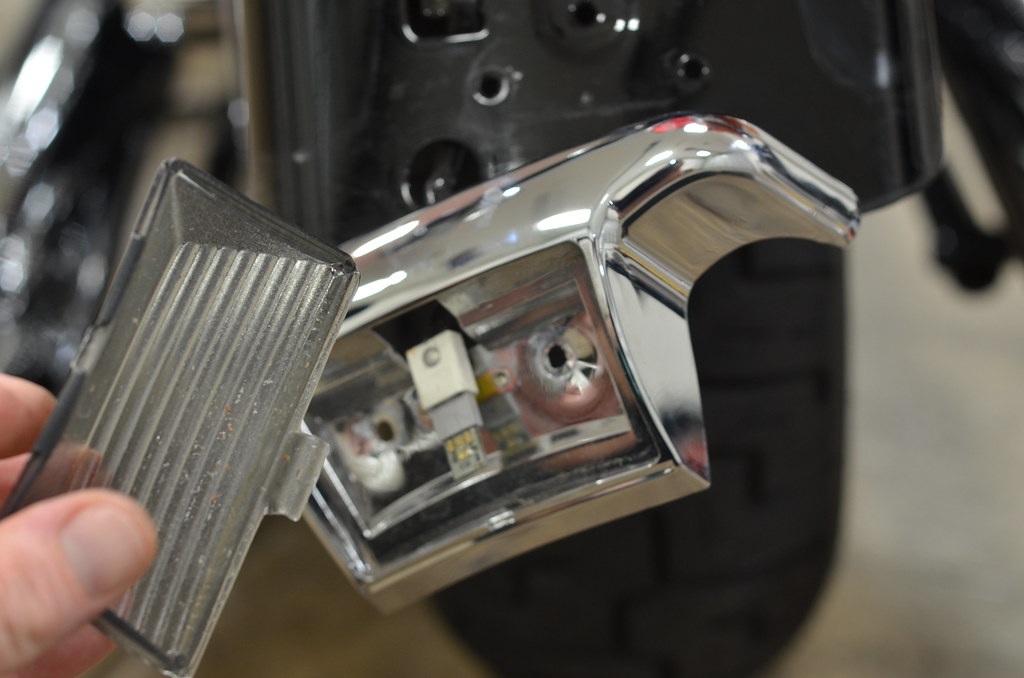
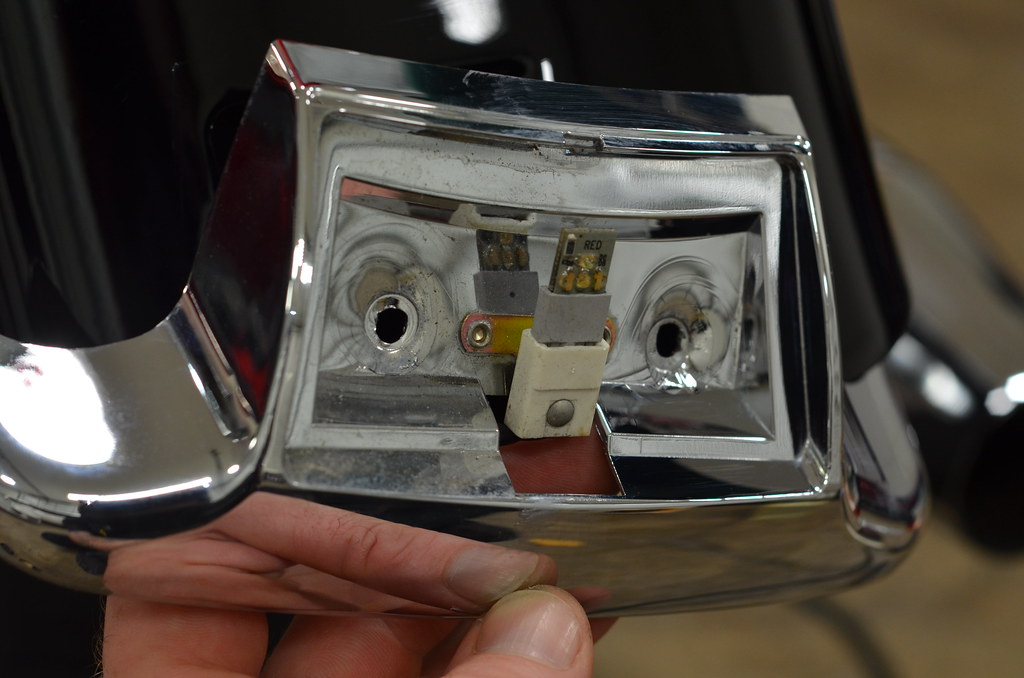
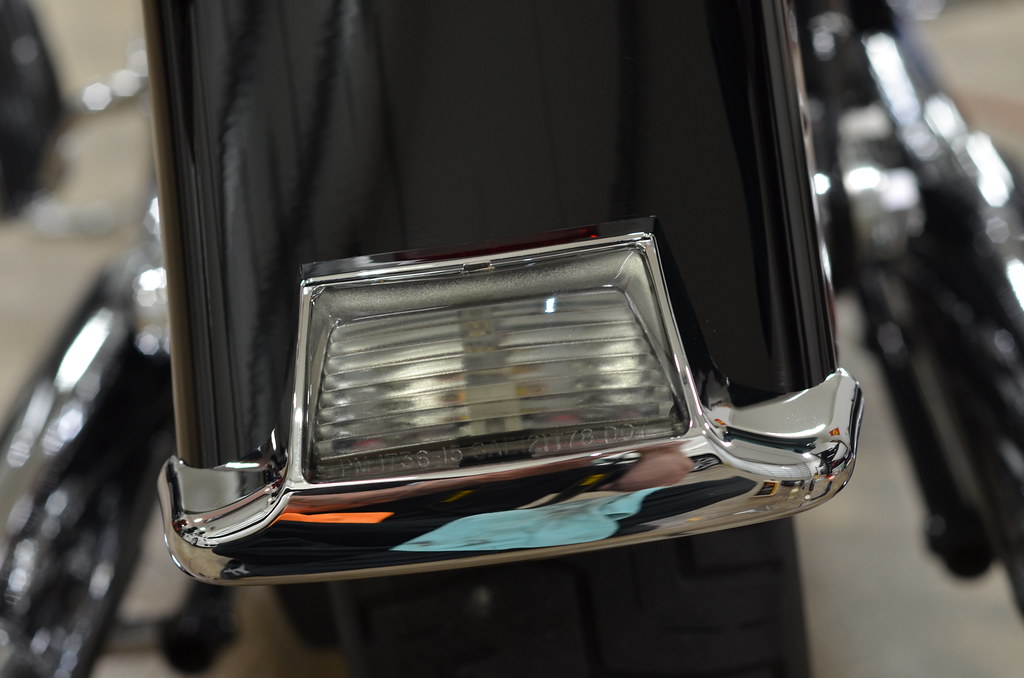
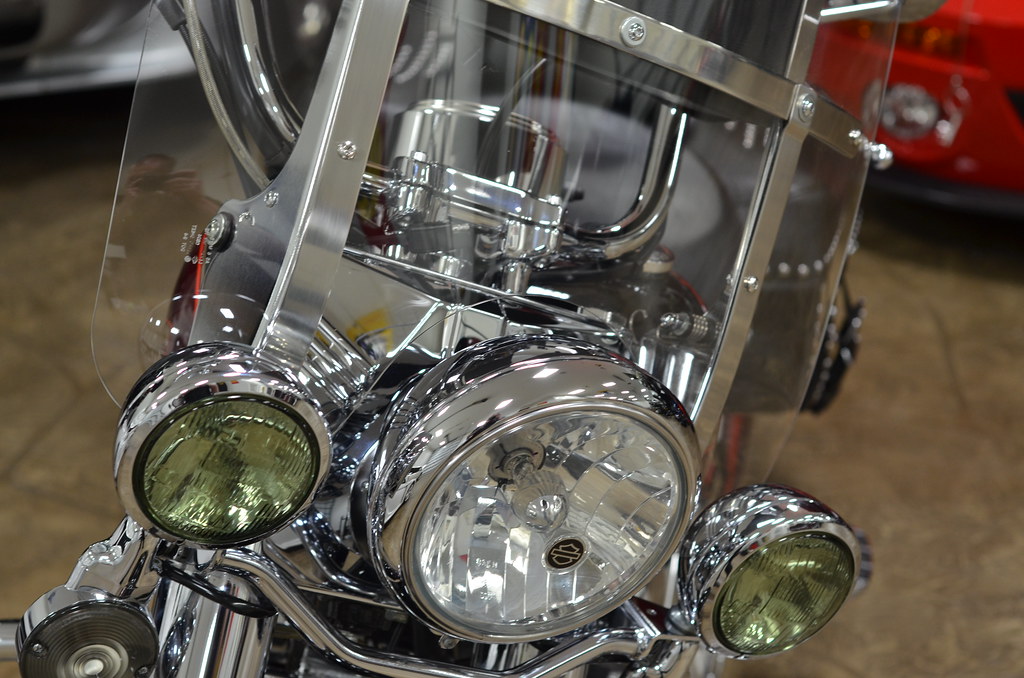
Along with this detail of “doing it right” I had also removed the lamps from the front and rear fenders to get full correction to the paint. Also allowing me to clean the inside of the lenses. This to me was a great touch to this detail and made a wonderful improvement once I had put it all back together.
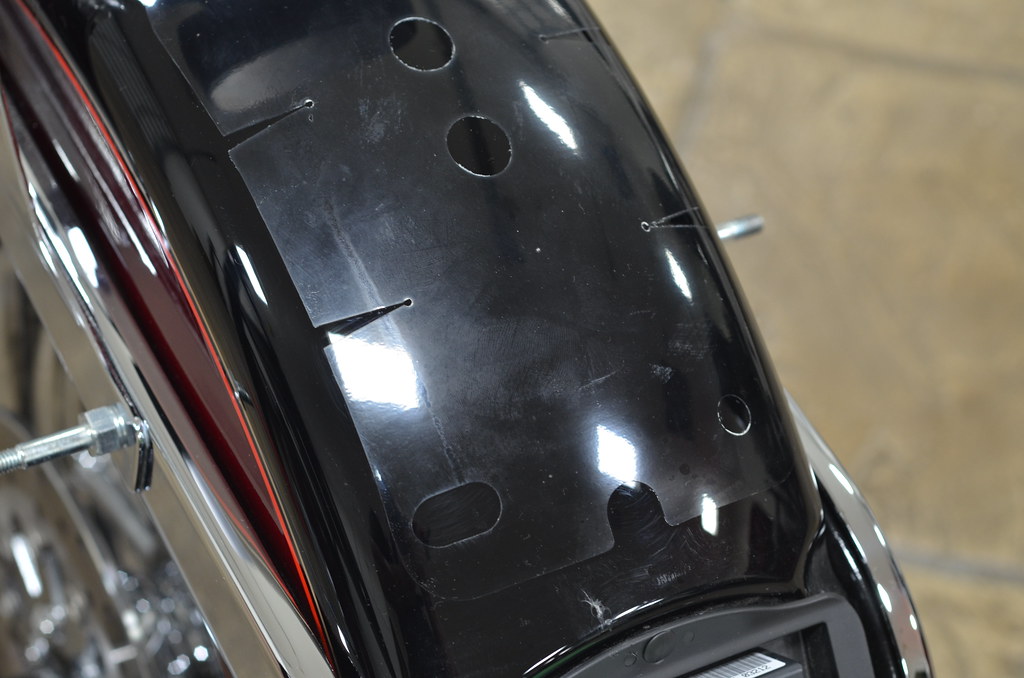
The top side of the rear fender had a piece of clear film on it to protect from scratches of the seat (No after Picture, Sorry).
All to correction work to the paint I did with the Porter Cable and 3″ pads. I was able to add a lot more clarity out of the clear film using Sonax Perfect Finish on a medium cut 3″ foam pad.
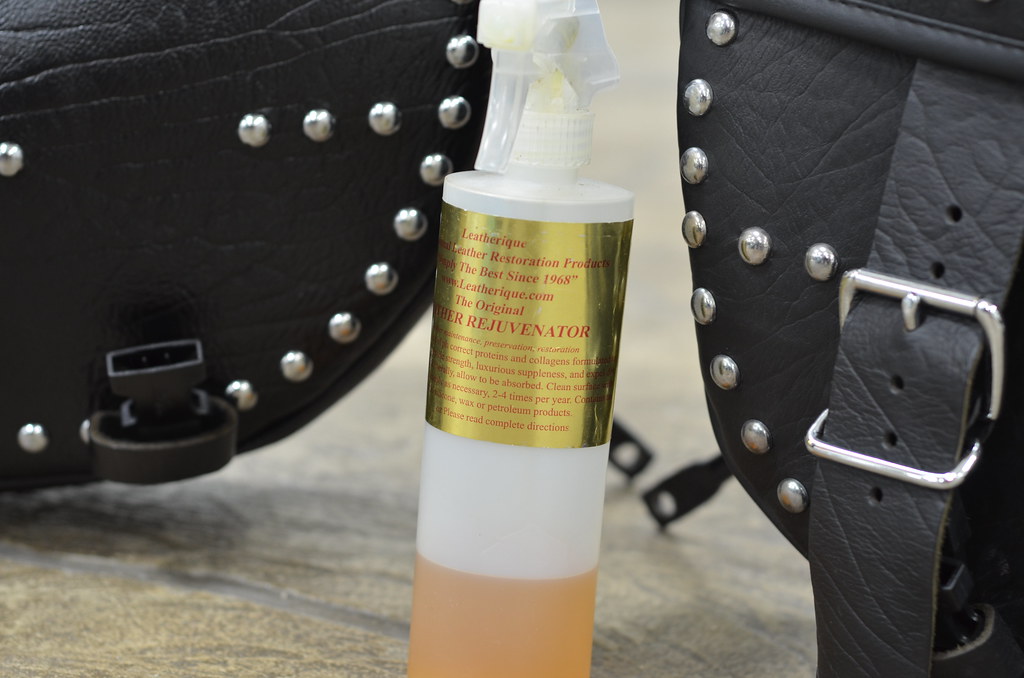
Leather Care:
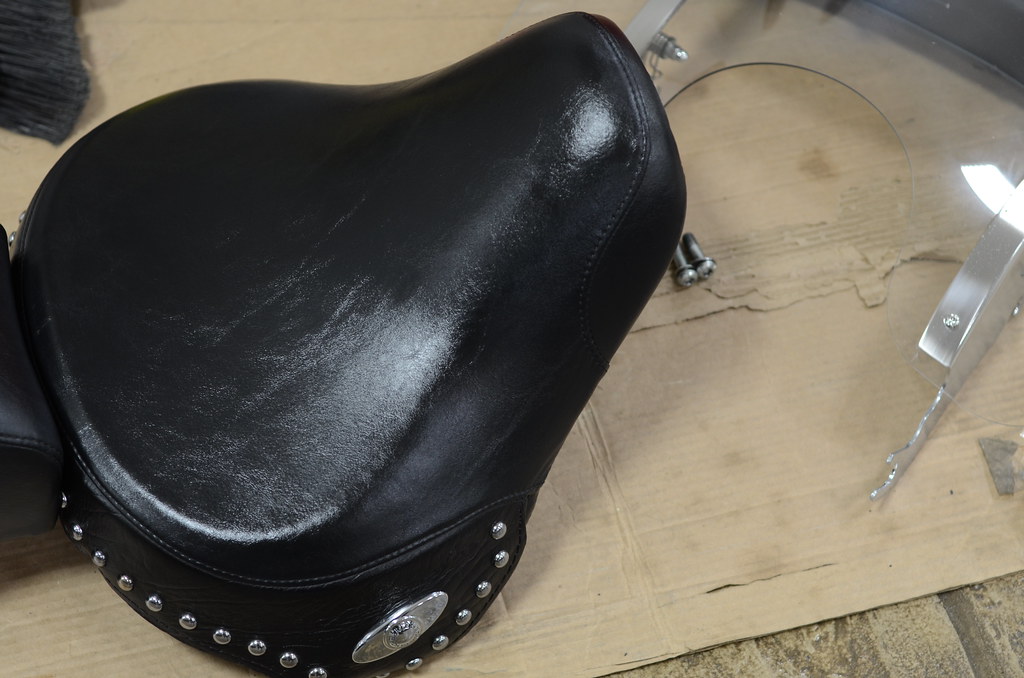
The seat and saddle bags were cleaned and treated with Leatherique leather care products. The Rejuvenator Oil was most needed. This leather had never had any leather care to it and was rather hard and very dry. I worked the the oil into the leather with a medium coarse brush and allowed it to sit for a few hours before wiping up any left over residue. This is causing it to be overly shinny in the pictures below. After a final wipe down and a few hours for it to soak into the leather it will leave a more natural look.
In the picture below, the one on the left is treated and the right is not.
Once all the detailing was done it was time to protect!
22PLE VM1 was applied to all the chrome frame and VR1 to the small amounts of trim. I felt that the coating to the frame really helped pull the whole thing together as it added a nice shine on the black paint.
Putting everything back together was a sure indication that this detail was almost done!

Thank You for looking!
Related Posts
- Lamborghini Murcielago Paint Correction
- 1967 Sunfire Yellow Corvette Stingray Detail
- Ferrari F40: 60 Hour Restorative Detail by Todd Cooperider and Craig Reed
- Full Detail and Paint Correction: Ferrari 458 Italia by Todd Cooperider of Esoteric Auto Detail
- 2014 Corvette Stingray Complete Detail with Clear Bra and Vinyl Wrap Install: Part 1 of 2