
Lamborghini Murcielago Paint Correction
by Brian GuyThe vehicle at hand was a recently completed detail of a “2009 Lamborghini Murcielago, LP-640 in Verde Ithaca”. This car came a good distance for an AOWheels Detail (From PA to FL). The detail took around 60 single man hours and it received a full clear film removal, paint correction, glass coating and interior & motor detail. Machine polishing was performed on painted carbon fiber and the safe removal of factory D/A wet sand marks from the vehicles top coat is the goal at hand.
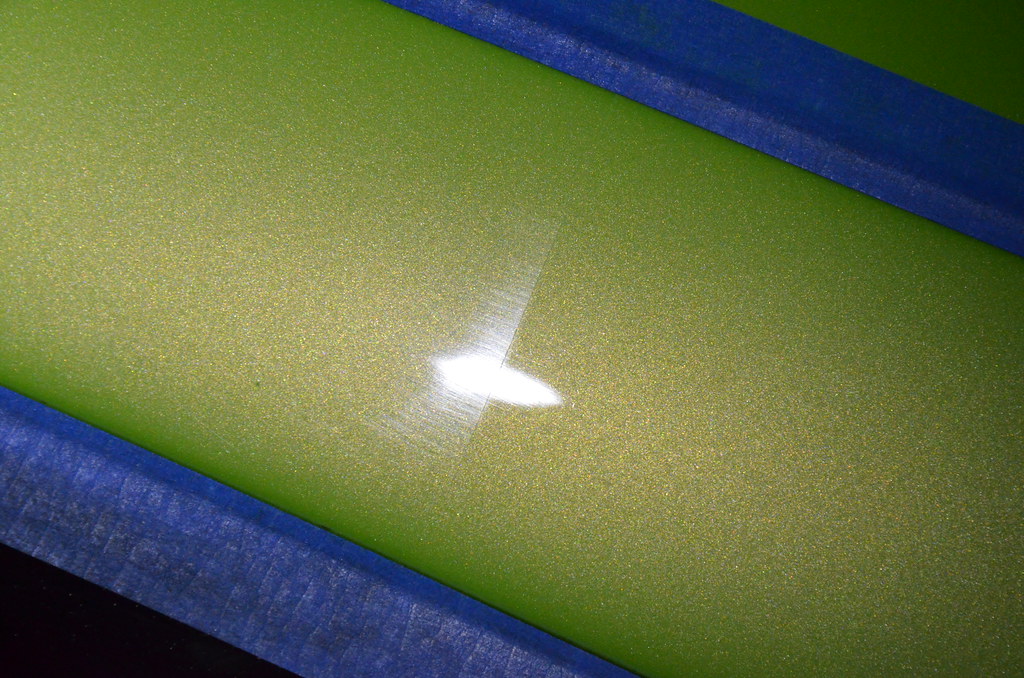
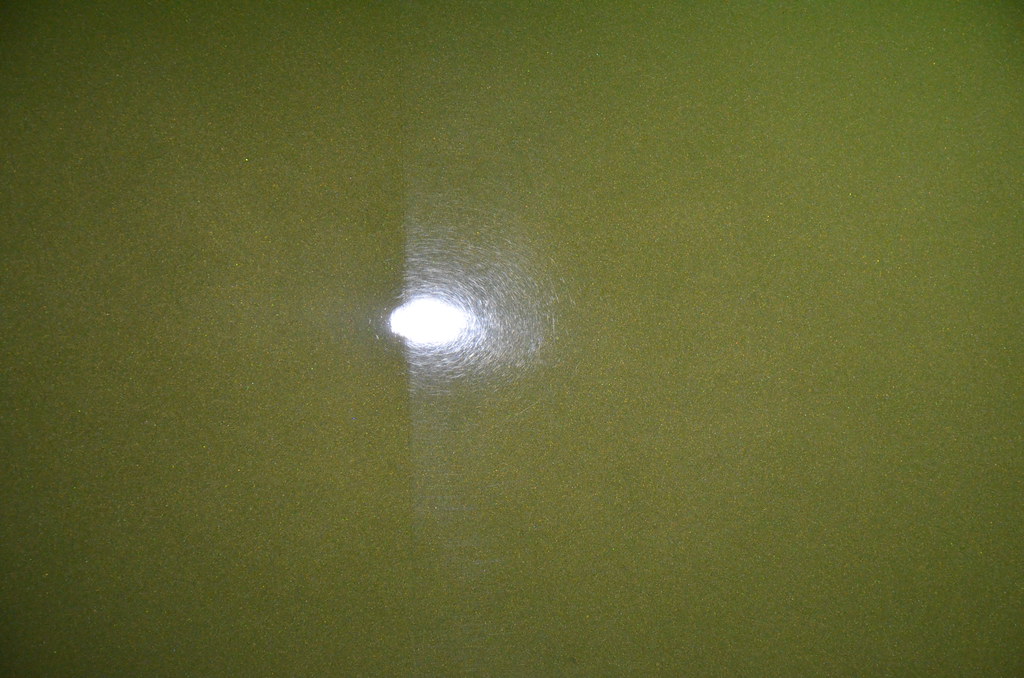
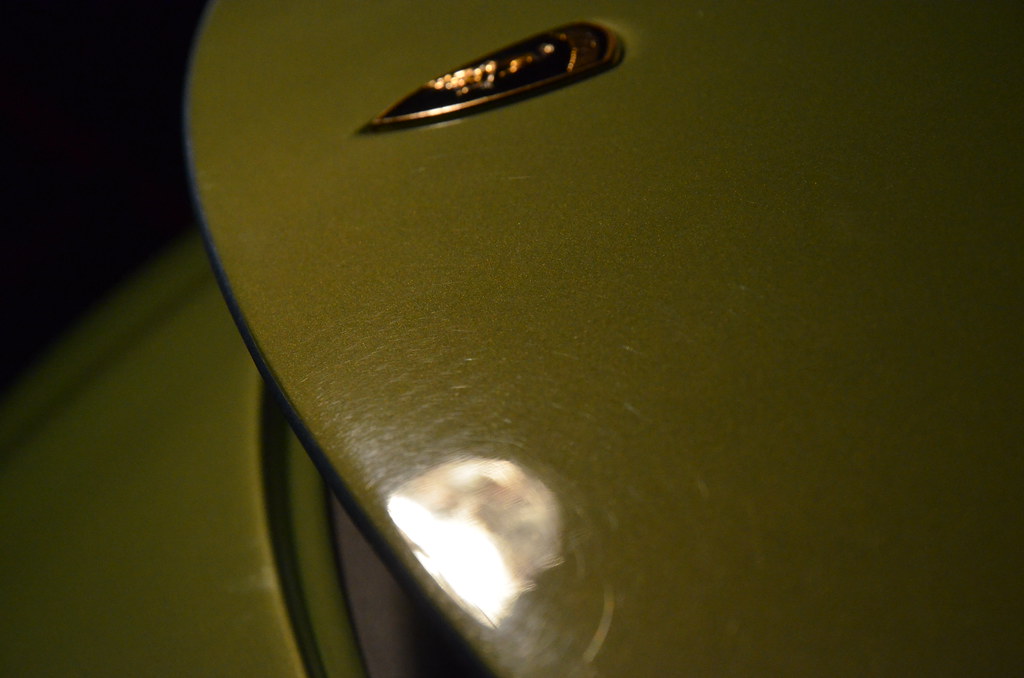
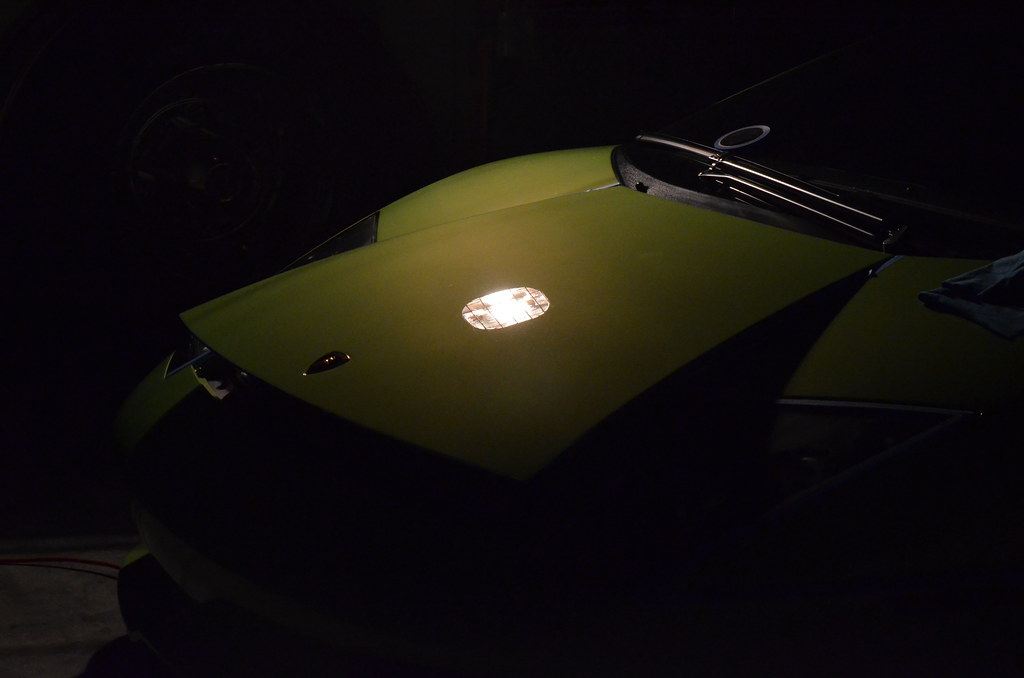
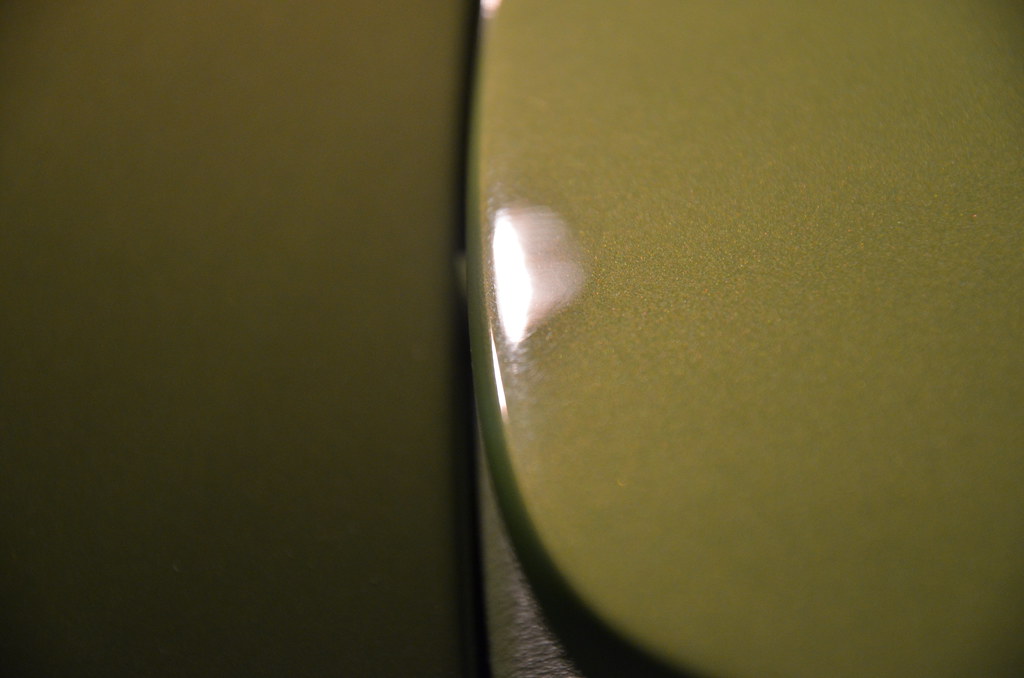
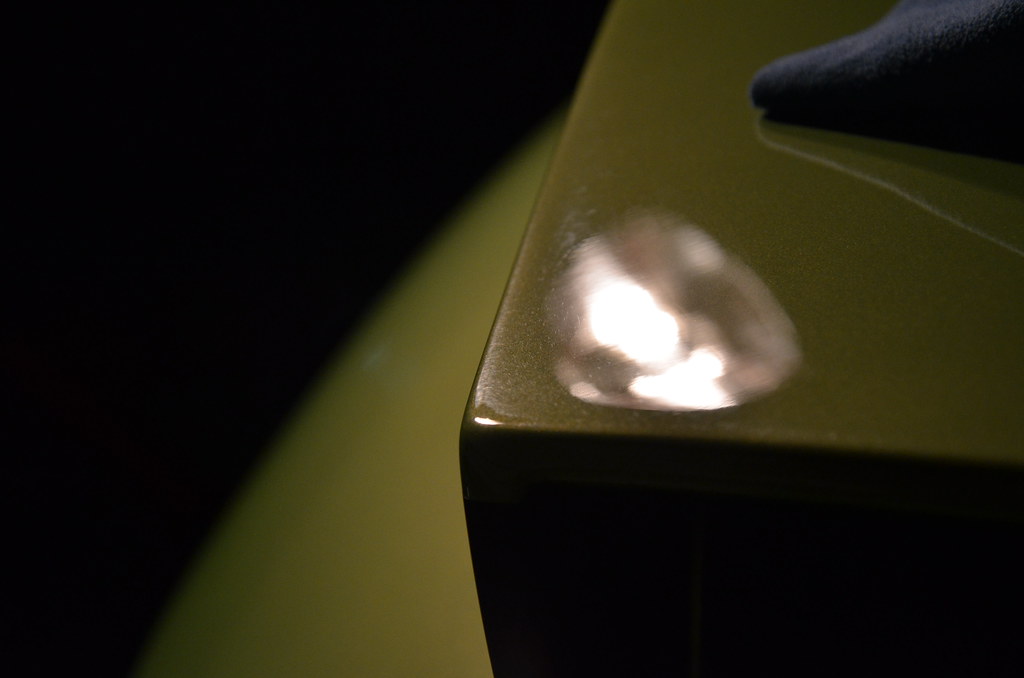
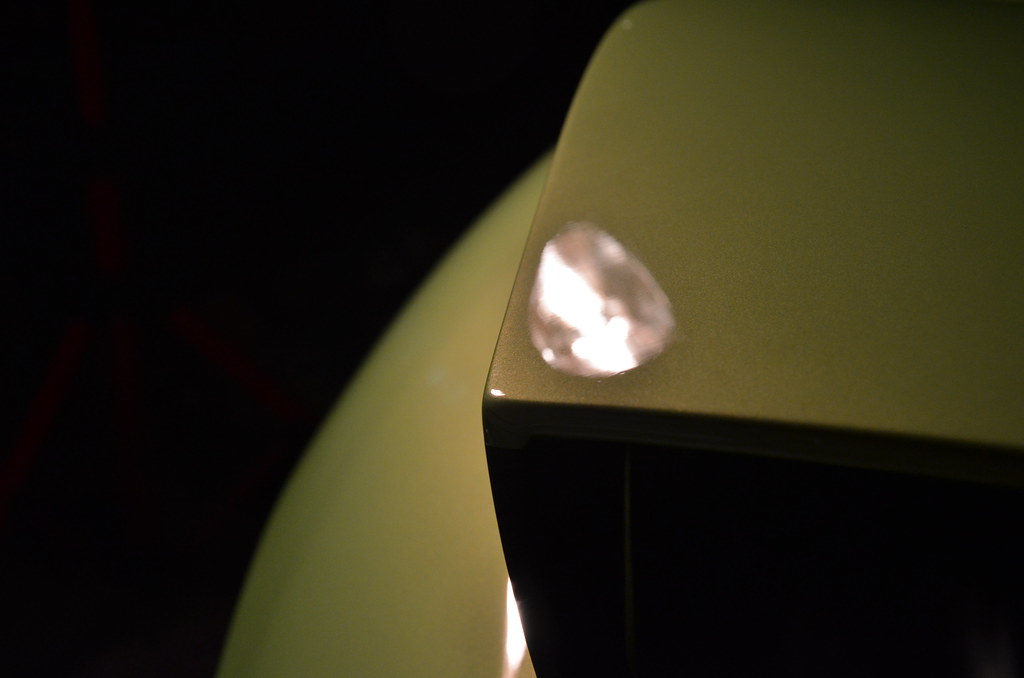
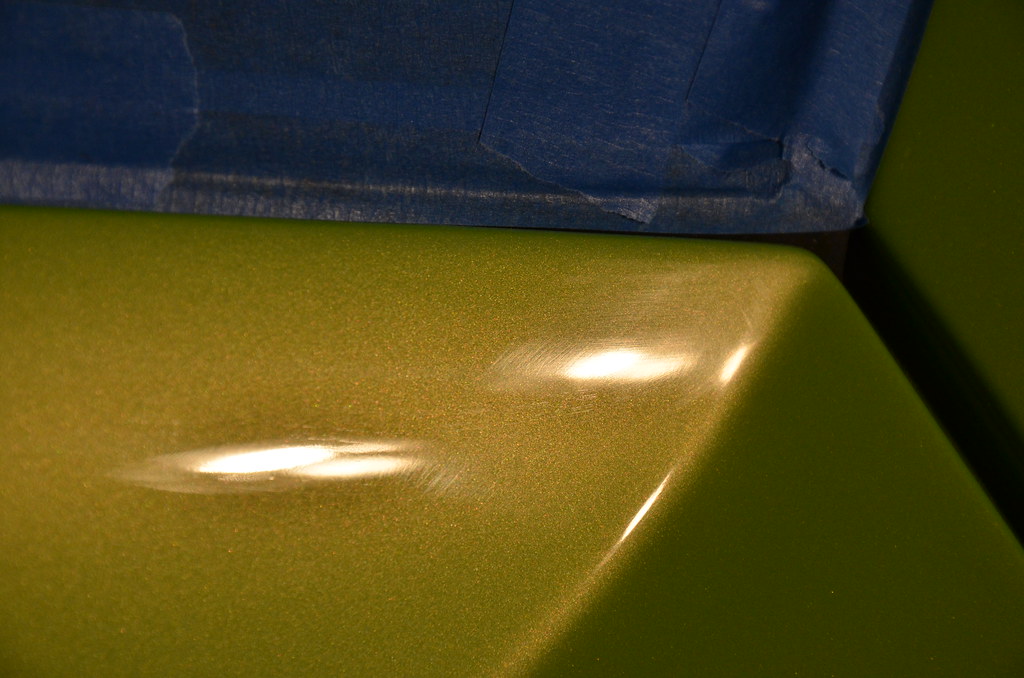
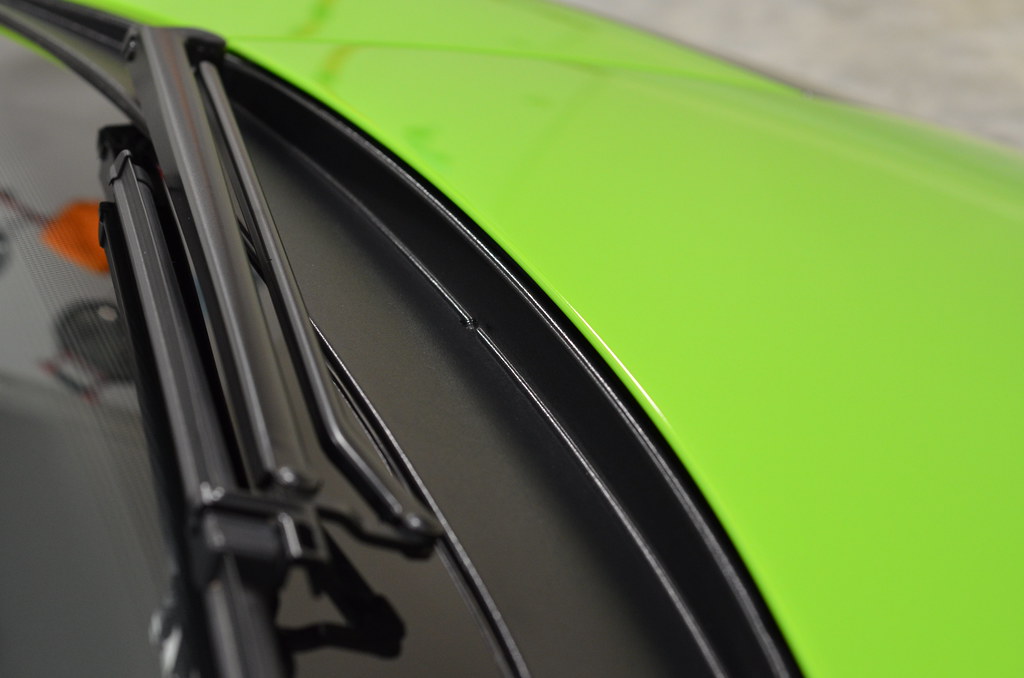
Being such a light colored car (verde ithaca) most of the correction was done in the complete dark. Targeting my halogen lights on one small section at time in a few different angles to focus on the smaller defects. This helps allow me to better capture the depth of some of the paint issues.
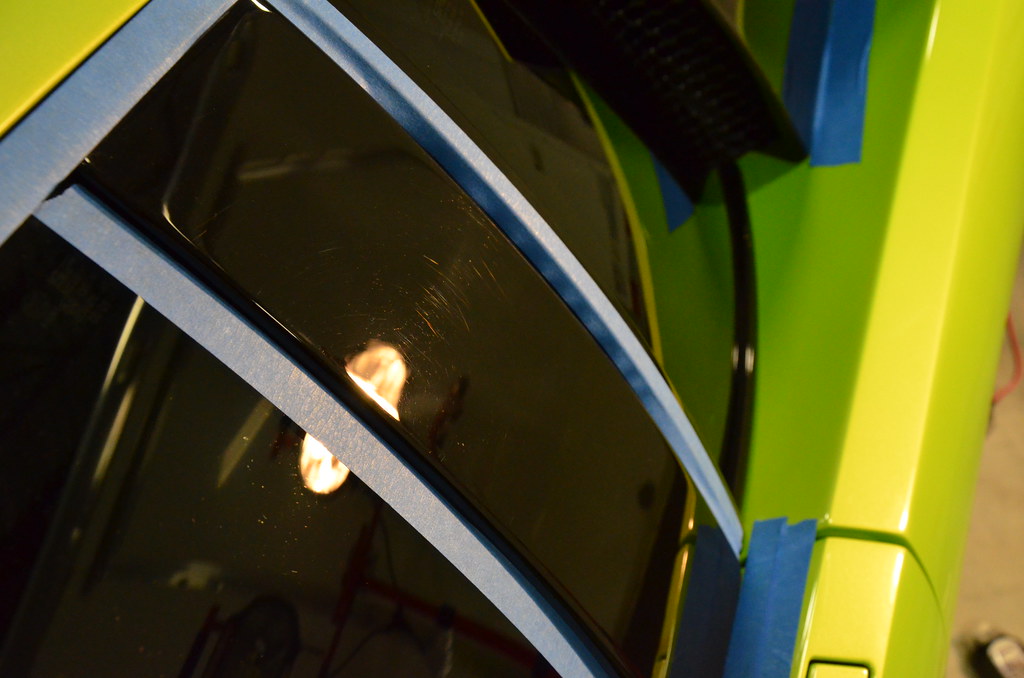
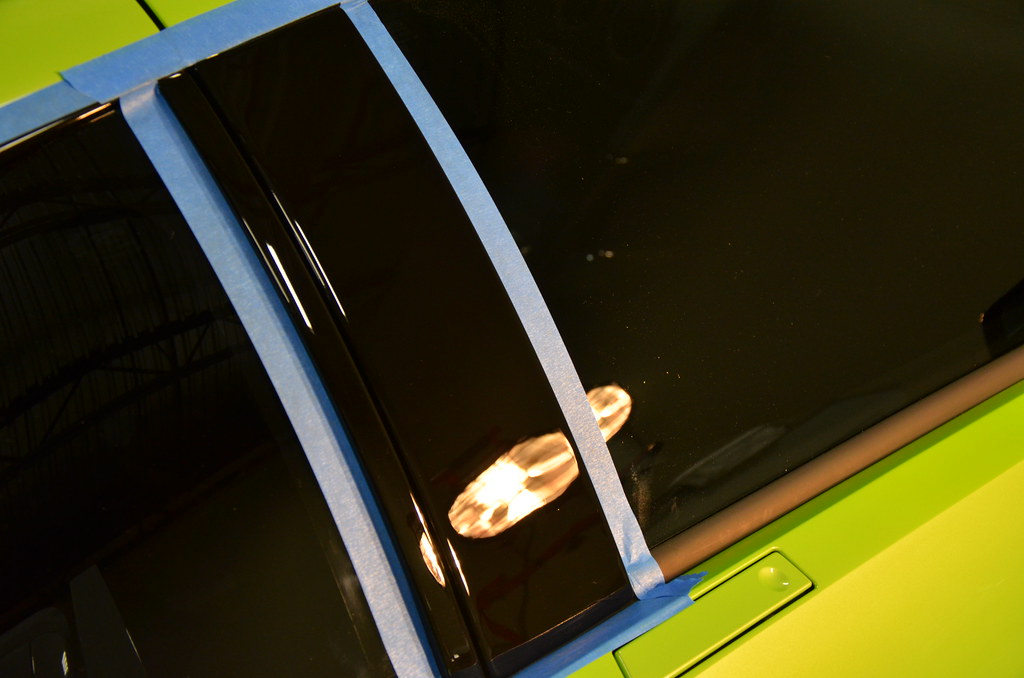
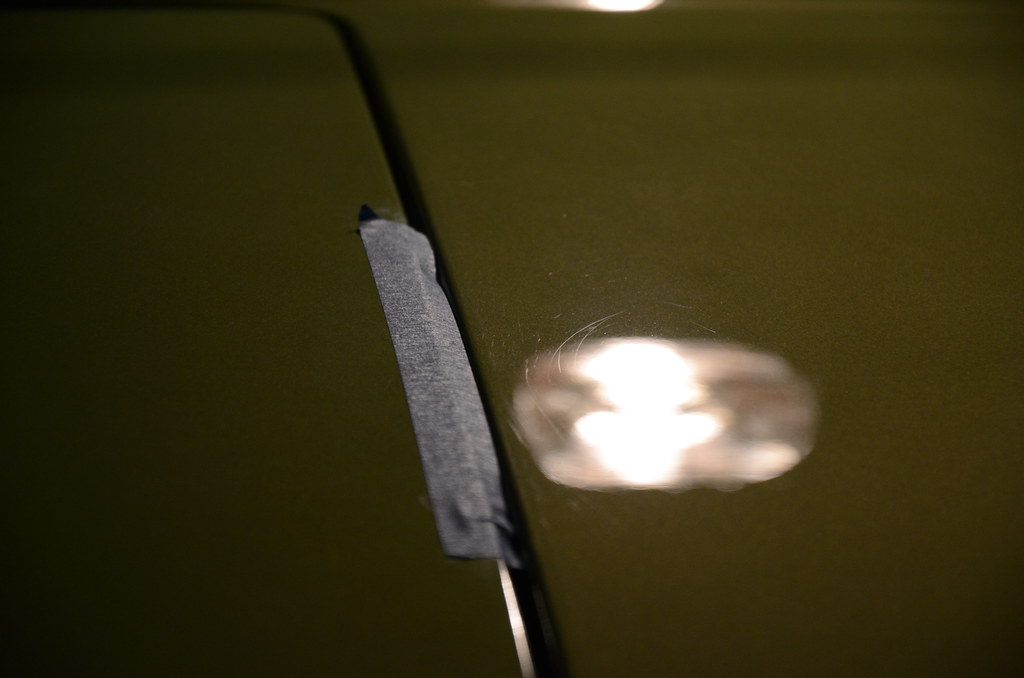
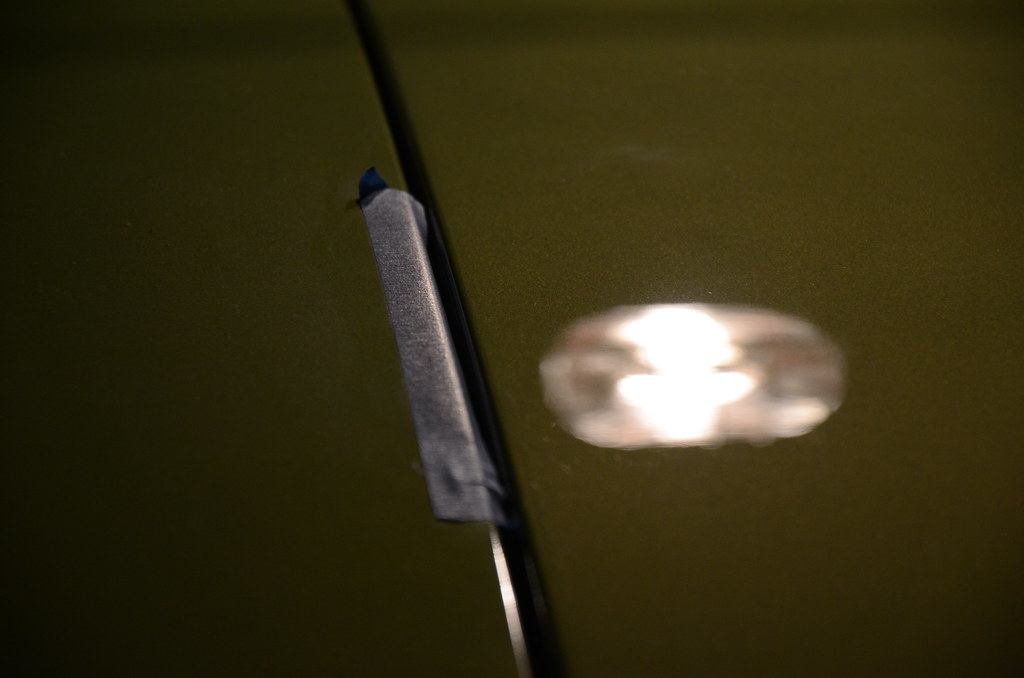
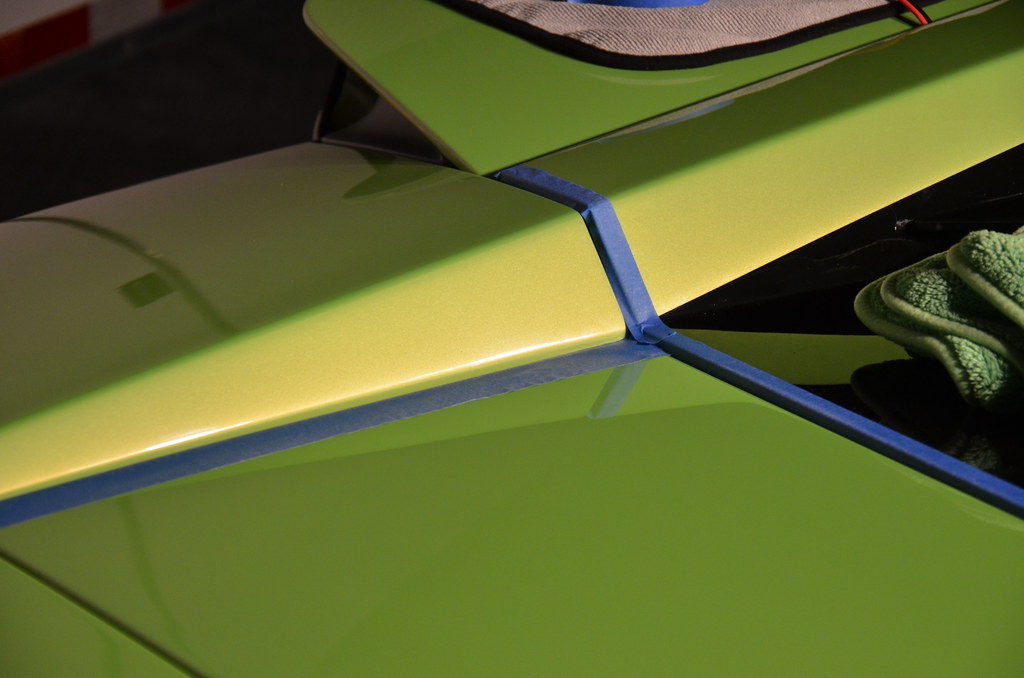
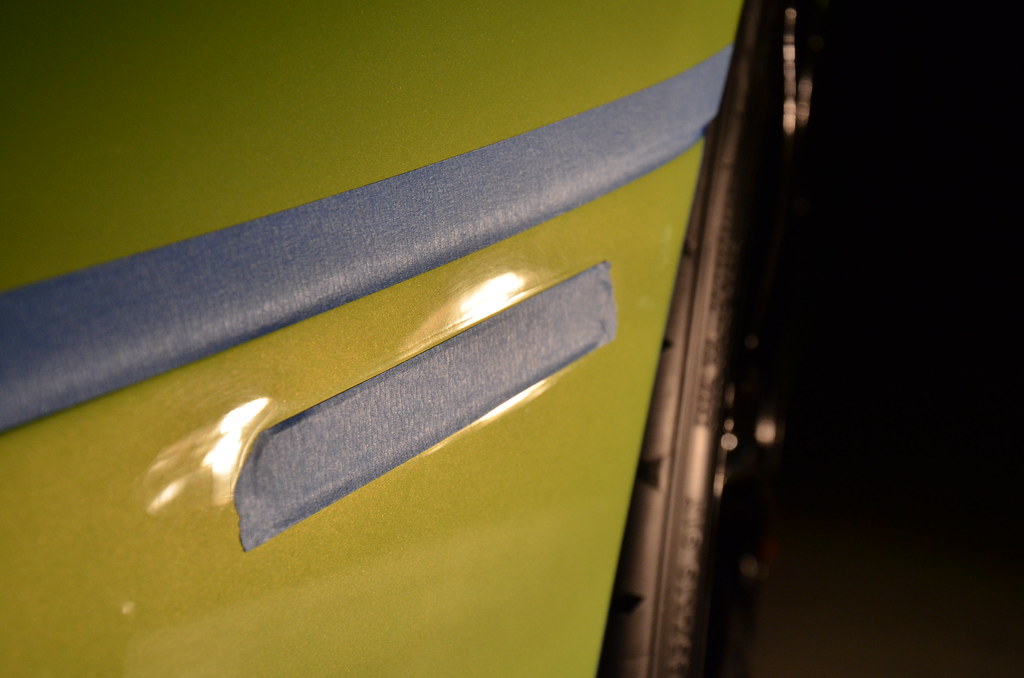
Measuring the paint work and taping edges is crucial. The paint is very hard in general with this car… but also very thin. The D/A wet sand marks will be one of the major points of focus in this detail. Like most exotics, they will run close to the edges and in tight corners. In order to not burn through any of these edges, I’ll run masking tape about a millimeter over the crease. Also remembering that there is carbon fiber under the paint I will try not to get to hot around those edges.
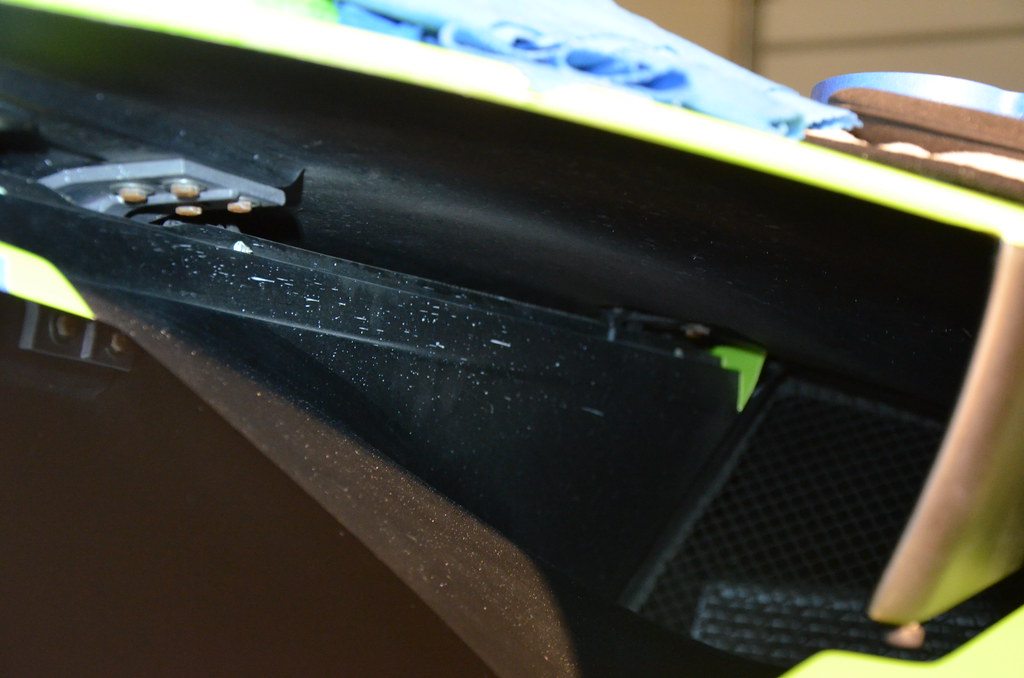
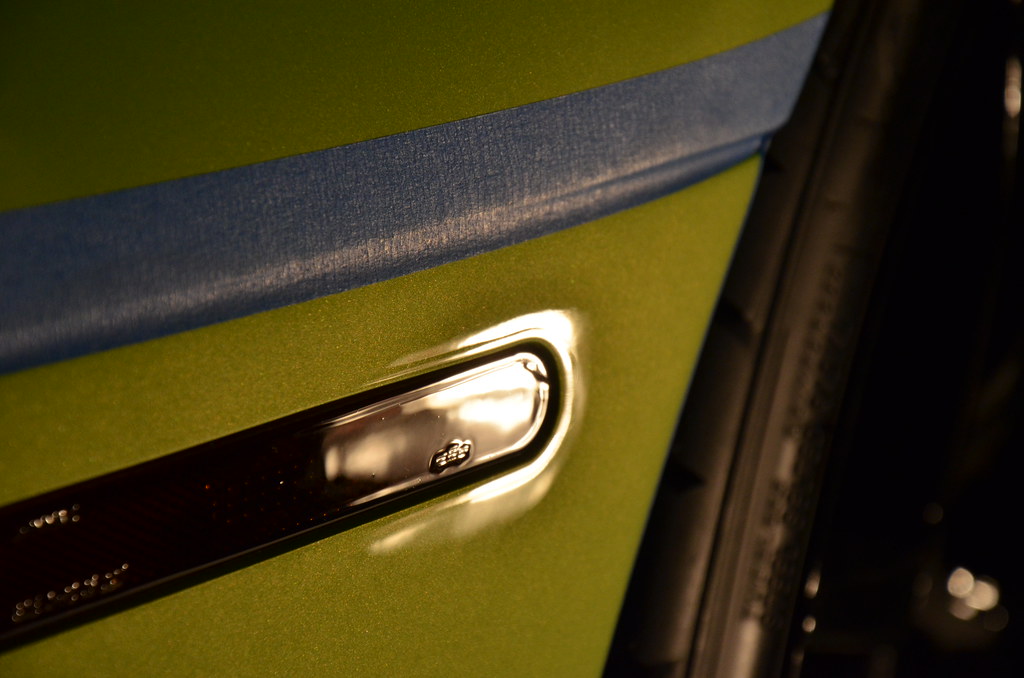
From the start of this detail I had to first remove the old clear film, which is not an easy task. Removing an edge and pulling it towards me will lift it from the surface also bringing up most of the adhesive with it. Tearing it the opposite way will nine times out of ten result in disaster with a vehicle of this nature (a great topic for another time).

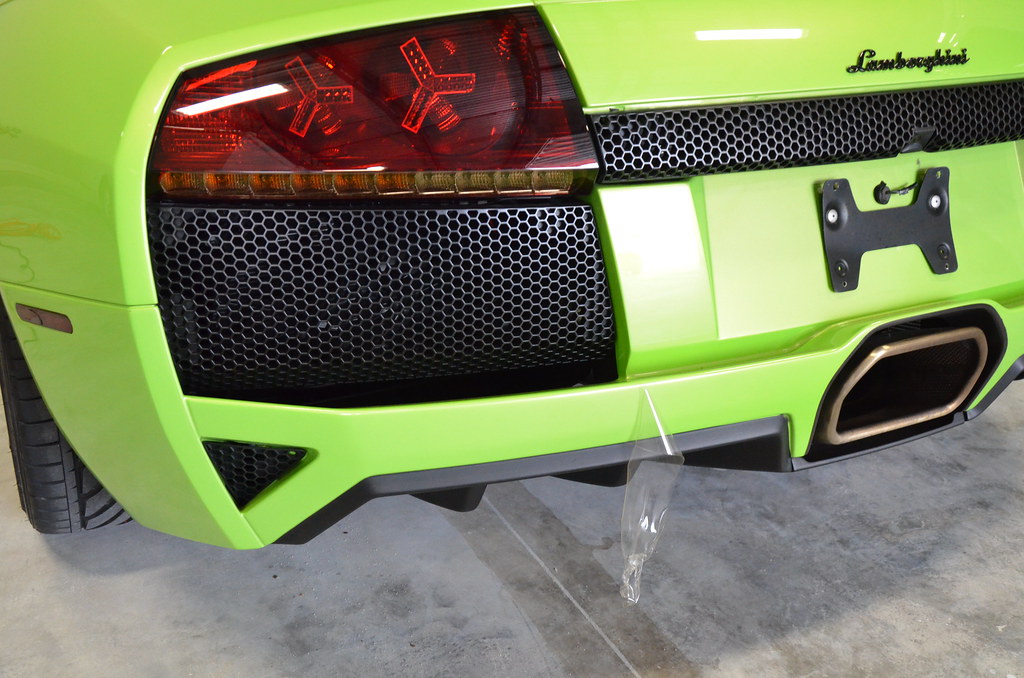
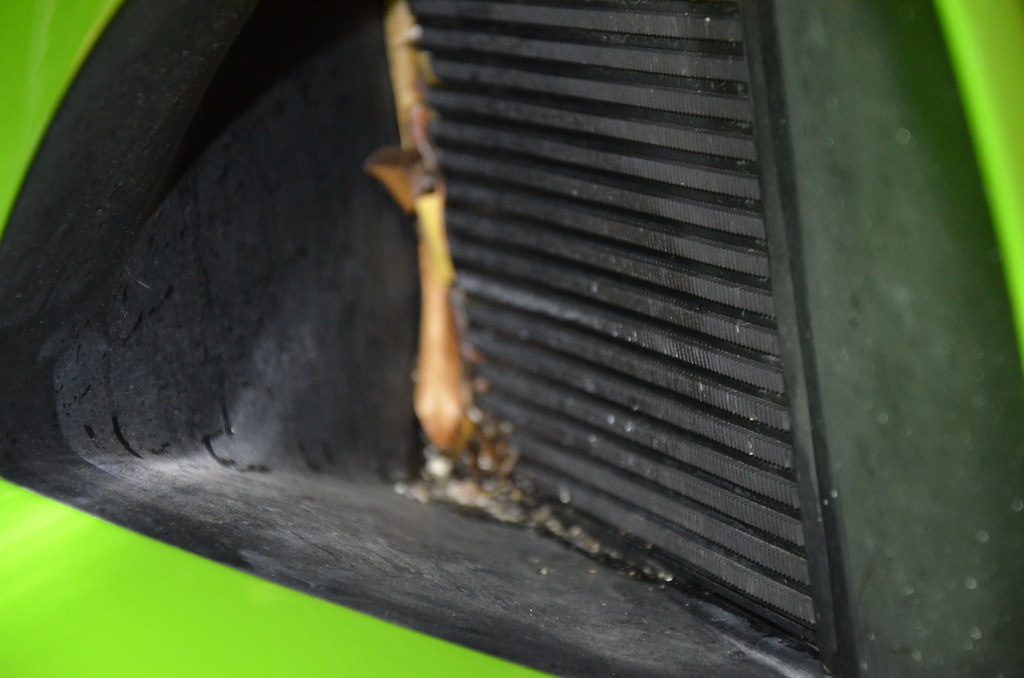
As we can see in the picture above, slightly lifted edges with some dirt staring to fill in. This is the rear bumper (behind) the passenger side rear tire.
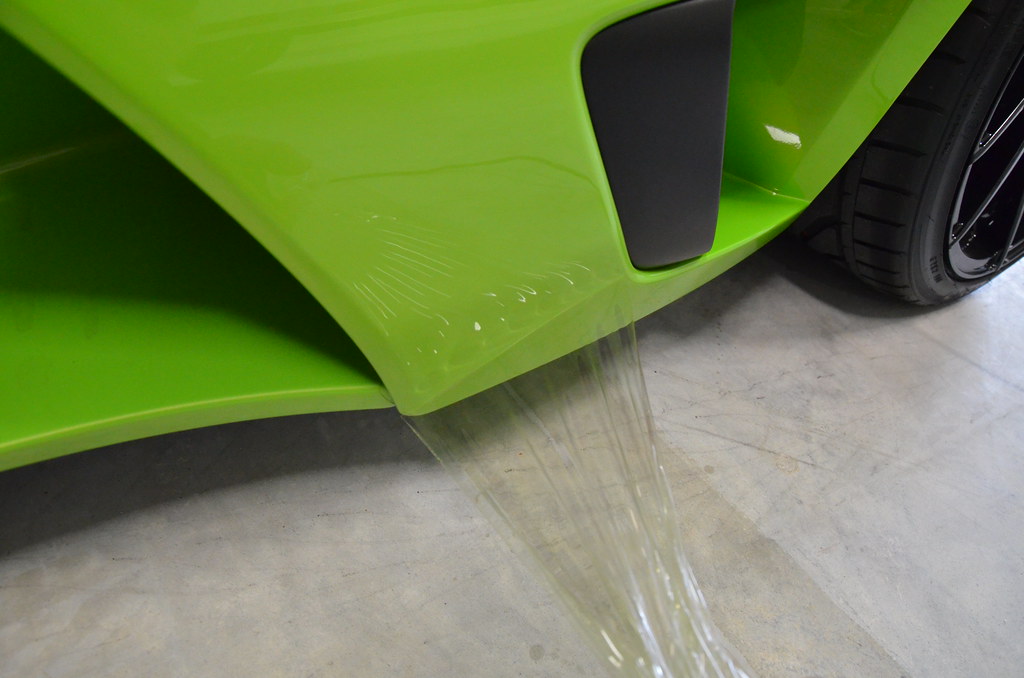
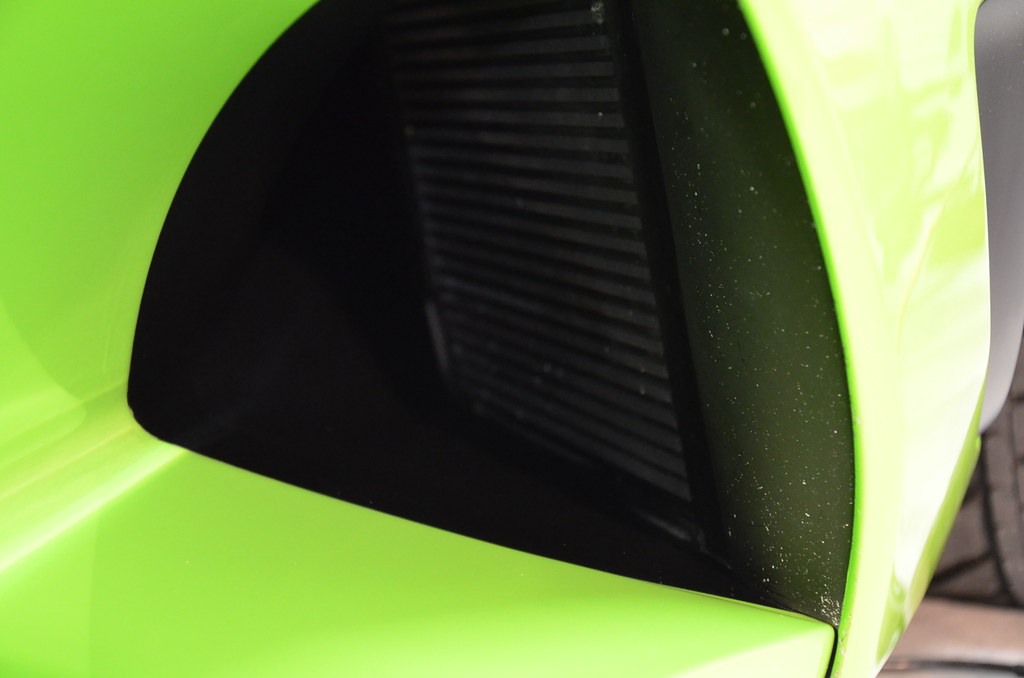
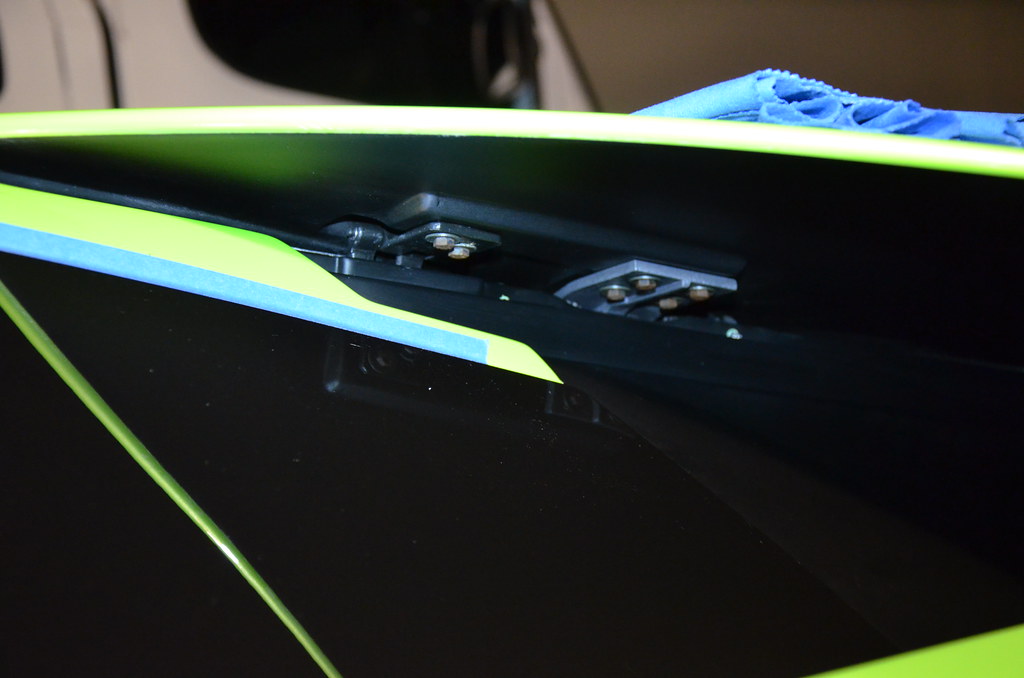
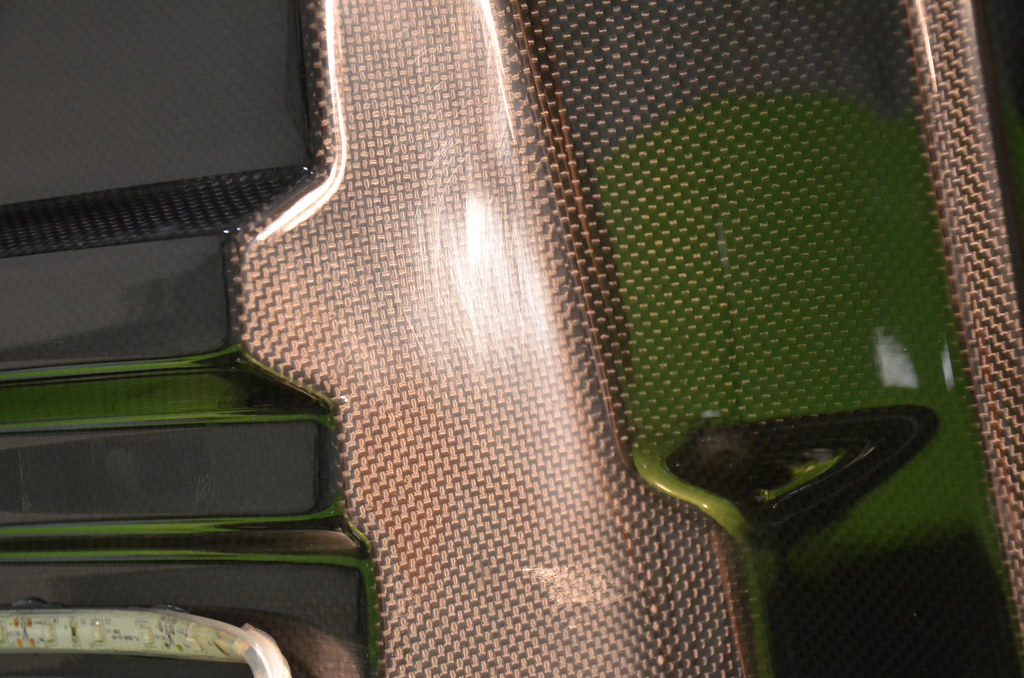
(Below) clear film removal from lower bumper.
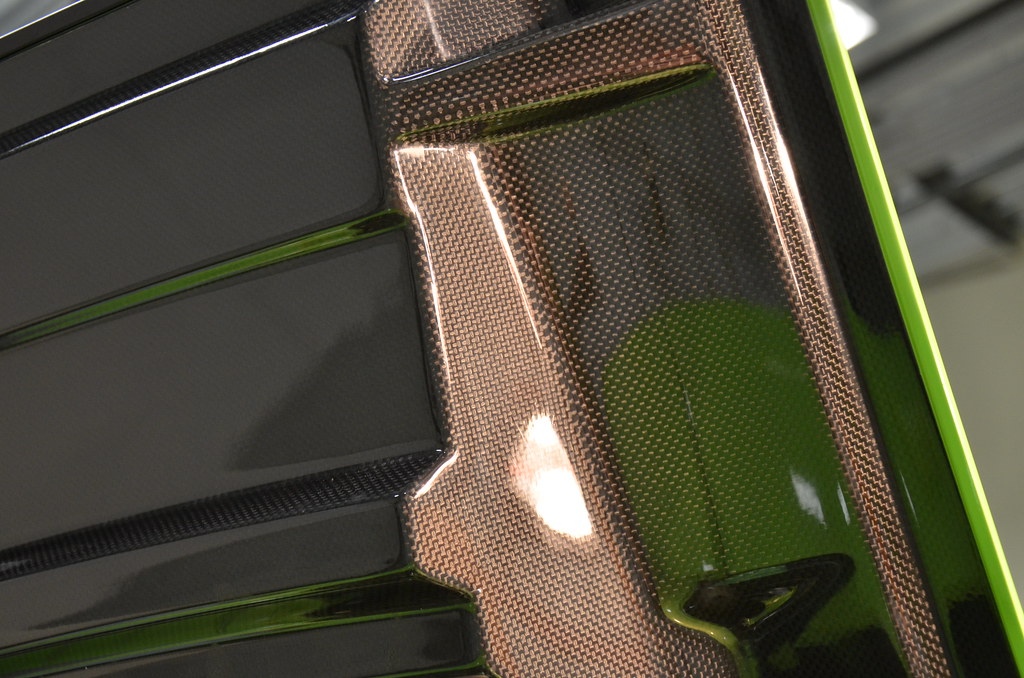
Lower side skirts in picture below (pulling the film towards me).
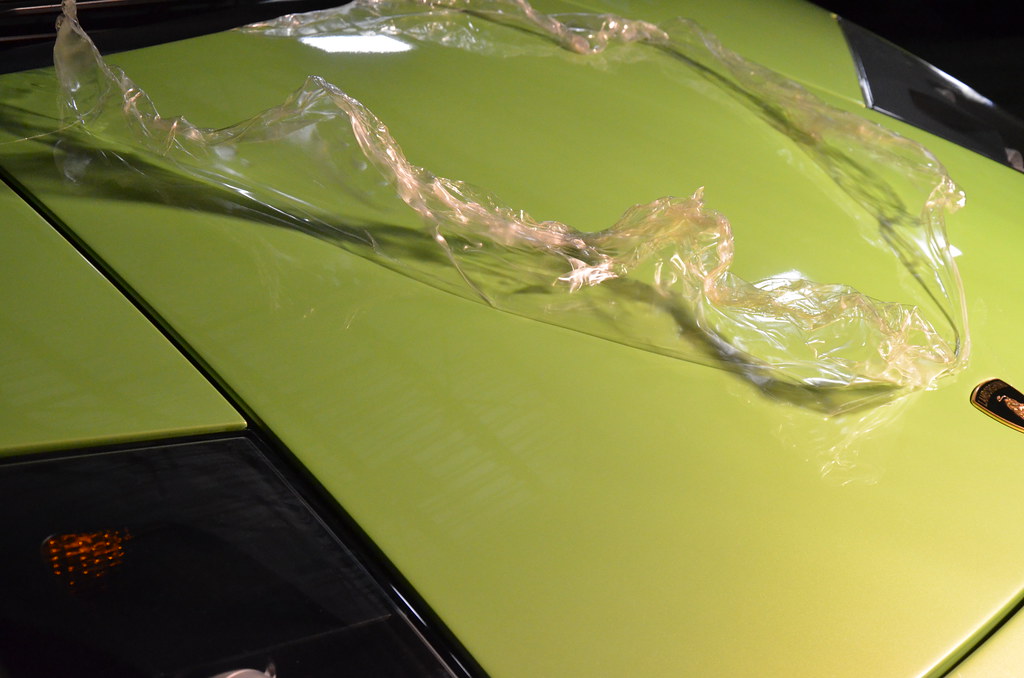
The last and largest sections removed were from the entire two front quarters and hood (below).
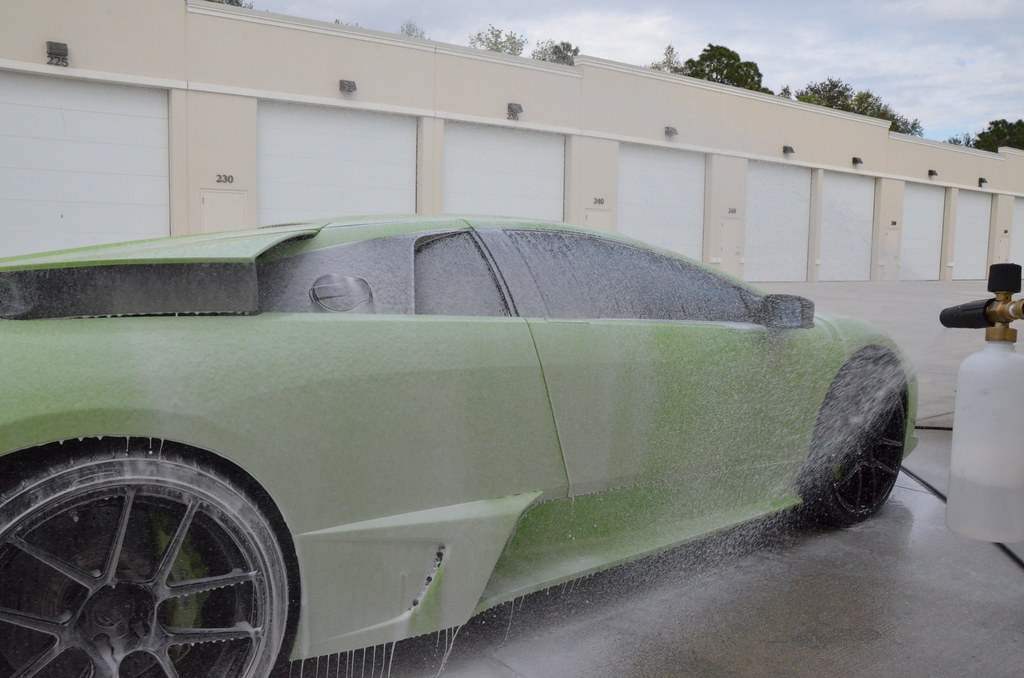
From here the car can now be cleaned and decontaminated as normal. Wheels and arches will be cleaned as well. Then foamed to remove other oils and residues from paint surface… followed up with a lengthy clay process.
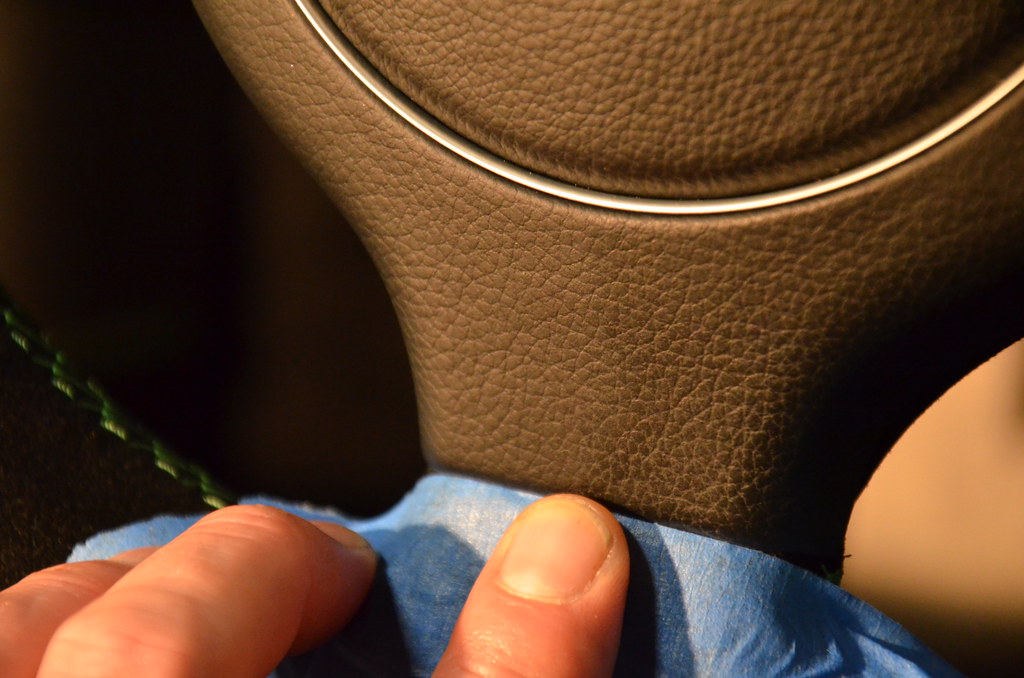
Before beginning with the paint work, I started with the interior. Cleaning the interior vinyl & leather with Leatherique Prestine Clean and conditioning leather with Leatherique Rejuvenator Oil .
Here is a 50/50 on the steering wheel after cleaning (below, Left side clean).
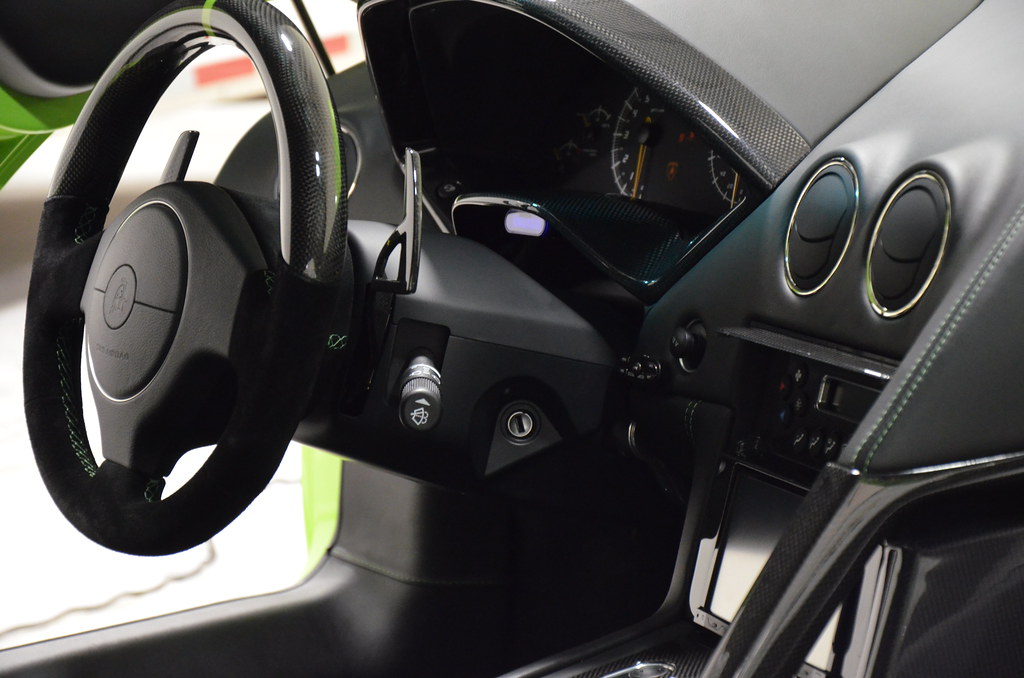
Quick shot after completion.
I had a few other spots that needed some attention before the polishing can take place (Before and After of some of the deeper crevasses).
Now that I’m happy with the cleanliness of this Lamborghini, Its time to start with the fun stuff! Paint Correction!
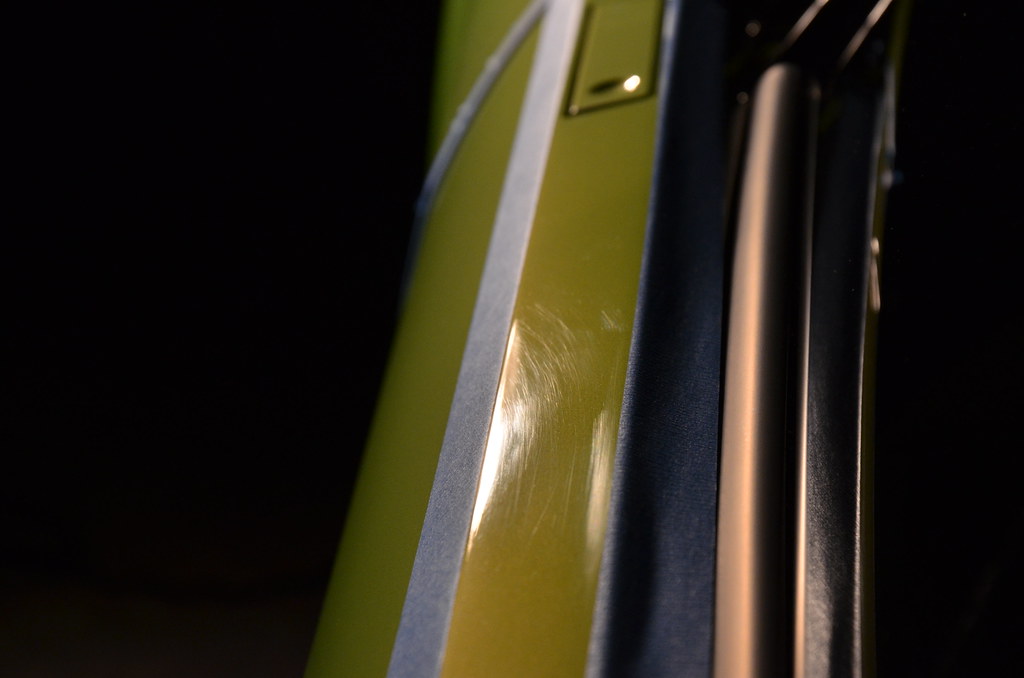
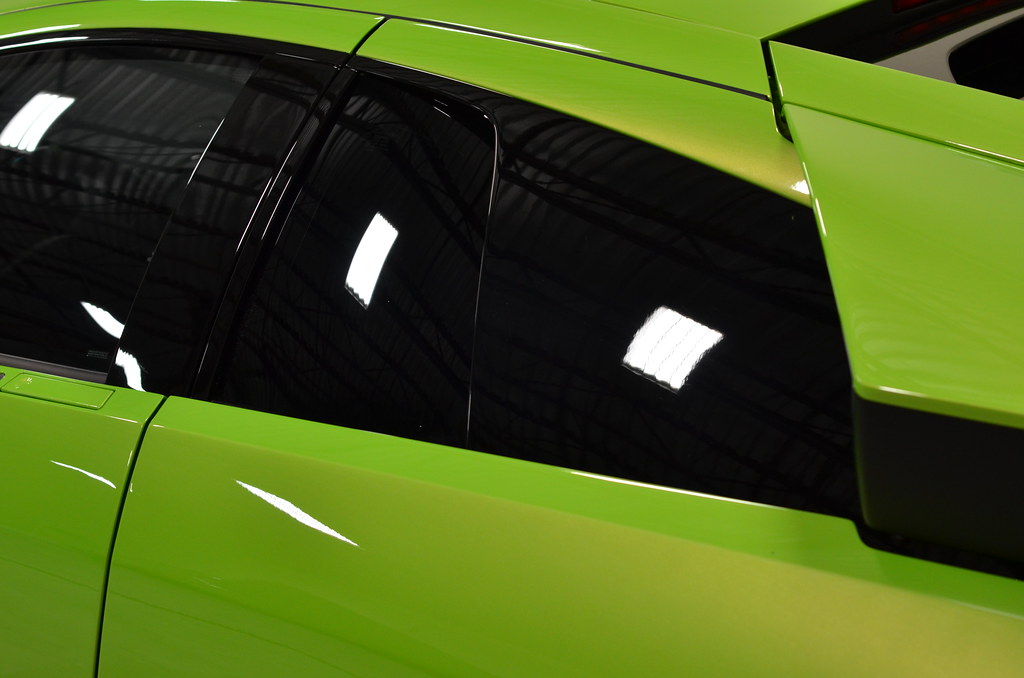
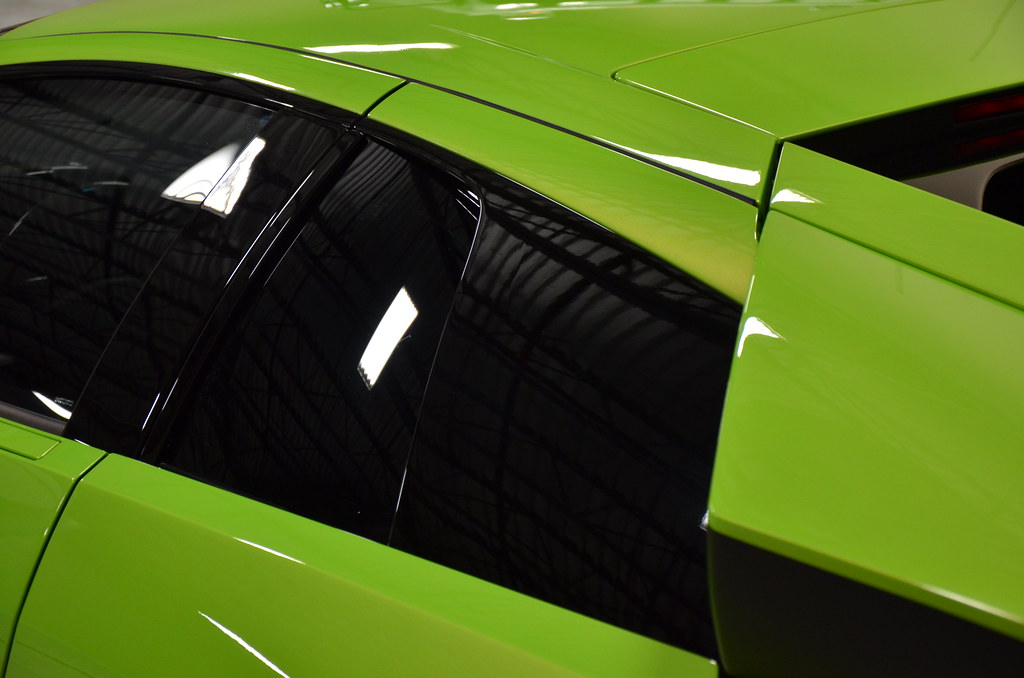
I started on the side panels and window trim with a medium cut pad. Single step correction with a final jeweling and they were set.
(Before / After)
Staying up around the windows I went a head and finished the pillars. Keeping with my 3″ pad work.
A quick little 50/50 showing the difference.
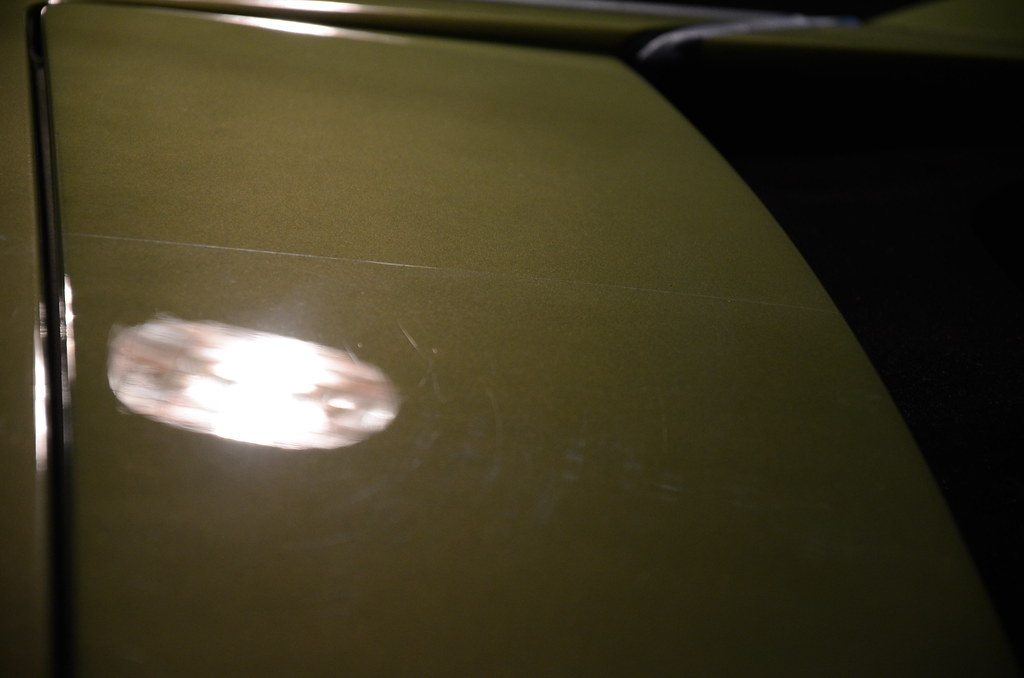
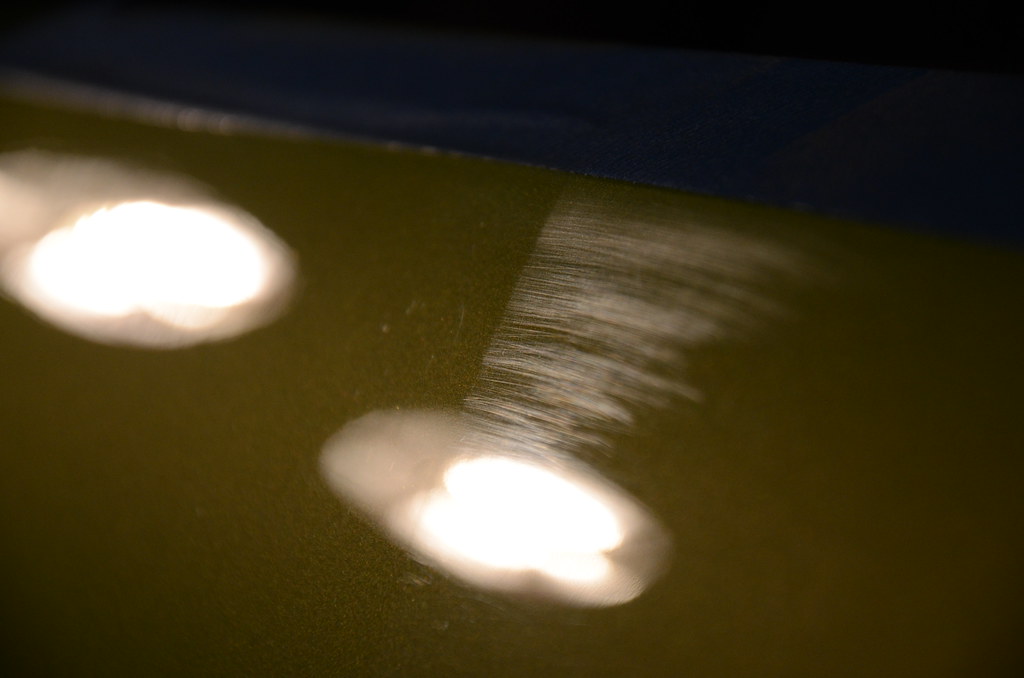
Searching the whole car for the largest cluster of factory D/A sand marks, I found a nice batch on the drivers side door. Using the Maguiar’s D/A cutting system I started to chop away.
(50/50 on drivers side door)
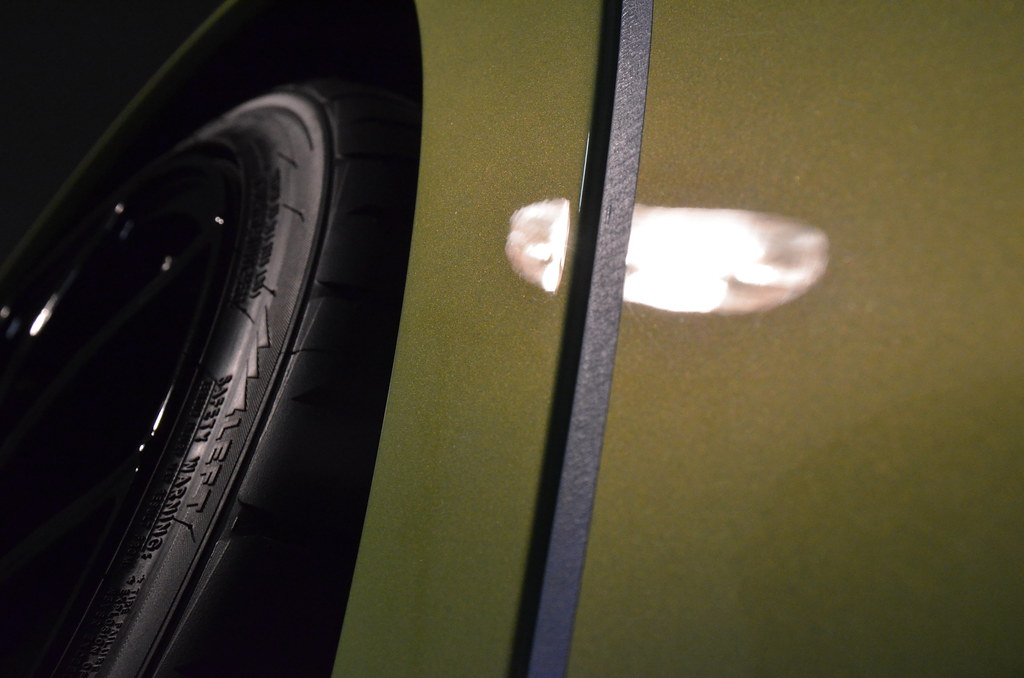
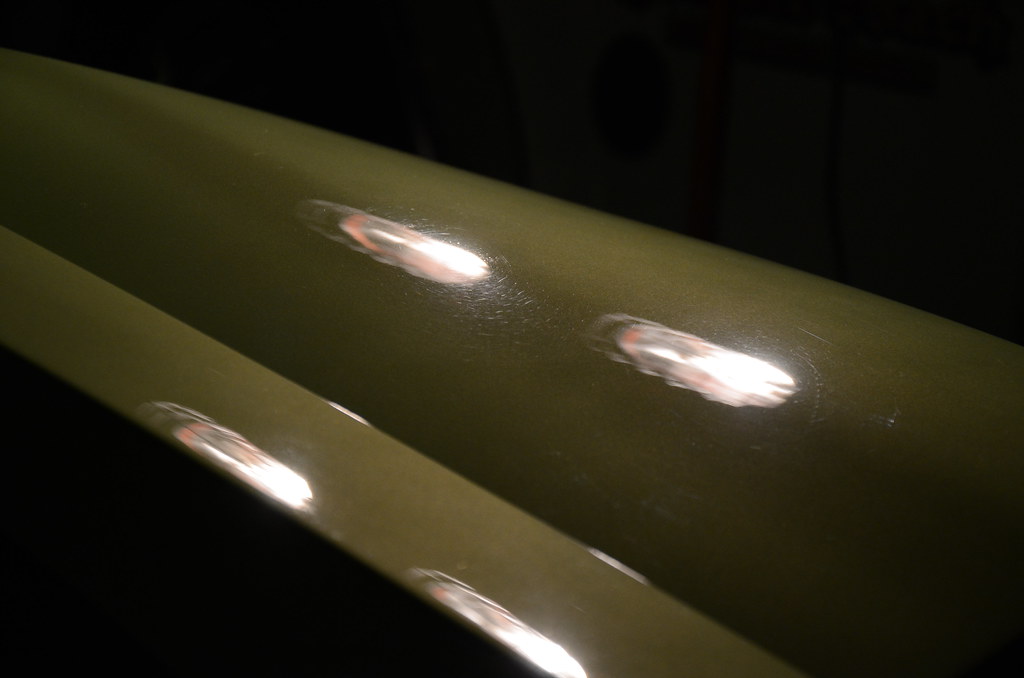
Staying around by the drivers side door. I find a nice little area that requires more finesse. Some wet sand rids that are running close to edges.
(Before / After)
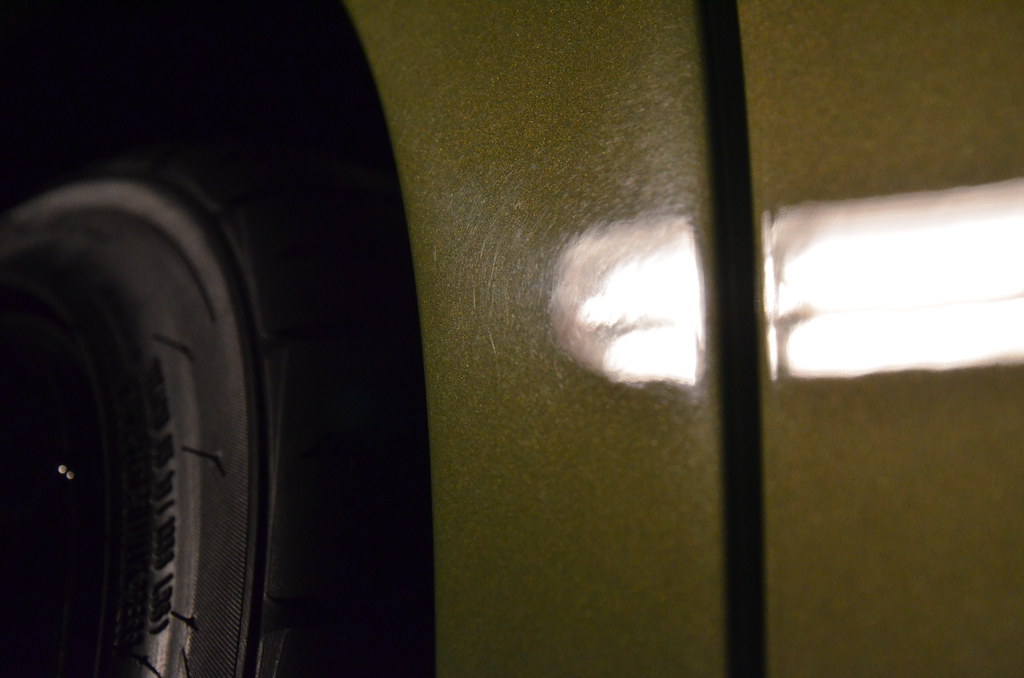
3″ Meguiar’s Cutting Disc and M105
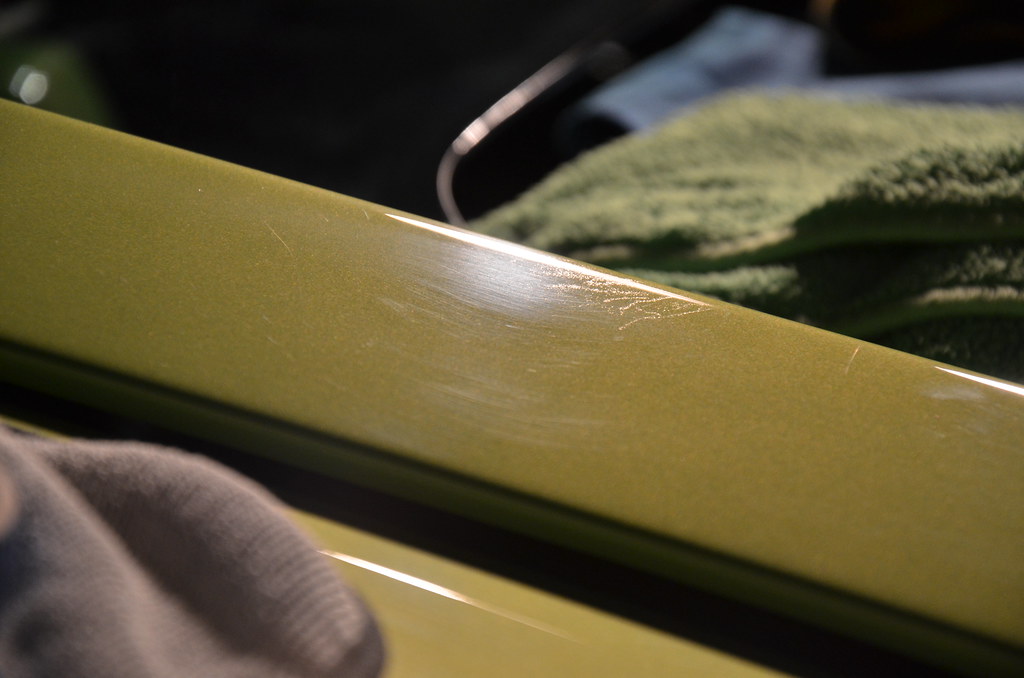
Constantly I’m being mindful of how much heat and pressure I’m putting into this painted carbon correction detail. As well as taping edges and measuring paint.
We’ll take a run through the next few pictures. Showing some before and afters, 50/50’s and how I brought the paint back to life.


A lot could be said for the amount of time it takes to safely do the amount of correction that was achieved (remember this was a 60 hour detail!). Several area’s were handled differently. From rotary to D/A, from Meg’s Microfiber pads to foam pads on 2 primary types of carbon, correction was at hand for this beautiful verde ithaca.
Completely protected for the time to come and well worth a thousand plus mile journey. The paint was protected with Modesta Coating, BC-05.
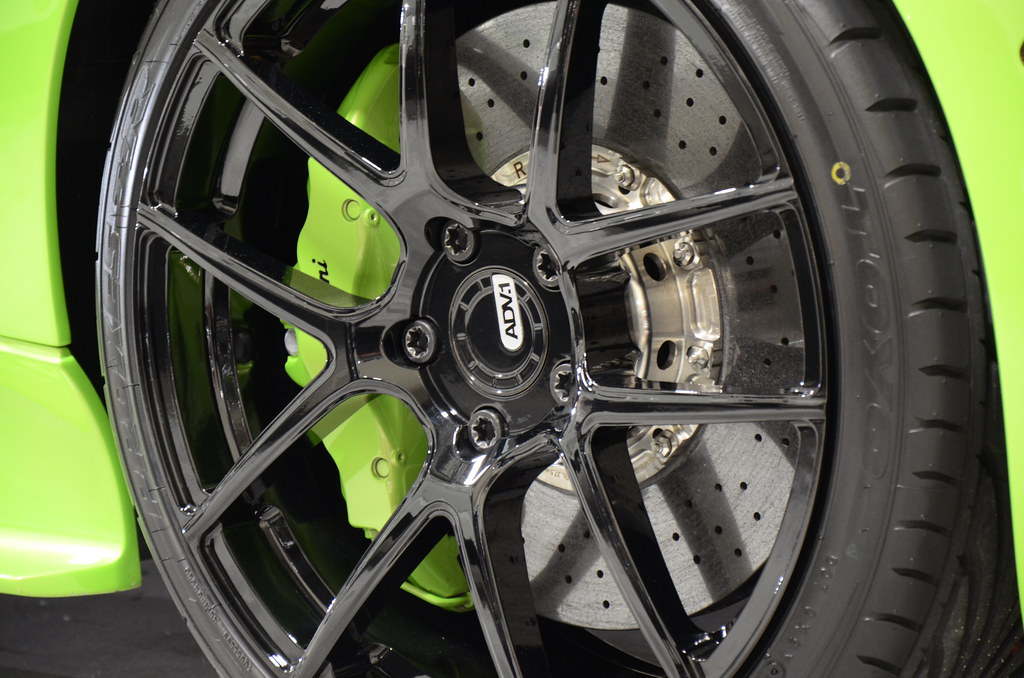
The wheels were coated with 22PLE VM1 Rim and Metal Coating and the trim with 22PLE VR1 Plastic and Trim Restore
Wheels coated (below)
Trim coated (below)
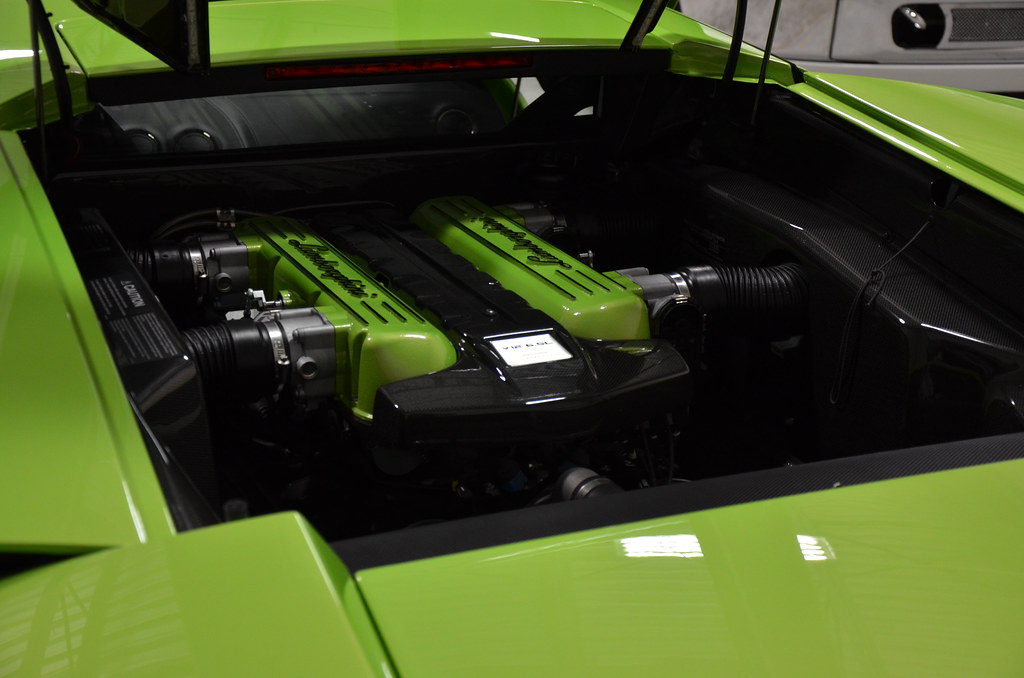
Motor detail completed. These carbon covers were topped off with wax.
Final pictures after the coating has had a proper amount of cure time.

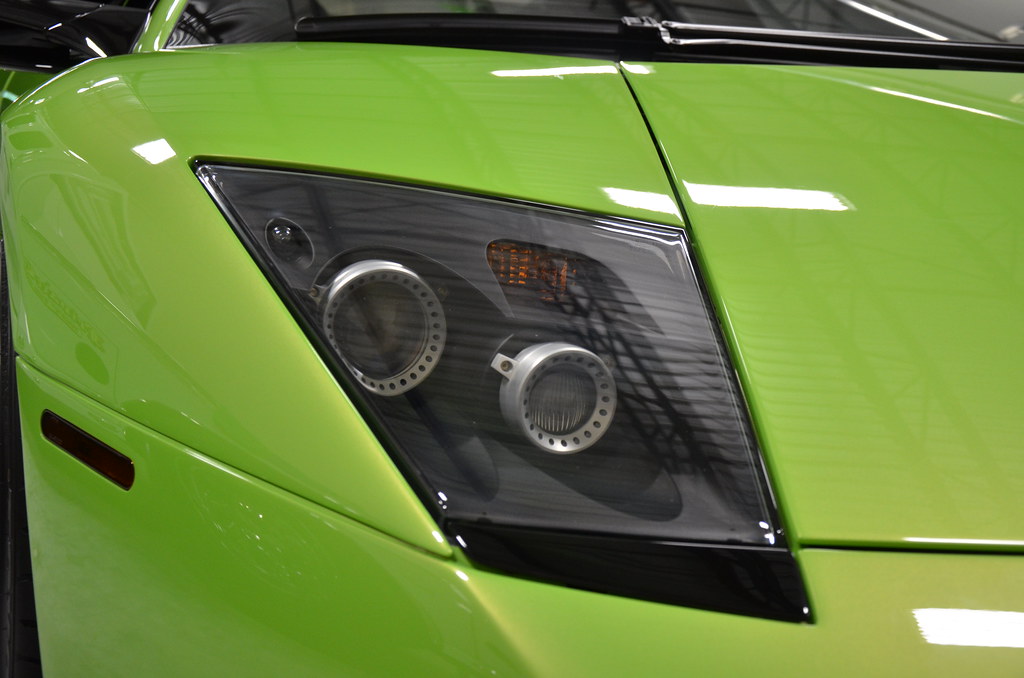
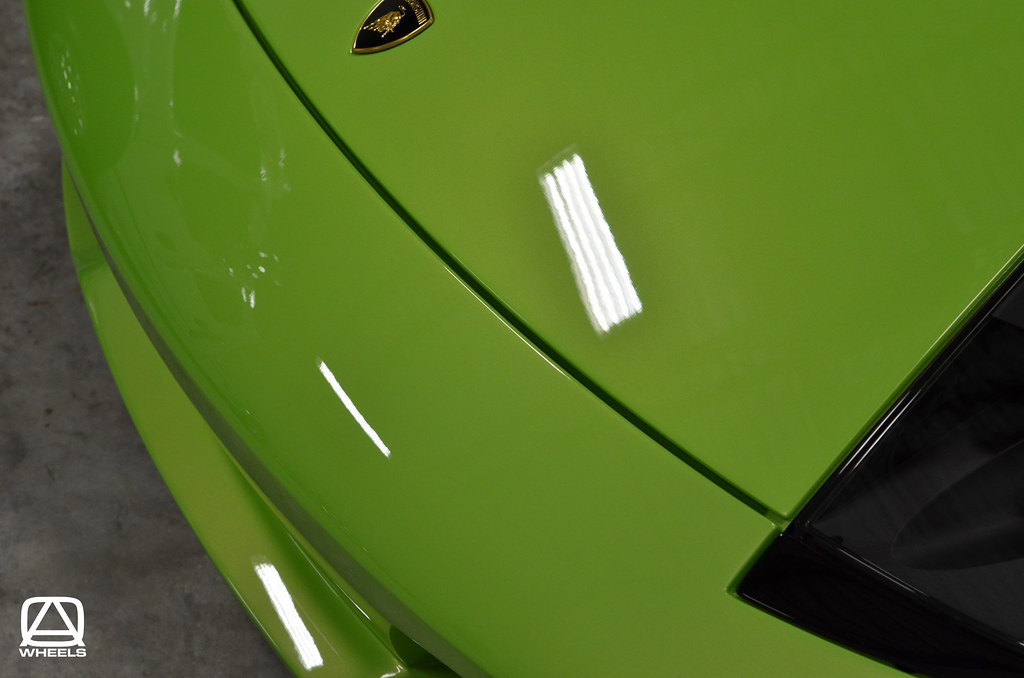

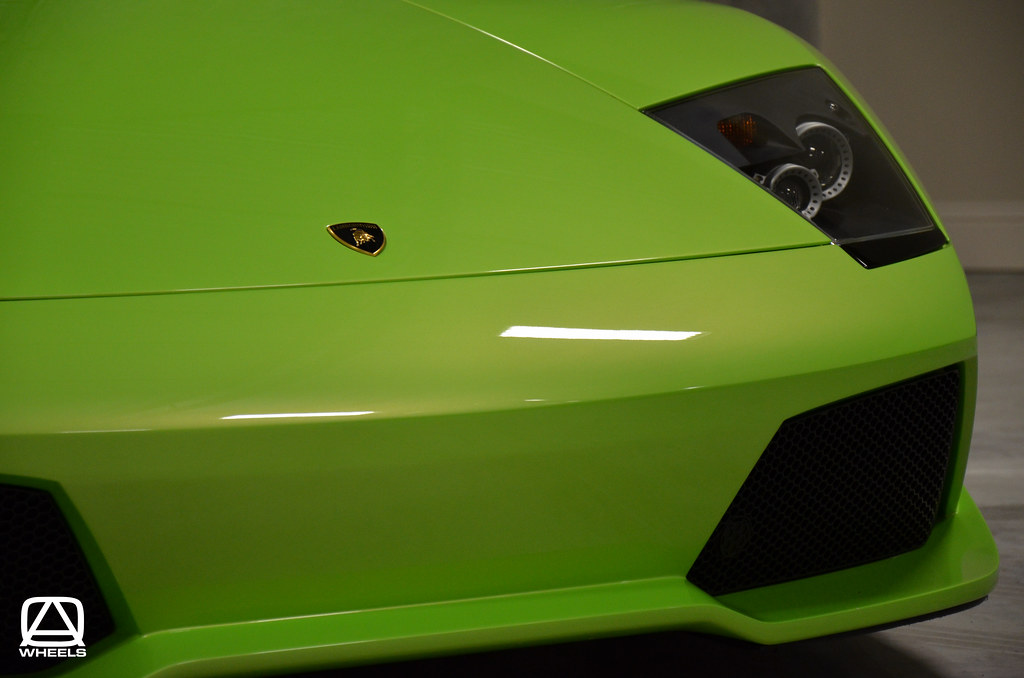


This Lamborghini is now extremely vibrant and fully protected. “What a beautiful machine!”
Again, this detail was 60 hours and the car came all the way from PA to FL for an AOWheels Auto Detail.
Hope you enjoyed this project as much as I did! Please feel free to ask any questions!
Thanks for looking,
Brian Guy


GREAT job!
Thank You!
Great finish Brian…I love that Modesta coating…they are well worth the money
Absolutely! Thank You!
Great work Brian! Car looks superb and great job on the writeup!
Tim, Thank You Very Much! Hope All Has Been Going Great For You!!!
Great write up Brian, nice read, and even better photos!
Awesome! Glad you like the photo’s!!! Thank You Alex!
Beautiful write up and the pictures are great, your work and detail writing reminds me of Todd, keep up the good work.
Thank You Bob!
Great work Brian!!!!
Thank You Sir!
Holy cow!! Super job on a super car!
Thank You Very Much!!!
I appreciate all the kind words!
That green paintwork is absolutely STUNNING on that Lambo. Lamborghini always does the most beautiful paint colors on their cars. I have seen the most incredible Oranges, Blues, other very “one off” and unusual and now Green color on their cars. Thanks for posting that detailed review of what your process of restoration and revitalization of this incredible supercar was.
Thank You Joe! Green, Verde Ithaca is in my opinion the best Lamborghini color!
Awesome Job, What Product Did You Use On The Interior Of The Car Besides The Leatherique?
The rest of the interior work was cleaned with Swissvax products. Such as Alcantara cleaner for the suede and Nano Express for the interior carbon protection.
Great work. What polish did you use for the paint correction?
Stelian Sir,
I used Meg’s 105 for the correction work, Scholls S30+ followed by P0-1A primer!
Thanks Mate! Hope all has been well!
Brian