
What is a clay bar
To many, claying is a magical and mysterious process that only the professional detailers use. They have heard that using a clay bar will remove contaminants and provide a very smooth finish, but they are reluctant to try it.
While there are a few important safety tips to be aware of before trying it, claying your vehicle is actually quite easy and doing it a couple of times per year will help maintain a smooth, clean finish.
Let’s take a look at a few key areas about claying.
Why Clay?
The surface of your vehicle is constantly getting exposed to airborne contaminants that will actually stick to the finish and potentially cause damage. Items like brake dust, industrial fallout, bug residue, tar, etc. Some of these items can be corrosive, and they will start to damage the clear coat and cause rust spots if not removed regularly by using a clay bar. Tiny metal particles (commonly referred to as rail dust) will embed into the finish, and will show up as very small rust colored specs that are particularly easy to spot on white cars.
Regular washing doesn’t always remove all of the contaminants from the surface either. If you run your car through the occasional touch-less car wash (do NOT use car washes with brushes or anything else that touches the surface…that’s another topic I will cover), you will notice that there is still a film of road grime left. Over time that will build up and the only way to remove it is by claying.
By rubbing the detailing clay across the surface of the vehicles, it will actually trap these particles and contaminants leaving a fresh, smooth finish.
Not only does claying prevent potential damage from some of these corrosive materials, but it also provides a smooth surface that allows your sealant or wax to adhere better.
Do brand new cars need to be clayed?
Yes, absolutely! Once cars are built, they typically sit in lots or shipping docks that have a high exposure to industrial fallout. Many of them also spend time on trains and trucks to get to their final destinations where…they sit in lots some more! It’s very common to find rail dust on brand new vehicles. I always recommend that a brand new car gets (at the very least) clayed to remove these contaminants.
How often should I clay my car?
That depends on a lot of factors, but as a rule of thumb I recommend that it be done twice per year. My personal vehicles will get clayed right after we come out of the harsh Midwest winter and then again in the fall before I apply my winter sealant. If you live or work in an area with a high level of industrial fallout, then it should be done more often.
How do I know if my car needs to be clayed?
When the car is wet, lightly run your fingers across the surface to see if you feel any rough spots. If so, you’re feeling contaminants that need to be removed. Another way is to use the “bag method”. You can either put your hand inside of a plastic baggie, or use some plastic wrap from the kitchen. Run this across the surface with your hand, and if anything grabs at the plastic, you know that you need to clay.
What’s the claying process?
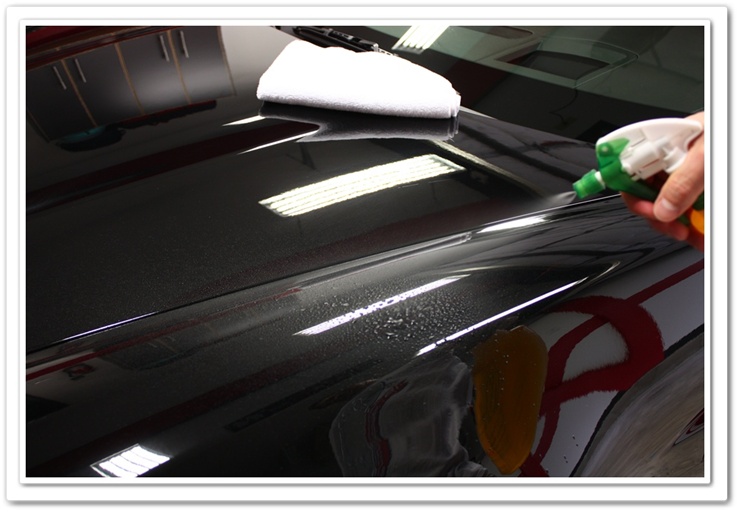
First you’ll need some clay and a proper clay lubricant to protect the surface. Without lubrication, the clay cannot glide across the surface, and will actually leave marring and residue (OK, important safety tip…use plenty of clay lube!).
If you are new to clay, or you clay often and thus already have a vehicle in good condition, I would recommend using a fine grade bar of clay from Clay Magic, Chemical Guys, or Clear Kote. The finer the clay, the less chance of marring the finish. The medium grade clay is used for more heavily contaminated vehicles (cars that have gone many years without claying), and it has a greater risk of marring the finish. It’s only recommended that you use medium grade clay if you are polishing afterwards.
As for clay lubes, there are plenty of choices out there. Optimum No Rinse is a great option because it can be used for a wide variety of needs (quick detailing, clay lube, no-rinse washes, cleaning inside of door jambs, etc). Two of my favorites when I need a really slick lubricant are Dodo Juice Born Slippy clay lube or Optimum Quick Detailer and Gloss Enhancer.
Before you start, you’ll want to thoroughly wash and dry the vehicle as you normally would. This is all you need to do to prep the surface for claying.
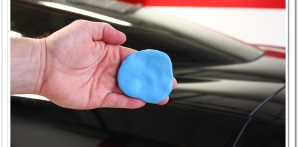
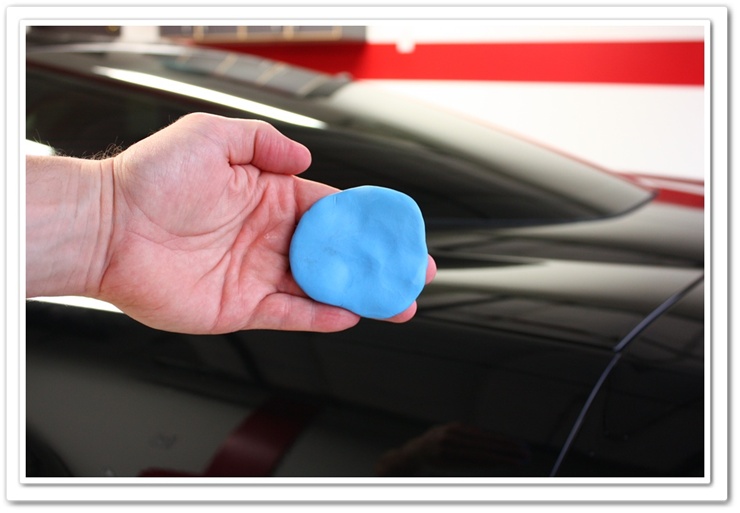
Take your clay bar and cut it up into 3 or 4 equally sized pieces. You don’t want to use one big piece because if you drop it on the ground, it needs to be thrown away! You always want a few backup pieces available to you.
Now take one of the pieces and flatten it out so it’s easily held with about 3 fingers.

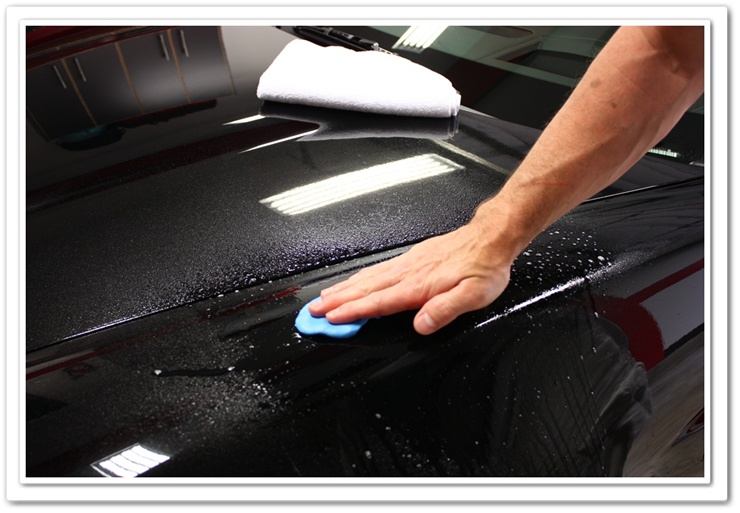
You always want to keep a fresh side of the clay on the paint, so be sure to inspect it often. Do a few small sections, and then flip the clay over to exposure a fresh side. After you have done both sides, you can fold the clay a few times, knead it, and then re-flatten it out to make sure you have a clean piece of clay to work with. You should continually check the clay to make sure there are no heavy pieces of debris in it that could potentially harm the finish.
Typically the worst areas of the vehicle will be the horizontal surfaces, the back end, and the areas directly behind the wheels.
You can also use clay to thoroughly clean the exterior windows, and the wheels as well.
If at the end of the process the clay appears to be heavily contaminated (significantly discolored or feels rough), then throw it away. In most cases it can be used again, so for storage I recommend that you spray the piece with your lubricant, and put it in a zip-lock baggie. Don’t leave the clay out and exposed as it can dry out and/or collect dirt and debris.
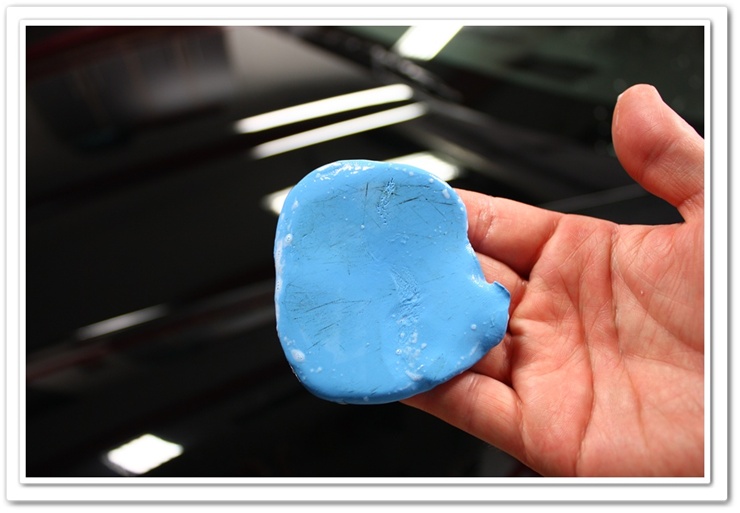
Here you can see a little bit of contamination in the clay after doing just one small section…on a new, garage-kept Corvette with only 1400 miles on it!
Once again, if you drop your clay…throw it away!
After you’re done claying the car and you’ve exposed a smooth new surface, you have a few options for your next step.
Some say to re-wash the car to remove any potential debris from the claying process, and some say it’s not necessary. Personally, I like to do a quick wash afterwards to make absolutely sure that any debris is removed along with the residue of the clay lubricant.
If you’re machine polishing, then you’re surface is prepped and ready. If you want to do it by hand, a product like Dodo Juice’s Lime Prime pre-wax cleanser (for light defect removal), or their Lime Prime Lite (no abrasives) to give the paint a nice shine, and a good base for waxing.
Or finally at this point you can go straight to your favorite wax or sealant.
Now you have learned how to use detailing clay like a pro, and you are on your way to keeping a much nicer finish on your vehicle! Have fun…
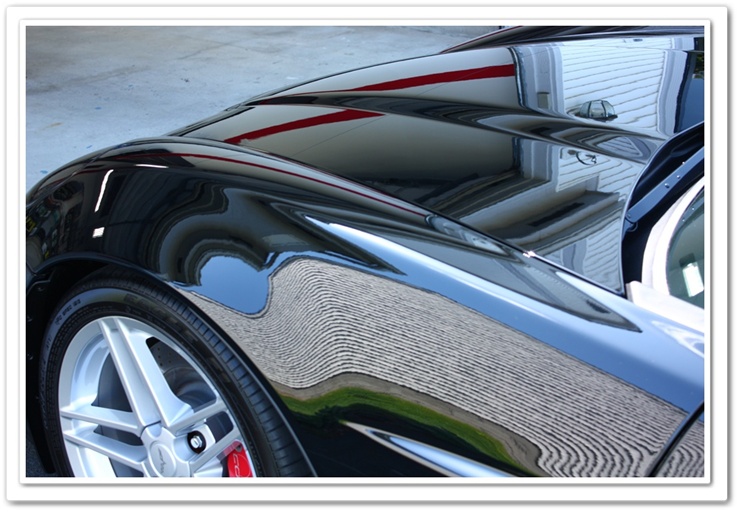
This photo represents the finish after washing, claying, polishing, sealing, and waxing:
If you have any additional comments or questions, please submit your reply in the comment box below.