
Some readers have asked how to easily and effectively tape trim on a vehicle before polishing. I wanted to address this question in multiple articles, starting with a few areas protected on an older Honda Civic. Eventually, the goal is to build up these small articles into a large taping article that covers general areas to tape on both standard cars and exotics, as well as techniques to help with getting thorough coverage and no tape residue. Speaking of techniques, one thing I wanted to mention immediately is that it’s always better to tape the car in parts, rather than the whole thing. In other words, if you’ll be polishing the roof first, which I always do, go ahead and tape up all the trim around the glass and sunroof, but leave alone the door handles, windshield washer nozzles, etc. Reason being, by the time you get to some of the lower parts on the car, the tape may lift up and leave residue to be picked up by the polisher, which you surely don’t want. In short, I try to always tape the car in parts as I go around polishing it, rather than taping up the whole thing then polishing everything.
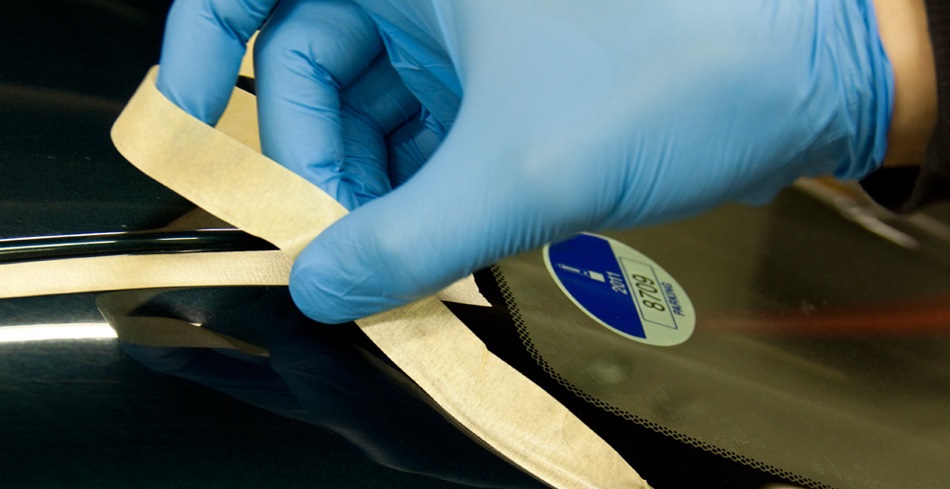
In any case, the first thing outlined below is just a straight forward step by step of how I like to go around trim curves or corners.
As I start taping at the bottom of the trim and get to the corner, I like to focus on sticking the bottom edge of the tape as much as possible in between the actual trim and paint. This not only ensures full coverage of the trim, but it also leaves the tiny area of paint near the trim exposed as much as possible for polishing.
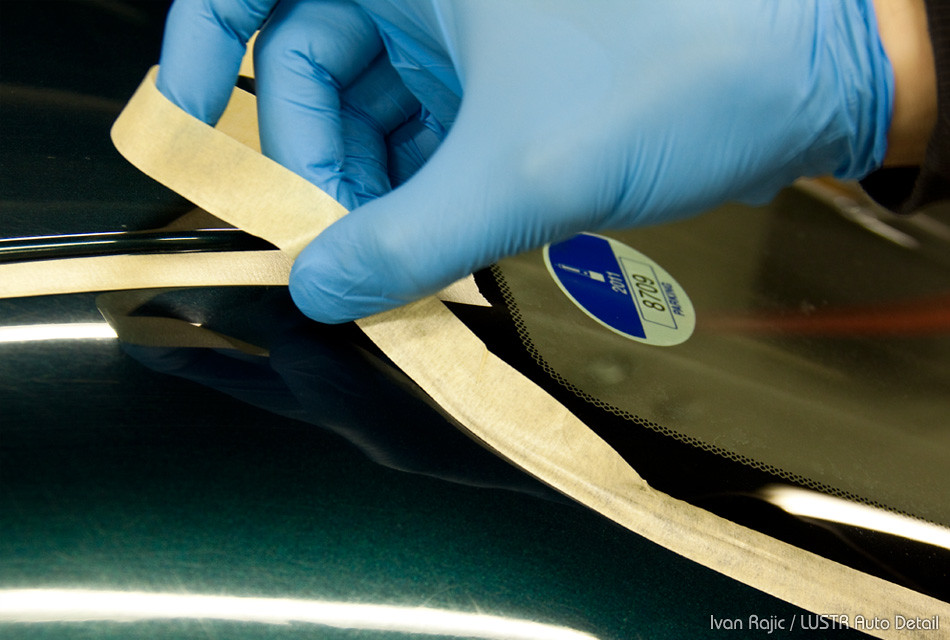

Once the edge is started on the trim, just keep going around until you get to the straight portion of the trim again.

As I get to the straight portion of the trim with the leading edge of tape, I like to use my other hand to slowly pat down the tape that’s only partly covering the edge of the trim. This completely covers the trim and ensures the tape won’t come up during polishing.
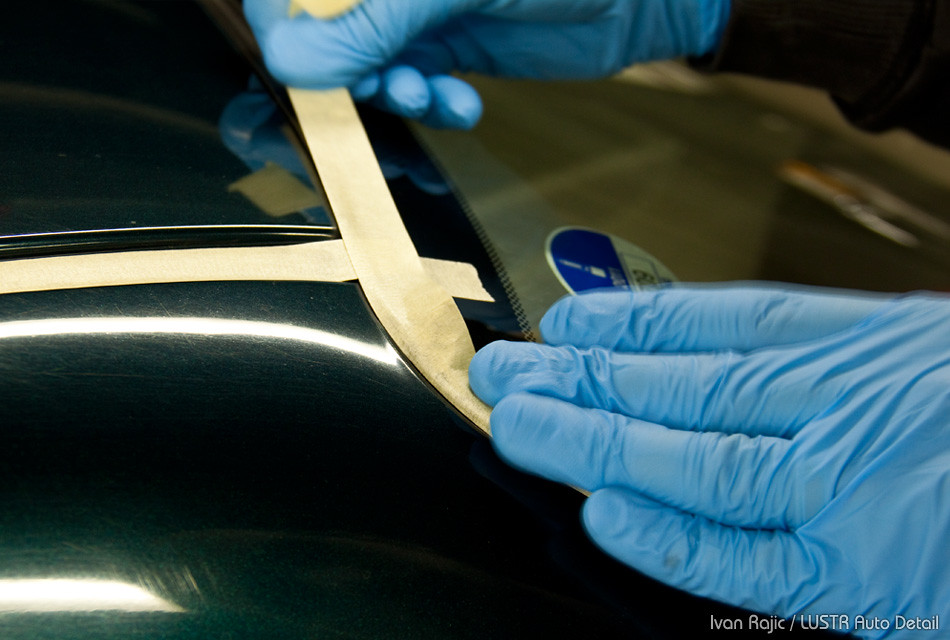
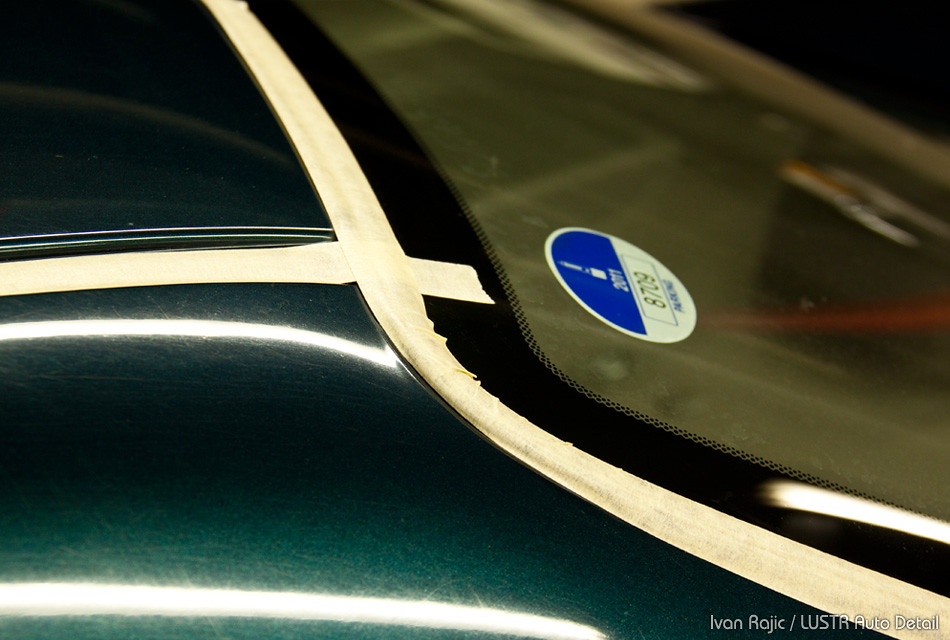
Here’s the final product. The edge around the curve is taped up and shouldn’t come up to interfere with any polishing stages.
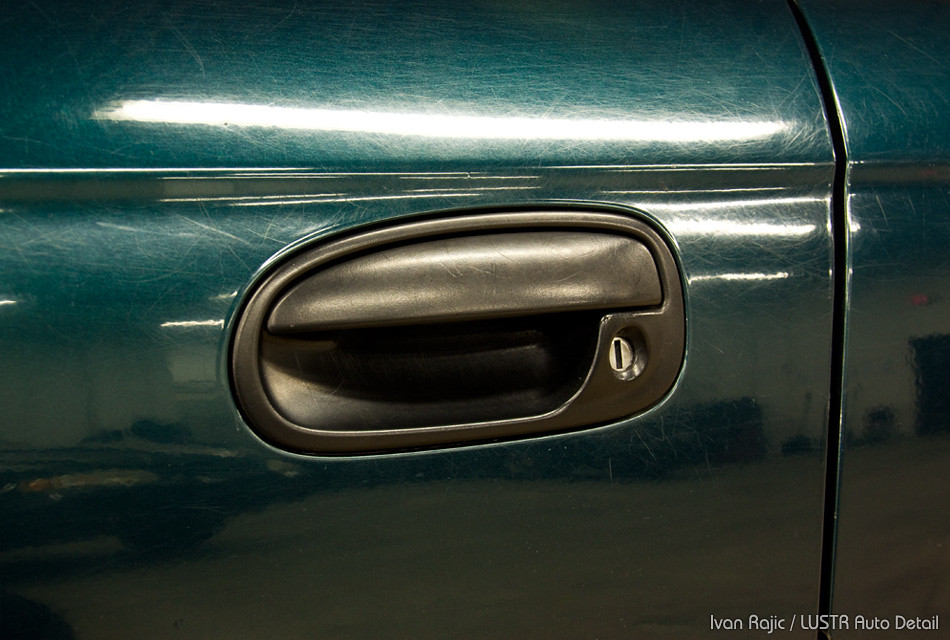
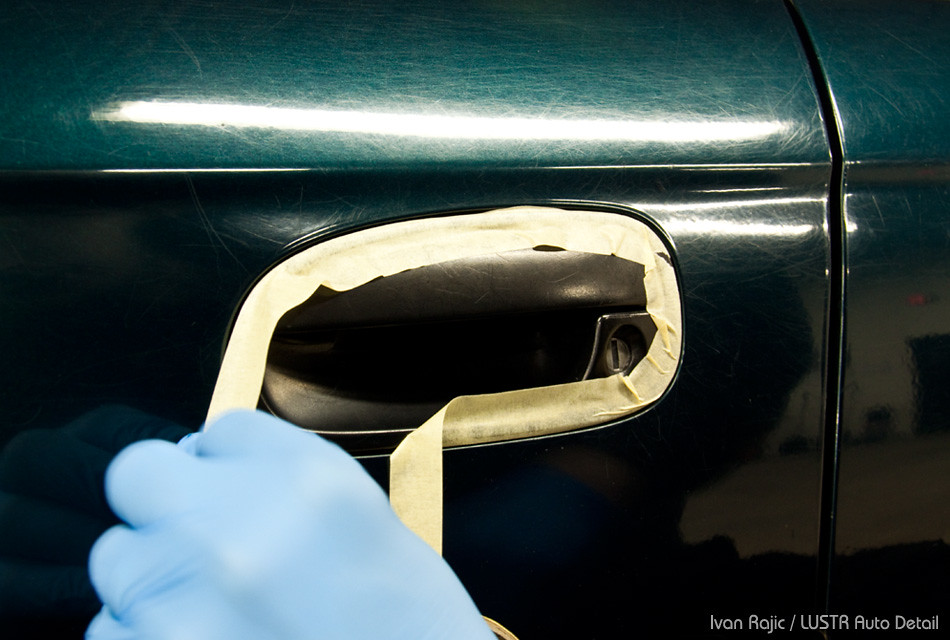
Taking this to another area of the car… the door handle.
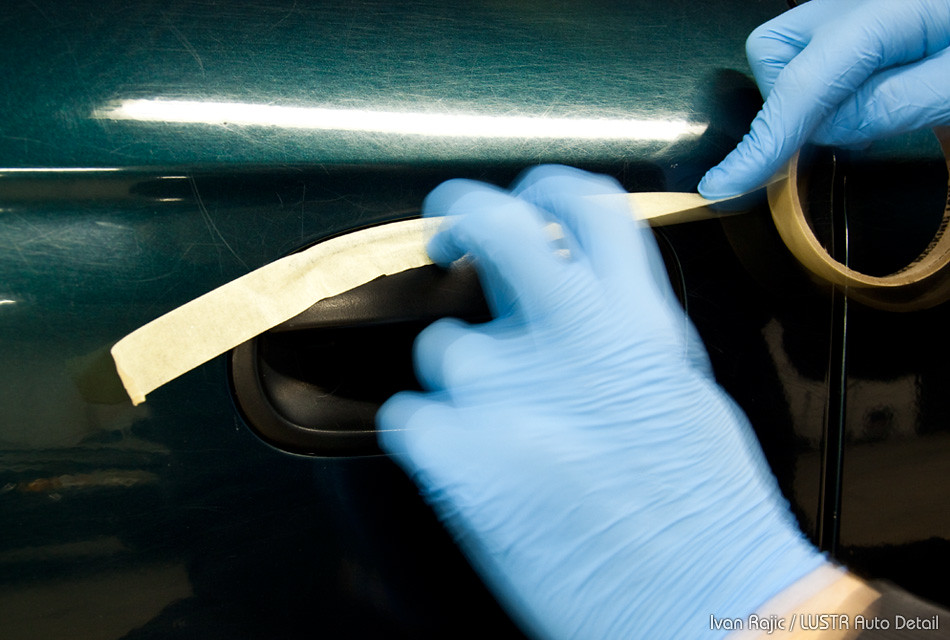
Starting at the top, I try to tape close to the edge to ensure I expose as much of the paint as possible while still protecting the plastic. I leave the edge of the tape hanging over as I find it easier to work around the curves without holding the actual roll.
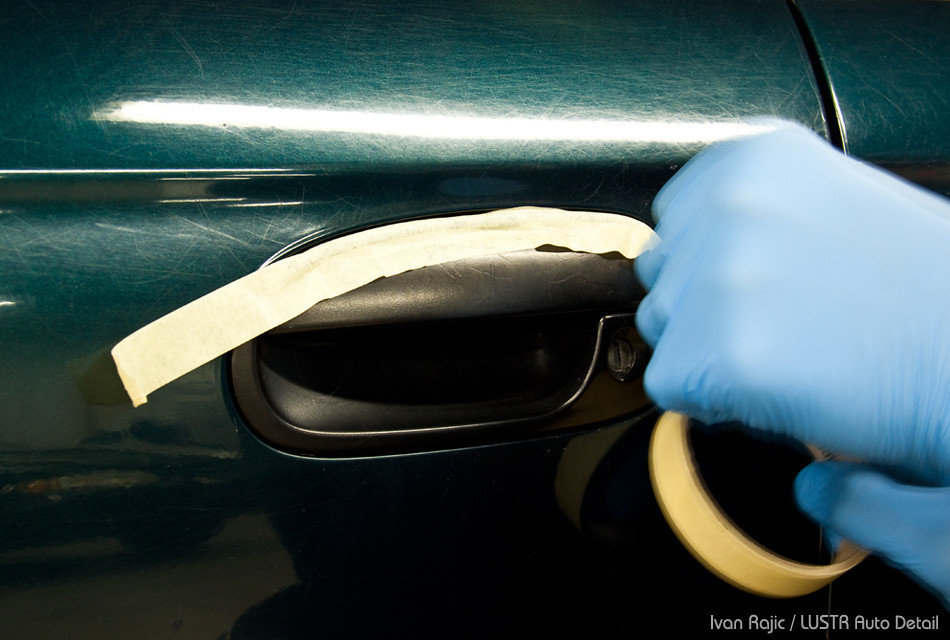
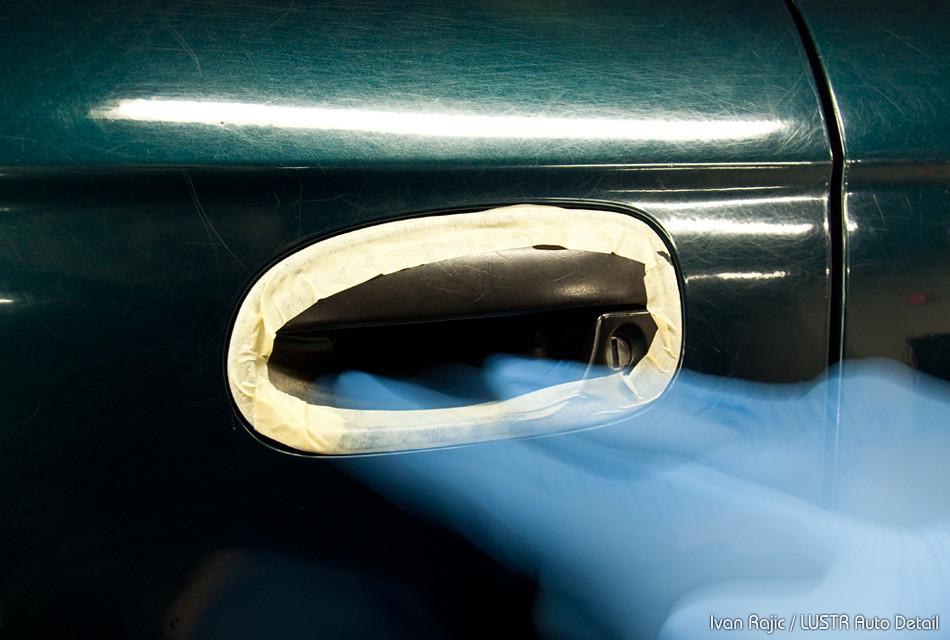
Working around the corners of the handle…
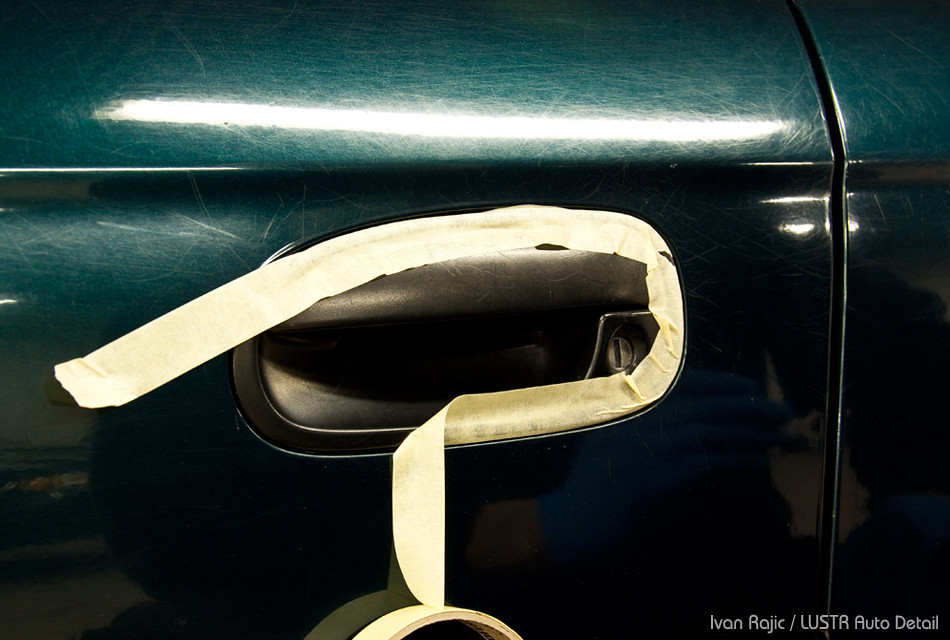
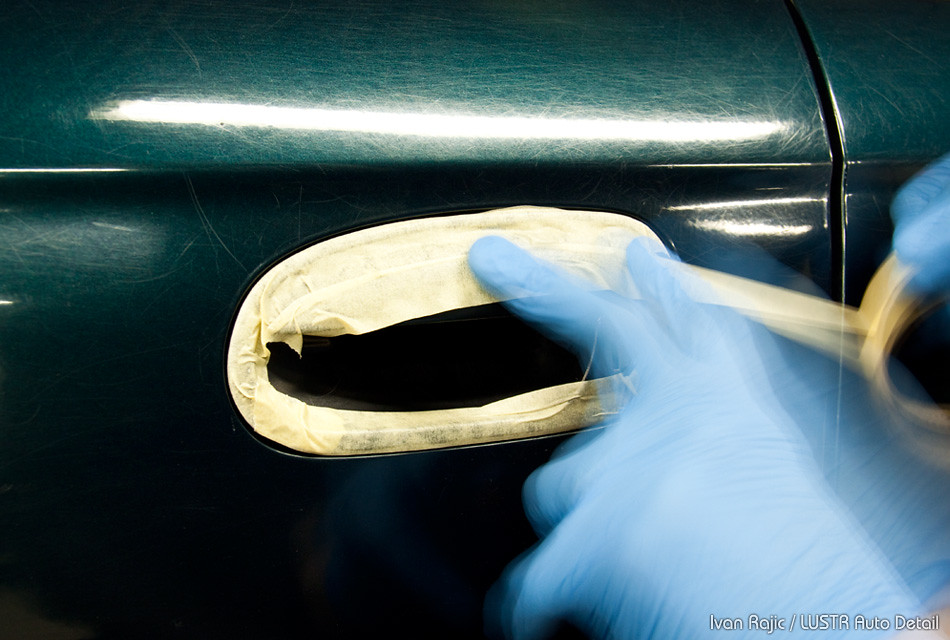
You can see in this photo how tape can easily rip when trying to get it over the plastic edge as close as possible. If this happens, I would highly recommend re-taping that area because there’s a big chance the tape will come up during polishing and an even bigger chance tape residue will end up on the polishing pad and paint, becoming a pain to remove later. If you are too far into the taping (meaning you might be wasting a good few feet of tape if you start over) then you can try to cover up the torn section as I did in the photos below.
Here I am going back to that leading edge to go around the handle…
Then covering that leading edge with the rest of the tape piece.
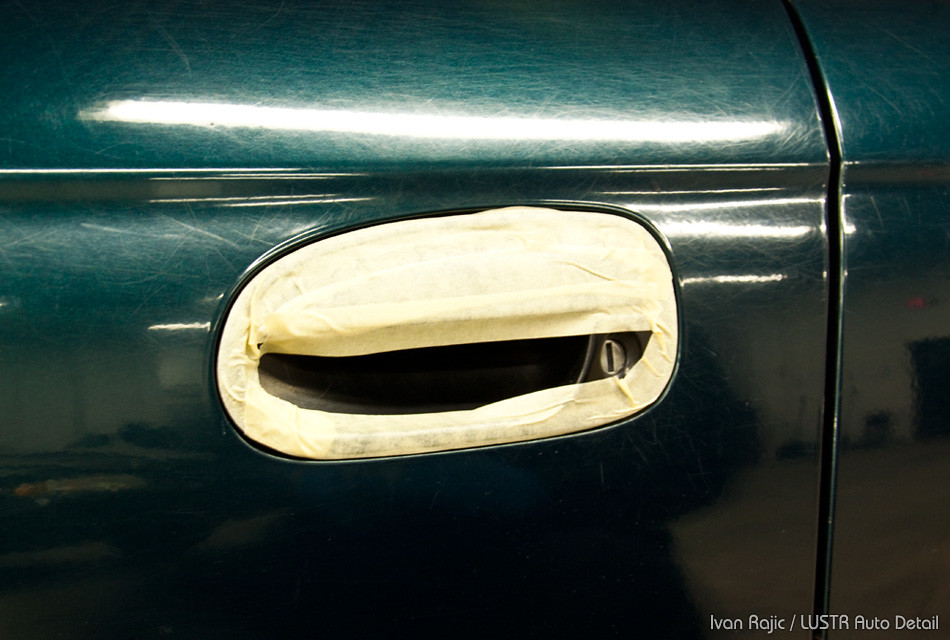
Here I am simply covering up more of the plastic in case I go too low with the pad during polishing above the handle.
As you can see, while covering the rest of the plastic, I made sure to extend the tape to the edge and then tuck it under to cover the torn area from before and to make sure this new strip of tape doesn’t come up during polishing.
Well that’s all for now. Very simple for most, but should help some struggling with tape residue and wasting too much tape due to tearing or coming apart from the plastic over time. If you have any questions, please feel free to post below. Thanks for reading!