
This is a very simple tutorial on how I like to treat scratches that hide under the door handles. Normally, if the car is well maintained these scratches are basically non-existent aside from a random few from a nail catching when opening the door. On the car in question however, there are numerous scratches that are very distracting and very deep. Reason being, this Mercedes S-class is used as a limo, so as you can imagine the rear doors are opened multiple times per day!
My goal is usually to improve the scratches as best as possible and in this case while it was only a minimal improvement, it was very noticeable and added to the overall look of the car. Before fixing the scratches, they were very visible even from 5-10 feet away, whereas after they were reduced and accented the paint correction really well.
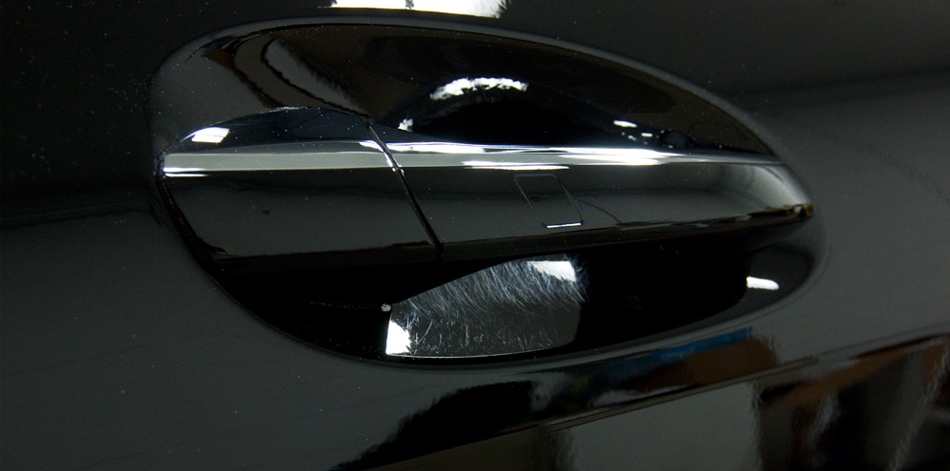
In any case, let’s check out some photos… One thing to keep in mind is that for the photos I increased the light a bit so the scratches can show up better. In person, the improvement was much more noticeable and the before condition wasn’t quite as bad as in the photos, especially when looking from above.
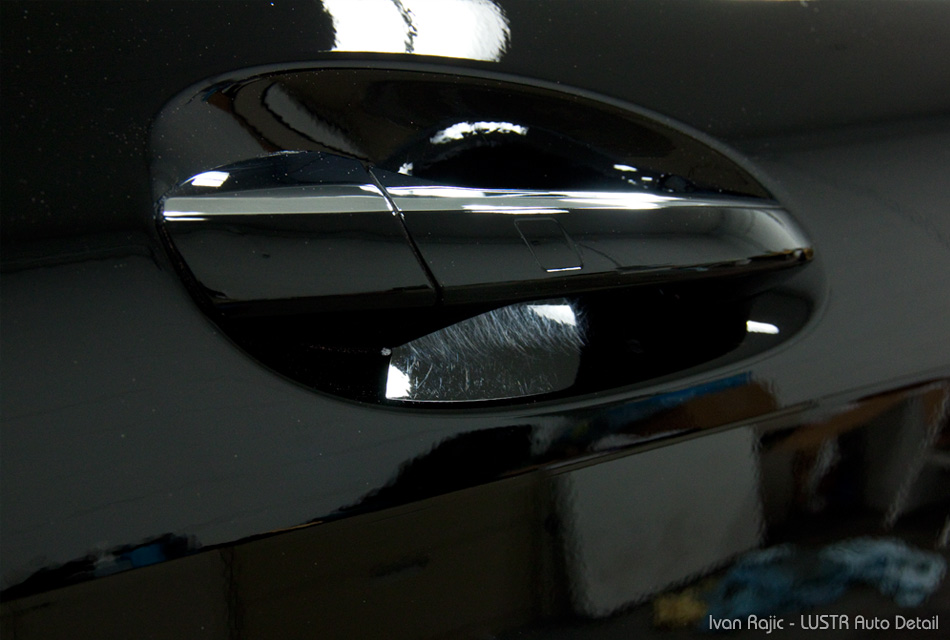
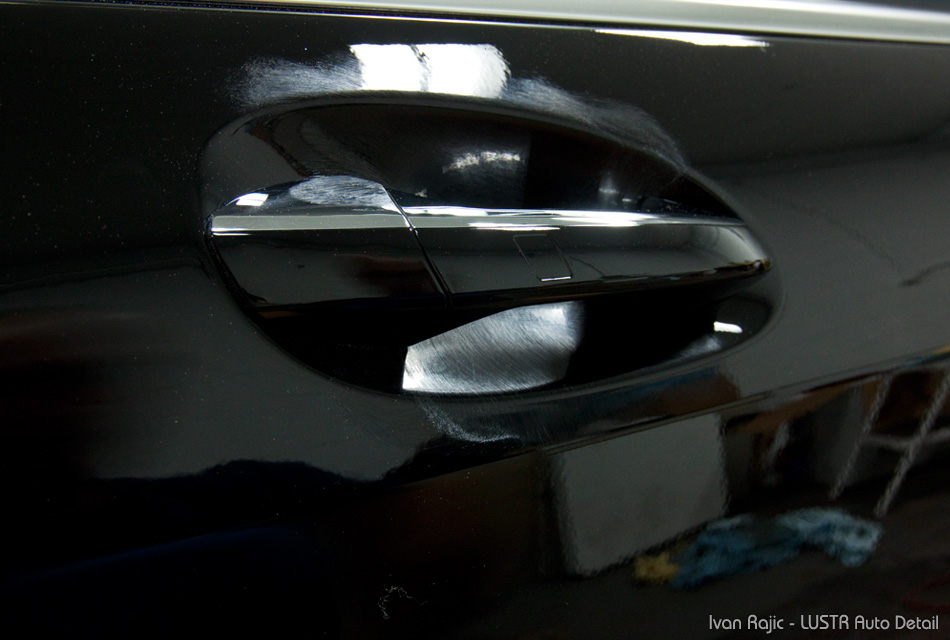
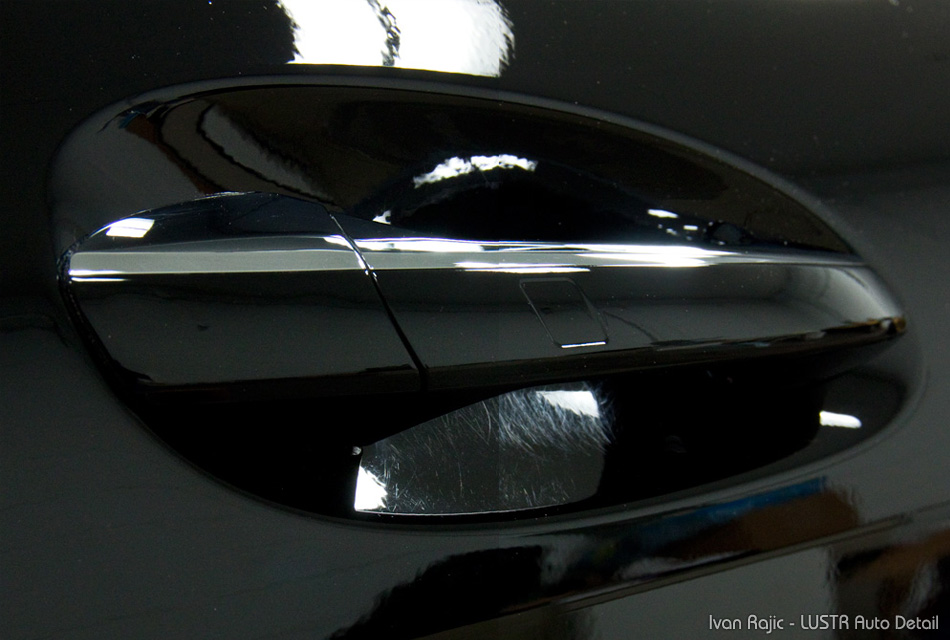
This is the “before” photo of the door handle and visible scratches below.

I applied some compound (mix of M105 and D300) to a yellow foam applicator pad…
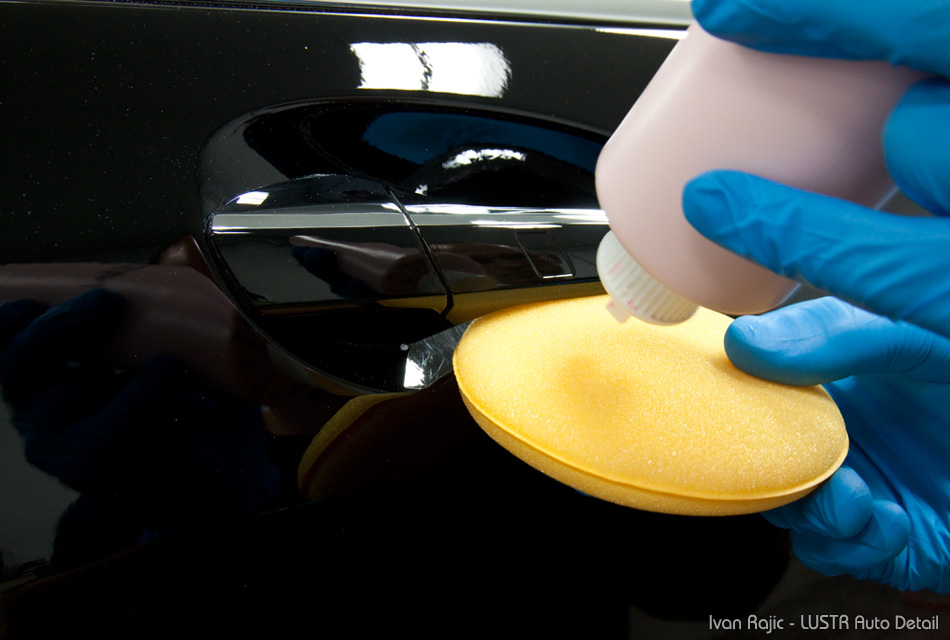
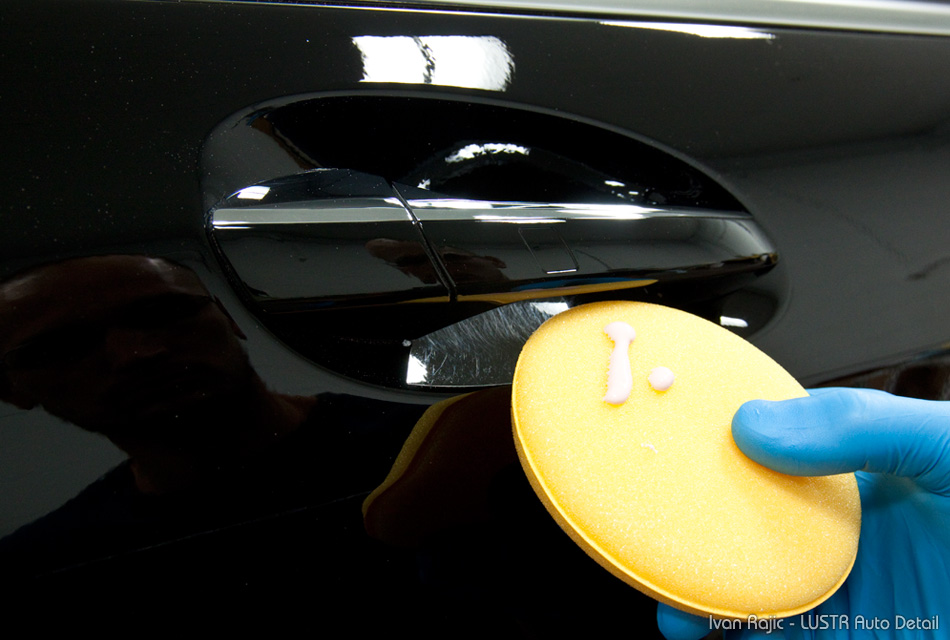
Spread it out a bit onto the pad…
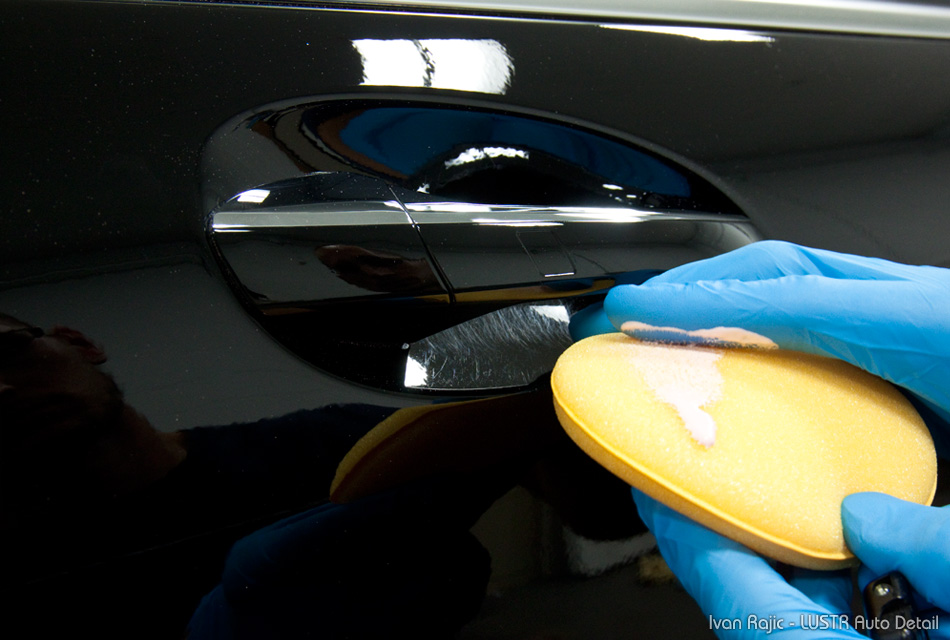
While polishing the area, I like to hold the door handle open to give myself more space and leverage.

You also want to polish from the top of the handle…
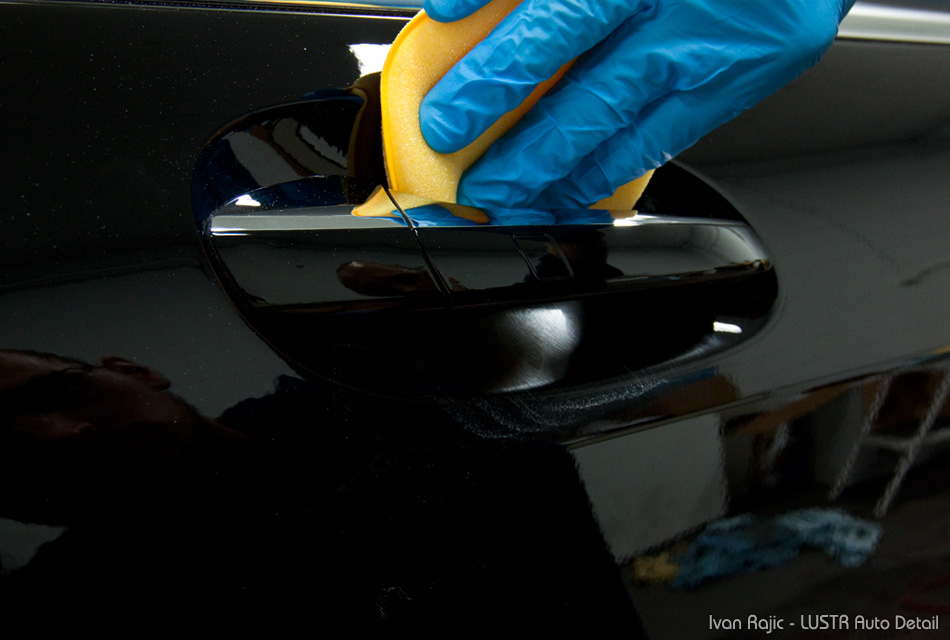
After polishing this area, I’ll usually just apply more polish to the pad and have another go at it to try and improve and/or remove the majority of scratches…
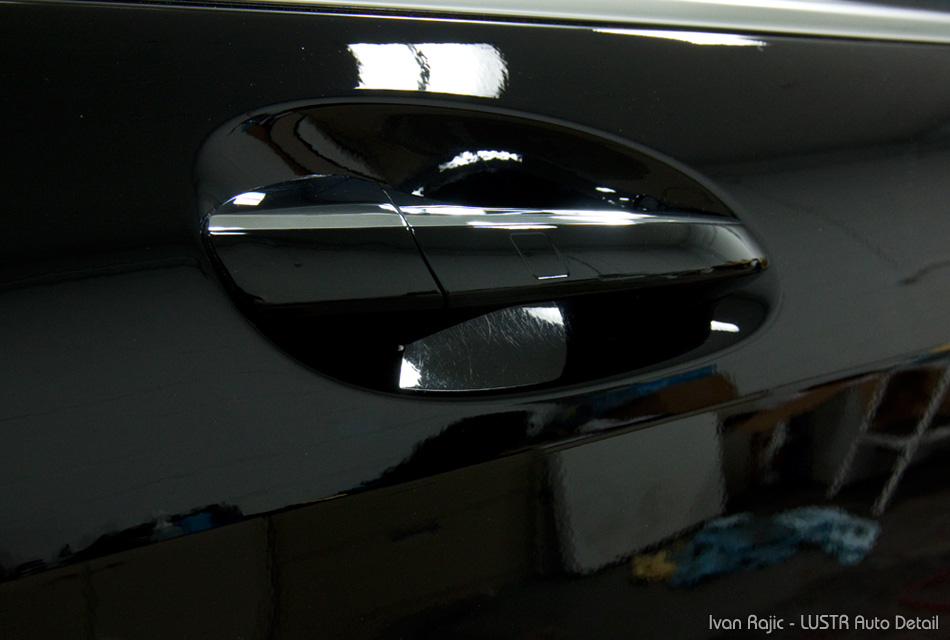
After wiping off, this is what we’re left with. As you can see, it’s a great improvement but surely not perfect. I didn’t want to spend too much time on the door handles in this case, so I only did the 2 polishing stages by hand per door handle and improved it greatly.
Here I just did a half/half photo to show exactly how much the scratches improved. As I originally said, the scratches before and after look better in person than in the photos, so you can only imagine how much better the area looked after based on the photo below.
After using the compound, I like to also use a finishing polish to refine the area a bit. My process with hand and machine goes as follows: hand compound areas such as this under the door handles, compound the car in general by machine, hand polish the small areas then machine finishing on the overall vehicle.
You can use a few different products and pads for this task, but as with anything I would advise trying some less aggressive combos first before “going all out”. Reason being, there’s a chance you can marr up some sensitive paint pretty badly with an aggressive polish by hand, which will require quite a bit of elbow grease to refine afterward.
That’s about it for this tutorial. It’s something very simple and fairly quick to do, but makes a great impact on the detail job overall so I highly recommend doing it on every car that has noticeable scratches in such areas.
Buy Products From This Article
Purchase the products used in this article individually or in one convenient package here!