
Recently, I have done a few vinyl sticker removal, specifically off of commercial vans. I thought why not share the process. 🙂
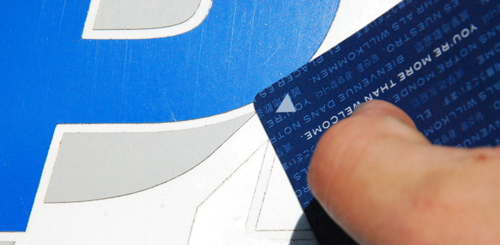
To start, I park the vehicle with the vinyl side, in the sun. I wanted to get the surface warm. This will assist in removing the stickers by warming up the surface. If the warm sun is not an option, a heat gun or steamer will give you a similar effect. Once warm, you will start at the edge of the vinyl. An easy way to start an edge is with a plastic razor blade, or a credit card. I chose to use an old hotel key card.
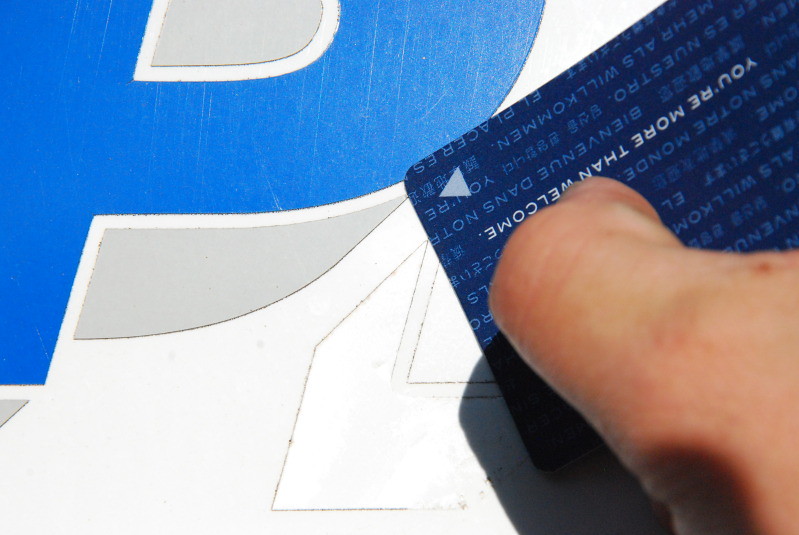

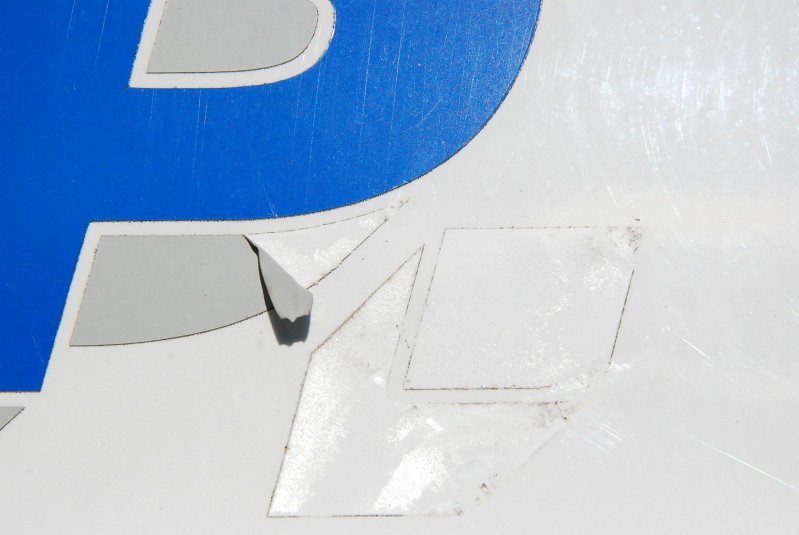
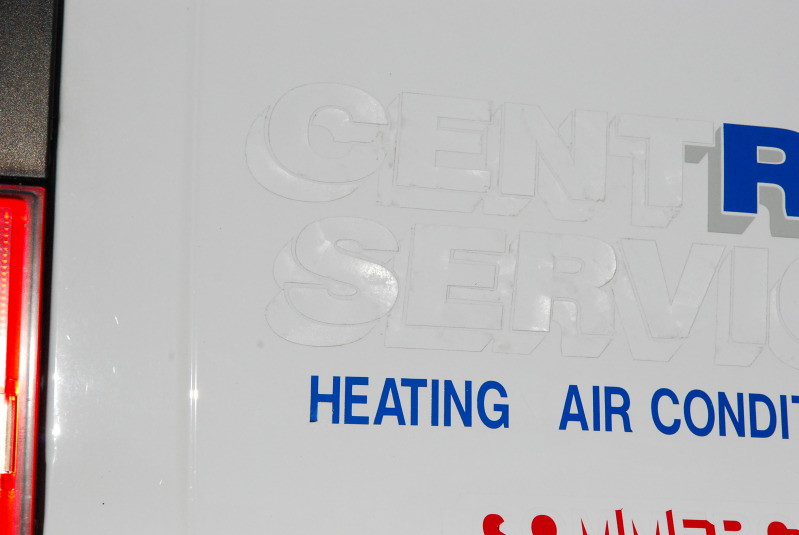
One you get it started pull at about 120 degree angle from the edge. Slow, steady pulling, you want the vinyl to come off in the original sheet it was put on in. It will allow for a faster removal process. If the sticker does tear, just continue on. As you can see I tore this sticker at the thinner more fragile end.
Move on to the rest of vinyl, depending on the age of the vinyl this can be a very time consuming process. Again, start at the edges and move toward the center, or the “fatter” area of the vinyl.

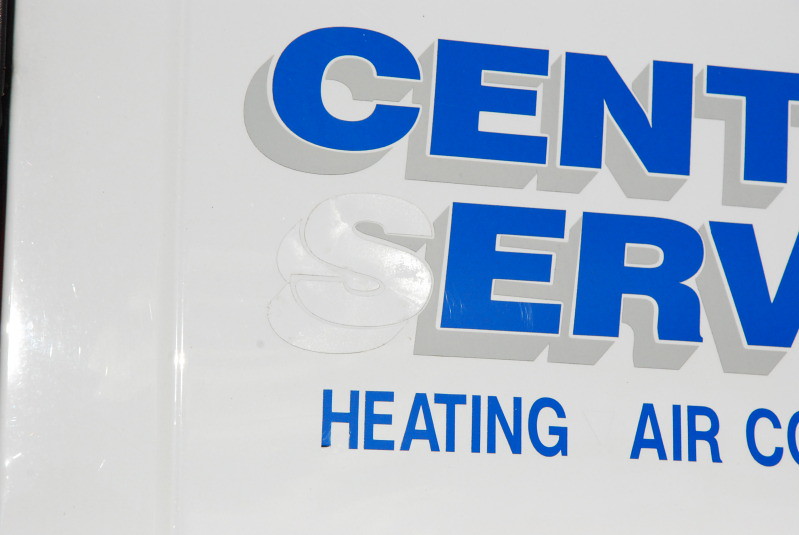
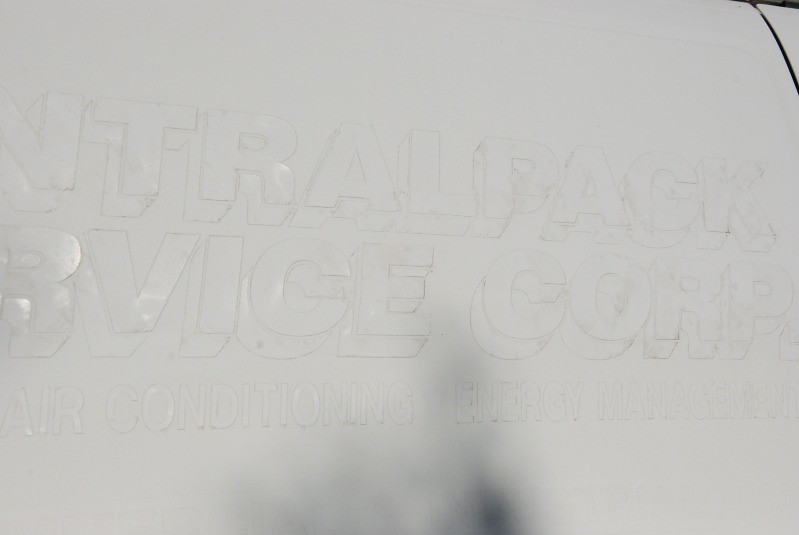
Older, cheaper vinyl can be dry and crumbly, and even show cracking. This won’t come off in a sheet, just use the card or plastic razor blade to remove it. I was able to peel this vinyl.
Once all of the vinyl is removed, I sprayed the entire surface with Stoners Tarminator. This product is great for this purpose as it is clear coat safe. After, the entire surface is coated with Tarminator, I agitated or wiped it down with a terry cloth towel. A microfiber won’t suffice, the surface isn’t stiff enough. The terry cloth has stiffer fibers allowing for better agitation of the residue that the Tarminator has released from the surface. These are throw away towels for me, I would’t use them again on anything as they are covered in adhesive and Tarminator. Stoners Tarminator is clear coat safe, so damage to the paint wasn’t a concern.
After you soak the surface with Tarminator and wipe once, you will end up with a thin spread out layer of residue, as you can see. Simply flip the towel and start the process over. I had to do this numerous times to ensure all the residue was removed from the surface.
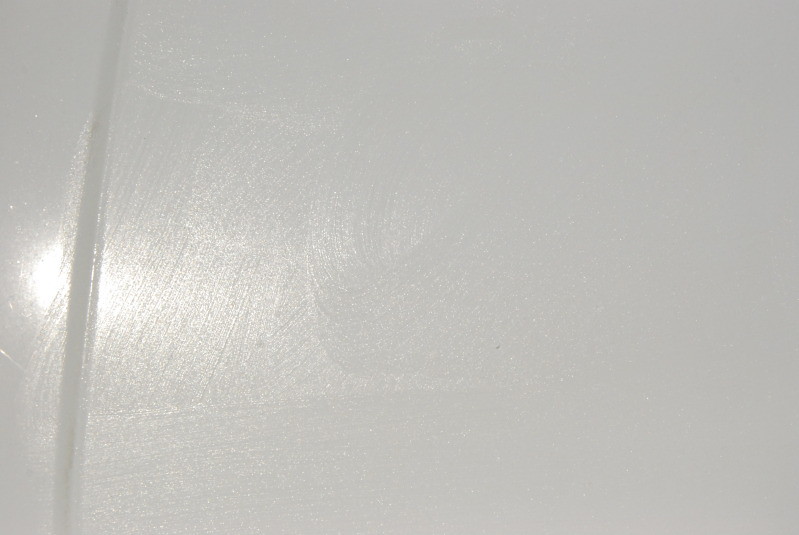
Depending on how long the vinyl has been on the vehicle there can be “ghosting” on the surface of the vehicle. This is UV damage to the paint that was not covered by the vinyl decals, this will leave the “impression” of the vinyl letters on the clear coat. If you look close you will still be able to see the lettering. Luckily, the vinyl was on the sides of the van. Think about the way UV hits a car, and the sides are not effected as badly as top surfaces. Also, the vinyl was not on the surface long enough to warrant heavy wet sanding. I was able to level the clear by hand sanding using Meguiar’s 3000 grit paper, coupled with Meguiar’s Backing Pad. I then followed up with Meguiar’s MF pads and some Meguiar’s 105 with my DA to clear the sanding marks. I did slow my speed, and work the product a little longer to ensure a presentable surface. Seeing as this was a work van, and finish was not the key, it gave enough clarity for me and the client. If I wanted better clarity to the clear coat I would have added a second or even third step to correction if this were what the client requested.
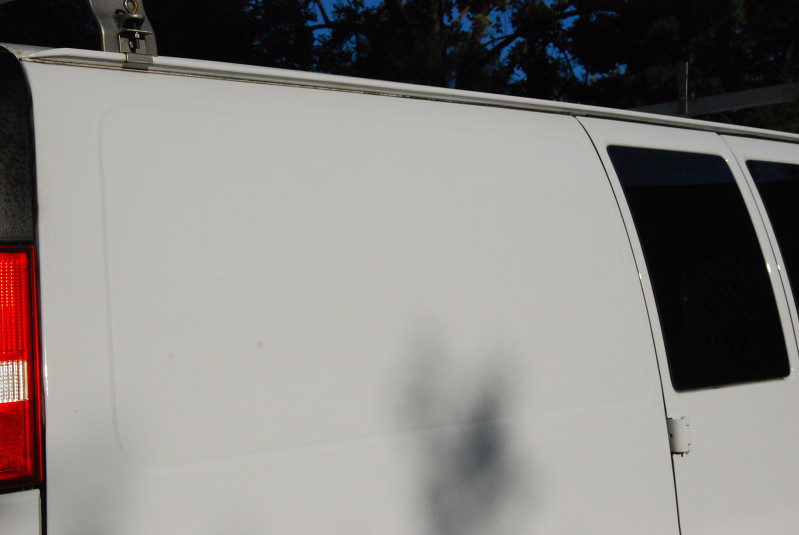
Now that all the vinyl is removed, you can move on to applying the new stickers. I will go over this in a couple of articles. This process won’t only work for a complete side of a van, but a simple bumper sticker, a window sticker, or dealership decal. Patience is the the key to sticker removal, keep it slow!
Buy Products From This Article
Purchase the products used in this article individually or in one convenient package here!