

When many detailers and / or enthusiasts are first starting out with their new buffers, pads, and polishes, there’s one critical tool that they typically miss out on…the 4″ spot pad! And it’s not just the beginners either, because unfortunately there are still a lot of detailers out there that haven’t adopted them into their arsenal.
I simply can’t imagine having to do a paint correction detail without them, and I’ll guarantee you that if I had to, the quality of work in key areas would be reduced significantly. Just about anybody can polish a large, flat panel to perfection, so what can separate a good detail job from a stunning one then would be how well all of those small and tight areas have been polished. It’s similar to golf…hitting the long ball is for show (polishing flat surfaces), but putting is for money (polishing tight areas). So get yourself some 4″ pads and backing plates and practice your putting!
Regardless of whether you primarily use a rotary or a dual action polisher (or a combination of both like I do), the quality of work that you produce can be stepped up by using 4″ spot pads and taking your time to finesse all of those tight areas the same as you do on the parts that everybody see (the hood, trunk lid).
When you try to force a large pad into a small area, you will be faced with two different possibilities. The first is that you won’t be able to make full contact because you need to angle the pad to try to work the area, and in the process you won’t be able to get as good of a correction or finish depending on what step you’re doing. I’ve seen plenty of videos where the technician is using old-school 8″-9″ pads and quickly going over these tight areas with the edge of the pad, and in the process they only have a few seconds of contact between pad and paint. This is not polishing, and the surface will not be refined. The second, and the one you definitely don’t want to be faced with, is that you end up damaging an adjacent surface that you hit with your monster pad!
If I’m working an area with heavy defects around a side marker light for instance, and it’s located close to an edge or seam, then I will slowly and methodically work that area with a 4″ pad to get it as refined as the big, flat surfaces on the rest of the car. Sure it takes time, but the reward comes at the end when you know that the paint is as good looking as you can get.
Another benefit of using a 4″ pad in all of these tight areas is the control that you get. It’s much easier to control a small pad in a confined area than it is a large one!
Here are a few examples of the areas on the car that will typically benefit from using a 4″ spot pad:
- Around door handles
- On A-pillars
- On mirrors
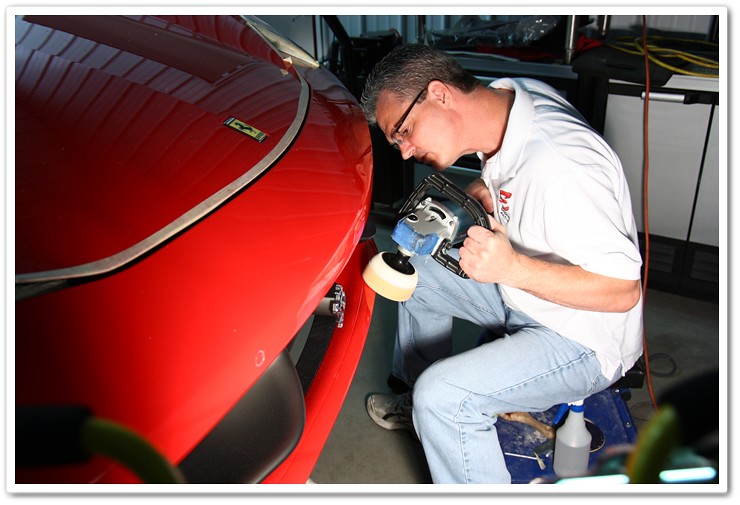
- Around emblems
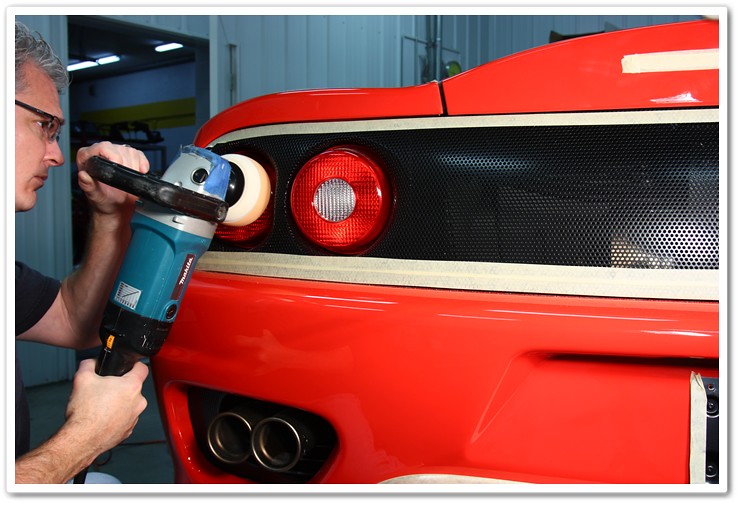
- On headlights and taillights
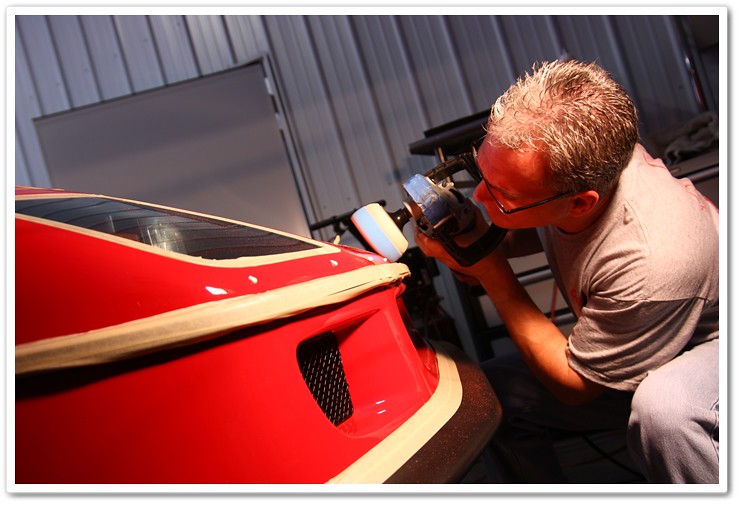
- Front and rear bumpers
- Any small and tight areas that could easily be damaged by a large pad
Granted I work on a lot of exotics that have more angles and tight areas than your standard daily driver, but these areas exist on just about any car out there. When DJ Mayo and I worked on a massive Rolls Royce Phantom together, we still found plenty of areas that required the 4″ spot pad, regardless of the fact that it was as big as a ship!
Most front bumper areas have some (if not most) places where the 4″ would work best

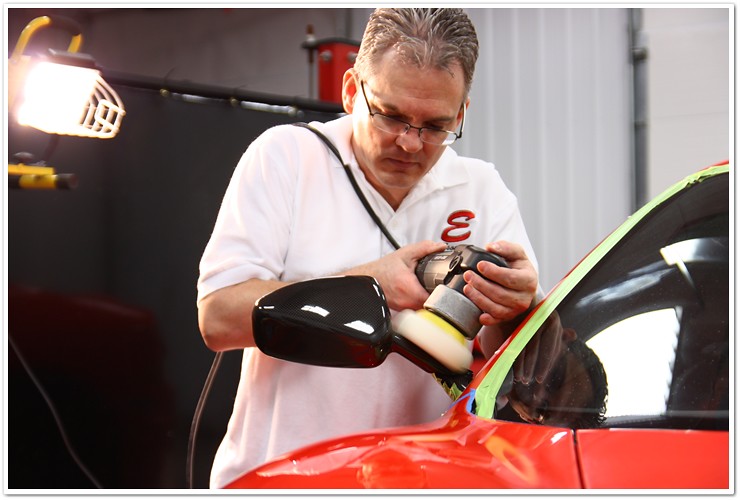
They’re a must when polishing mirrors.

Use them around side marker lights.
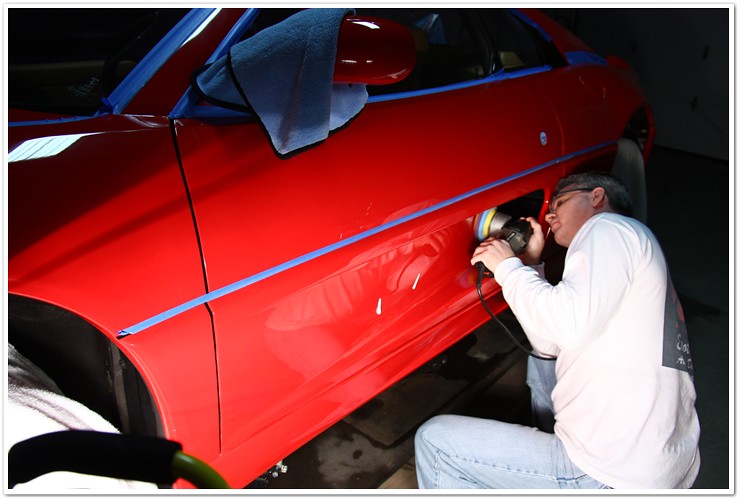
In general tight areas.
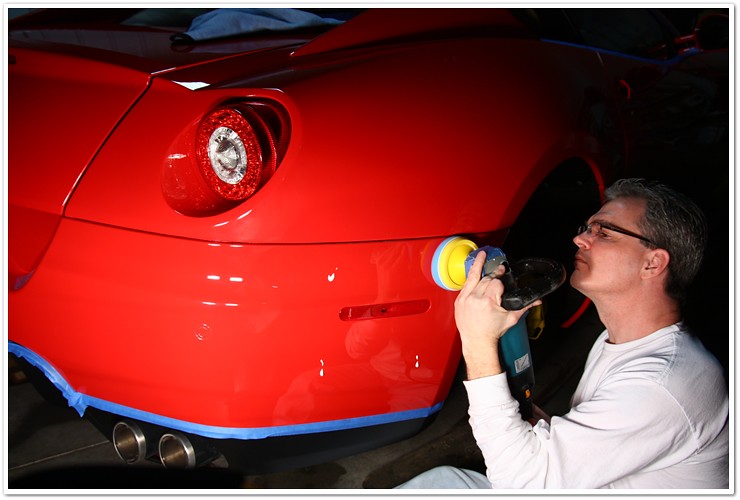
Rear bumpers (back and side) are prime candidates!
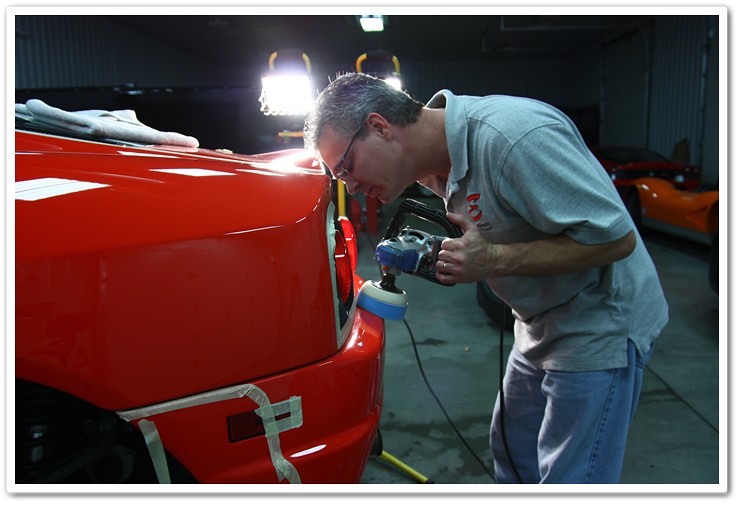
Headlights and taillights.
And other tight areas where you need a lot of control…
So if you’re looking for ways to step up your game and your results, and you don’t currently have 4″ spot pads (and appropriate backing plates) in your arsenal, then do yourself a favor and start working with them. Your work will improve, and your cars and / or clients will be happier as a result!
Related Posts
- Paint Correction Detail: 2009 Porsche Carrera S
- Ferrari 458 Italia Paint Correction v2.0 by Todd Cooperider
- 2008 Z06 Vette in Velocity Yellow Tintcoat by DJ Mayo of Reflections Detailing
- Ferrari F40: 60 Hour Restorative Detail by Todd Cooperider and Craig Reed
- Full Detail and Paint Correction: Ferrari 458 Italia by Todd Cooperider of Esoteric Auto Detail