
I’ve been getting the question on my preferred method of polishing a section of paint, so decided to write another simple article with a bunch of self-explanatory photos.
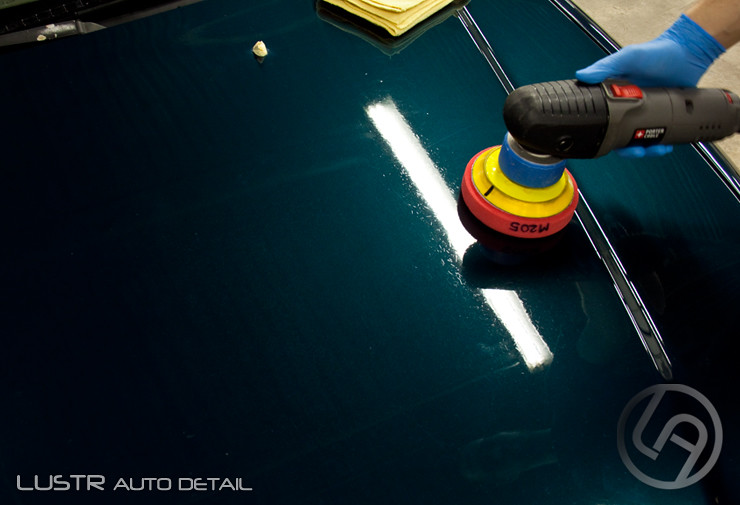
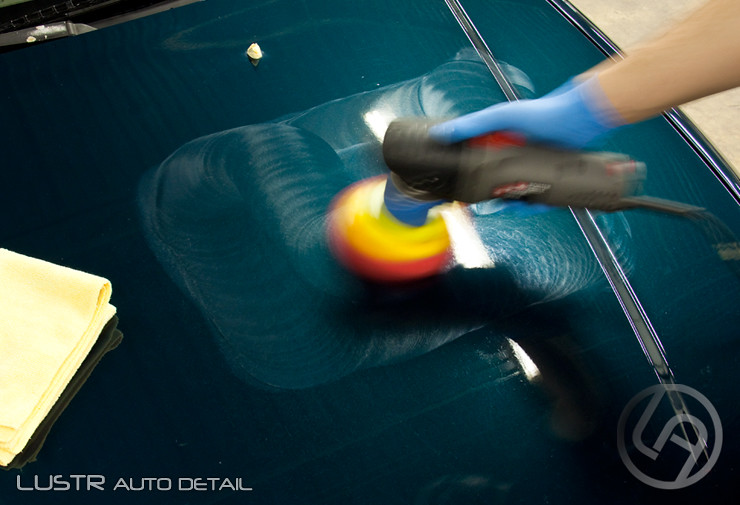
For this article, I chose to use the Porter Cable 7424XP Random Orbital Buffer because it’s the most user friendly and safest machine for those new to paint polishing. I use it here with Meguiar’s 205 Polish and a Lake Country Crimson Pad. For those who would like a bit more info on the polisher, I invite you to check out my Porter Cable 7424XP Assembly and Review article.
Onto the pattern I use while polishing, as well as few pointers I’ve come to find handy over the years.
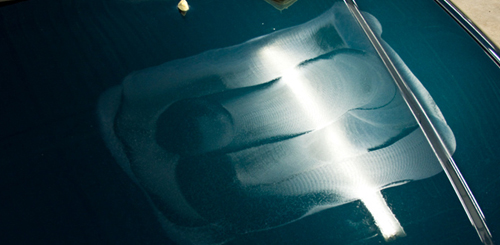
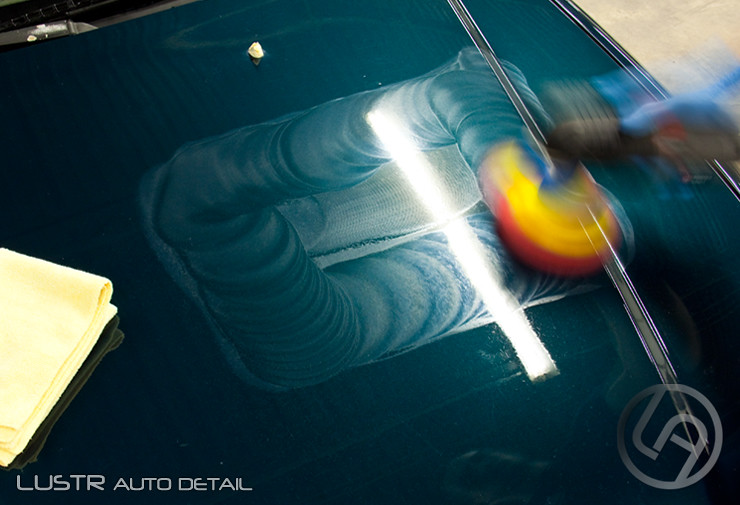
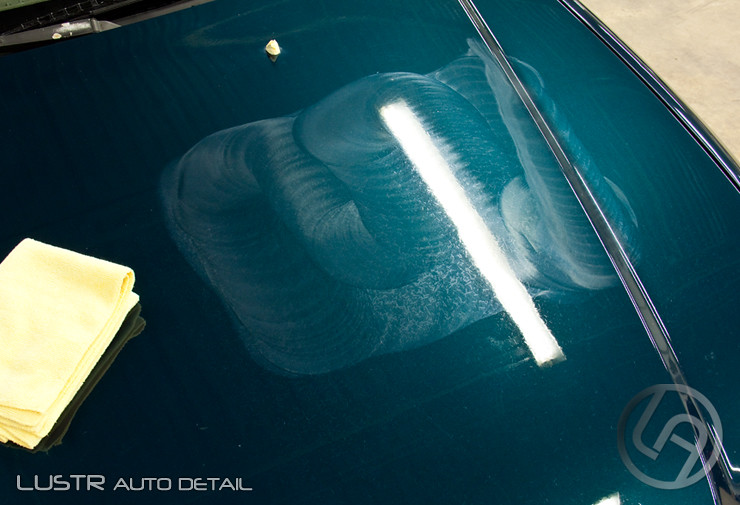
I start by spreading the polish over a section of paint at speed 3. I always like to outline the area that I’ll be polishing so I start that immediately when spreading the polish…

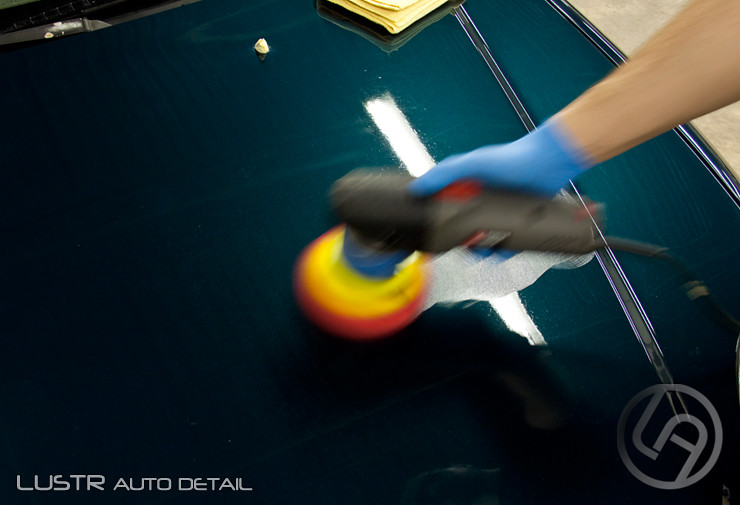
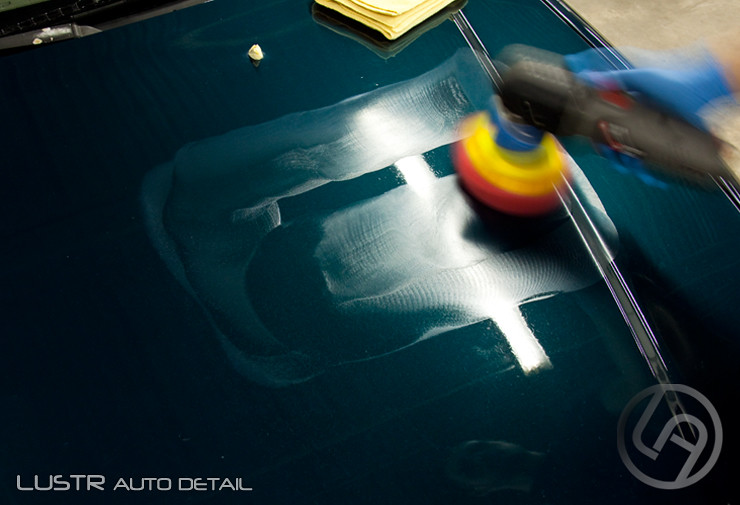
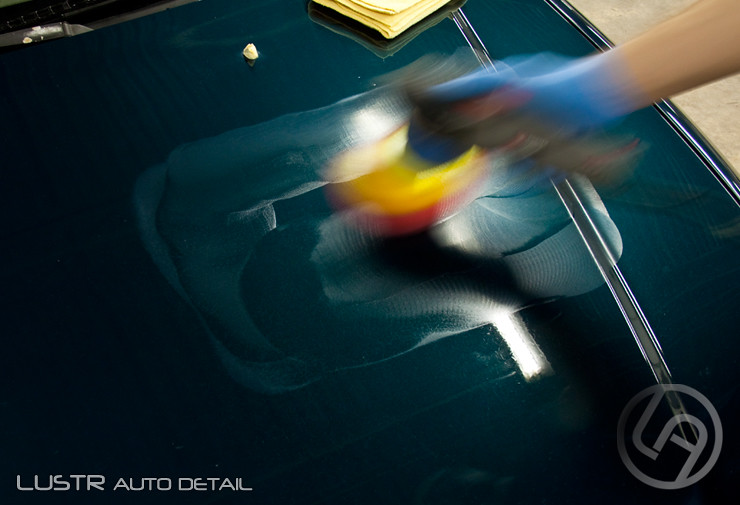
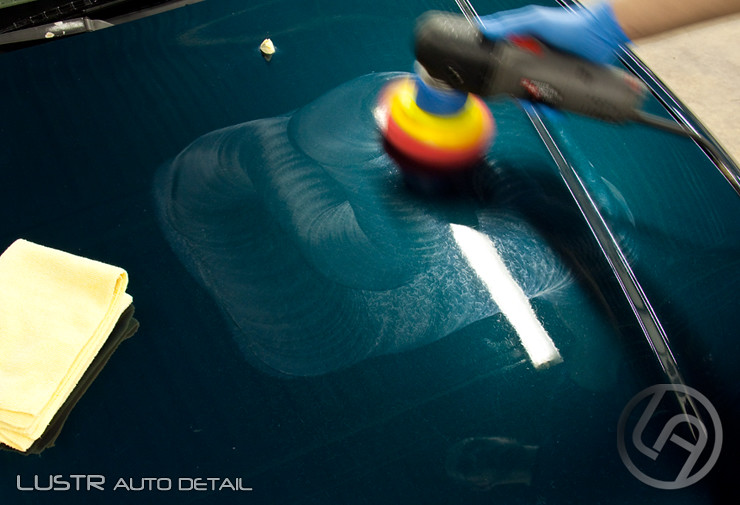
After spreading the polish over the specific area, I will bump up the speed to whatever is necessary and go in a left to right pattern. On all the following passes, at higher speeds, I will again outline my area because I want to make sure every square inch of that area gets polished adequately. If I was to simply go left and right, there would be small sections on my imaginary, rectangular area that would not got polished due to the circular pad. This way, I ensure the whole section is polished in a straight line at the edge, which makes it much easier to know where to overlap a bit later when I move to the next polishing area.


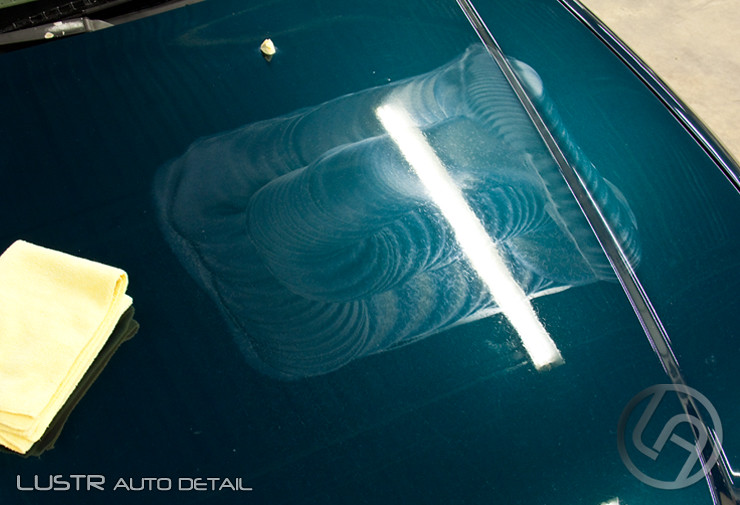
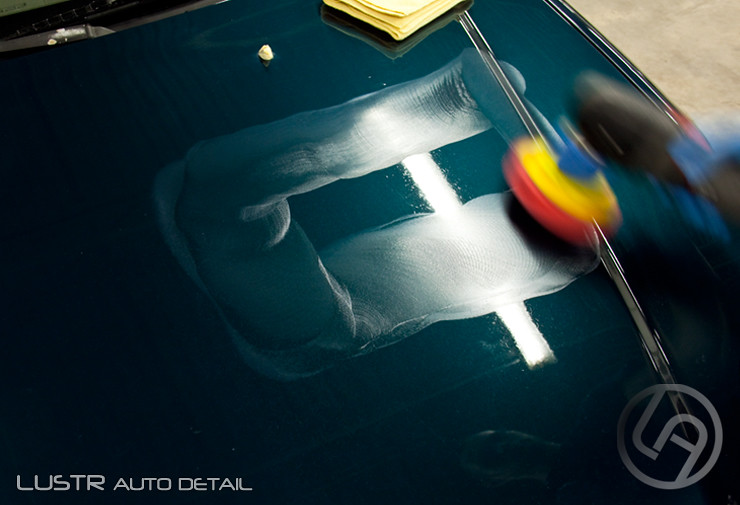
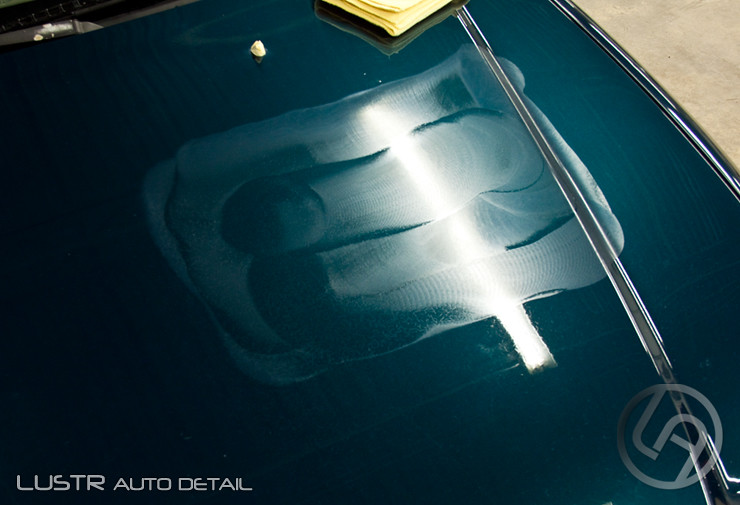
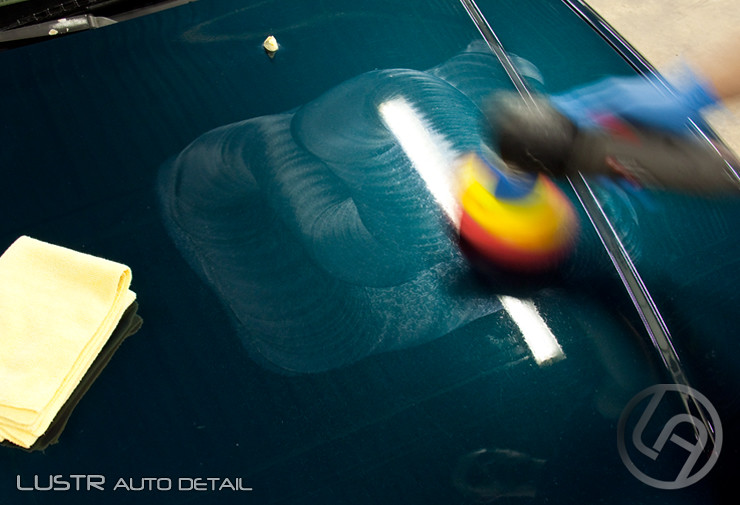
After completing the left to right pattern on the first pass, I start an up and down pattern on the second pass. As you notice in the following photos, I will once again do a bit of an outline around the edges before proceeding with the up and down pattern.


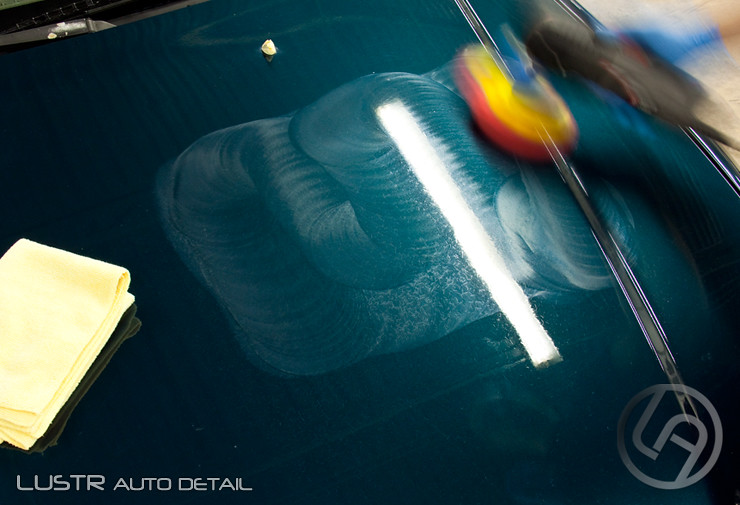
That’s after the second pass on this specific area. For this article I stopped after each pass to photograph the pattern of the polish, but I don’t actually pull the polisher off the paint while working.
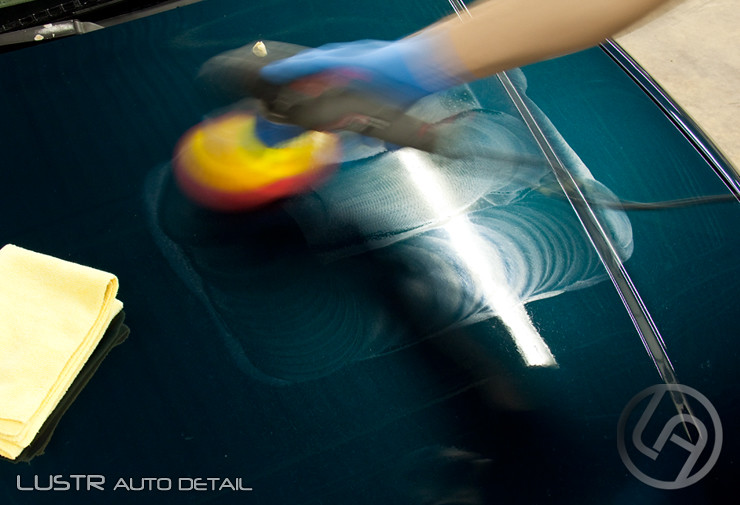
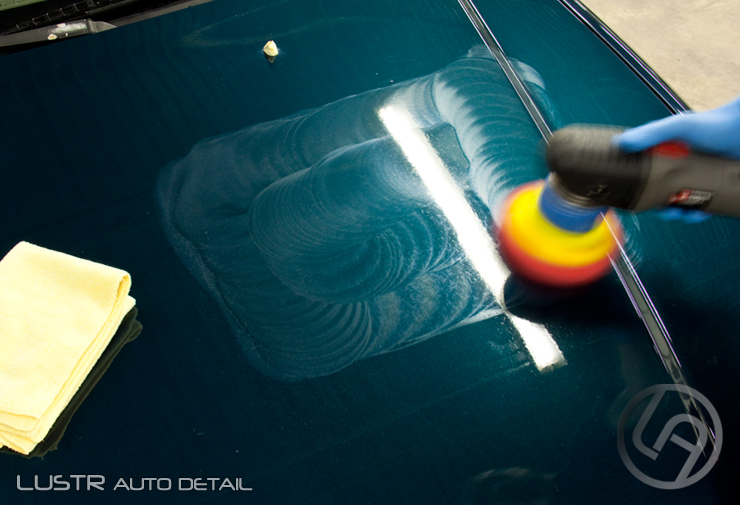
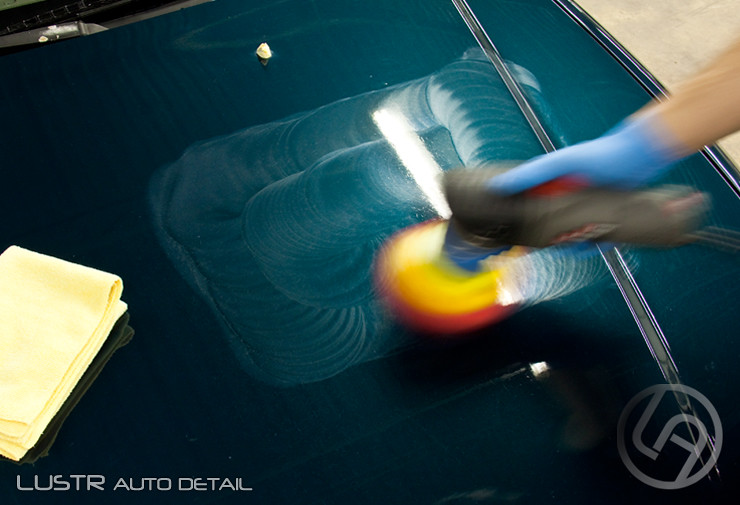
The following passes are all done alternating the above patterns. As noted above, I’m a big fan of outlining a rectangular section on the paint as it helps with guiding me on that current as well as the following areas I’ll be polishing.
Outlining an area while first spreading the polish at a slower speed helps me on such areas as the one photographed throughout this article, but it’s almost a must on harder, vertical areas. Fenders, for example, come in all different shapes and sizes, so I usually divide them into 2-3 “polishing areas” by first outlining them while spreading the polish.
Soon I’m hoping to do a follow up article focusing on polishing a harder area such as a fender or bumper, so stay tuned!
Thanks for reading!