
Here’s a tutorial I have been meaning to write for a while now. It’s very simple but something that a lot of readers inquire about. Paint chips are normal and part of car ownership, but a lot can be done to fix, improve or prevent even them. I always recommend to clients the installation of a paint protection film (PPF), especially on a brand new car or a newer car that has no chips or no noticeable chips. With the newer film technologies available these days, the film barely shows on most vehicles even when cut at 1/3 or 1/2 way up the hood and fenders. However, most vehicles out there don’t have any sort of film and do suffer almost daily from some paint chips. On this particular vehicle, there were a few paint chips of decent size that were very distracting on the jet black paint job. Along with a paint correction, the client asked us to fill in the few larger chips simply to improve the look and make them less visible.
My kit of choice is Dr. Colorchip. I find it much better and easier to use than typical touch-up paint mainly because of how it’s applied. Rather than having a thicker consistency and leaving blobs, for the lack of a better word, on the paint, the Dr. Colorchip paint is more like a liquid and simply fills in the chip. Of course the photo I took of the kit was completely out of focus for some reason, but if you go to their website you’ll see exactly what’s included. Basically, you get some OEM matching touch-up paint, blending solution, 2-3 brushes, a cloth, a glove and a microfiber towel. The process is very simple and always easily improves even some larger chips.
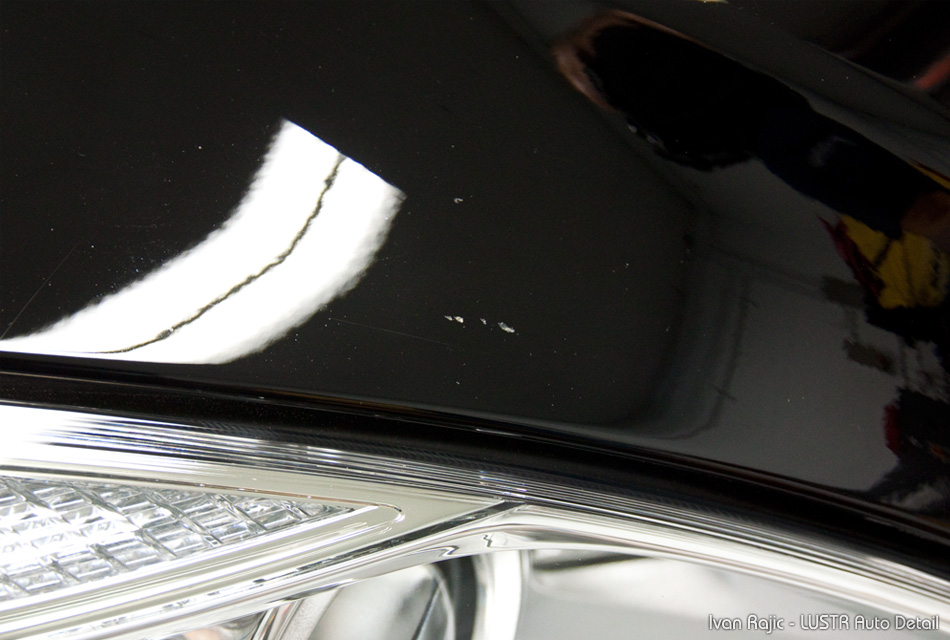
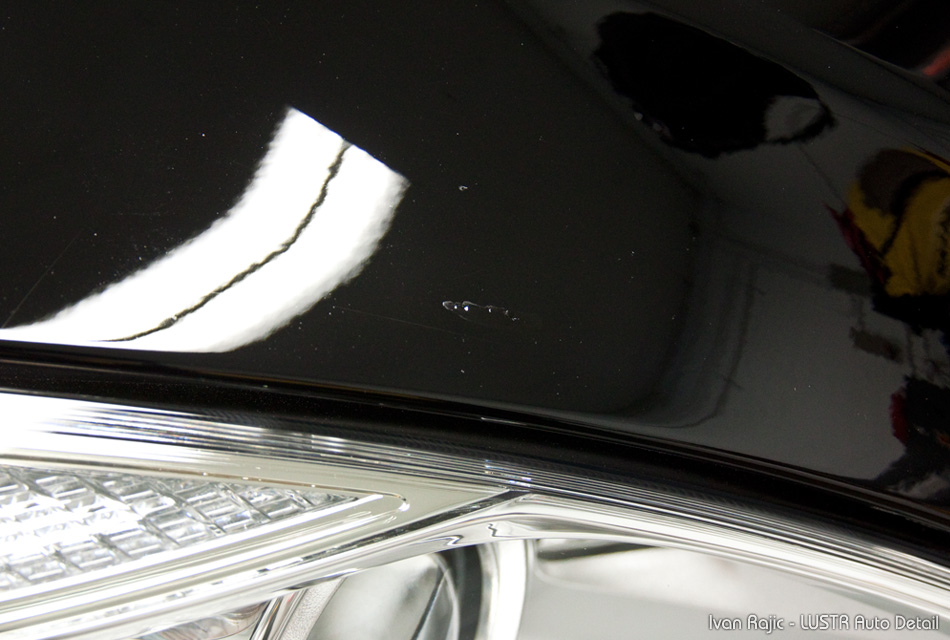
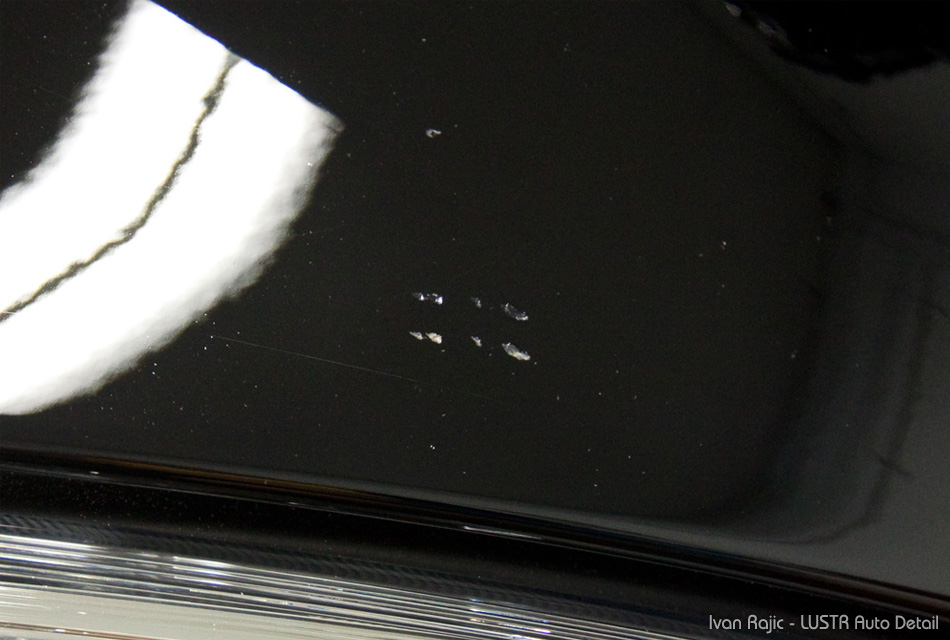
In this case, we are focusing on a few chips near the passenger side headlight, which seem to have been caused by a few small stones being thrown up or something quickly rolling over that area. As you can see in the photo below, there are about 4 paint chips of various sizes and depth.

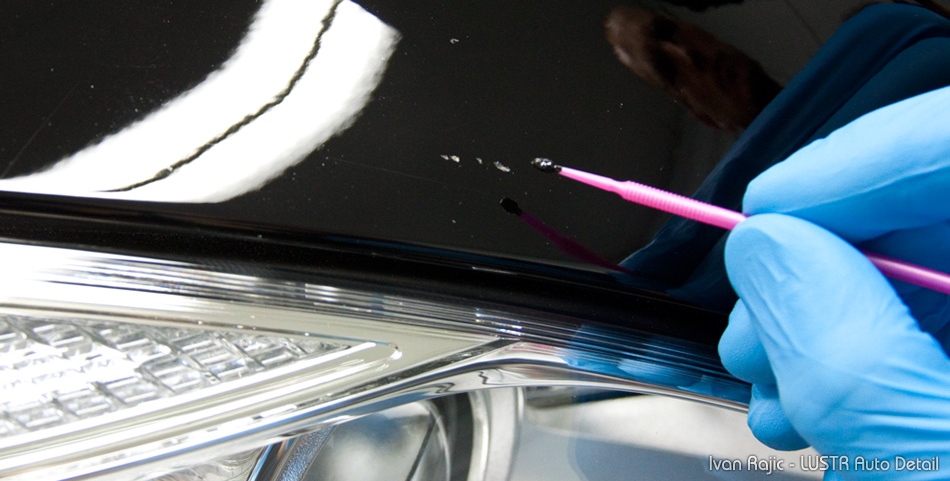
The process starts with using a brush provided with the kit to apply some touch-up paint to the paint chips…
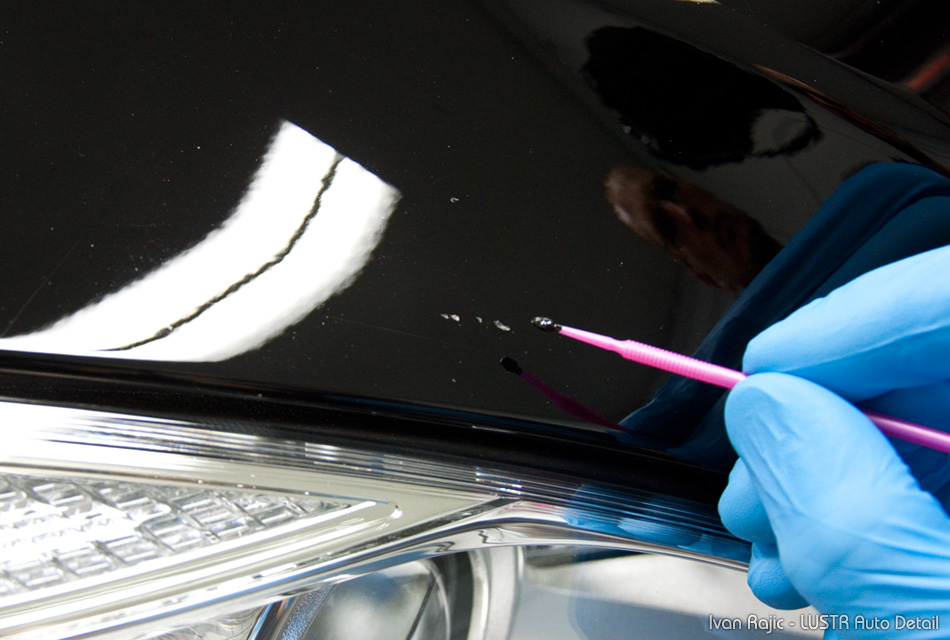
Once applied, it should look like a normal blob of paint sitting on top of the chips…

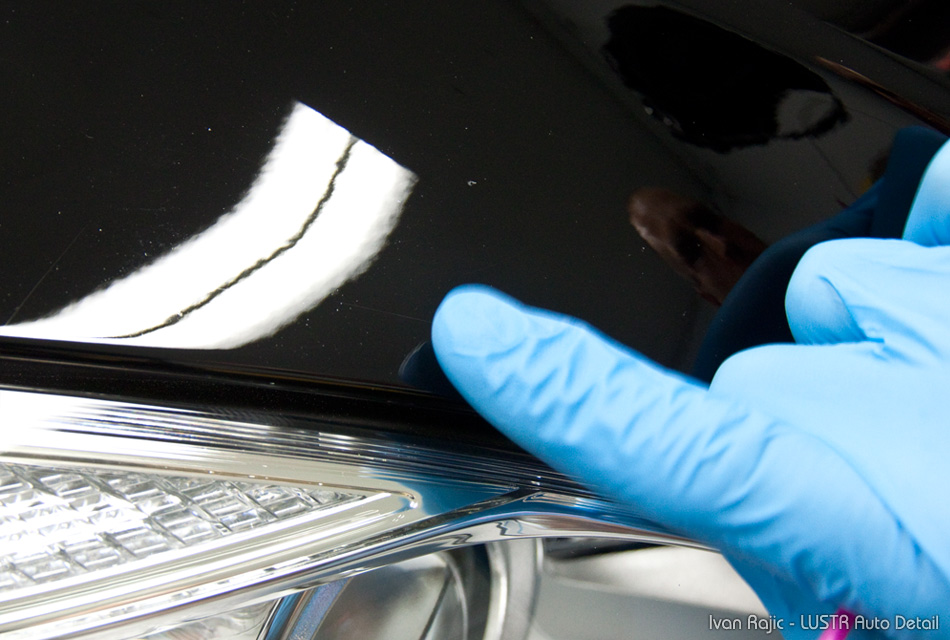
Then you need to smear the paint lightly with your finger in order to spread it out a bit and even the level of the new paint with that of the existing paint around the chips…
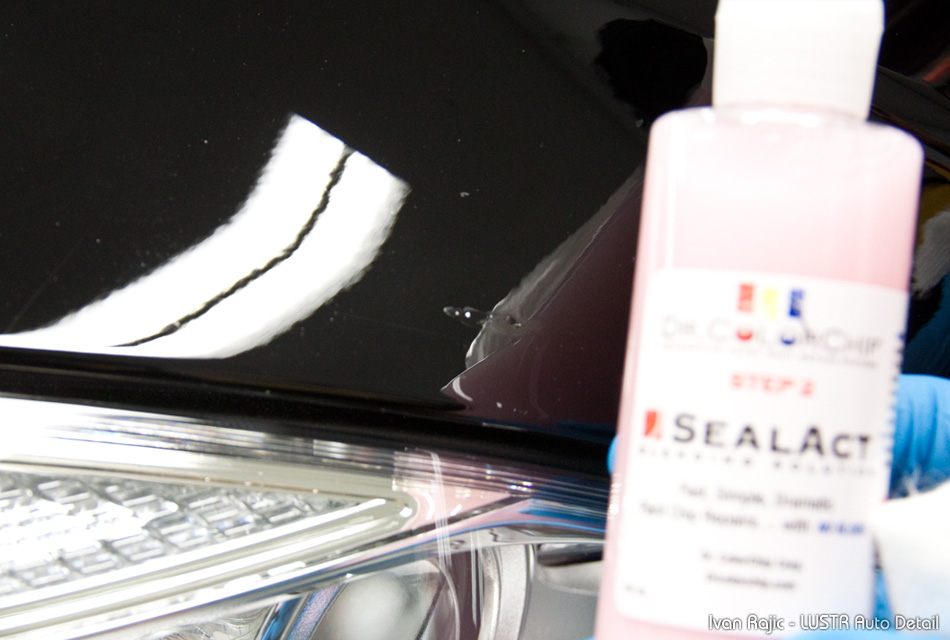
Once this is done, let the paint dry for about 4-5 minutes. As you can see in the photo below, there will be touch-up paint both in the actual chips as well as on top of the existing paint. This is how it should look and something you will take care of in the next step.
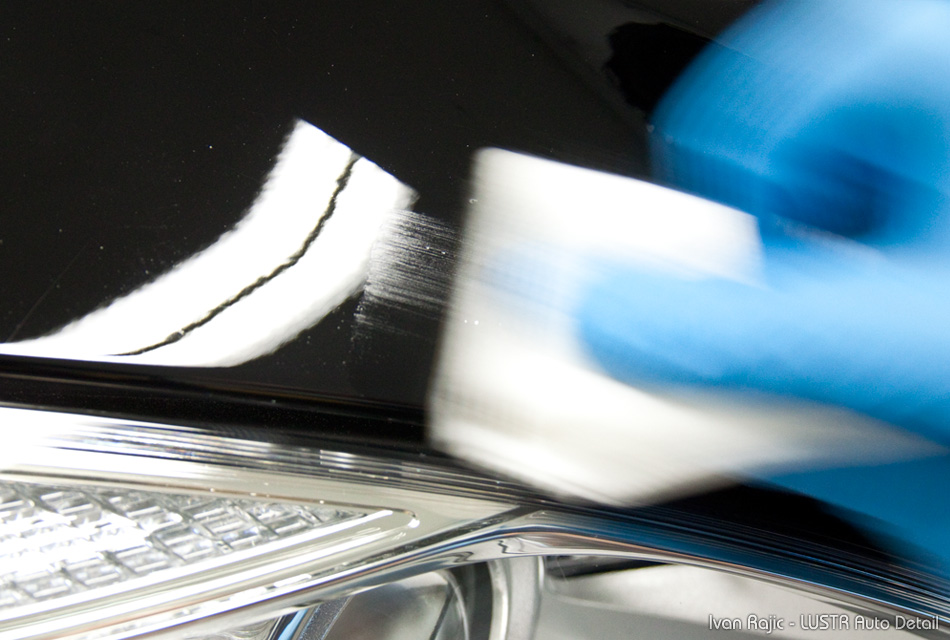
Once about 5 minutes passes, you use their SealAct blending solution (or as I like to call it “mild paint thinner” 🙂 ) with a provided cloth to remove the extra paint around the chips. (Sorry about the out of focus picture here)
The key here is to use the right amount of solution (start with 2-3 drops and adjust accordingly) and very little to no pressure. You want to slowly remove the extra paint that’s sitting on the original paintwork around the paint chip, without removing much or any of the touch-up paint that’s inside the paint chip. Normally, you will remove some of the paint within the chip as well, but most of it will stay inside to cover the area. This can be improved by using some sort of flat surface instead of your finger to press the cloth onto the paint while gliding across, as it will stay out of the actual paint chip much more.
Once done, the paint chips should now be filled in with the colored paint and a lot less noticeable. The photos here all show results from only one touch-up process, but I would highly recommend doing it 2-4 times to make sure the paint chips get filled really well and improved as best as possible.
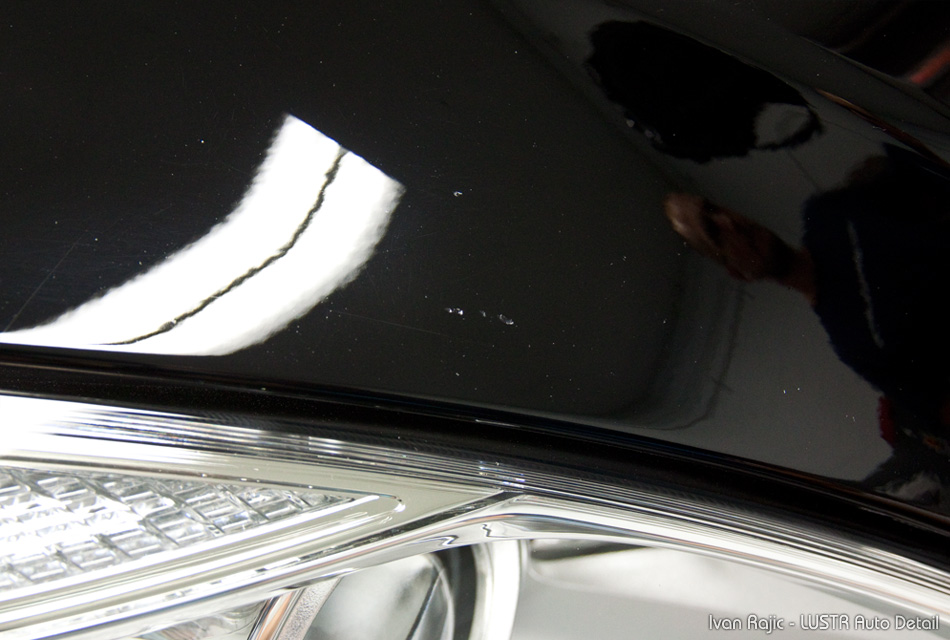
In the photo below, I copied a section of the “after” photo above the “before” to show the difference in paint chips. As you can see, the filled in paint chips look a lot better and are not as noticeable anymore. Keep in mind, in the photos here the light is directly reflecting off the touch-up paint, so the actual paint chips look a lot better in person than they do in the photo.
Again, this is a very simple process that can be easily repeated a few times to improve the results. The touch-up system works really well on paint chips and scratches, so it can be a very useful tool when offering a service to certain clients. I recommend doing this before any finish polishing if at all possible as you’ll have to marr up the paint a bit when removing the extra paint from around the paint chip.
All in all, it’s a very simple process and I hope this quick tutorial is a help for some barely getting used to it. Thanks as always for reading and please feel free to post any questions or comments below.