
This BMW had some poor maintenance in a prior life and a good client of mine picked this car up for his wife. He understands the value of good car care and before seeing the car he tells me, “yeah Brian, its a little messed up” . Which I happened to find out was a bit of an understatement. We see so many 3 series BMW’s under these conditions and a couple years back BMW was doing excellent lease offers with these cars, it seemed like everybody had one. Now that time has gone by and many of these have been turned in and then purchased out right, it is very common to see these cars in this condition.
The imperfections you see are a result of poor detailing, dirty pad choice, wrong size pad choice, technique and most of all … lack of caring. Some people believe that the dealer is the best option for the car, however what they don’t know is most dealerships hire cheap and pay cheap for their detail services. That being said, it makes it very hard for the employees to care all that much about it. Like the saying goes, “You get what you pay for” and that is exactly what this customer received when they had the car “detailed” by the dealer.
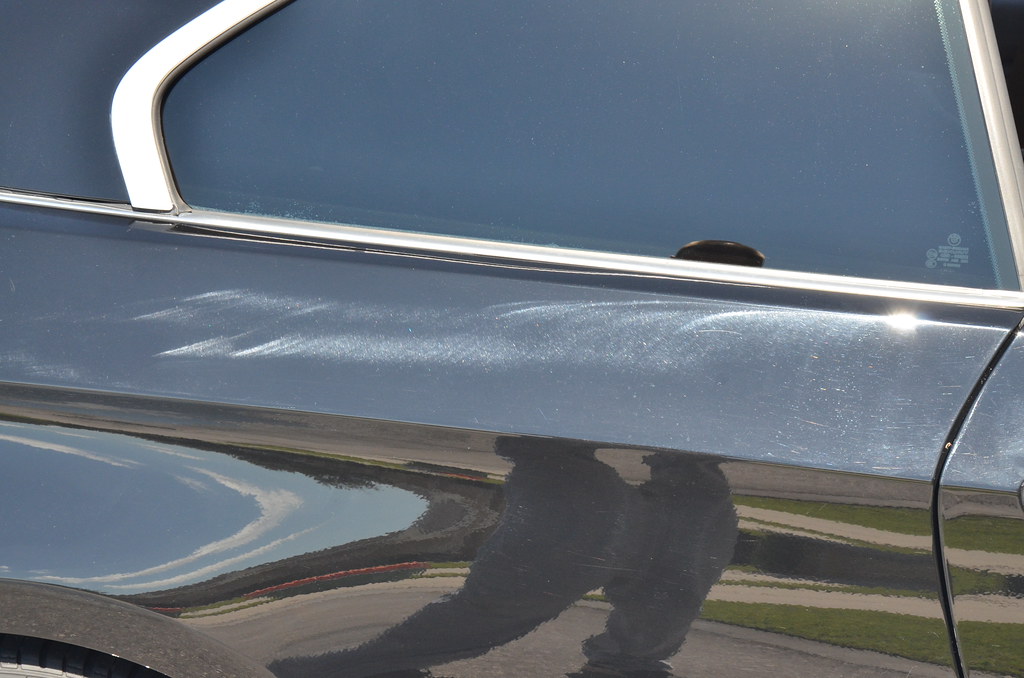
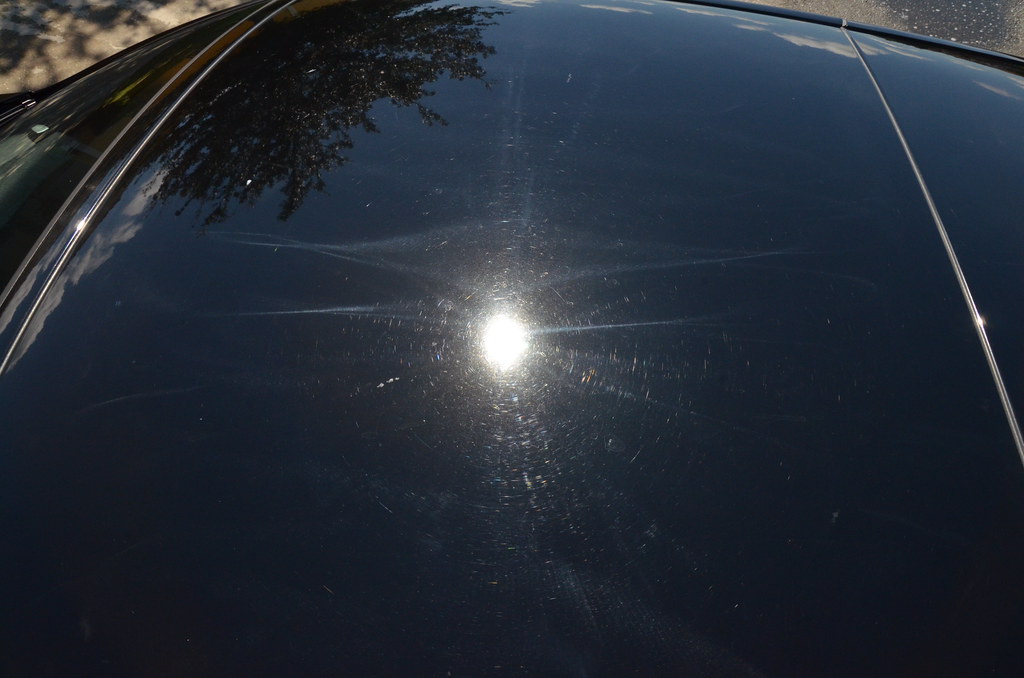
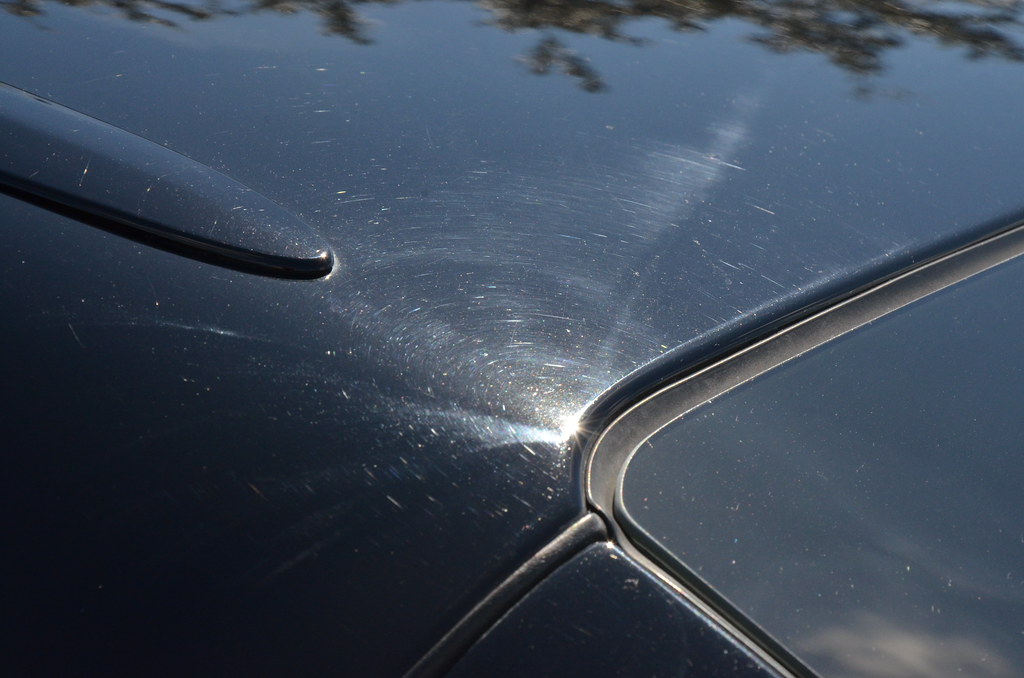
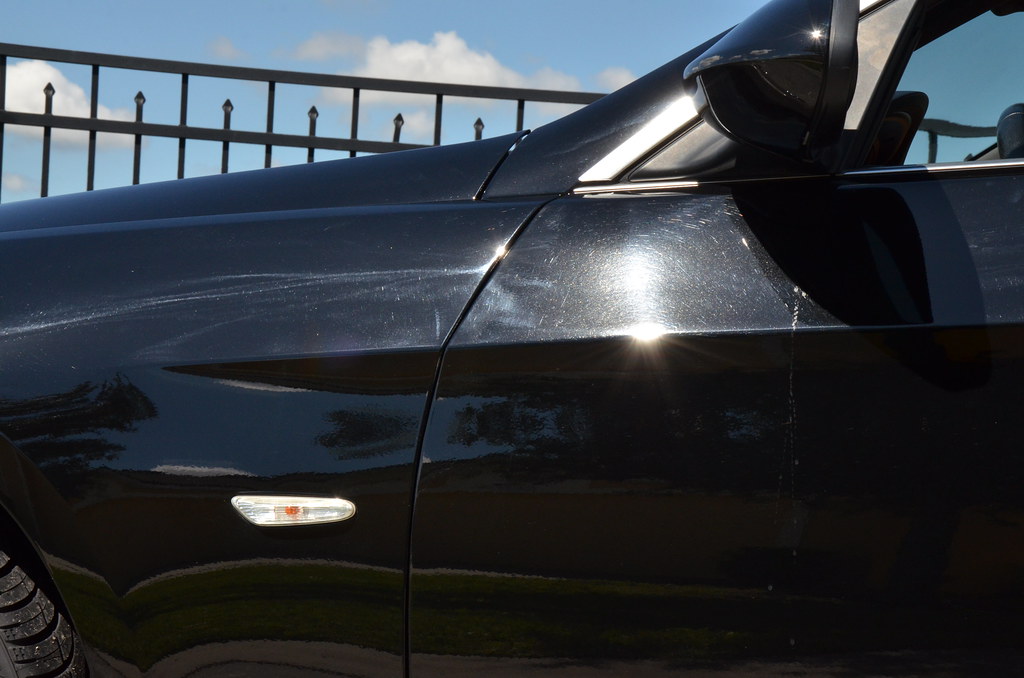
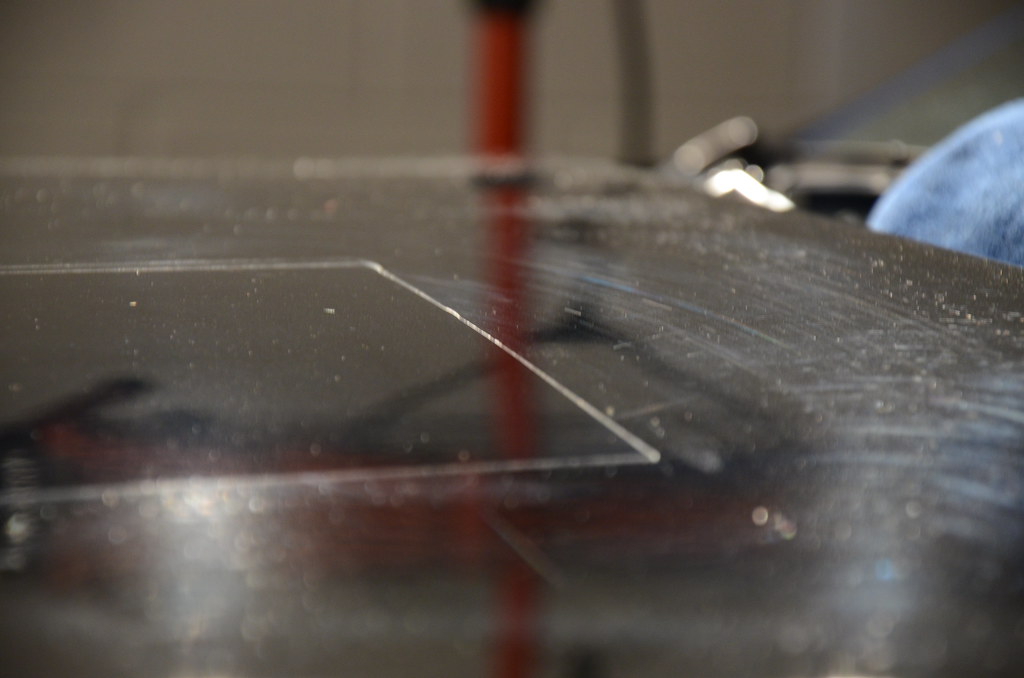
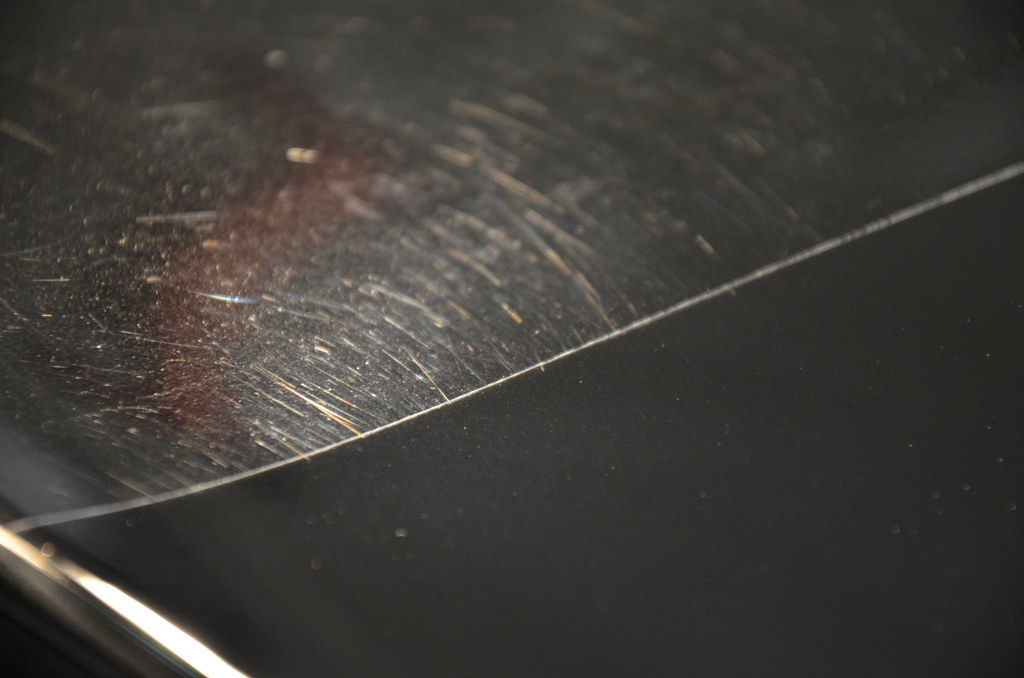
Have a look at some of the before pics and the swirl damage prior to me getting stated with this detail. You may also notice the lack of care around the trim work and edges.


Below: Hood

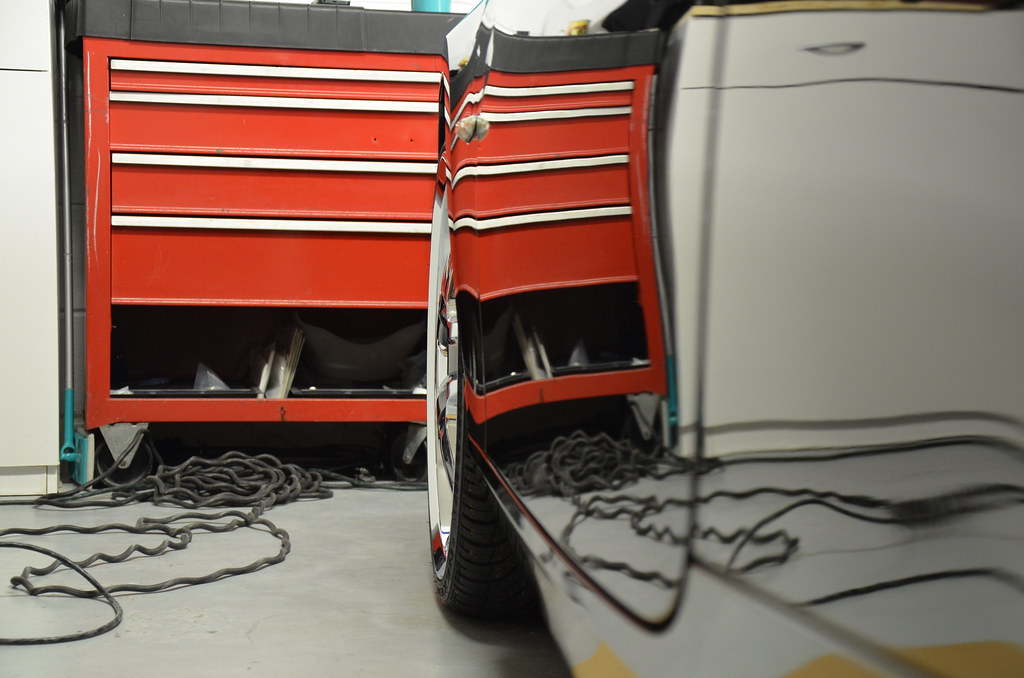
Below: Passenger side rear fender area.
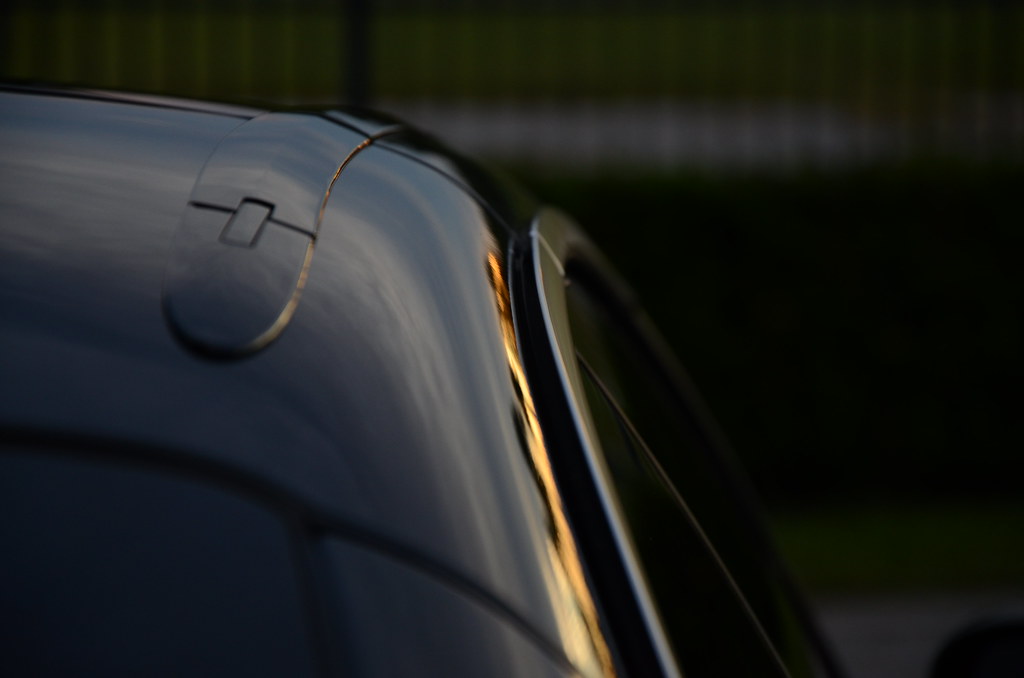
Below: Roof.
Below: Roof edges.
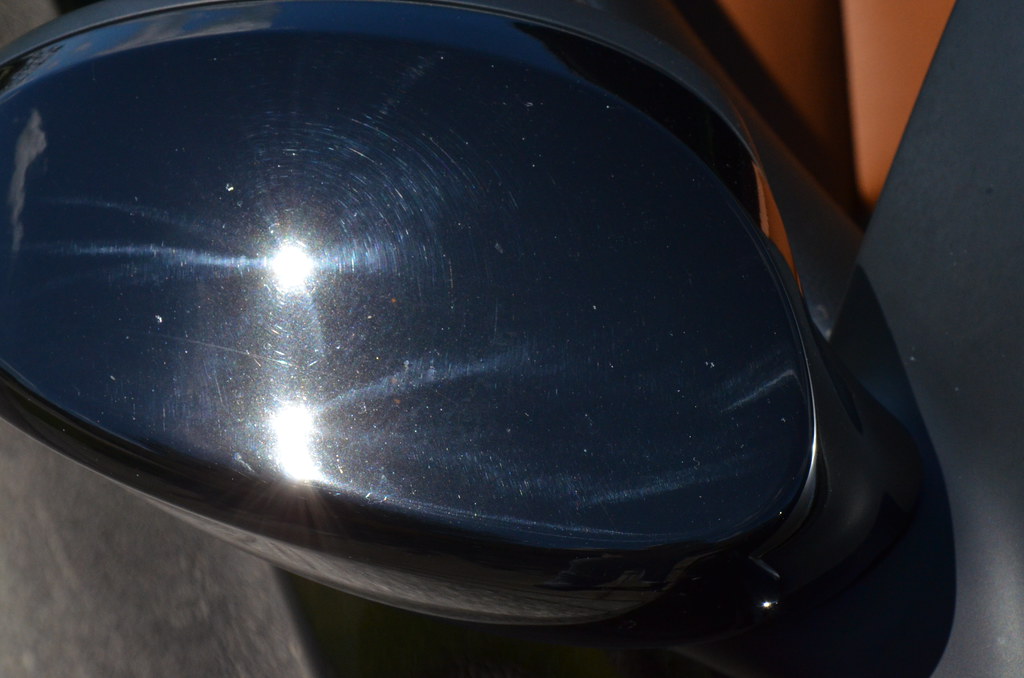
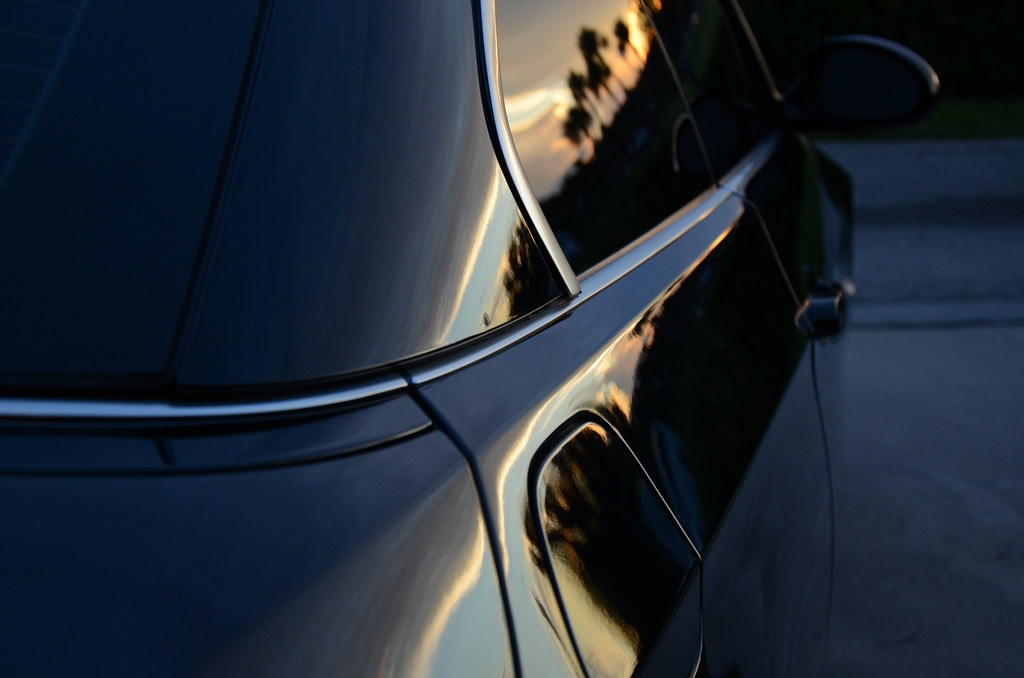
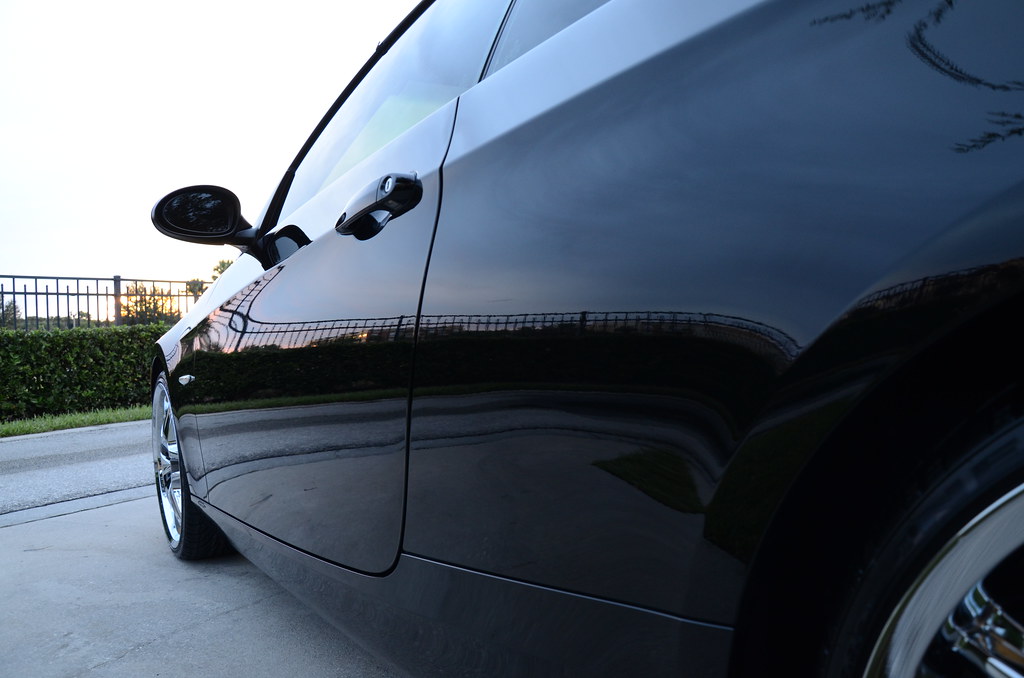
Below: Side Mirror.
Below: Drivers side rear fender area.
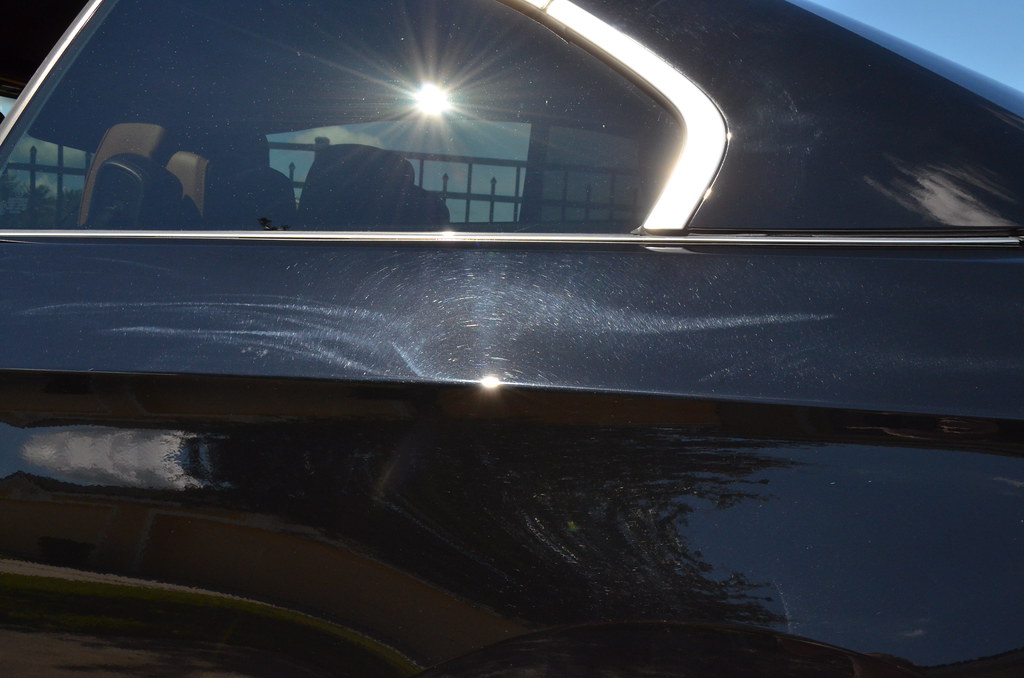
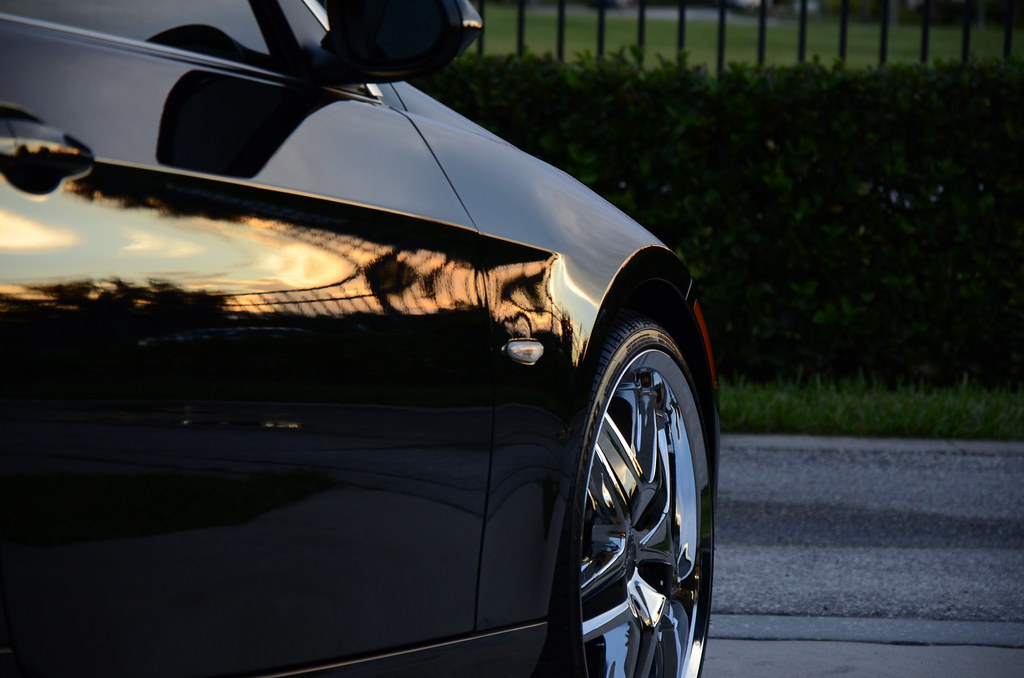
Below: Front quarter, Drivers side.
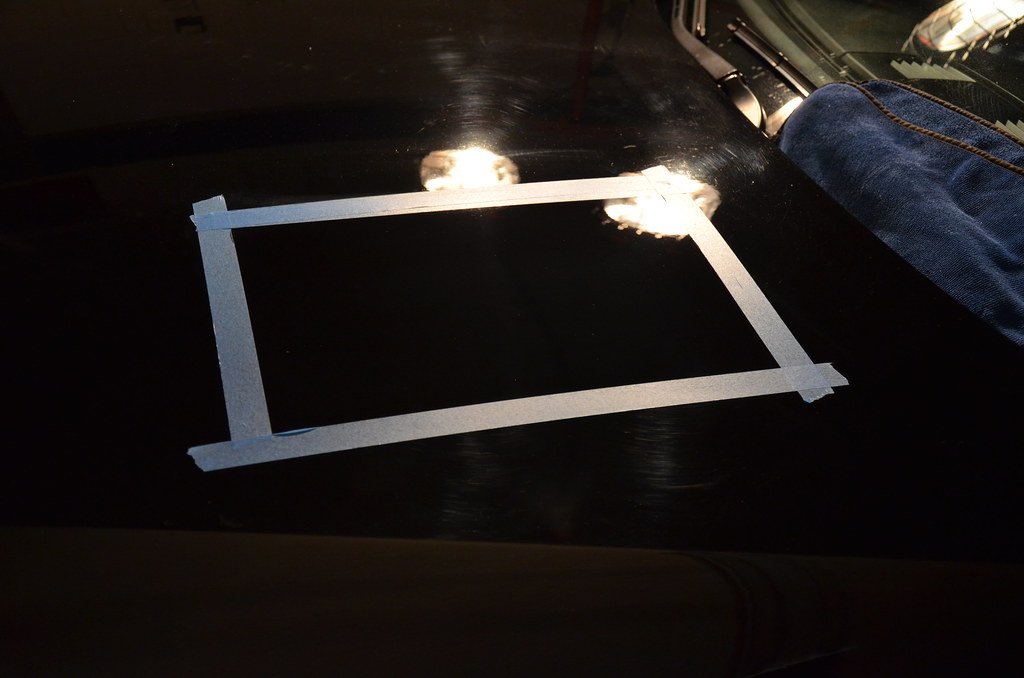
I used a little test spot to help myself get started with the detail. Prior to marking this test spot, I wet sanded down a few areas on the hood that had OEM touch up paint loosely touched in.
I started polishing with the Meg’s Microfiber Cutting Discs and M105 on the Rupes 15. For the second step, the finishing was done with the Meg’s Microfiber Finishing Discs and M100 on Rupes 15.
Below: 5050 of the trunk lid.
From a little further away you can see the huge difference that is being made.
Below: These areas I handled with a 3″ Meg’s Cutting Disc and M105 on the Porter Cable.
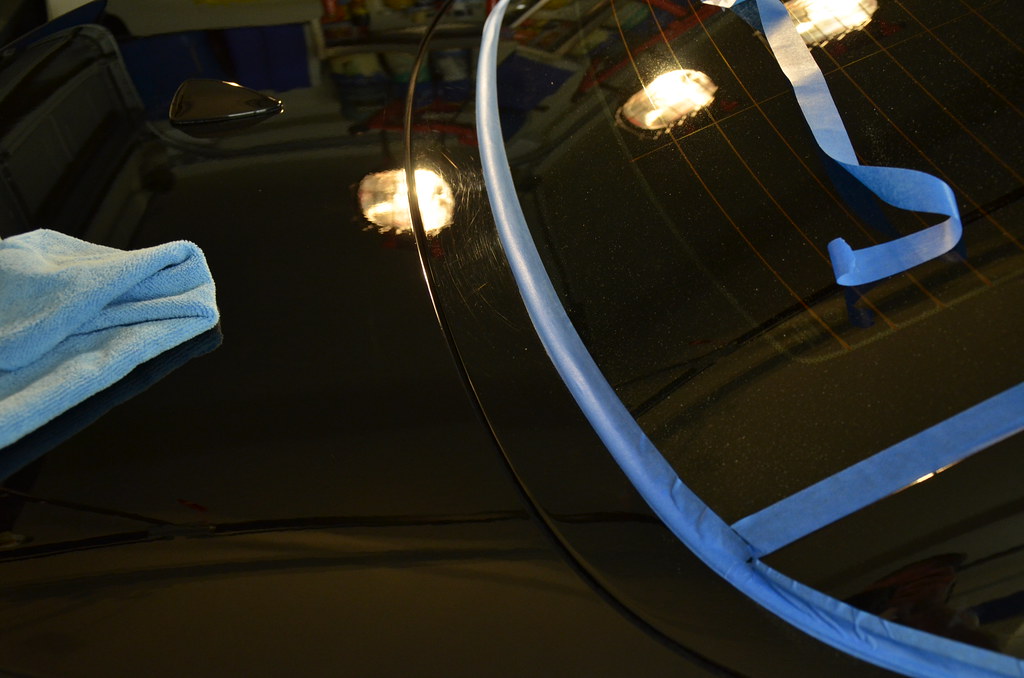
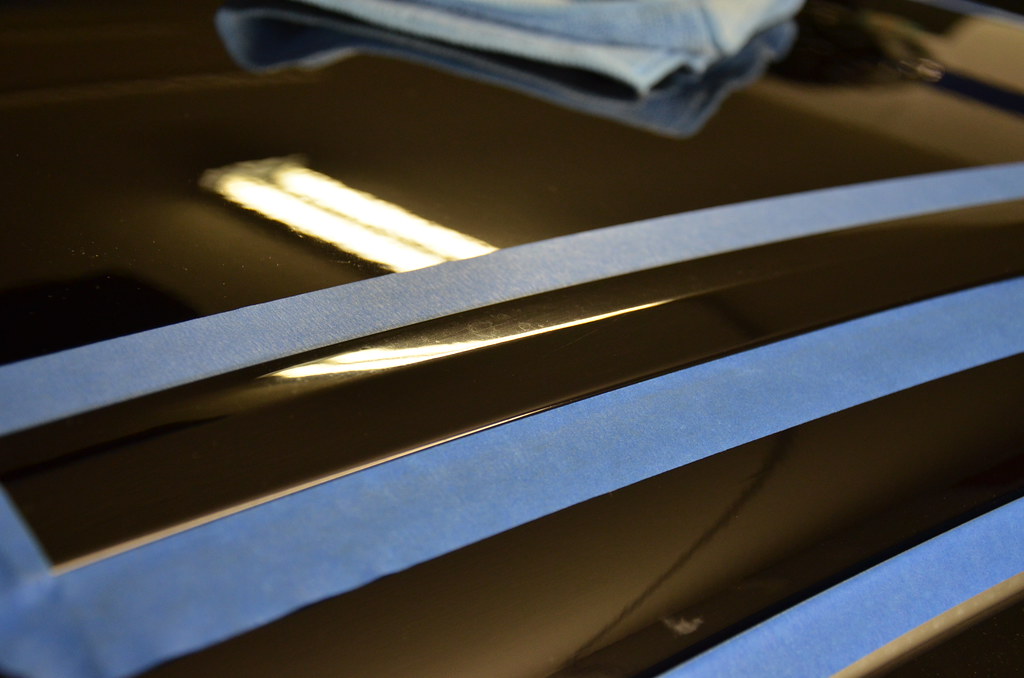
Below: The roof and trim moldings had some minor water etching. They were properly taped up to avoid anymore stress to the edges of these pieces. The roof moldings were also handled with 3” Meg’s cutting Disc and PC.
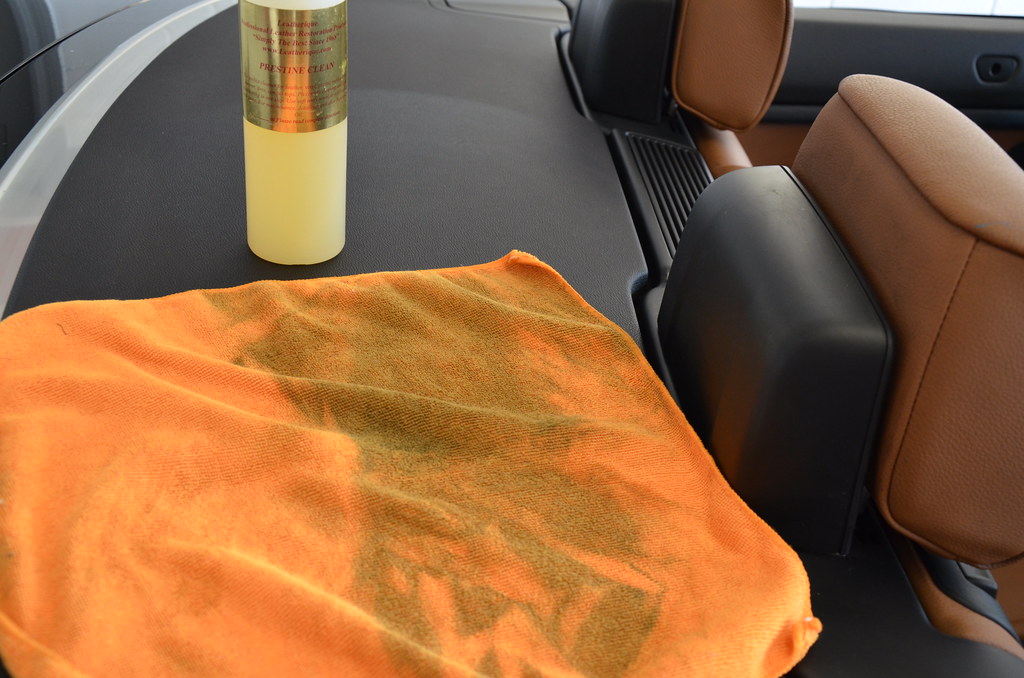
Tons of correction took place and many hard hours of work were put into perfecting the paint. On top of the correction we also had to rid this car of all used factors. Prestine Clean was used for all of the vinyl and leather surfaces. This area in the picture below was sprayed, scrubbed lightly with semi soft brush, then wiped down with a clean MF towel. Check out the dirt removed from just one swipe!
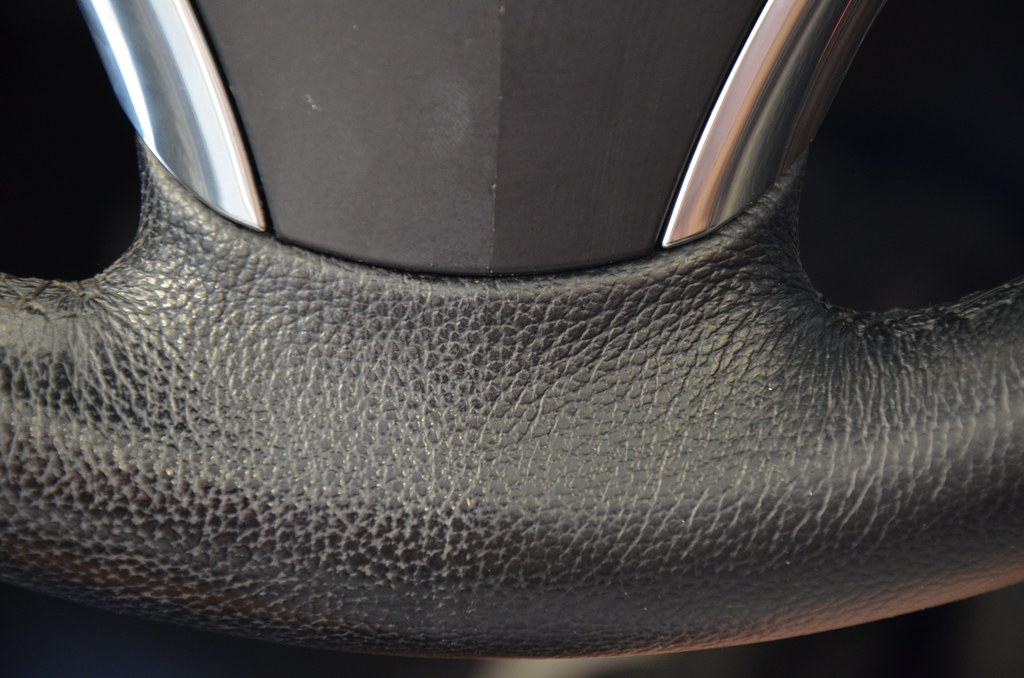
Below: Light 5050 showing some difference on the steering wheel. The area still needed a little more work to get it where I would like.
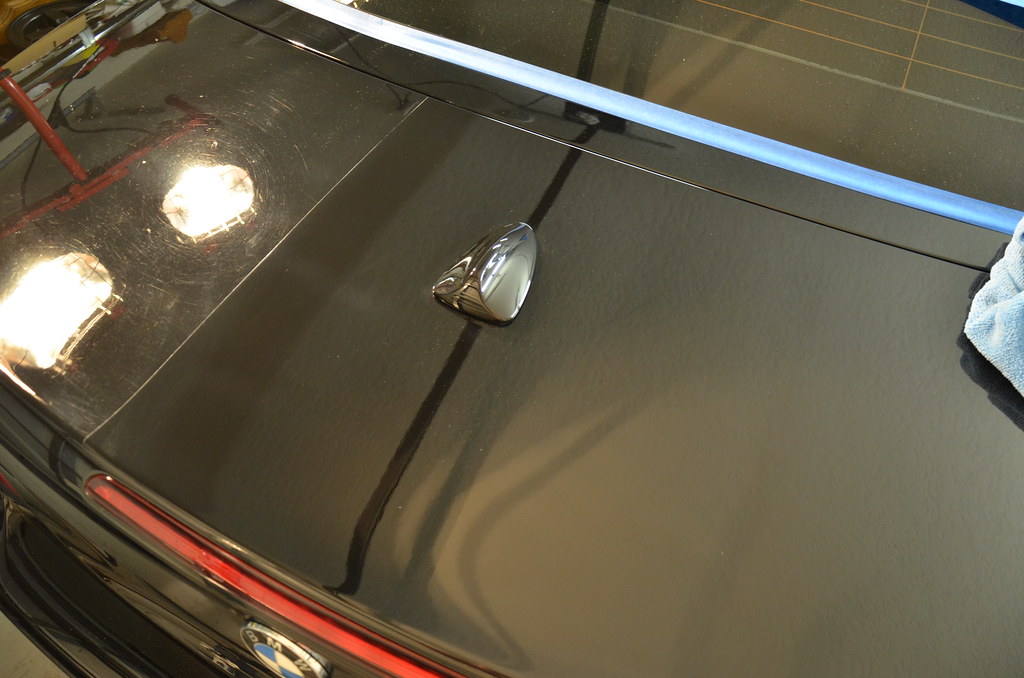
Below: Results after re leveling the paint work.

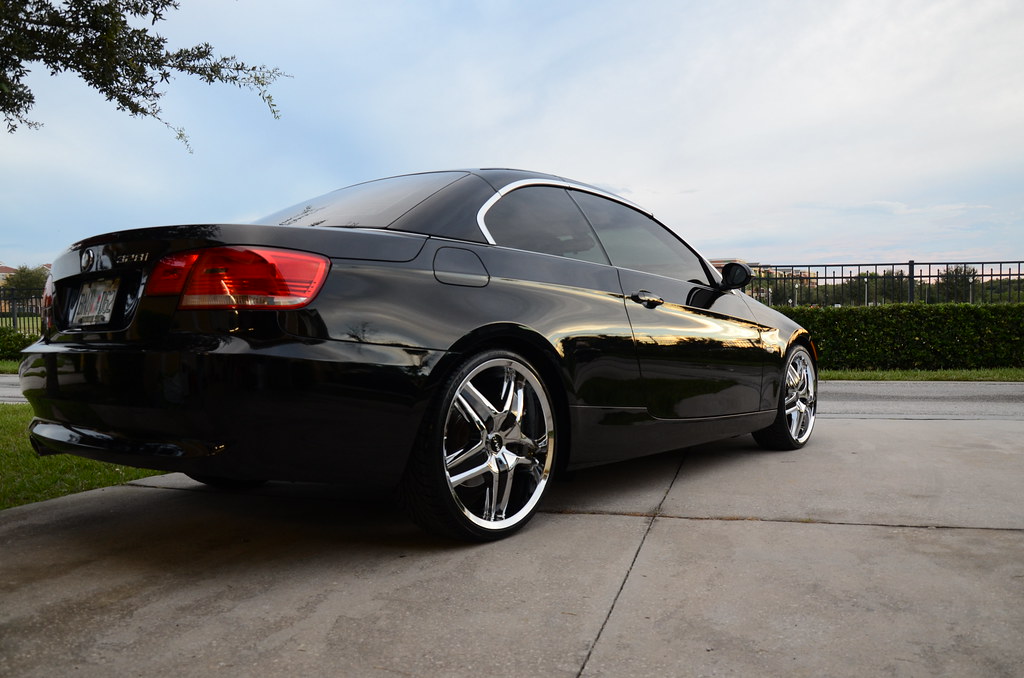
After all this correction, the car was topped off with Dodo Juice Blue Velvet Hard Wax.
Thanks for viewing this detail, If you have any questions? Please feel free!
Buy Products From This Article
Purchase the products used in this article individually or in one convenient package here!