
In January I was sent down to Naples, Florida to do a paint correction detail on a brand new Lamborghini Performante. While I was down there my client also had a Jet Black BMW 645Ci that needed some love. Unfortunately I was so involved with the Lamborghini I didn’t have time to work on it, so once I moved down to Naples it was the first car that I performed a paint correction detail on in Florida.
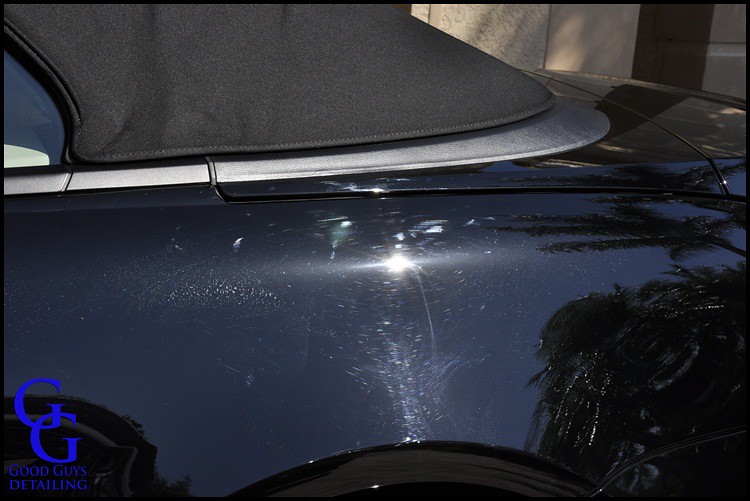
While inspecting the car I found your typical defects: swirls, straight scratches from towels, deeper scratches from car washes, and a lot of contaminants in the paint. After talking to my clients we agreed on performing a hybrid paint correction detail. This consists of compounding the top surfaces of the vehicle to remove all of the defects and only polishing the bottom surfaces to remove light defects. I started out with your normal Grit Guard 2×4 Wash Method followed by decontaminating with CarPro IronX and then finally claying with a DI Ultra Fine Clay Bar. I went with the Ultra Fine Clay Bar because I knew that Jet Black was notorious for being a softer paint but even using this clay bar caused a little marring.
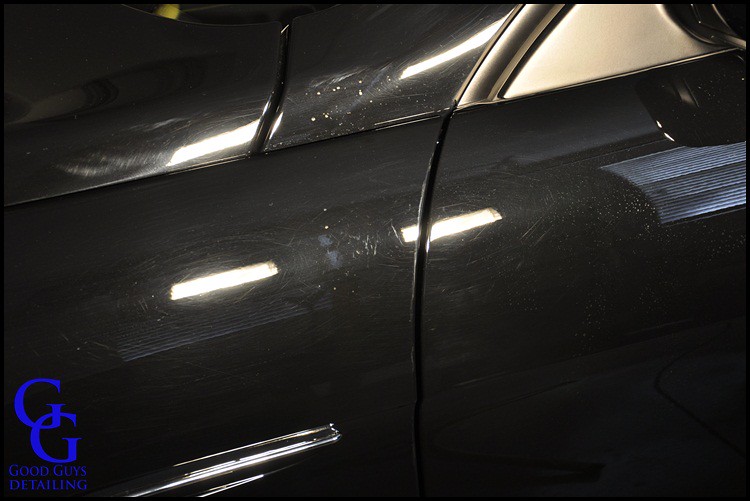
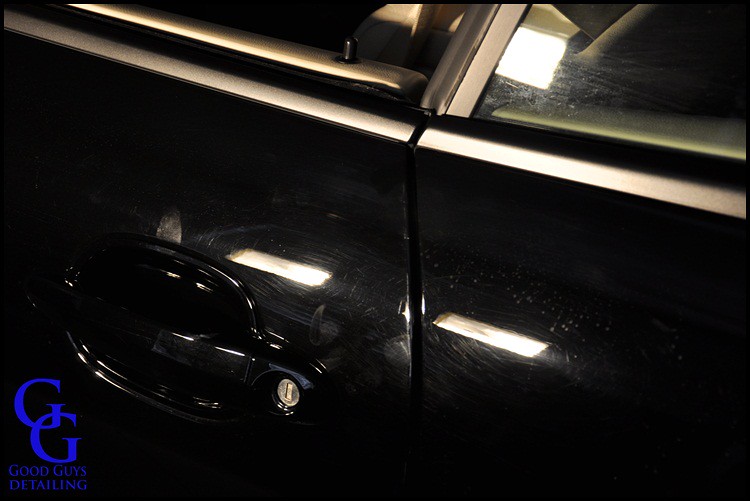
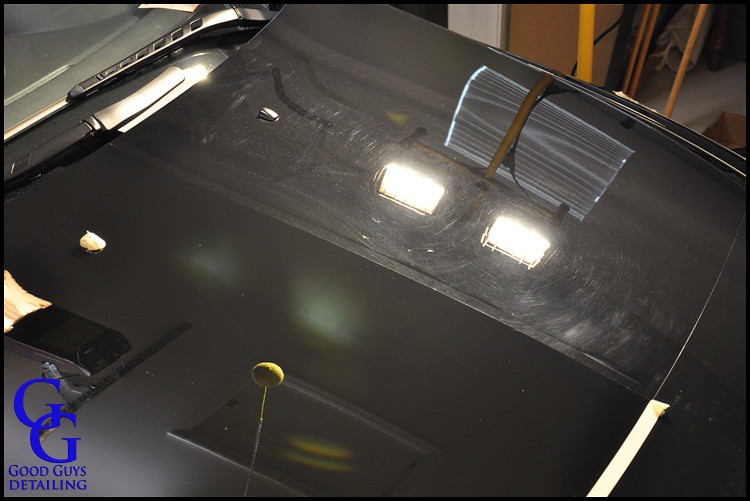
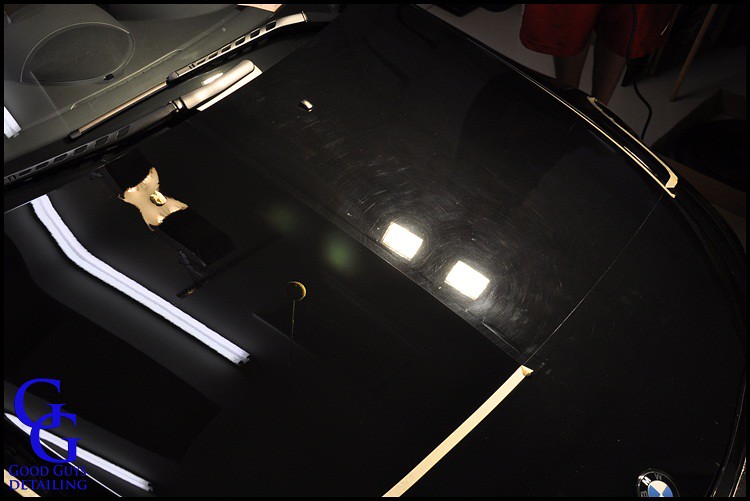
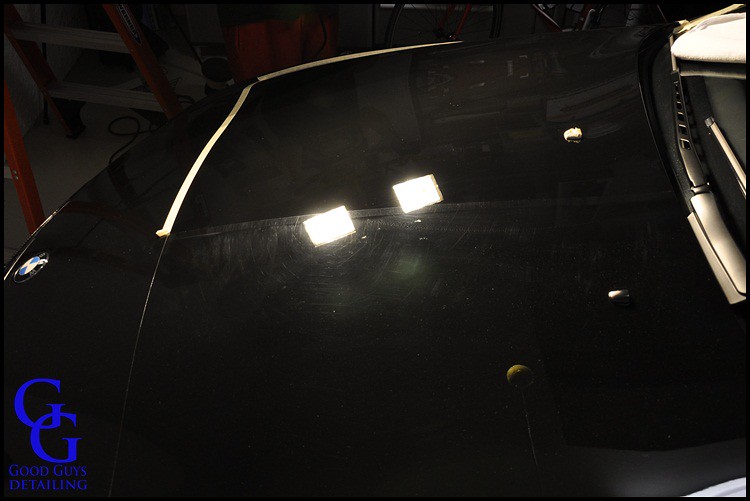
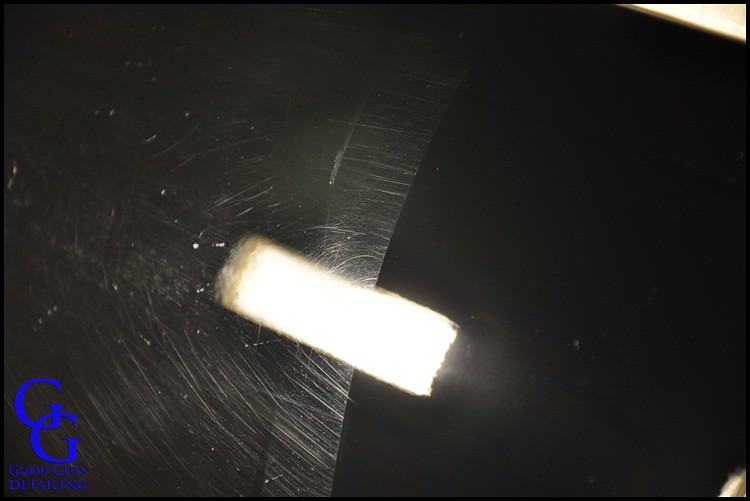
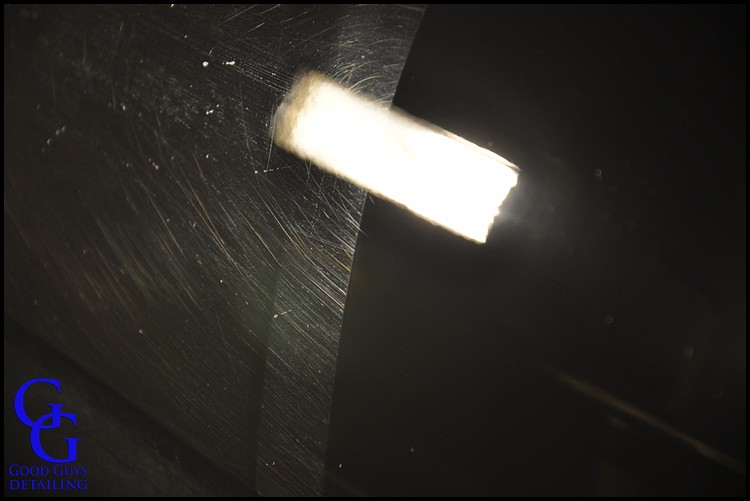
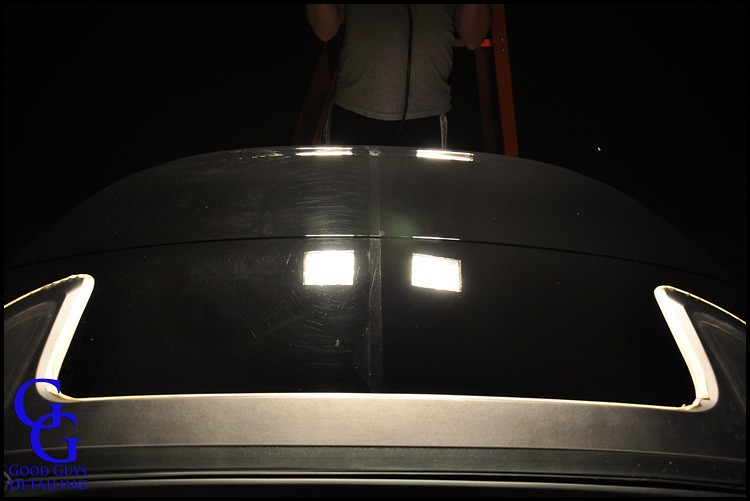
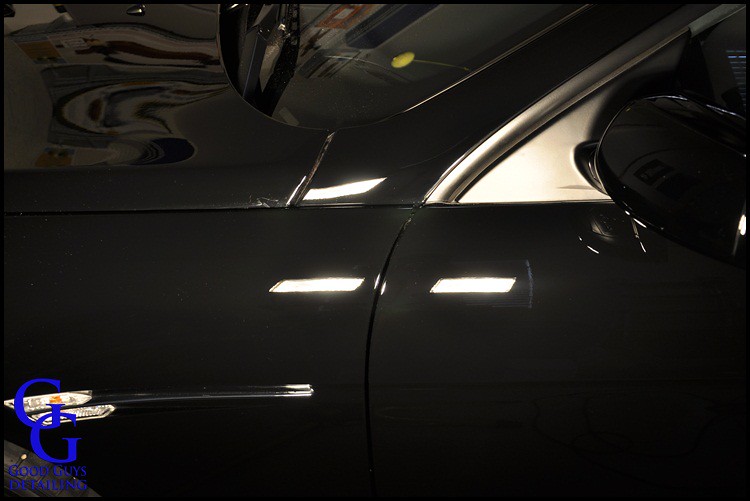
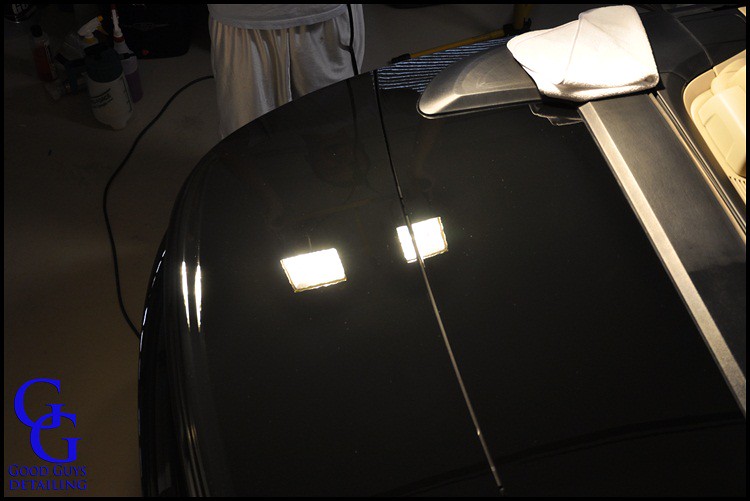
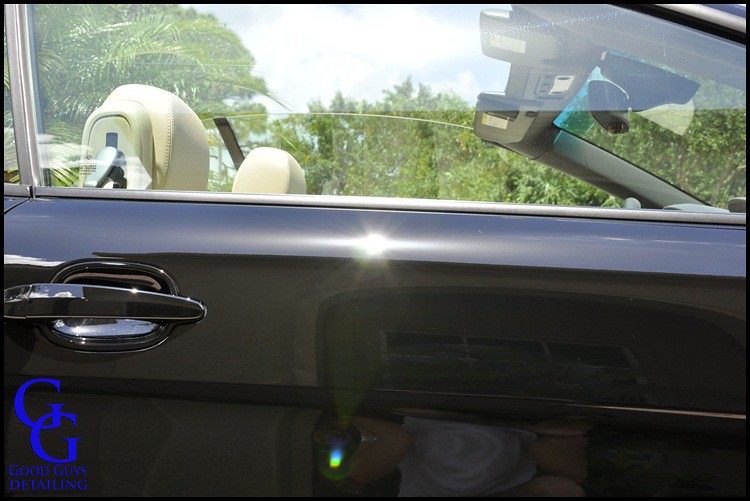
Here are the before pictures:
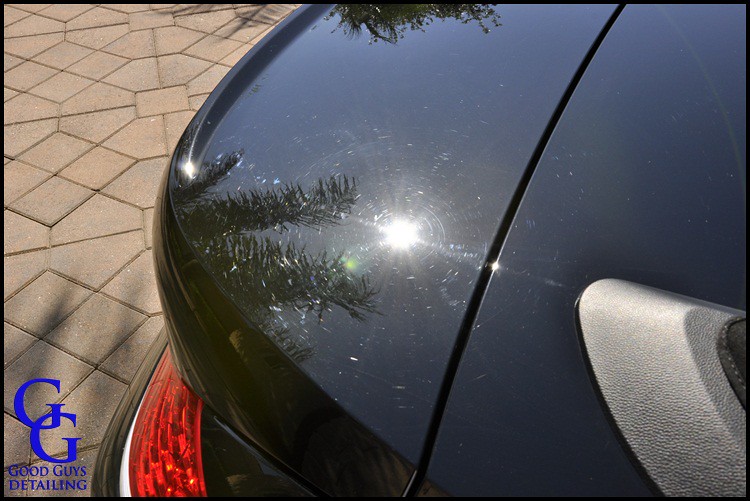

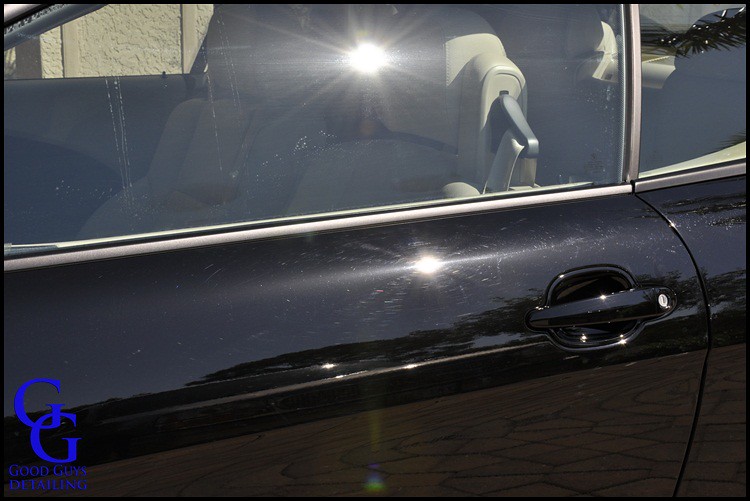
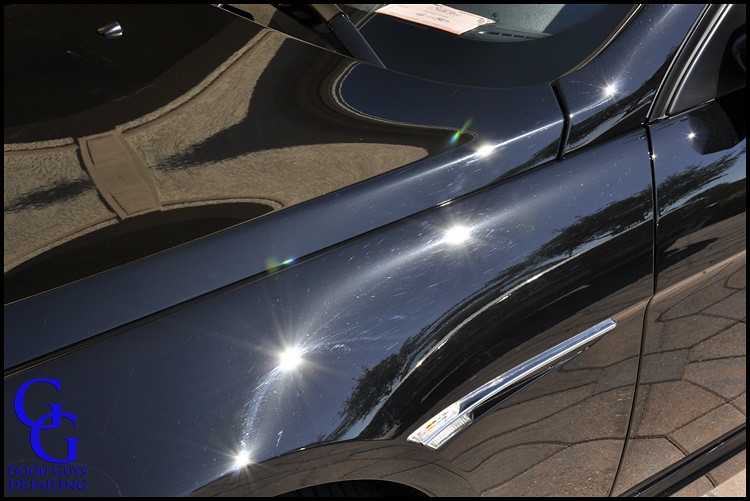
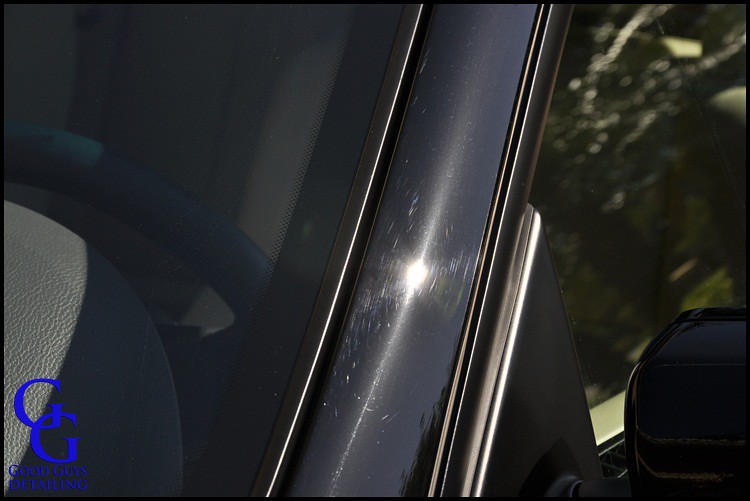
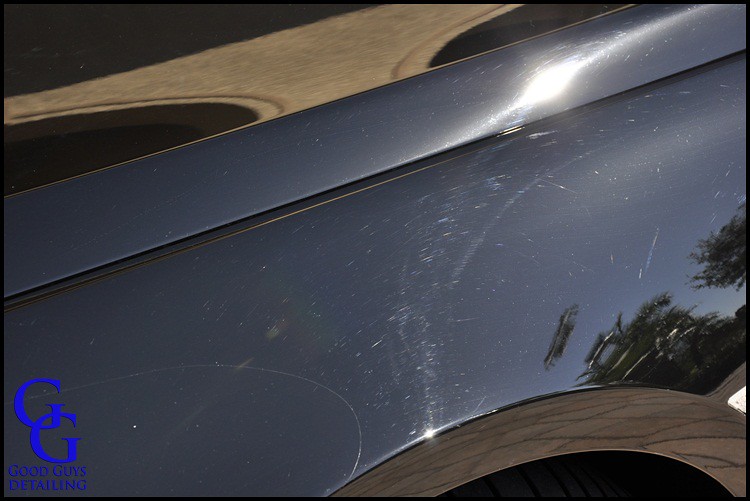
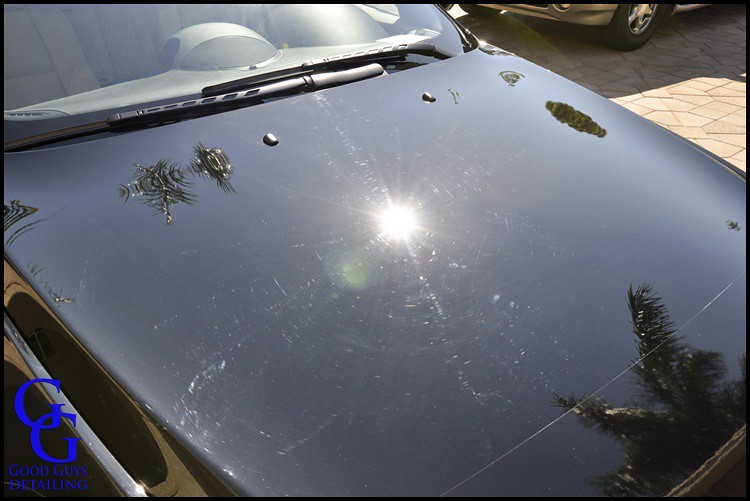
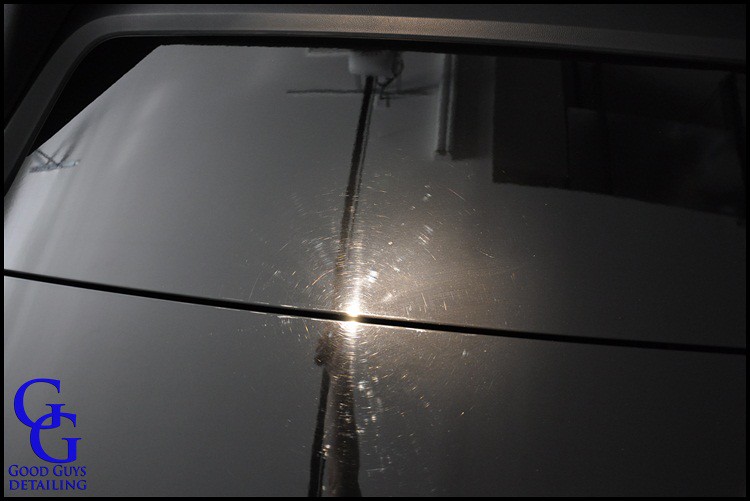
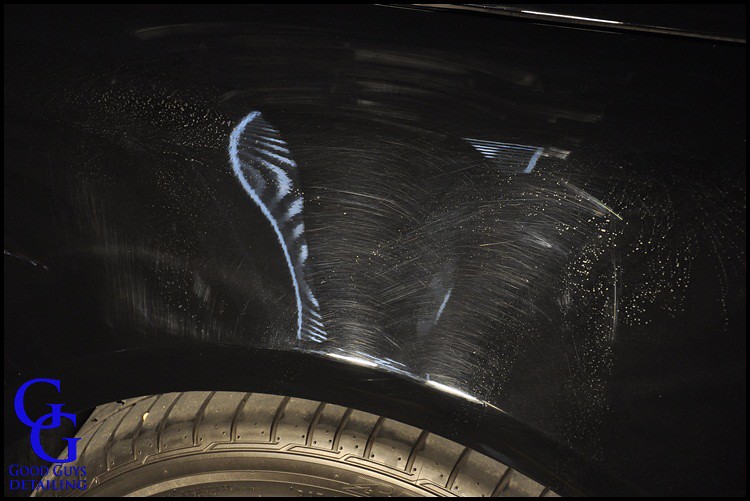
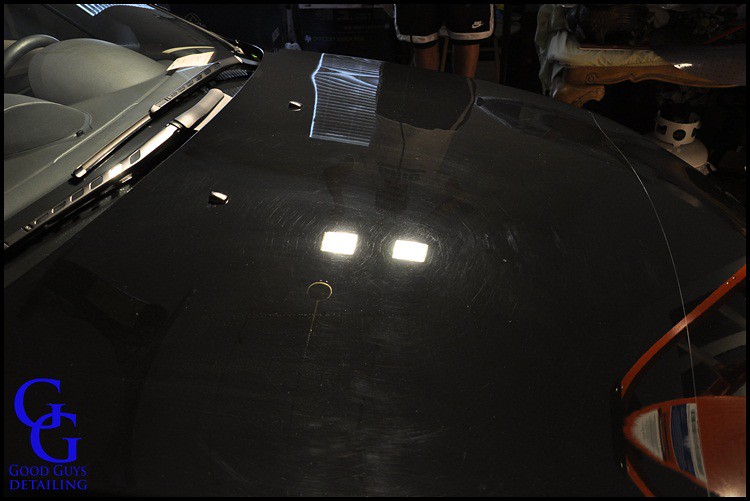
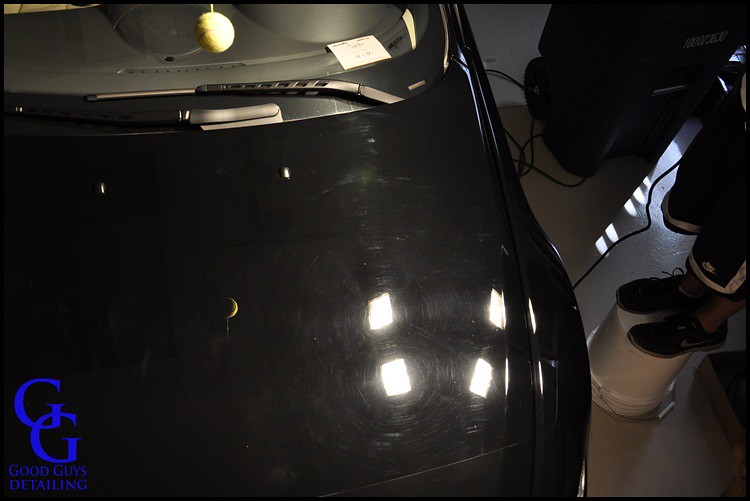
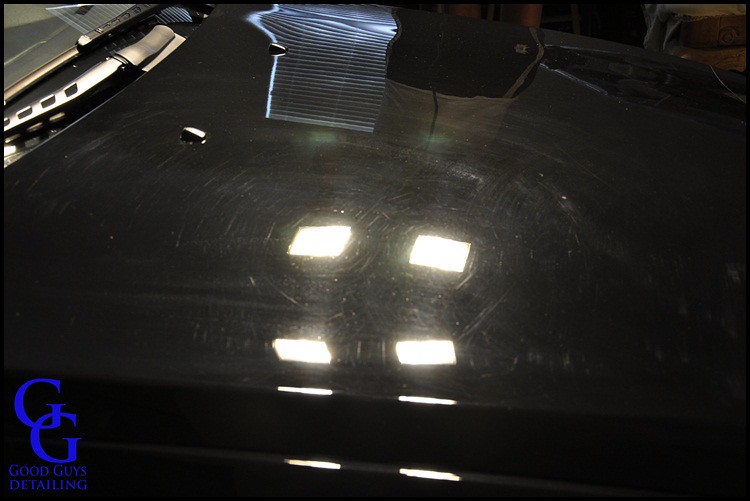


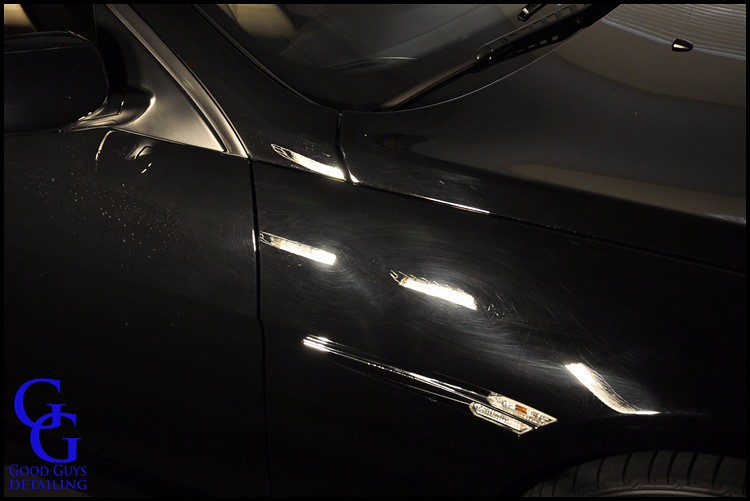
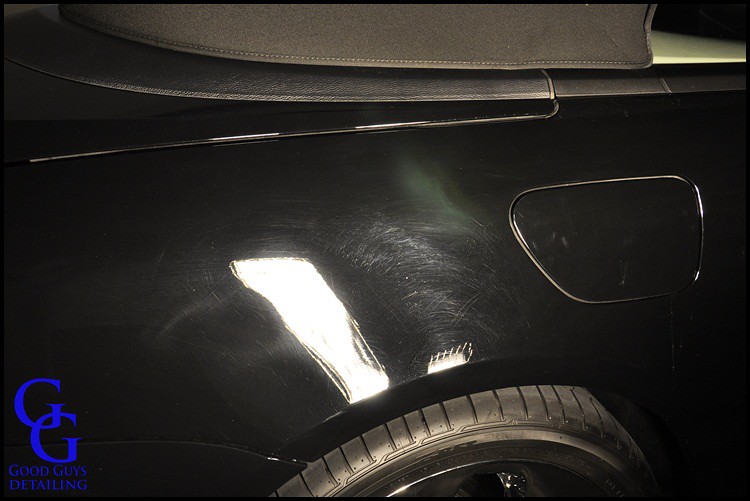
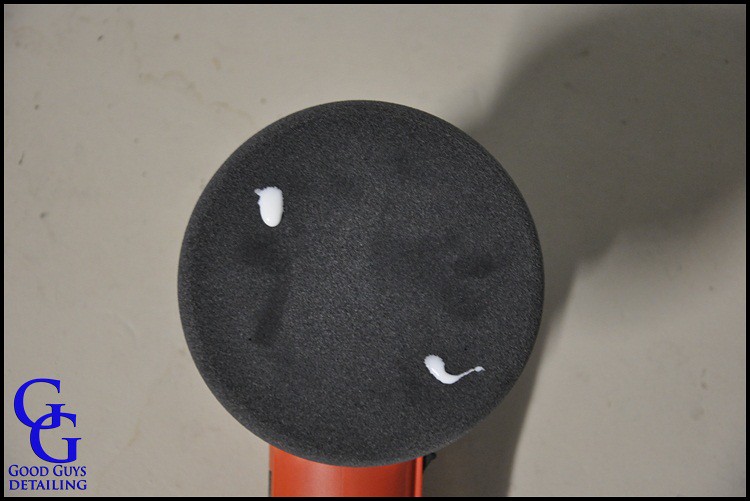
As you can see this thing needed a lot of love. I taped off a section of the hood and started testing. Jet Black is a very strange paint to work on. The light defects come out very easy like a soft paint but the deeper ones take a lot to get out like a hard paint. This can be a challenge – trying to find the perfect combinations when compounding and polishing. I started out using a Meguiar’s Microfiber Cutting Disc and Maguiar’s D300 Correction Compound. After a few passes, a lot of pressure, and the right technique I was able to get all of the defects out. Now it was time to find a polish that would work. This can be tricky on this paint because it polishes like really soft paint. I ended up using a Black Finishing Pad with Sonax Nano Paint Cleaner. This is a great product on soft paint and is an all-in-one product so it also provides protection. While polishing I was testing buffer speeds and pressure as I was going. I found that a slower speed and medium pressure was giving me the best results. Sonax Paint Cleaner has a lot of oils in it which can make it tricky to remove from the vehicle. The best way is to use a Great White Microfiber Towel while constantly flipping sides to absorb the oils from the paint. Using the proper amount is also essential to easier removal. You don’t need a lot, this much easily did half of the hood and then some:
Once I found the right combo that worked on this paint I got down to business on the rest of the car.
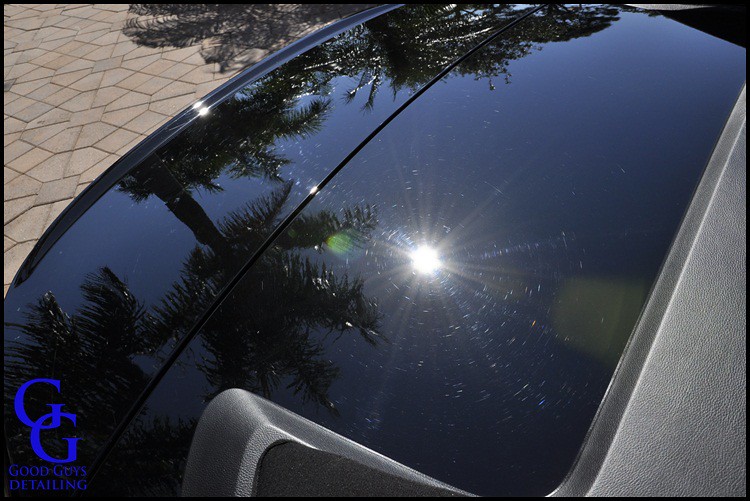
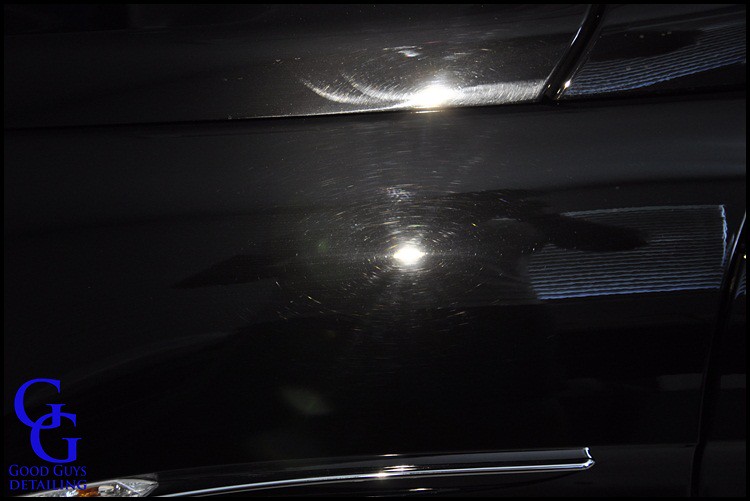
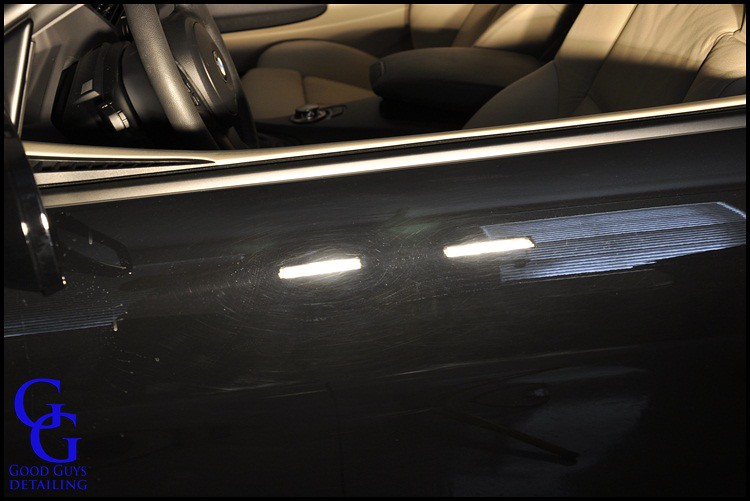
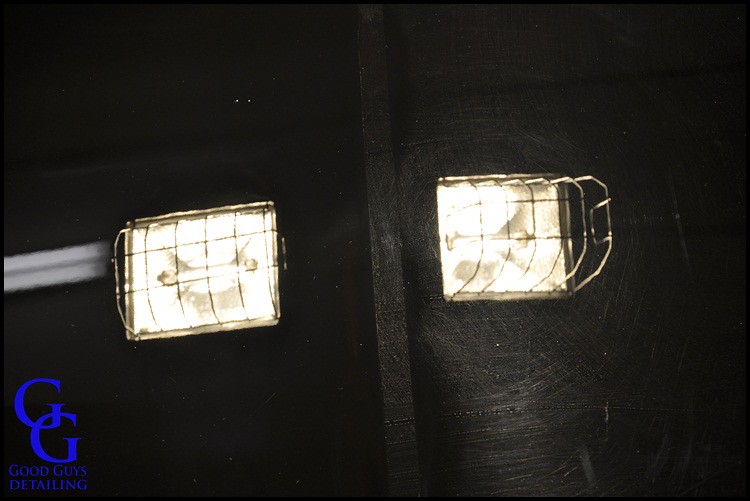
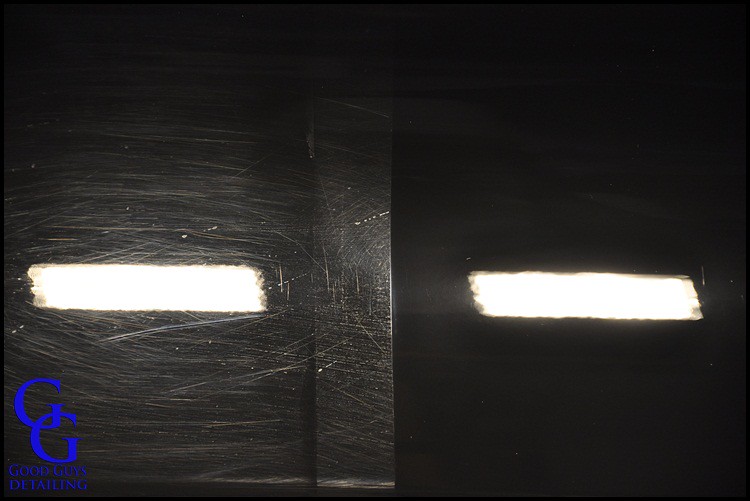
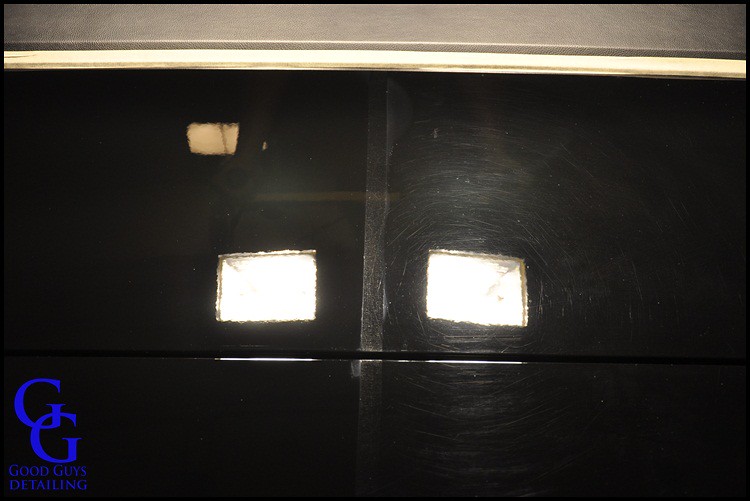
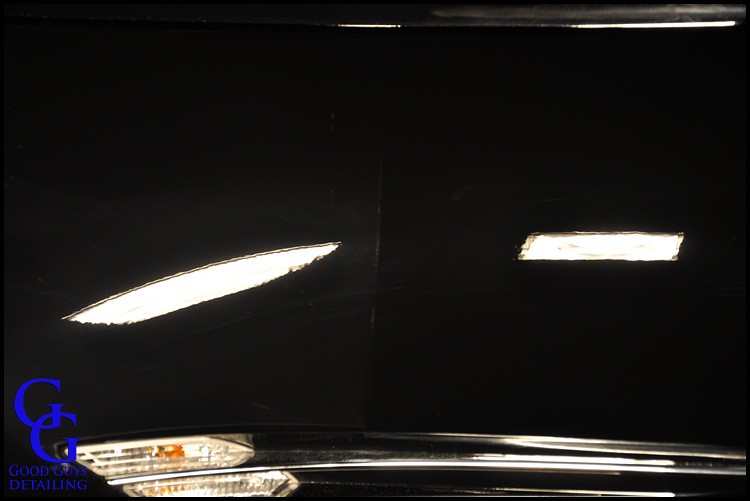
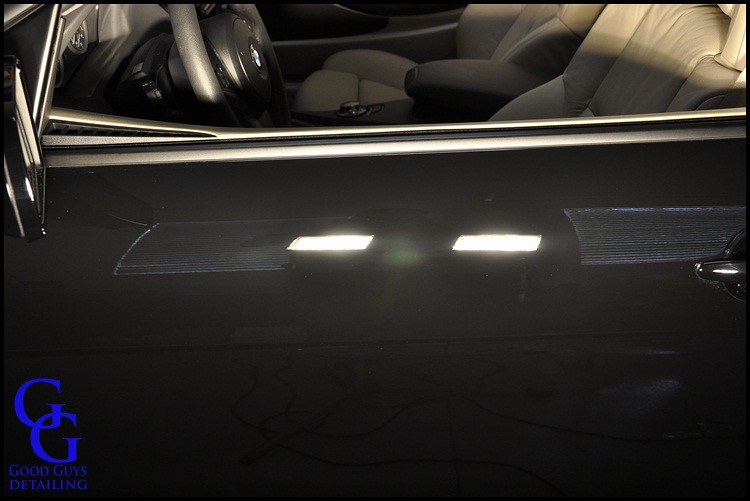
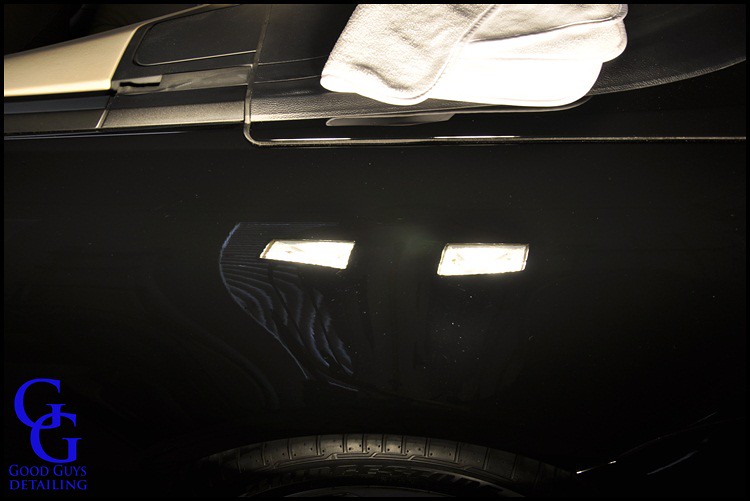
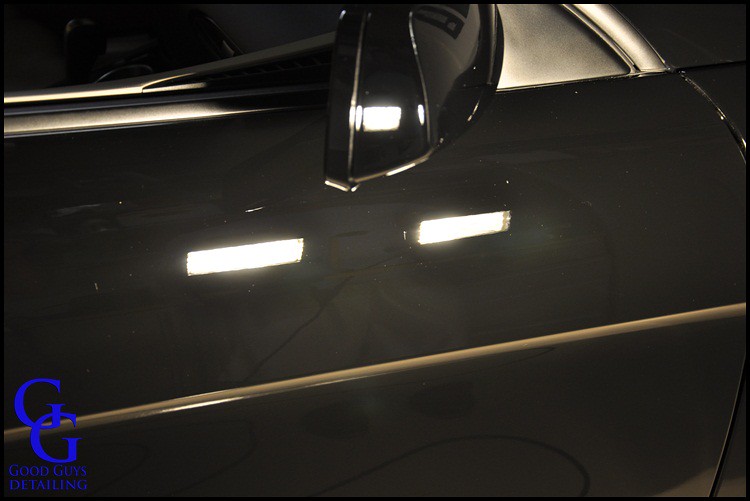
While I was working I took some great 50/50 shots so you can see the drastic difference I was making:
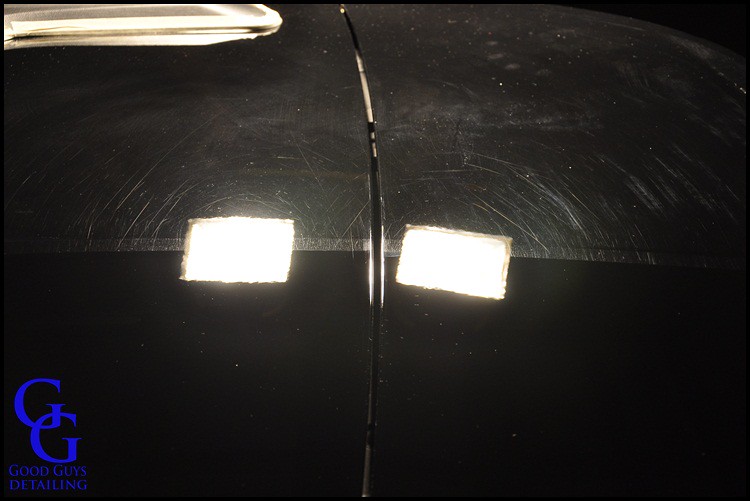
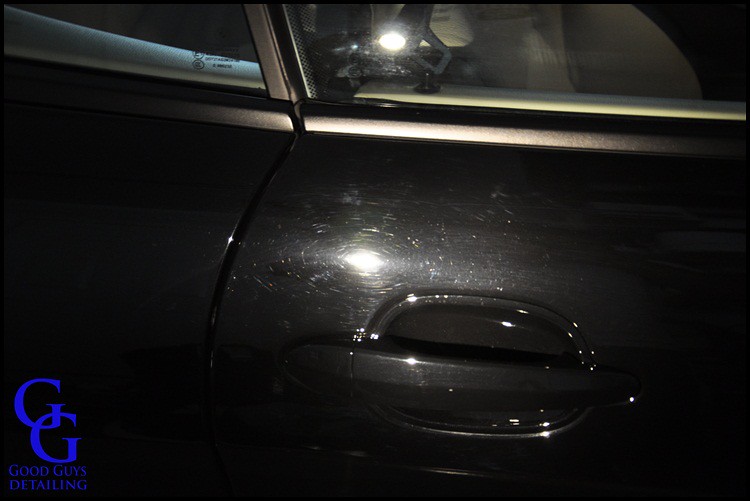
Since I was only polishing the bottom surfaces I used Sonax Paint Cleaner on those as well. Although it did not take out a lot of the deeper defects it still made a big difference:
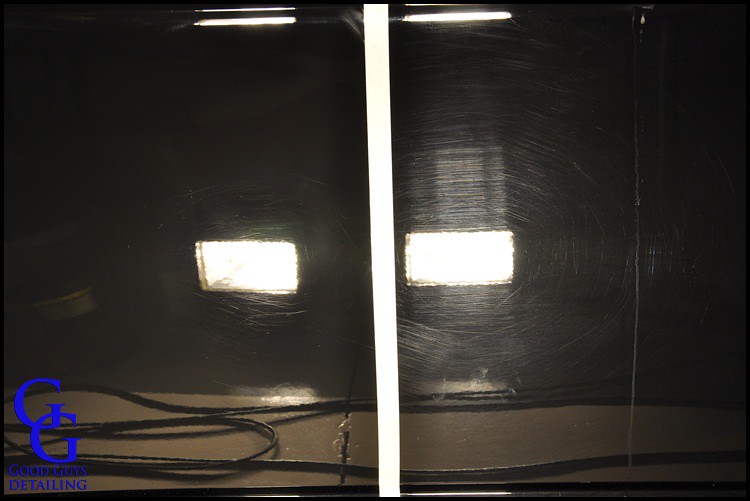
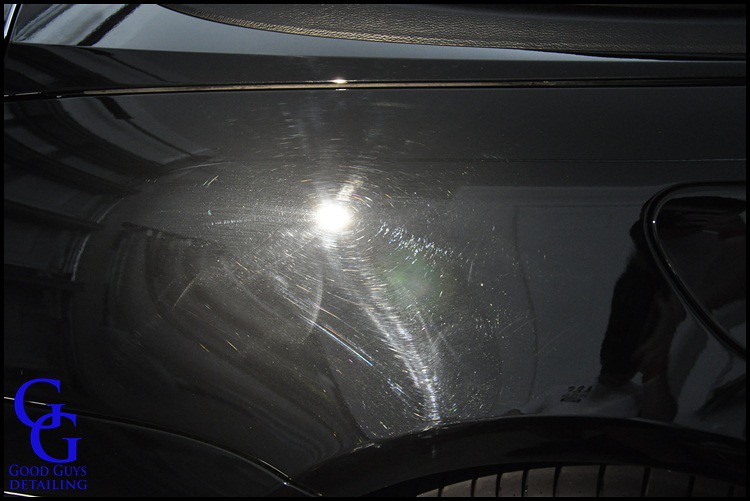
I want to show you guys the difference that the Sonax Paint Cleaner made after compounding. I got the paint to finish down pretty good when I was compounding but there was still a little bit of a haze to it. Here is a 50/50 of the front fender before and after polishing. As you can see the right side is a much deeper black and has more clarity.
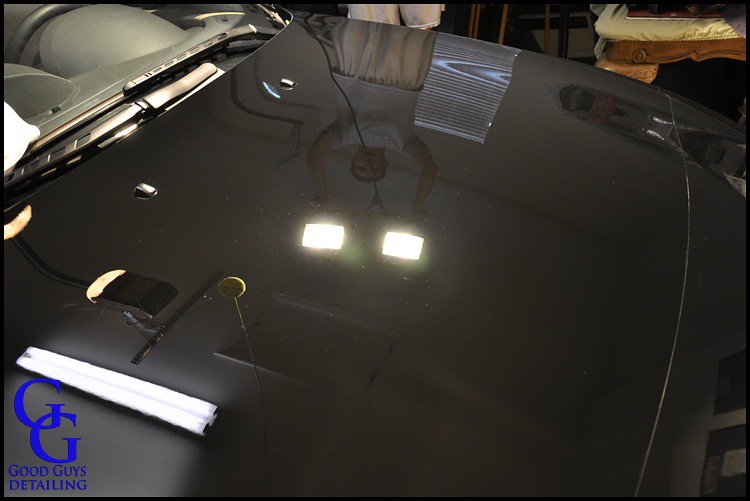
So after about 15 hours of compounding and polishing we finally ended up with some pretty clear paint.
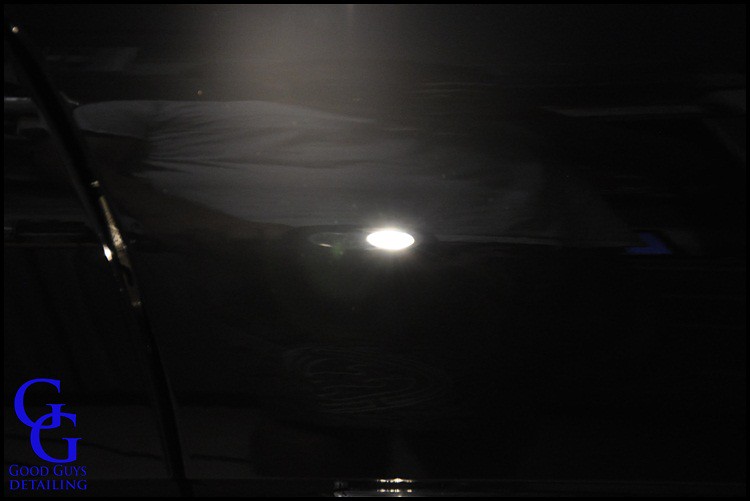
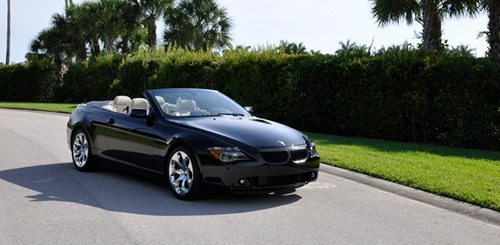
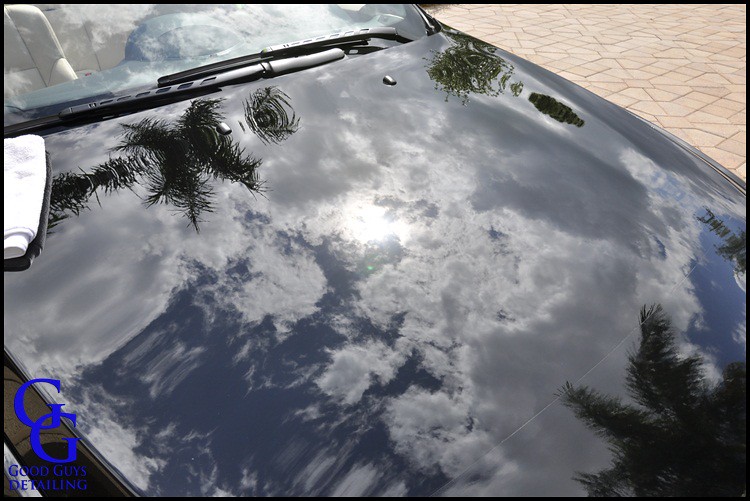
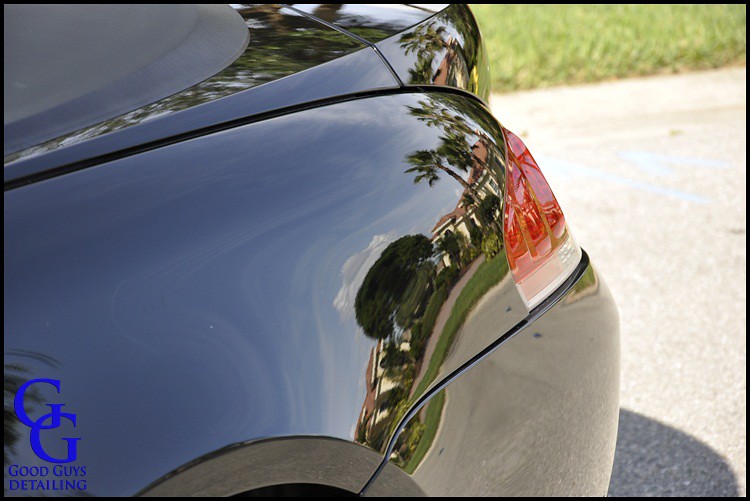
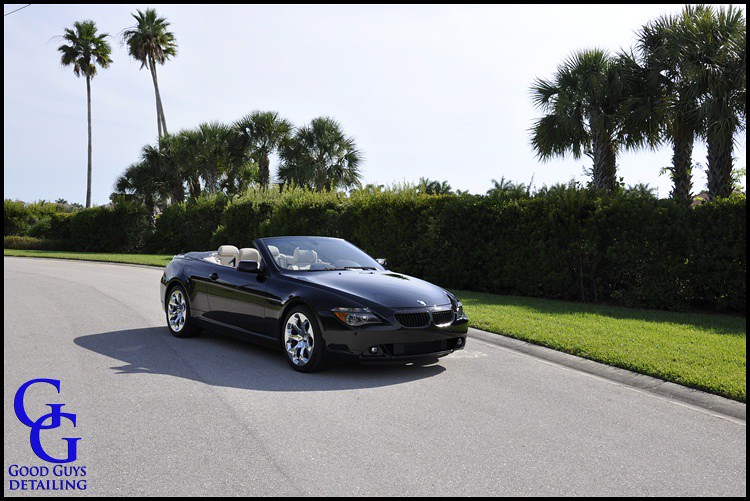
Of course we have to have a ton of sunny Florida shots!!!
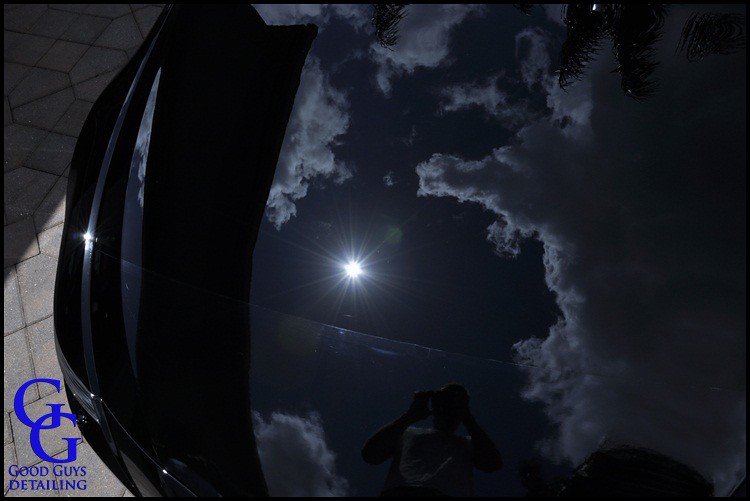
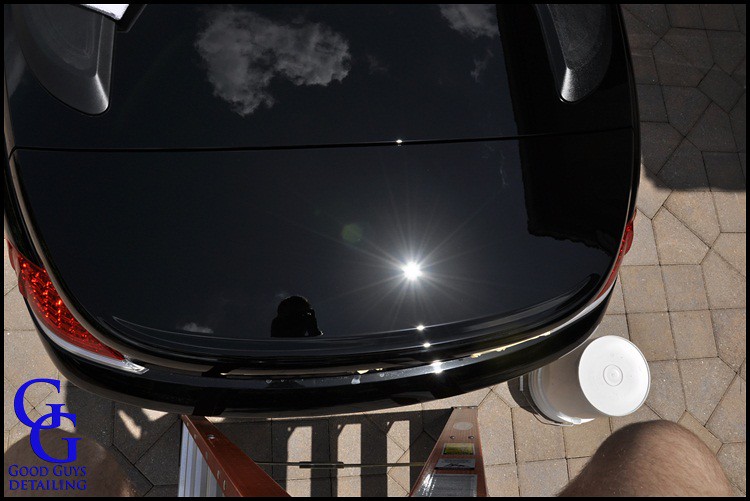

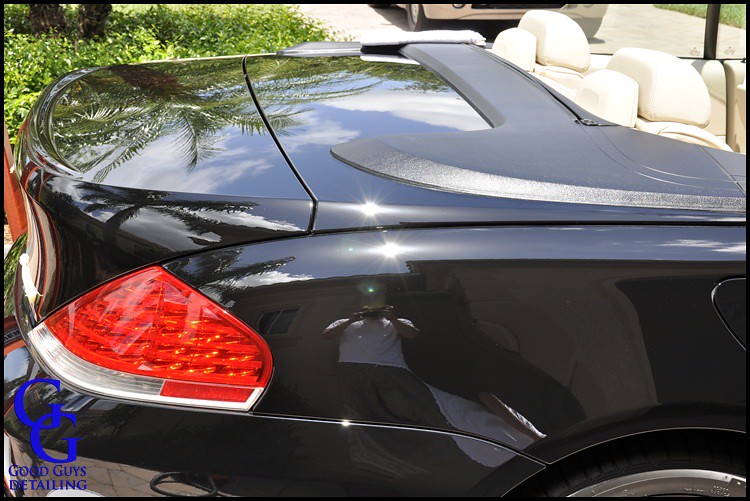
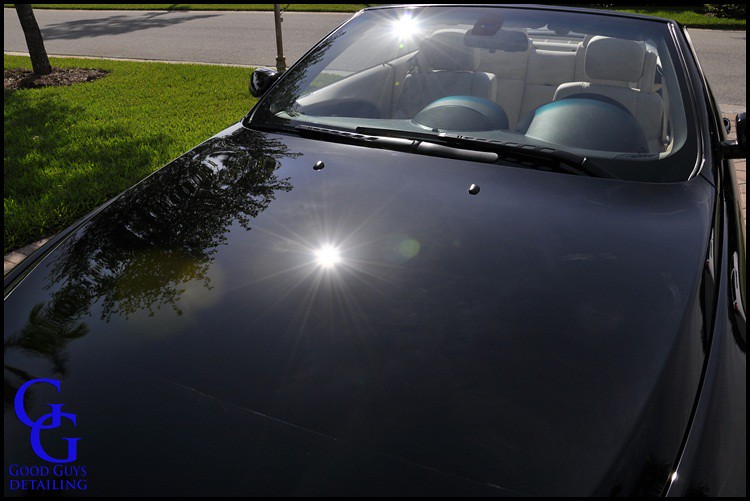
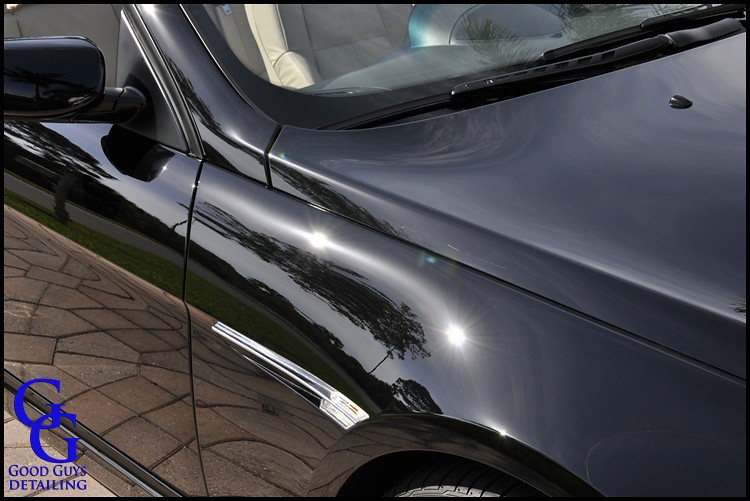

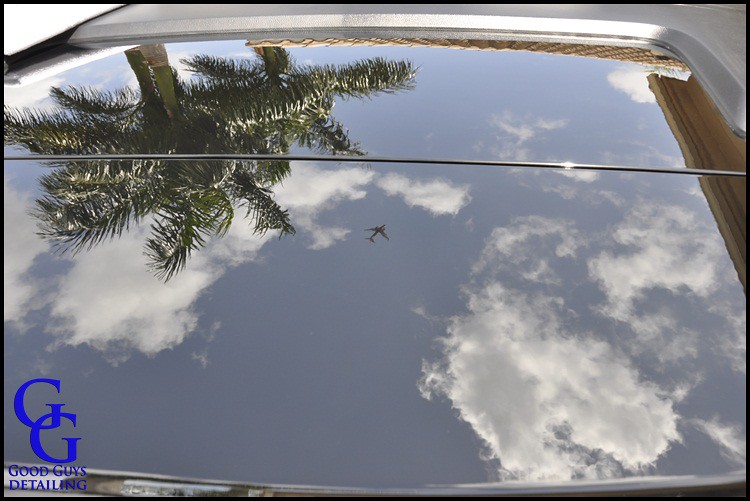
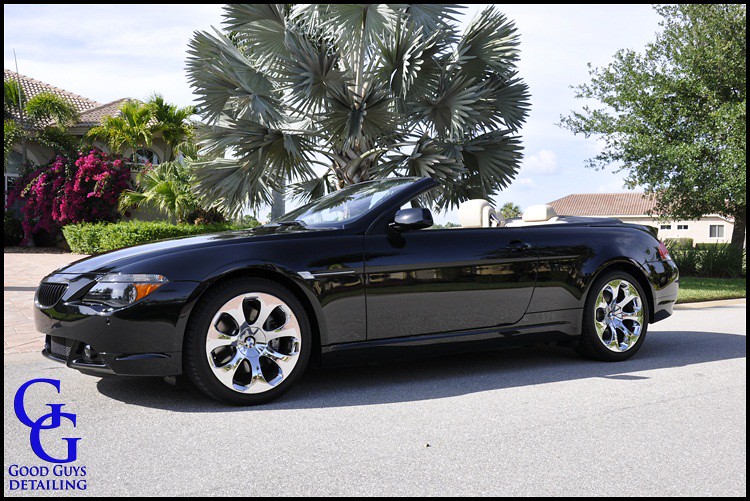
And some great reflection shots!!! I even caught a jet flying over in this first one.


And finally some full car shots!!!

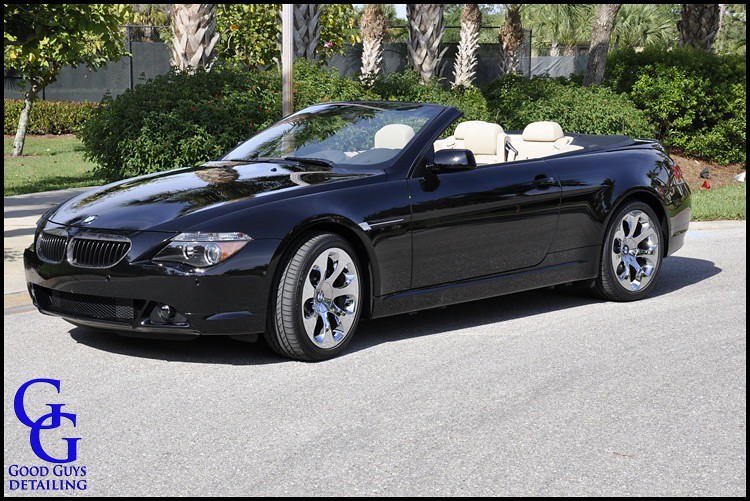

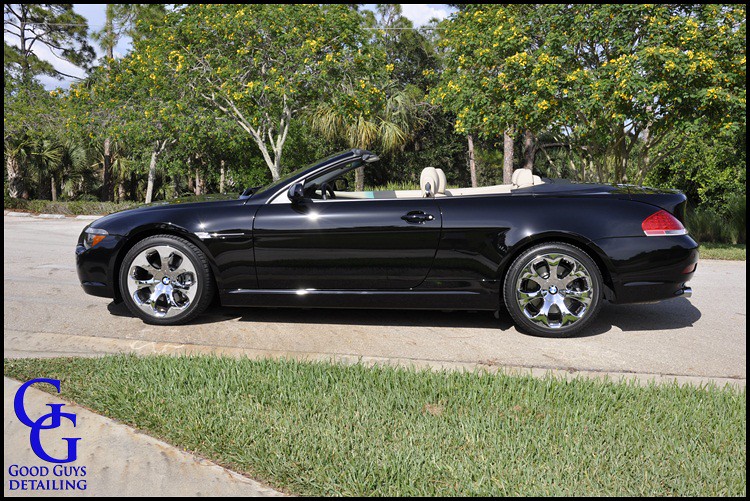
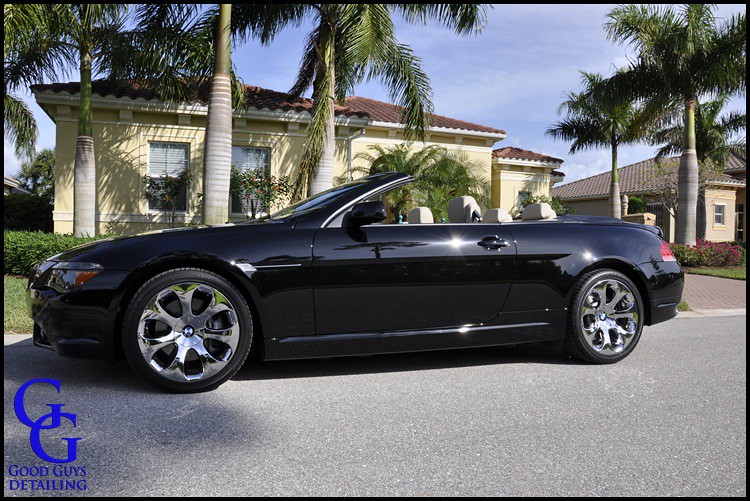
This car was 6 years old and has had a few years of washing abuse, but with the right techniques and products I was able to bring it back to life and make it look better than when it rolled off of the line.
Buy Products From This Article
Purchase the products used in this article individually or in one convenient package here!