
This 2009 BMW M3 in Jerez Black with only 18k miles on the clock was just purchased by the third owner, and it was obvious that while the previous owners did a nice job of adding modifications to the car, they failed at proper care and maintenance of the paint. The new owner brought the car to the Esoteric Auto Detail studio in New Albany, Ohio and wanted to go with the highest level of detail to bring the finish back to as good as we could…all while keeping paint preservation in mind.
When we spoke on the phone, he told me that the paint looked pretty bad, and in my experience, when the customer says it’s bad…that means that it’s what we in the business like to refer to it as “hammered”.
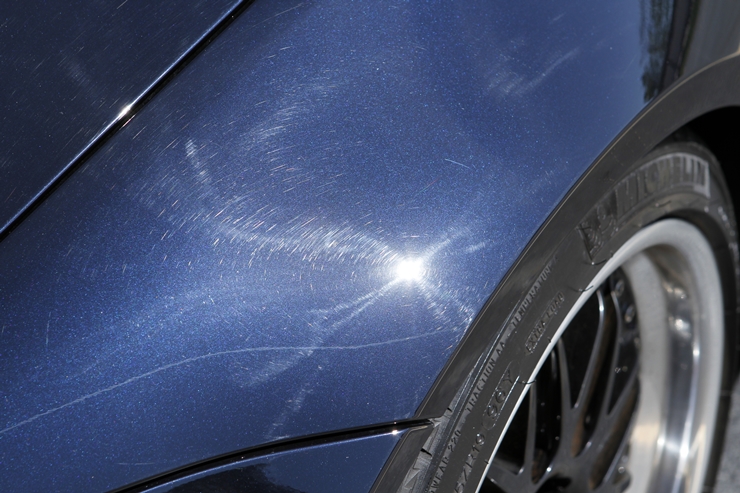
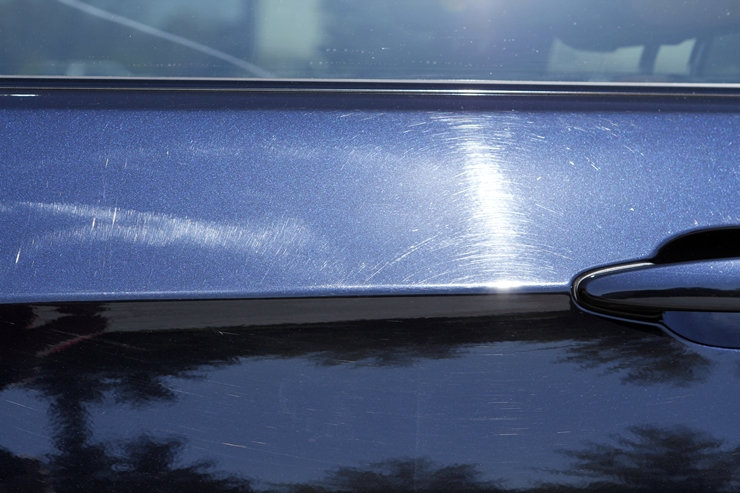
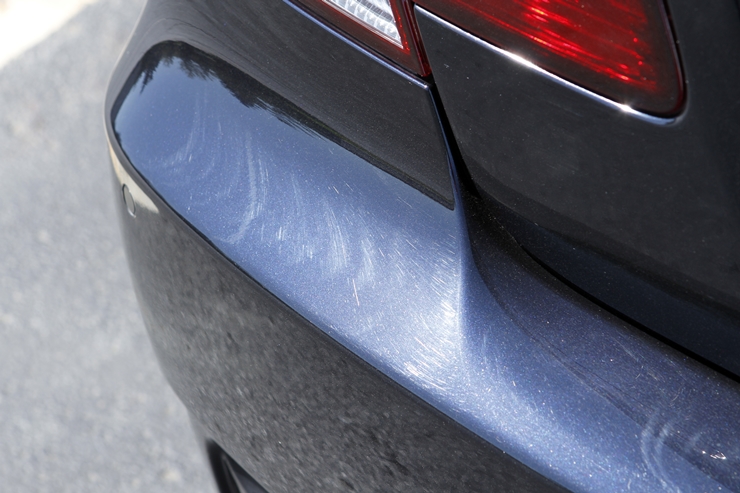
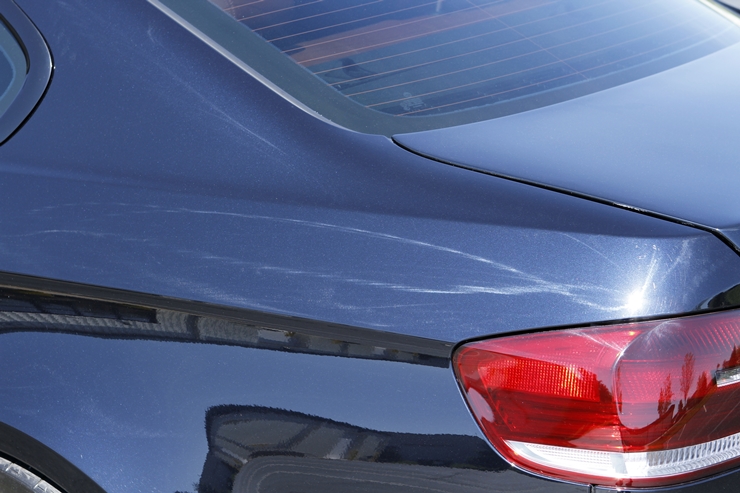
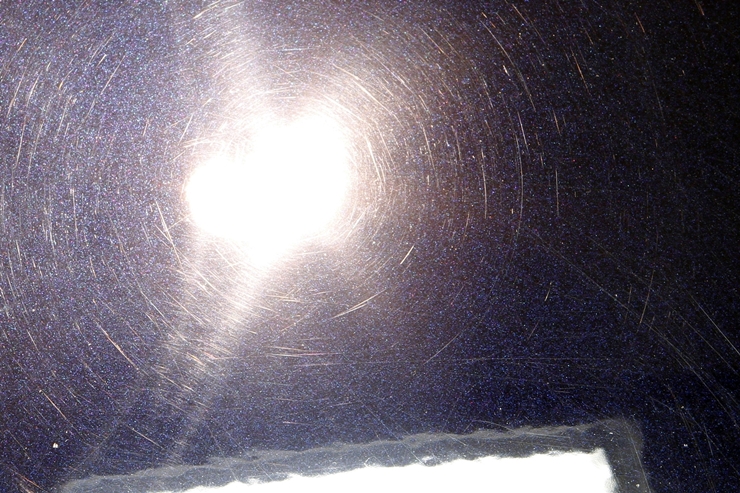
So when he brought the car over to me, it was just as I had expected. When viewing out in the sunshine, I could quickly spot heavy holograms from previous (poor) rotary buffer / wool pad work, and it also looked like it had been cleaned regularly with a dirty sponge, and then dried off with an abrasive bath towel (and the occasional trip through the local automatic car wash). For those who haven’t followed the instructions on proper washing and drying techniques, the photos below are what you get as a result.
As you can see, this car looked like it had been through a few fights, and lost!

Now that I had an idea of what I was working with, I fully prepped the car for polishing by doing a strong prep wash with Chemical Guys Citrus Wash to remove any wax, then decontaminated the paint with IronX, and finally clayed it to remove any other contaminants that may have been stuck to the surface. Once all of this was complete, I could take a closer look at the true condition.
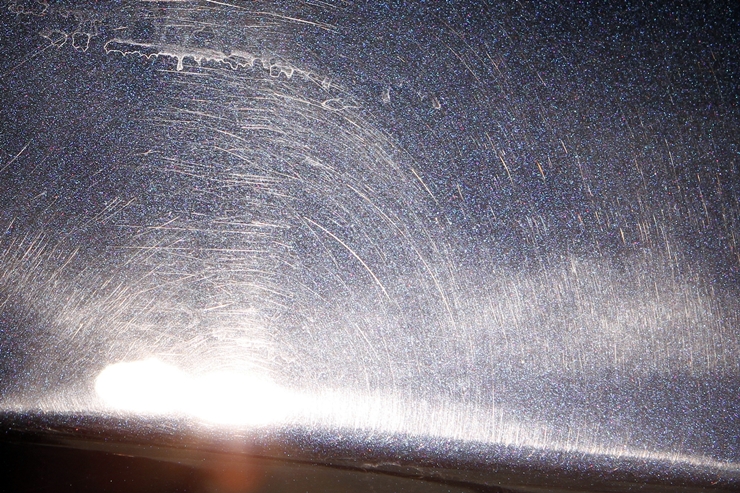
When dealing with paint inspection, you’ll notice different types and severity of paint defects depending on the light source. While the sunshine is good for giving you an overall picture and showing off holograms / buffer trails, I find that a combination of my T-5 HO fluorescent lights in the shop and the Brinkmann LED lights show an even clearer picture of the true condition. As you can see below when viewing inside, this paint is truly hammered!
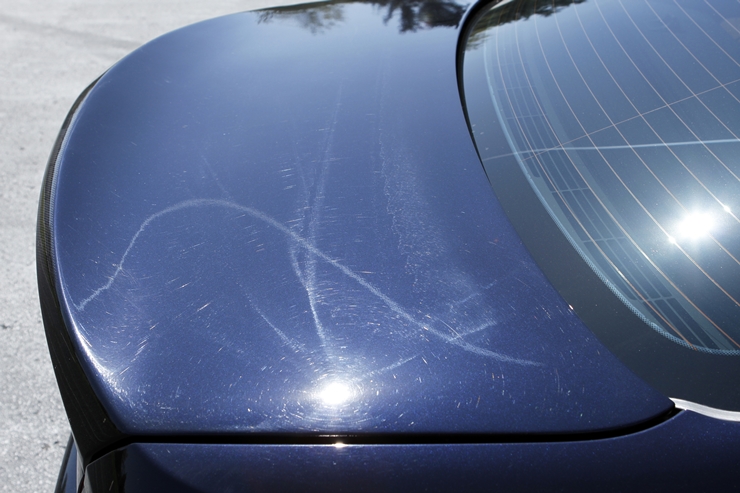
The hood was the absolute worst. While this photo looks bad, it doesn’t show just how bad it was when you looked at it up close. There were a lot of deep scratches mixed in with all of the holograms, swirls, and haze. It actually looked dull.
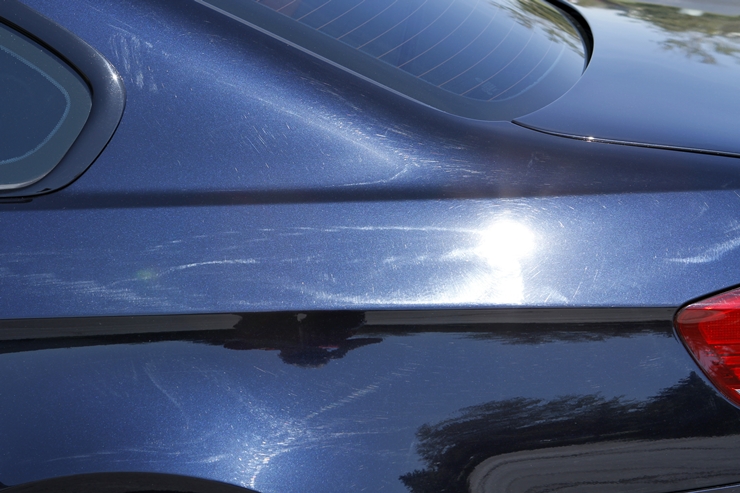
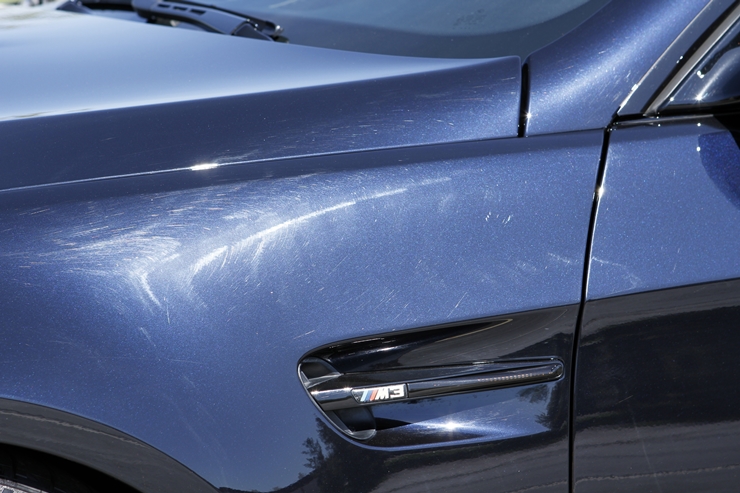
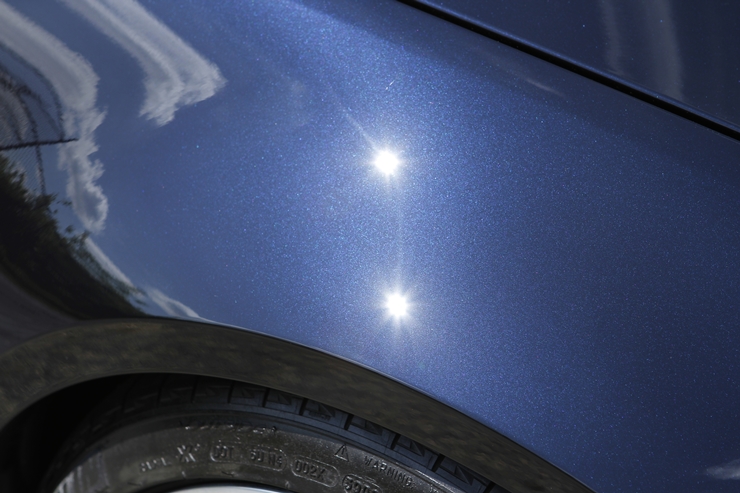
And on the side of the car, the condition was pretty ugly as well…
If you’ve followed along with our articles here on the DI Blog over the years, you’ve learned that not only will you find same models / colors of cars to react differently from one another, but also that you may find yourself changing up your methods, techniques, and products as you go along on one car. You can’t always rely on your experience with a particular car as a guideline to your process, because one will come along that simply wishes to be stubborn. When this happens, you need to rely on your detailing experience overall with a variety of products and tools as well as your ability to read and react to the changing needs of the paint. This was one of those cars that simply wasn’t going to follow the rules, and wanted to test the abilities (and patience) of the detailer…me in this case.
We’ve always said that you need to start with a test section or two in order to establish the process and product selection that will work most efficiently for the car. If you just start with a compounding process and work the entire car without testing, you may end up with 2 more finishing steps to refine it. But if you work the process a bit during testing / evaluation, you should (in most cases) find a good 2-step process that will give you the same results, but with less time.
As I started with my testing process, I had a few combinations that I figured would work given my experience with BMW paint. As the trial and error proceeded however, I ended up with a huge pile of machines, pads, compounds, and polishes as I tried to get the cut I wanted on the compounding end that also finished up well enough to allow just one finish polishing stage. Since I wasn’t necessarily finding the “magic” combination, I worked with a few different panels just to see if things would react differently. And that’s what I found…they were reacting differently which made the read and react process more challenging. I knew that the aftermarket carbon fiber trunk lid would be different since it didn’t have OEM paint on it…it was very soft. The sides of the car were more traditional hard BMW paint, in that they would clear up pretty well with heavy compounding, but the deeper stuff remained quite stubborn. The hood didn’t seem to be repainted, but it was a granite-like paint that was extremely hard and challenging to correct.
I had a “plan” down on how I would work with the car based on my findings, but I knew that based on what I found on the hood, I would be in for a challenge because it simply didn’t want to cooperate. I started on it first because I wanted to get the hardest part out of the way. Well…4 hours later I finally finished…just the hood! There were a few deeper scratches that I had to settle for “better” because they were too deep to safely remove without the fear of future clear coat / UV issues if I went too far, but for the most part it had a near-perfect finish to it. Fortunately, I had some insanely aggressive pads on-hand from another part of the world (not available here in the U.S.) that are designed for orange peel removal. I had done some testing with these, and found that they are capable of major correction with a very nice finish in a short period of time…but they can heat up the surface quickly, and are not recommended for the average user. After this step, I just needed 2 more polishing steps to fully refine it to a 98% defect-free finish with a very high gloss. It was a huge investment in time just for this one small section of the car, but the hood is the main part of the car that people typically look at…so despite the fact that it started out in the worst shape, and was as hard as stone, I had to make it right.
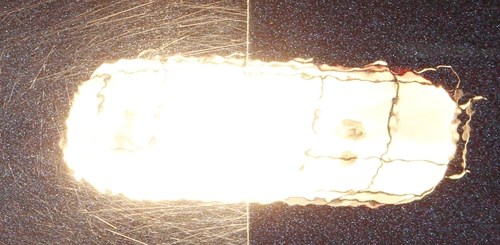
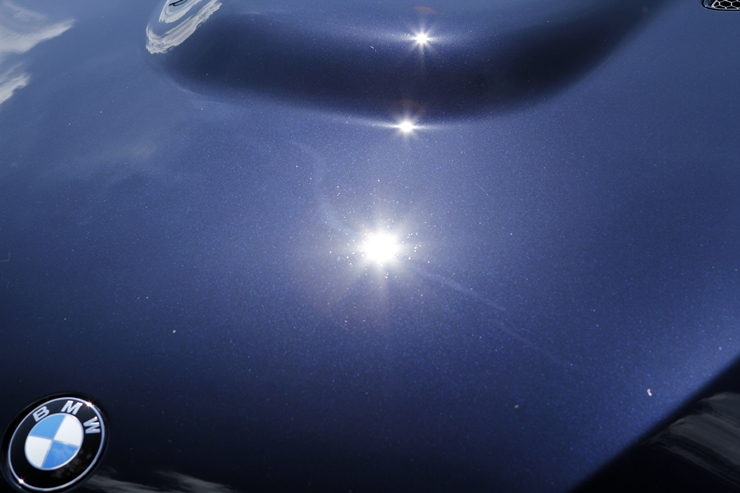
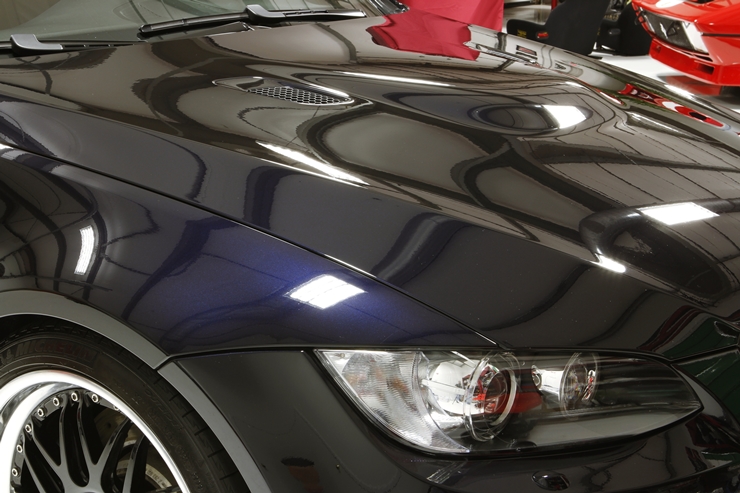
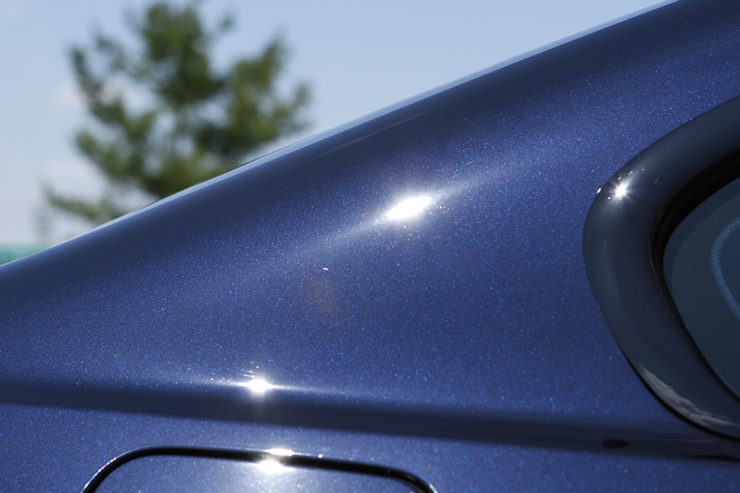
Here’s a shot of what the hood looked like in the sunshine after it was fully corrected. What you see going from left to right in the sun reflection isn’t a hologram…it was the remains of a trail left behind in the sky by an airplane!
Now that I’d gotten the hood behind me, it was time to work my way around the rest of the car. Based on how the paint was reacting, I continually changed and adapted by techniques, tools, and products accordingly to keep with the same level of cut and finish, and to minimize time as much as I could. The carbon fiber roof is softer, and required a different process from the sides of the car, which required a difference process from the trunk lid.
And the left side of the car seemed to have deeper defects than the right side of the car, so I had to change up my process accordingly. On the right side I could get by with Meguiar’s M105 compound and a Microfiber Cutting Disc on the DA to cut through it all (some places required 2 applications of this). On the left side however, neither this nor Surbuf / 105 were strong enough. I tried a wool pad on the rotary, but it was marring the finish entirely too much and required heavy refinement afterwards (3 additional steps). So I tried something a little different and used a Scholl’s wool pad on the DA with 105…bingo! It cut out the heavy defects, and required just a quick pass with MF and D300 to clear up the light marring that it left behind…then a final polishing step. Sometimes you have to try unconventional combinations to achieve conventional results!
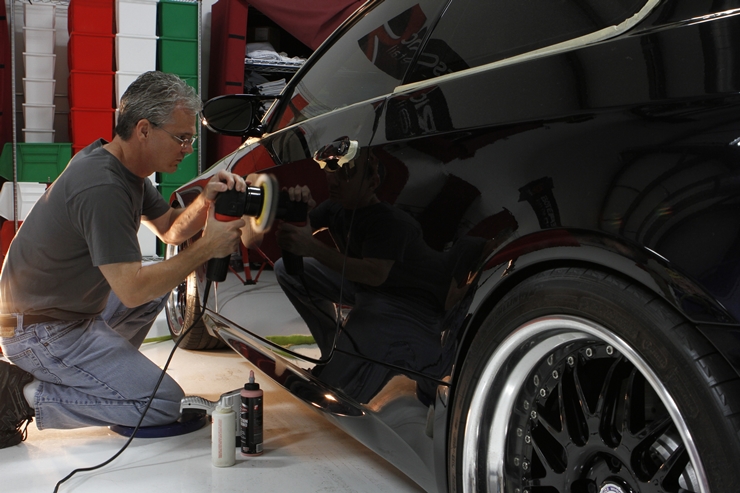
Here I am doing the heavy cutting with the wool pad on the DA.
To show just how severe the defects were and how big of a transformation that this car was going through, I taped the driver’s door down the middle, and completed the two compounding steps just to show the difference. Now you can imagine how the haze and scratches on the left side prevent you from seeing the beauty in the color that now shows on the right. Once all of that is removed from the entire car, it will transform the appearance of the vehicle completely. Keep in mind that this is even before any finish polishing.
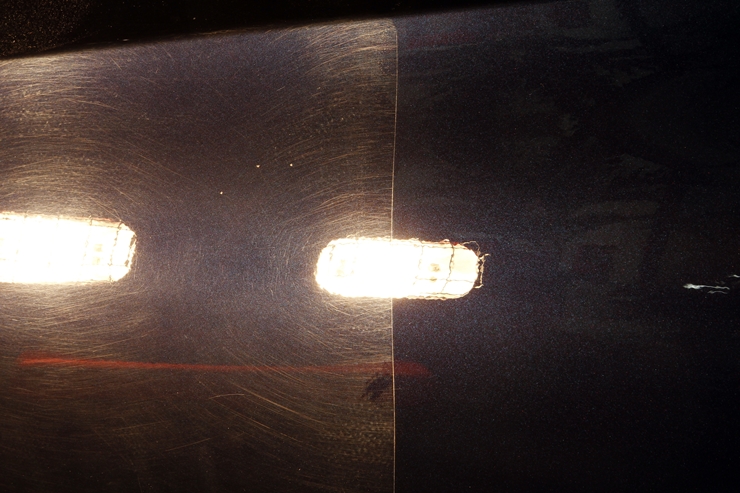
Here’s a close-up / cropped version of the exact same photo. Pretty insane difference, right?

When you look up “paint correction detailing”, it should show the above picture as the reference image…this is what proper and full paint correction is all about!
I also wanted to take a moment to share a tip. Normally you want to use a backing plate and pad combo that’s made for one another…size-wise. Your backing plate should come close to the edge of the mounting area of the pad so that you’re able to apply force to the entire pad. But when dealing with curved areas like the trunk lid below, you’re better off using a smaller backing plate so that the pad can flex more to fit the curvature of the area you’re working on. You can see that as I work into the curved area, the edges of the pad are able to conform to the surface and allow the buffing action to work more effectively.

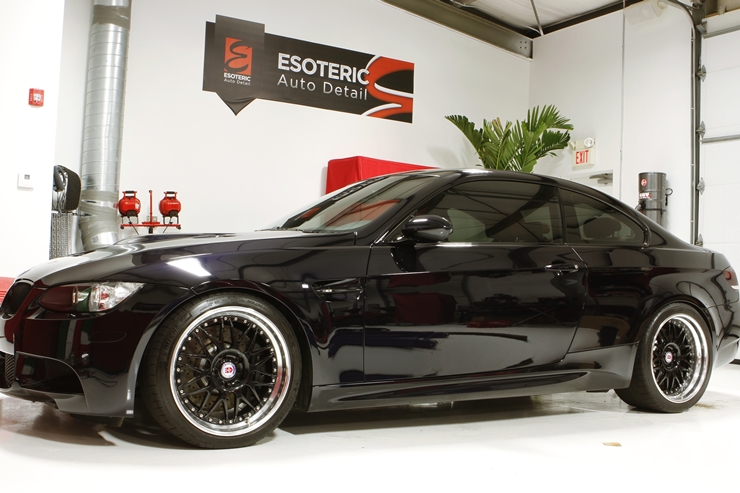
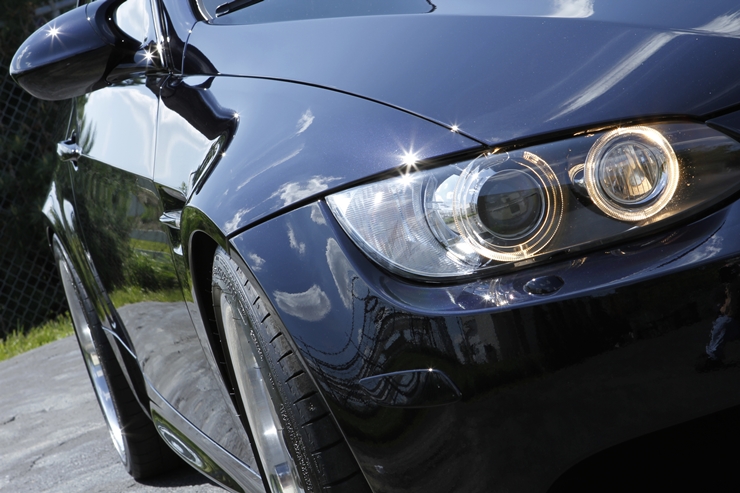
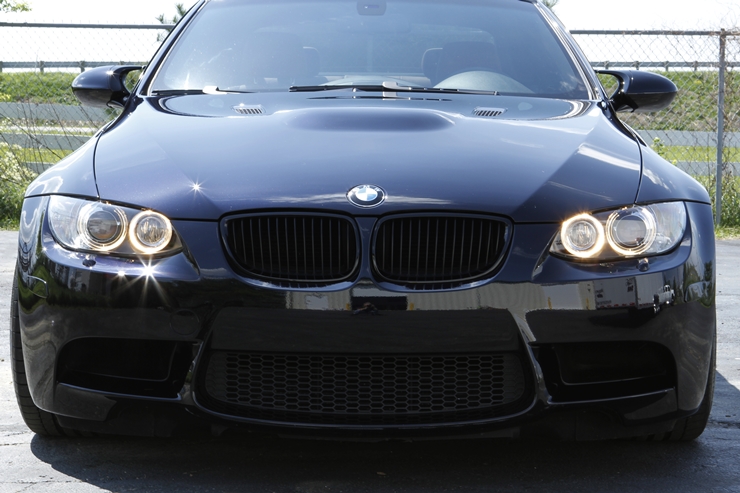
When all was said and done, and after about 18 hours worth of work, this Jerez Black BMW M3 once again looked like the beautiful work of art that it was intended to be. With all but the deepest of imperfections removed, you could now see a much greater level of clarity in the finish, and the multitude of color flakes that are in the paint could finally show through. The owner of the car was absolutely thrilled with the outcome, and immediately invested in proper detailing equipment and supplies to handle the regular maintenance himself. By following my guidelines, the car will just need to come back to me for the occasional light polish.
I didn’t go into a lot of details on specific products used because there were a lot of items that were either in the developmental process, or items that I am currently testing and evaluating. Some of the pads, compounds, polishes, and wax just aren’t available yet…at least here in the U.S. in some cases.
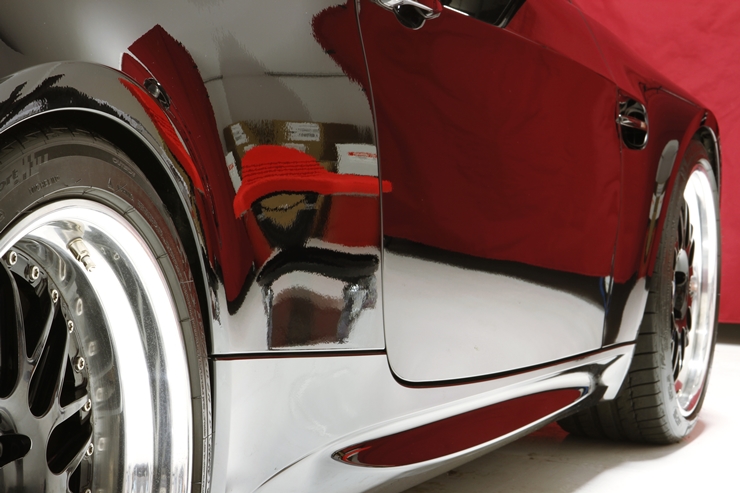
So now it’s time for some juicy “after” photos for you to enjoy…
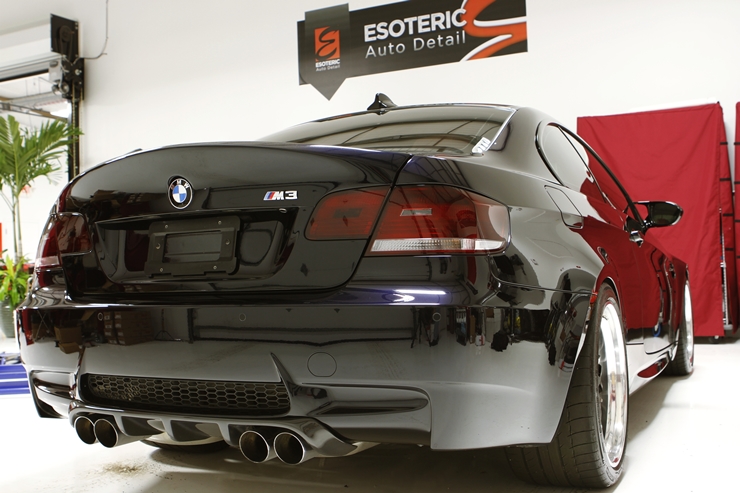
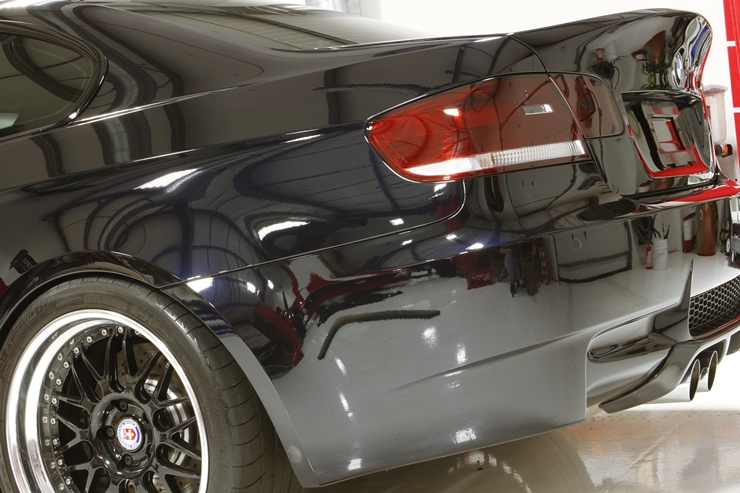


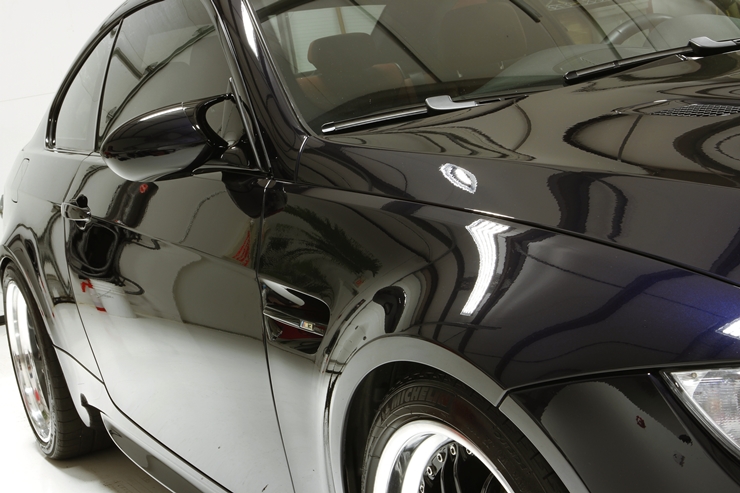
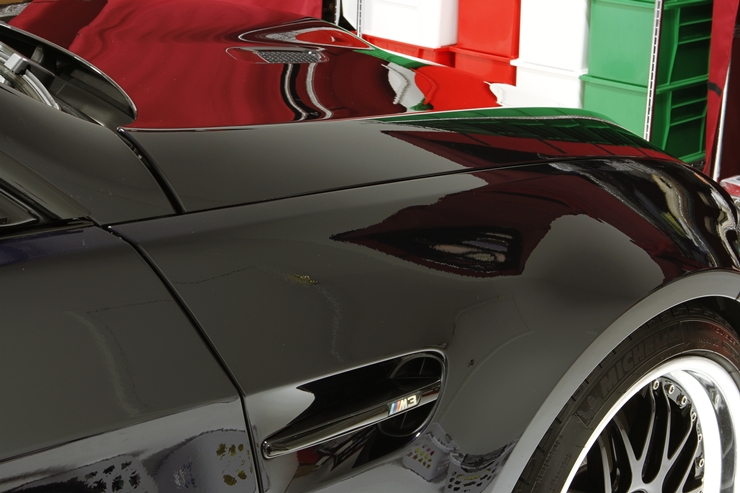
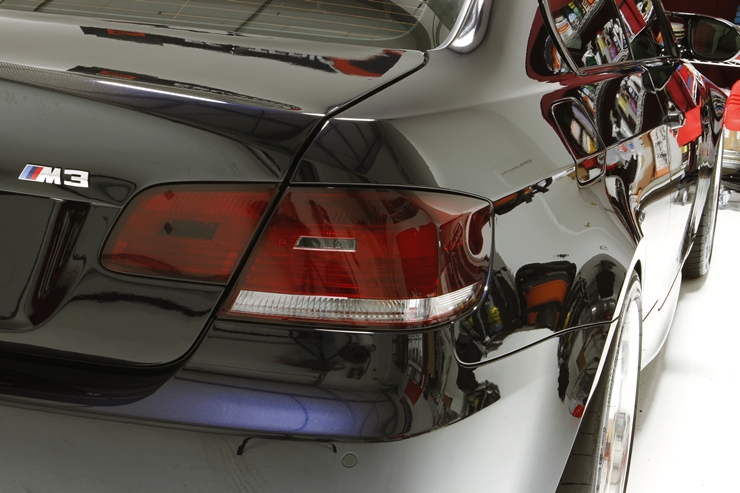
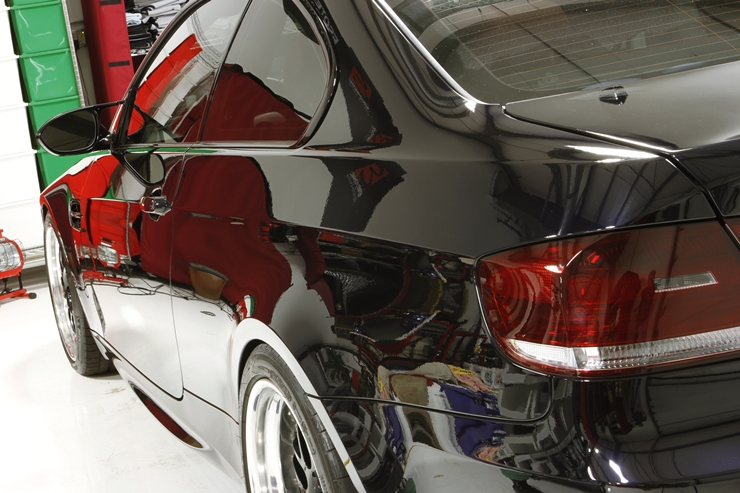


A little wax residue showing up in the light reflections…a final wipe down after sunshine inspection cures this.

Thanks for taking the time to read through this M3 article, and please feel free to leave any questions or comments below. Also don’t hesitate to share this article on your favorite automotive forum or social media!
Buy Products From This Article
Purchase the products used in this article individually or in one convenient package here!
Related Posts
- Full Detail and Paint Correction: Ferrari 458 Italia by Todd Cooperider of Esoteric Auto Detail
- BMW 328i Heavy Swirl Removal & Correction
- Hybrid Polishing Process featuring a 2004 Dodge Viper
- Ferrari F40: 60 Hour Restorative Detail by Todd Cooperider and Craig Reed
- Fiat Show-Car saved from Paint Overspray w / HD video