
Every now and then we professional detailers get one of those jobs that we simply shake our heads about…both at the condition of the vehicle before we start on it, and the transformation that we put them through. Some of these performances can be defining moments in our careers given the level of correction that we achieved. These are the ones that everybody talks about, and ones that we always rank at the top of our professional highlight reels!
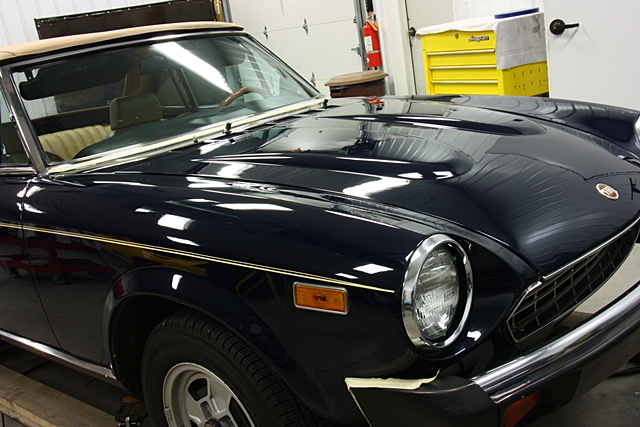
While I’ve had the opportunity to work on some crazy details in the past on highly collectable and valuable vehicles, this one takes the prize in terms of how much work would be required to save a highly prized vehicle from the brink of disaster. This 1979 Fiat Spider might not be the most valuable car in the world, but it had a lot of sentimental value to the owner, so the treatment that it deserved would be no different than a 7-figure car.
The history of this 1979 Fiat Spider
This Fiat was originally purchased by the current owner’s father back in 1984 when he was just 16 years old, and it was a common bond that the two shared for many years. They worked on it together, they drove it together, and they went to shows in it together. This vehicle was much more than transportation…it had become part of the family.
When his father passed in the fall of 1999, the owner inherited the Spider and eventually formed a business based around the maintenance, restoration, and performance modifications of the Fiat Spider, and through that he has built the reputation as one of the foremost experts on the model throughout the U.S. and many parts of Europe.
This particular vehicle has won first in its class at the prestigious Ault Park Concours d’Elegance, has been featured several times in national print magazines, and was recently photographed for Hemmings Sport and Exotic Car Magazine.
As you can clearly see, this Fiat Spider has a history of excellence, and a strong sentimental value for its owner.
The Setup: Industrial Paint Overspray!
I received a phone call from the owner of the car, and he said that he had an issue with heavy paint overspray on his Fiat, and knew there wasn’t anybody else around that he would trust with such a special vehicle. He said that it was “pretty heavy”, and wanted to get it by for me to look at.
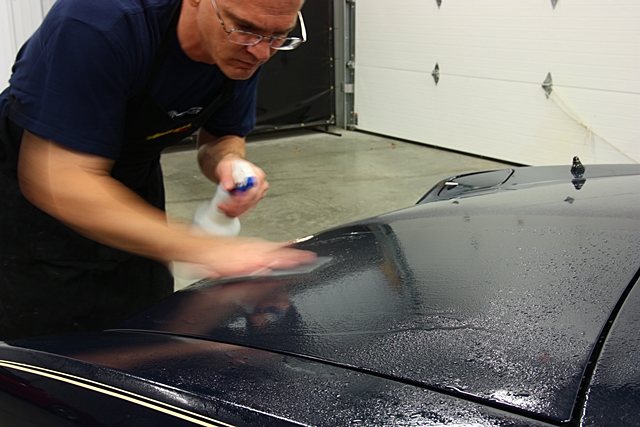
Apparently the car had been sitting in a storage facility, and a company had been hired to paint all of the garage doors in the building. Well, the car wasn’t covered, so when the painters (painting with compressed air…not rollers!) finished the job, the poor Fiat was covered in green paint. Now I’ve seen paint overspray issues before, and typically it’s a lot of droplets here and there. Given this, I told him to bring it by and leave it with me for a few days so that I could evaluate the damage, and determine the proper course of action before I could even make an estimate on the cost of repairs.
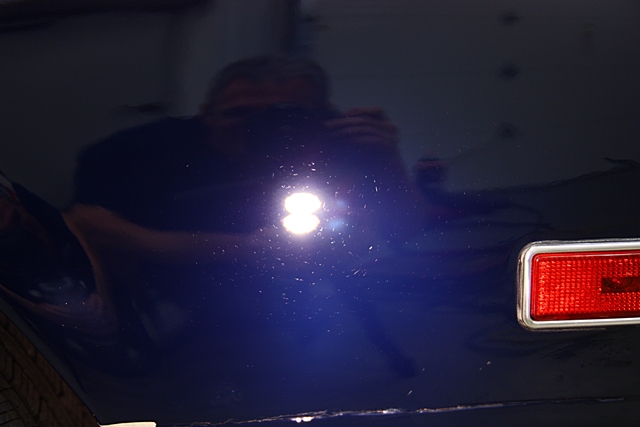
I was totally unprepared for the level of paint overspray that I was greeted with when he pulled up! It wasn’t overspray, it was spray-over! There was a solid layer of green paint on the blue car, and when you looked at it in the right lighting you would think that it either had 5 years of dust and dirt all over it (think of a barn-find), or it had been fully wetsanded.
As you can see in this photo, the overspray was extremely heavy…

Determining the proper course of action
Before we figure out the best way to fix the problem, let’s take a closer look at what we have to work with. We have an old car that was re-painted at one point in it’s life (back in the early eighties), we have an owner that is very proud and particular about the car, and the Fiat has a storied past. Given all of this, and after speaking with the owner to get his take on it all, we decided that the best course would be one that was as least aggressive / invasive as possible, and preserve as much of the history as we could. As professional detailers, it is our responsibility to get to know the owner of the car to determine their wants, needs, and concerns and to use our experience and knowledge to establish the most responsible course of action to bring the car back.
While some may have opted to just hit it hard and fast by sanding it down by machine and bringing it back through polishing, it simply wouldn’t have been the right approach in this case. Not only would this method remove a lot of material, it would also have altered the texture in the paint and turning it into something that the client didn’t necessarily want or need. The goal here was to restore the finish to where it once was (with improved gloss and clarity of course) without reducing any original orange peel or texture.
Since I was faced with the task of removing ridiculously heavy overspray, but unable to use traditional aggressive methods, I knew that I had my work cut out for me!
I first attempted every least aggressive method in my arsenal…chemically softening the overspray and then attempting clay, applying wax to the surface first to act as a slippery barrier to then clay, etc, etc. None of that worked, and I simply couldn’t break through the heavy paint barrier. It was stuck, and didn’t want to come off.
The final approach was to use the lightest abrasive sandpaper available by hand. The first pass was with 8,000 grit specialty paper that did a great job of removing overspray, and then I refined it more using 12,000 grit paper by hand. This process was aggressive enough to remove the overspray, but it only left light marring and didn’t alter the texture of the finish (goal accomplished).
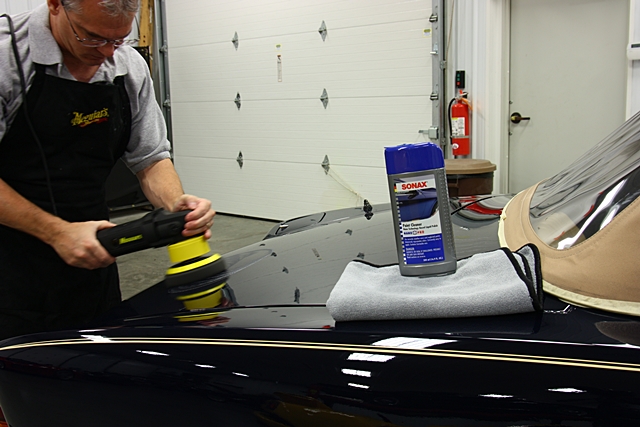
The next step was to determine the best compounding and finish polishing processes to remove all of the light sanding haze and defects from the paint and then to refine it to a high level of gloss and clarity. The single stage paint proved to be quite finicky in the finishing process, but the best combination proved to be with Meguiar’s Microfiber Cutting Discs and D300 compound on the D/A, followed by Sonax NTPC and a black finishing pad also on the D/A. More on this process later…
I taped off a section of the trunk lid for my testing section, and this was used to determine the exact methods for the entire vehicle, to calculate the cost estimate, and to provide to the company that did the painting as they / their insurance company would be responsible for the damage. In cases like this, full photo documentation is needed not just for educational articles like this, but they’re critical for everybody involved.
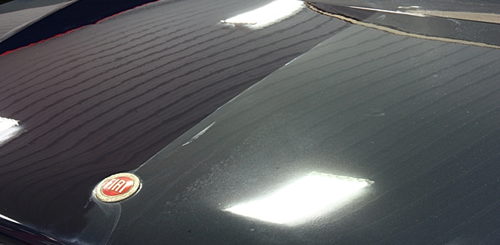
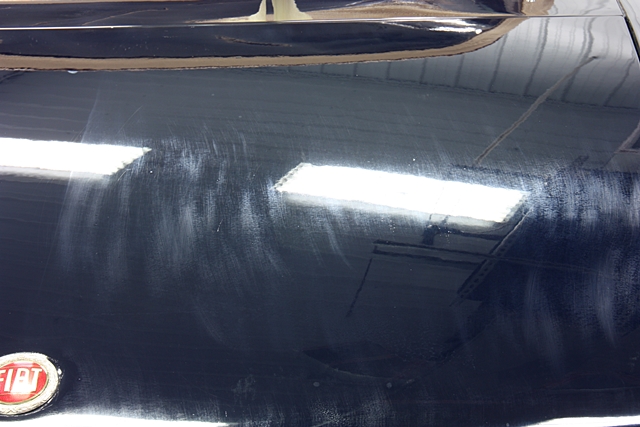
Here you can see just how bad it was when you compare the corrected side on the left to the overspray on the right. Keep in mind that he right side is just overspray…this is not after wetsanding!

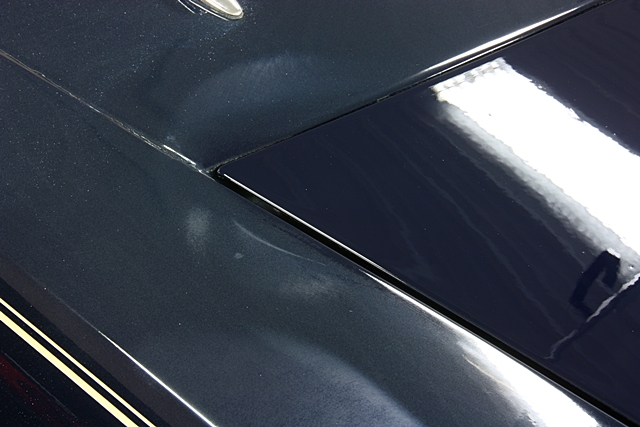

Here you can see the overspray section in the sunshine and see just how flat the finish is.

This picture really does a great job of capturing the severity of the problem we have in front of us.
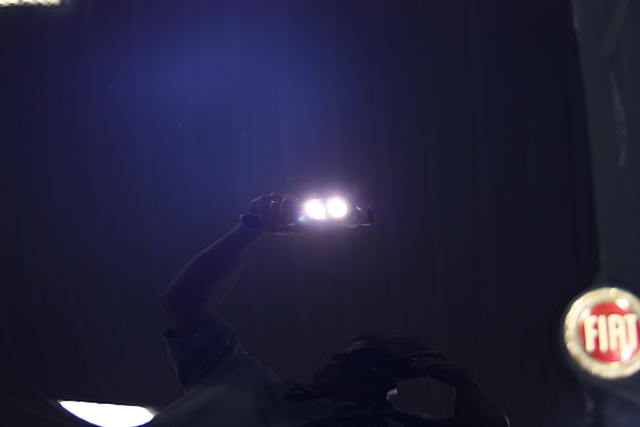
When doing a job like this, and when the goal is to achieve as much clarity and purity in the (finicky) finish, it is imperative that a system is established to get the paint to finish down to such a fine level that you will see nothing but pure reflections in all light sources, at all distances. So in the sunshine, fluorescent lighting, or in high intensity LED inspection lights it needs to look superb and needs to achieve that from 3 feet and at 2 inches away. It can be tough on the eyes to continuously inspect the finish, but you literally have to get your face a few inches from the surface of the paint while looking at the light reflections to ensure that you’re achieving total correction without even the slightest hint of swirls (if using a rotary), or light and very small D/A “squigglies” or pigtails when using a D/A polisher. I’ve seen plenty of polishing jobs out there that will pass the LED test from 3 feet, but if it doesn’t meet the 2″ test, then it’s not properly finished! And when you’re dealing with soft, finicky paint like was on this Fiat, the challenge becomes even greater. Don’t think for a minute that you’re going to take a job like this to a body shop because (a) they would simply want to re-paint it, (b) they would have done heavy sanding, and (c) they simply cannot finish paint down to this level of purity.
Fiat Spider: Paint Correction and Concours Preparation Detail
Now that I have my system and gameplan all set, I had one other issue to deal with…a quick deadline given the fact that the car was scheduled to appear in a local Italian car show that very next weekend! So not only did I have to remedy the paint overspray issue, I had to do it quickly and have the car prepped for show so there were plenty of other small details that needed to be addressed. The pressure is on…
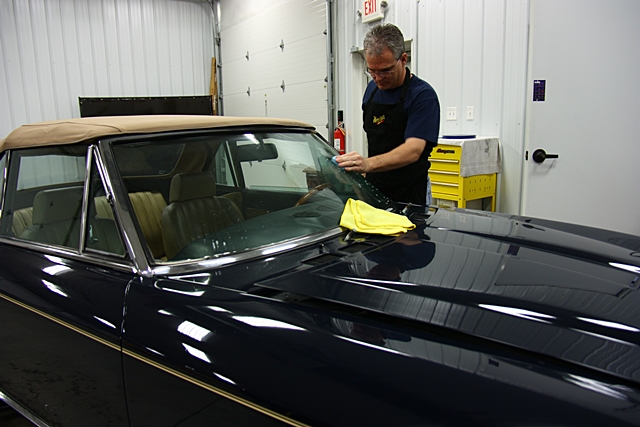
Given the fact that the paint was so soft and finicky, I decided that the best way to approach the car would be to handle all other areas first so that I didn’t have to worry about the possibility of anything touching the paint while I was working on chrome, or trim, or any other part of the car.
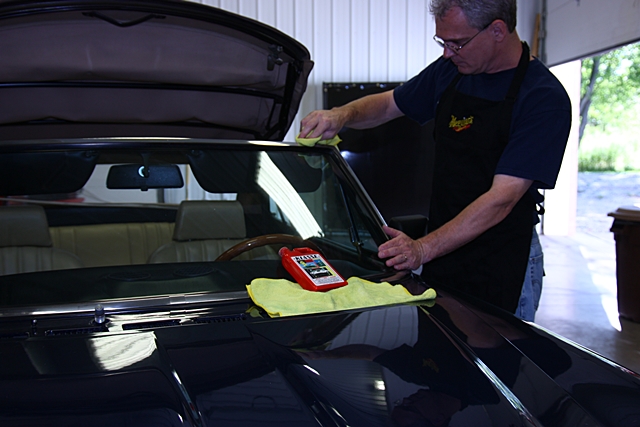
To start off, I worked on removing the green paint from the glass, which fortunately was a bit easier than removing it from the paint. All that was required was an aggressive claying to pull all of the overspray.
Just after one small section you can see just how much green paint was being removed from the glass.
After removing all of the paint contamination from the glass, it was also polished and sealed.
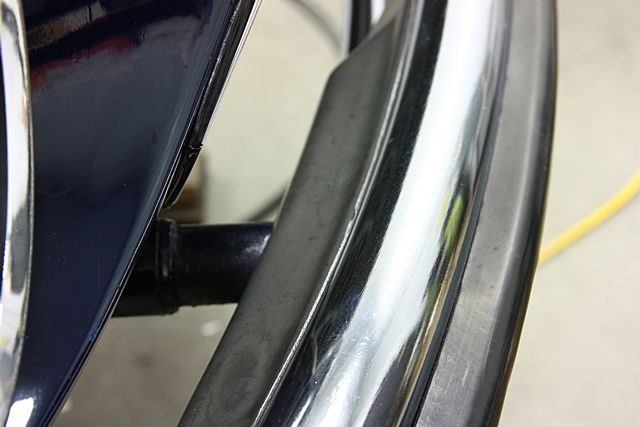
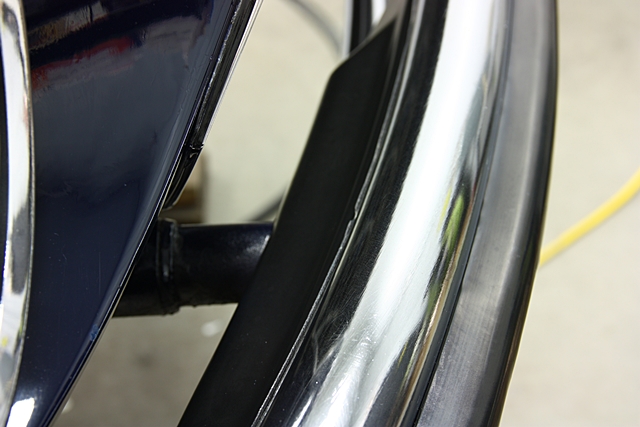
Now onto the chrome trim…which there’s a lot of on these old cars! By using a little bit of pressure by hand with Klasse AIO and a microfiber towel, I was able to remove all of the overspray, and polish / seal those surfaces in one step.
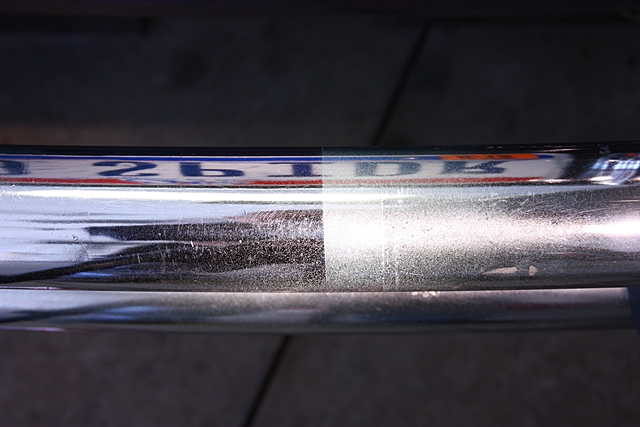
I taped off a section on the rear bumper so you can see the level of paint overspray. With a little bit of patience and time, the chrome cleaned up quite nicely.
While I was at it, I noticed that many of the plastic pieces and trim were a bit faded, so I decided to treat them as well. In many cases it’s the small details like this, and the improvement in contrasts that really pull a detail all together.
Before:
And after: (plastic treated with a trim restorer from Sonax that is not yet available in the U.S.)
The plastic trim inside the front and rear bumpers were looking a bit tired, so they got cleaned up as well.
Before:
And after:
Let’s move on to paint correction…
Before I started in with correction by machine, I had to delicately work the tight areas by hand where the machine either wouldn’t fit, or where there were thin edges that could easily be damaged. I found that by slowly working these areas with D300 compound by hand, I could remove the overspray and polish the surfaces at the same time.
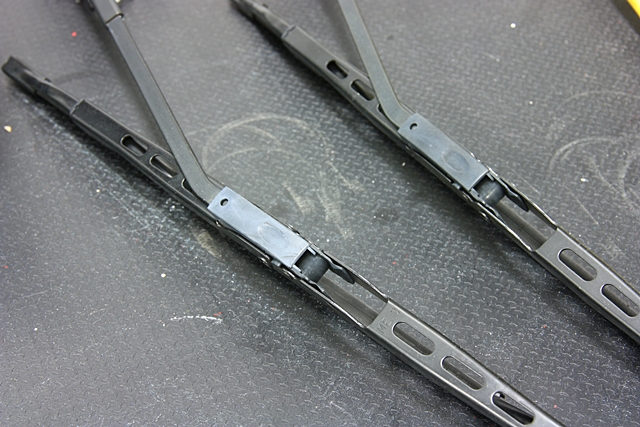
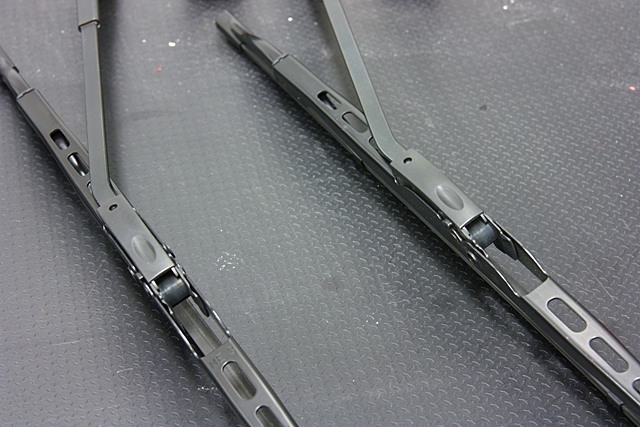
Up around the wipers I was able to polish the tight areas out first by hand
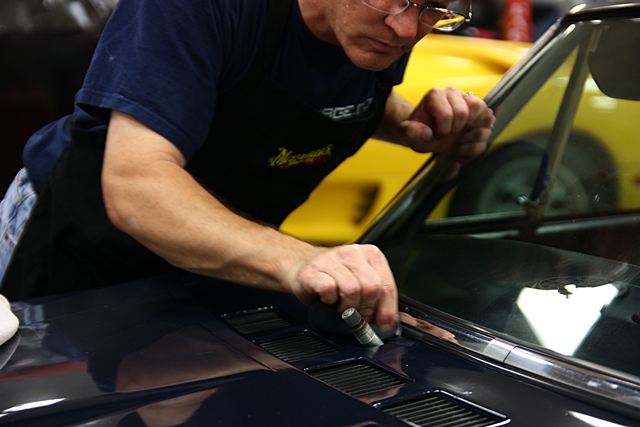
…and then work the surrounding areas with the D/A, a Megs MF Cutting Disc, and Megs D300 compound.
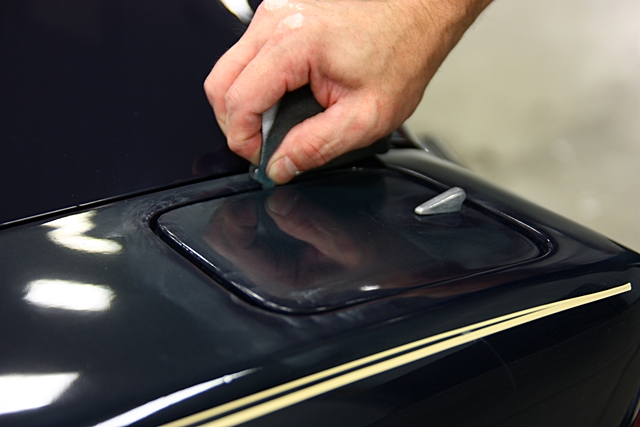
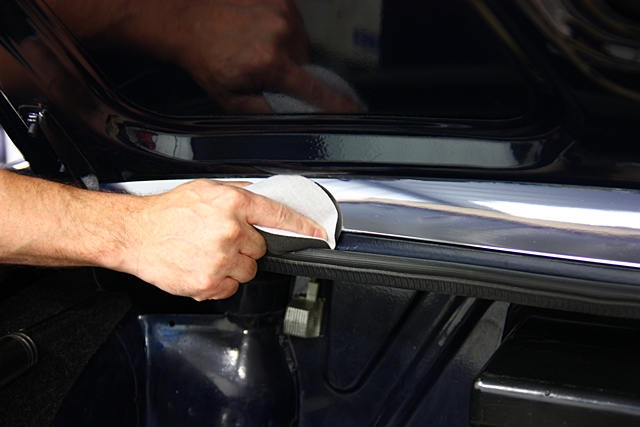
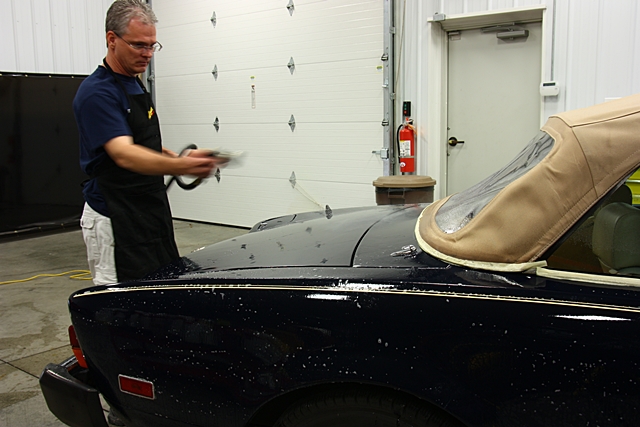
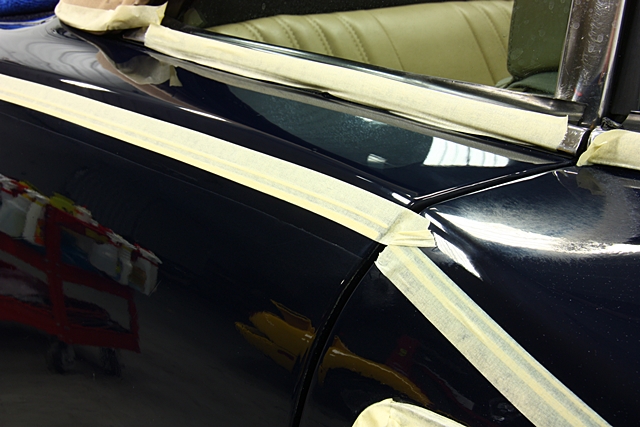
The overspray wasn’t just on the outer surfaces…it also found its way down into the edges and seems where the machine obviously wouldn’t reach. So I had to also hand polish the edges and inside areas around the trunk lid (shown below), the doors, the fuel filler cap, and the hood. Tedious work indeed…
Now it was time to move on to the major surgery part of the detail! On the heaviest areas, I started off by lightly sanding the overspray off using 8,000 and 12,000 grit paper (sandwiched in foam, so no sanding block was necessary).
And after sanding, I washed the surfaces to ensure it was completely clean and free of any sanding debris / residue prior to machine polishing.
Now I was left with some light sanding marks to correct in the compounding stage.
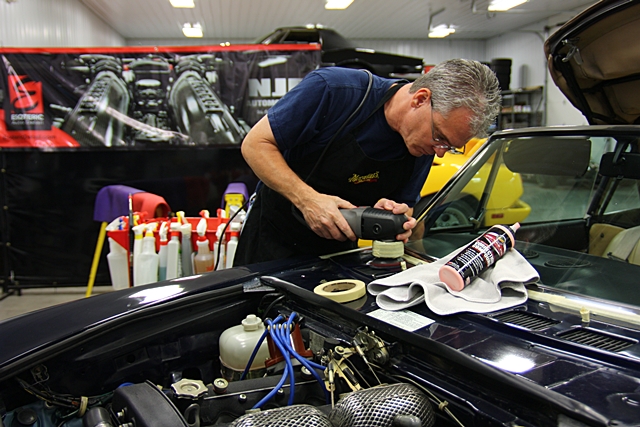
For the compounding stage, I used Meguiar’s Microfiber Cutting Discs combined with their D300 compound. This easily took care of any sanding marks and previous swirls / scratches on the surface, and it was the safe and responsible method around all of the uneven and thin edges of this old vehicle.
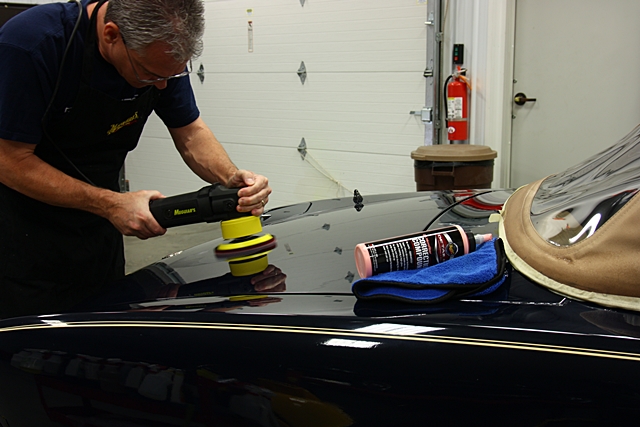
Now for the areas of the car that weren’t covered as heavy with overspray, I decided to test a method to see if I could save some time. I was able to remove the lighter overspray (still very heavy by normal standards) by just using the Megs MF Cutting Discs and the D/A. What I did differently however was work in smaller sections, and completely clean out the MF pads with compressed air after each small working area. Normally you would only need to do this after each working area (like a complete door). With this method, I was able to safely remove the overspray without it loading up the pad and significantly marring the finish. In addition to frequent cleaning, I also changed out pads after one or two working areas. Is there anything these MF pads can’t do?
When dealing with the pin striping on the car, I taped all the way to the edge on one side and polished that area.
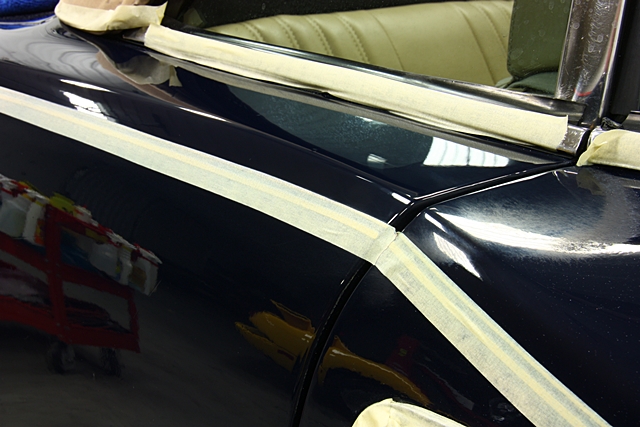
Then moved the tape to the other side and worked that area. The inside portion of the pinstriping was delicately worked by hand.
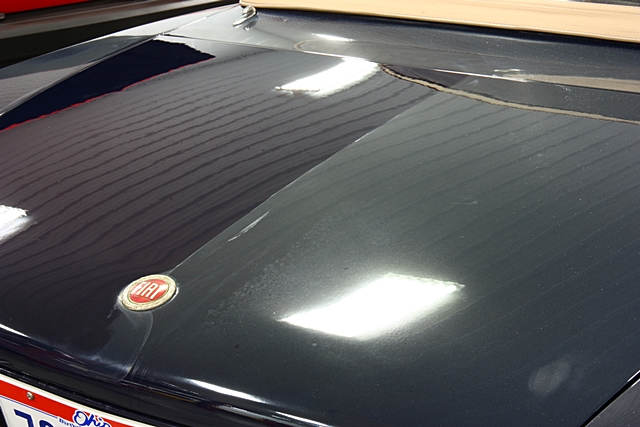
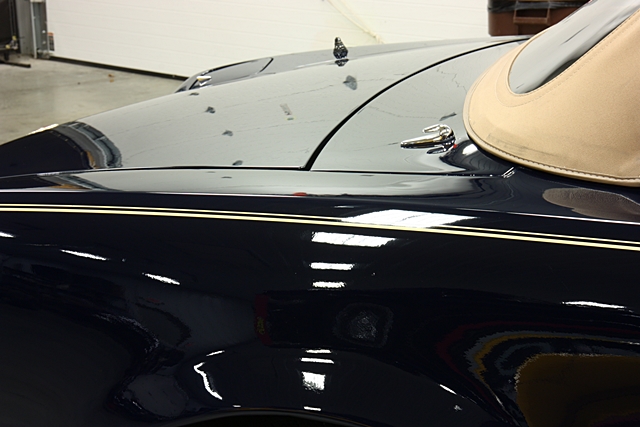
Once the compounding was completed, you can see that the Fiat had already gone through a tremendous transformation, and the paint once again showed its true color; showing gloss and depth as well. Despite the fact that it looked quite good already, it was far from finished!
While inspecting in the Brinkmann LED, you could see a tremendous amount of clarity had been restored even before final polishing. Overspray has been removed, and swirls and scratches had been corrected. The spots you’re seeing are towel lint…not defects.
The Fiat is looking good so far…
Final Polishing for a jewel-like finish!
I think this has been the year of finicky paints that don’t like to finish down perfectly, and this Fiat was right in there with the best of them. I tested many different combinations on the rotary, but even the finest polishes and pads in my arsenal came up short. While they would pass the fluorescent light test and even the sunshine test, they wouldn’t meet the 2″ test in the Brinkman LED. You had to look hard, but you could still see some very light traces of rotary swirls. Sure, these couldn’t be seen unless your eye was 2″ away from the surface using an LED light, but just because you can’t see them it doesn’t mean that they don’t exist! I strive for perfection, so that method would not make the grade.
Fortunately this year I discovered that Sonax NTPC on the D/A with a finishing pad is almost always the perfect solution for these types of paints. I could get the paint to finish down to meet all light source and distance tests, and it is quick and easy to use.
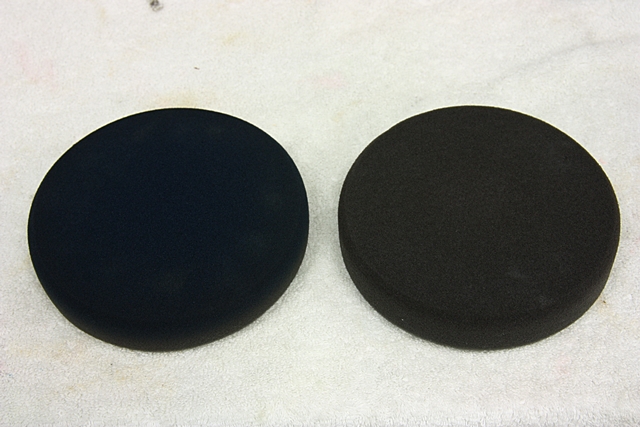
When dealing with finicky paint like this, especially with single stage, it is important to change out your polishing pads frequently. The pads quickly get saturated with a combination of polish and color/paint residue from the finish, and will reduce the correcting and finishing capabilities. Even with as small as this car is, I went through about 4 fresh pads during the process. You can see here that the pad on the left has turned blue from the paint transfer, and the one on the right is a fresh one. Keep the pads fresh and you will be rewarded as a result.
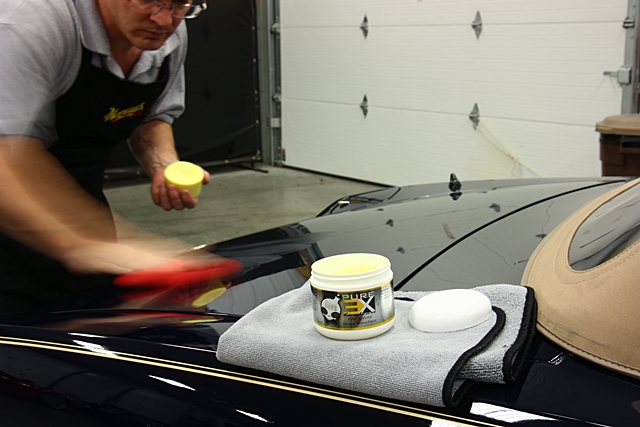
Once the finish polishing was completed, I topped off the car with arguably the best bang-for-the-buck wax out there: Chemical Guys Hardcore XXX. It looks fantastic, it’s ridiculously easy to use (not finicky!), and it sells for only around $25.
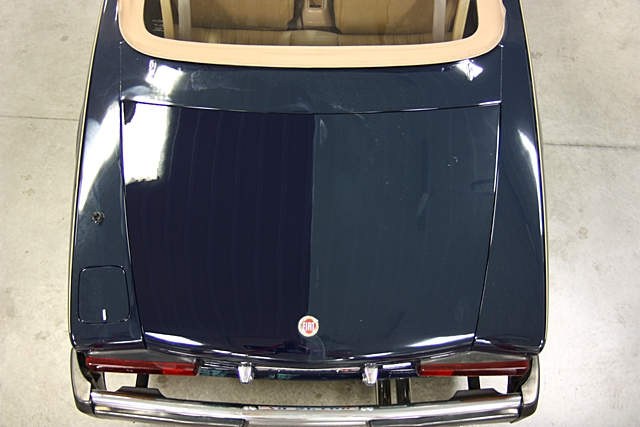
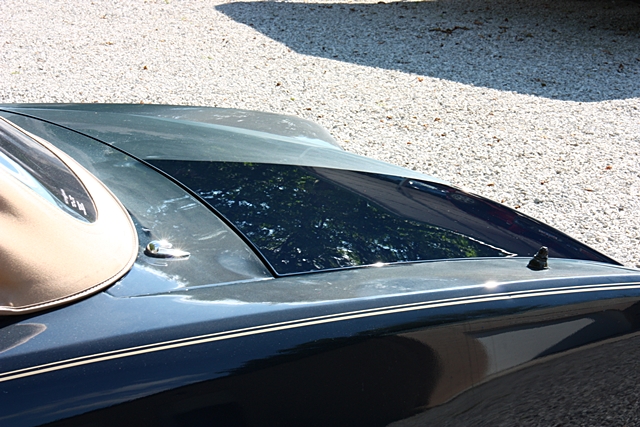
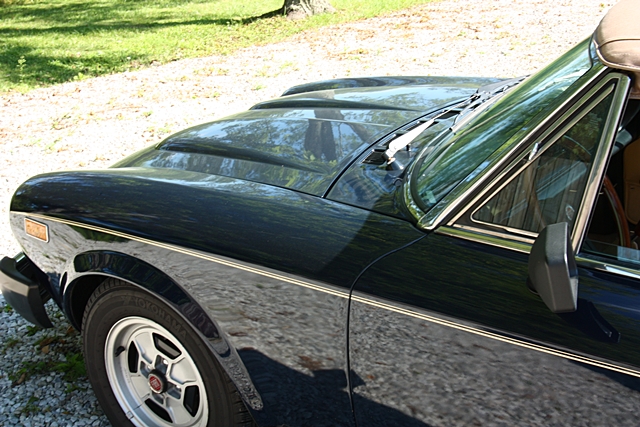
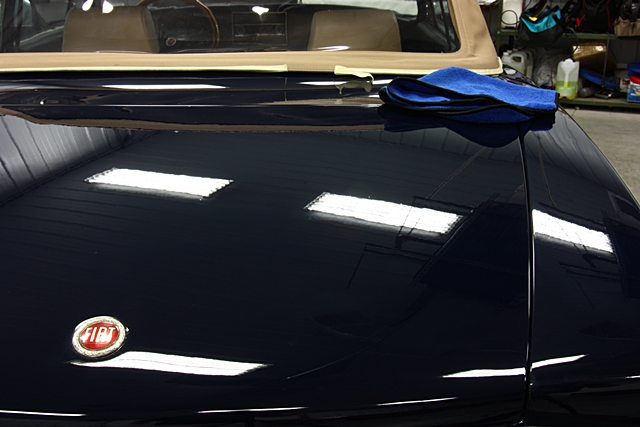
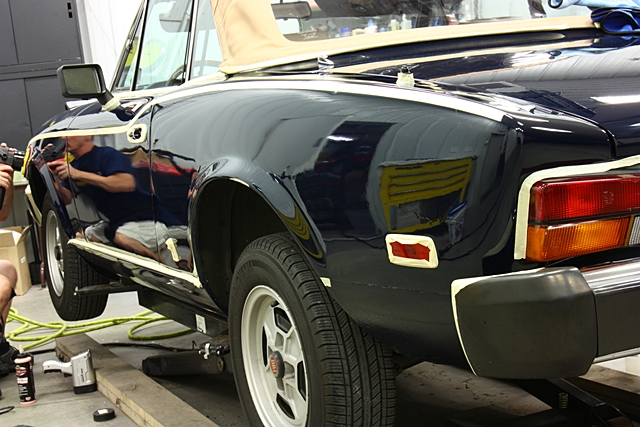
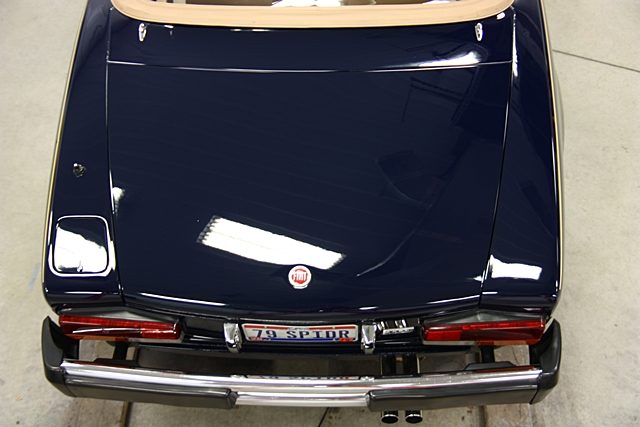
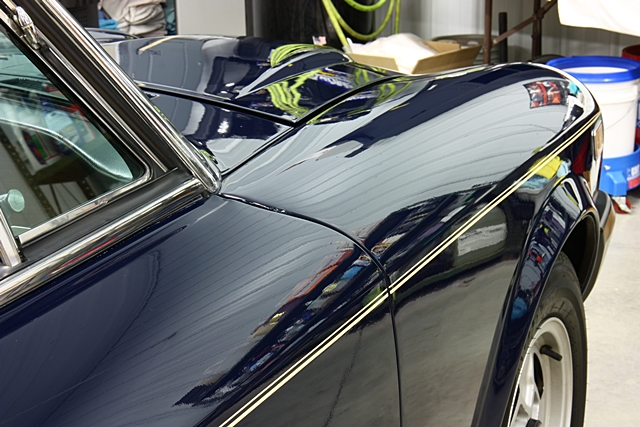
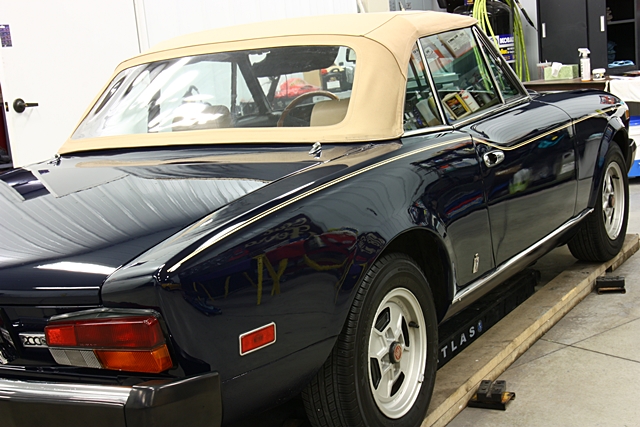
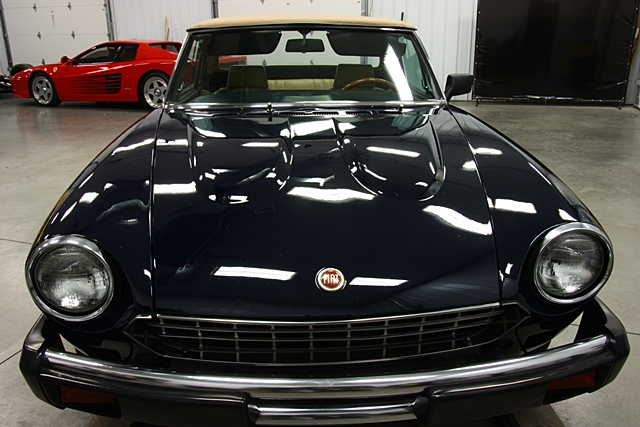
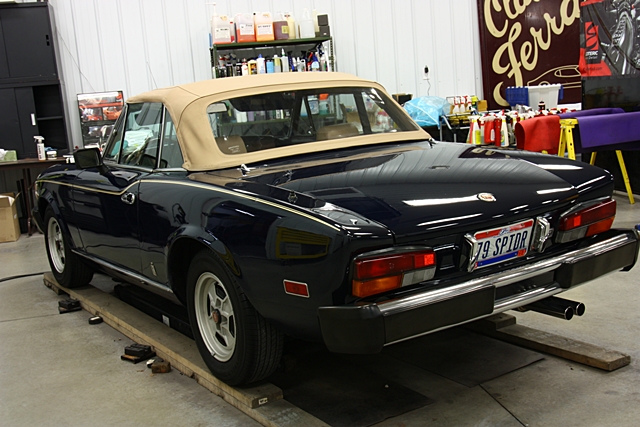
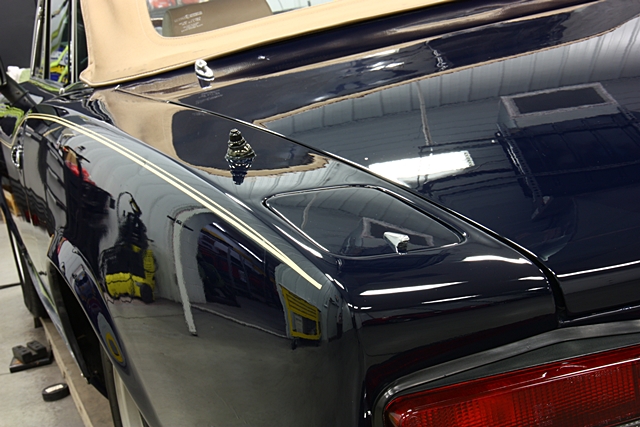
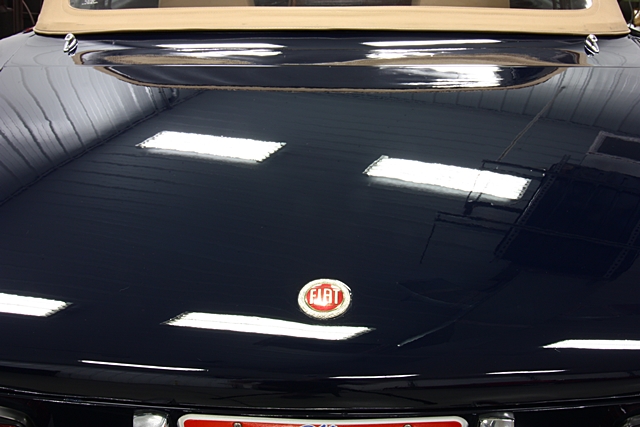
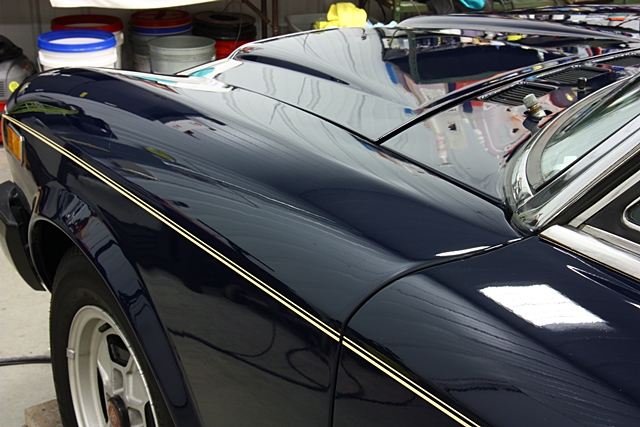
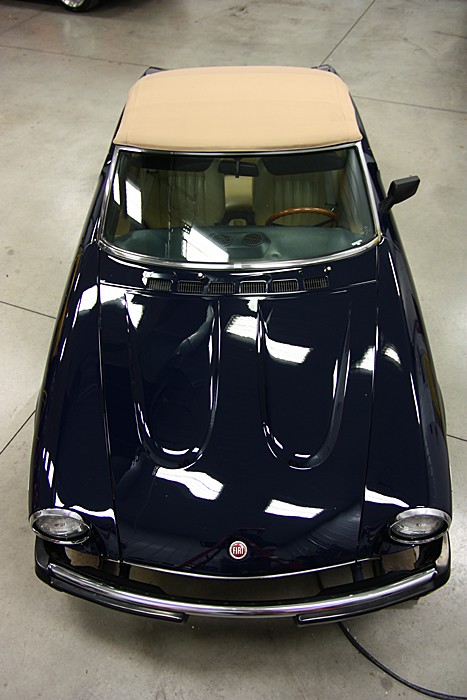
Fiat Spider Final Photos!
OK, I’ve managed to cram over 4 solid days worth of work in this short article, and I appreciate the fact that you’re still reading to see this project to the end. Now I’d like to share some final photos so you can see the huge transformation that this car went through.
Before:
And after:
Before
And after

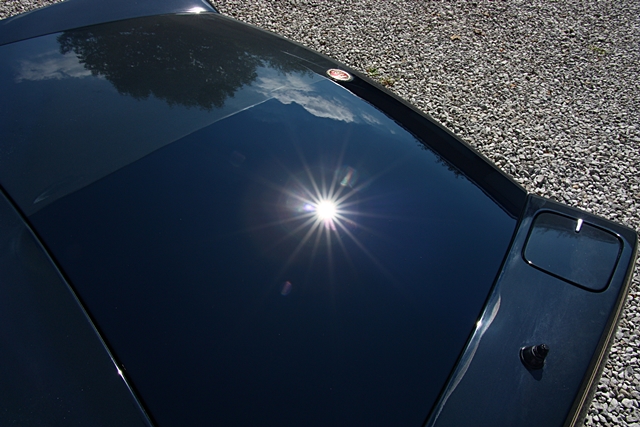
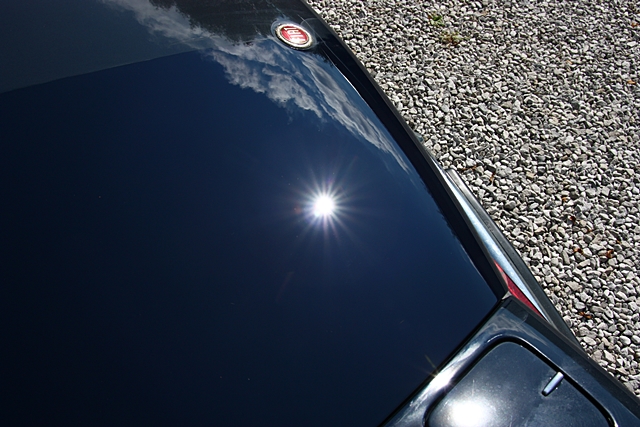
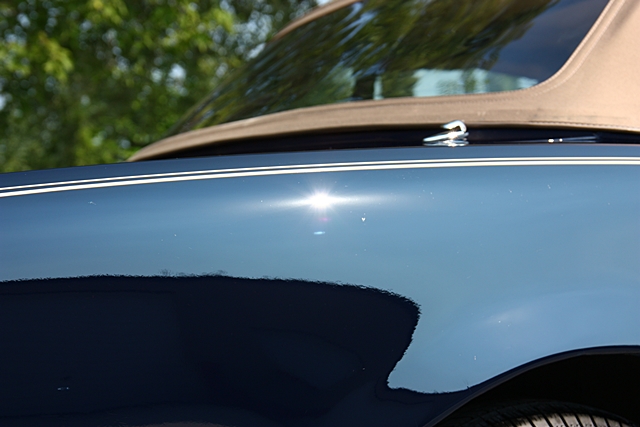
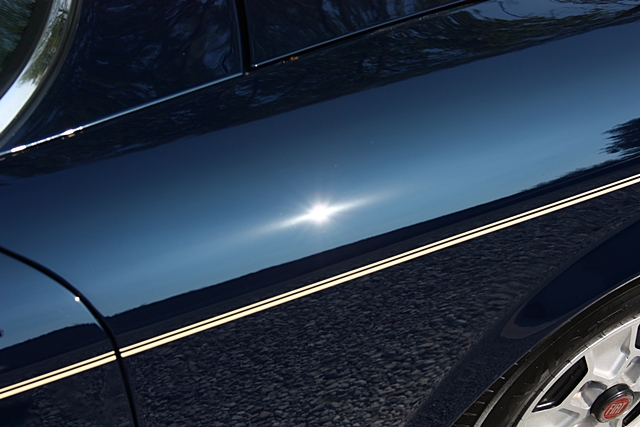
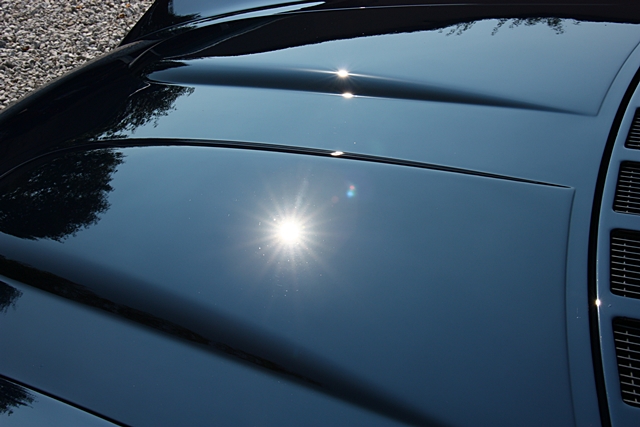
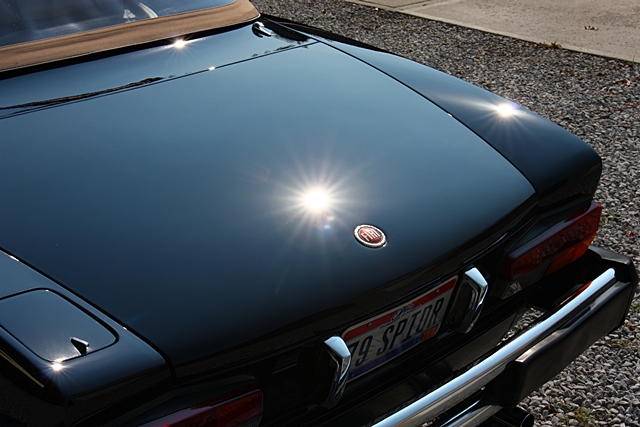
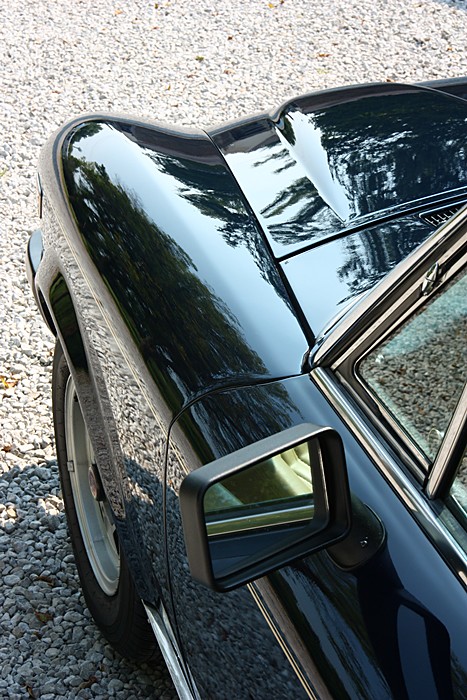
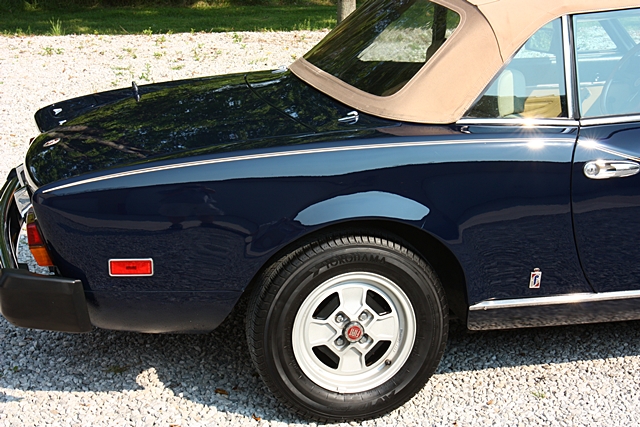
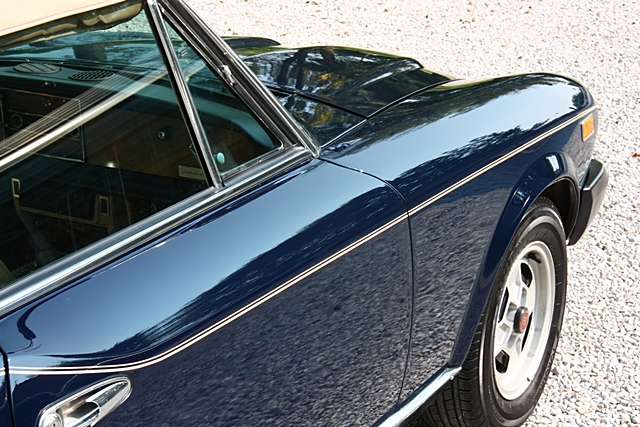
And some random after shots!


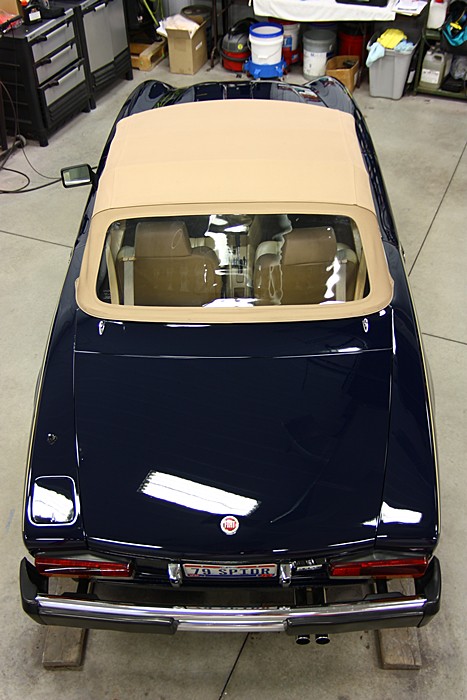

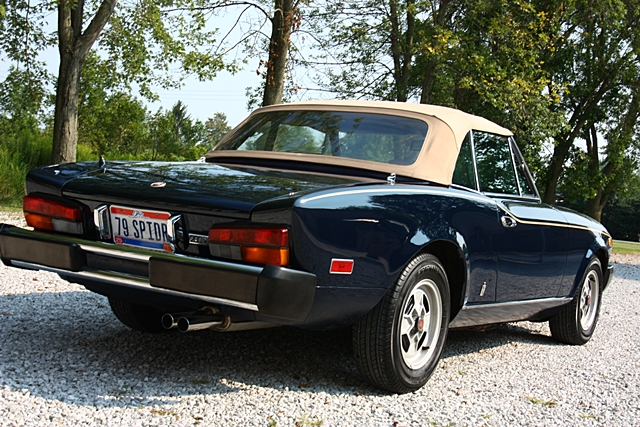
And the final shot from a few days later at the local Italian car show:
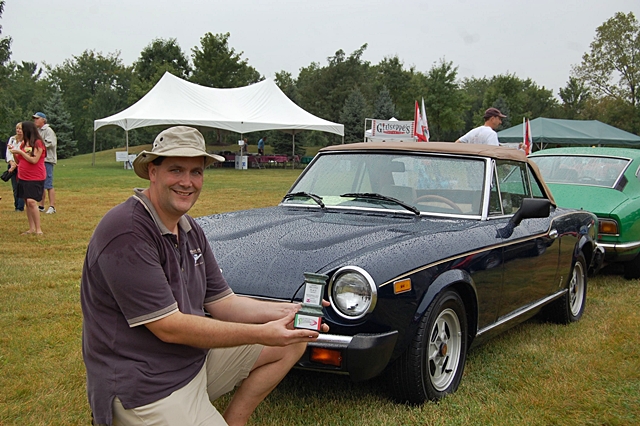

A message from the owner of the car:
Todd… What can I say?! THANK YOU for saving my baby! Essentially took the car right from Todd’s shop to the show field the following day and took home a trophy!
From despair to jubilation. My heart was in the pit of my stomach when I discovered the paint overspray. I am so glad I found Todd at Esoteric Auto! He is a MASTER OF PAINT restoration. An artist… Thank you!
Jon Logan, owner of the 1979 Fiat Spider
And as an added bonus, I shot some video of the car before, during, and after so you can get a better feel for the transformation it went through. Be sure to select at least 720p on the video resolution to see it in high definition.

Thanks, and please feel free to share your comments and questions below, and don’t hesitate to share the link to this article on your favorite forum or social media!