2010 Audi R8 V10 by AC Detailing
by Contributing AuthorsHere’s a 2010 R8 V10 I detailed a couple of weeks ago. The car had only 400 miles on the odometer. As many of the writers here, including myself, have proven before: even brand new cars need thorough detailing to bring the look of the car to the level the performance specs demand. At the end of this article, I will have a video documenting the detail process, as well as some extras that aren’t pictured below!
As with every detail, I always start with a thorough inspection of the car. Luckily, this car was just purchased by the owner, and had almost no signs of extensive wear and tear except for the average dust and dirt from driving.
The condition was about what I’d expect from a black car with few miles on it: basic wash marring.
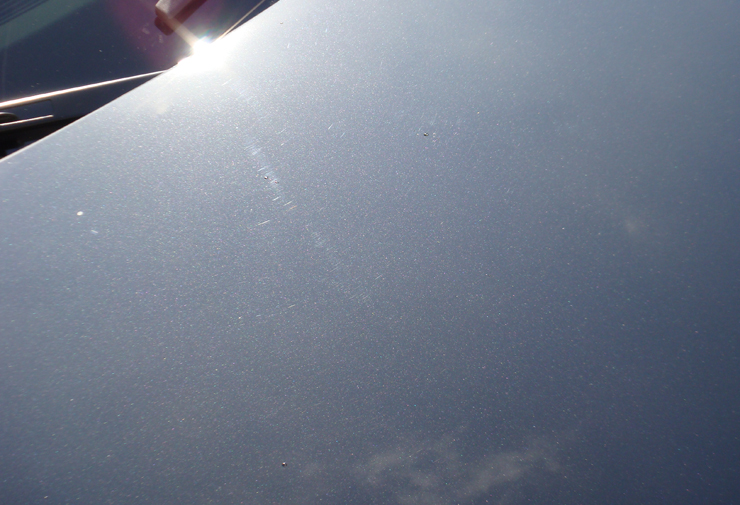
Along with some surprises of some not-so-great buffing:

So, I started with the wheels using an EZ Detail Brush, a new DI Boar’s Hair Detailing Brush, wheel cleaner, and some agitation.
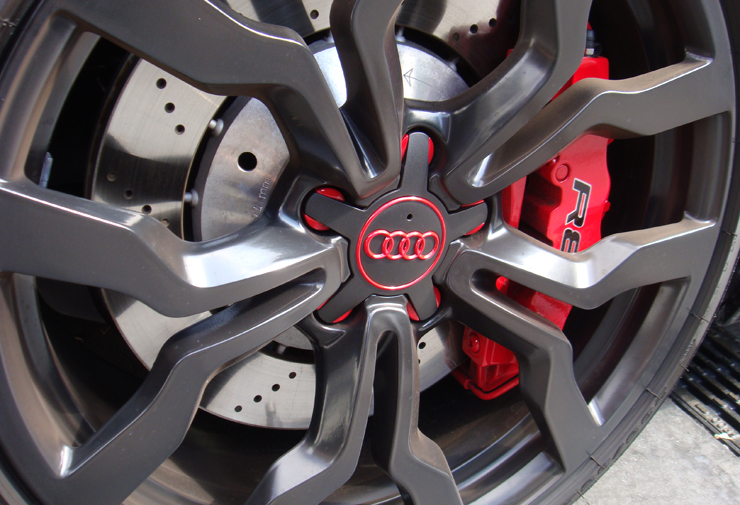
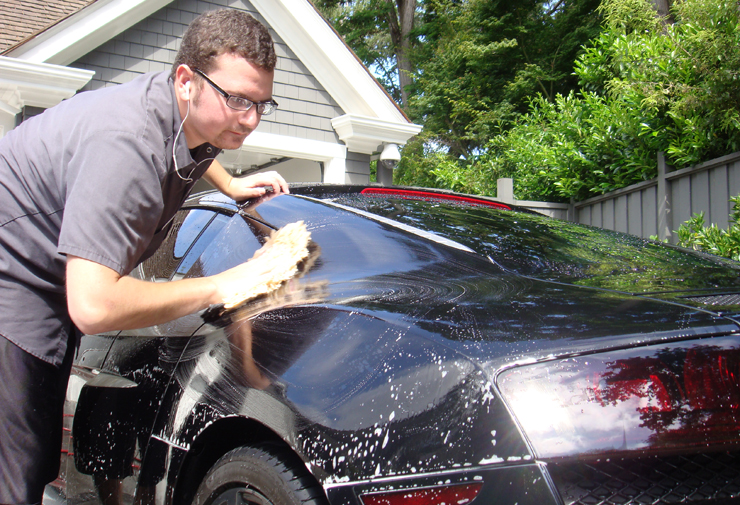
After the wheels were done I moved on to washing the car with citrus wash to strip any paint protection that was on the car previously.
Once the wash was completed, I noticed the car had a fair amount of fallout on the rear half. So, using a fallout remover, I was able to clay the car–without claying!
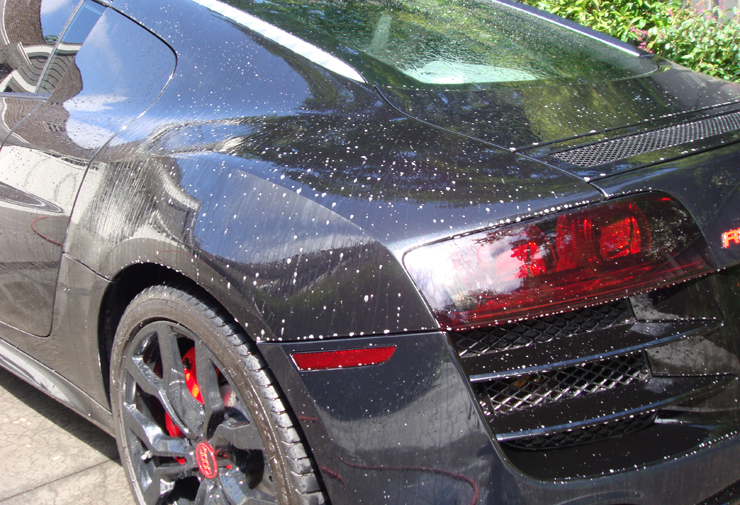
Now the true condition of the car was shown:
Holograms were a bit more severe than originally pictured
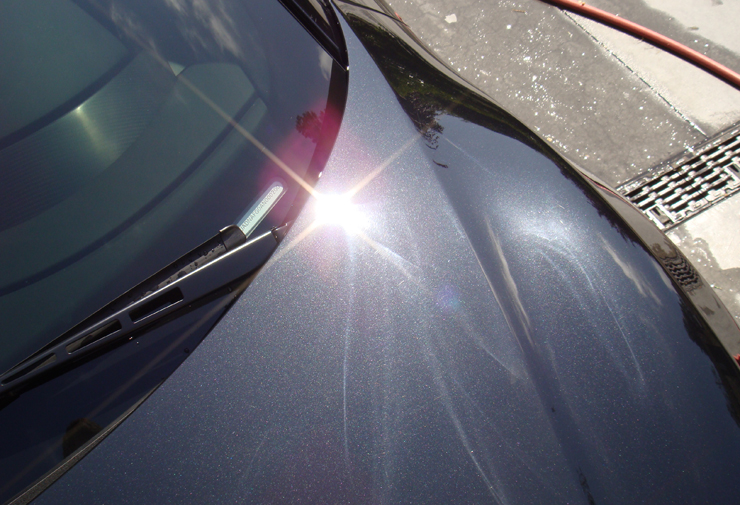
More marring:
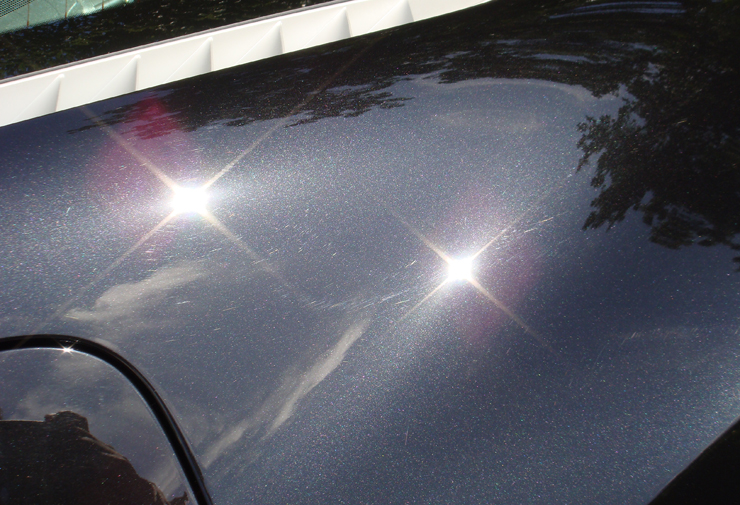
Turns out the holograms were installed from the dealership trying to cover up these lovely deep scratches:
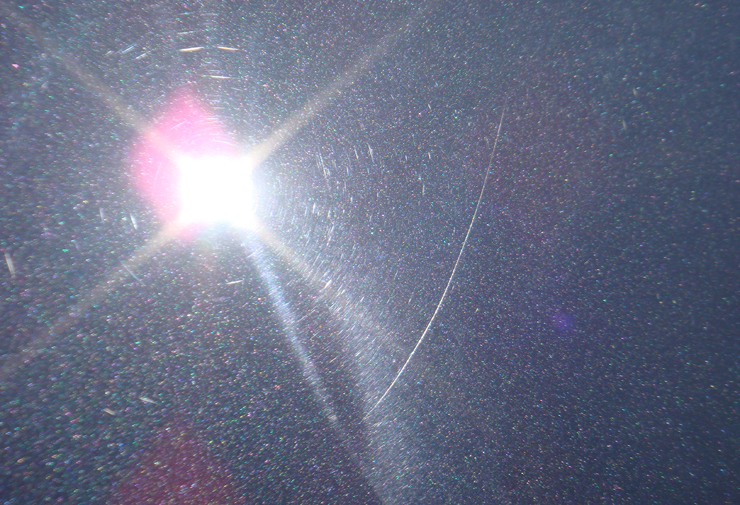
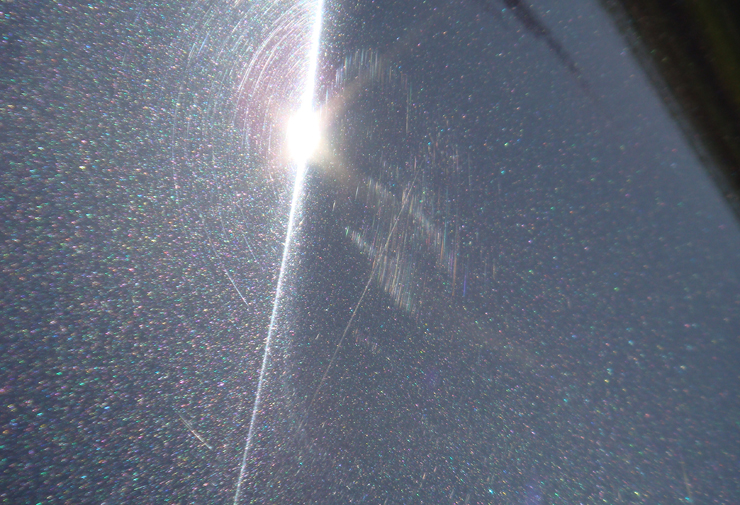
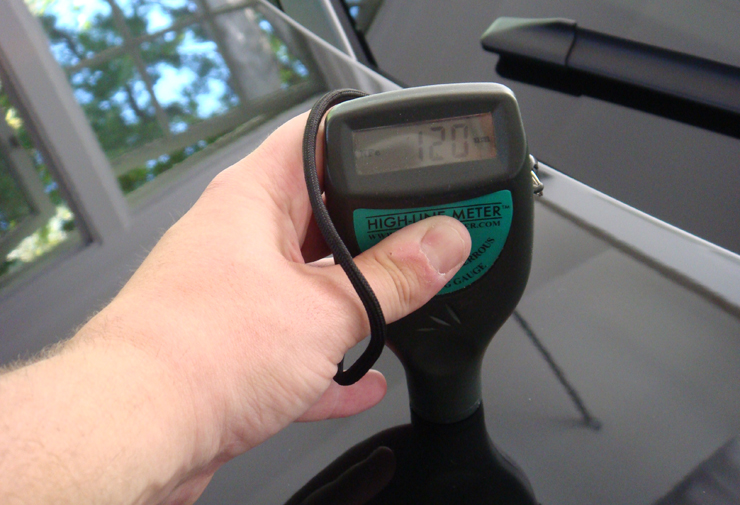
Once the thorough inspection of the R8 was completed, I pulled the car into the garage and continued with taking paint measurements, knowing some wet-sanding would need to be done.
Average paint readings around most of the car:
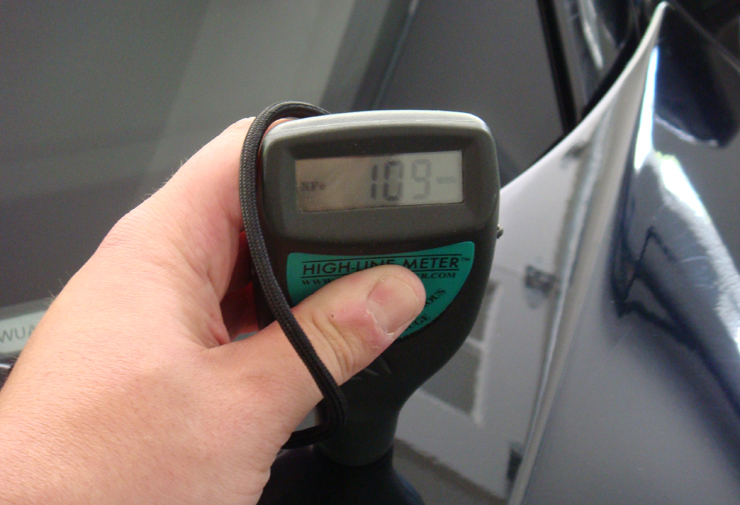
… Except where the dealership tried to cover up some scratches:
So, I started with the wet sanding:
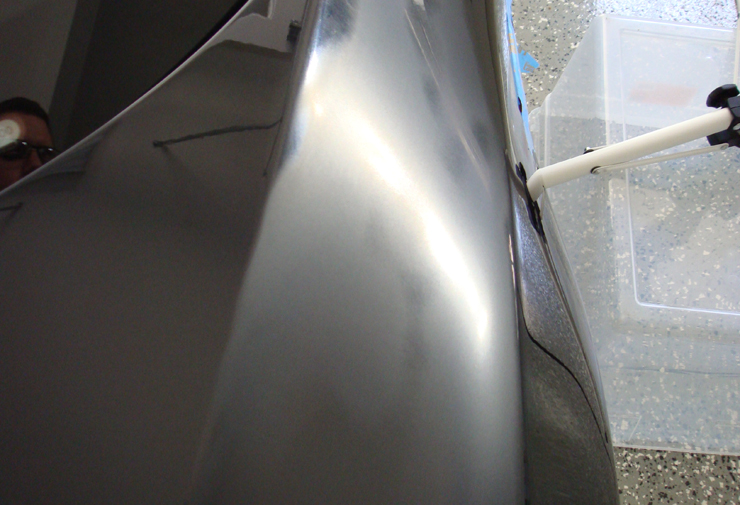
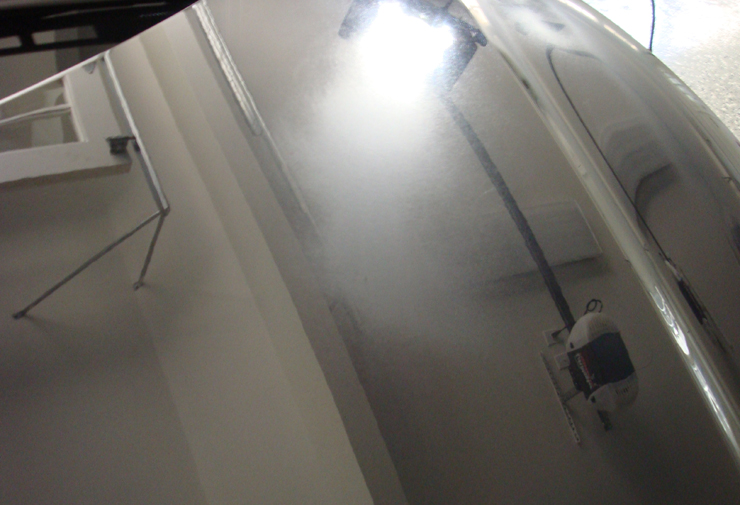
They weren’t completely removed, as I wanted to be sure to leave plenty of clear coat. But the difference is MUCH better!
(This was before any sort of polishing–just compounding)

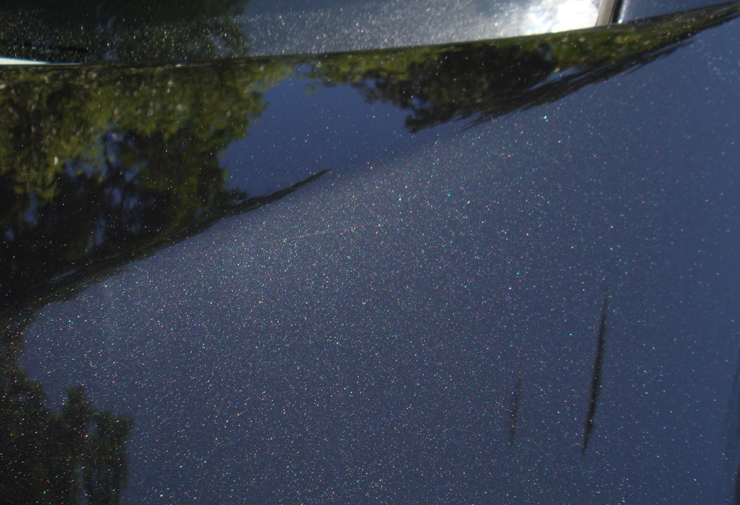
For the polishing I would go with a 3-step process. I started by compounding with a Purple Foamed Wool pad and Meguairs M105; followed by the Meguairs Microfiber Polishing system on the PC7424XP; and finishing it off with a Blue finishing pad and PO106FA.
50/50 in the sun:

Once the polishing was finished, I waxed the car with two coats of Blackfire Midnight Sun Carnuba Wax.
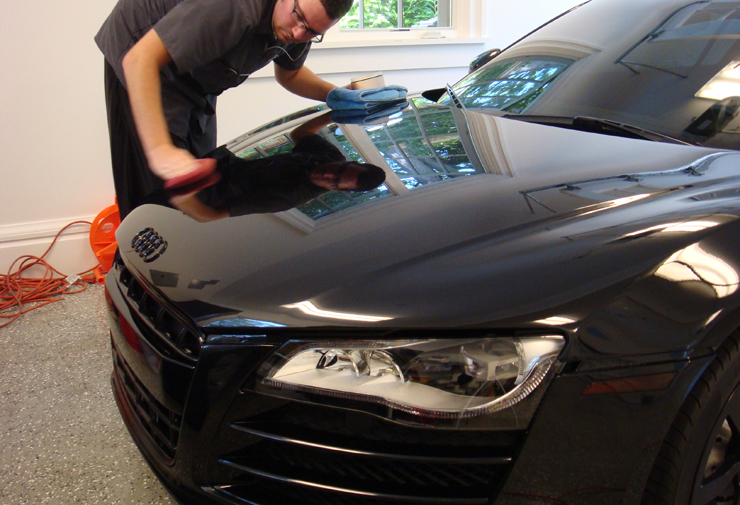
Other duties taken care of was the interior. Which was protected with Leatherique Prestine Clean. The carpets groomed. The windows cleaned with Meguairs Glass Cleaner. The plastics protected with 303 Aerospace Protectant. And the tires/wheel wells dressed with Meguairs Hyper Dressing.
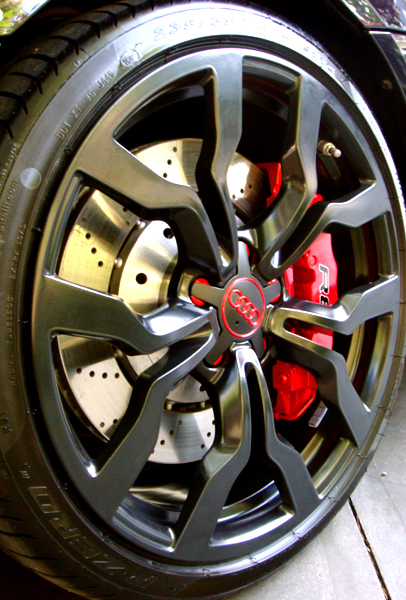
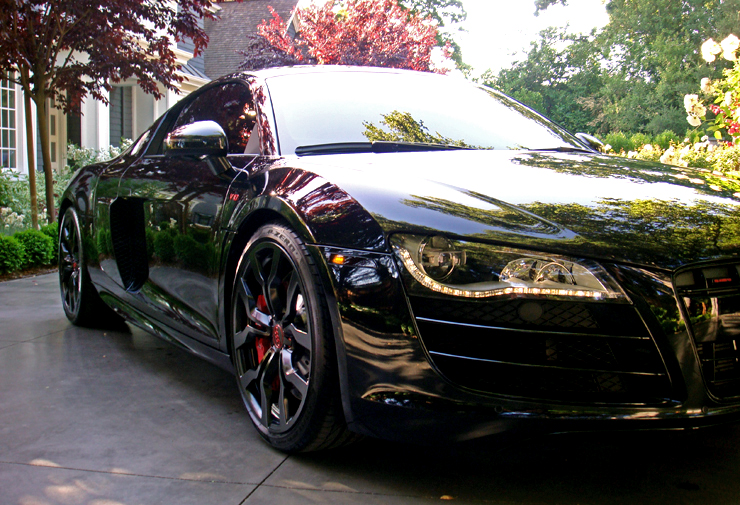
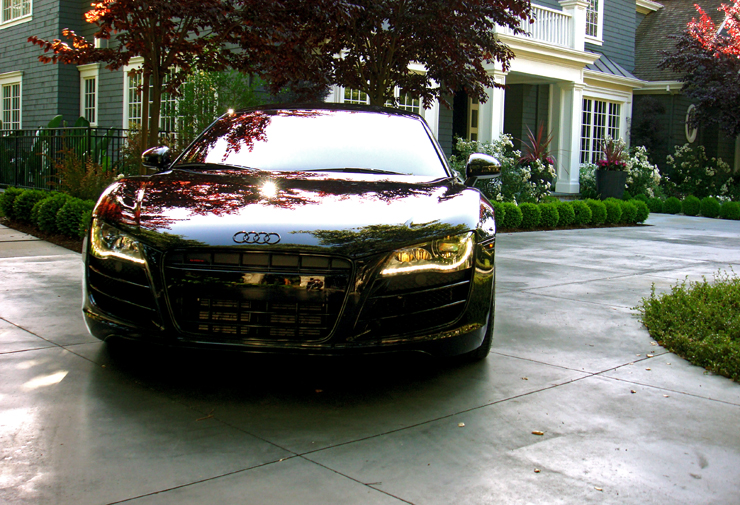
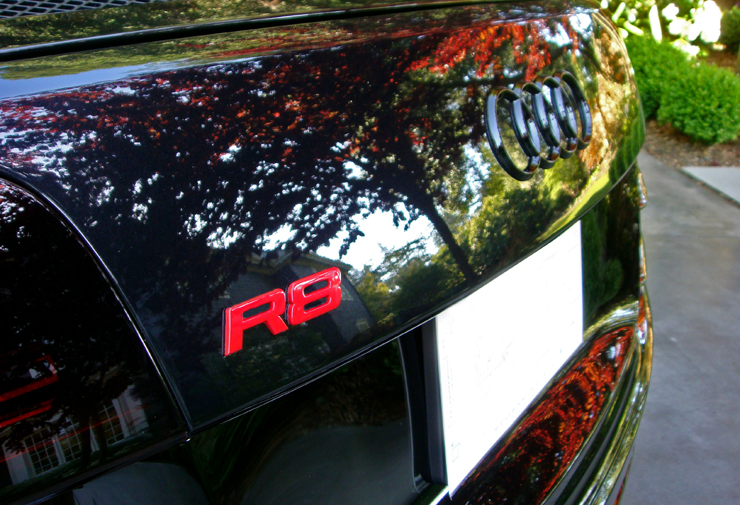
The final afters:
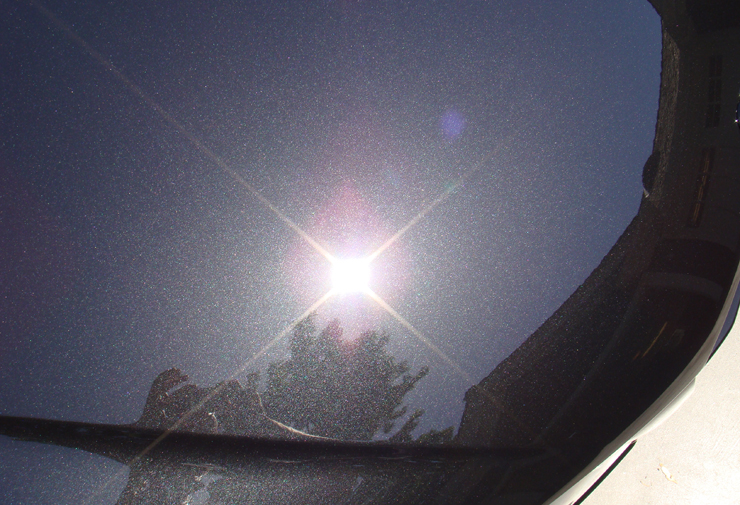

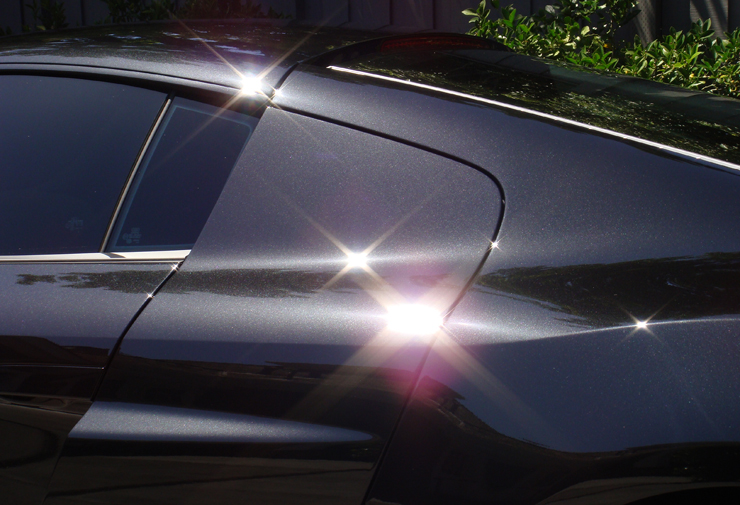
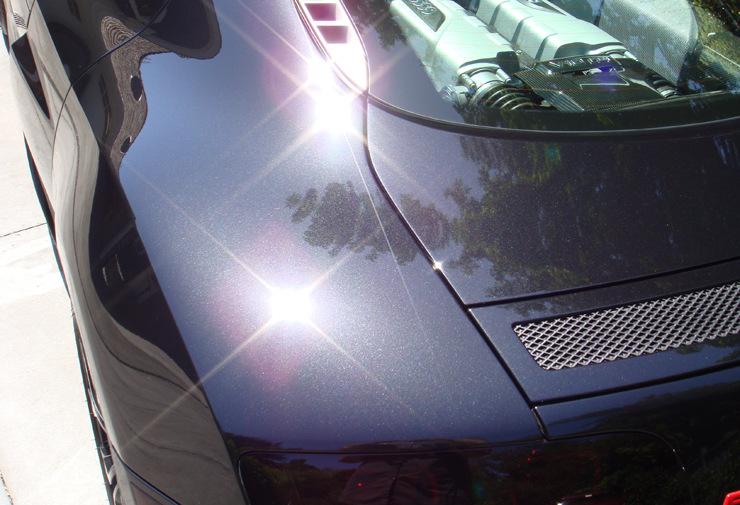
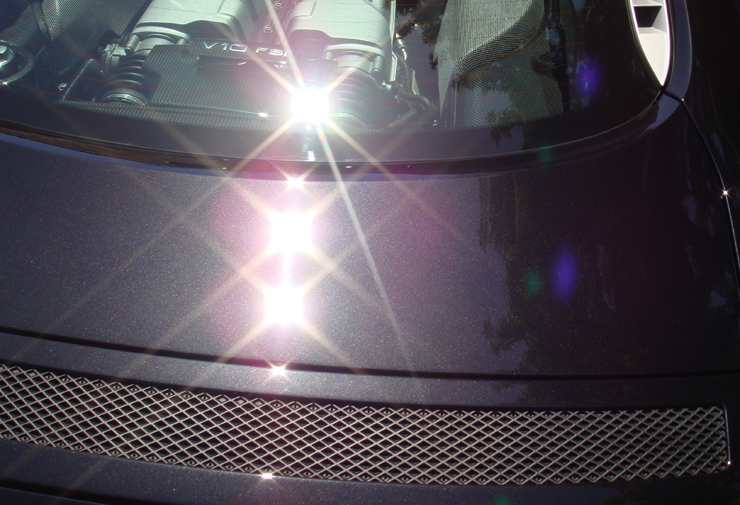
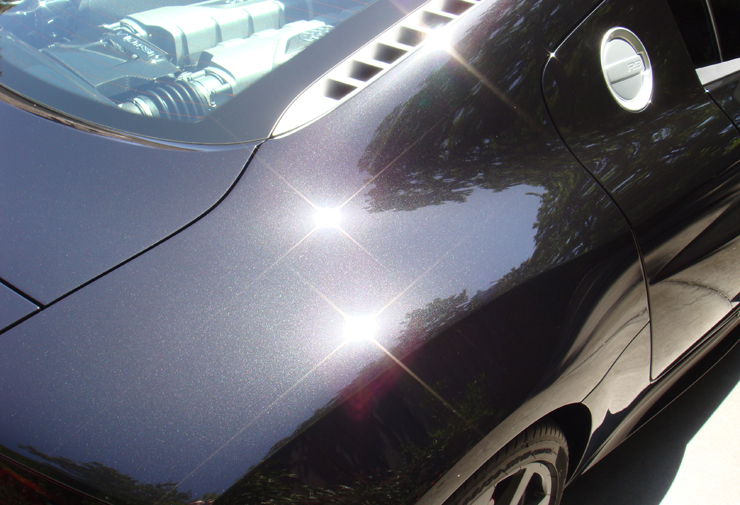
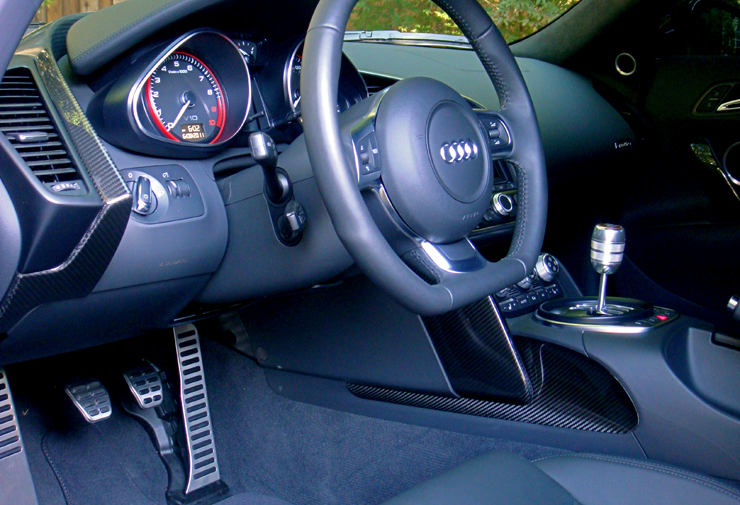
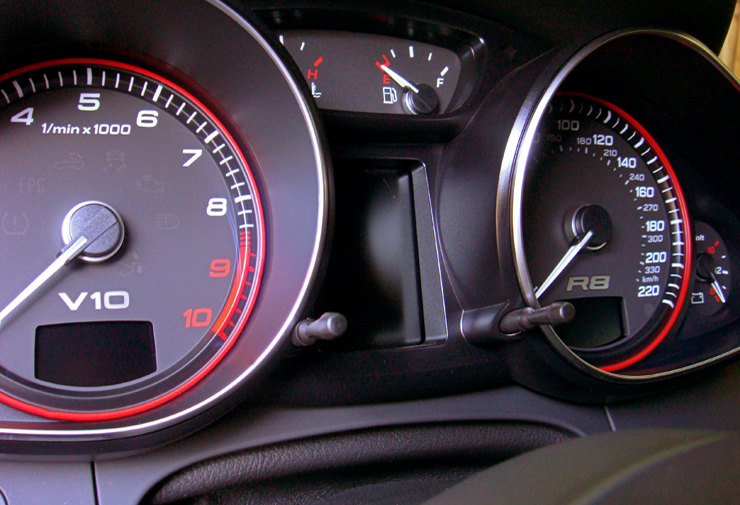
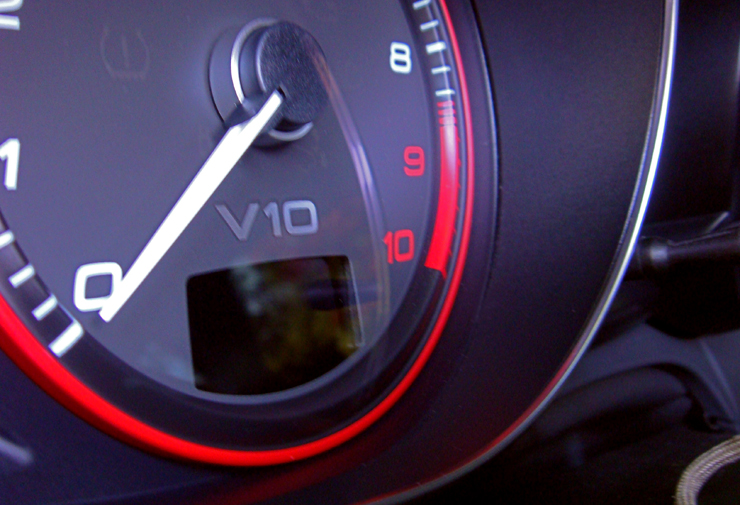
The “glam” shots:
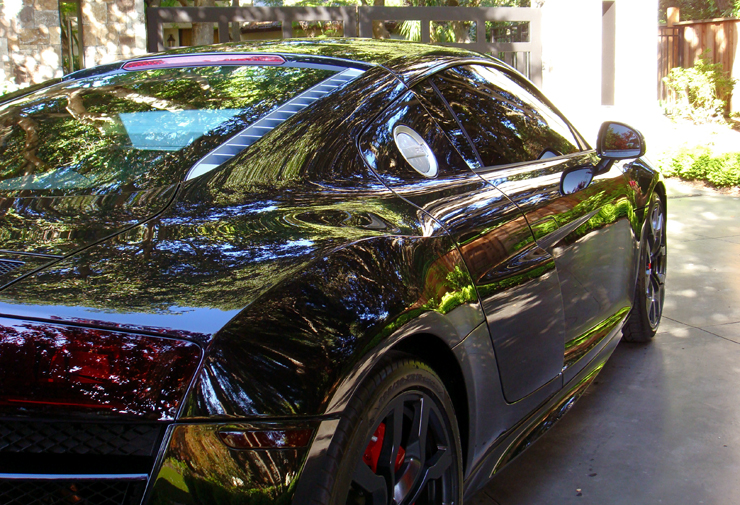
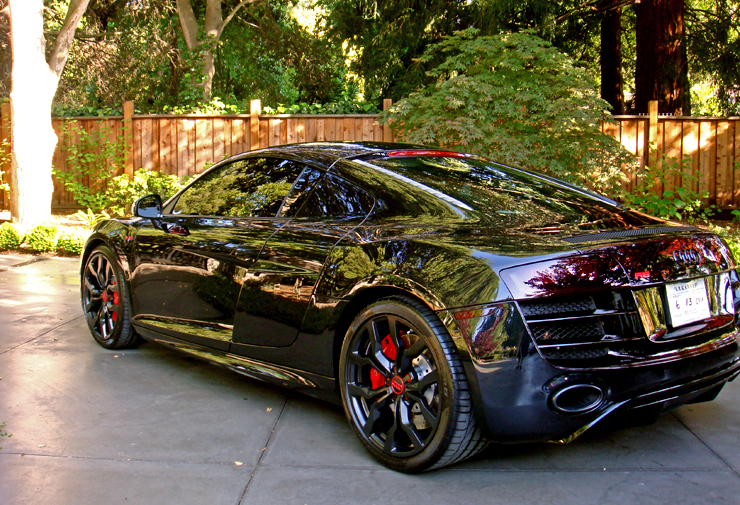
Without further ado, the video I mentioned at the beginning of the article:
Thank you for reading!
If you have any questions or comments, please don’t hesitate to ask below!
Related Posts
- Lamborghini Gallardo: 24-Hour Restorative Detail by Todd Cooperider
- Can I Use Products from Different Brands?
- 2006 Lamborghini Gallardo Comprehensive Detail
- Full Detail and Paint Correction: Ferrari 458 Italia by Todd Cooperider of Esoteric Auto Detail
- Projects: Lotus Evora GT, Paint Correction, Clear Bra, Ceramic Coating


Very Sick car!! I was waiting for an R8 blog to be done!
I really liked the video at the end, i’m new to detailing and have been using the PC, I’m getting much better at it, keeping it even and apply equal pressure throughout a panel, and actually working panels the correct way. Your video shows you spending a good amount of time with the rotary working the trunk and rear fender area, I was trying to follow your rhythm over those panel, but it just seemed you tried to work the areas in whatever way possible, I usually stick with the north/south then east/west method but on some vertical areas like the rear fender that is impossible to do so I just work it the best I can.
I am about 3/4 way through a three day detail on my black car, and the problem I am gettting when working a panel with the time your were doing is the the polish 1. would get very, very dusty and I felt that there wasn’t any on the surface or the pad and 2. the Polish was sticking so bad to the surface of the paint that it was nearly impossible to remove with a one of the rethickulous towels, or any microfiber towel for that matter, i really had to apply pressure, which i know is awful. I also haven’t been able to correct very much about 40-50% of scratches were remove and all oxidation spots were removed, but my scratches were so deep that my most aggressive pad combination, Orange LC with M105 on a PC, wasn’t working to pull them out. I had a 4″ yellow pad and I tried that with the M105, still nothing. I was very surprised that with the soft black paint I have that I needed to have something like a surbuf or even wool to get any deeper. After spending the weekend in my garage and then watching your video it gives me a good idea of what real Detailing should be about!
Another Question:
What camera do you use Aaron?
Believe it or not, Adam, I’m using a 3-year old 10 megapixel Sony point&shoot! As Todd hammered in to us authors: white balance, white balance, white balance! It’s amazing what the correct white balance does to photos as seen above.
Adam,
Thanks a lot!
To answer your questions: Dusting, or a mini-blizzard as I like to think of it (I’m from California and don’t know what a real blizzard is :P) is very normal for M105 with any pad. The best thing to do is spur your pad often with a pad brush (DI sells them) and also, use between 2-4 pads per car. This will help reduce the amount of dusting you’re experiencing.
Also, with the pad movement. Generally I keep it as uniform as possible. But on some panels (like the rear deck lid) there’s really not enough room to go back-forth/up-down. Same on the fender–it’s an awkward panel. I’ve found to get better results from conforming the pad and polisher to the body panels, than sticking to the back-forth/up-down criss-cross method. Just remember, consistent movements and pressure will net the best results!
Sounds like the polish was “sticking” to the paint. I would suggest easing up on the pressure a bit, and maybe working it a bit less. If you didn’t work it very long, then it’s the opposite–and you need to work it more. Polish acts very different in certain climates, and also certain paint types. Mind elaborating on the black car your working on? Infiniti black paint is known to be “sticky” and would cause this concrete-like polish removal, and the spitting and balling up of the polish.
I’m sure as the video’s seem to be very popular that the DI blog authors will continue to update with more and more!
Thanks for your feedback and good luck on your endeavors! Keep reading, asking questions, and practicing!
—
Aaron
Lol you hit that right on the head, Infiniti G37 Black obsidian, I used 3 pads for one polish process, 2 6inch pads and 1 4inch pad for the front bumper and pillars. Like you said about those awkward panels I just try and move with the car’s body lines. I would take a guess that I wasn’t working the M105 long enough because I would do a N/S pass then an E/W pass on speed 2, speed 4 N/S and E/W and then Speed 6 N/S and then E/W, some times I would go back down to speed 4 and do a last north/south and east/west pass again, it didn’t matter though either process of speeds still resulted in sticky polish, I really liked how the Menzerna products worked on the paint though I didn’t experience any of the troubles as M105.
What is White Balance? Is it just a setting on cameras like brightness or contrast?
Interesting that Menzerna polishes worked well, and the Meguairs didn’t. Usually on the sticky Infiniti black paint it’s the other way around! Another reason having a variety of products is essential in detailing! What may work for one car, probably won’t for another! The only way to safely remove the glued on polish safely is with an IPA (Isopropyl Alcohol) wipe down. Probably 50/50 mix with deionized or distilled water with the softer black paint.
White balance is basically a type of brightness/contrast setting. You can adjust it on most cameras. What it does is adjust the “true” white color of the photo. Making colors more realistic, especially if it’s in a shady area. Sometimes you’ll see photos of people in a shady area with a greyish looking face, when in fact it’s supposed to be peachy or tan! So to make the colors true to their form, you adjust the white balance.
Oh yeah I had IPA in hand and ready to go once I saw what a pain it was being, I did a little research on white balancing to, go information, I wasn’t aware of this setting until now, good tip!
I gained some popularity as I was detailing my car, as a couple neighbors have taken to my work, and now want me to do theirs so it looks like I will be expanding my variety of products anyways, there cars unfortunately are not nearly as well kept as mine has been so it should be interesting, anyways thanks for the great tips, Aaron!
This is just sick! Awesome!
Andy, thanks for the comment. It’s much appreciated!
Wow, those pictures look great! I like how there are the sunshine pictures and some really nice ones reflecting the trees — absolutely beautiful.
On a side note, why not have a 720p/1080p video? It seems like a waste with that camera.
Allen,
Thanks for the comment! I’m glad you enjoyed the pictures. The only way to truly see the quality of the detail is in the bright sunlight.
The reason is, my camera doesn’t shoot in 720p! As I mentioned to Adam above, I’m using a Sony 10.1 megapixel point&shoot.
Though, my next videos will be in 720p, don’t worry!
Nice write up!!! How did you clay bar the car w/o clay barring the car?
Thanks a lot!
There is currently a few different products out on the market to remove fallout debris chemically, rather than mechanically (a la clay barring) that I’ve been testing.
Great job!
Finally an R8 with matching black side skirts instead of that ugly grey. Beautiful car!
Amazing job! Definitely the best out of the best 😀
Can you please explain “fallout”?
Thank you.
Ozan,
Great question! Fallout is basically another term for “rail dust,” among other things. In extreme layman’s terms it’s the particles imbedded in the clear coat of the car that cause it to have that “rough” feeling, meaning it’s time to clay!
Aaron,
Do you have a link to the particular wool pad and backing disc you were using in the beginning of the video?
Thanks.
Lee
Wicked, love a bit of Aphex Twin…top result !!!!
From a fellow detailer in England that is the most amazing finish I have seen. The refelctions are just awsome.
Love it.
Great glam shots!
fantastic work, completely transformed even new paint, this is what most people don’t undertstand!
Awesome and fantastic. Get more information here.