

This is a question that a lot of readers and other detailing enthusiasts new to machine polishing ask quite a bit. Having the correct amount of polish on the pad is very important because it ensures you get the results you’re after without using too much or wasting time on non-necessary polishing. Due to the many pad and polish combinations out there, all the different machines, as well as different goals from a polishing job, it’s really all but impossible to give the “right” answer for every scenario.
That said, my focus here is to give a sort of general guide on applying polish to pads. I almost exclusively use the Flex XC 3401 VRG polisher with 5.5″ Lake Country Pads. One important factor to consider is whether you’re using a polish with diminishing or non-diminishing abrasives. As you’ll see below, I prefer to use a lot less polish on the pad when using diminishing abrasives because those polishes typically have longer work times and you’re better off using a proper amount per section of paint.
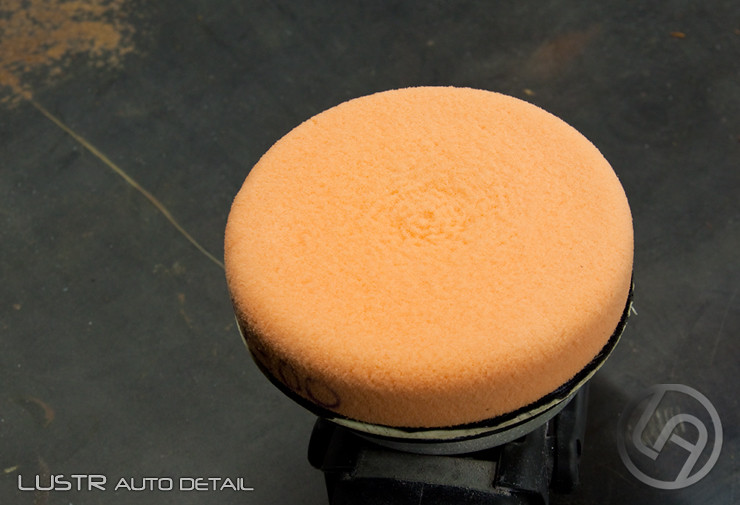
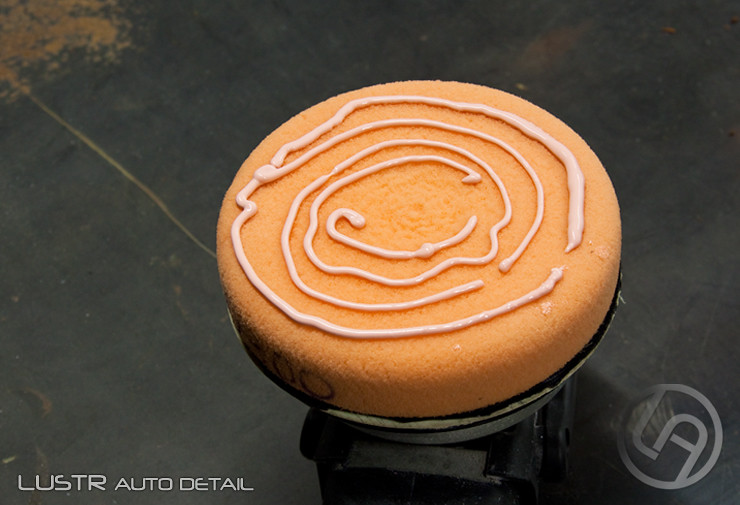
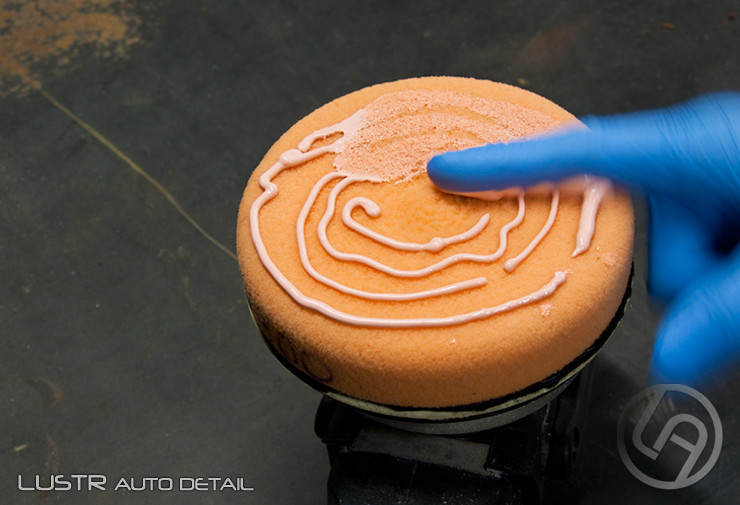
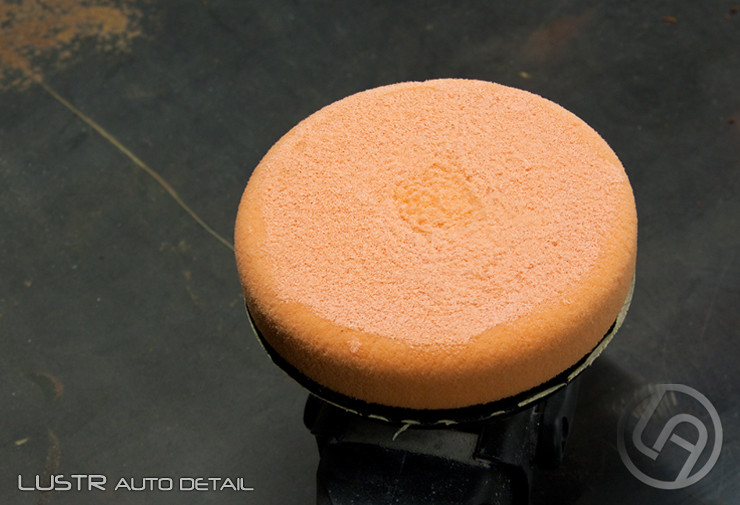
First off, here’s a few photos to explain my process when using Meguiar’s D300 Correction Compound with a 5.5″ Lake Country Orange Pad. The following process is also used with other polishes utilizing non-diminishing abrasives, such as Meguiar’s Ultra-Cut Compound M105 and Meguiar’s Ultra Finishing Polish M205. I like to first prime the pad well over the entire surface area.
I do this by pouring out some polish in a circular pattern over the entire pad…


Then I spread that polish out with my finger to completely prime the pad…
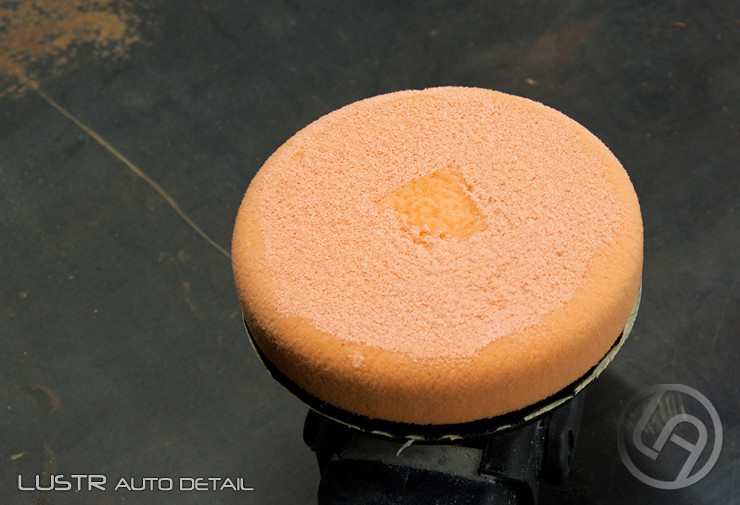
Once that’s done, I’ll apply small amounts of polish to certain areas I may have missed the first time around…

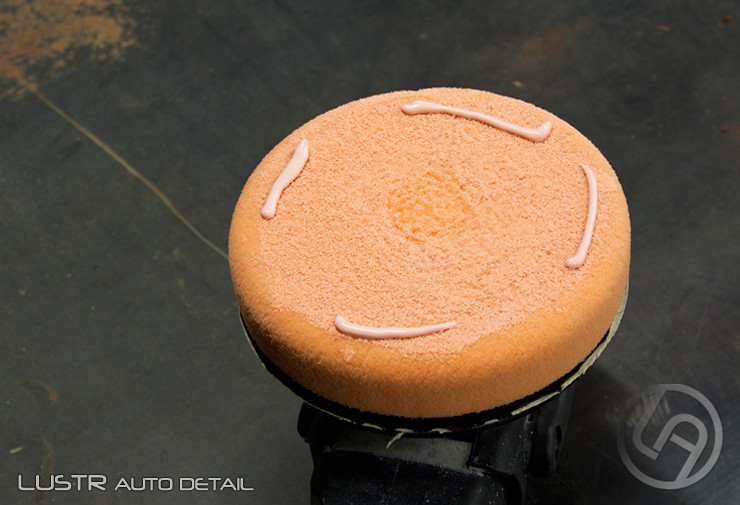
Now my pad is ready to polish a section of the paint. Once I’m done polishing that section and using a brush over the pad to get rid of dust and residue (for more info on cleaning pads please refer to my article Pad Cleaning During and After Polishing), I apply some more polish to do the next section. Following the first priming of the pad, I typically apply the following amount or less…
As much as it’s important to apply proper amounts of polish to the pad during a polishing job, it’s just as important to know when to call it quits with one pad and start with a fresh one. I also go over that in more detail in my above mentioned article, but in short, pads get saturated with polish and paint residue, so after a certain point they don’t work nearly as well as they should. Thus, it’s necessary to replace them as often as the job calls for it.
For diminishing abrasive polishes, such as Menzerna Micro Polish SF 4500 (PO85RD), it’s necessary to use a lot less polish and no priming is required. For these polishes, I use the following amount of polish…


I use this much polish on the pad whether it’s the first polish application to a fresh pad or second, third, etc. Regardless of the type of polish though, the pad will get too saturated over a few sections, so it will require replacement with a new, clean pad.
That said, I do encourage others to use this as only a general guide, while experimenting with both more and less polish. It has happened plenty of times where a helper of mine, with only 2-3 months polishing experience vs my 5-6 years’ worth, finds a better polish amount to use and/or technique with the machine that results in slightly better results.
I hope this is a helpful guide for many readers out there and thanks to all for reading!