
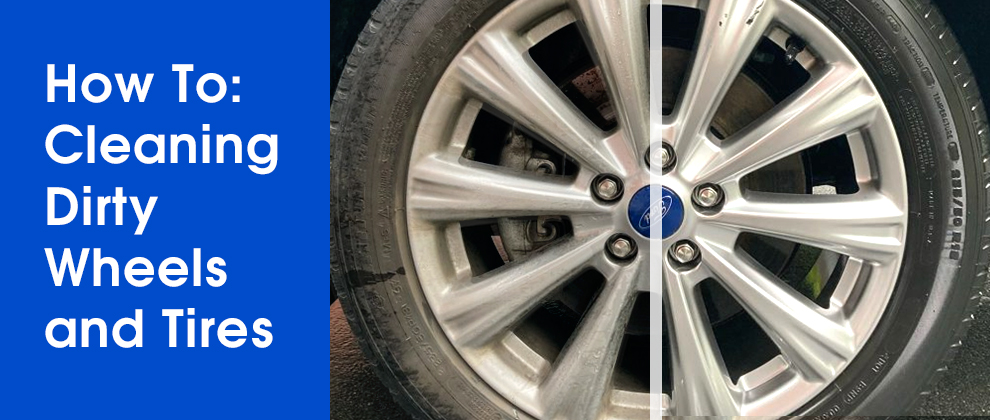
My fiance had not had her vehicle detailed in some time, so I was tasked to bring it in and perform a quick detail to knock off some dirt and grime. One main area to highlight here is the wheels and tires. They were extremely dirty and needed a thorough cleaning to bring them back to life. Below you will find the cleaning process performed on these wheels and tires, along with photos and a list of each item used along the way.
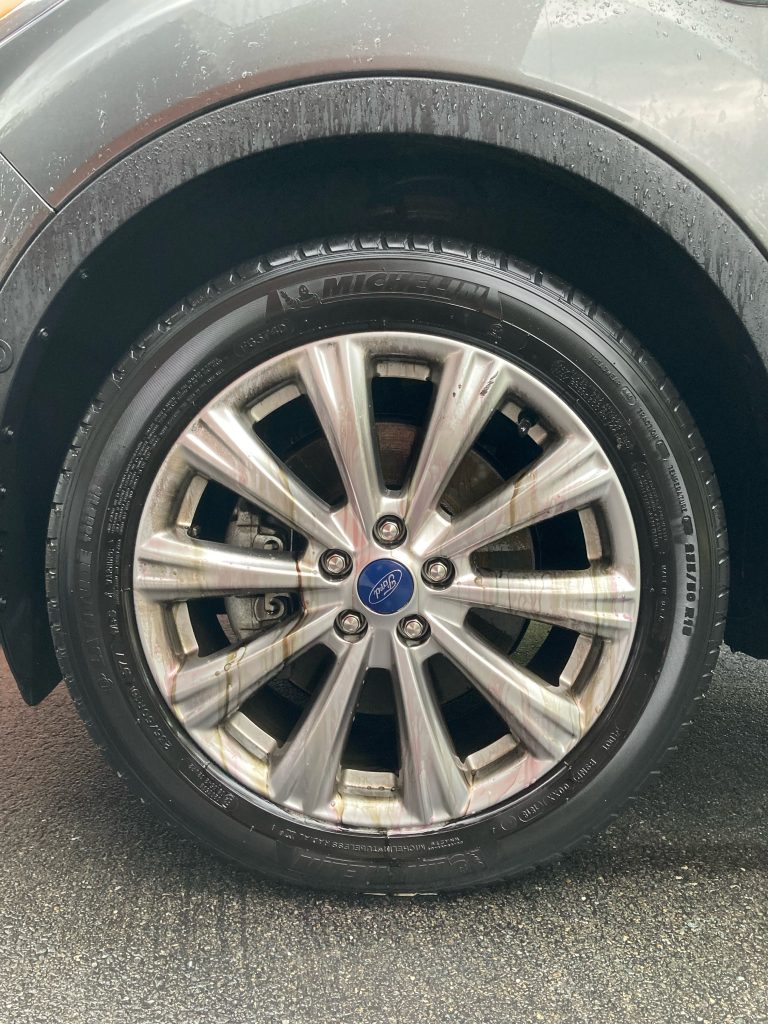
Before:
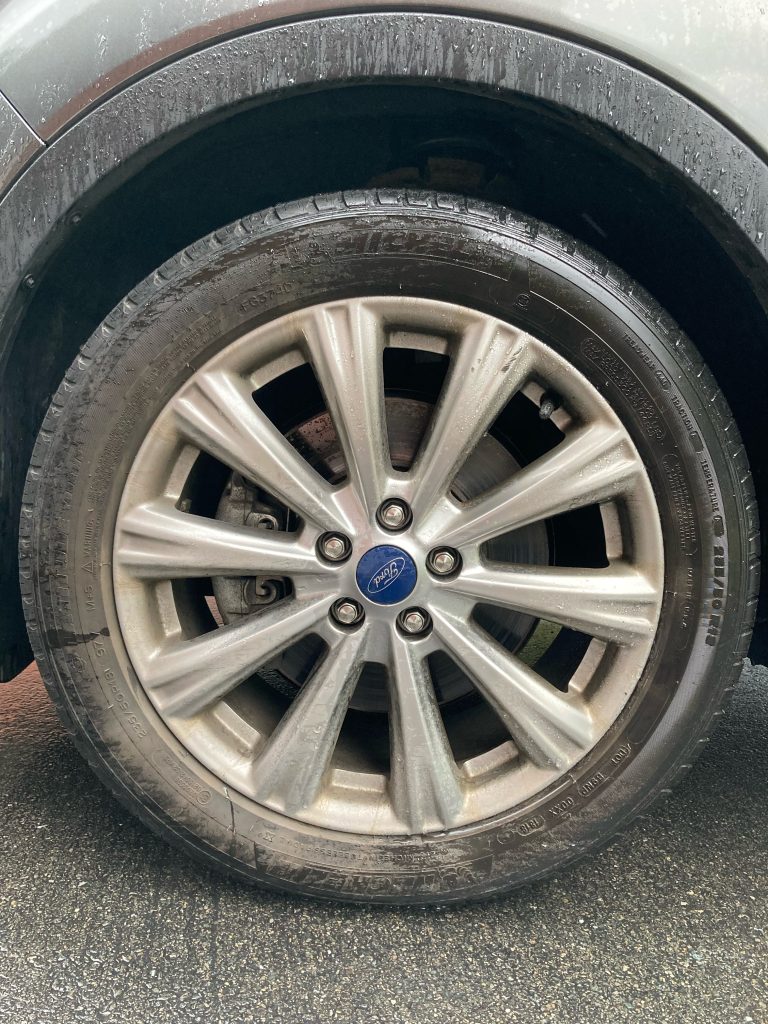

The wheels and tires are very dirty as you can see. This is the beginning with only some overnight rain to help slightly clean the surface.
Cleaning (Tires):
I started off targeting the tires and pulled out the Tuf Shine Tire Cleaner and Tuf Shine Tire Brush. I sprayed the wet tire with full coverage and let the Tire Cleaner dwell for 30 seconds. I then scrubbed with the Tuf Shine Tire Brush and rinsed the surface clean with a garden hose. I repeated these steps a few times until the suds of the cleaner stopped turning brown when scrubbing.
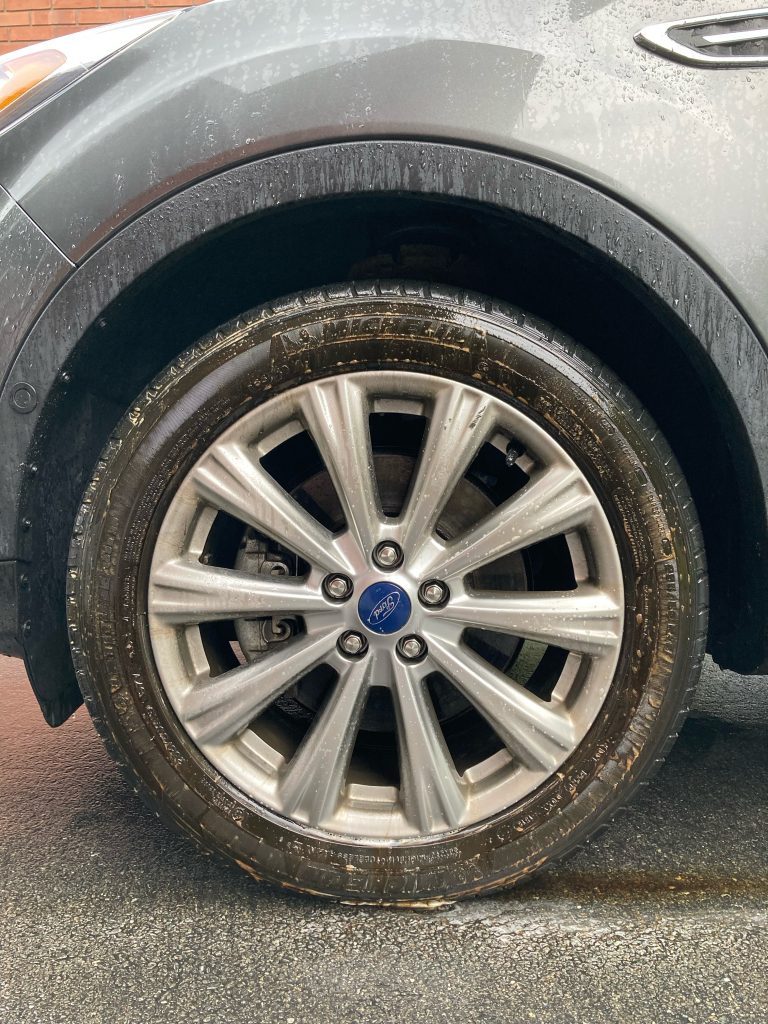
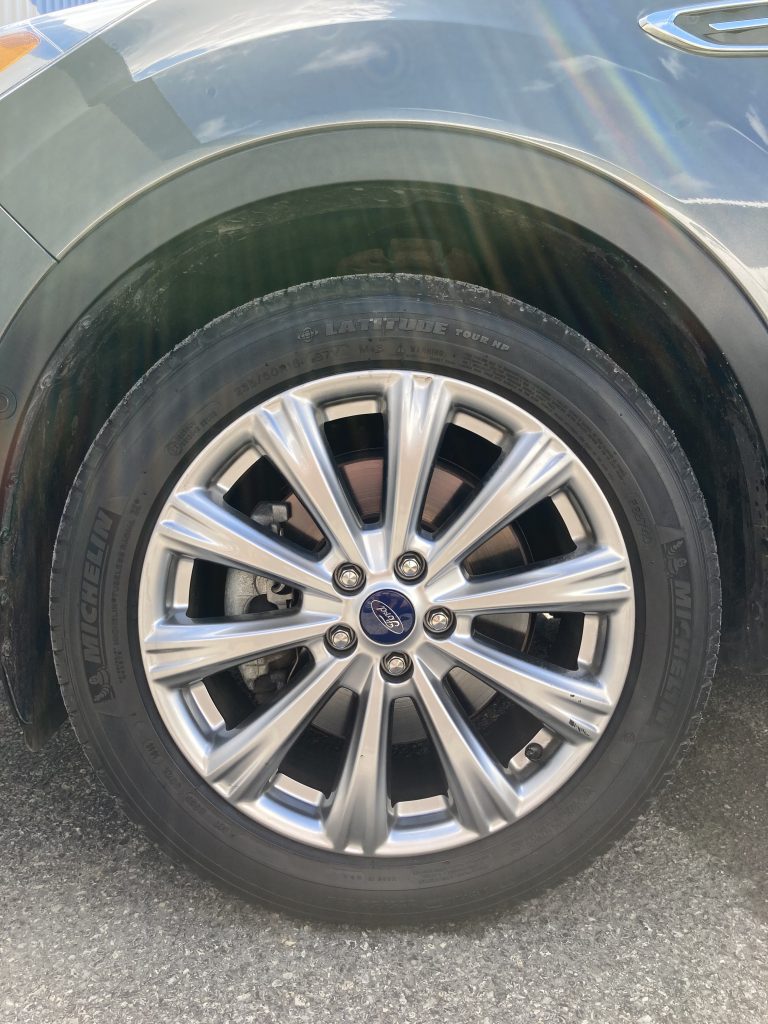
After cleaning the tires they looked great!
Cleaning (Wheels):
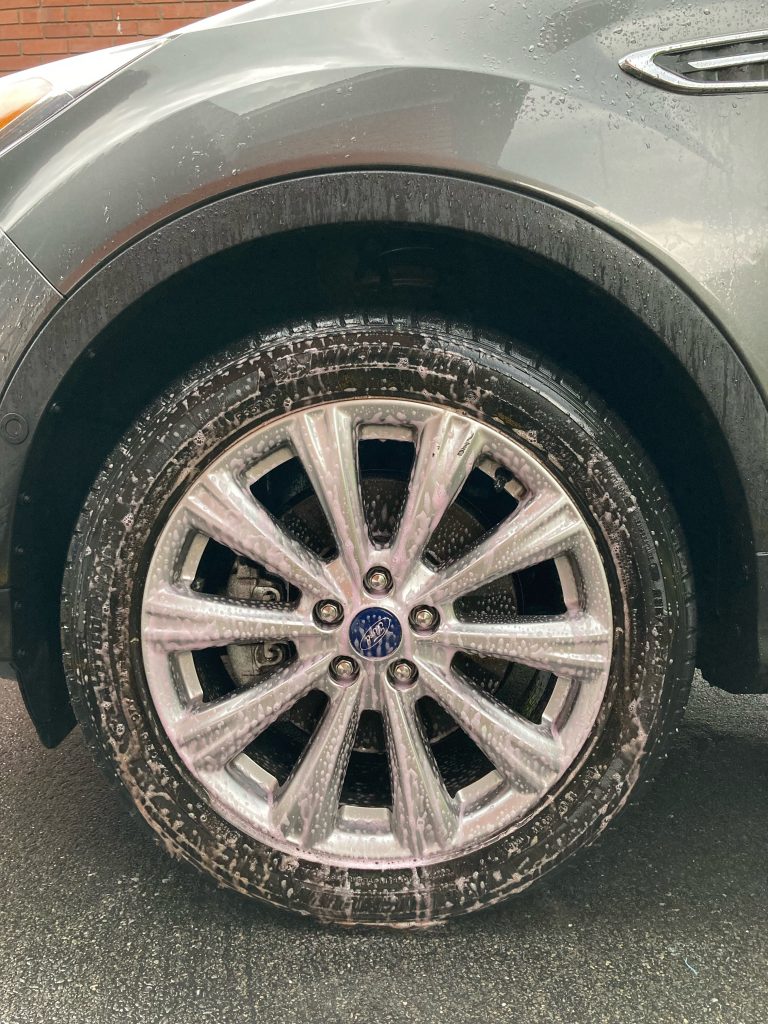
Now onto the wheels! I had a bucket and Grit Guard handy with an EZ Detail Brush, Pro Series Wheel Brush – Soft, and Chenille Wash Mitt for cleaning. Above is a photo after applying the P&S Iron Buster and letting it dwell for about 30 seconds. I simply sprayed onto the surface, making sure I covered the wheels completely. From here I agitated with the brushes and finished up with a pass using the wash mitt. Just make sure you hit all the nooks and crannies to remove as much contamination as possible. I also wanted to mention that I was surprised with the Iron Buster and the smell of the formula. While we all know that every iron remover has a distinct smell, the Iron Buster was more mild than others I have used. After thoroughly rinsing the wheel, I was onto using the P&S Brake Buster.
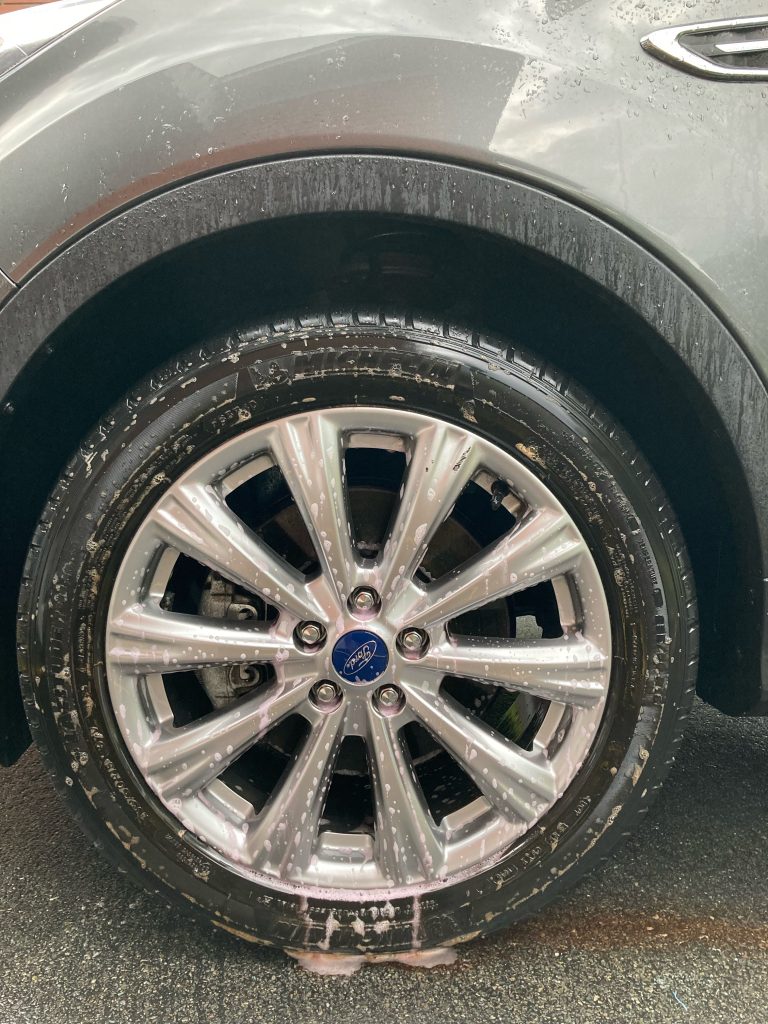
After spraying the Brake Buster onto the surface, I let it dwell for about 30 seconds to 1 minute. I agitated with the two brushes listed above to help knock off any residual dirt and grime. I finished with a pass using the wash mitt and quick rinse to wash away contamination and cleaning chemicals. The end result was an incredibly clean wheel ready for protection. Don’t just take my word for it, check out the after cleaning photo below!
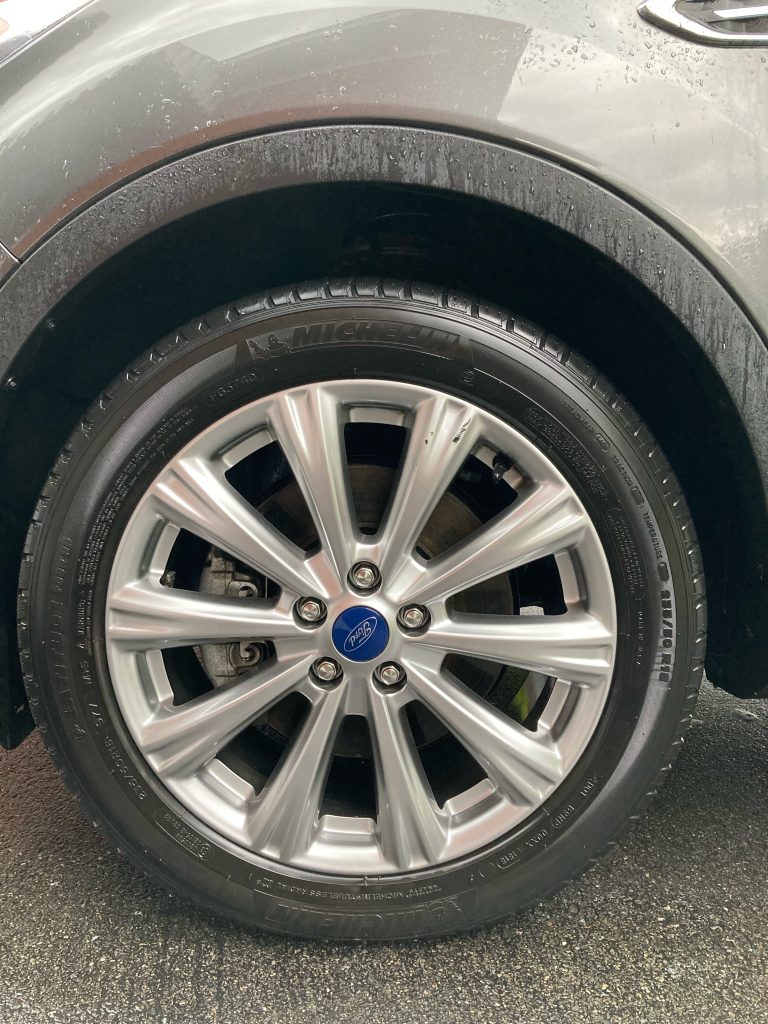
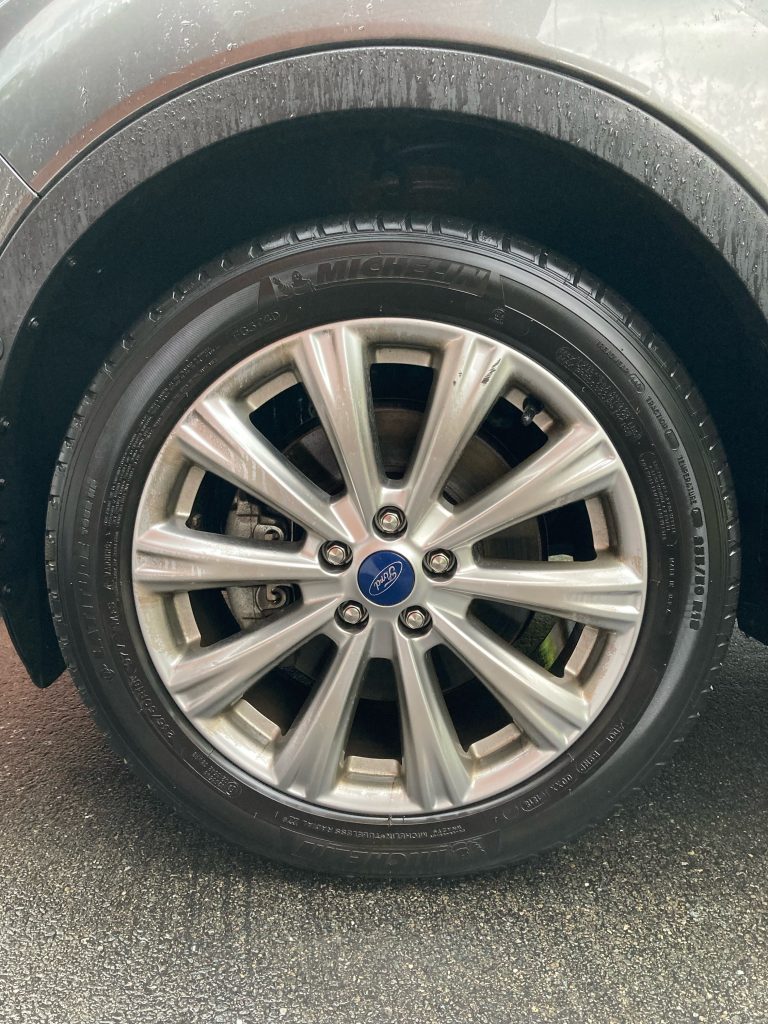
After Protection:
It was an overcast day, but by the end of the detail the sun was out. It was hard to get an after photo that does the wheels and tires justice, but the Tuf Shine Tire Clearcoat left a nice dark, natural, matte finish on the tires. To apply, I simply took the Tuf Shine Applicator Sponge and squirted some Clear Coat onto the sponge. Wipe across the tire and move to the next tire while you let the first layer soak in. After applying to all four tires I followed up with a clean microfiber towel to remove any excess protection. I applied two coats to keep the tires matte and natural looking, yet refreshed.
For the wheels, the Gtechniq Crystal Serum Light was applied as I had some left over after my Maverick detail. The Crystal Serum Light was easy to apply. I simply applied to all four rims and let the CSL cure for around 1-2 minutes. After a quick wipe down with a clean microfiber towel, the surface of the rims looked glossy, but not overly glossy. Overall there was a huge improvement and I am happy with the results.
Products Used:
- Bucket and Grit Guard
- EZ Detail Brush – Full Size
- Pro Series Wheel Brush – Soft
- Tuf Shine Tire Brush
- Chenille Wash Mitt
- Tuf Shine Tire Cleaner
- P&S Brake Buster Non Acid Wheel Cleaner
- P&S Iron Buster Wheel & Paint Decon Remover
- Gtechniq Crystal Serum Light
- Tuf Shine Tire Clearcoat