
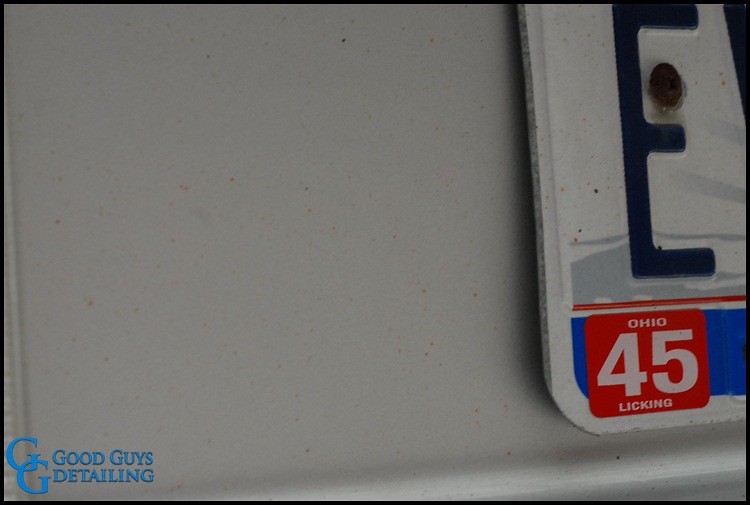
Chances are if you have ever owned a light colored vehicle, you have seen tiny red or rust colored spots on the finish. These spots are not your normal dirt and debris and do not come off with just a quick maintenance wash. They actually go beyond the top layer of your finish and some can be buried deep into the clear coat. A lot of people have no idea what these spots are, what causes them, or how to remove them. These spots are referred to as “rail dust”. They can be very frustrating and I’d like to share some helpful tips, otherwise the process can take hours to remove. Here is an example on this silver Range Rover:

What is Rail Rust:
Rail dust is a term used to describe tiny metal particles that have embedded themselves into your clearcoat. The term was originally used to describe dust that comes off of railroad rails. When vehicles are transported via train there is a lot of friction between the rails and the train wheels. Both parts are outside at all times so they have a built up level of rust on them. This rust flies into the air in dust particles when the train is moving. Eventually these particles settle on the vehicles being transported. They embed themselves into the clearcoat and still continue to rust causing tiny red or rust colored spots in the clearcoat. Vehicles that are transported uncovered are usually worse because of the finish being heated by the sun.
Rail dust does not just come from transportation though. It can come from almost anywhere; rust particle on the road from other cars, from nearby train tracks, from your disk brakes, or even from industrial areas. These particles can be very hard to remove but if you take a few special steps the removal process can be a lot easier and less time consuming.
How to remove Rail Dust:
First you will want to do a full wash using The Grit Guard 2×4 Wash Method. It is best to do this in a shaded area to help prevent swirl marks and because you will need to have the vehicle wet during a few of these steps.
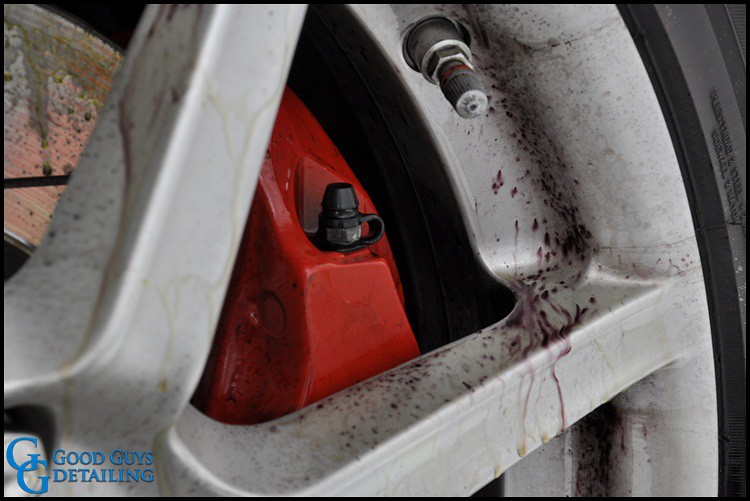
Next you will want to use a product called CarPro Iron X Iron Removal on the vehicle. Iron X interacts with the contaminants embedded in your clearcoat and dissolves or loosens them. This is a very easy product to use and it gets the job done. All you have to do is mist it onto the vehicle, wait about 5 minutes for it settle, and then rinse it off. The product goes on clear but will turn to a dark purple color once it starts to interact with any contaminants in the clearcoat, including rail dust. This step will help loosen the particles and make them easier to clay out of the clearcoat.
TIP: Do not let the Iron X dry on the surface. If you’re worried about it drying on the surface do smaller sections of the car at a time.
Iron X is safe on all exterior surfaces and here is what it looks like on this Aston Martin wheel:

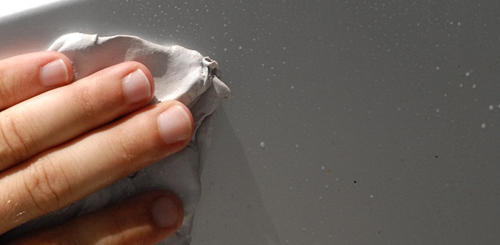
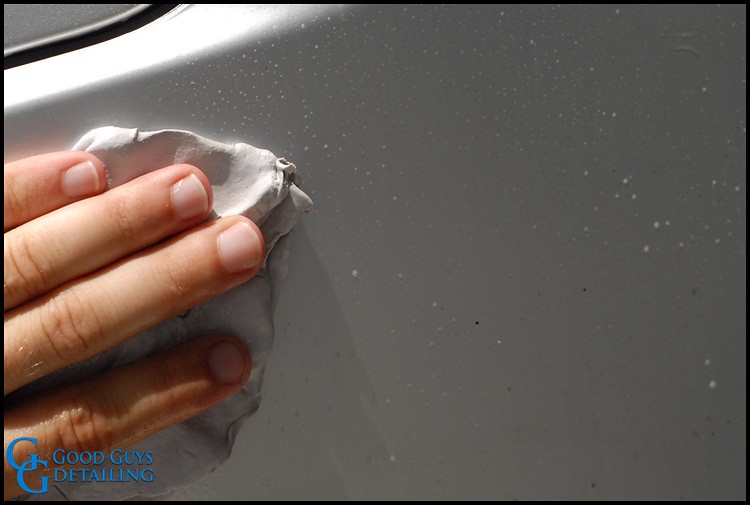
After the particles have been loosened move onto claying your vehicle. A good clay bar that is great on most paints is the DI Gentle Fine Grade Clay Bar. Some paint finishes are softer or harder than others so there is an Ultra Fine grade and Medium grade available also. When you are claying you will need to spray a lubricant onto the vehicles surface to reduce friction between the clay bar and the clearcoat. This will prevent any marring from occurring. I use Dodo Juice Born Slippery. It comes concentrated and makes about 2.5L of clay lube.
Start by spraying on the lubricant and then GENTLY rubbing the clay bar back and forth against the clearcoat. Clay one panel at a time so your lubricant doesn’t dry. You will feel the clay bar grab at first but once you make a couple passes it will glide smoothly. This is how you know the contaminants are being removed. If an area is still grabbing after a couple passes, make a couple more. It’s a good idea to go back and forth in both directions. Since rail dust is a red or rust color you will be able to see if it is still there or not. Some areas will need a little more elbow grease than others.
Once the surface feels nice and smooth then the contaminants (rail dust) should be removed. If they are not gone or being difficult to remove then repeat the previous Iron X step. Most of the time one application will do the trick, but if the rail dust has been there for a long time or is deeper than normal it might take an extra application.
Finish by rinsing off the vehicle and proceeding to the drying process.
Here are some before and after pictures of this process.
Before:
After:
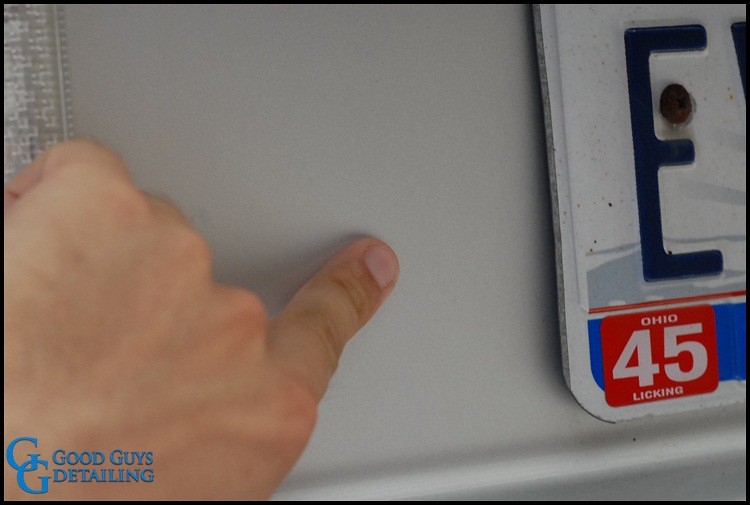
Before:

After:
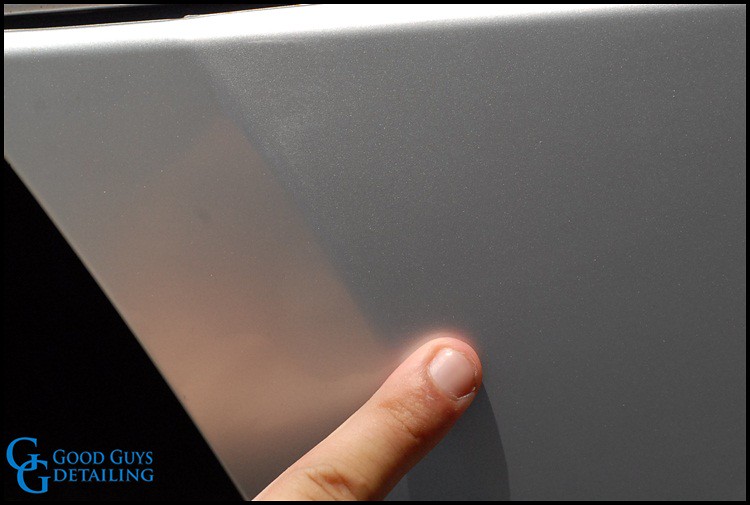
Once you are done you will have a nice and clean contaminant free surface!
After all that work you are going to want to apply a durable wax, sealant, or coating to help prevent rail dust from occurring again.
Buy Products From This Article
Purchase the products used in this article individually or in one convenient package here!
Related Posts
- Full Detail and Paint Correction: Ferrari 458 Italia by Todd Cooperider of Esoteric Auto Detail
- Tutorial: How to Prep a Car for Polishing
- BMW 328i Heavy Swirl Removal & Correction
- Lamborghini Murcielago Paint Correction
- Italian Excellence: Ferrari 430 Scuderia Paint Correction and Detailing by AutoLavish