With all the compounds and polishes on the market currently it can be quite difficult to try them all, however I am always looking for that perfect product. Sonax has done an excellent job with the formula for CutMax.
Product Description
The Sonax CutMax was designed to remove heavy imperfections while finishing down extremely well! The highly corrective paste formula helps remove up to 1500 sanding marks and other heavy imperfections from severely weathered paint with ease. CutMax is water-based which allows for a long working time and it will not dry out like other compounds. This means dust free polishing so you don’t have to clean up that annoying dust! After application, simply wipe off the polished area with a clean microfiber towel and you’re done. Even though you will have a great deal of gloss left behind, you still may need to follow up with a lighter polish. If this is the case, the Sonax EX 04-06 is a perfect follow up to remove the haze and finish the paint down. This unique polishing formula is solvent, silicone, and petroleum free, making it body shop safe. If you are looking for a great heavy cutting polish, the Sonax CutMax is a great choice!
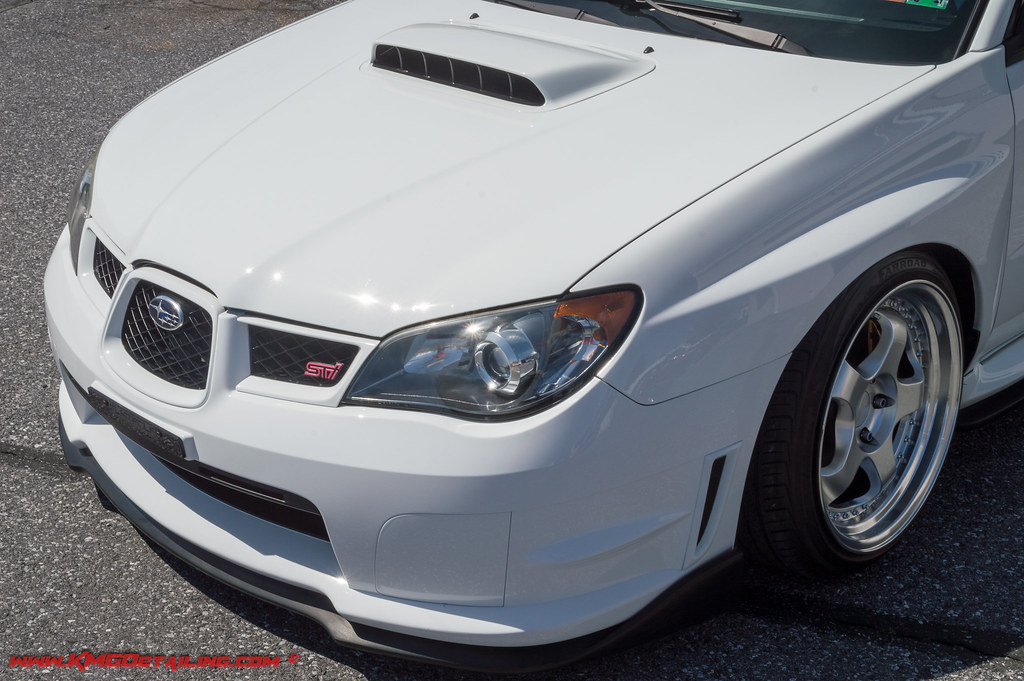
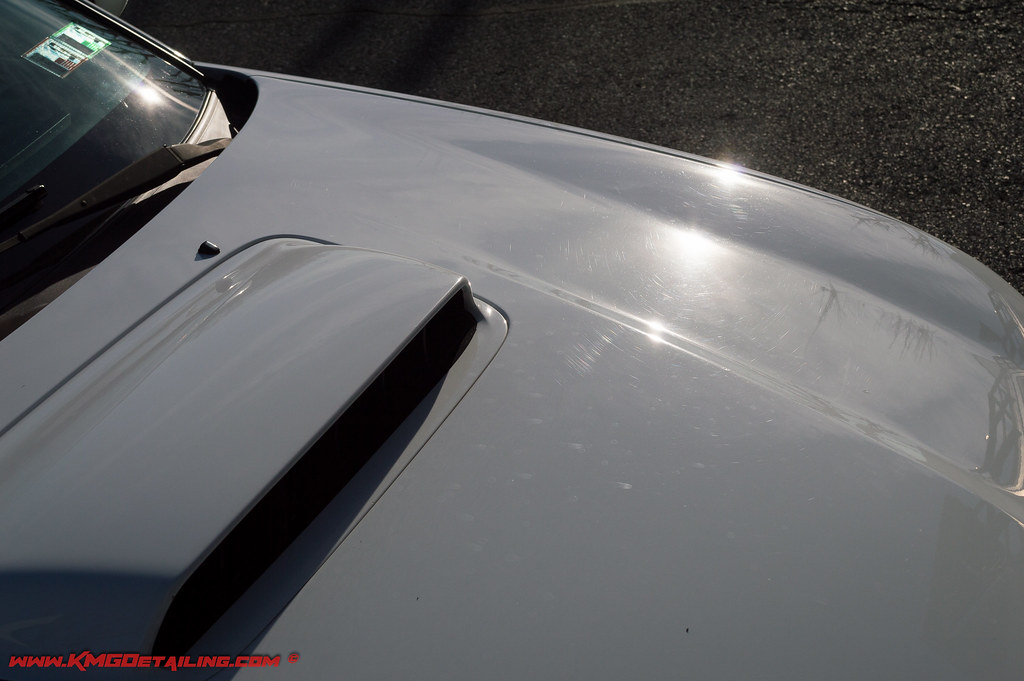
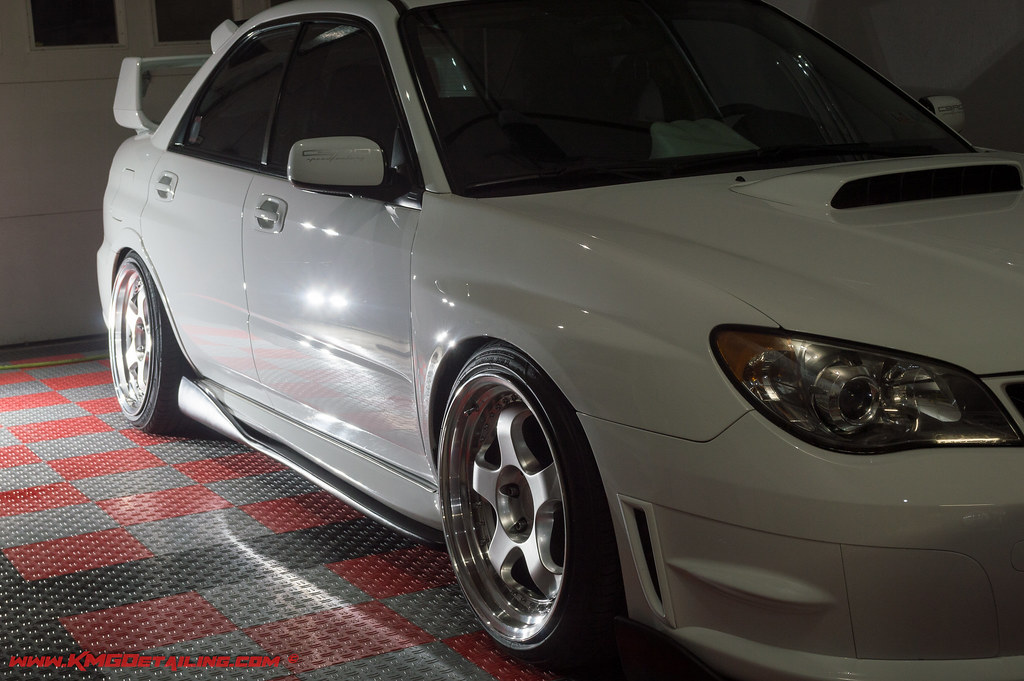
As a test car, we used this Aspen White 2006 Subaru WRX STi.


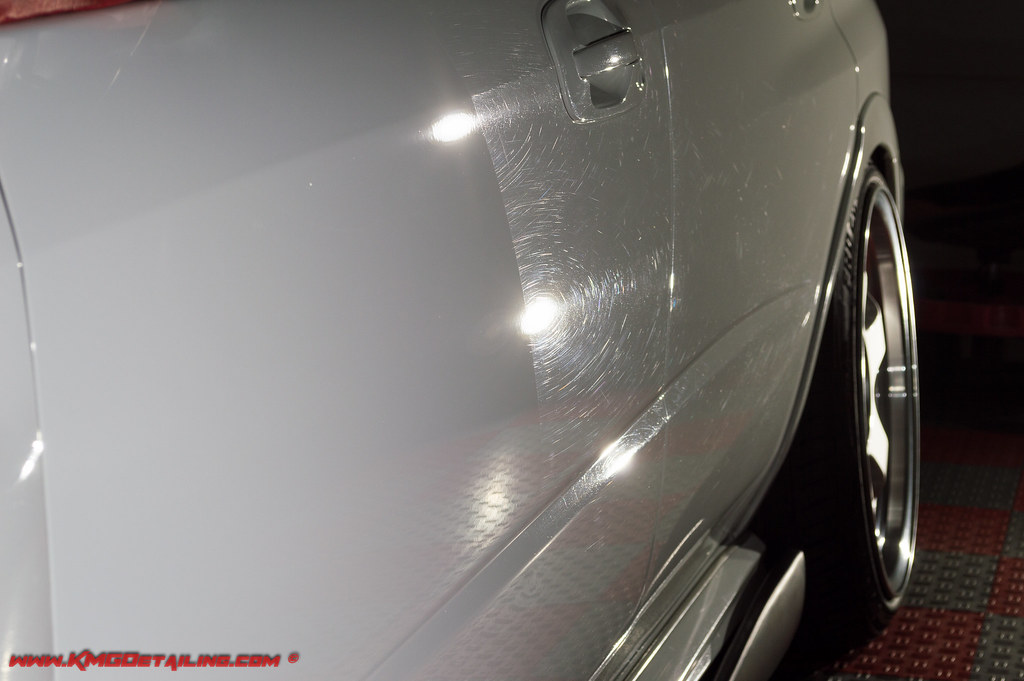
The car has roughly 100k miles on it and has not been babied for those miles. Below are a few before pictures showing the existing condition of the finish.
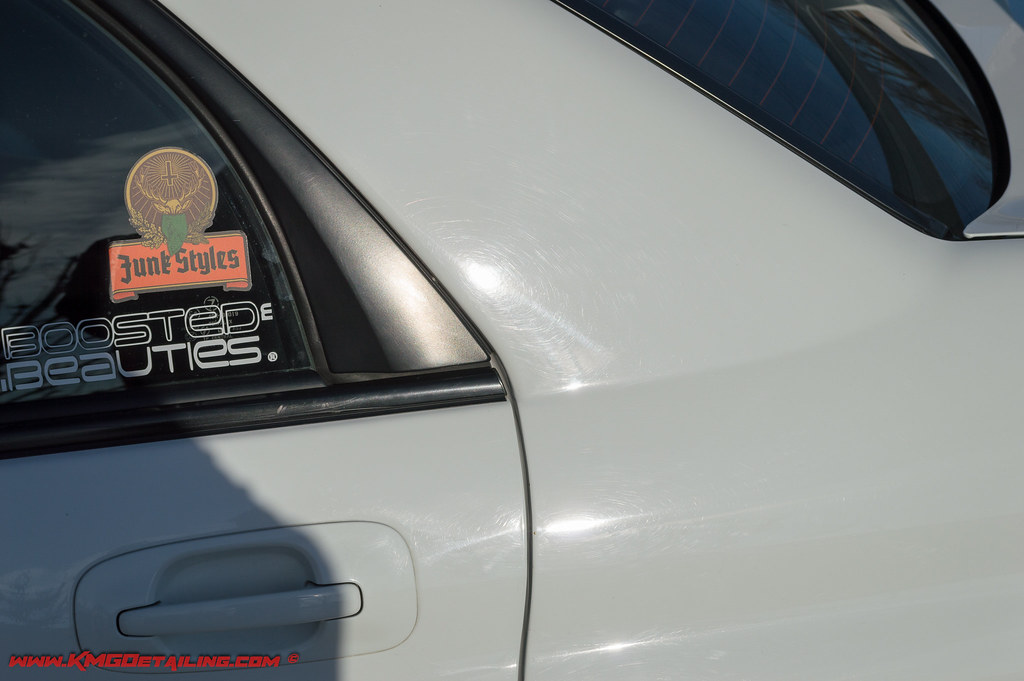
I found CutMax to be quite easy to use with a fairly long work time, while producing very little dust. While working on the STi in the photos, we used basically the full line up of Rupes Polishers (21ES, 15 MKII, Mini and Ibrid) with Meguiar’s microfiber pads. The cutting abilities of CutMax were quite impressive, but even more impressive is how well it finished down while providing this level of cut. Below is a 50/50 shot showing the results after the cutting phase with CutMax on the driver side door.

Source: YouTube
My process was four (4) slow passes starting with moderate pressure, while proceeding to lighten the pressure with each following pass. Using this process produced excellent results and the product was still fairly easy to remove. Only slight marring was visible following the cutting process, which would clean up quite easy in the polishing phase. I did notice that it does tend to gum up your pads and towels quite a bit, so you do need to clean your pads thoroughly after each pass and change towels quite often.
Here are the directions for Sonax CutMax as provided on the bottle:
Directions
- Sand to P1000 or finer then wipe clean.
- Apply a small amount of polish to each area. Polish with a SONAX Polishing Pad (493 100) for approx. 10 seconds at low rotational speed and exerting increased pressure, slightly tilting the machine.
- Afterwards, exerting slight pressure, polish with flat pad for 20 seconds.
- Remove polish residues with SONAX Microfibre Cloth ultrafine (450 700). Use SONAX ProfiLine Perfect Finish (224 300) or SONAX ProfiLine EX 04-06 (242 300) to achieve perfect, high gloss results.
PLEASE NOTE: Do not allow polishing area to overheat. Regularly clean polishing pads. Never use different polishes on one pad. Keep from freezing.
Unlike some heavy cutting compounds, Sonax CutMax will actually finish down quite nicely. I was using a microfiber cutting pad while working on this project, and even though it did leave some surface marring the finish looked great considering I was using an aggressive product and pad. So, if you’re looking for a product that is easy to use, provides a user friendly work time and is aggressive yet finishes down nicely I would high recommend giving Sonax CutMax a try.
Once the vehicle was fully compounded we proceeded to polish the vehicle with Carpro Essence prior to applying CQuartz Professional coating on the paint and trim. Below are a few finished pictures of the car.