

For the average car owner, or even weekend detailer, interior cleaning can often be quite the challenge, which typically ends in unsatisfactory results. The biggest problem most people face is that they don’t currently own, nor do they want to spend the large amount of money needed to purchase expensive industrial hot water extractors and/or vapor steam cleaning machines, both of which can cost anywhere from $600 on up. While there is no doubt these machine deliver the best results time and time again, their cost is very hard to justify if their not used on a regular basis.
So what is a person to do? Well, luckily I’m here today to help you get great results at a fraction of the cost. 😉
Before we get started I’d like to note that this article is for cleaning BASIC SOILING ONLY. Special chemicals and techniques should be used when treating stains such red Kool-Aid, urine, vomit, ink, coffee, and gum. These chemicals or (spotting kits) can often be found at janitorial supply stores.
First lets look at a list of items that you’ll need.
- A good Shop-Vac, one that can be used to suck up water as well, the more lift it has the better.
- A cheap portable extractor, the Bissell Little Green Machine is perfect.
- Various brushes (carpet, upholstery, leather, detail)
- Air Compressor with air trigger attachment (highly recommended but not an absolute must)
- All Purpose Cleaner (Optimum Power Clean is great)
- Carpet Cleaner/Spotter (303 Fabric & Vinyl Cleaner or Folex work well for general soiling)
- Lots of Micro Fiber towels
- Vinyl/rubber Protectant (Depending on your taste in gloss, 303 Aerospace Protectant and 1Z Cockpit Premium Cleaner are great)
- Glass cleaner (Meguairs D120 is awesome and very cost effective)
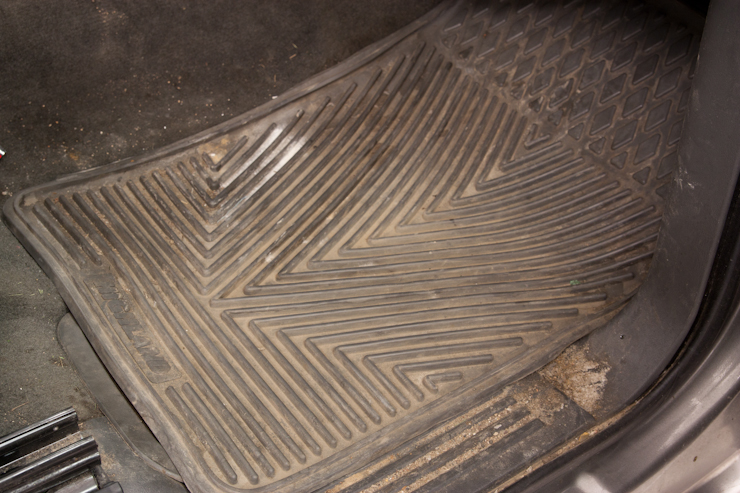
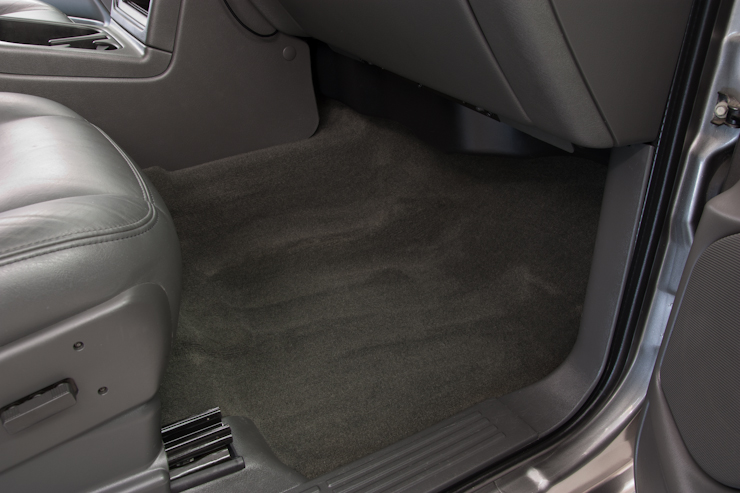
Now that we have all the tools and products we need lets get started. To help with explaining my process I’m going to use this Chevy truck, which just recently came in for an interior cleaning…I thought it was a perfect candidate. 😉 The owner is big into hunting and fishing and his truck definitely gets used. Our long Minnesota winters are also notorious for leaving crusty salt deposits on the carpets, which can clearly be seen in the pics below.
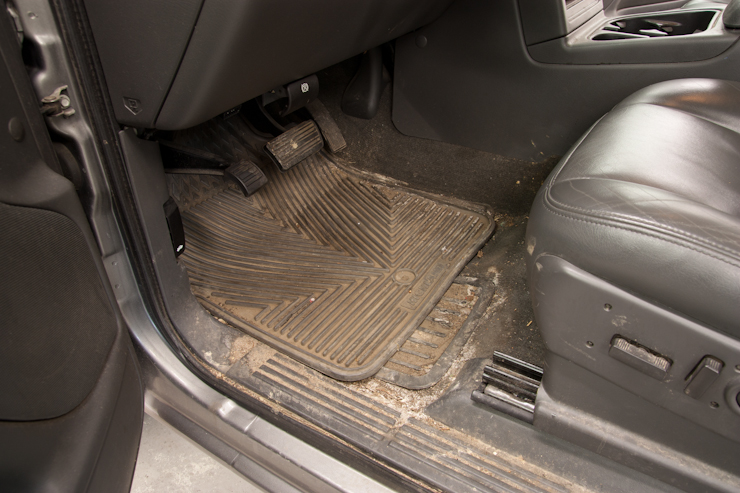

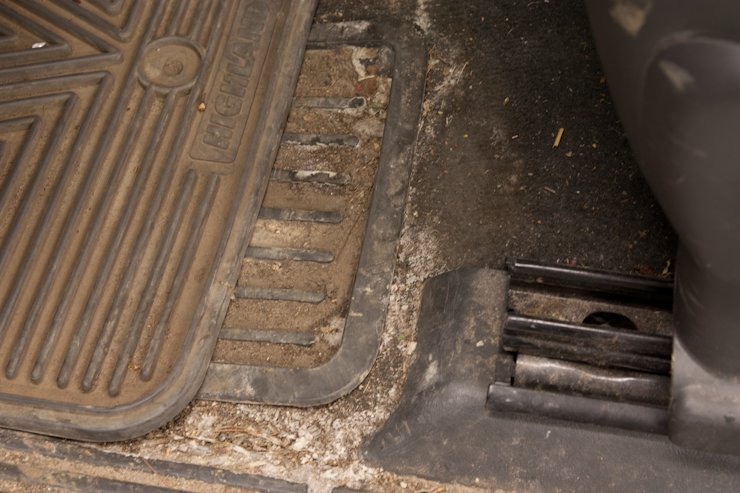
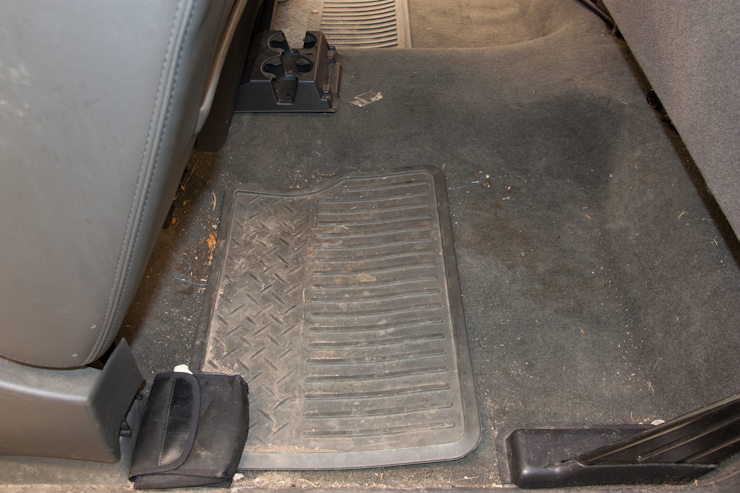
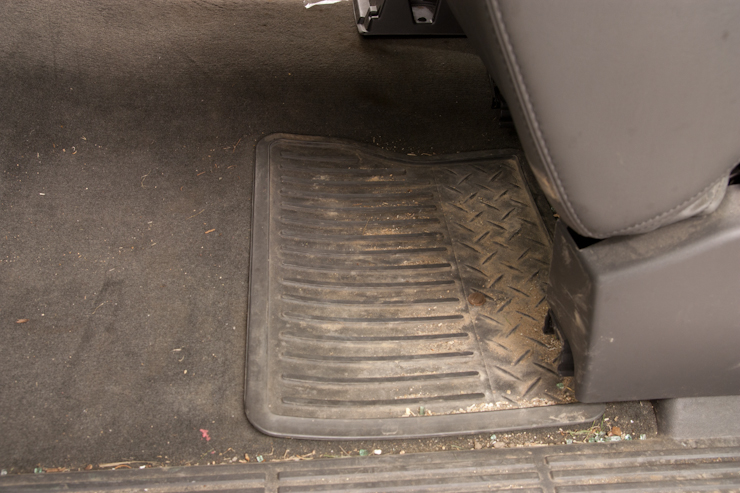
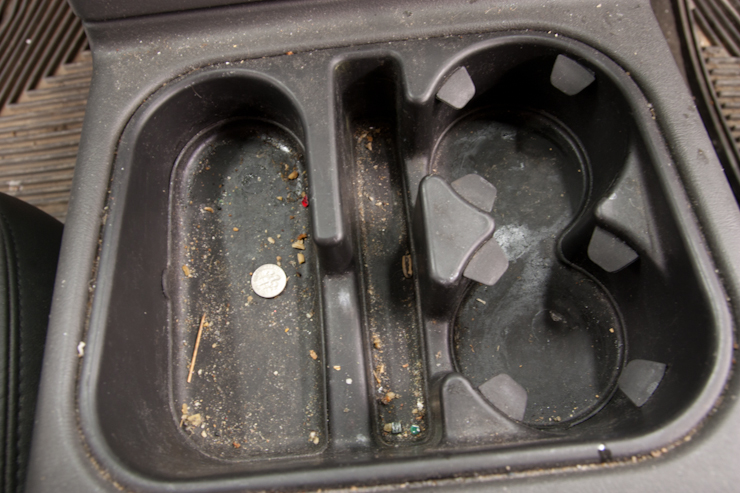
Over the years dirt and debris has collected in all the seems between all the interior trim. Dirt, food, glass, coins, wrappers, and many other things had also collected under the seats and between the seats and center console.

Several spills had occurred as well
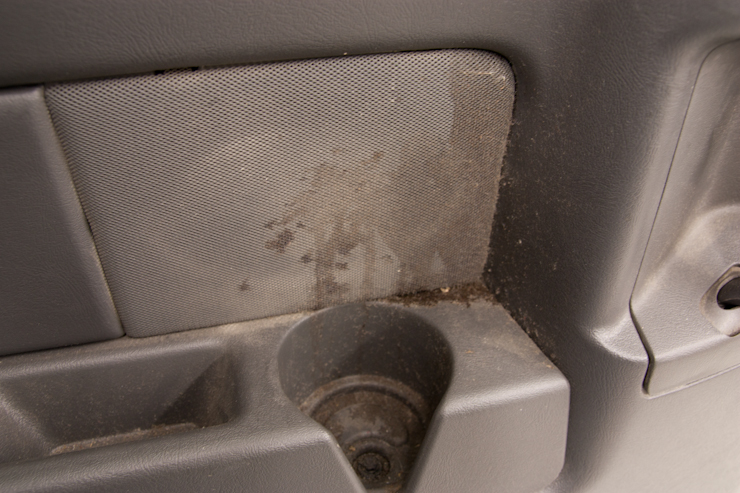
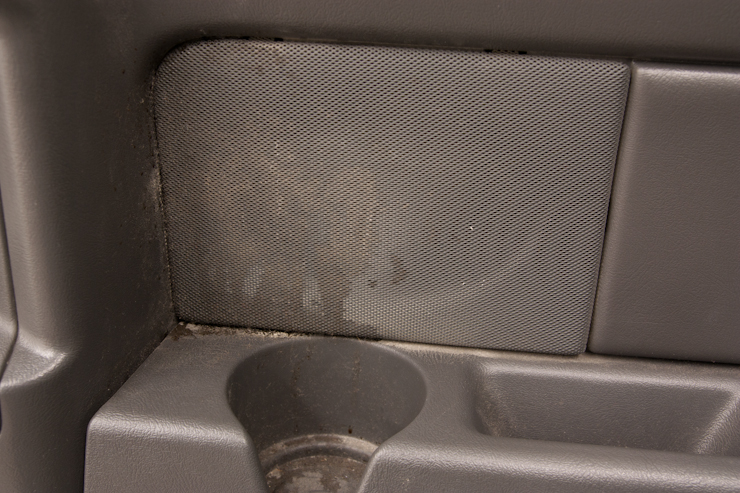
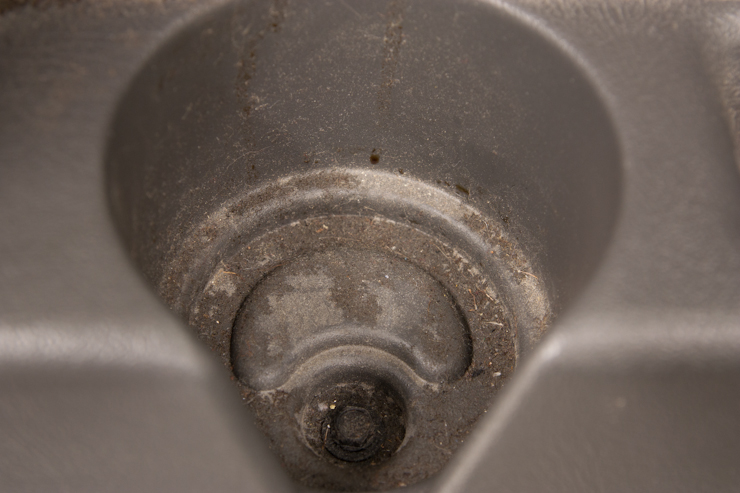
Clearly I had my work cut out for me!
Step 1
The first thing we want to do is to remove all loose articles from the interior and then take our Shop-Vac and give the whole interior a thorough vacuuming.

Step 2
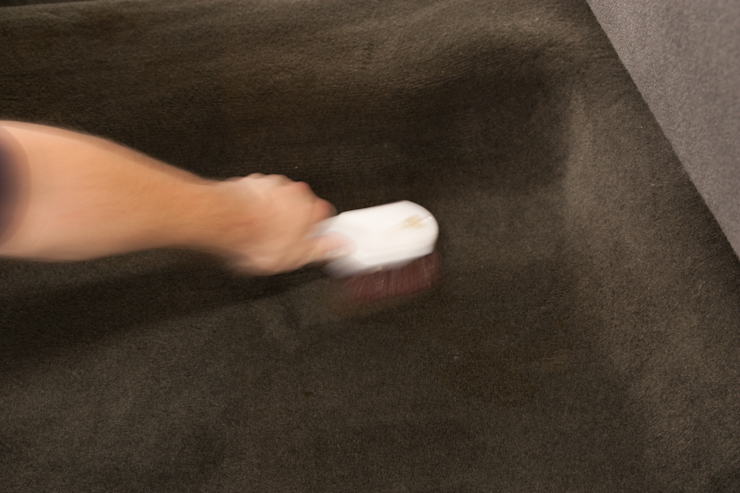
If you have crusty salt deposits or stains they can often be loosened up with a stiff carpet brush while they are still dry

Step 3
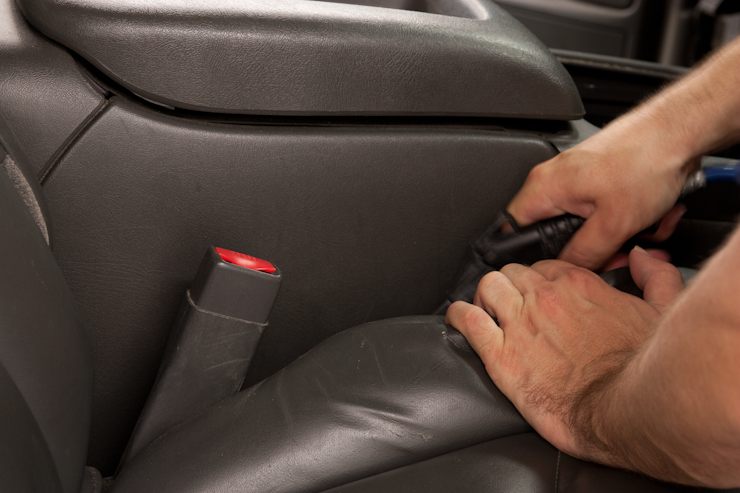
Next we want to purge the interior with air to get all the loose debris out of those hard to reach areas. I find that using compressed air on interiors to be one of the most valuable tools you can have. The task can be done with other methods (Shop-Vac that blows air too), but I’ve found this to be the most effective and efficient. Ideally I would have removed the seats on the vehicle but it wasn’t really that dirty under the seats and it also wasn’t in the owners budget. Removing the seats would have also defeated the purpose of this article since most people don’t have the necessary tools for such a job, nor do they understand the necessary precautions needed to do such a thing with. (Today’s modern vehicles, which are equipped with air bags built into the seats).
Safety first! Any time you’re blowing out the interior it is recommended that you wear eye and ear protection….especially on a vehicle such as this where broken glass was apparent.
This method is great for removing fine dirt and debris that falls between the seams of the seats

Blowing out the debris between the seats and console
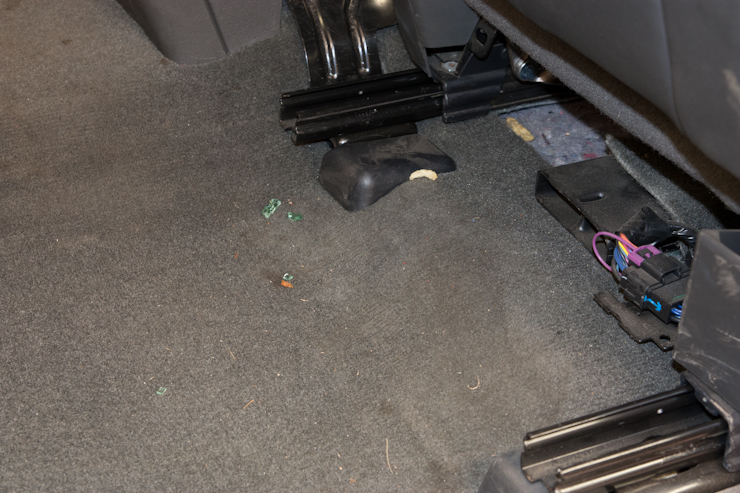
Even after a thorough vacuuming you can see some of the stuff that came out from purging air under the seats and between the center console….fries anyone? 🙂
After you’ve purged the interior with air you will want to go back over with the vacuum and suck up any loose debris.
Step 4
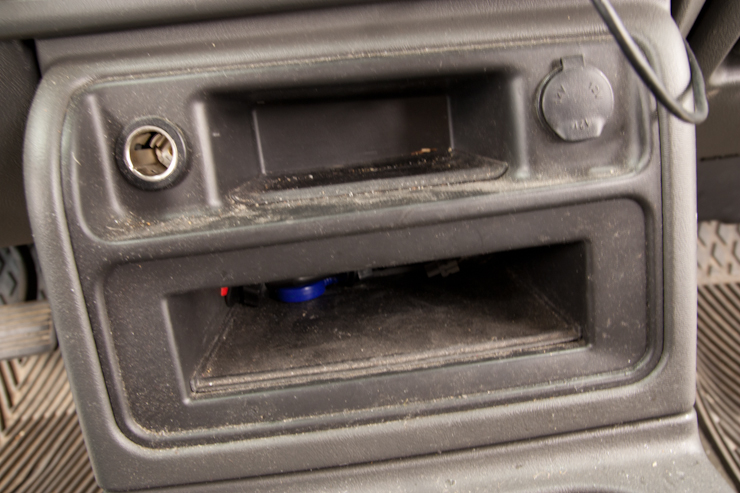
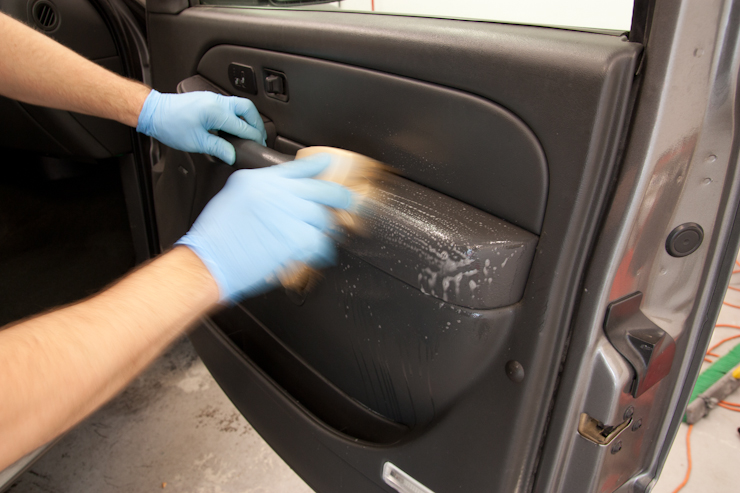
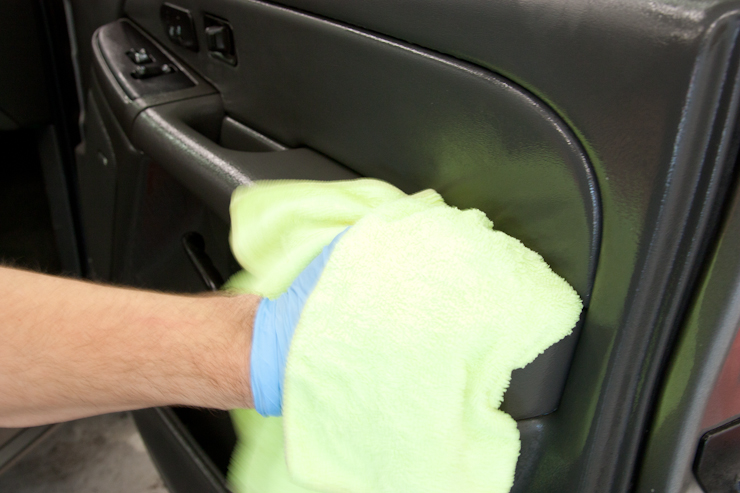
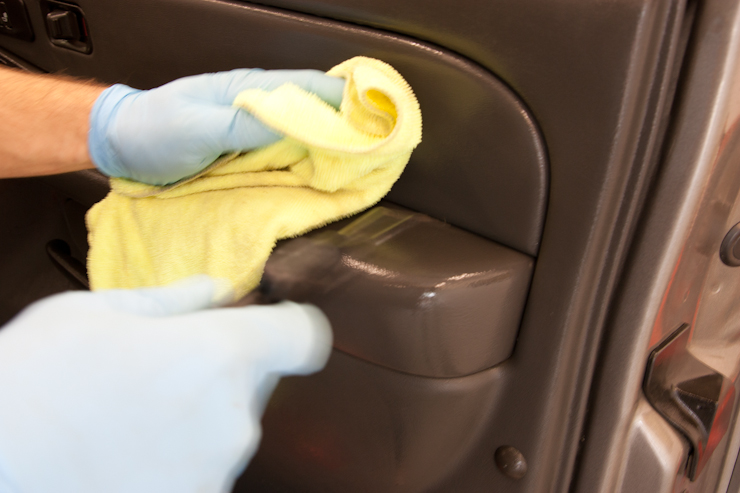
Now we will want to tackle the interior trim and headliner. The vinyl can be cleaned using an APC like Optimum Power Clean or Meguiar’s D101/D103, various brushes, and several MF towels.
I start by spraying the heavily soiled areas of the panel with an APC. (Arm rests are often the worst area on the panel)

Next gently agitate the soiled ares with an upholstery brush so that you can get down into the textured groves of the vinyl.
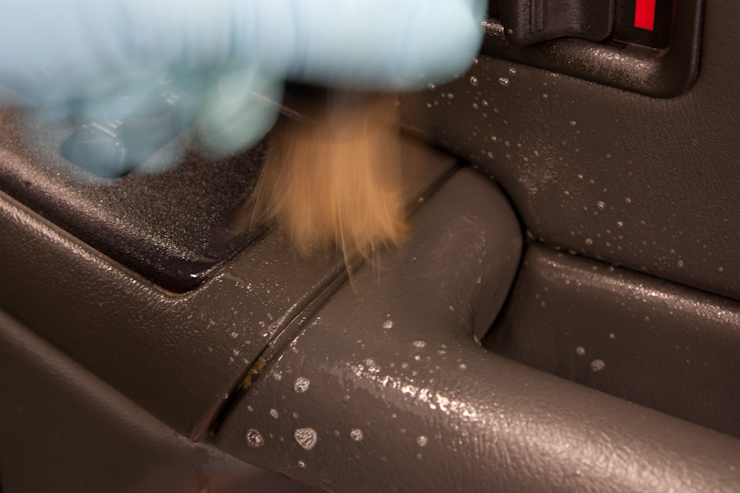
A small detail brush can be used to loosen debris in the cracks/panel seems and is also great for vents too
After agitating those areas with a brush follow it up by wiping the panel down it a damp MF towel.
If only light cleaning is needed a simple spray with APC and wipe with a towel is all that is needed. (1Z Cockpit Premium is also a great gentle cleaner for those light jobs)
Then follow up with a dry towel. Air is a great tool here too as it helps clean the cracks/panel seems and removes excess water. (Note: Be mindful around electronics and switches when using cleaning liquids and compressed air. Avoid spraying them directly with cleaners, water, and air)
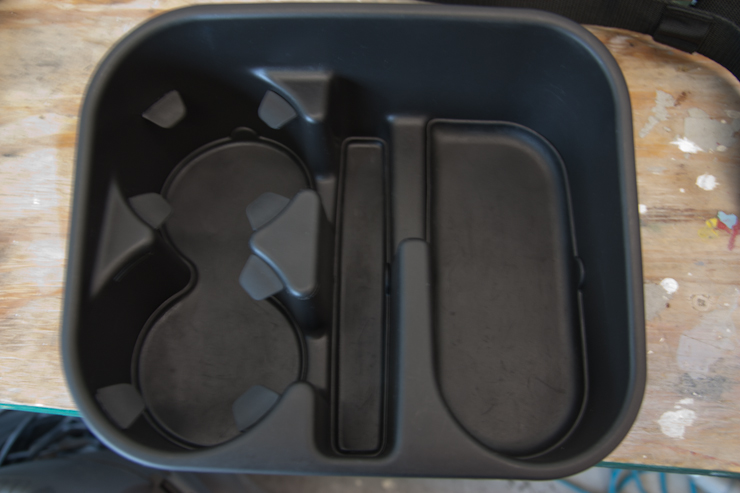
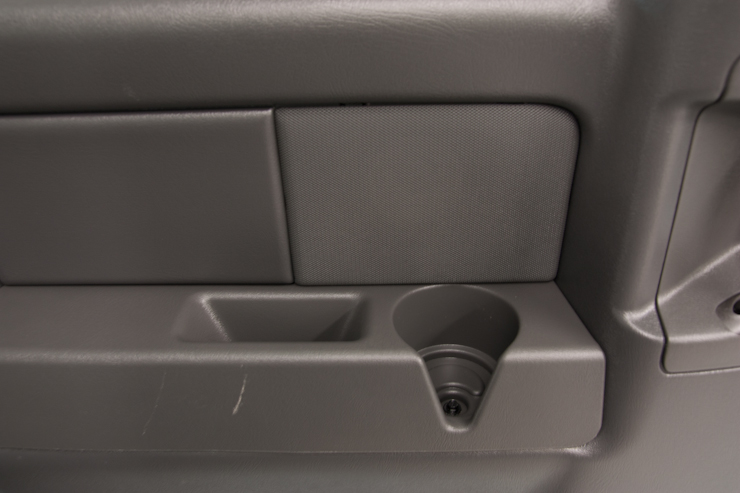
A lot of vehicles have cup holders and trays that are easily removed and simply snap back into place. If the vehicle you are working on has trays like these, you can save time and also do a much better job of clean them outside of the car. The tray below was removed, sprayed down with some Optimum Power Clean, agitated with a brush, rinsed off with water, dried down, and dressed with 303 Aerospace protectant. Compressed air was also used to aid in the fast drying.
Step 5
After finishing the interior trim I did some light cleaning of the headliner (sorry no pics). Anytime your working with the fabric headliners you want to avoid over wetting. To do this I simply spray some APC on a dry micro fiber towel and gently rub the soiled areas.
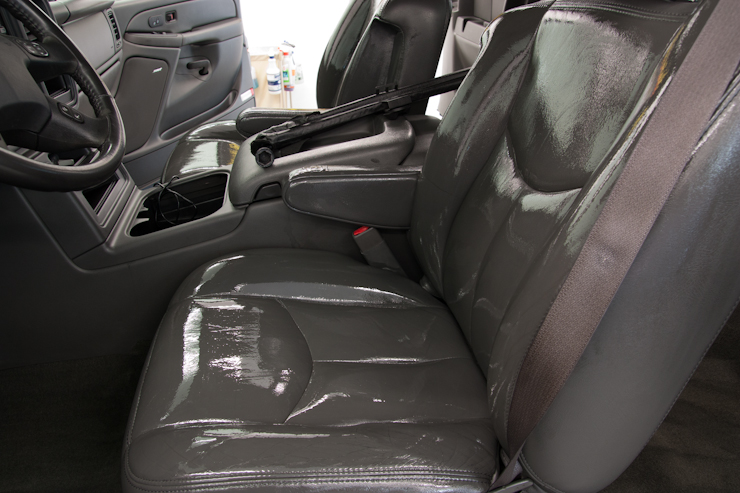
The leather seats were also gently cleaned using Optimum Power Clean at 10:1. This was done by working in small sections using a process similar to the vinyl above, though you want to be a little more gentle using the leather brush. (Note: When working on leather always test the cleaners in an inconspicuous areas first!)
Step 6
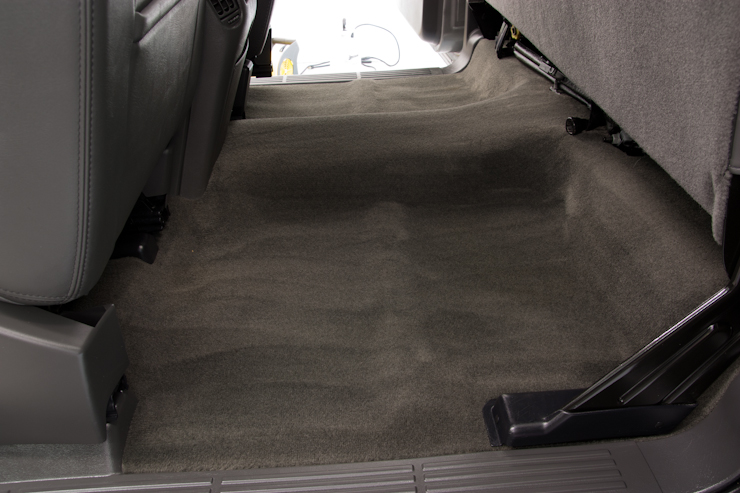
Before we start extracting the carpets with our Little Green Machine we will want to treat any soiling with a fabric cleaner like 303 Fabric & Vinyl Cleaner and let it dwell for a few minutes.

Next you will want to scrub those areas with a carpet brush and follow it up with your little extractor.
Some additional notes on cleaning the carpets:
- Pre-treating and scrubbing are very important, don’t expect the machine to do all the work.
- You want to avoid over wetting as much as possible. Cheaper extractors lack PSI and especially water lift which will leave carpet/fabric more wet then a high end extractor will. To reduce over wetting I suggest following up the extraction process with a Shop-Vac right away to remove as much water as possible.
- You may need to repeat the process several times on heavily soiled areas
- The hotter the water the better. Some of the units will have heat on them (helps a little) but I still fill the tank with hot water from the tap
The front seats on this vehicle were also treated with Leatherique. 😉
After doing all the above I decided to call it quits for that day and would return the next morning to wrap up the details.
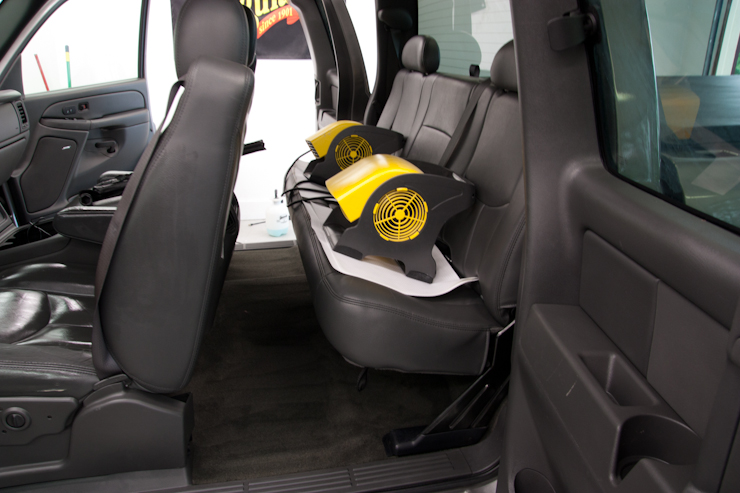
Note: After you’ve cleaned the carpets it is important that they dry as soon as possible. Air movers or fans should be placed in a way that allows them to blow over all cleaned/damp areas. Anytime I do an interior job I keep the car overnight and place my air-movers inside the vehicle as shown below. This usually has them dry in a few hours but your drying time will vary depending on several factors. NEVER SEAL UP A CAR WHEN THE INTERIOR IS STILL DAMP OR ALLOW IT TO DRY ON ITS OWN!
Step 7
Now that the carpets are done you can go over all the vinyl with a protectant (optional) that meets your or your clients desired level of gloss. In this case I choose 303 Aerospace protectant. If you desire no gloss at all Meguiar’s Quick Interior Detailer or 1Z Cockpit Premium work excellent and both of them are also great for the Radio/Nav and dash displays. I also applied the 303 to all door seals.
All glass was then cleaned with Meguiar’s D120 glass cleaner.
Now for some finished pics! 🙂


I hope you’ve enjoyed this article and found the information helpful. If you have any questions or comments please do so in the comment box below.
Buy Products From This Article
Purchase the products used in this article individually or in one convenient package here!