

It’s the most common question I see asked…
What pads and products do I need?
To be honest, there is no clean cut answer to this one. Different paints start out with different damage, on different colors, in different climate conditions, with different expected end results. To say “this pad, with this product, will lead you to great results” would be incorrect. You can get a generalized game plan together and just go for whatever results you can get from the given products and pads, or you can test out multiple combos and see which will give you the best results.
Here is my process on how I would test a panel to see which combo will give me the best desired end result:
- Wash the whole car
- Clay the whole car
- Tape off a couple sections
- Compound the sections until you have the result you are looking for varying the pad/product choice up or down
- Choose the best section from the compound step that gave you the correction you are looking for based on how many steps of correction you plan on doing (full corrections are usually 3 or 4 steps, 80 to 90% jobs are 2 or 3 steps, 50 to 75% jobs are 1 or 2 steps) – the more steps, the more aggressive you can get
- Polish that section with your go to product and pad of choice
- Always do a wipedown with something to remove polishing oils at this point to ensure you are not filling anything in. Carpro eraser is my go to product for this.
A way to test out if the pad/product is removing the intended damage (scratches, micromarring, haze, etc) (if you can’t tell if it’s micromarring from the compounding left over, or if it’s micromarring from the polishing combo) is to move away from the compounded test spot and try out your polish and pad combination on a clean and prepped section that is NOT compounded. This will allow you to see if that combo will finish down to your satisfaction. You aren’t looking for scratch removal, you are looking to make sure the finishing polish is fine enough to not leave behind micromarring of its own. If it does, then you know you need to alter the aggressiveness down to something less aggressive. If it does not leave any micromarring, then try it on the compounded section again and see if there remains any micromarring or compounding haze. If it does, then you will need a middle step between compounding and final polishing. If it does not, then you are probably done testing the combos, and ready to compound the whole car, then polish the whole car (do not do both section by section).
Remember, the more aggressive you get, the more steps it will take to make the panel look right, but the better the end result because more damage will be removed. Correction comes from the compounding and heavy polishing, gloss and clarity comes from the medium and fine polishing steps. Below are a few pictures of some examples of test spots I performed on a CTS-V.

The paints starting condition
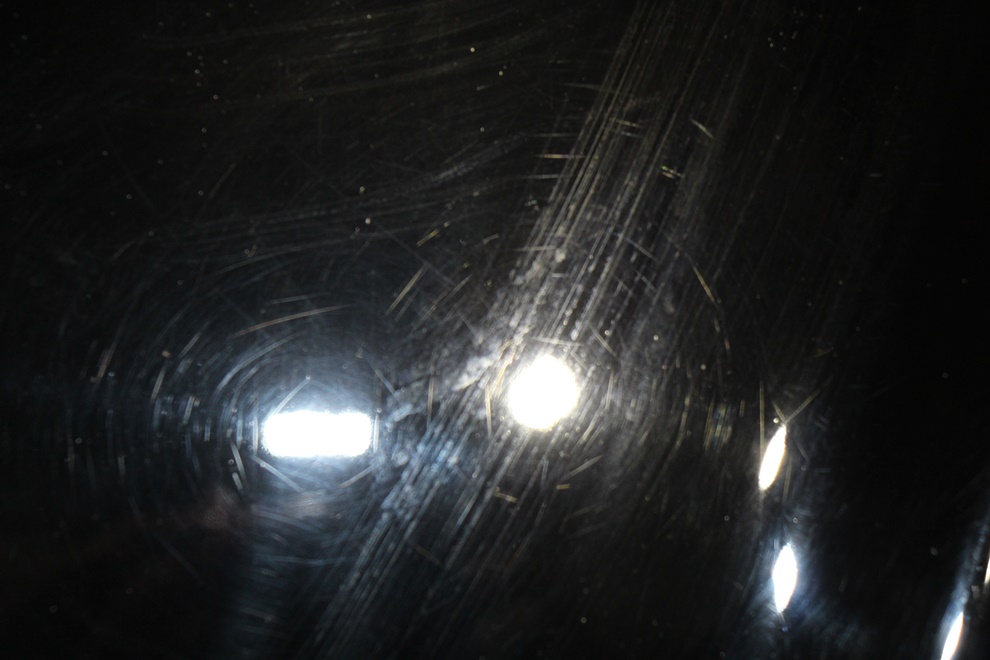
This approach was too aggressive. I used a microfiber disc and the M100, which left the panel chewed up.

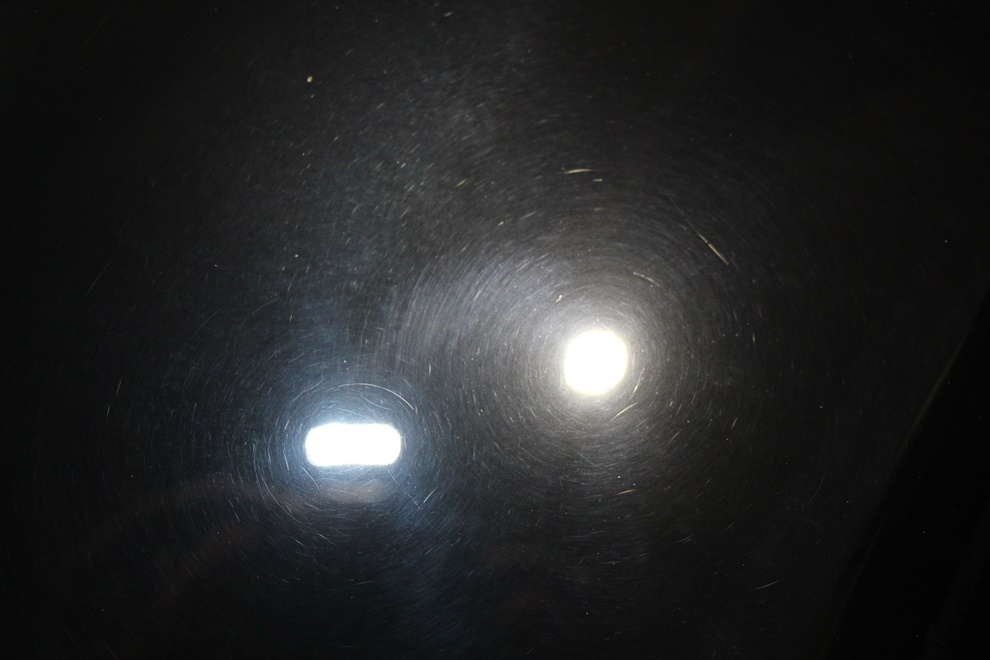
This approach was much better. Using the microfiber disc and the D300 I achieved results that will take less aggressive measures to remove the compounding haze.
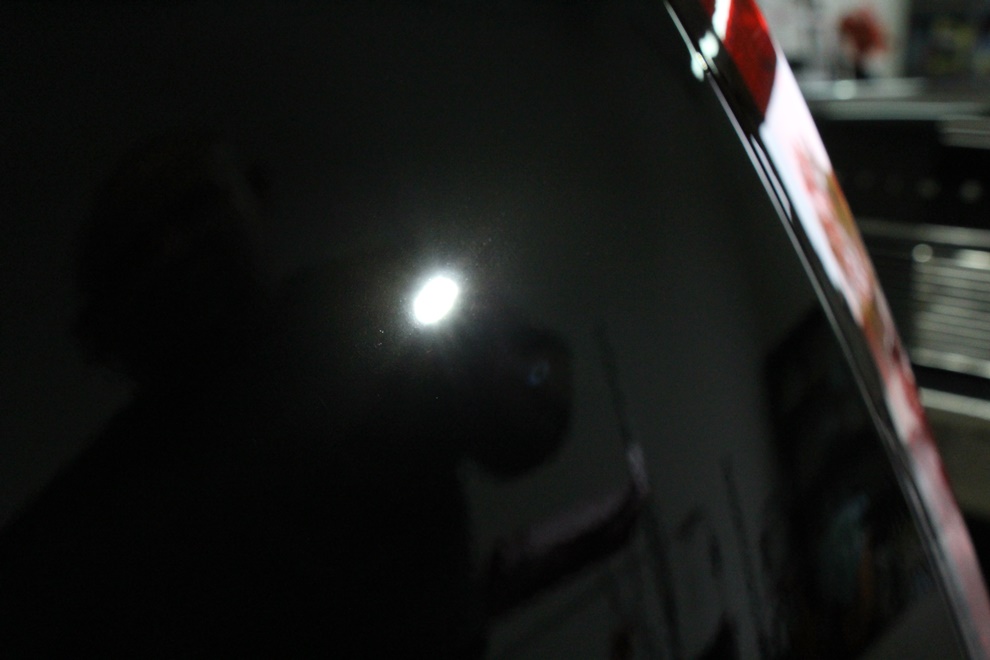
The above photo is after two polishing steps using Menzerna 2500 and Menzerna 4500 to follow up.
Below are some of my recommendations for both soft and hard paint types.
Soft Paint:
Hard Paint:
- Meguiar’s M100 & Meguiar’s Microfiber Discs
- Meguiar’s D300 & Tangerine Pad
- Sonax Perfect Finish & Black Pad
Of course, those would be starting points and not absolutes. Mixing and matching those pads with those products would give you nine solid combos to accomplish your goals. You can use any of those polishes with any of those pads to get correction. I have done some crazy combos to get tricky paint to finish down…like M100 on a tangerine pad, then D300 on an orange pad, Sonax on a tangerine pad, and Sonax again on blue pad. The combo was strange, but it worked!