
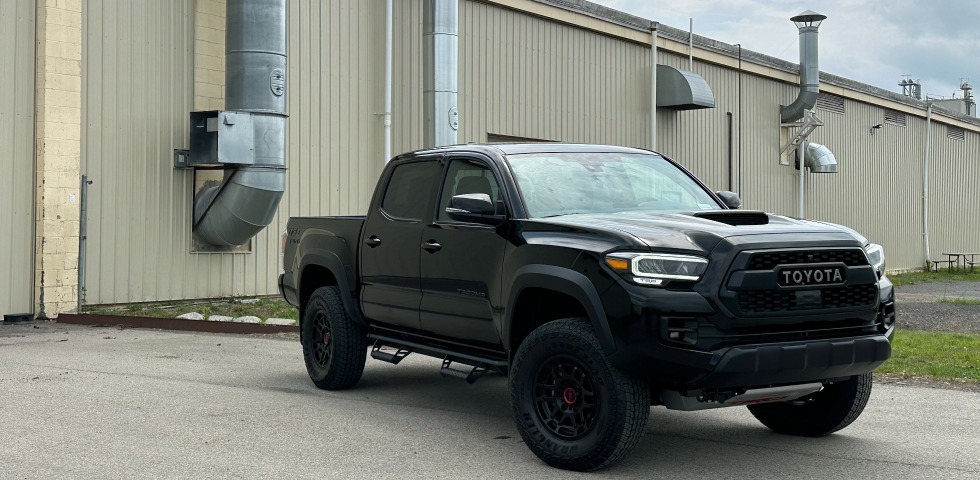
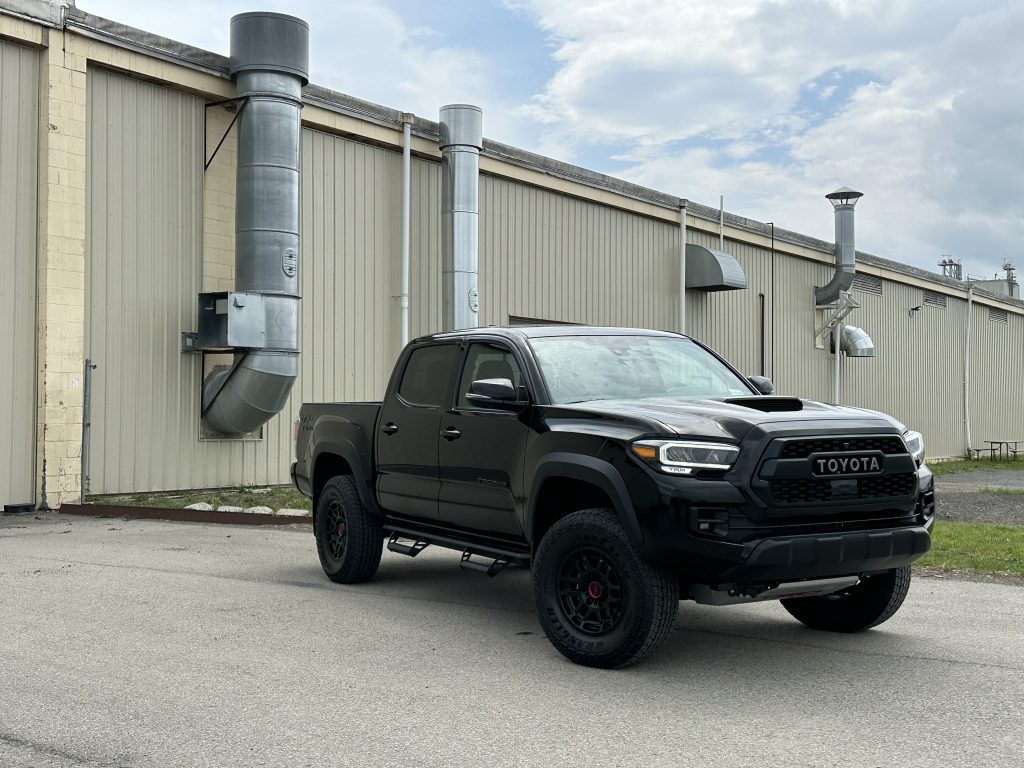

Our warehouse manager Charlie, just picked up his brand new black Toyota Tacoma TRD Pro and it is simply put, a beautiful truck! After a spirited first drive, we knew we had to get started on protecting this new purchase. To start, the vehicle was inspected and overall everything was in great shape. There was minimal dirt and grime on the vehicle and swirls and scratches were minimal at best. You would be surprised at how many new vehicles are delivered with imperfections in the paint from wrapping, shipping, inspections, etc. Luckily, we had to deal with almost none of these issues, so shout out to Toyota and the local dealership that did a great job removing the shipping wrap and safely cleaning the paint before pickup.
Since the dealership washed the vehicle, we decided to hit it with a quick wash to take care of anything they may have missed, which allowed us to get right into the detail.
To start, we reached for the G9 and the Lake Country SDO Orange pad. This combination is great when you are targeting light swirls, spider webbing, rids, etc. Using light pressure, work panel by panel. I tend to target areas that I can easily differentiate from one another, that way if I get in the zone when detailing it avoids me losing my spot. Something like the drivers side door, then moving to the passenger door, then to the back panel, etc. Keep it simple and move section by section until the paint is perfected. Avoid any trim, decals, etc. as polishing those will cause damage.
From here, Charlie opted to apply durable layers of coating protection instead of a quicker or less labor intensive sealant. Using the Gtechniq Panel Wipe and a clean microfiber towel, thoroughly spray each panel and wipe away all polishing oils. This step is necessary in making sure the surface is completely clean and no oils remain on the surface that can affect the way the coating adheres. Below you can find each item used, but the exterior is coated in exclusively Gtechniq. EXO v5 for the paint, C4 for the trim, C5 for the rims, G1 for the glass and C2 as a topper to the EXO. Speaking on the new EXO, it went on incredibly easy and wiped off just as easily as it went on. Gtechniq states that one coat is enough, so we stopped at the single application but topped it with the C2 for more water sheeting and protection for overall durability. The C4 added a nice dark sheen to trim surfaces and the C5 made the black TRD rims pop. The G1 is often times one of the most overlooked items (glass protection), but one that I always push to apply. Not only will it leave your glass surfaces protected, but when applied to the windshield the insane water beading improves visibility in rainstorms and pushes water from the surface with ease. If you do not have a glass coating applied, try out the G1 and let me know what you think!
The other important cleaning step that I want to stress to take care of on any new vehicle is cleaning the tires. They looked fantastic when picked up from the dealership, but the tire dressings generally applied can brown the tires over time. We used the Tuf Shine Tire Kit to thoroughly clean the tires and lets just say the Tuf Shine Tire Brush was black after a few scrubs. Once cleaned, the Tuf Shine Tire Clearcoat is a safe product that will not brown your tires and it lasts a long time. We applied 4 coats as Charlie wanted a more glossy finish.
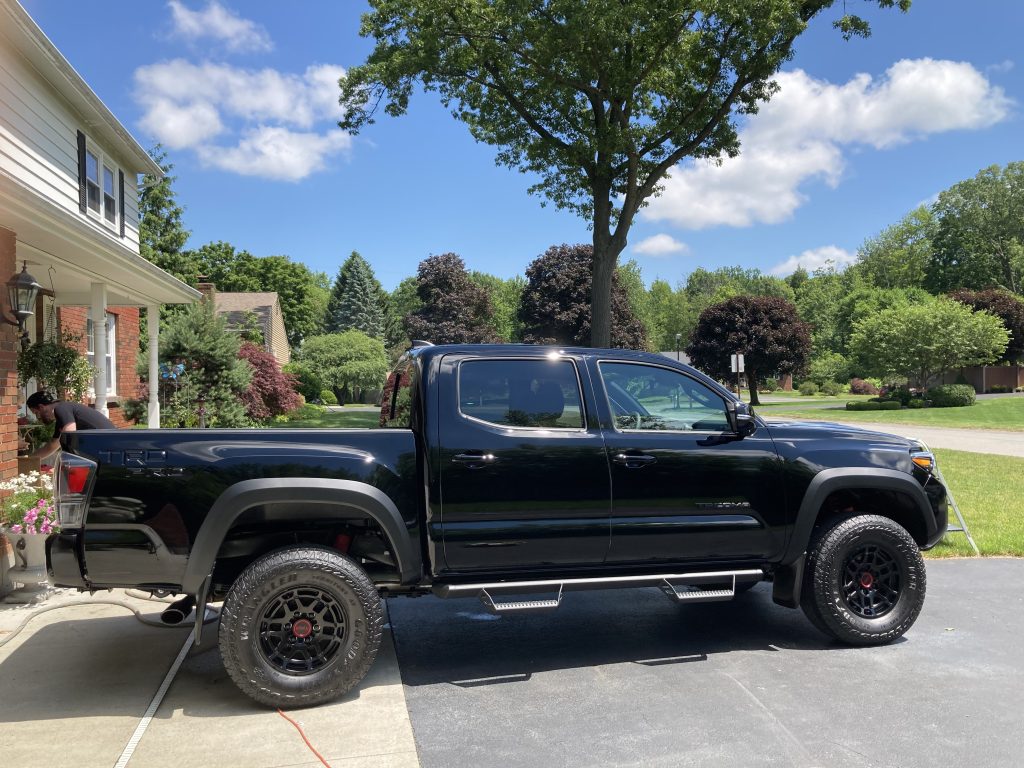
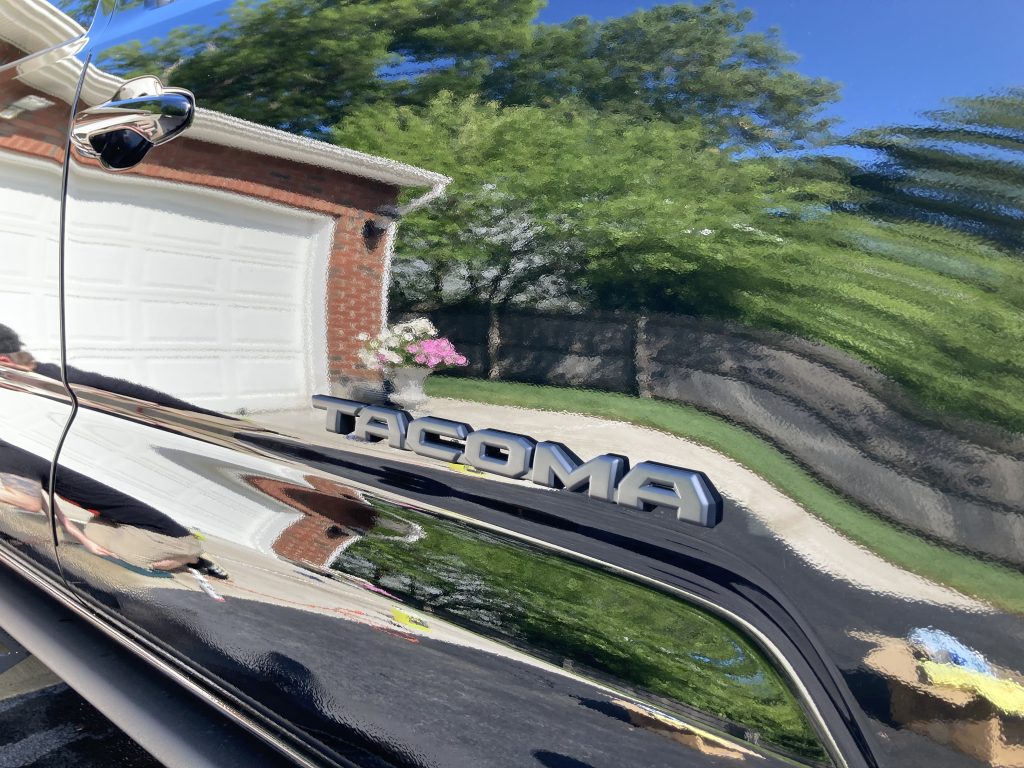
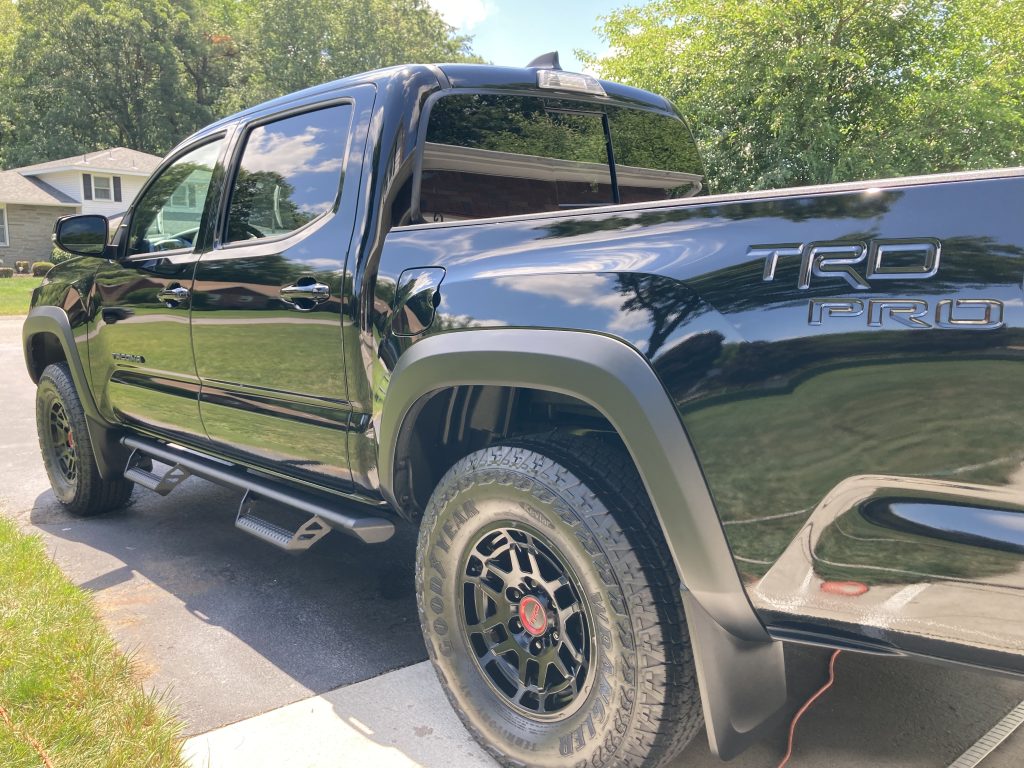
Take a look at some more after detailing shots below, along with a complete list of items used for this detail!
![]()
Products Used:
- Gtechniq EXO v5
- Gtechniq C4 Permanent Trim Restorer
- Gtechniq C5 Wheel Armour
- Gtechniq G1 ClearVision Smart Glass
- Gtechniq C2 Ceramic Sealant
- Gtechniq AP1 Lint Free Applicator Pad
- Gtechniq PW Panel Wipe
- Griot’s Garage G9 Random Orbital Polisher
- Lake Country SDO Orange Light Polishing Pad
- The Last Detail The Last Cut
- Tuf Shine Tire Shine Kit
- The Rag Company The Gauntlet Microfiber Drying Towel
- The Rag Company Wolf Pack
- The Rag Company Pearl Coating Towel