
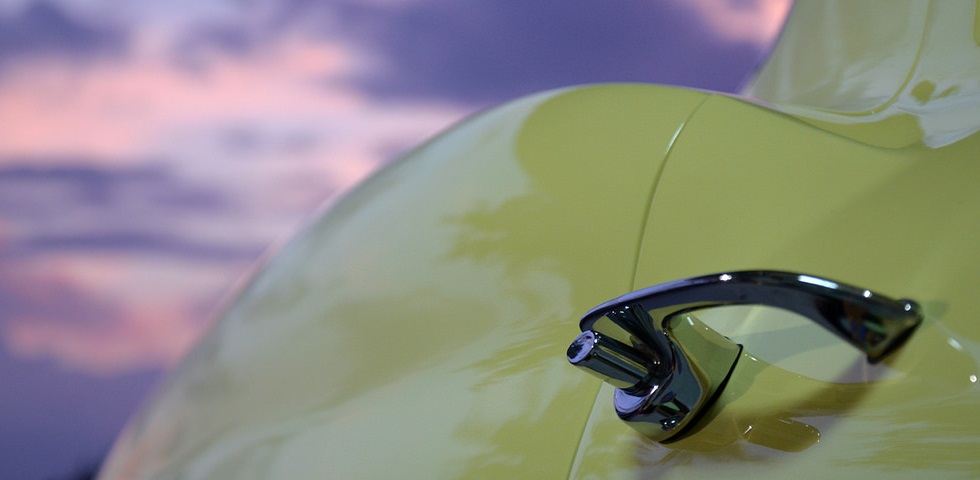
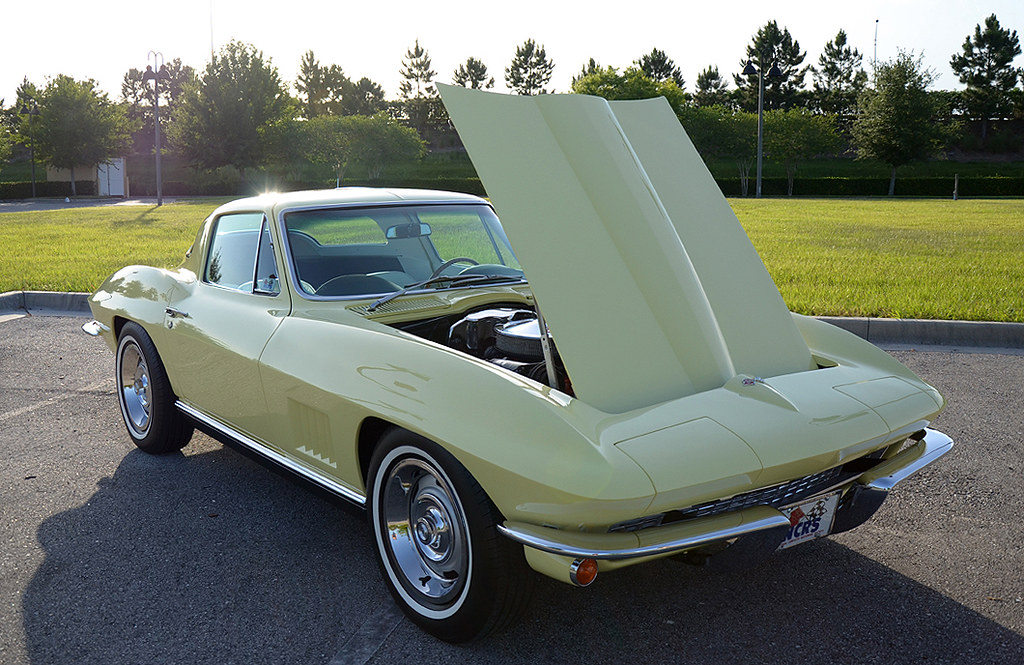

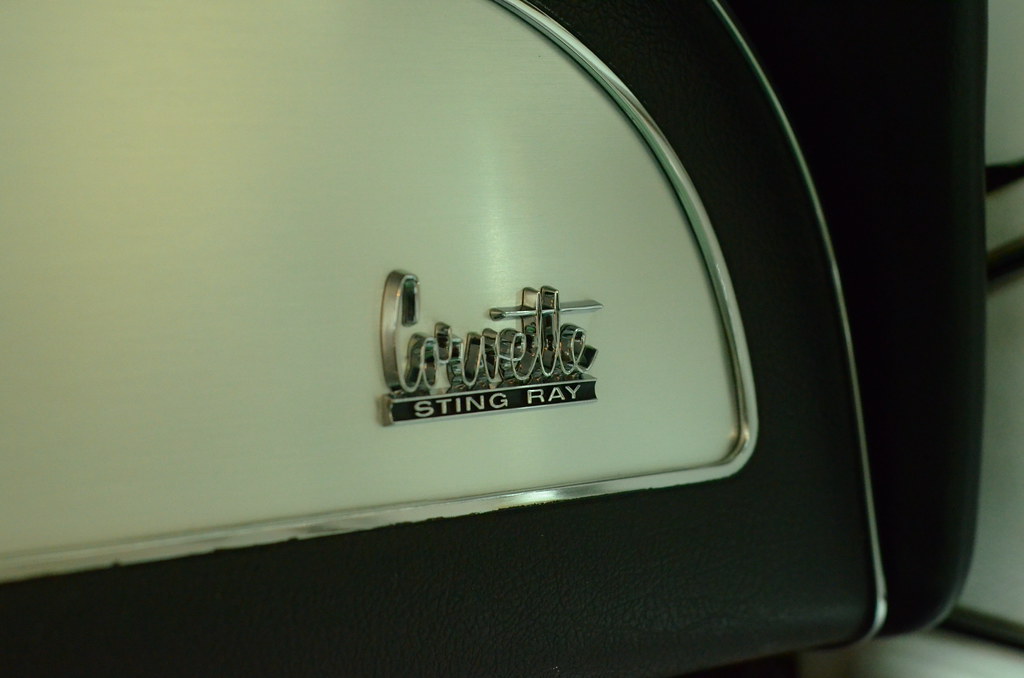
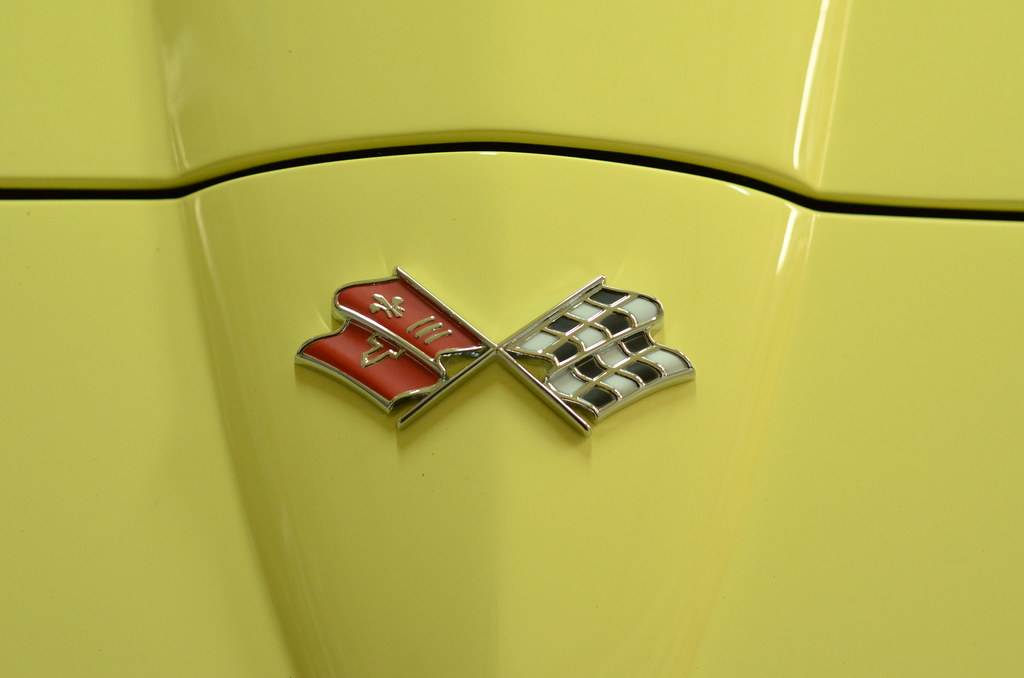
Every now and then I get one of these details that comes through that affects me out of the ordinary. Vehicles with history, proud owners and stories to tell have been becoming more and more appealing to me over the years. This time it was a 67 Corvette Stingray!
Intro
One day I was working on a custom 55 Nomad for a buddy of mine in the fall of 2014. He had invited a few friends over to see the work that I was doing and the difference I was making on the black Chevy paint. The owner of the 67 Vette was visiting from North Carolina at the time and by chance we had the gift of crossing paths.
The 67 Vette was being restored at a local Corvette Specialist shop (Burke Corvettes & Corvette Masters in Orlando/Maitland FL). The total restoration time was about one year! The owner and I started trading emails at the end of 2014 into the beginning of 2015 in hopes that we can schedule the Vette for detailing. Tim Burke & Corvette Masters (Restoration Specialist) has been involved with Corvettes for forever and they do amazing work. When the car is done, it’s done and if it’s not, it’s not. So the owner and I had plenty of time to discuss cars and give our opinion to when we think the car will arrive at my shop for the final touches! Towards the end of the restoration the owner came down from NC to see the car and meet with myself one more time so we can go over it together. This was the first time in a while we had face value with each other and had the car right there in front of us. This is very exciting for car owners to know his/her car is about to be done with the restoration.
Inspection Of The Paint Upon Delivery:
Issues to be repaired
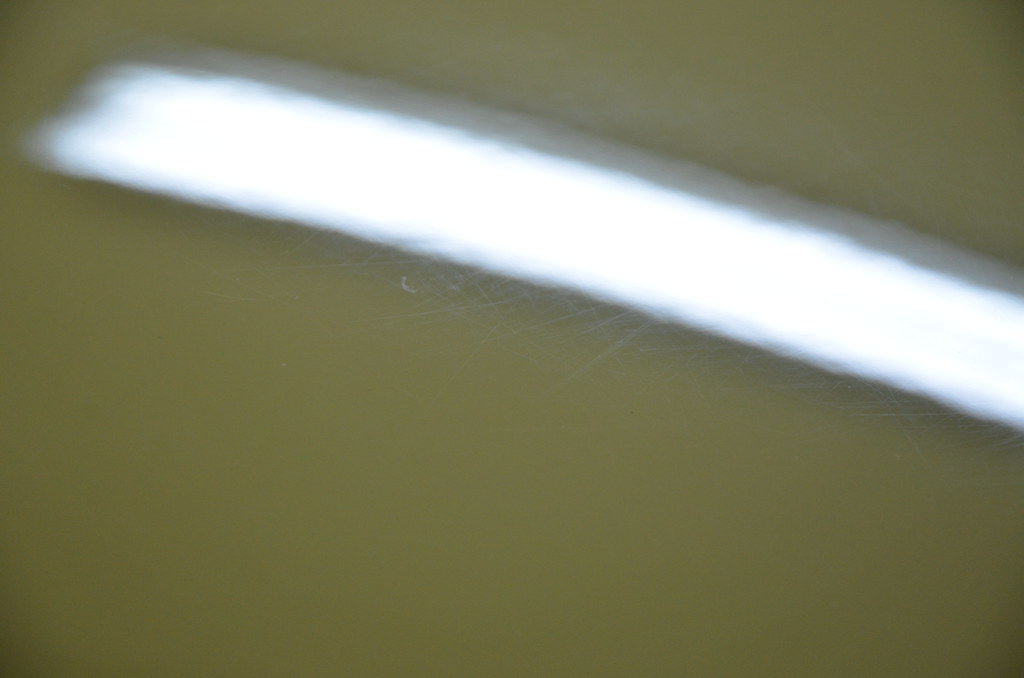
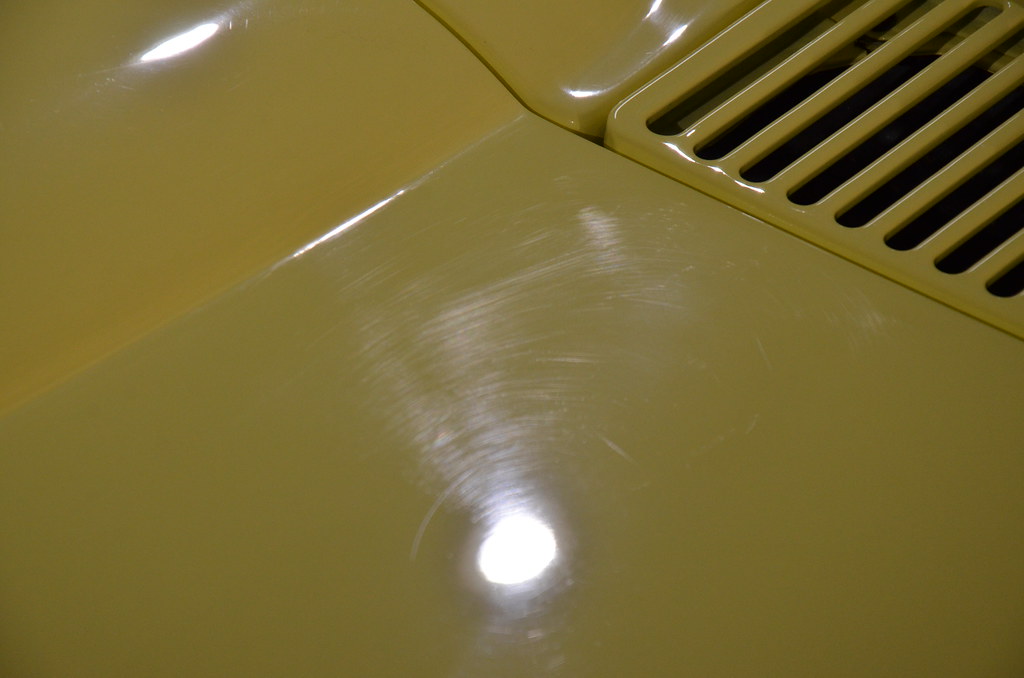
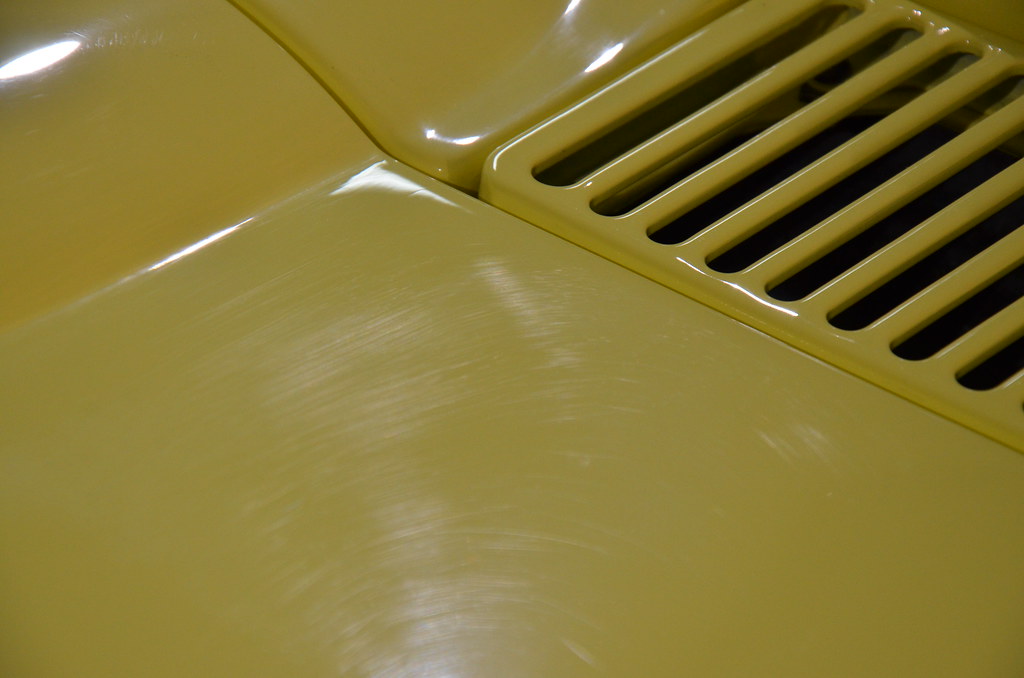
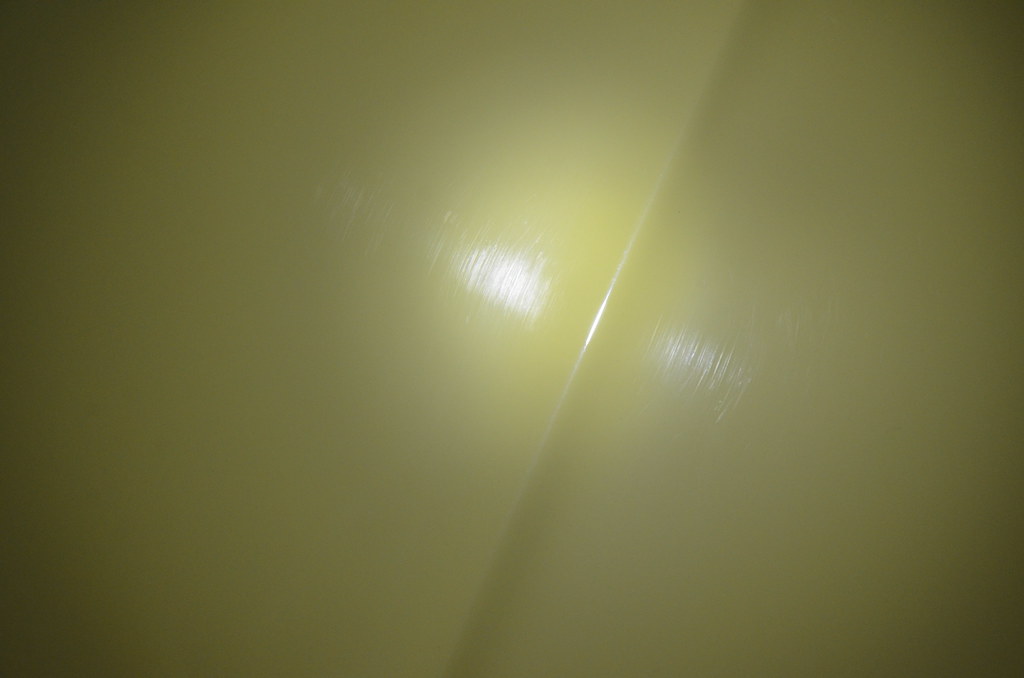
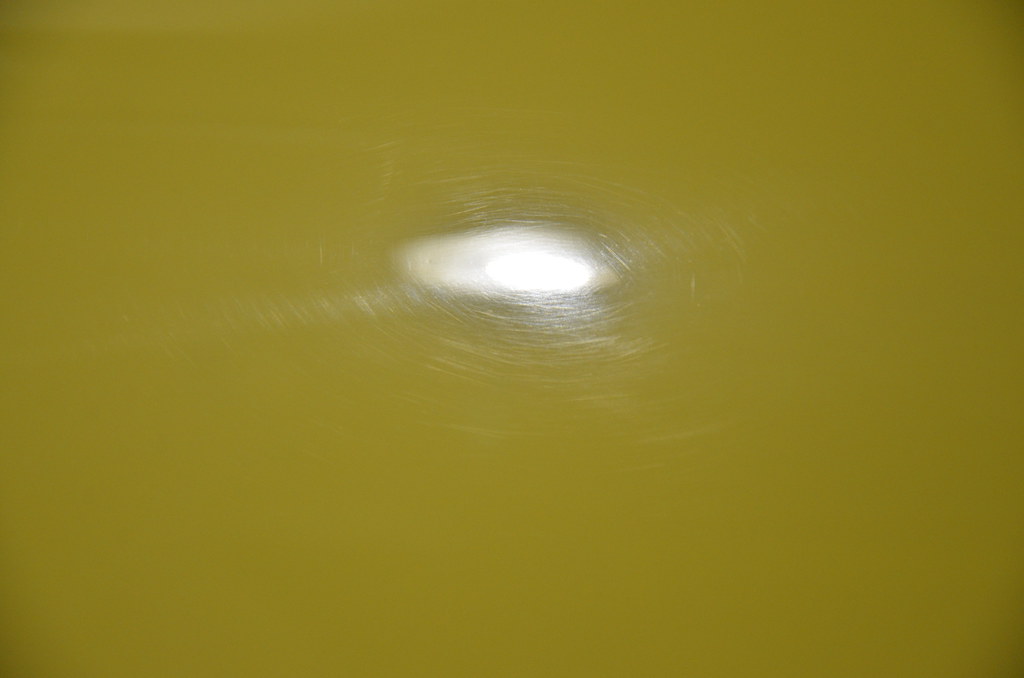
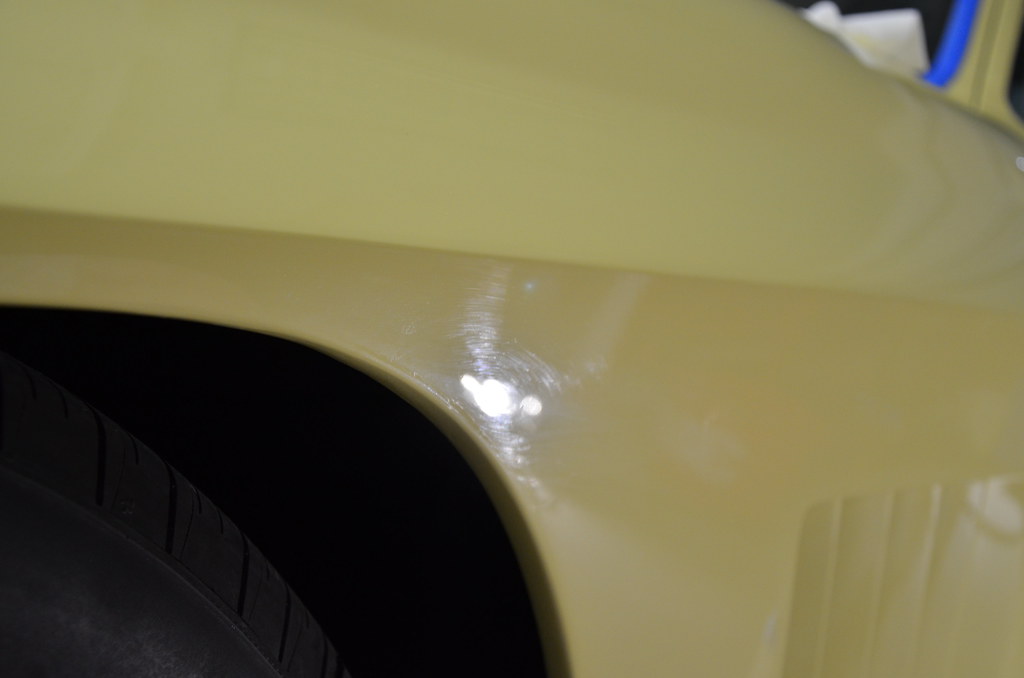
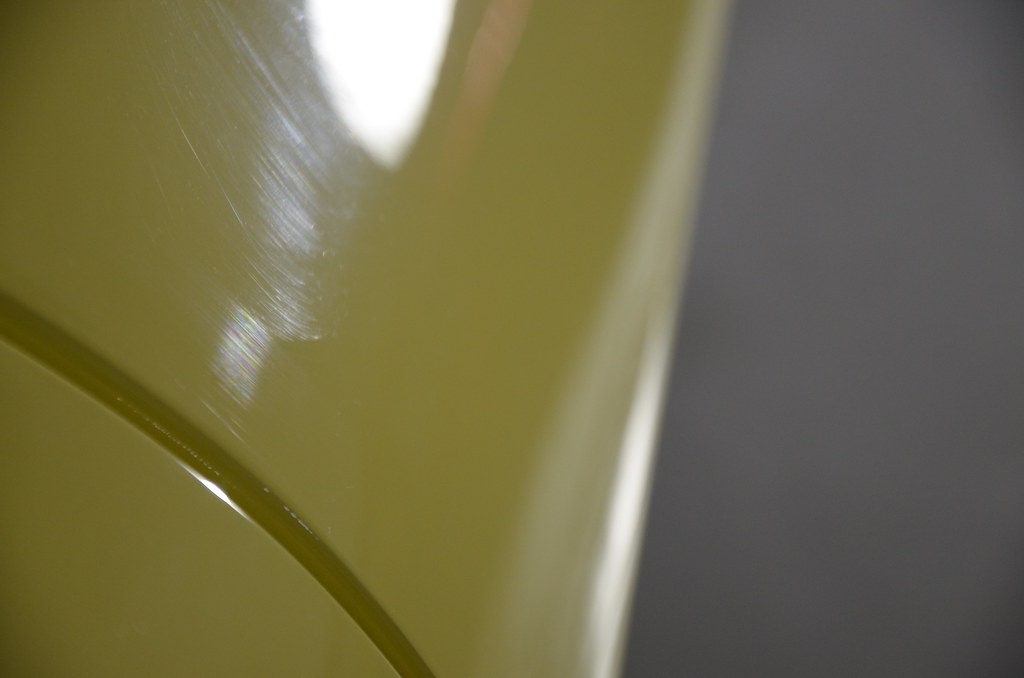
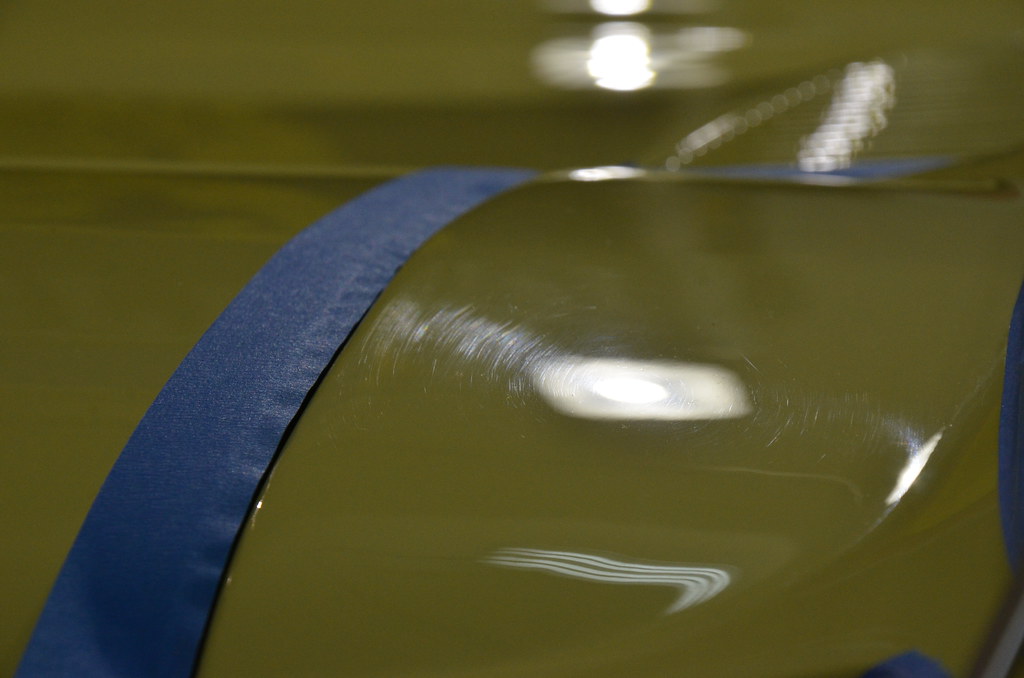
- Scratches & Swirls (Buffer Trails)
- Orange Peel / texture
- Sanding Marks (Hand Induced)
- Fish eyes


Diagnosis
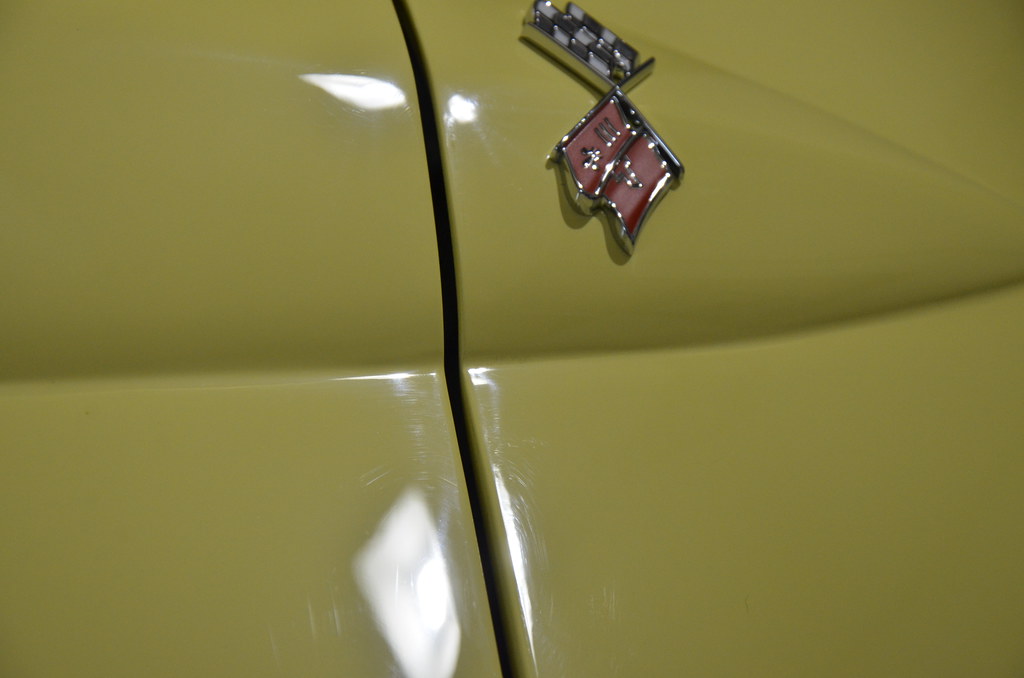
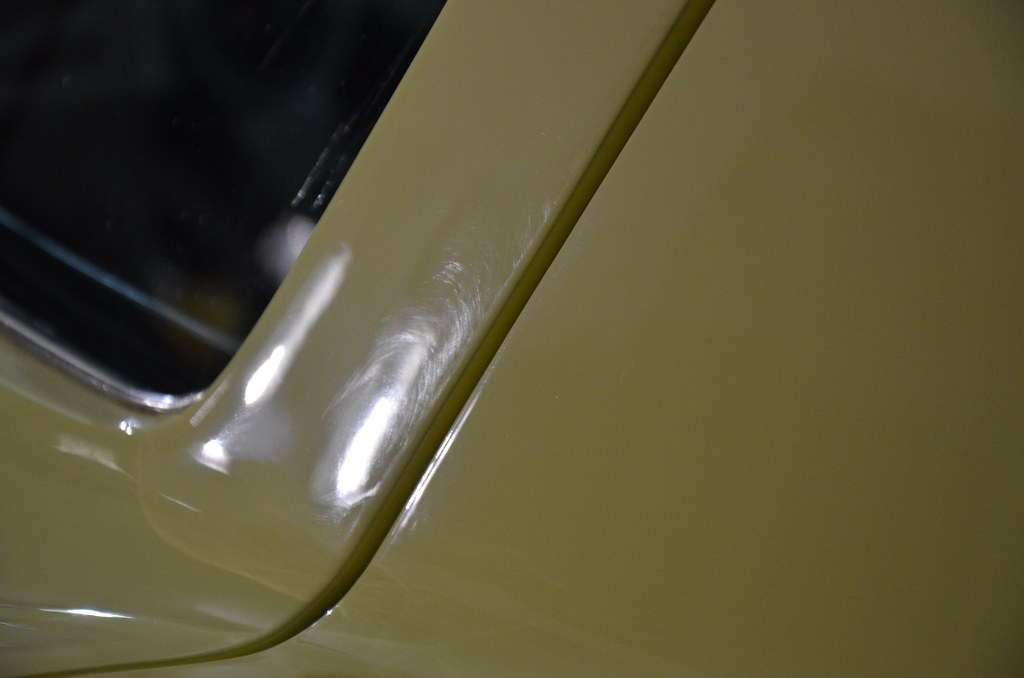
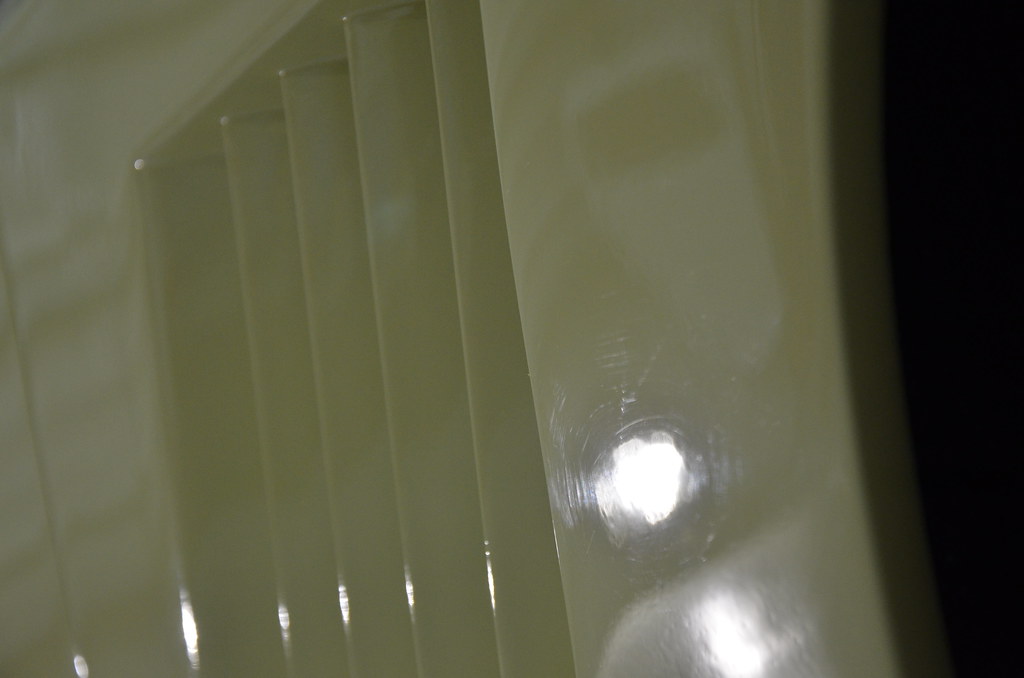
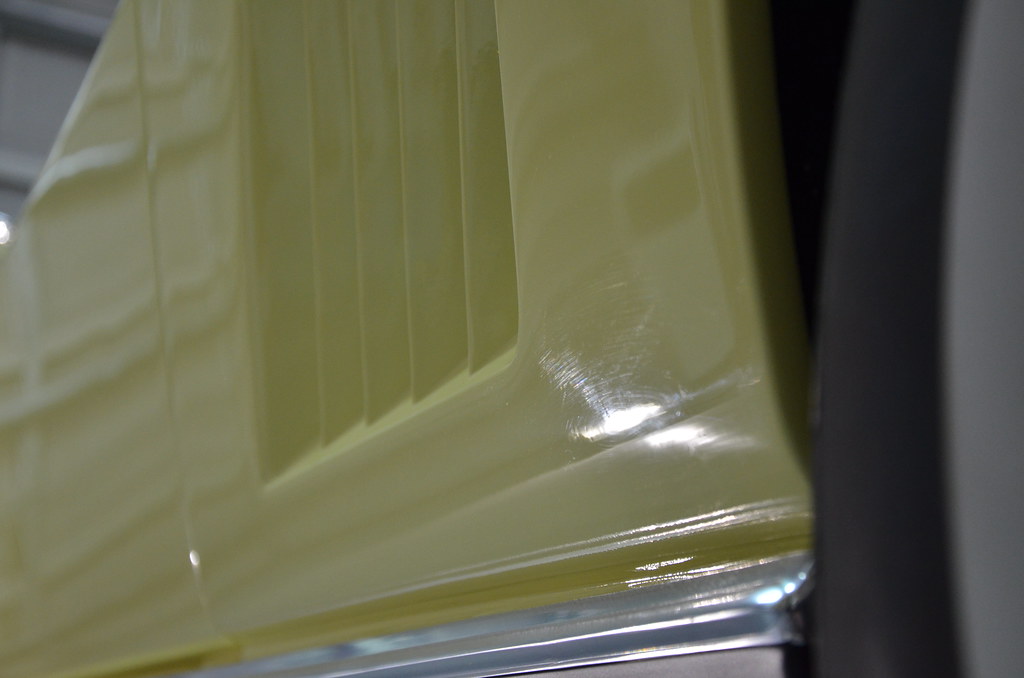
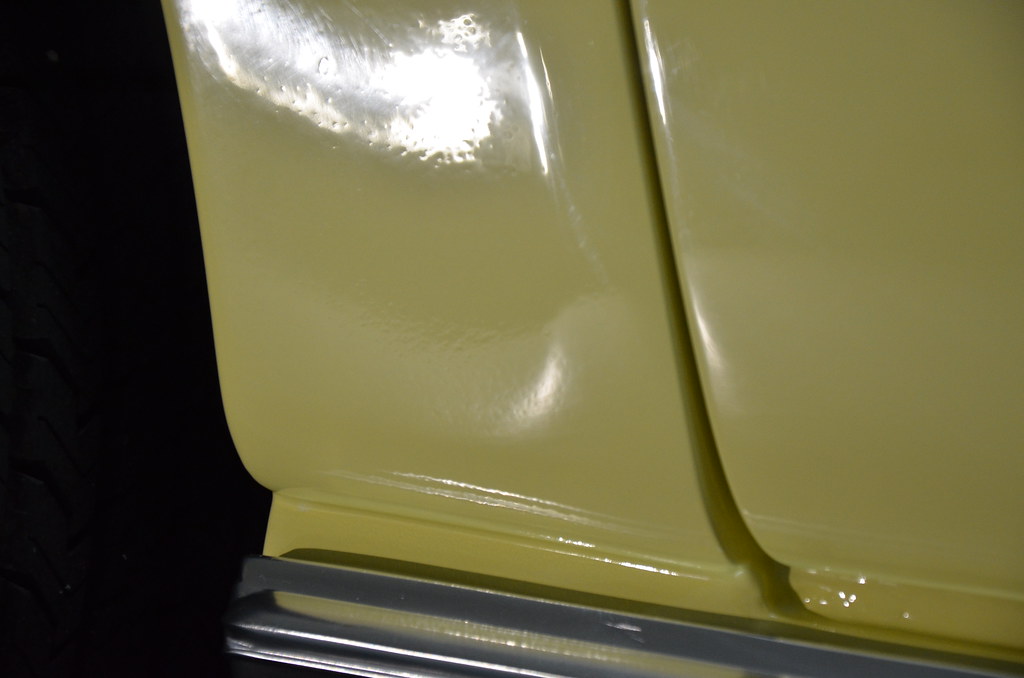
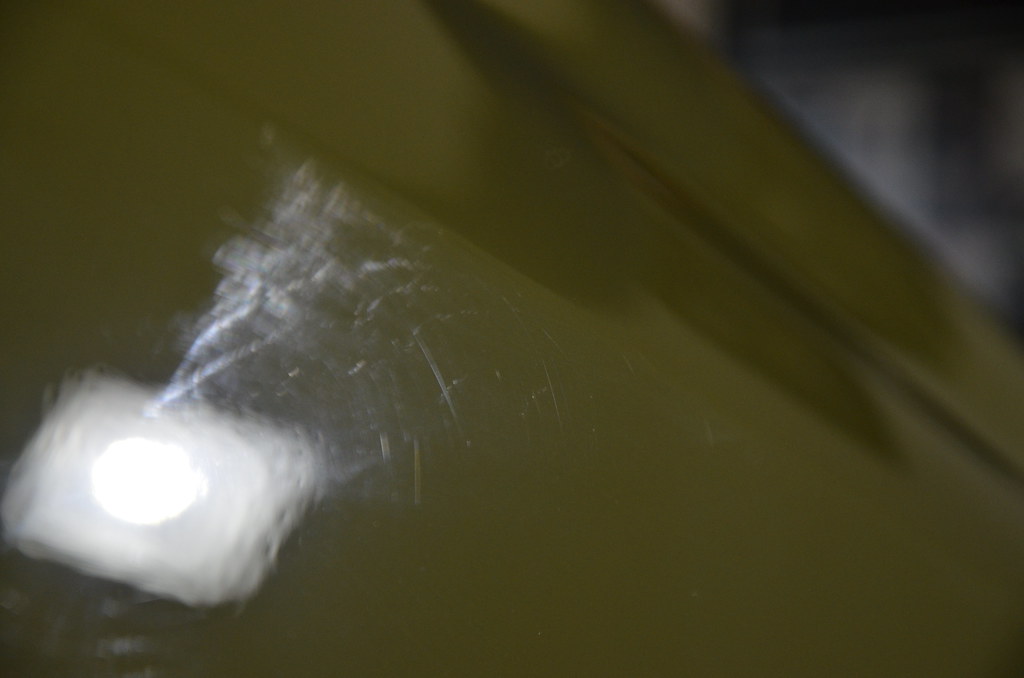
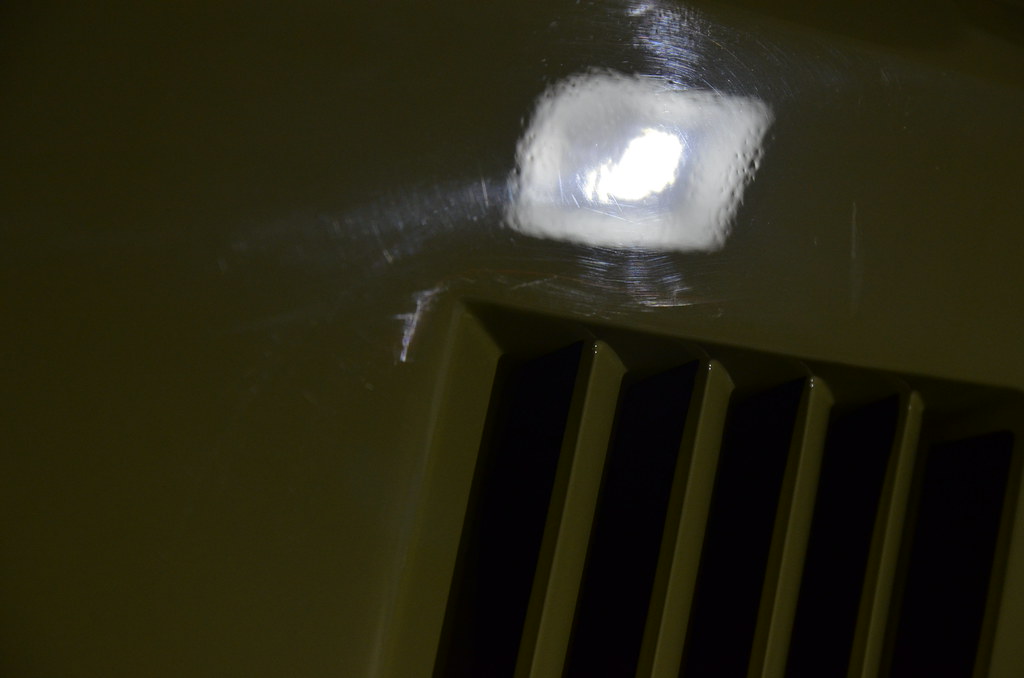
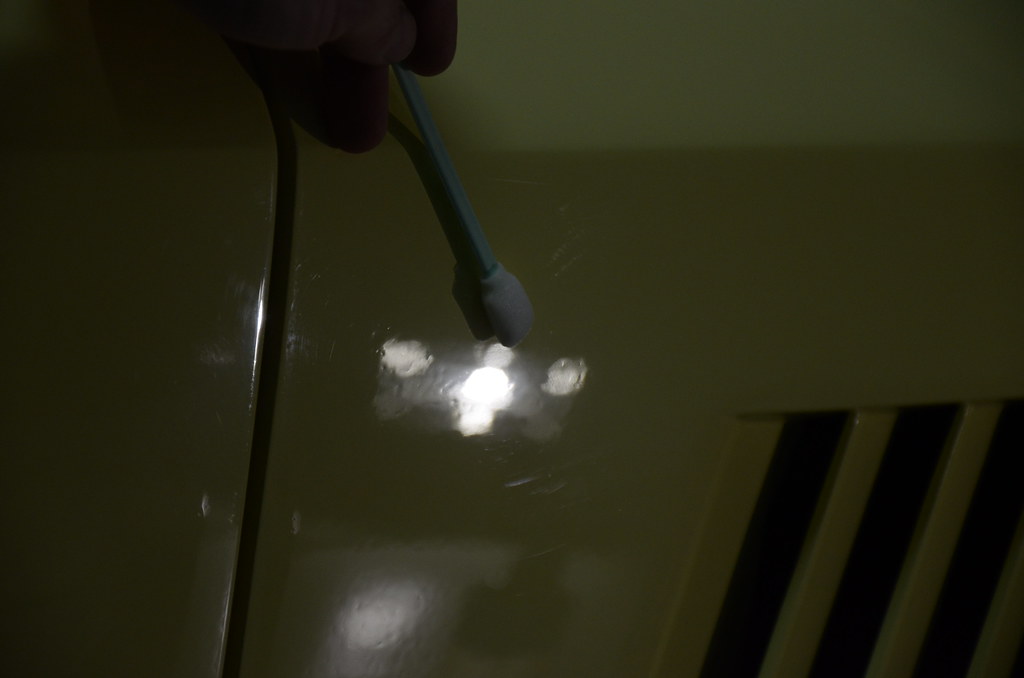
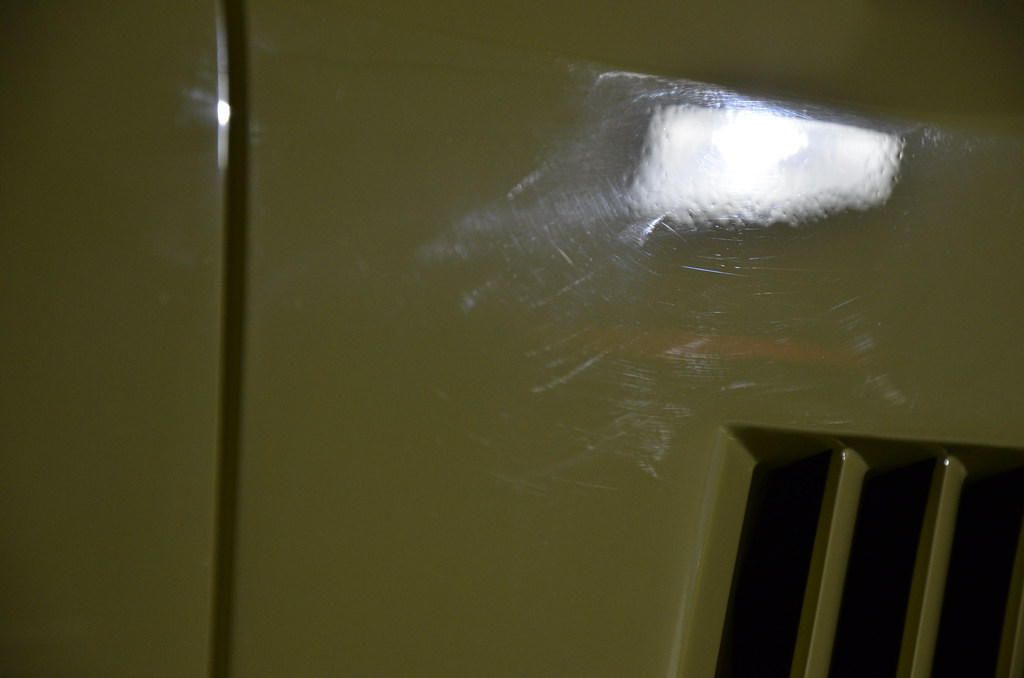
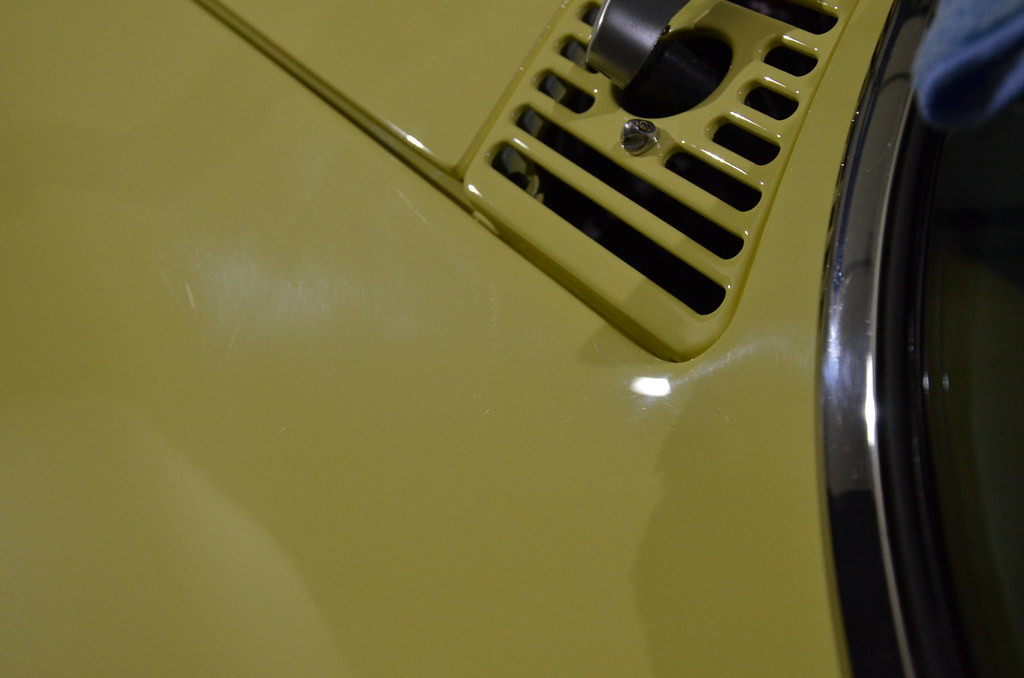
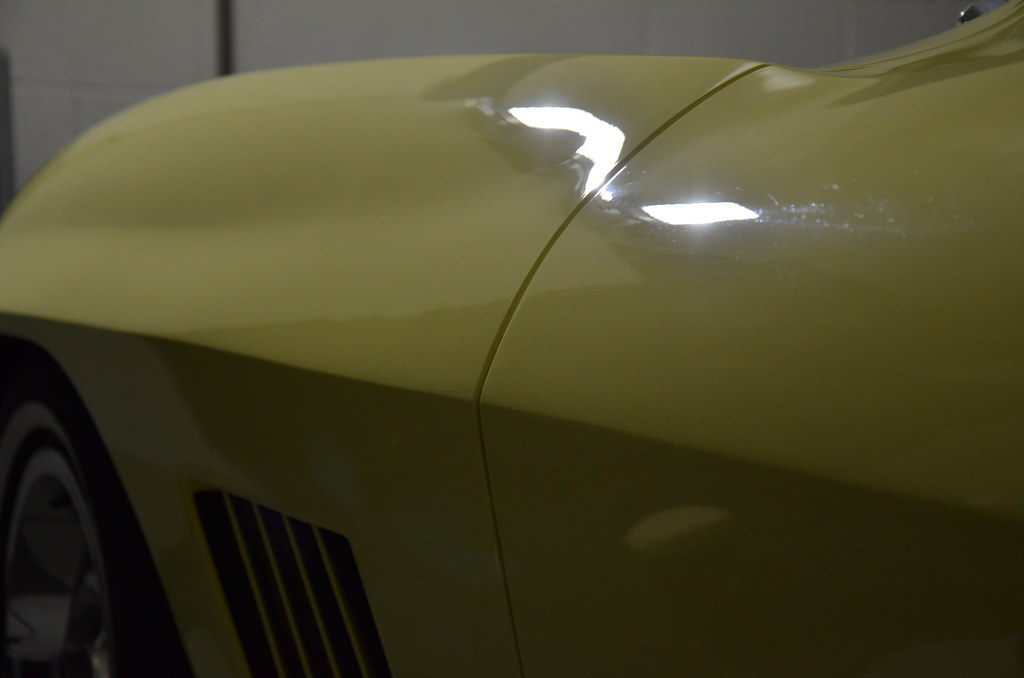
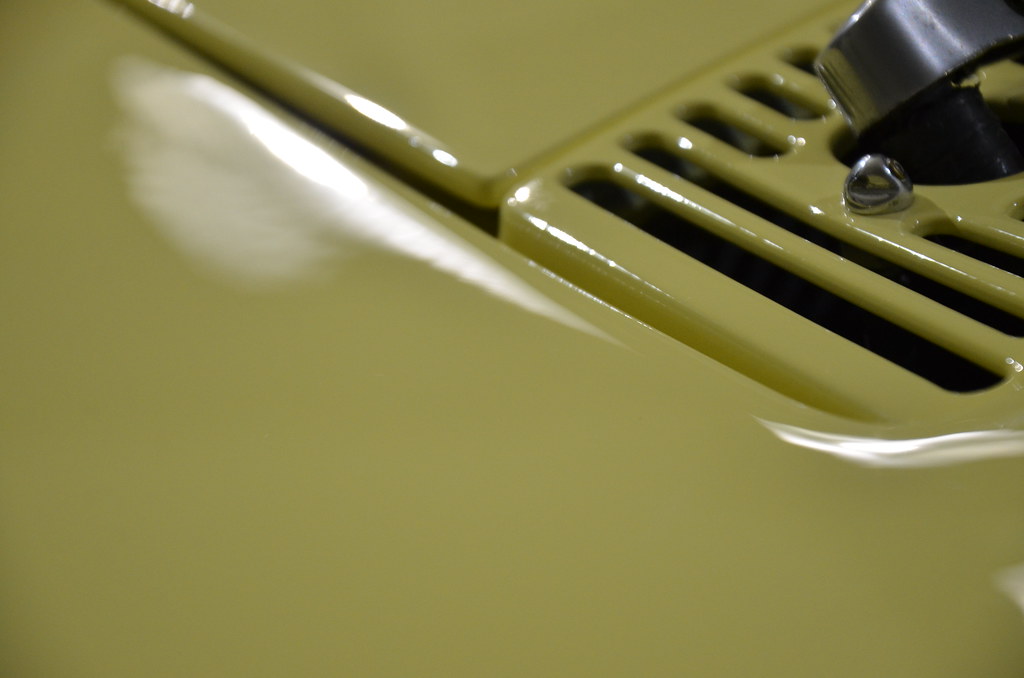
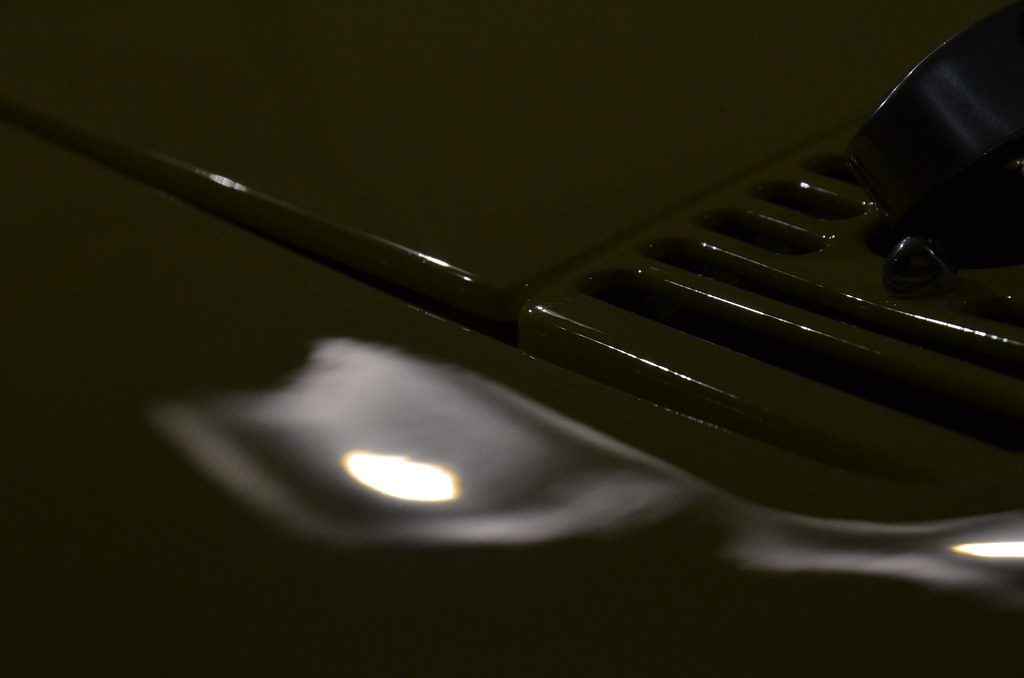
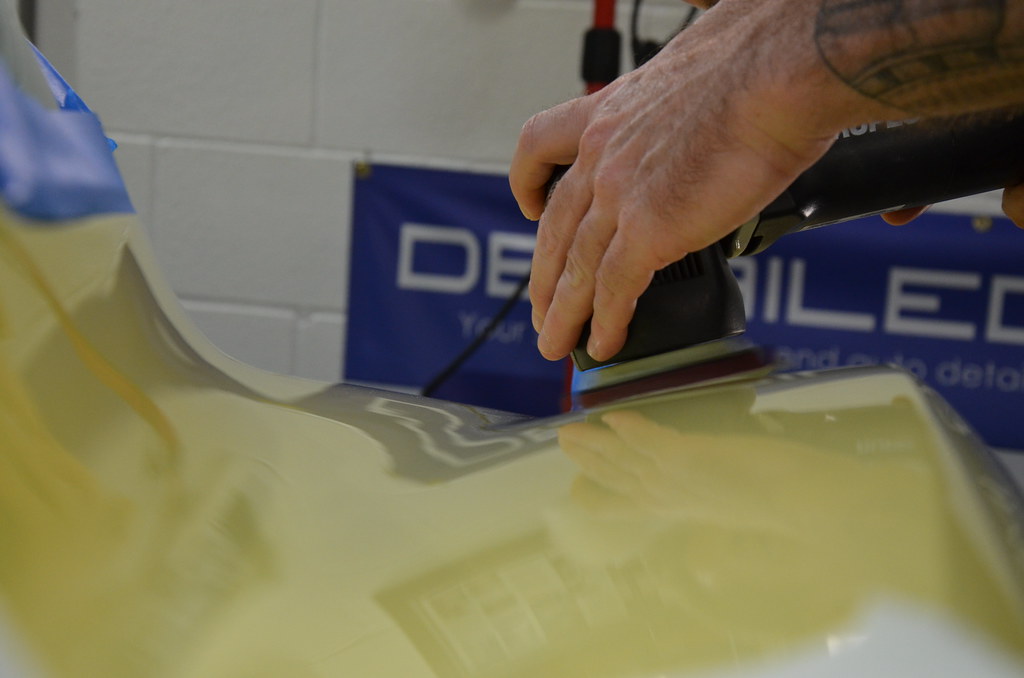
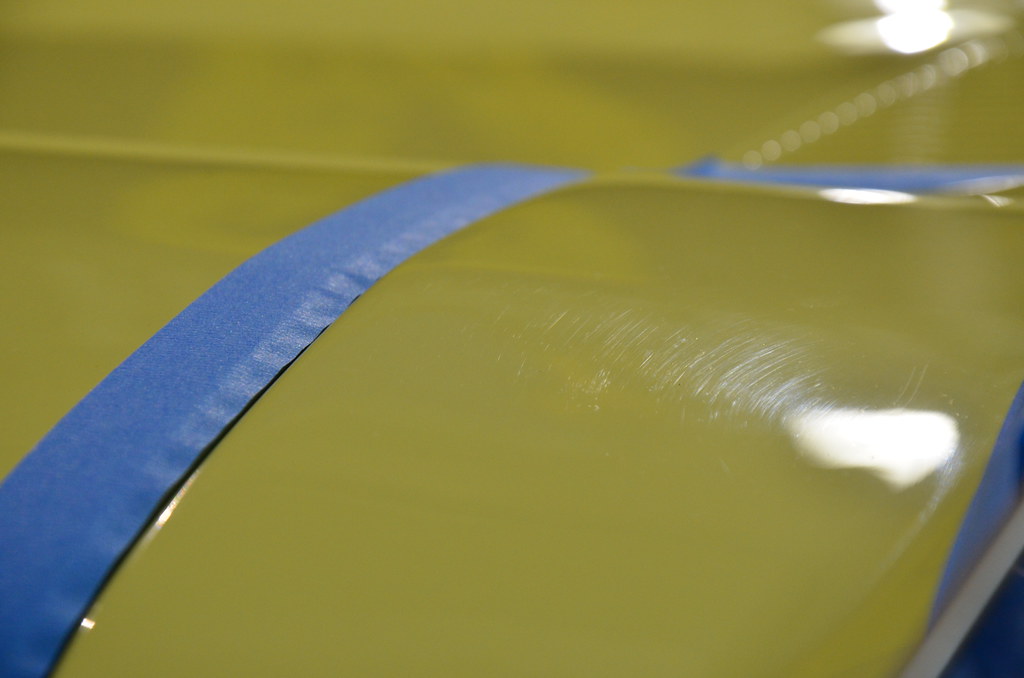
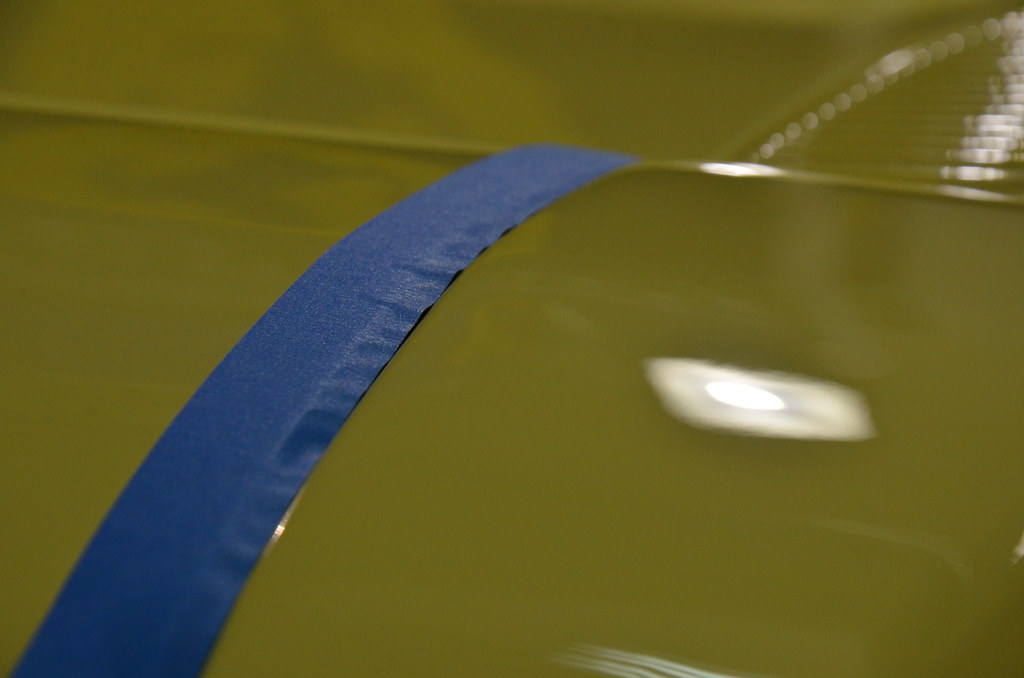
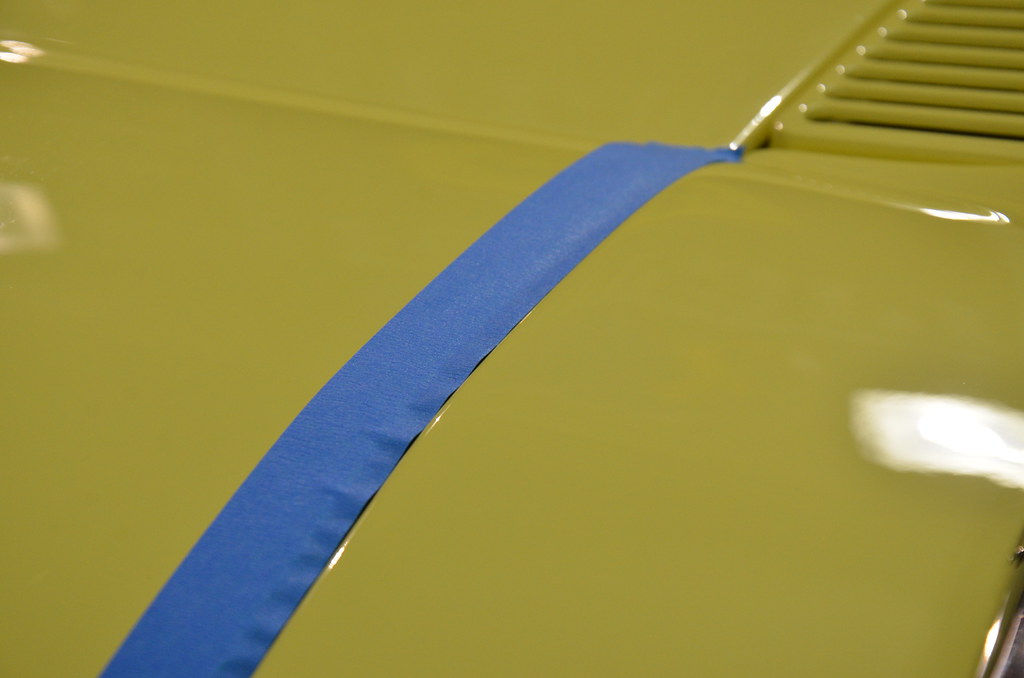
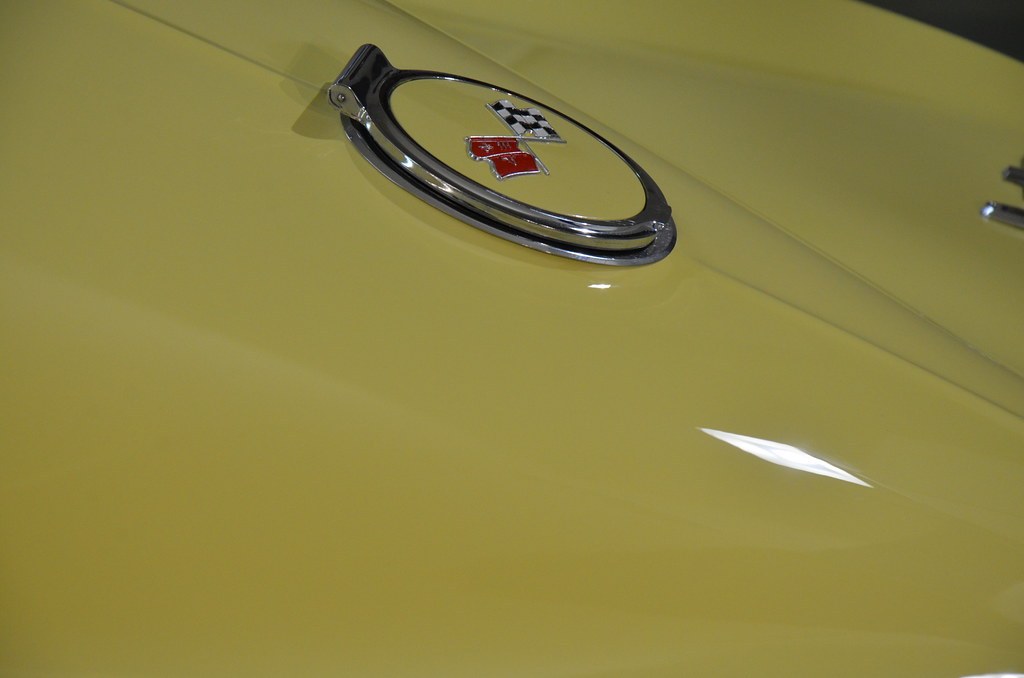
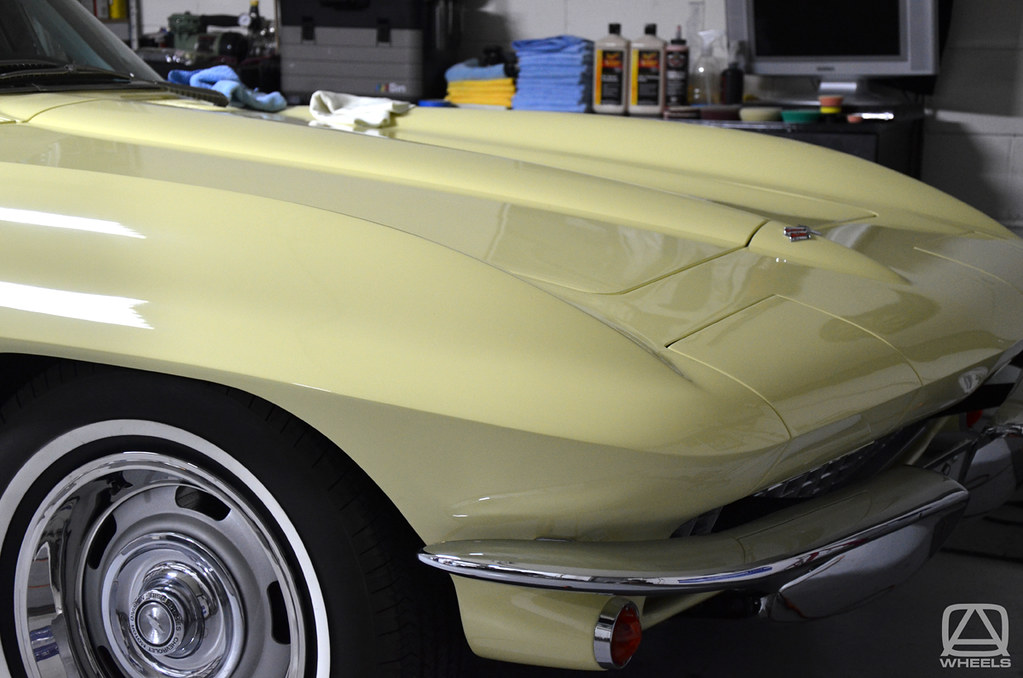
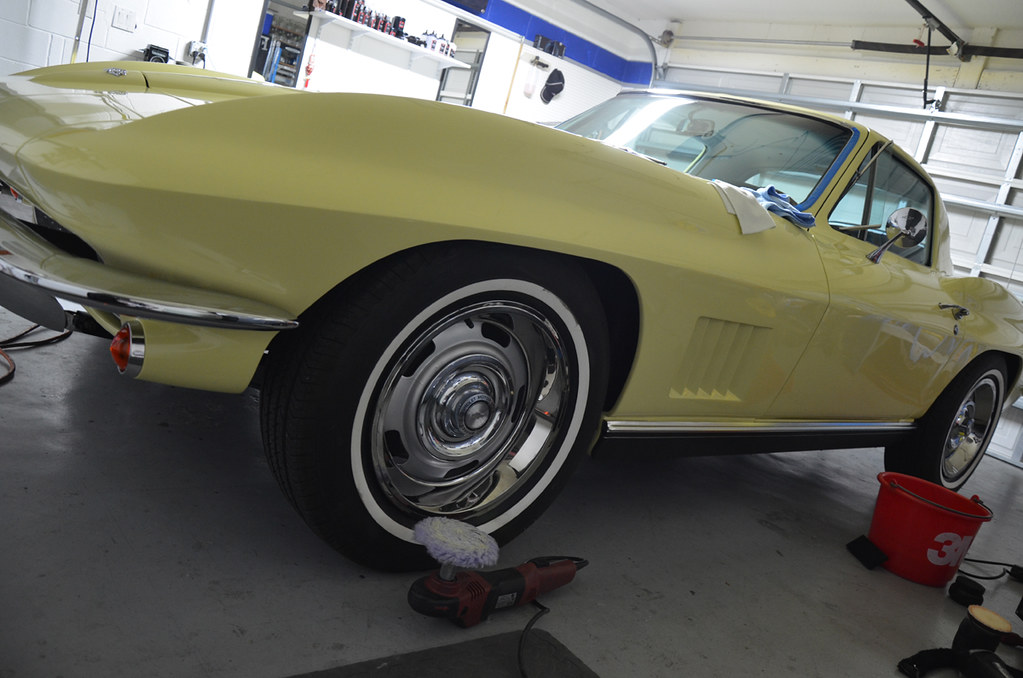
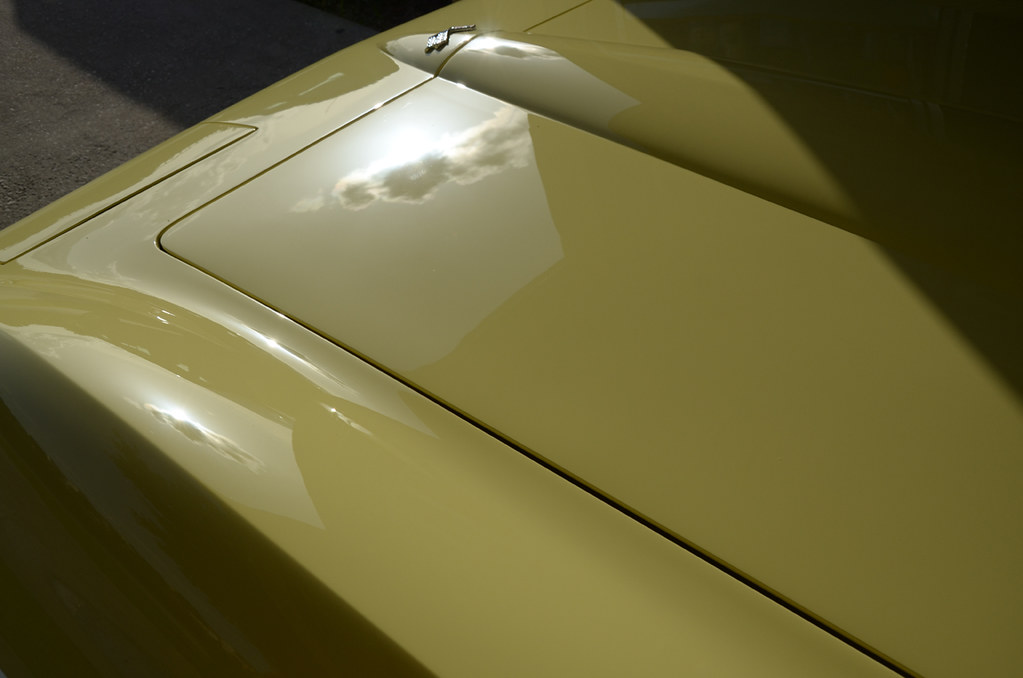
The Corvette was sprayed with 4 generous coats of OEM SS paint (single stage paint) to keep the vehicle as close to original as possible. The lower end (vertical panels) had the most texture problems as far as orange peel and fish eyes and was going to require some wet sanding to repair. The top side of the car (horizontal panels) had mostly just scratches, hand sanding marks & buffer marks that could be repaired through machine polishing (paint correction).
We did not want to sand the car perfectly flat, as it was in our best interest to leave an original look of the 60’s in the paint. The difficult part of the paint correction process was “texture matching” the paint (no two spots on the car were identical in texture). There was no consistency in the correction process as work began around the car. What I was using as far as pads and combo’s changed from one section to the next in an effort to get the paint uniform.
Products and Tools Used:
Compounds and Polish
- Meguiar’s M100
- Meguiar’s M105
- Meguiar’s M205
- Meguiar’s D300
- Swissvax Cleaner Fluid Professional
Sanding Disc’s and Paper
When sanding by hand I used the Meguiar’s 5.5″ Sanding Backing Pad as my interface pad for smoother more even strokes. For the DA machine sanding I used the Porter Cable 7424 with Meguiar’s 6″ and 3″ Foam Sanding Interfaces and Backing Plates.
- Meguiar’s 1500 Grade Paper
- Meguiar’s 2000 Grade Paper
- Meguiar’s 3000 Grade Paper
- 1500 3″ Unigrit DA pads
- 3″ and 6″ 3000 DA Unigrit pads
Machines and Pads
- Rupes 15ES and 75E
- Porter Cable 7424 – 3″ and 5.5″ Backing Plates
- Flex PE14 Rotary w/ 3″ and 5″ DA Backing Plates
Pads
- Lake Country Purple Wool 5″ and 4″
- Meg’s Cutting Disc’s 5.5″ and 3″
- Meg’s Finishing Disc’s 5.5″ and 3″
- ABSOLUTELY LOVE THESE – Meguiar’s Soft Buff DA Foam Pads
- 1″ and 2″ Foam pads (were used with the Flex PE 14-2 for much of the edge work)
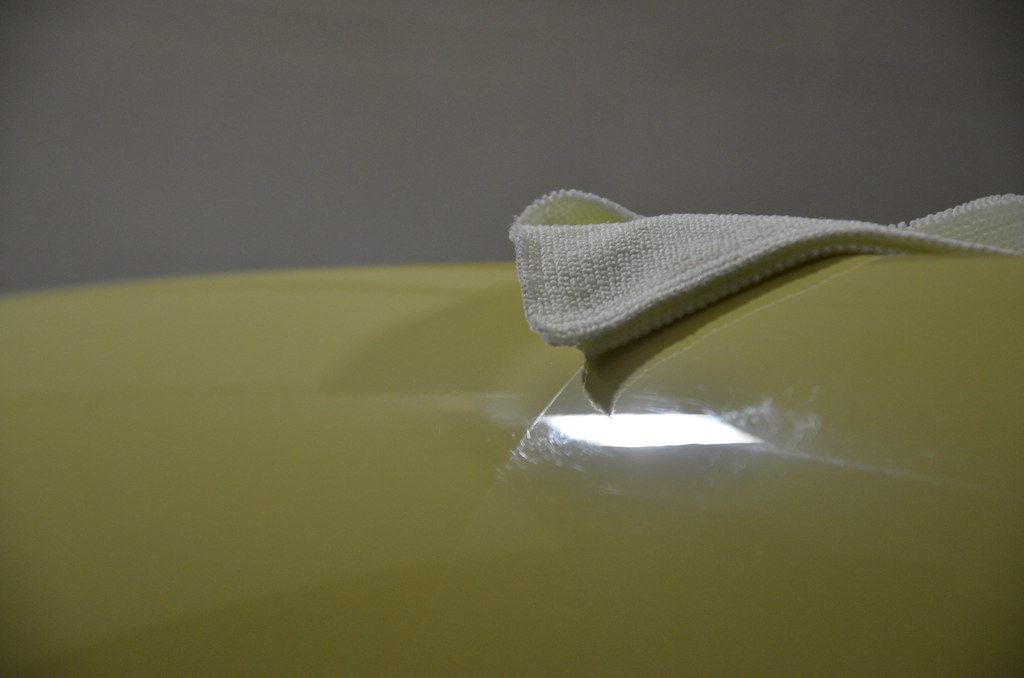
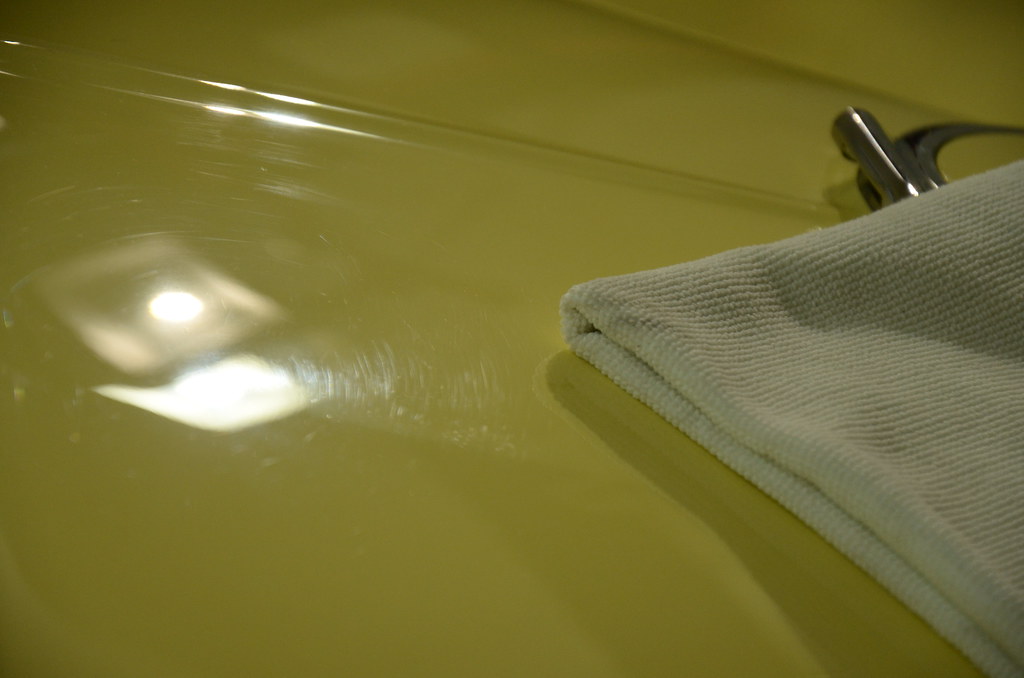
I stuck with the Meguiar’s Correction system for the paint repairs as the owner and I felt it suited the car best! Meguiar’s Ultimate Wipe Cloths, I am completely addicted to (In the 50/50 picture below)! These towels are the best at picking up polishes and compounding residues during your correction steps. Between these cloths and IPA wipes downs you’ll be sure you’re seeing the truest results. They’ve yet to fail on me and will not scratching the paint. Detailed Image will tell you… I buy a lot of these. They also work super well on glass.
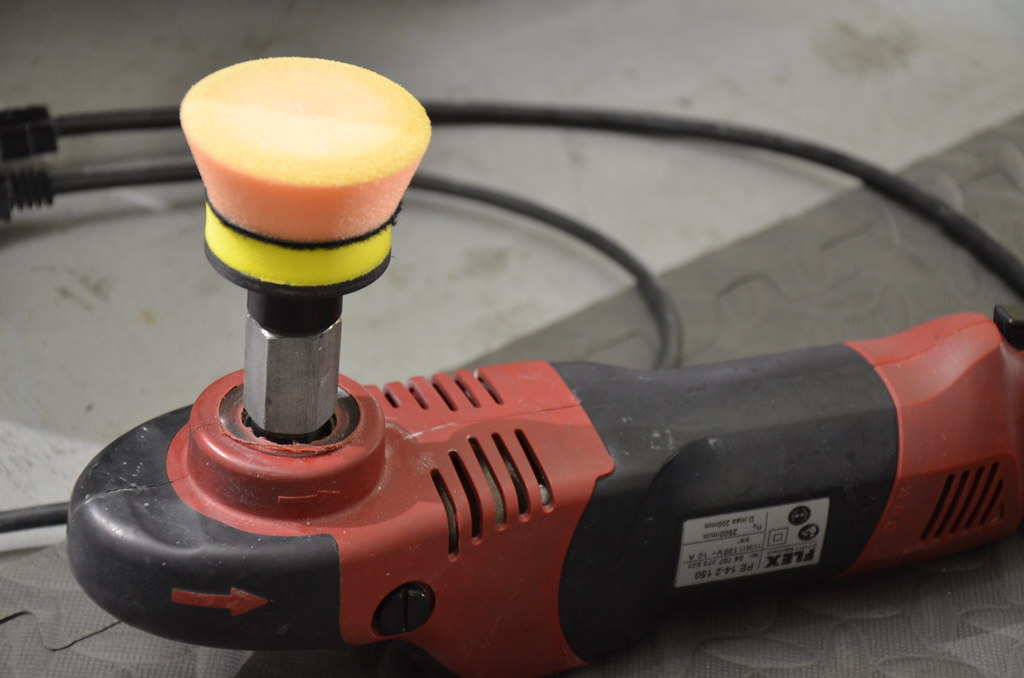
For it being single stage paint, it was one of the hardest paints I’ve come across in a while. It took a fair amount of speed and pressure before it started showing signs of improvement! As much as I love working with the large throw DA’s etc…. The Flex PE 14-2 played a very large roll in this detail.
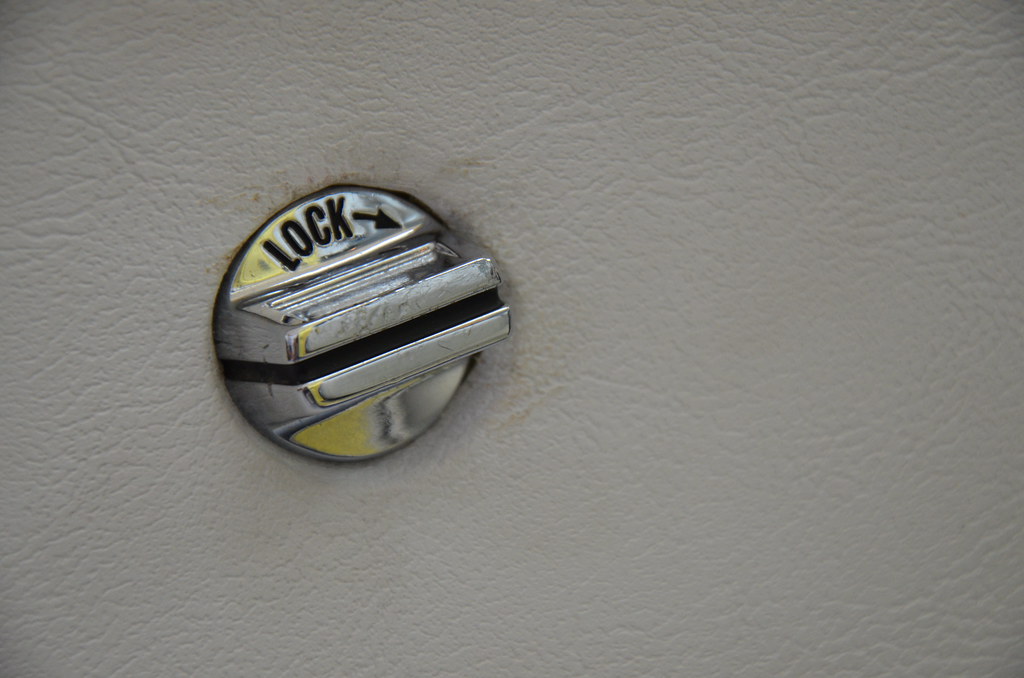
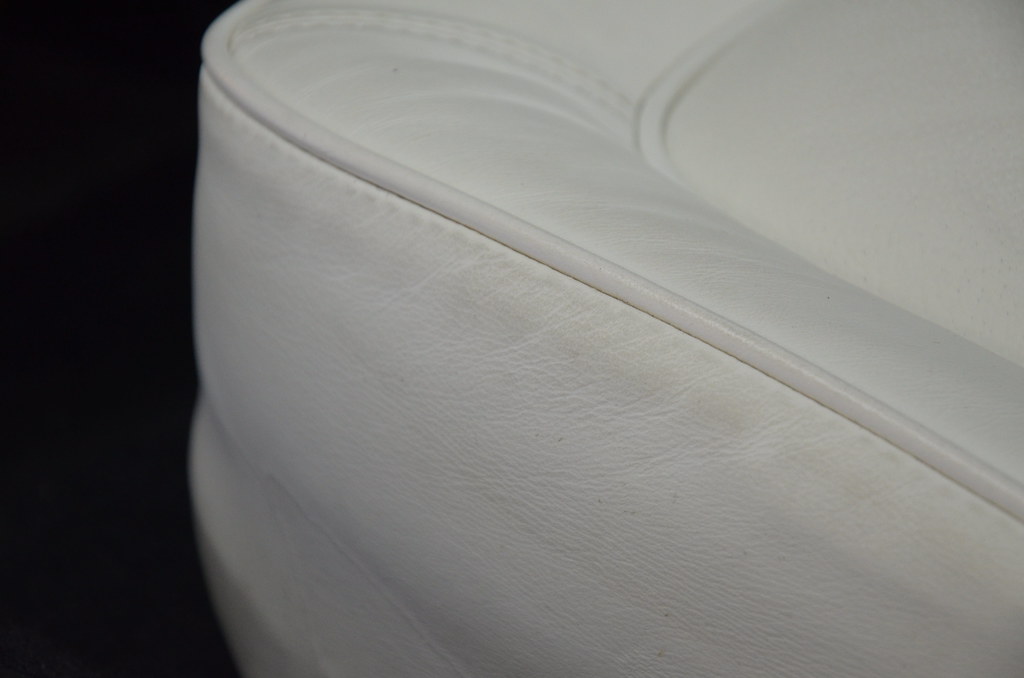
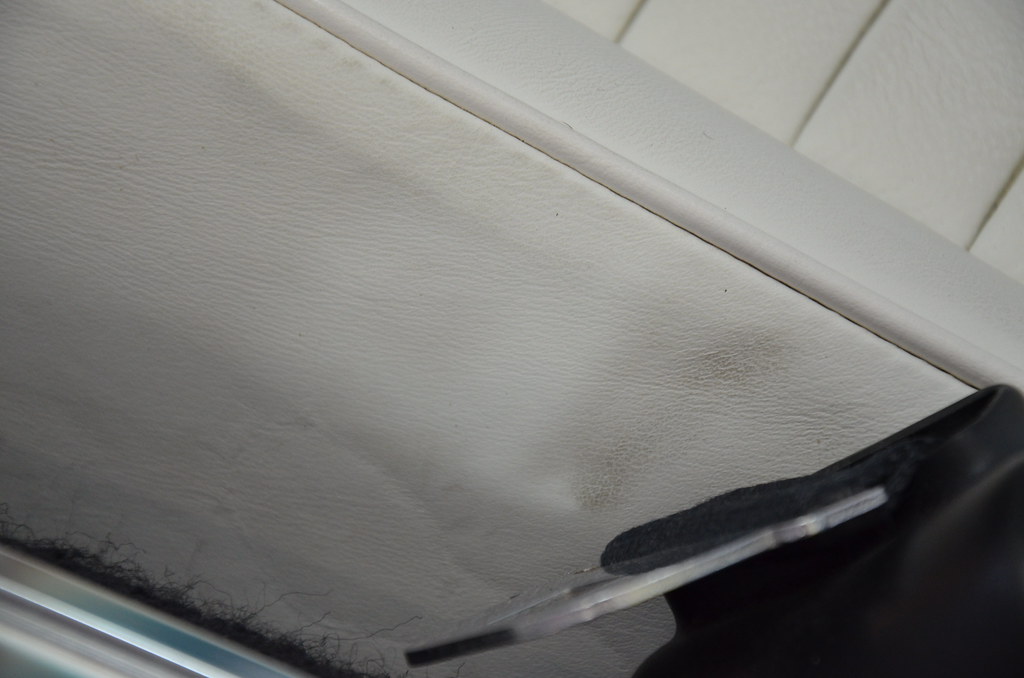
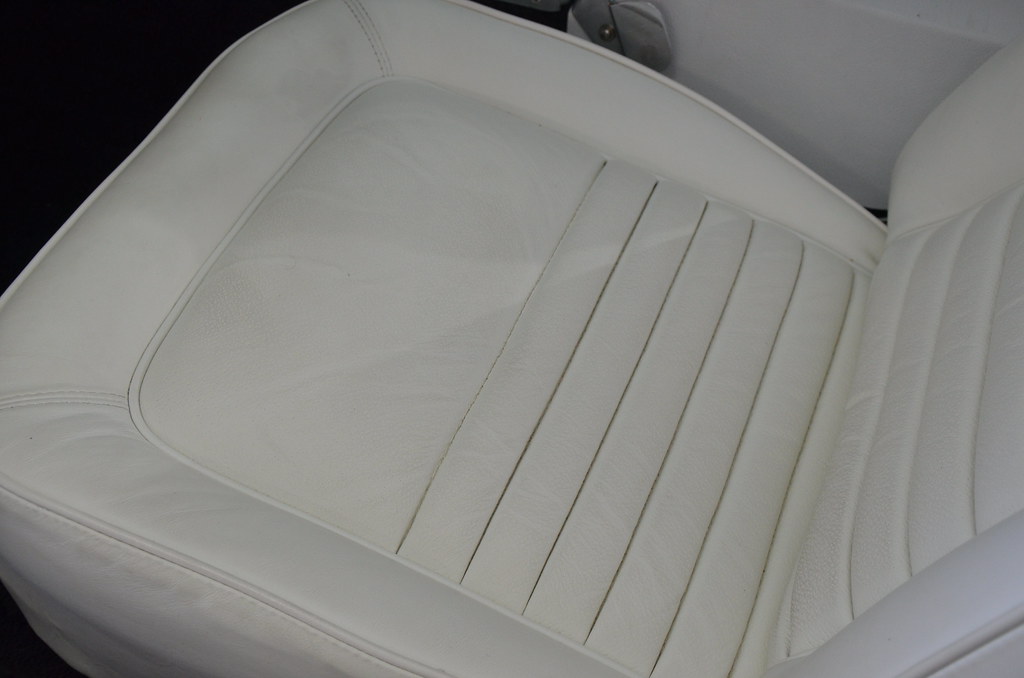
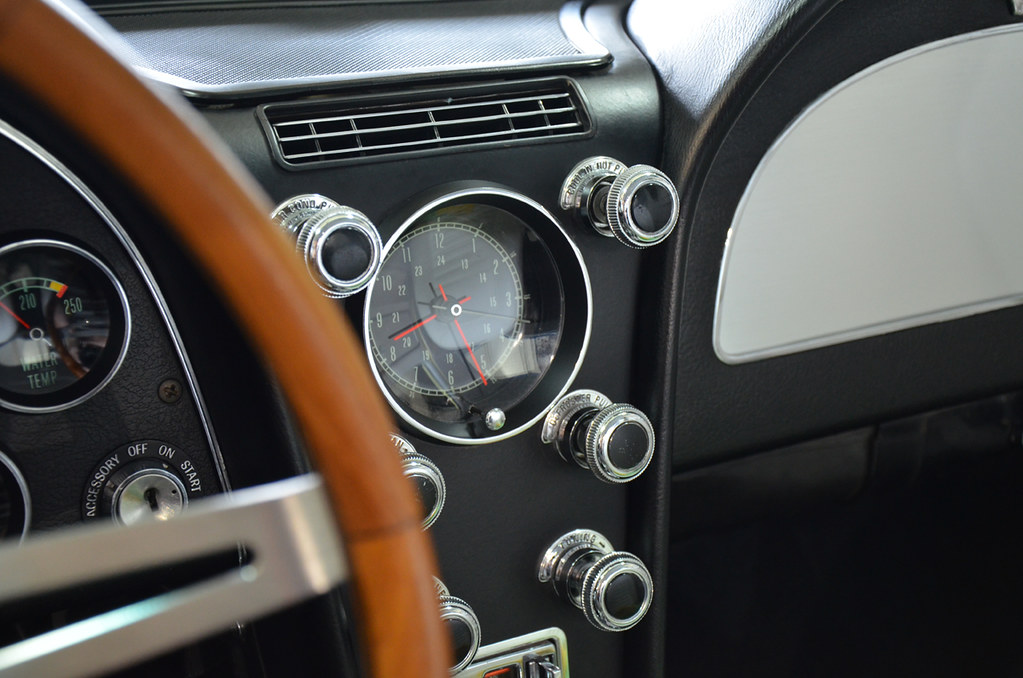
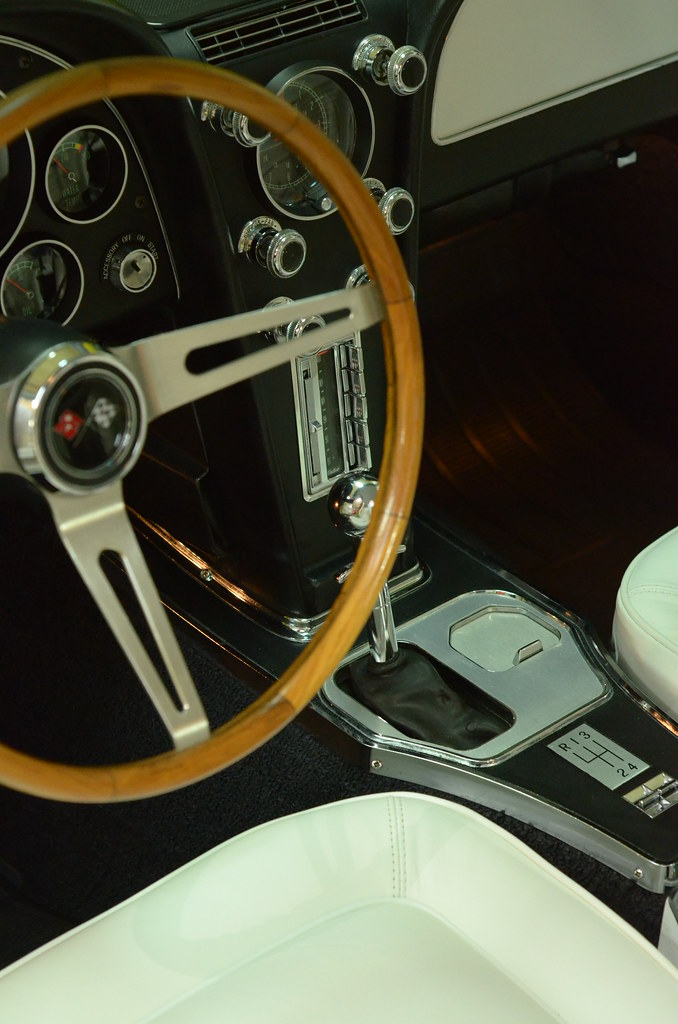
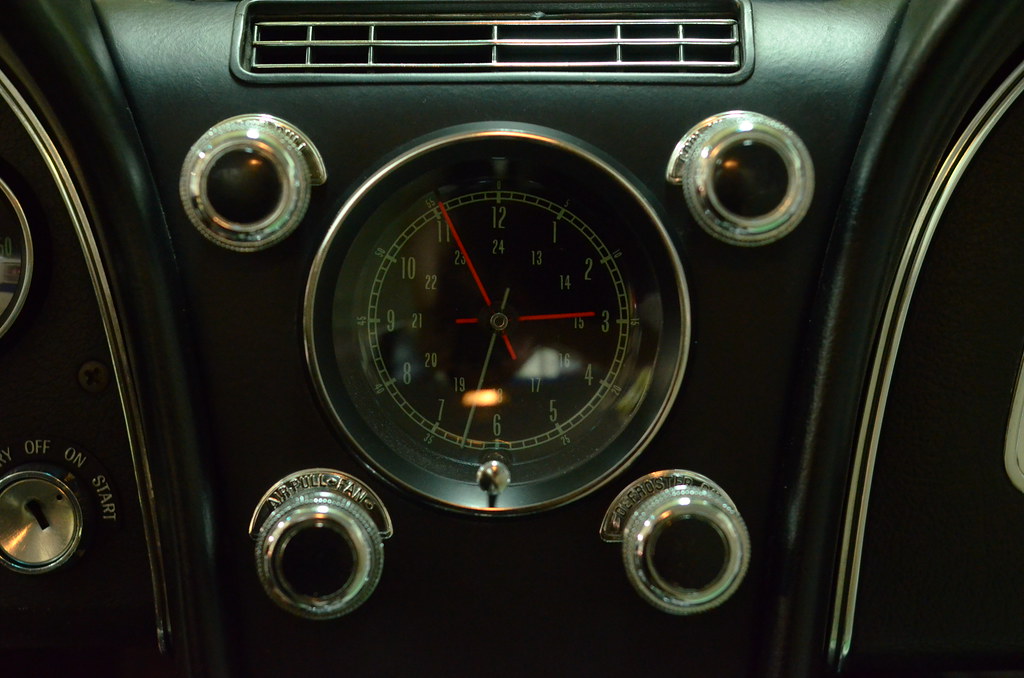
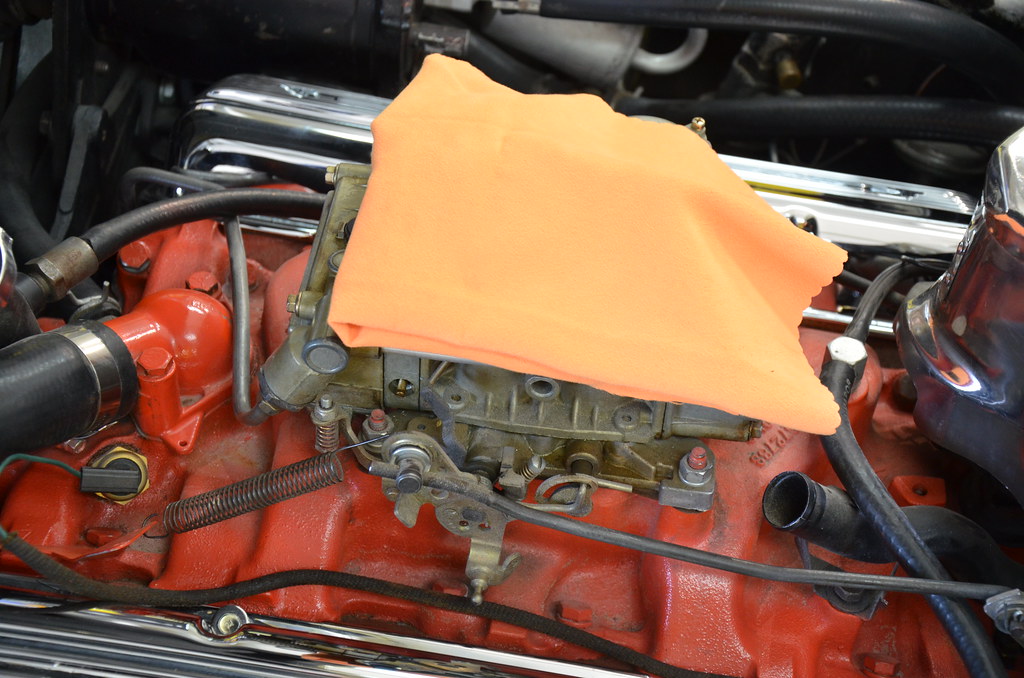
The 67 Vette was with me for a few weeks before we got it back home to NC. After a few days straight on it I had to begin with getting some other work done in between. I would cover the car with a very soft car cover while working on the neighboring vehicles. In between I was working on things like the interior, which was a pleasure. After detailing so many modern cars for a while it’s always a treat getting something in that doesn’t read anything digital. You have to appreciate a car like this while cleaning it! Most every interior component could tell a story through the patina it naturally achieved over the years. It was an enjoyable yet delicate process with Swissvax Interior products.
Interior


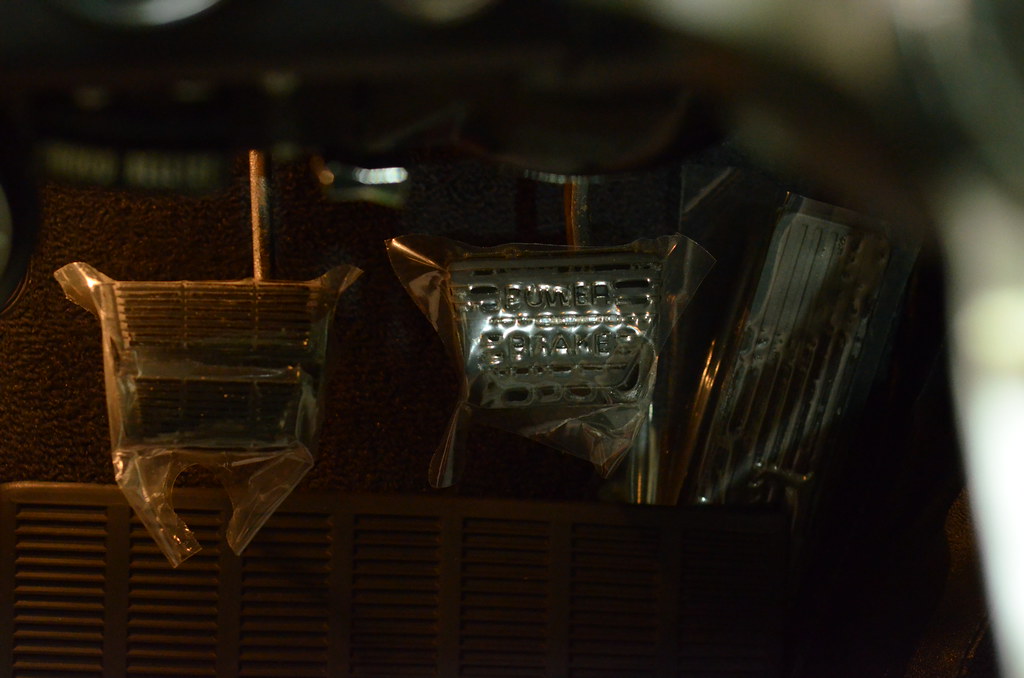
The rubbers on the pedals were replaced during the restoration process with our Corvette Tech’s and have never met the soles of any shoes yet. When the car was dropped off they had socks wrapped around the new pedals and I wanted to respect the fact that the owner will have first go on the new rubber. I removed the socks, cleaned the pedals and placed some plastic around them that will be easy to remove.
Motor
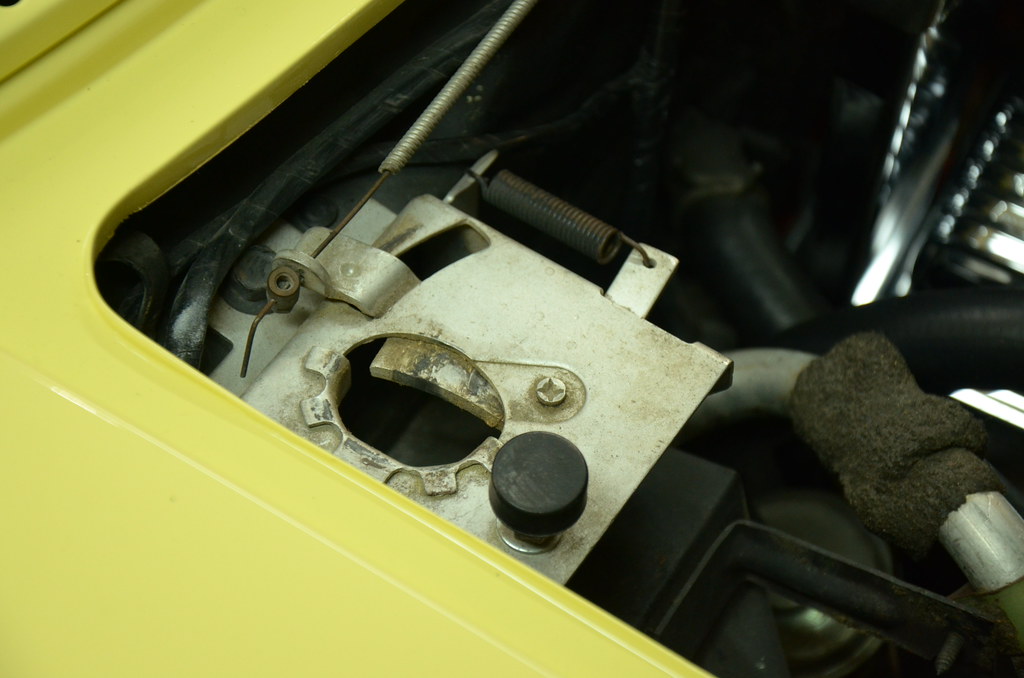
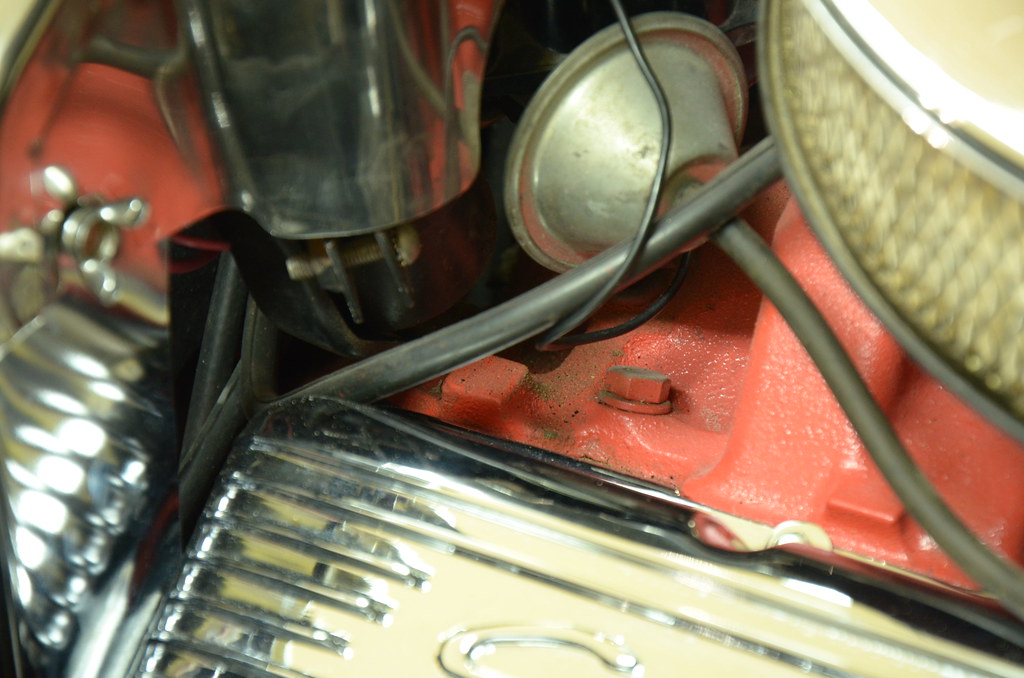
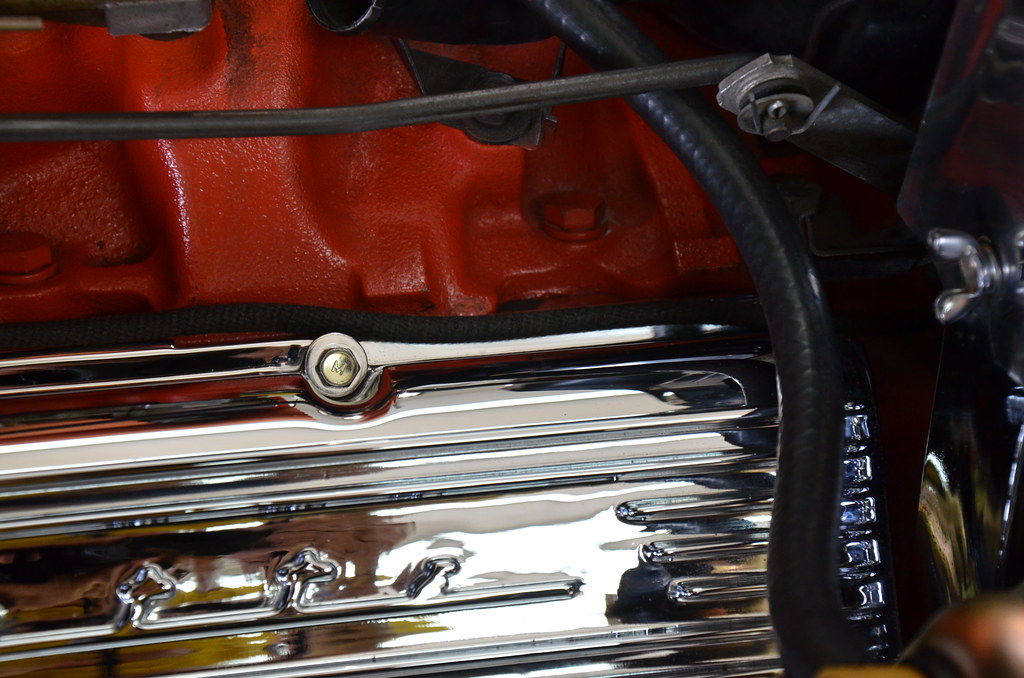
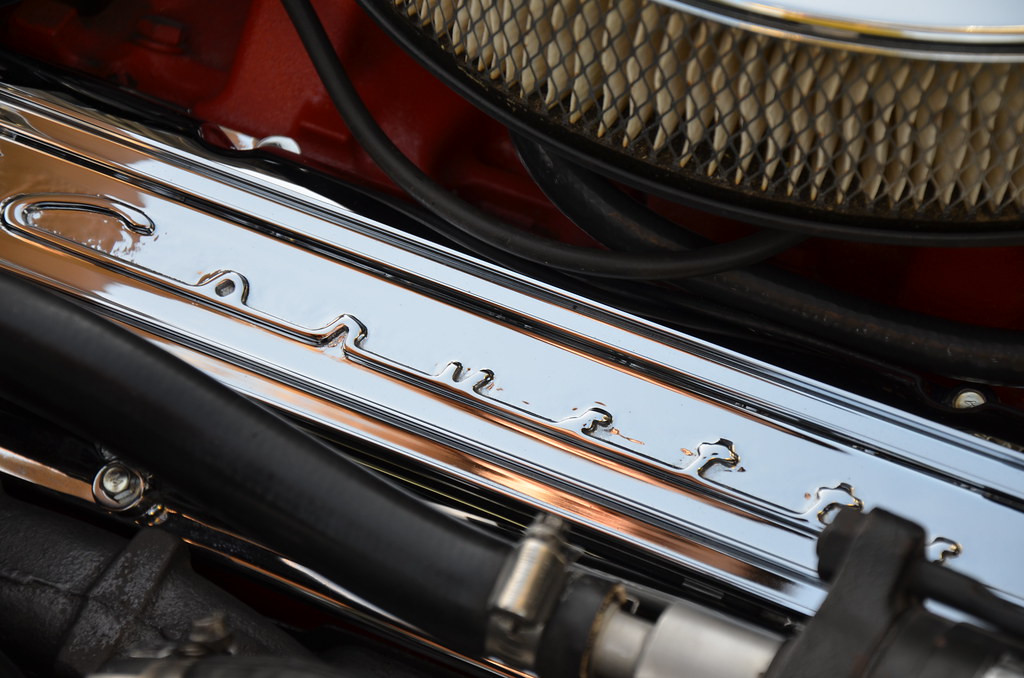
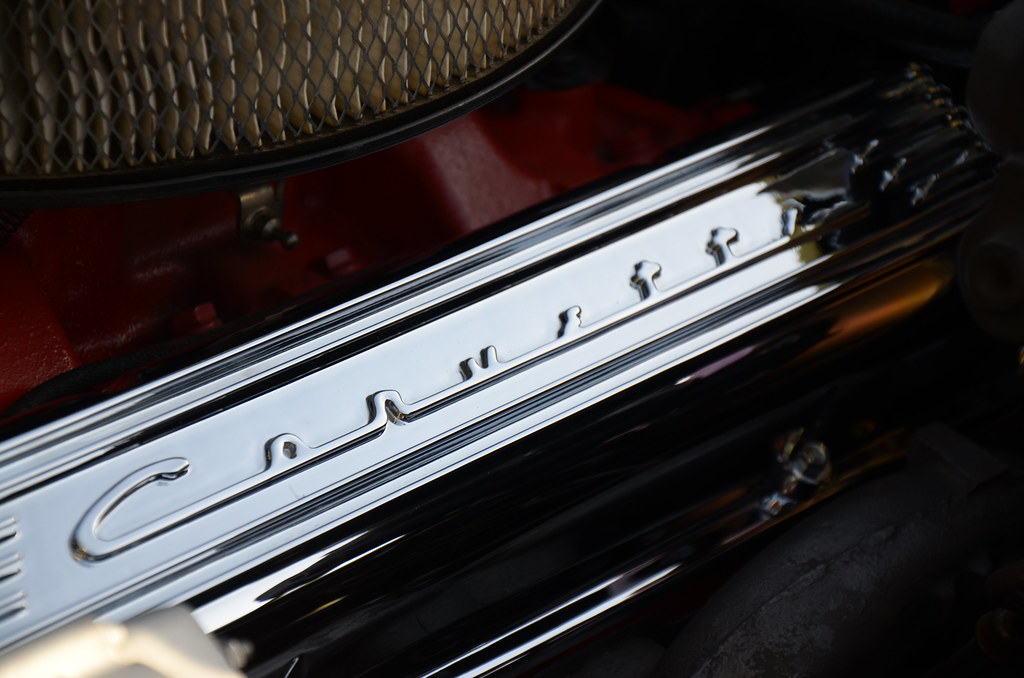
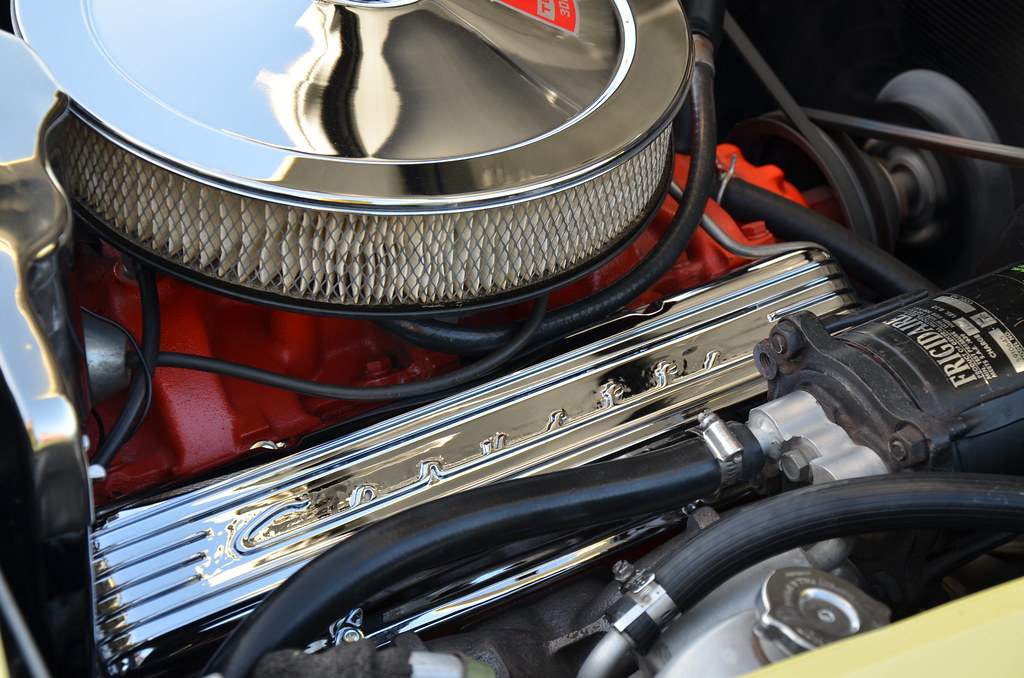
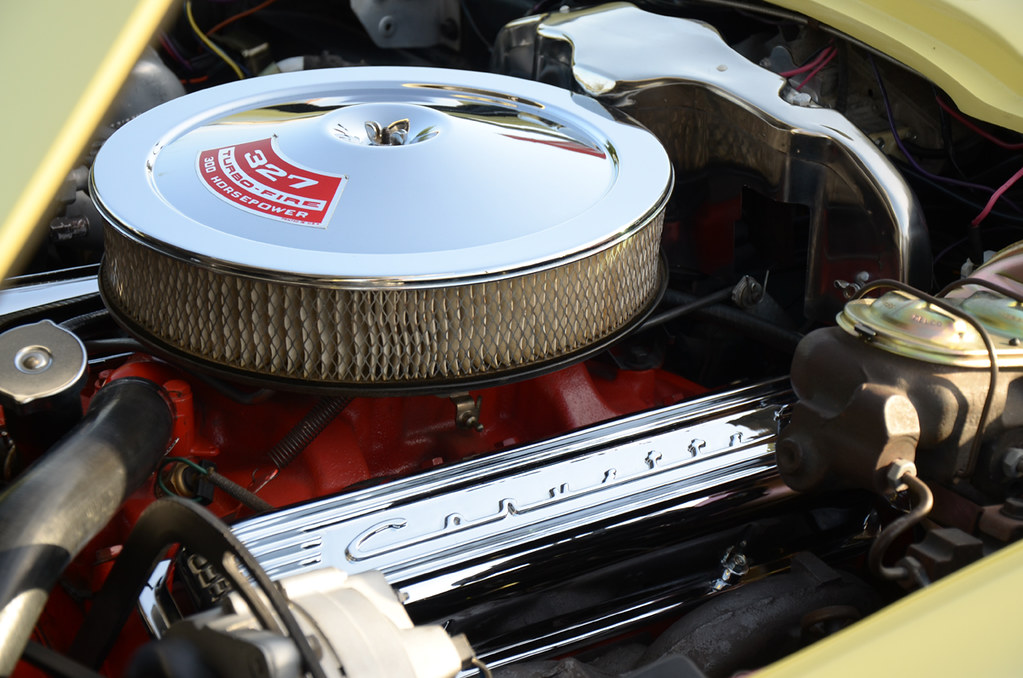
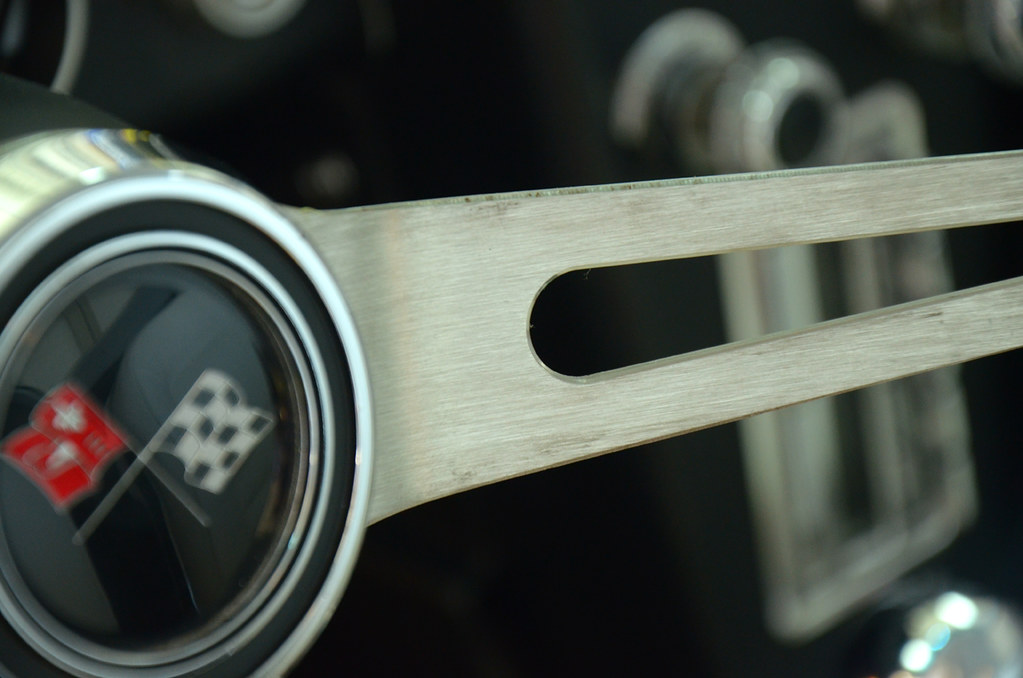
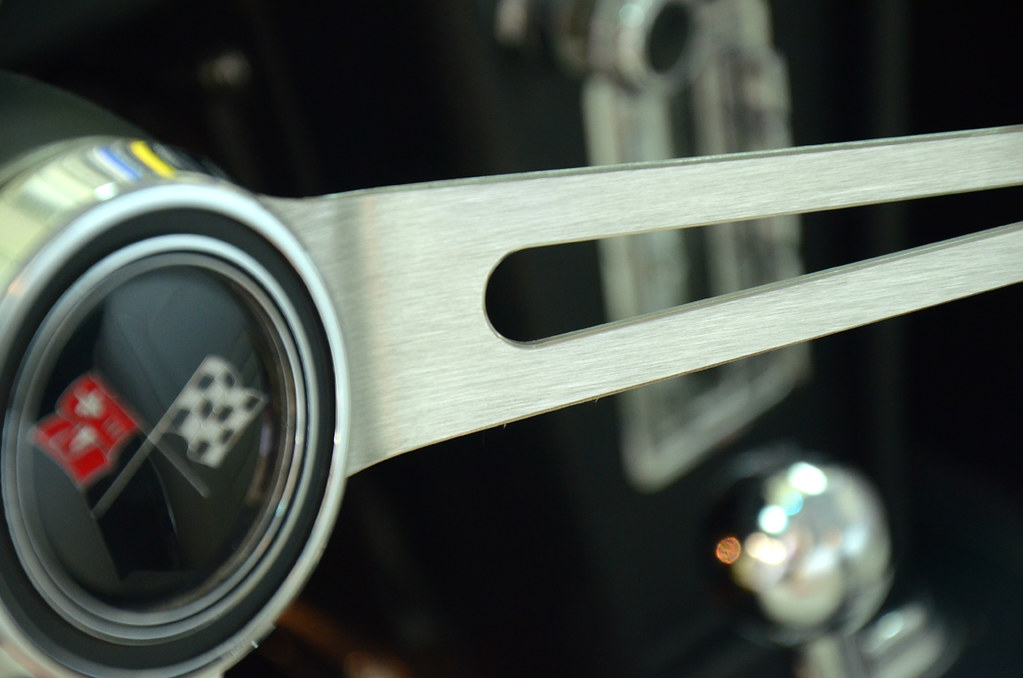
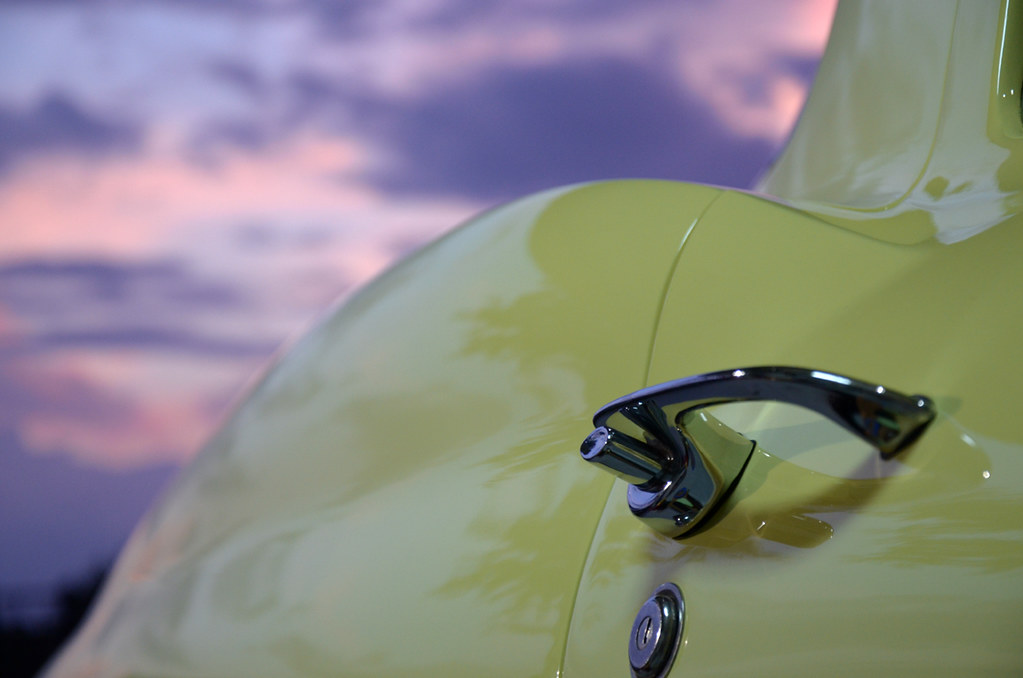
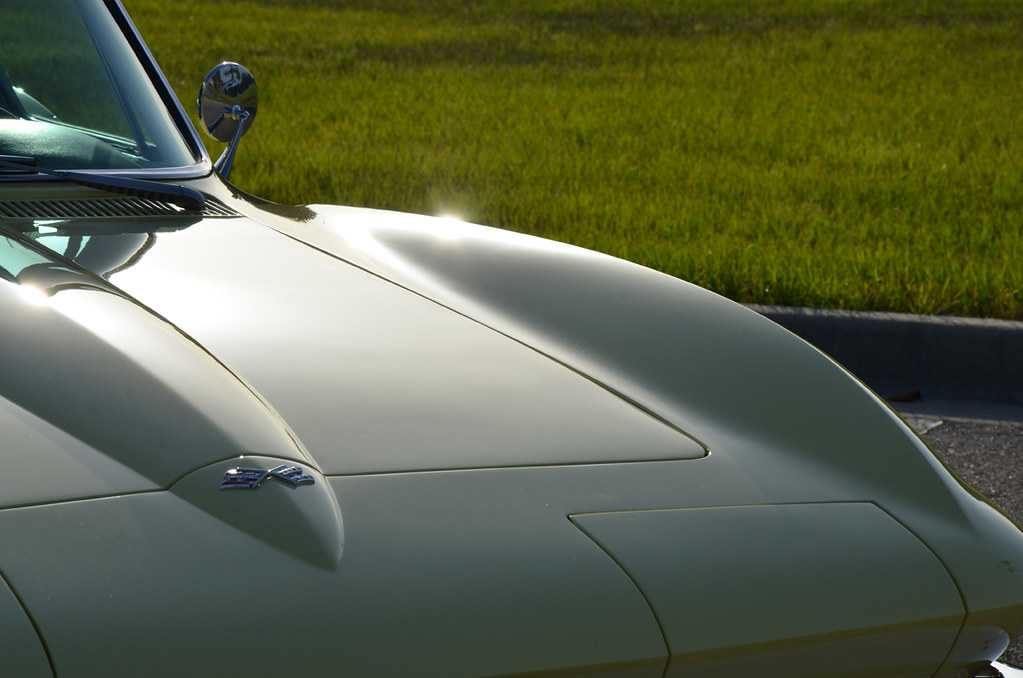
Some of my favorite pictures from the experience with this classic.
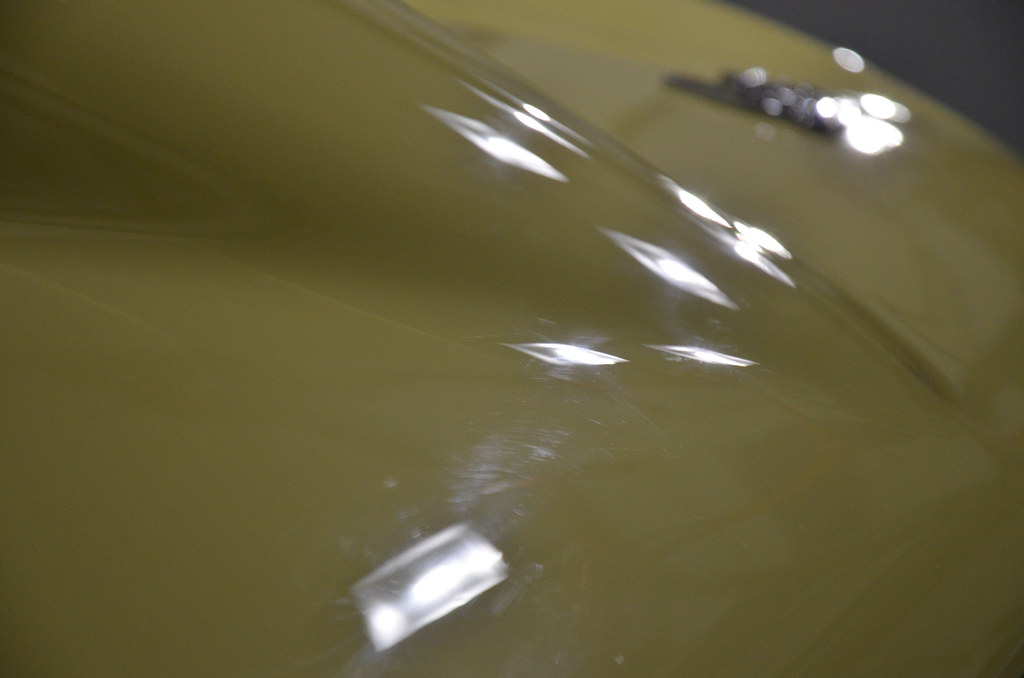
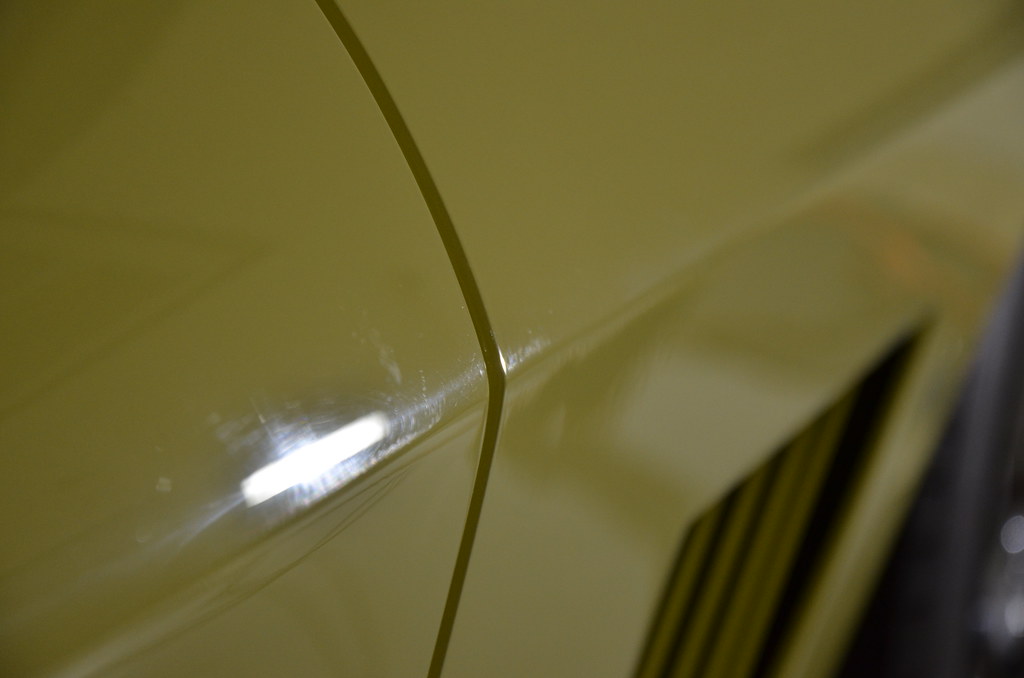
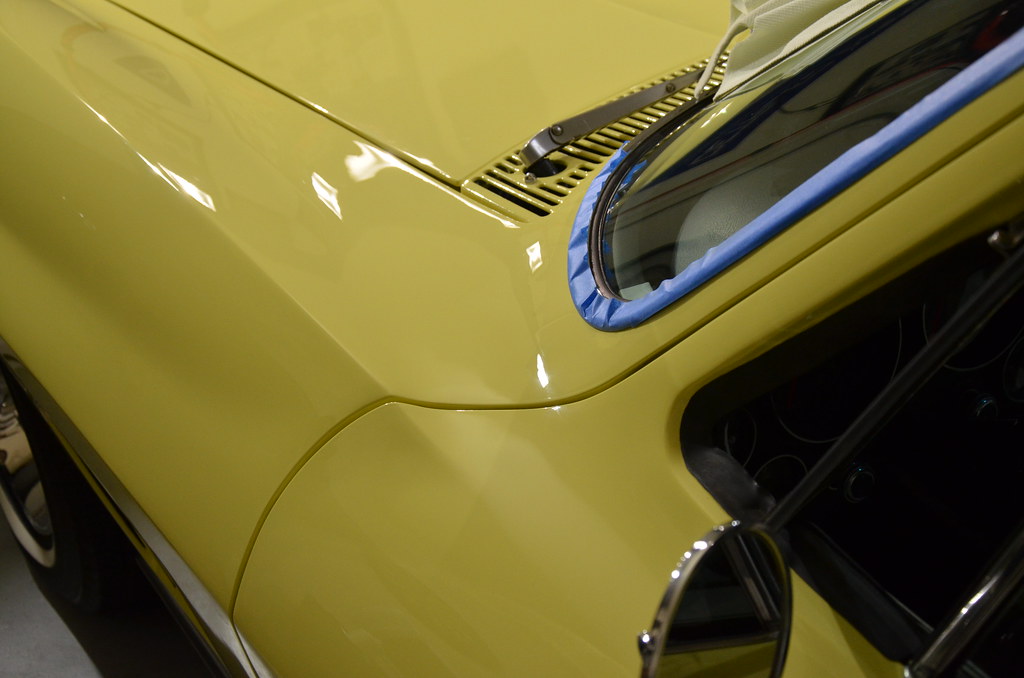
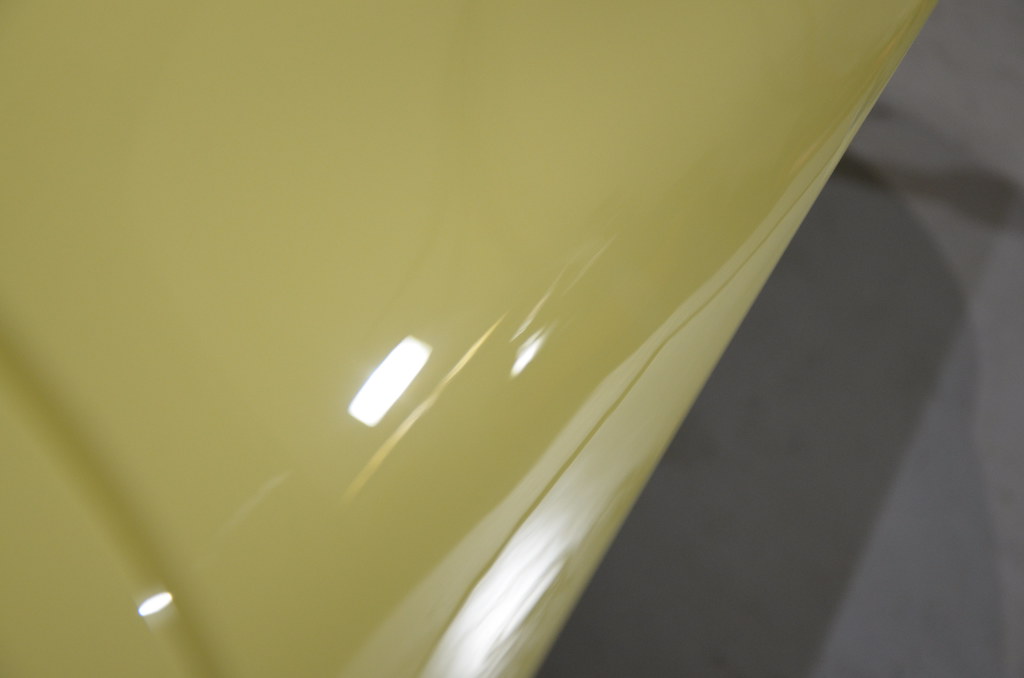
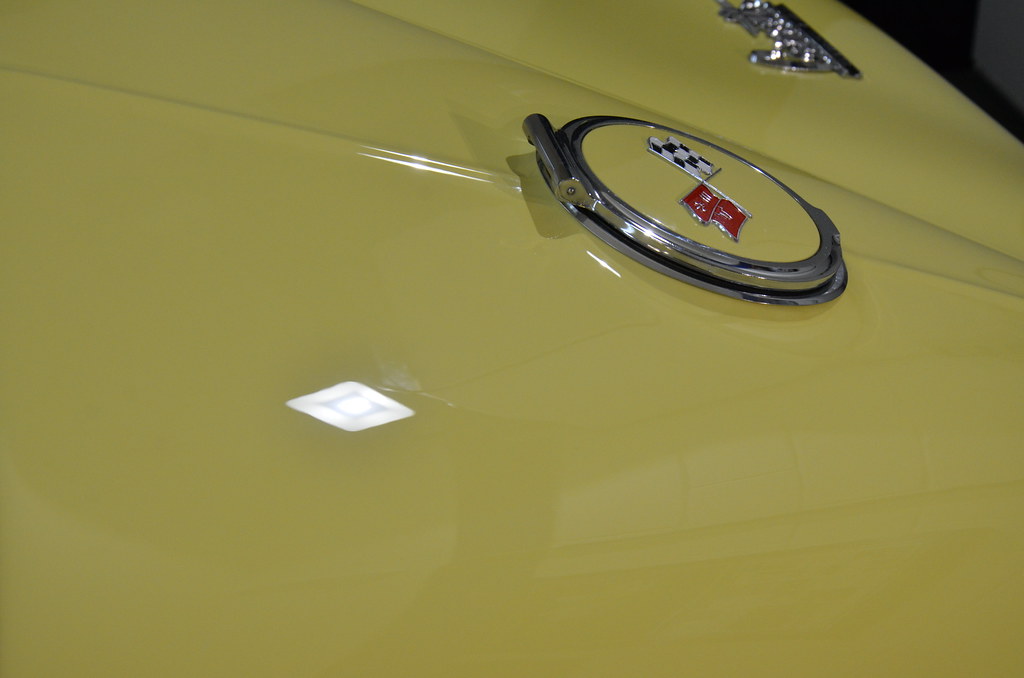
On the final stages the car was topped off with 2 coats of Swissvax Trilogy USA Wax (A New wax exclusive to North America suited for our climate conditions). The final results were amazing!


This car was a privilege to work on! To me it was an honor to be able to put my signature touches on a car that will continue down the road of history. It puts me in a place of being a part of the car… and was somewhat saddened to see a part of me leave when it came time to send the car home. Till the next time we meet!
Buy Products From This Article
Purchase the products used in this article individually or in one convenient package here!