
Orlando Paint Correction Detail | 09 Aston Martin Vantage
by Brian GuySo far this year this 09 Aston Martin Vantage has been one of my favorite details. I really enjoyed detailing this car from top to bottom. There are a lot of pictures in this article, not everything I shot, but enough to get a good idea on how to transform an already stunning looking car to it’s very best!
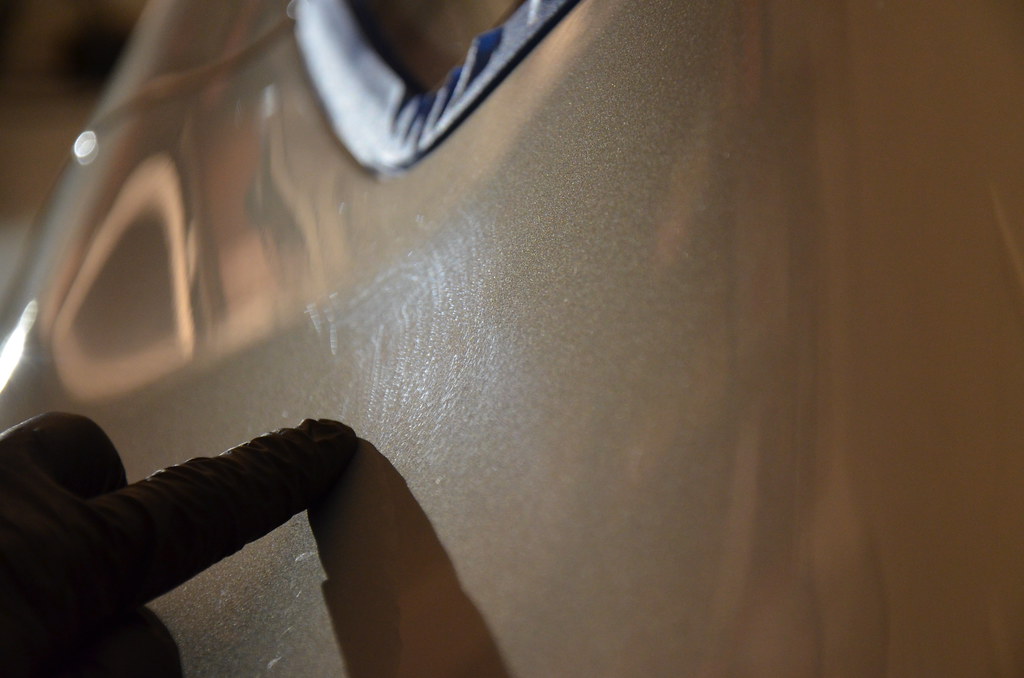
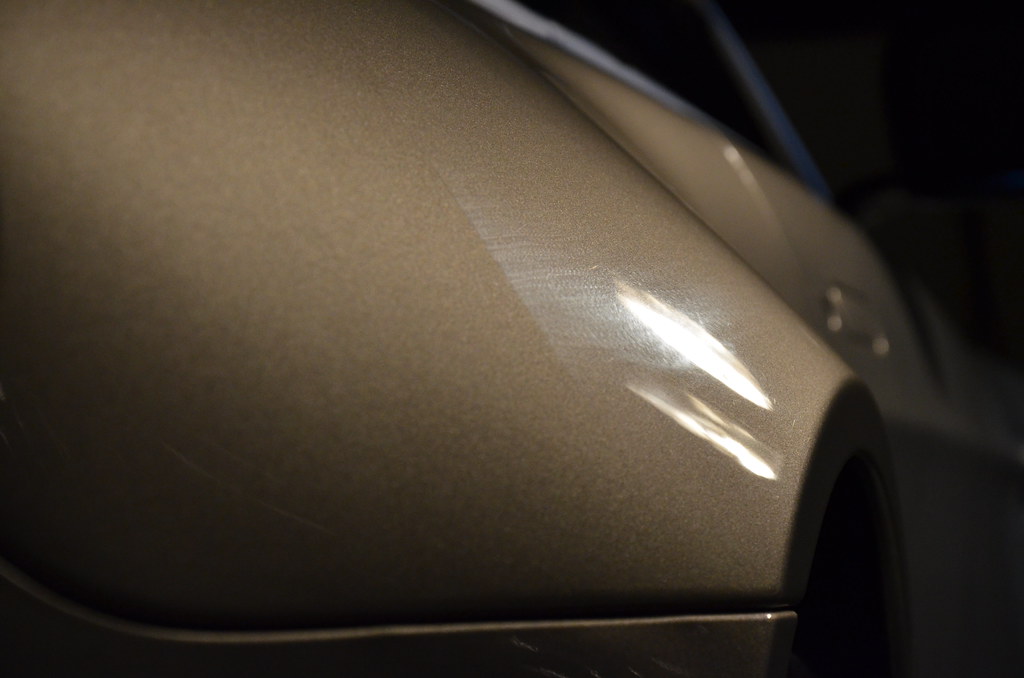
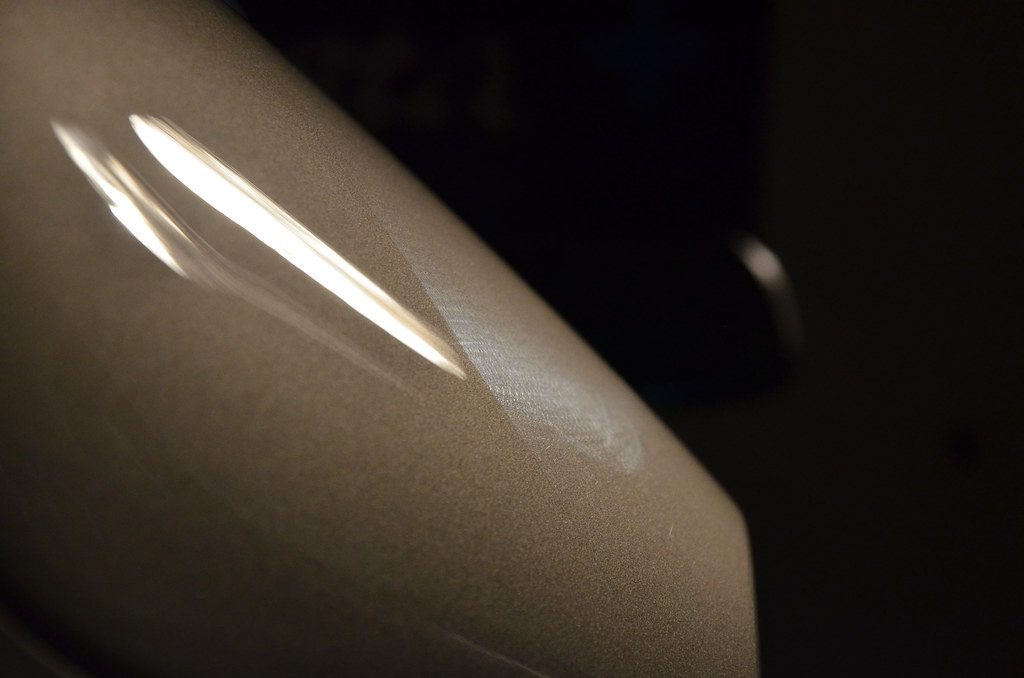
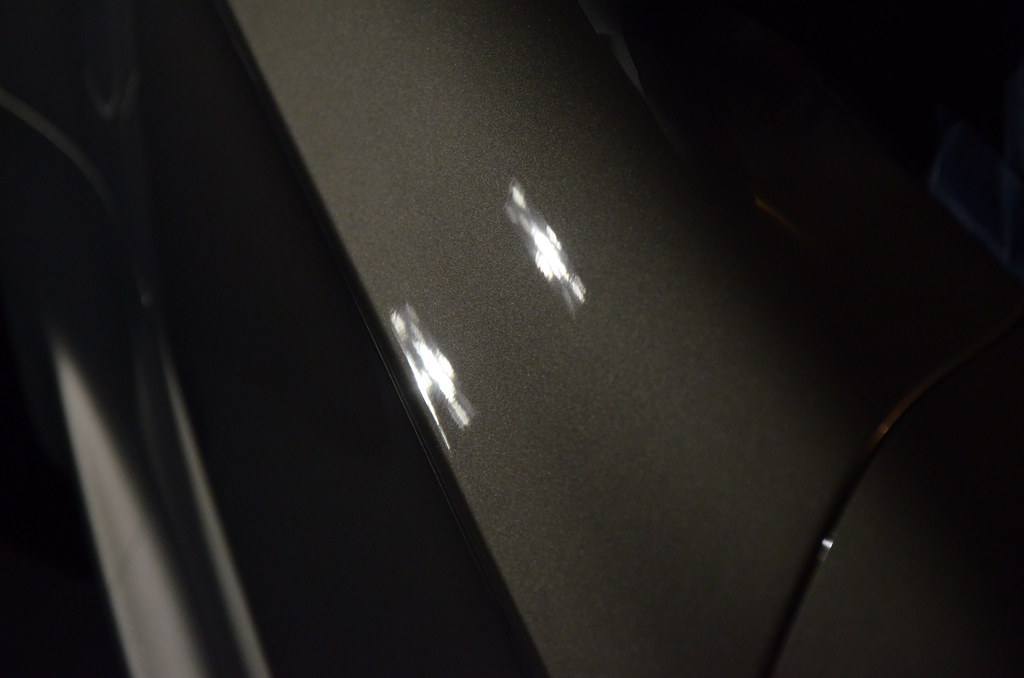
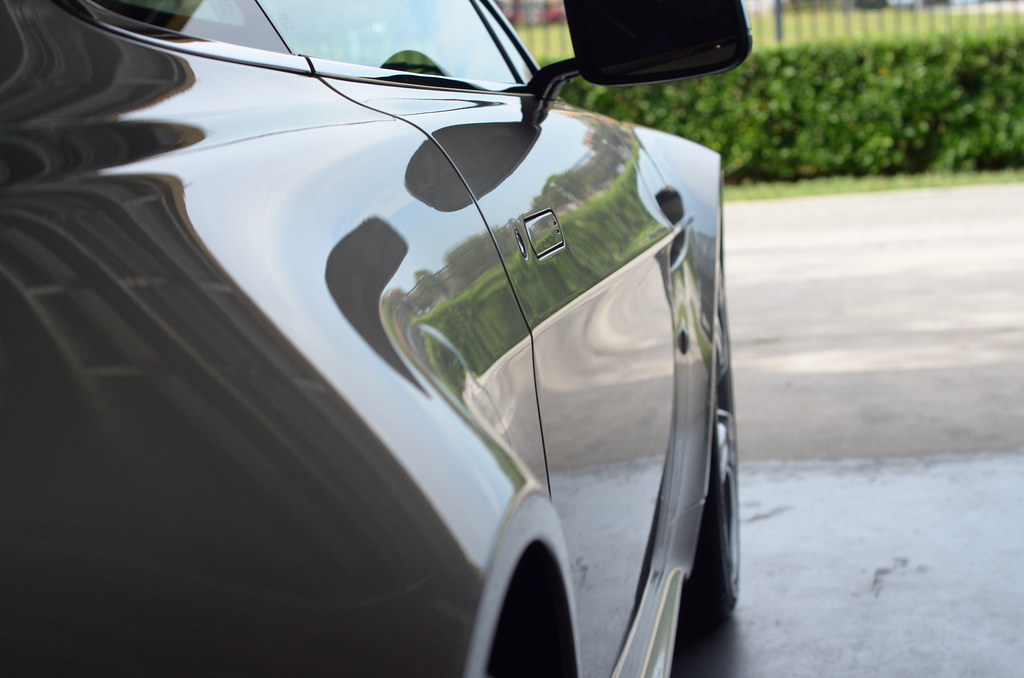
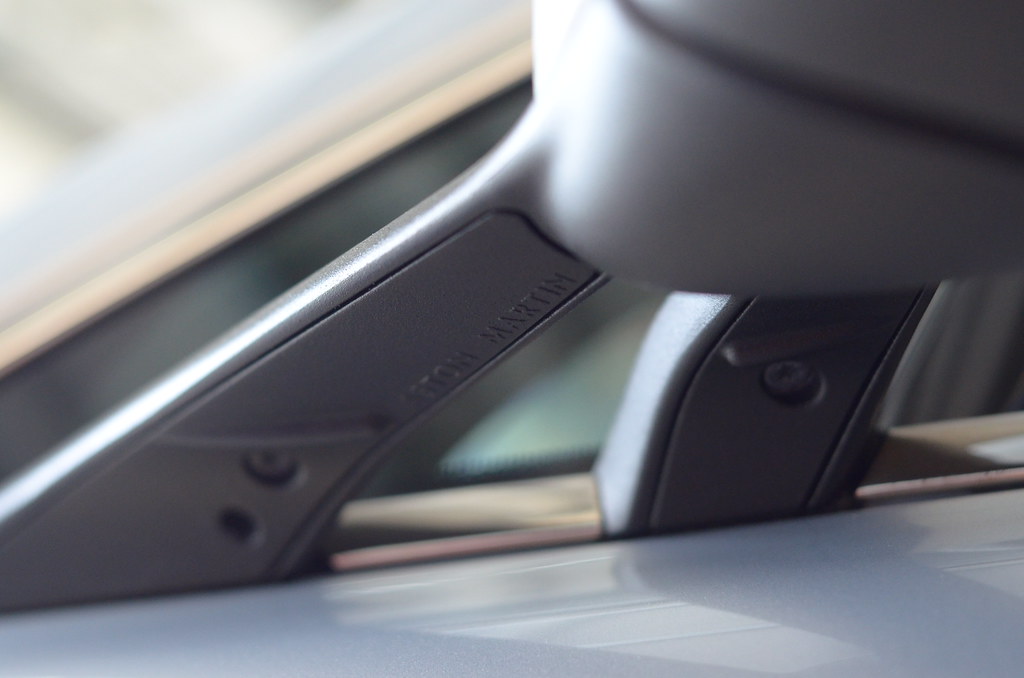
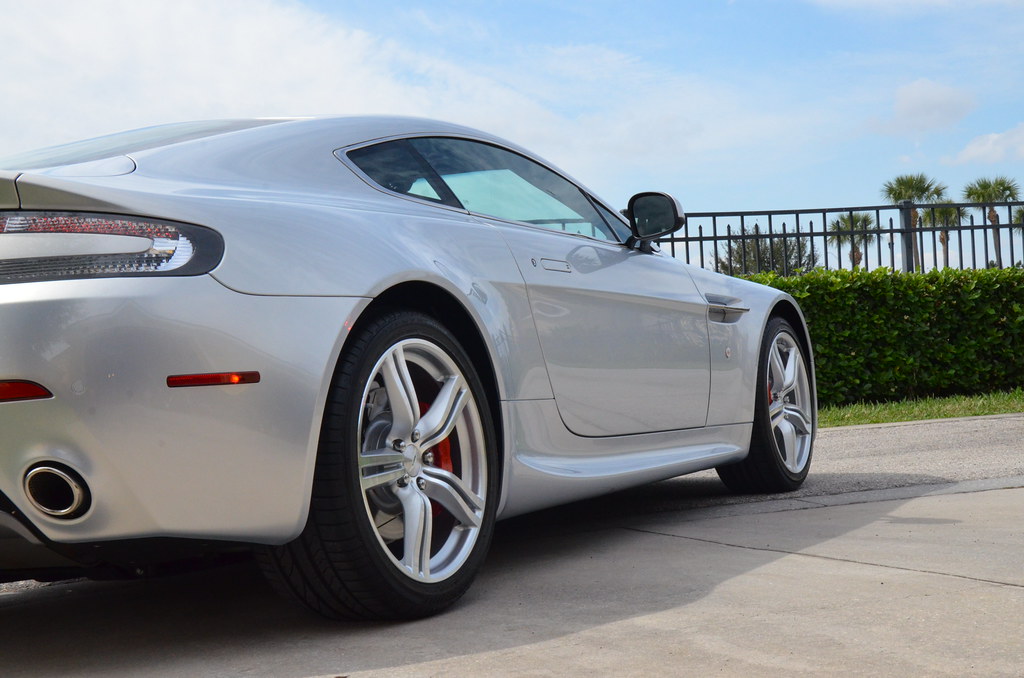
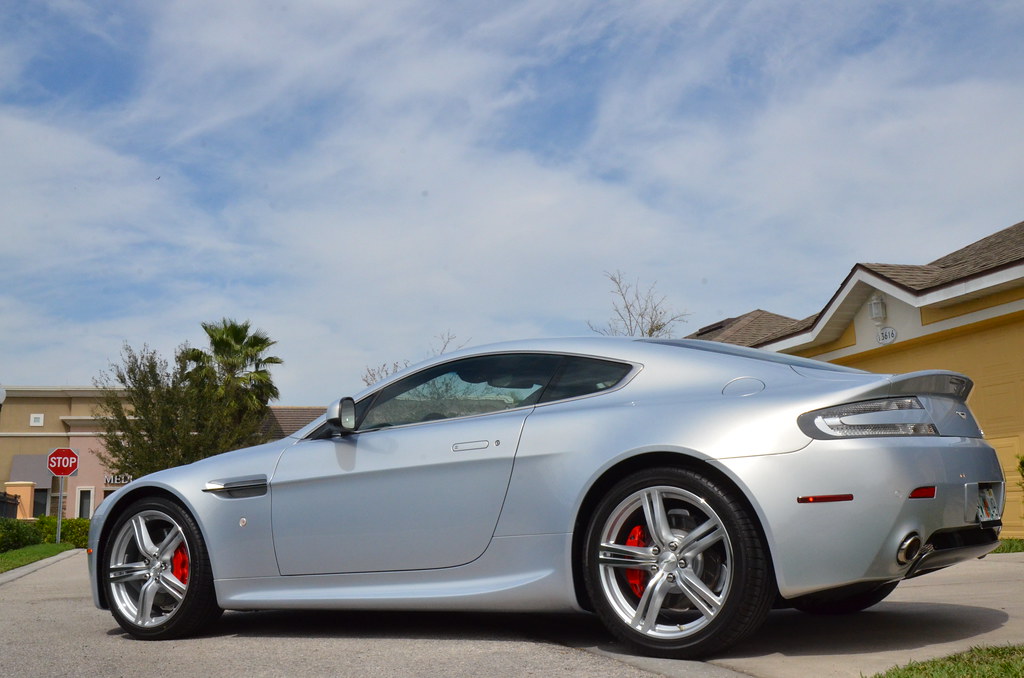
This car was absolutely beautiful when the owner had dropped it off. Rarely do you see a second owner pick-up a used car in such great shape. The vehicle had 3400 miles on it when the new owner took purchase. I’m pretty sure he knew he picked up a beautiful car, but was also keen enough to know that it could look that much better. Light colored paint on an exotic vehicle of this nature makes it very difficult to spot defects under natural sunlight. Aston Martin always looks beautiful and elegant, even when dirty or with defects. This car had loads of wet-sand marks and pigtails and I always take great pleasure in being the first one to dial the paint in on cars like this, that have never been corrected or professionally detailed.
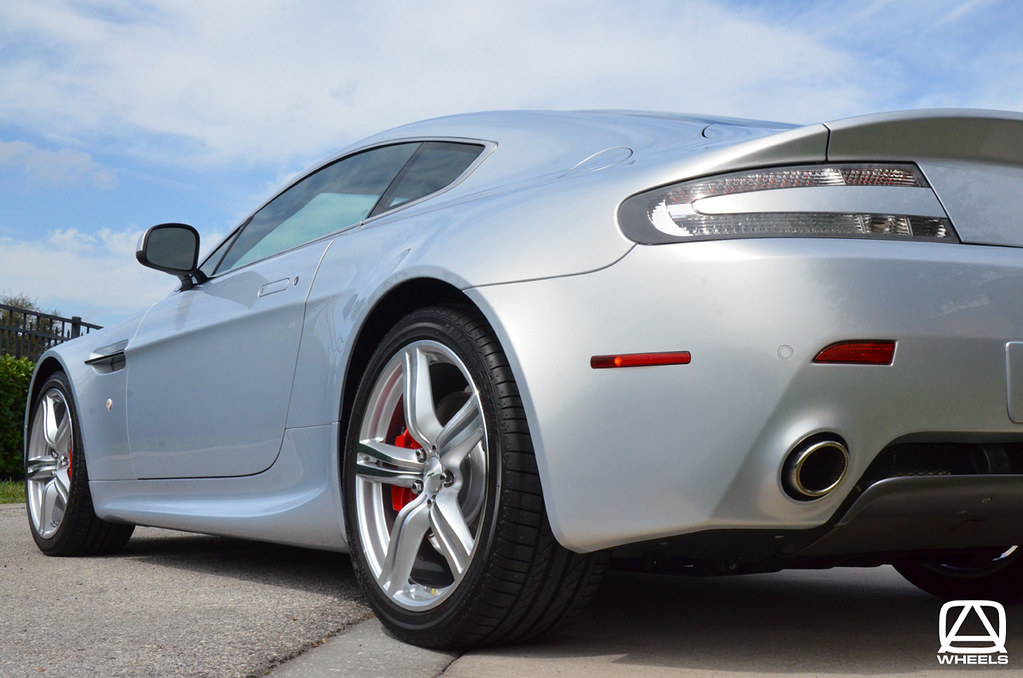
Sanding marks are certainly not uncommon with Aston Martins. The manufacturer takes extra steps to ensure a higher quality finish for the end product. I don’t get upset with high-end manufacturers about these small little details. Instead I prefer to to call them marks of love and I wish all vehicle manufactures took these extra steps. Basically these cars undergo being painted then sanded down with DA sanding discs (to level the paint surface) and finally polished back out. Manufacturers that pump out volumes of vehicles would never take these extra steps in the final process. High-end vehicles (exotics/Aston Martin) ensure quality behind the build and these marks prove it. I could chase DA sand marks all day long and this type of paint correction and detail work has my utmost attention.
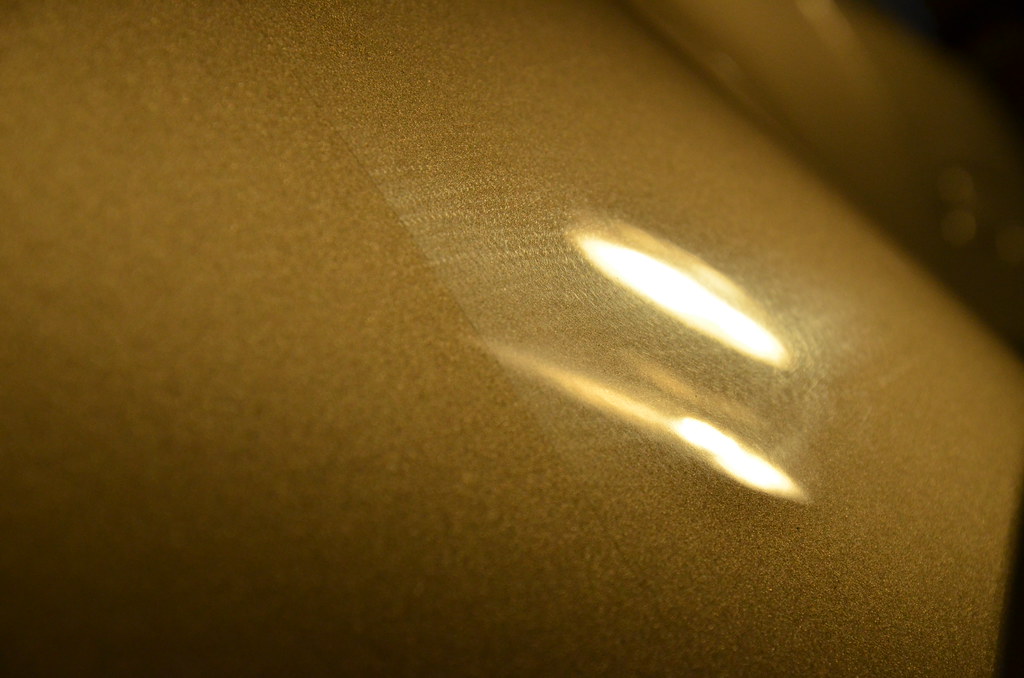
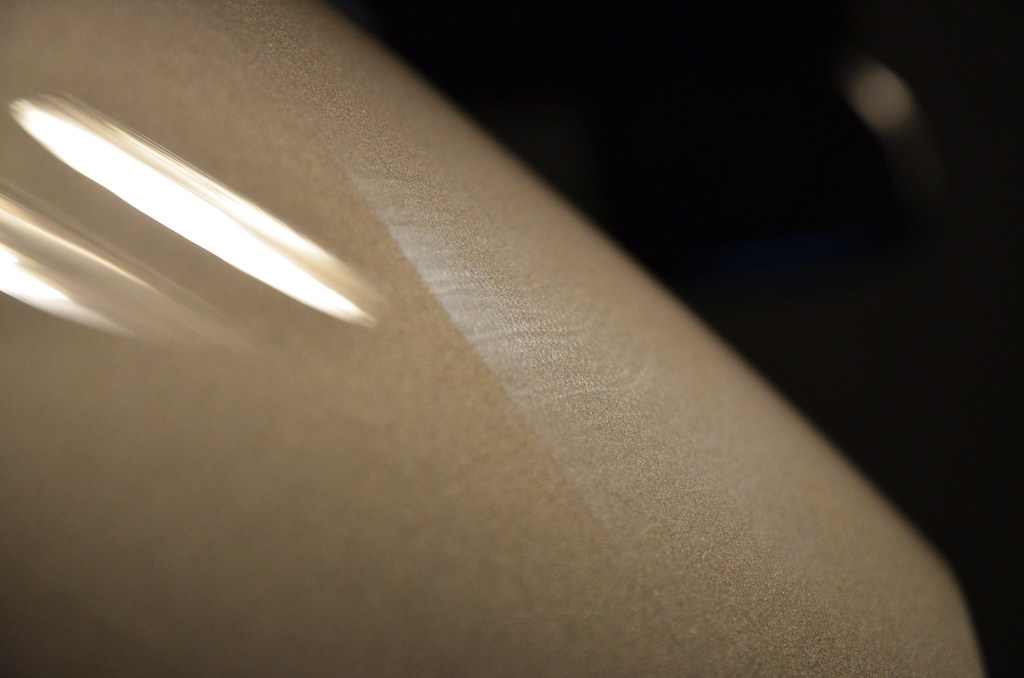
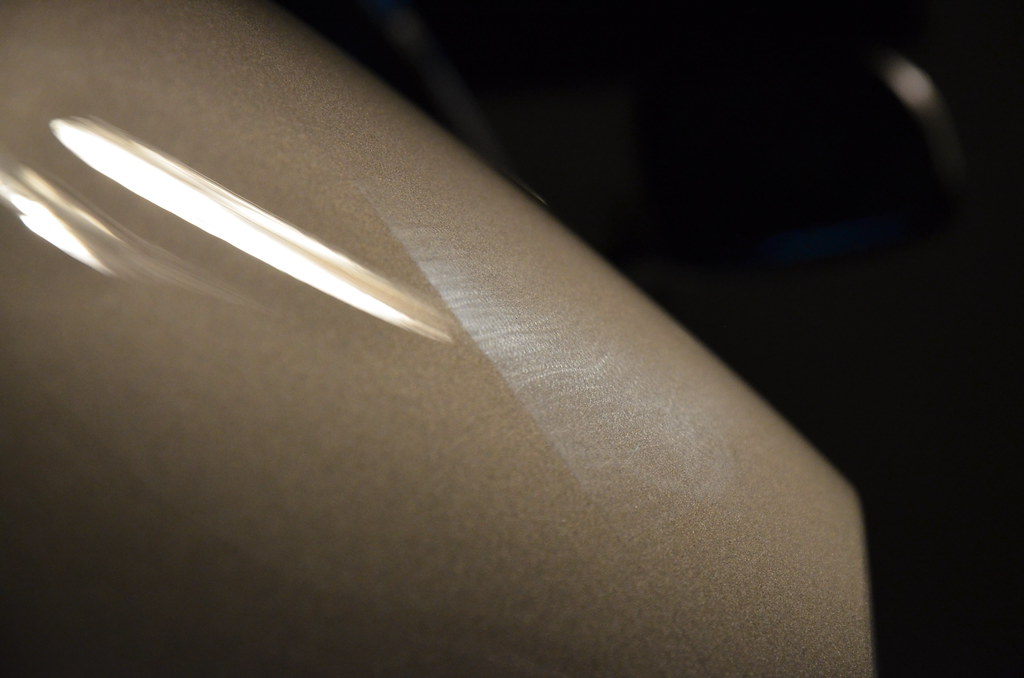
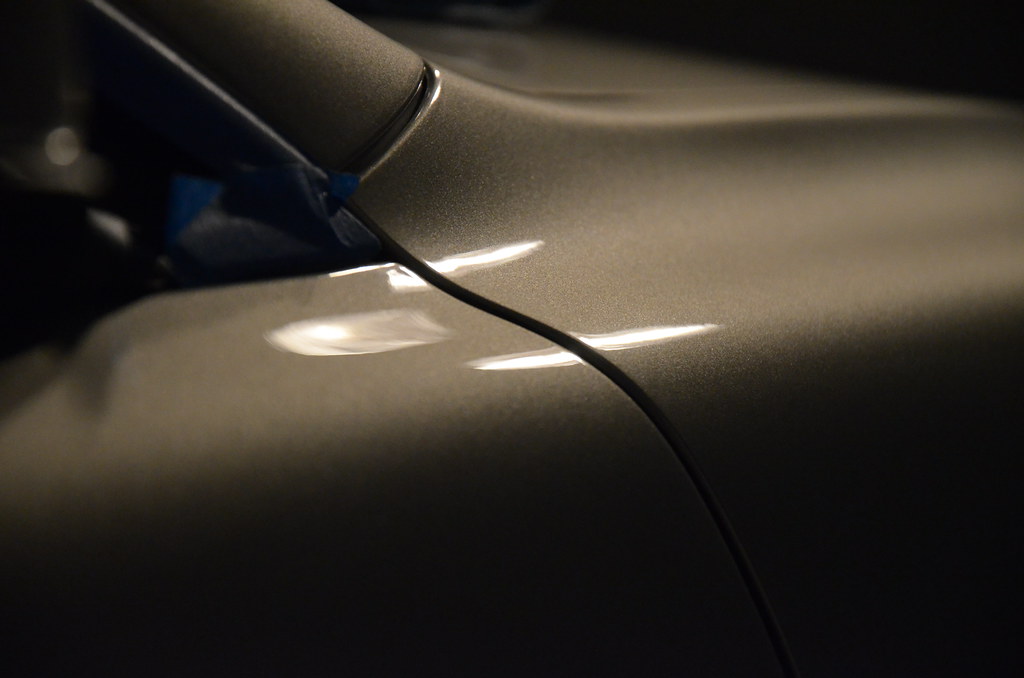
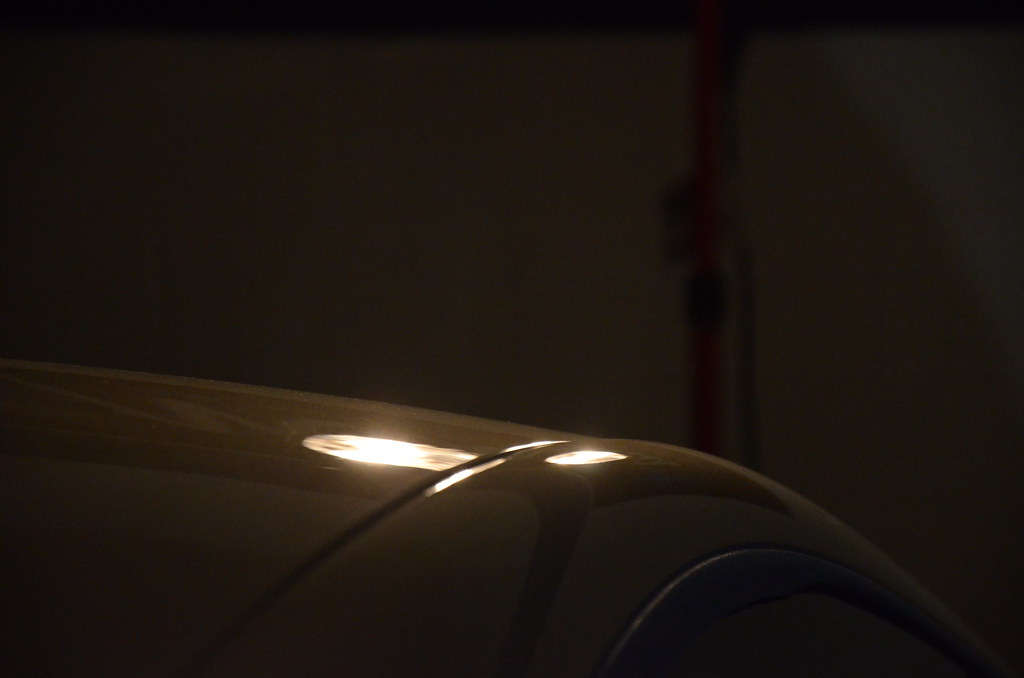
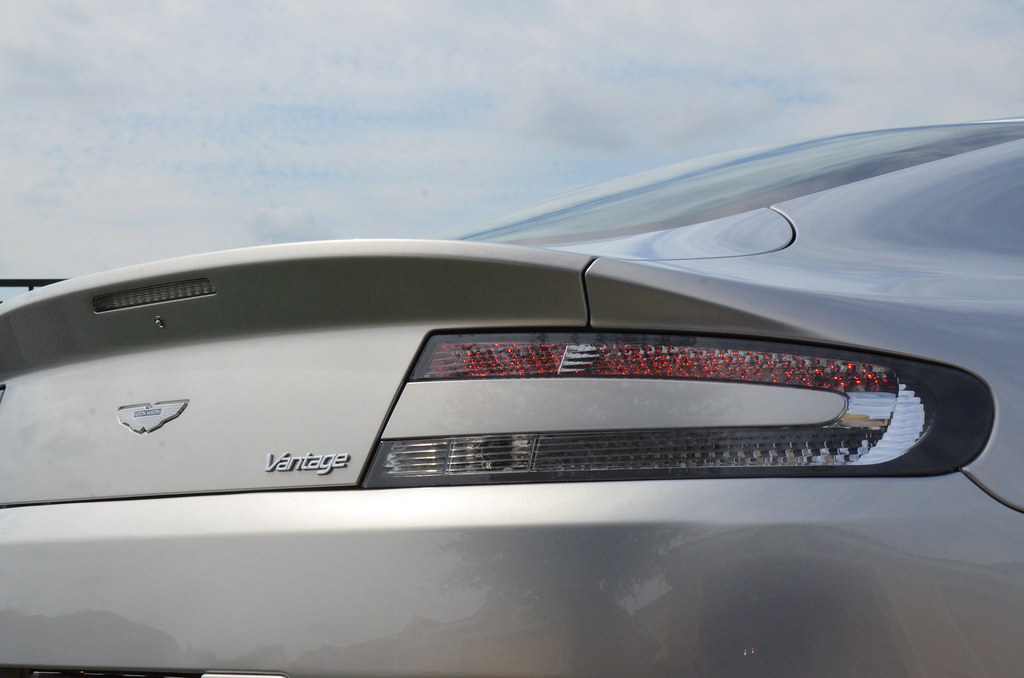
In the below pictures, I will point out sanding marks (pigtails) and how they appear under closer inspection.
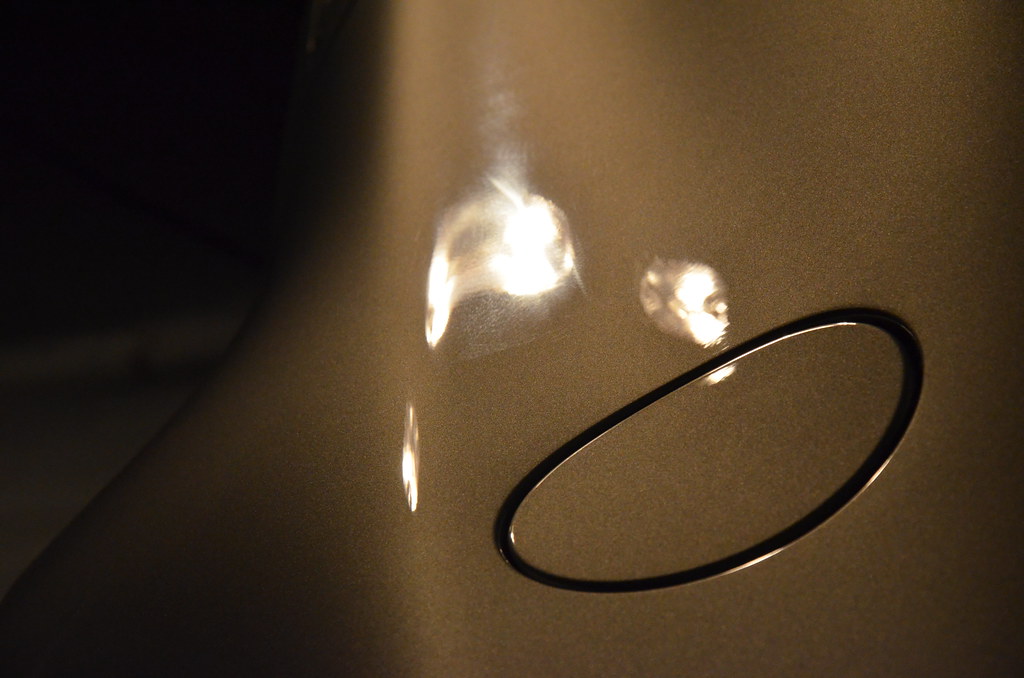
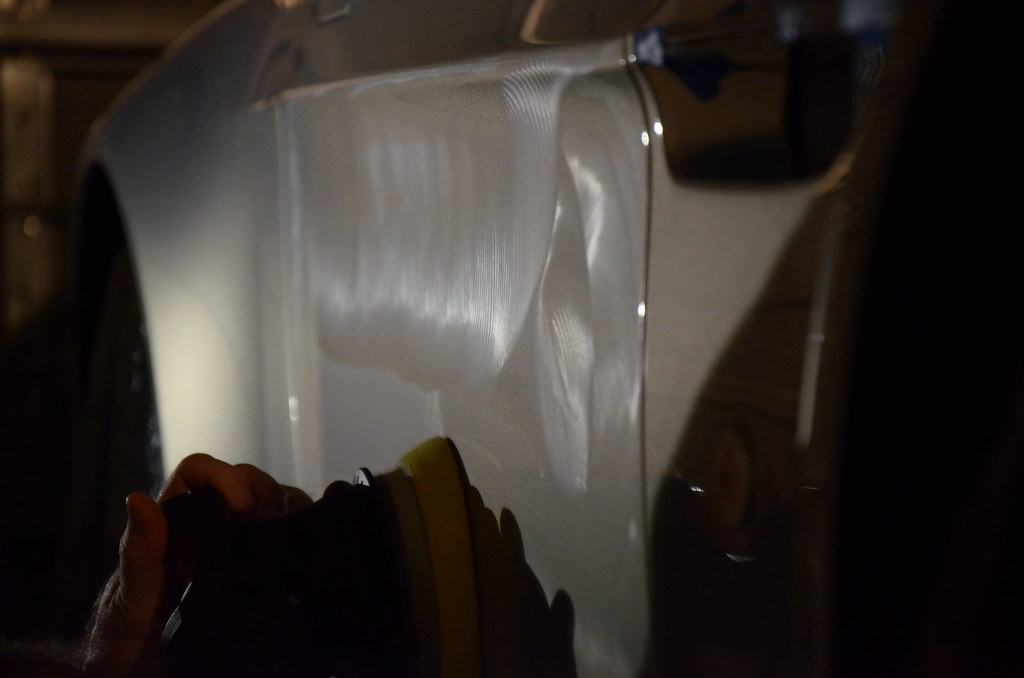
Note: You will see the amount of luster that is lost from the top surface of the paint. Without the benefits of paint correction these areas of paint would always be “less” in the overall looks. Masking over the issues with a single step polish or some type of LSP would not remove them, they would just be more hidden for a short period of time. Removing them safely through our paint correction steps is the only way to gain all the best potential the paint has to offer.
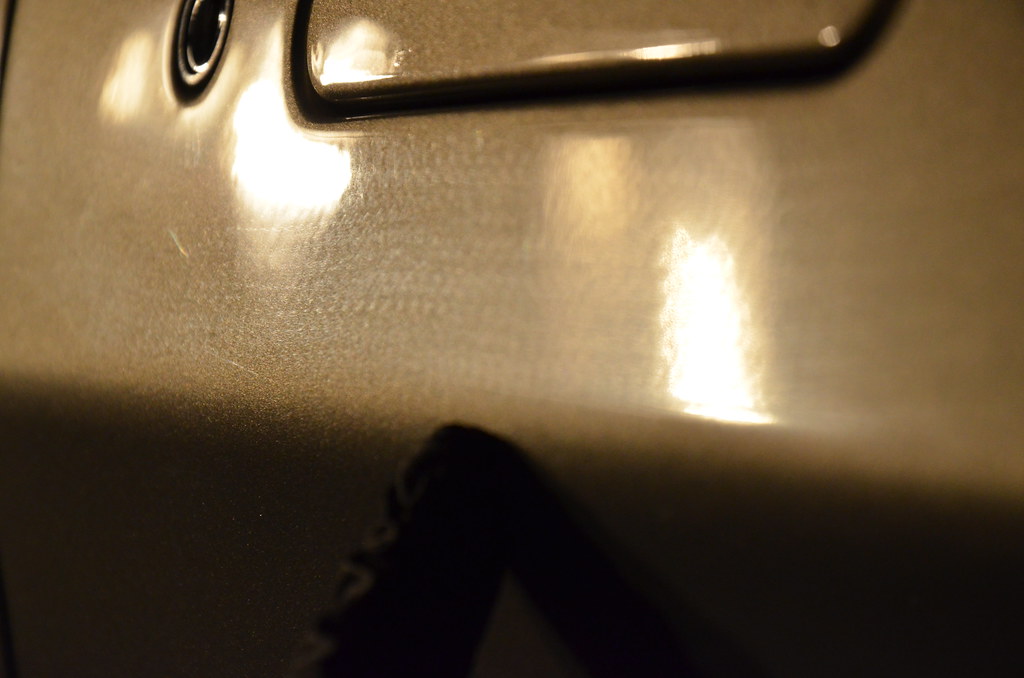

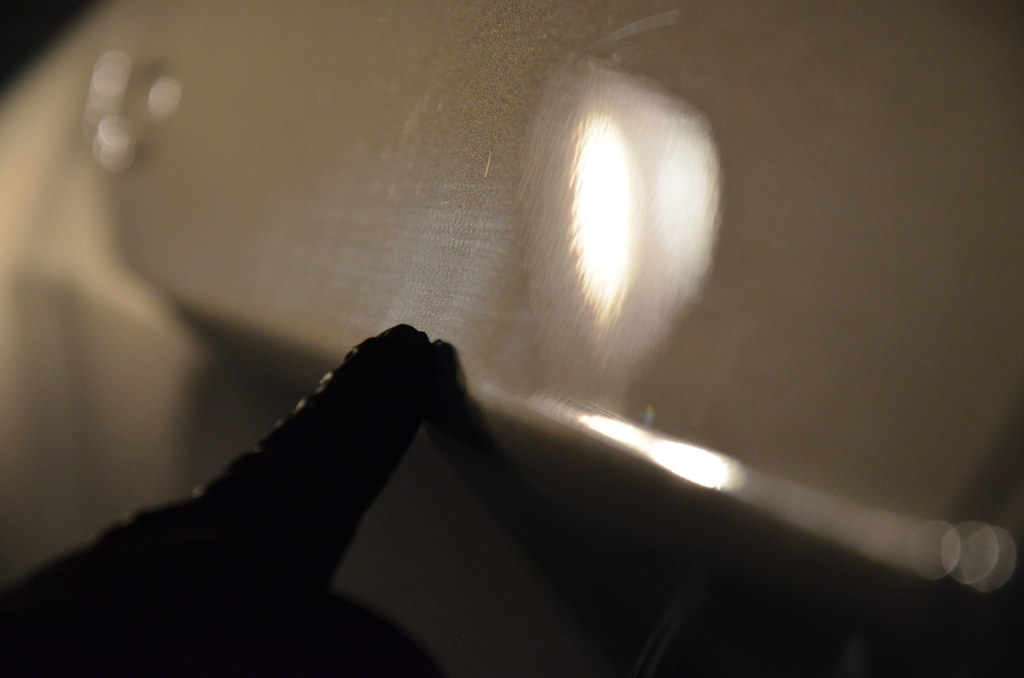
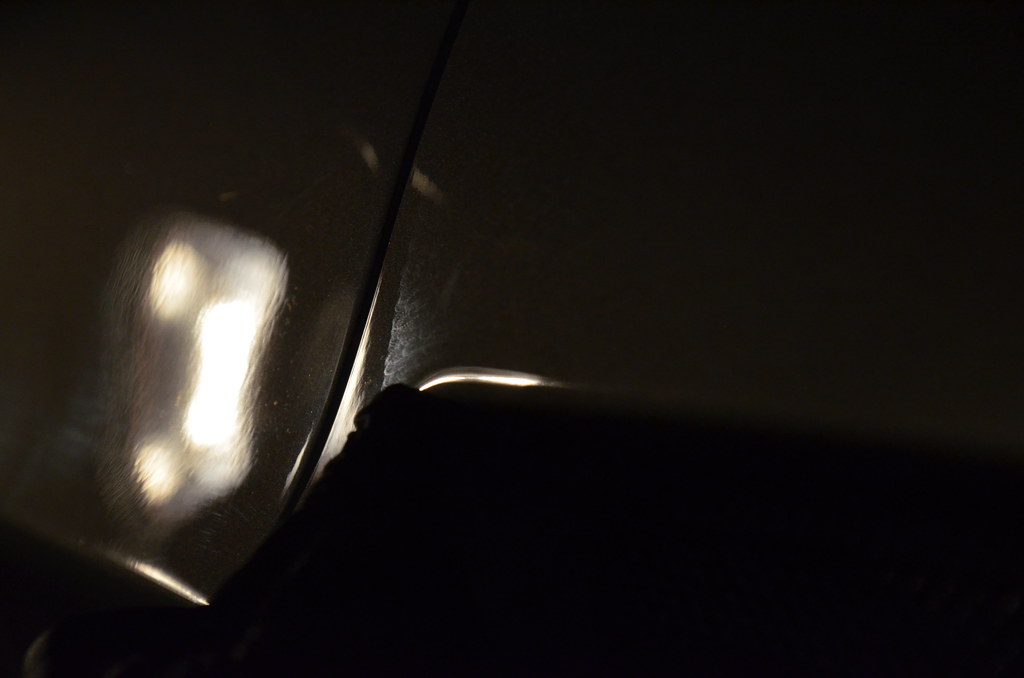
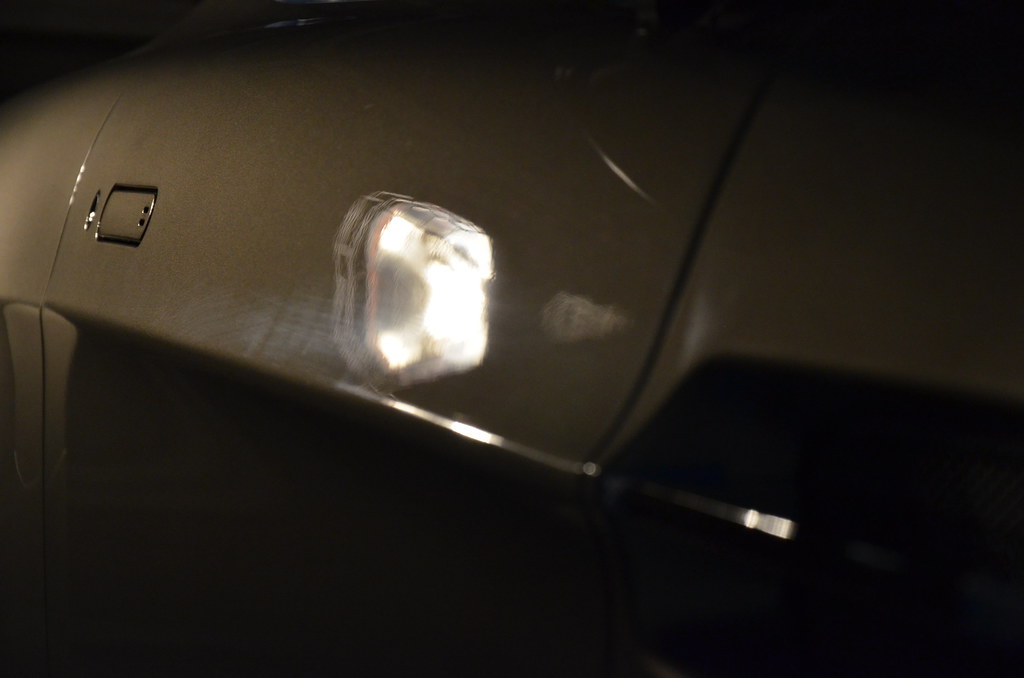


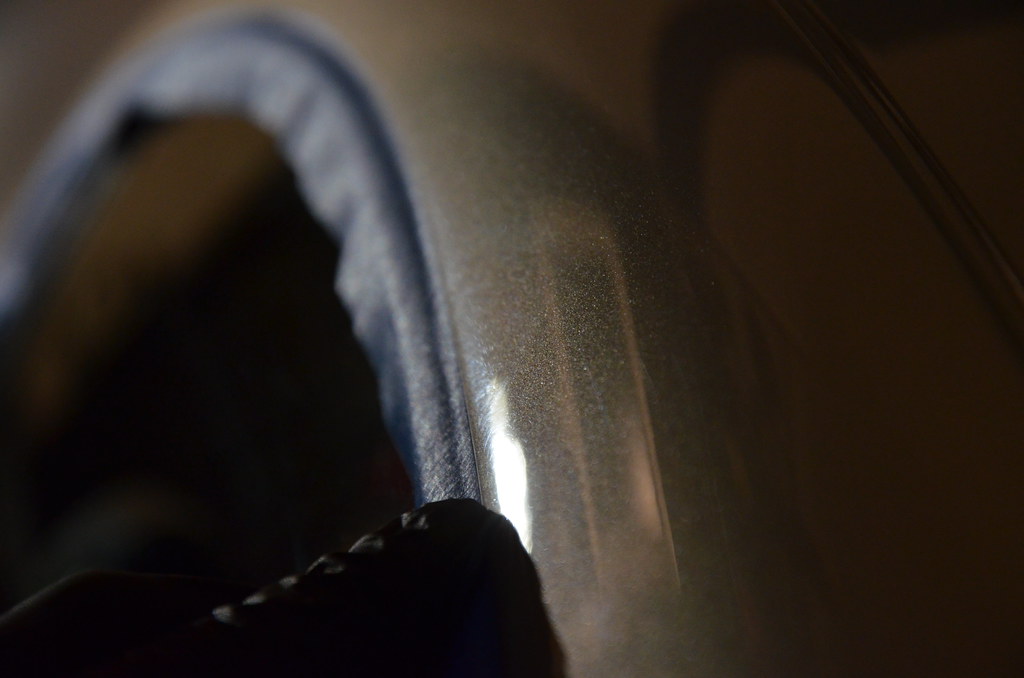
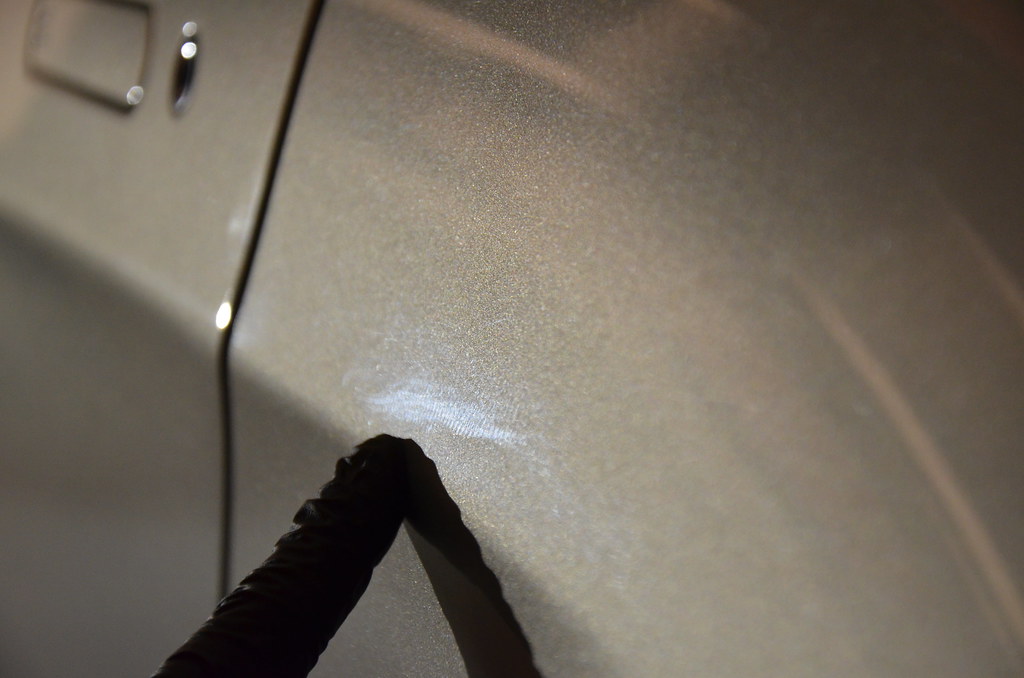


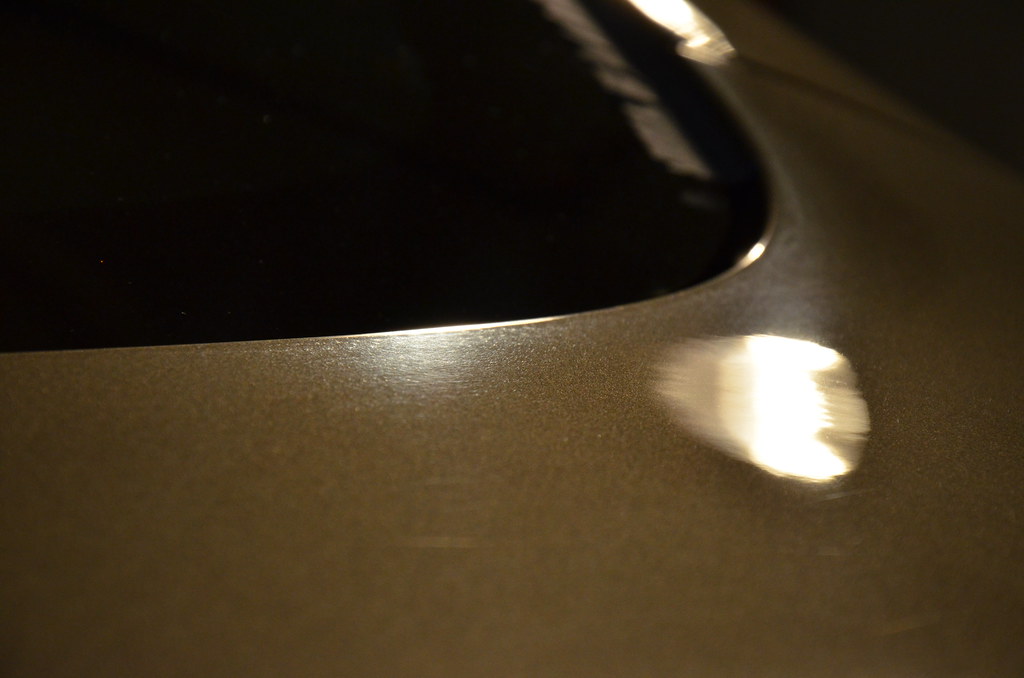

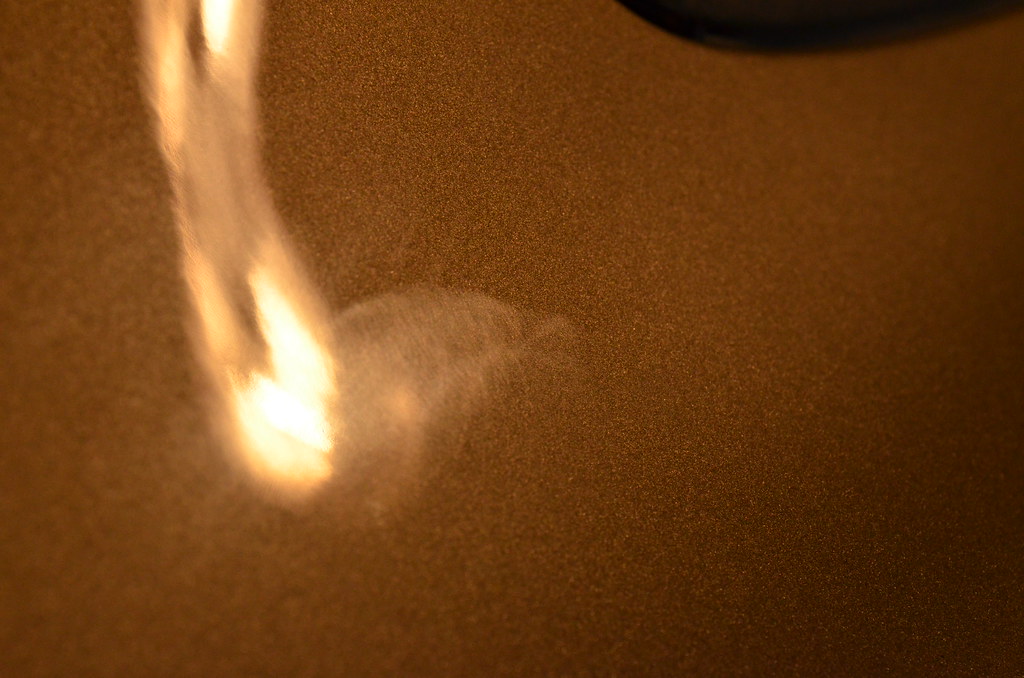
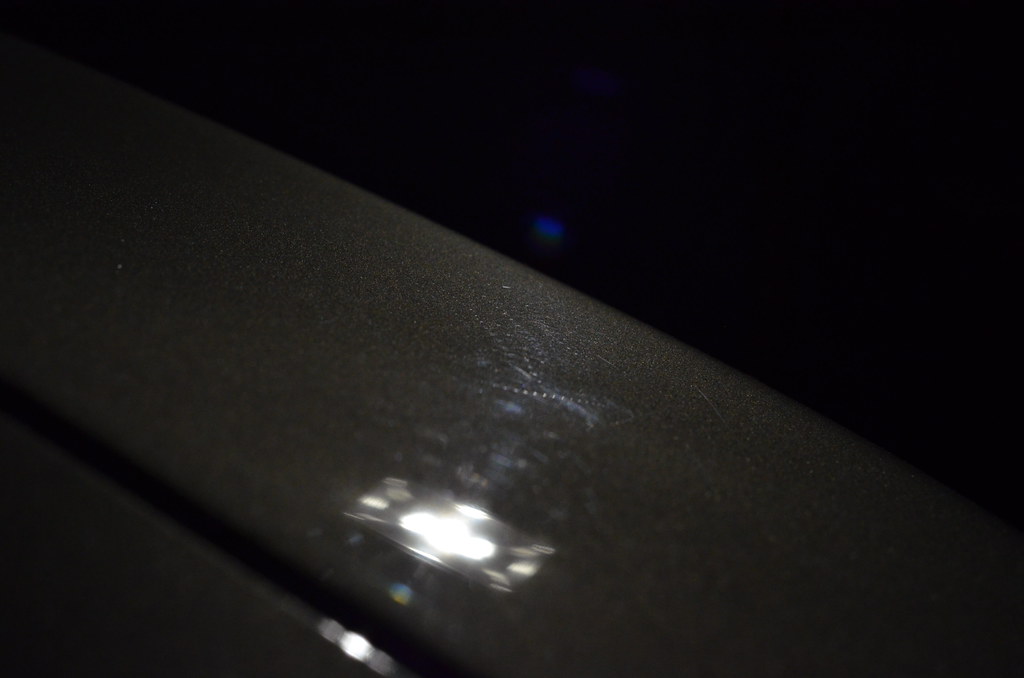
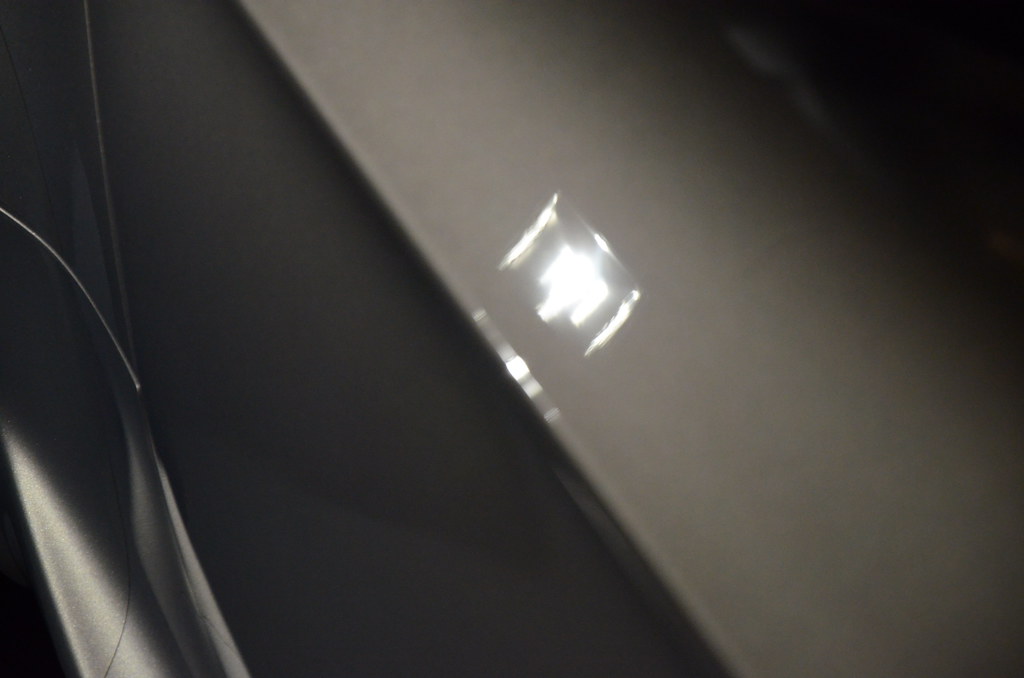
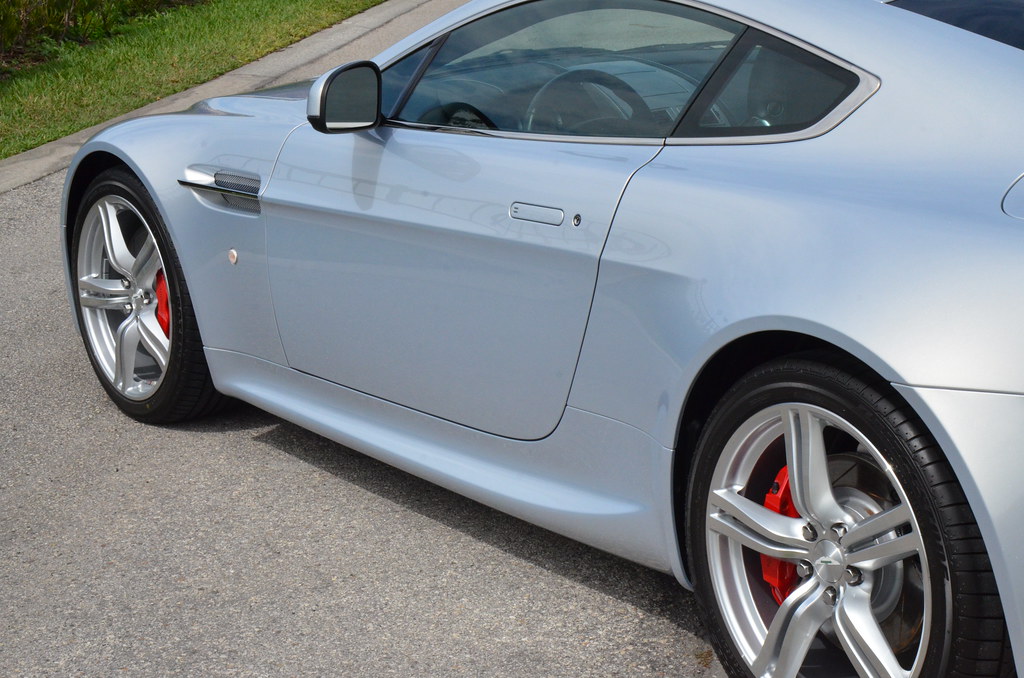
As we can see from the pictures above, the DA sanding marks are pretty uniform in shape and appearance. The top surface of the paint is supposed to have the greatest reflective abilities. You can get an idea of how this would be a problem. If this car was black for example, the paint would be very dull in these isolated spots. Without sounding disrespectful to the manufacturers (but in truth), the lighter colored paints usually have the most amount of problem areas when it comes to exotics.
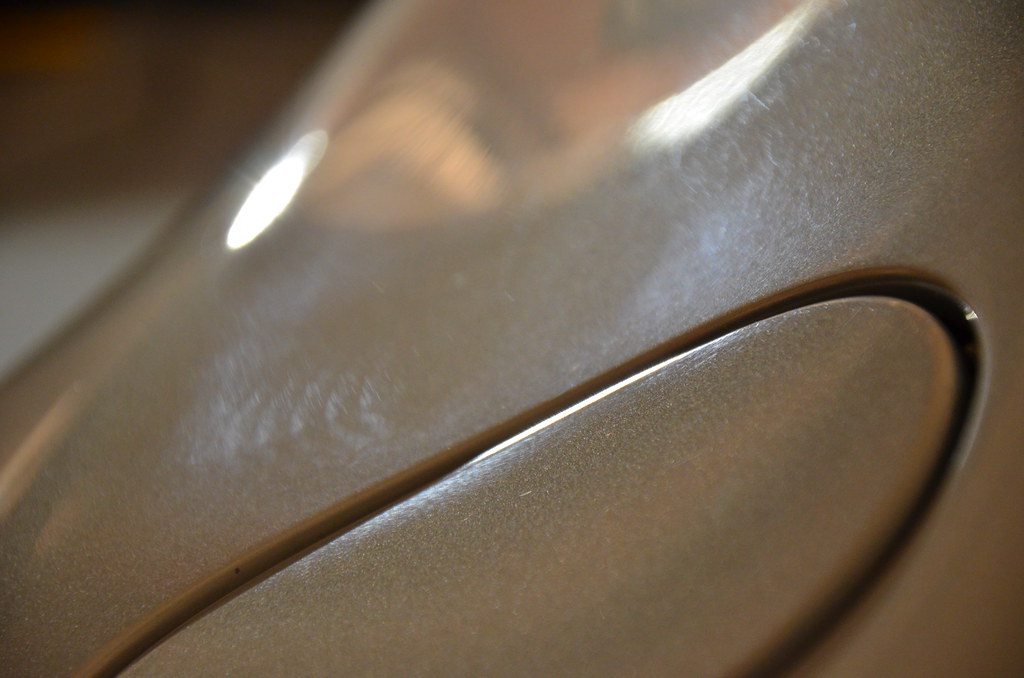
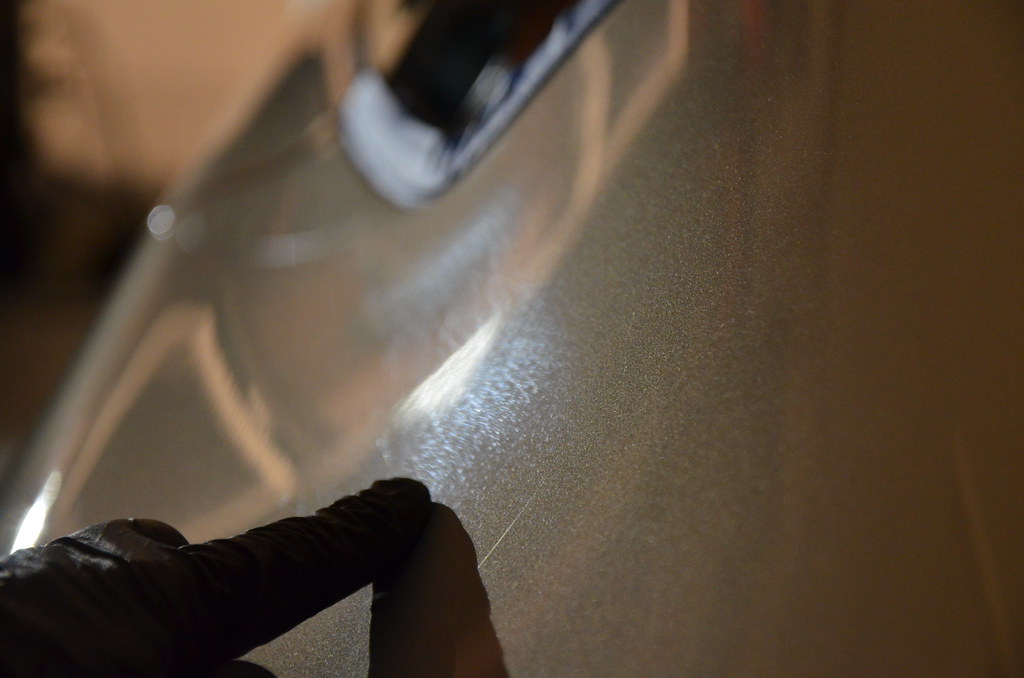
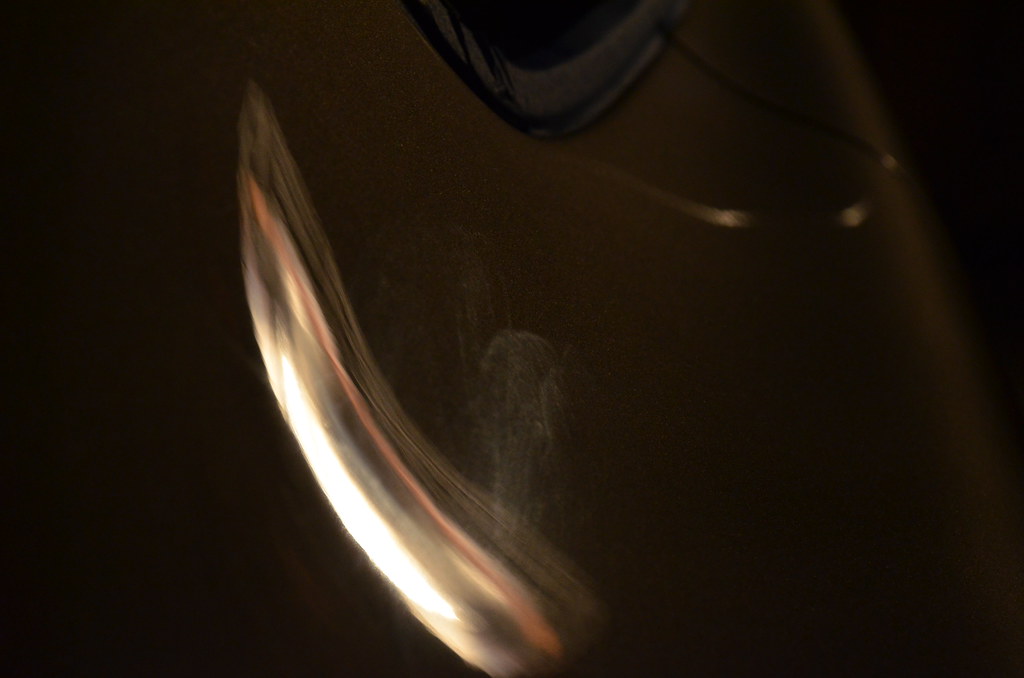
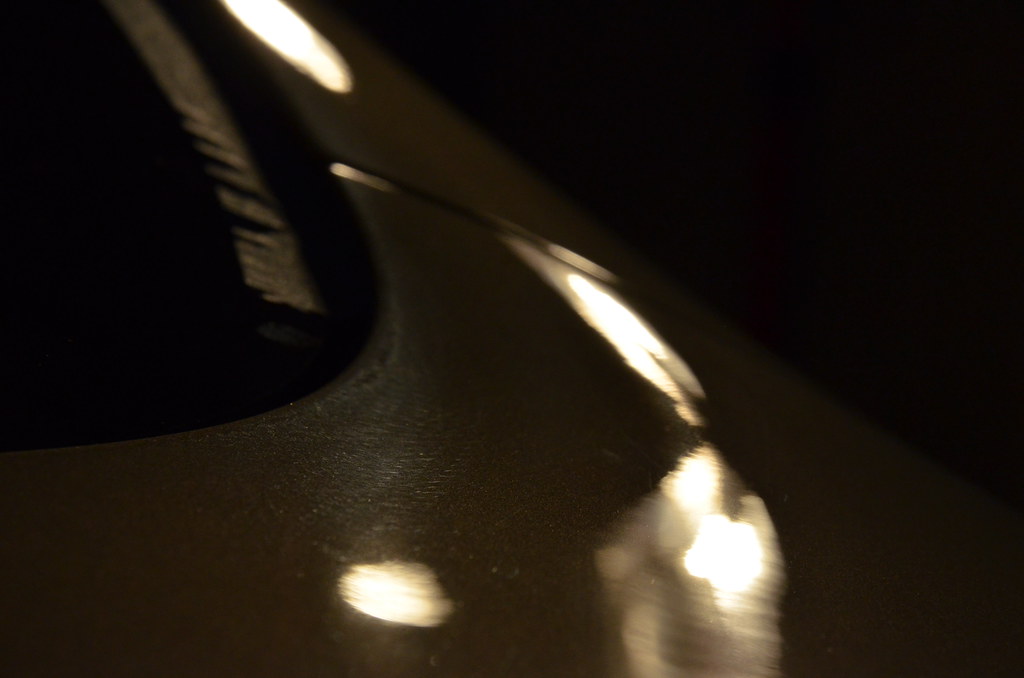
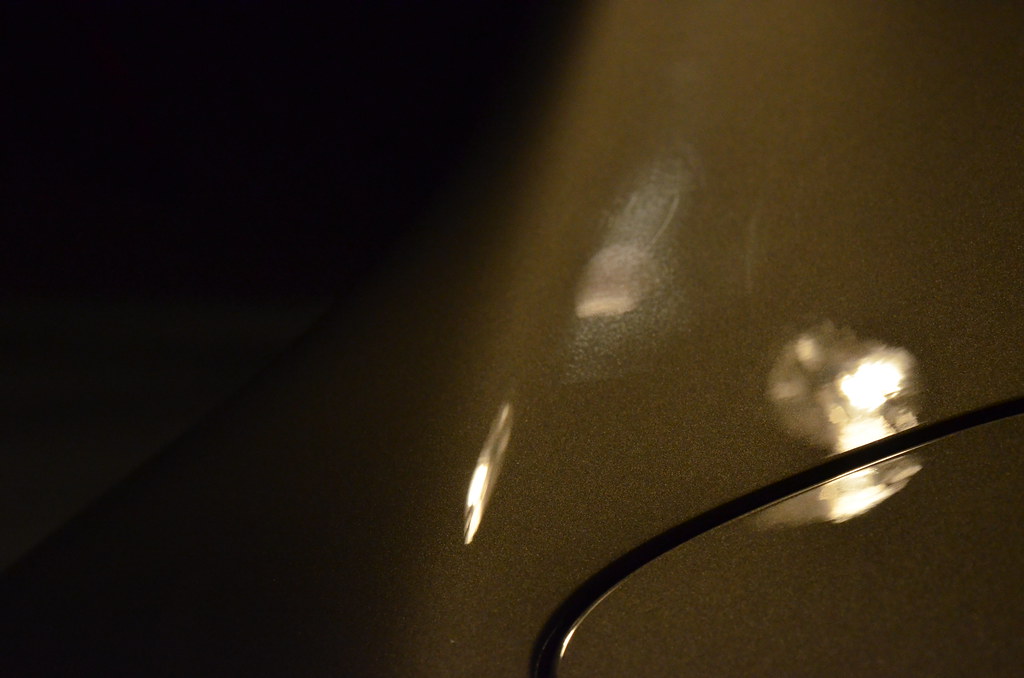
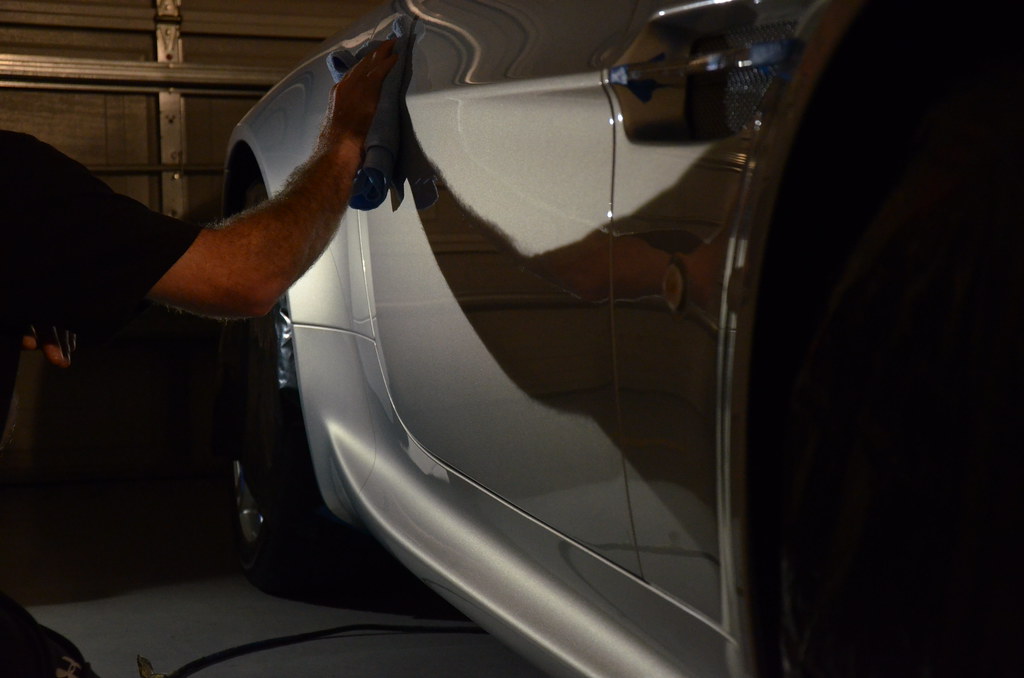
50/50 shots:
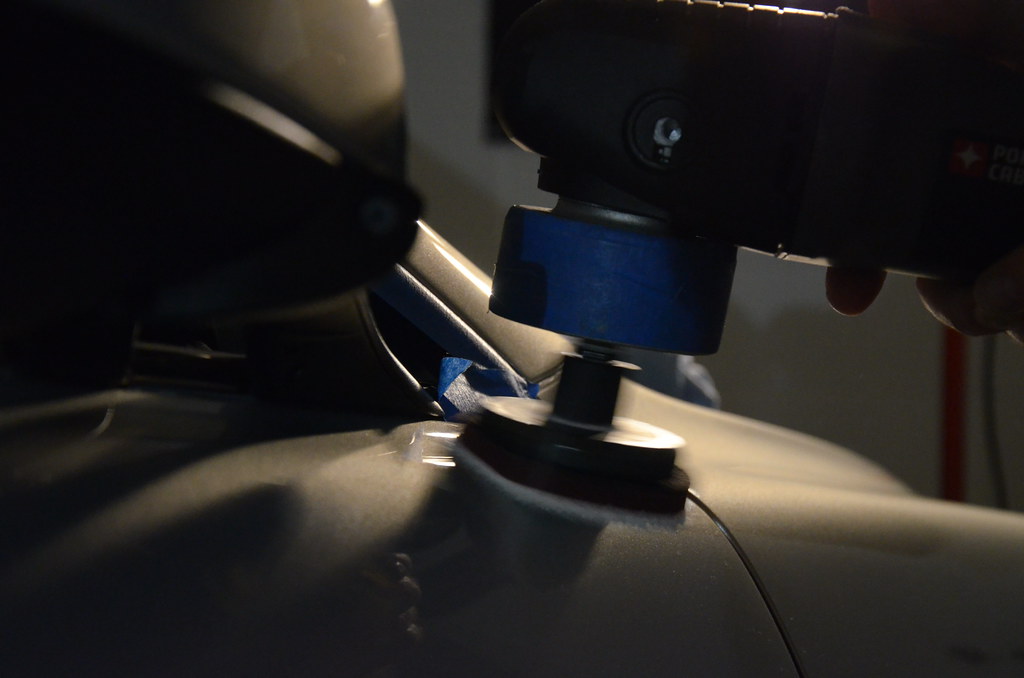
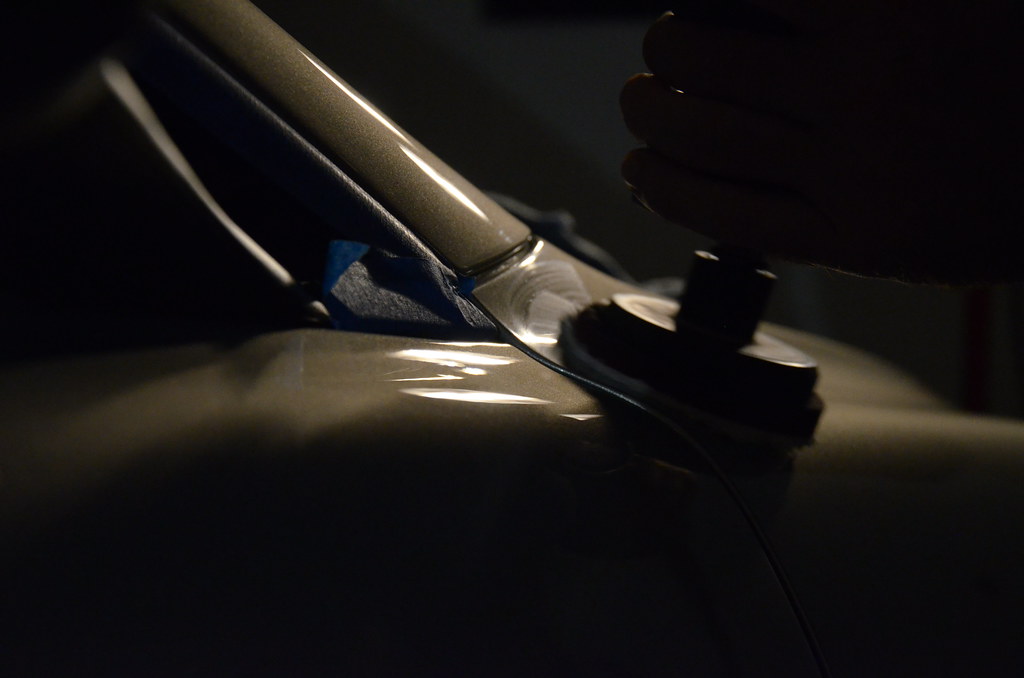
Meguiar’s 3″ Cutting Disc’s & Finishing Disc’s are great and much safer for edge work. Priming the pads before use with Megs D300 is very important. Making sure that every fiber on the pad was covered before using Megs 105 for my active cutting agent. The chances of burning any edges is less likely to happen with a fully primed pad. If needed you could also work at slightly lower speeds with the DA to achieve healthy results. Porter Cable 7424 was my choice on some of the edge work done. Either a rotary or a small throw DA is great for getting as close and tight to an edge as possible. What you are seeing in the picture below is simply a 3″ rotary backing plate with an adapter. It gives a rather good extension and is very useful most of the time. 3M masking tape wrapped around the metal housing for the “what if” scenario. It’s very preferable that metal never touches paint and just another precautionary step I always take. Once the cutting and correcting process is complete with the cutting disc’s and M105, I’ll then switch over the Megs Finishing Disc’s and M205 to finish the paint off to a brilliant shine (priming the finishing disc w/M205 fully). Over the years I have always found these tools to be exceptionally safe and extremely effective, even on the most delicate edges of paint work!

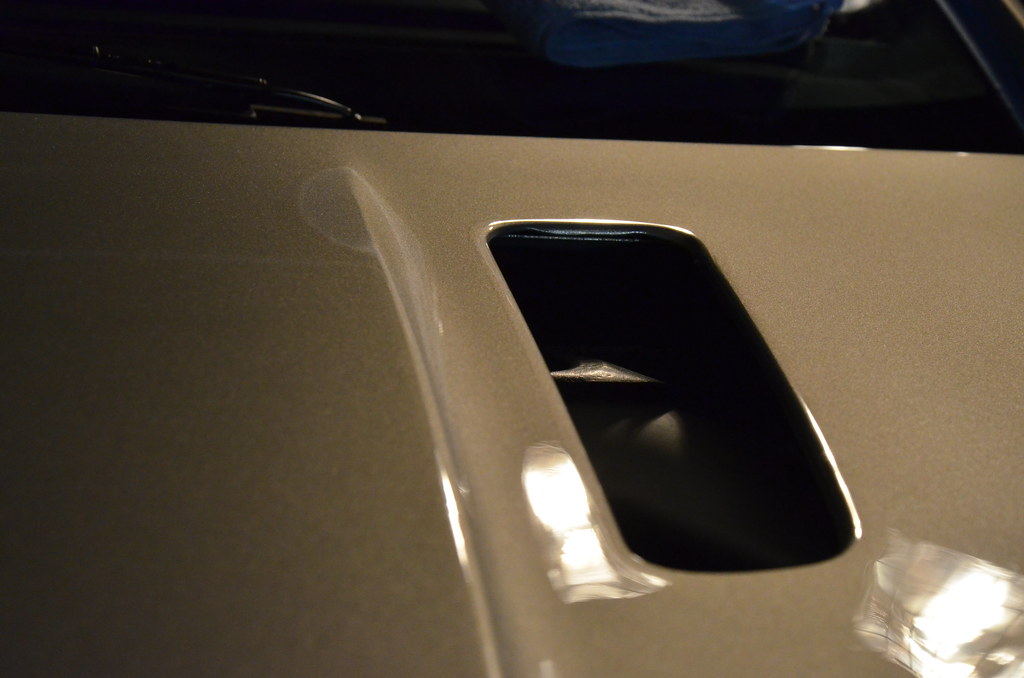
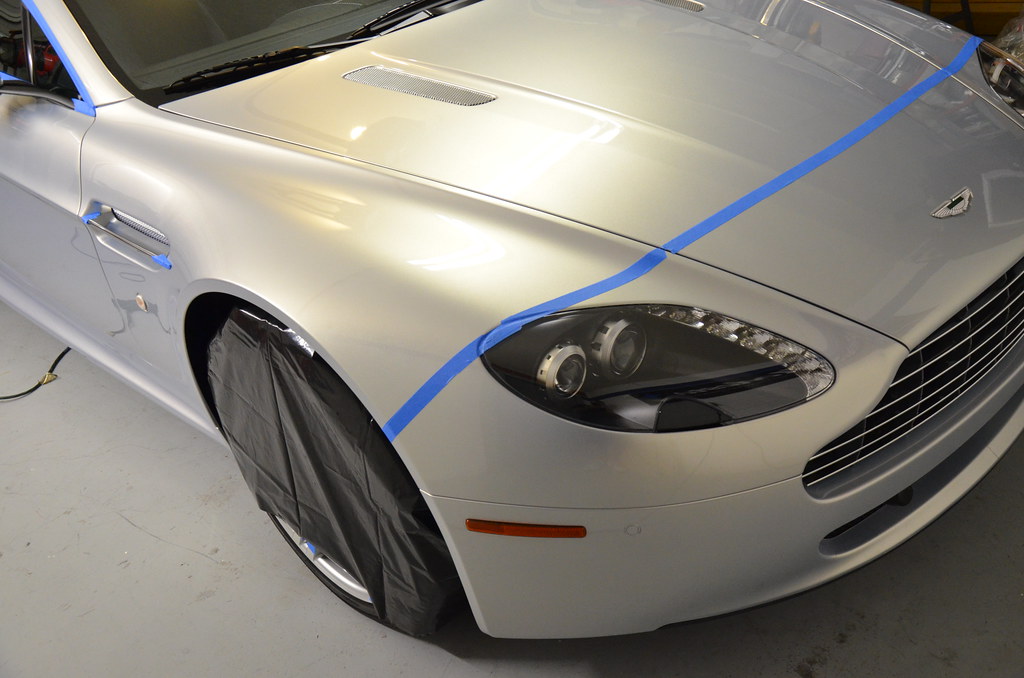
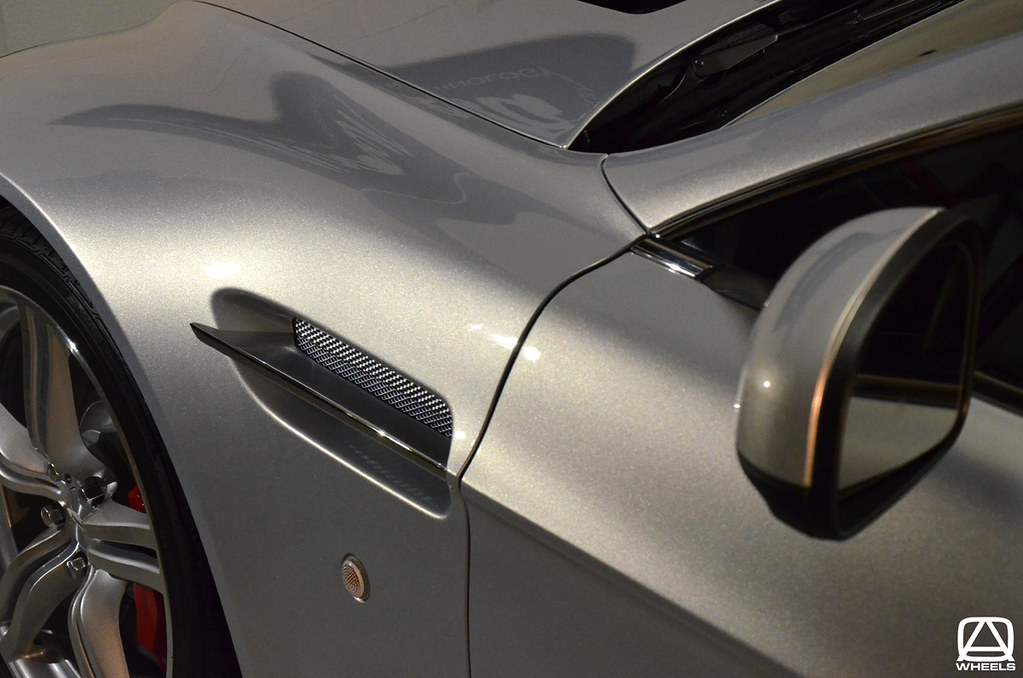
The bonnet of the vehicle was in fairly good shape. The front end was partially clear filmed and the PPF was in great shape. I felt no reason to remove film that was in this great of shape. I presume the first owner had it done recently before the second owner took purchase. However, I can pretty much guarantee that we could have found some DA sand marks on that front bumper. I told the owner to ride that film out and we can correct those other issues down the road. He agreed with my thinking and professional opinion.
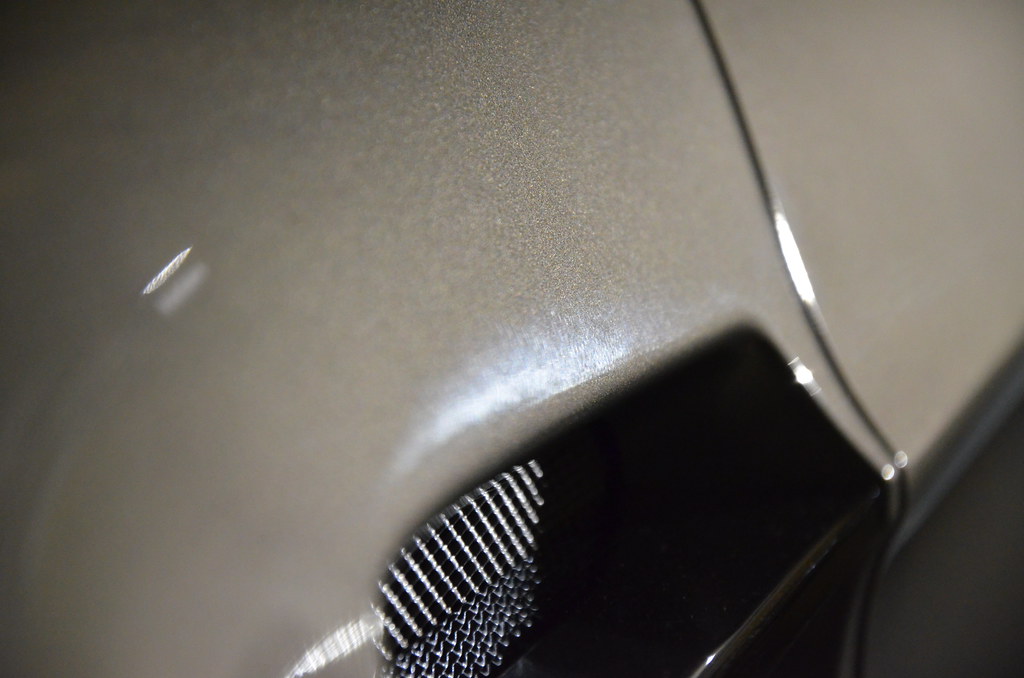
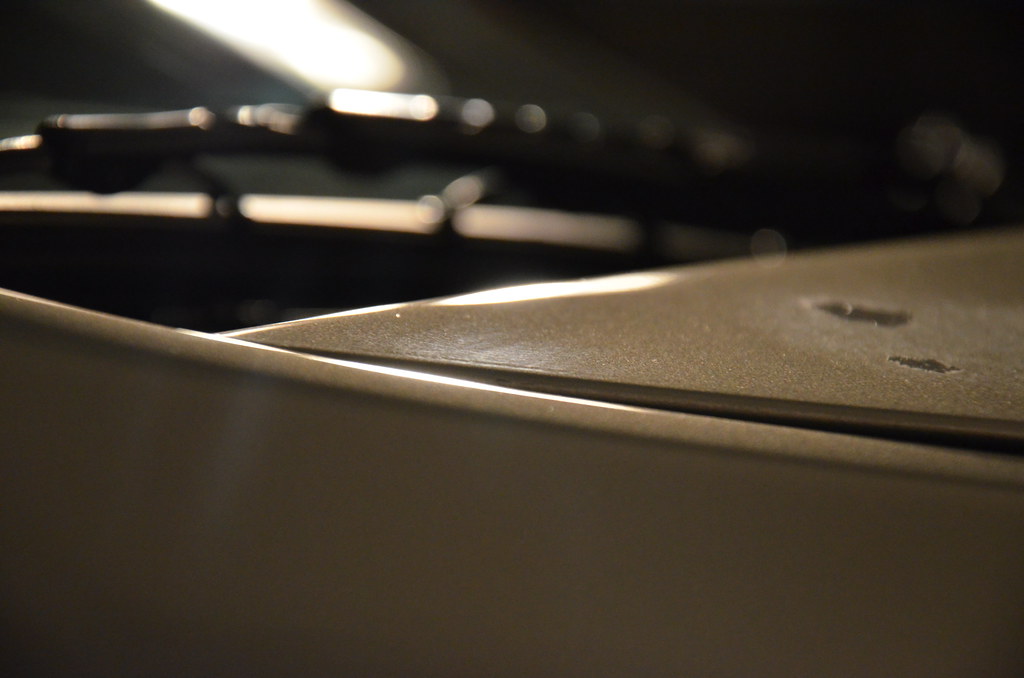
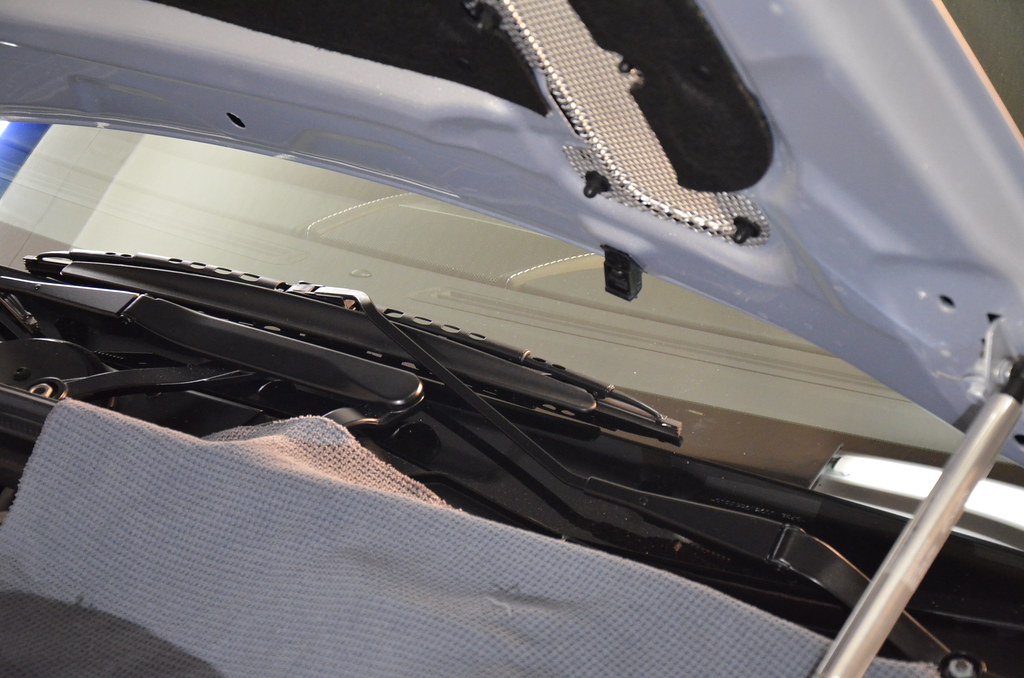
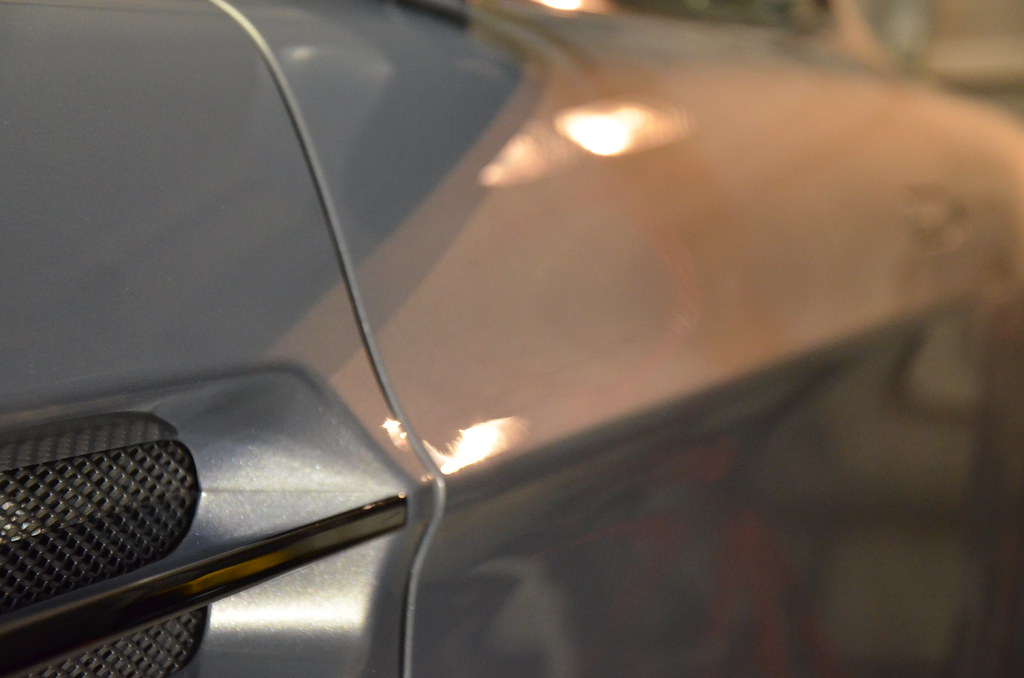
The top side of the bonnet however was not filmed and needed a few issues addressed. A few small pigtails right along side the mesh grills needed to be corrected. The only safe way to correct the marks would be to remove the mesh grill. I’ve also seen one to many of these caked up with old wax or polish. With the grill removed we can inspect and clean before putting it back on.
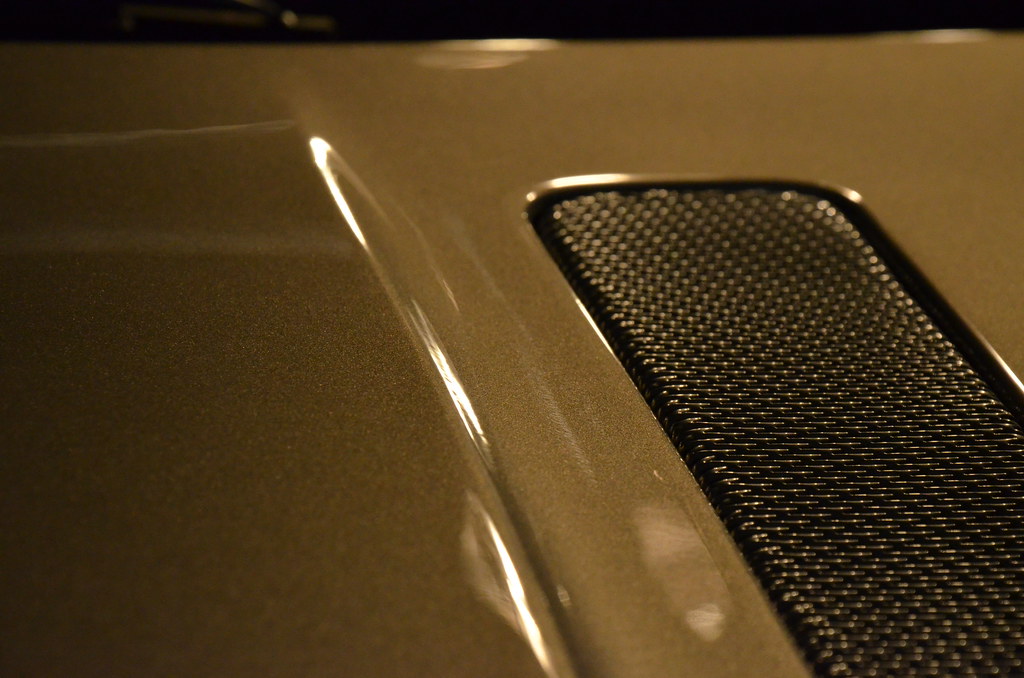
The nuts and washers that hold the grill into place are plastic and usually finger tight. I always lay a towel down before removing these in case if I were to drop one of the nuts or washers. Just another precautionary step.
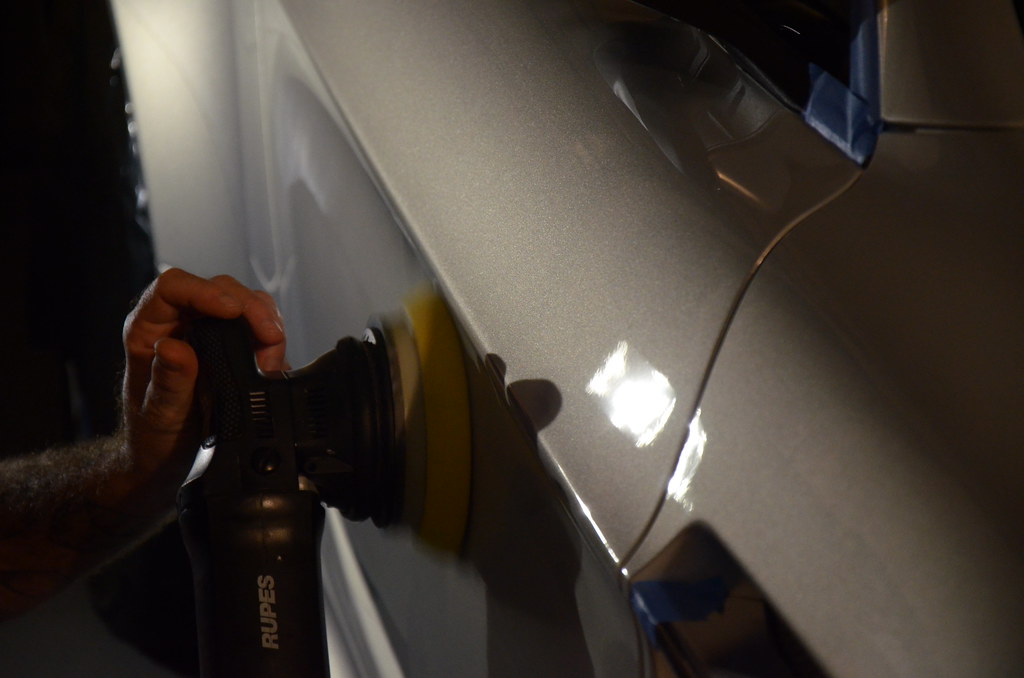
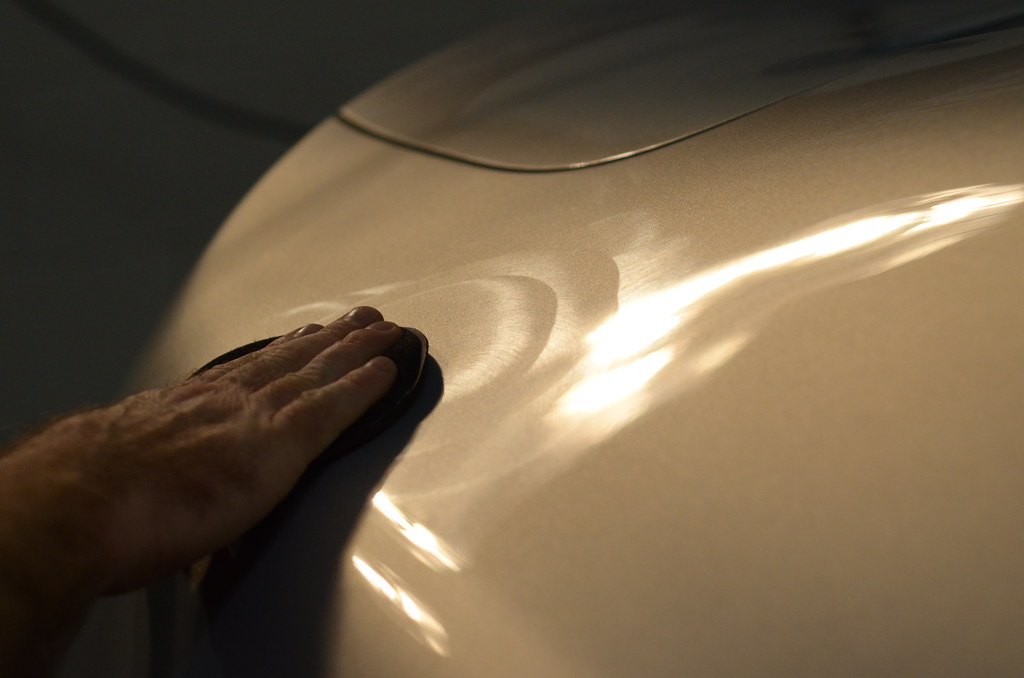
For correcting and polishing the large panel surfaces, the Rupes LHR15 Random Orbital was used.
- Correction: Meguiar’s 5.5″ cutting disc’s (pad primed with D300) and Megs 105 as the active cutting agent
- Polishing: Rupes Yellow Polishing Foam Pad with Megs 205
The isolated DA sand marks may have taken one and two passes with the compounding/correction stage to get right, but the majority of the of the lager sections were fine to be corrected with the Megs 205 and a Yellow Rupes foam pad.

The Flex rotary PE14 still has it’s place in a correction process. I chose to use a rotary and 3″ foam pads on the rockers. With the contour shape of these rockers I find it easier to get a better angle and fuller coverage with each pass. Ease of pressure and arm speed make it easier to scallop in on these types of shapes. Tossing a DA in these sections can sometimes be a hassle when trying to keep the pad flush to the surface. The rotary does not necessarily have to stay flush at all times while making the passes. Manipulating the rotation of the rotary and side angles of the pad are more comfortable for me when doing most vehicle rocker panels and having the various types of tools and pads will come in handy on every detail.

Once at this point I ended up removing the old dealership clear-film on the front side of the rear fenders. They were yellowed pretty bad and causing a major eye sore to the vehicles side profile appearance.
In between the compounding and polishing passes I always make a point to IPA as I go. Any amounts of dust or residue that gets kicked up in the correction process can be rather annoying. Compressed air, brushes and dusters are a great ways of keeping the vehicle clean as we go. I spent a great deal of time on these wheels in the decontamination process and do not want to keep cleaning them again and again. Before getting started with the paint work I sealed the wheels with a very nice wheel wax then covered them in plastic to prevent any spill over mess. Peel the masking away when all else is complete and boom! It all just falls together in a very stress free way!
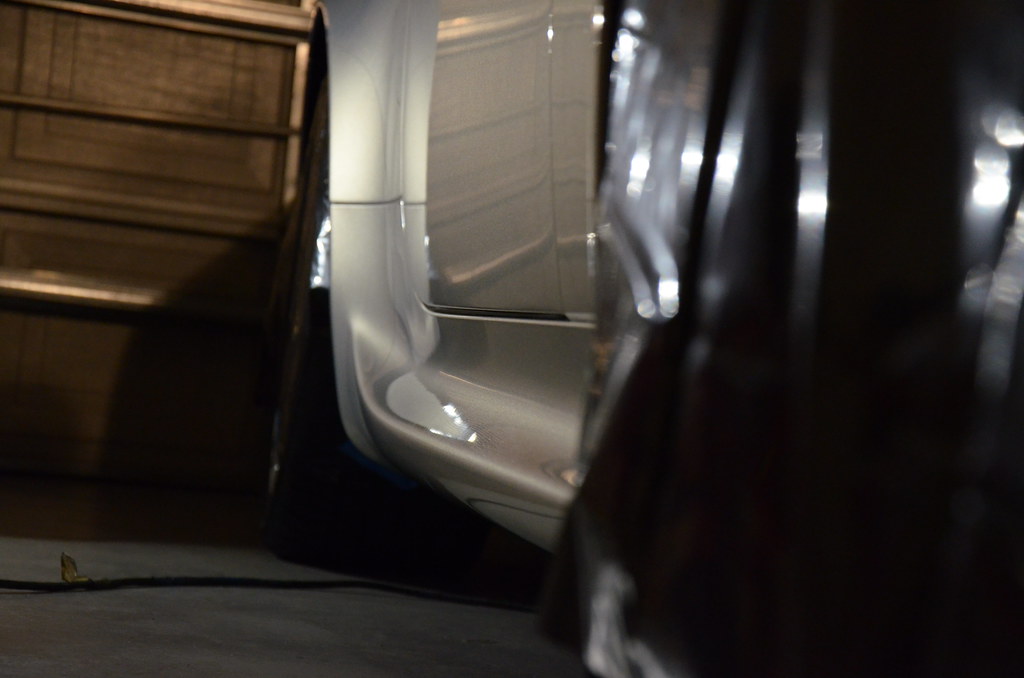
Below: Picture before the completion of correction. This one falls out of order, but hope to convey the idea.
The correction and refinement machine polishing work took about a day and a half. Once that was done and all the masking tape was peeled away I went around the vehicle with a full IPA wipe down (again, even though I was IPA wiping as I went. It’s a habit!). Well the point of it is, to have the paint surface as clean and oil free as it can be before protecting the car with an LSP!
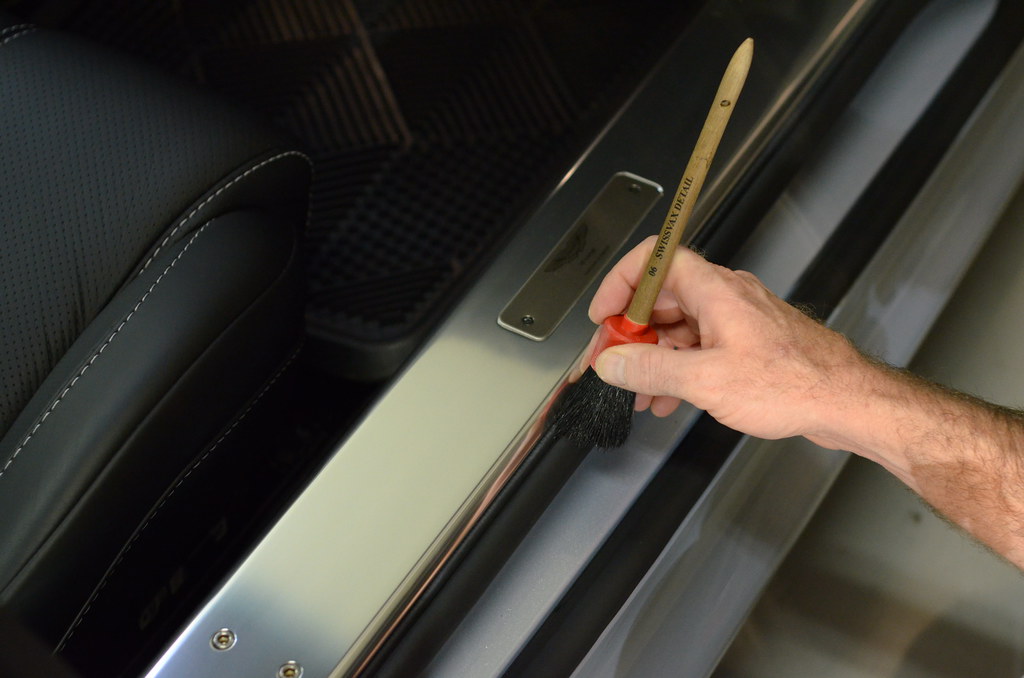
I’ll take the time to clean out all the nooks and crannies and get the car completely dustless before waxing. With the amount of time spent on the paint surface, I do not want to pick up some loose debris and take the chance of causing any scratches to the dialed in paint. This would also be the time where I would get all the door jams, door handle, keyhole, tail pipes, grill, emblems, windshield wipers and molding, glass and trim all detailed and protected.
So I have this absolutely beautiful gem of a car here. The customer will be keeping the miles low and driving it occasionally. The car will be garage kept and mostly used for those special occasions. After all the proper prep work and detailing this coat of wax will last a great deal of time considering the amount of use. And the car will look absolutely amazing wearing its all natural paint and color.
The interior received a thorough vacuum and brush dusting all the way through, along with leather cleaning and conditioning.
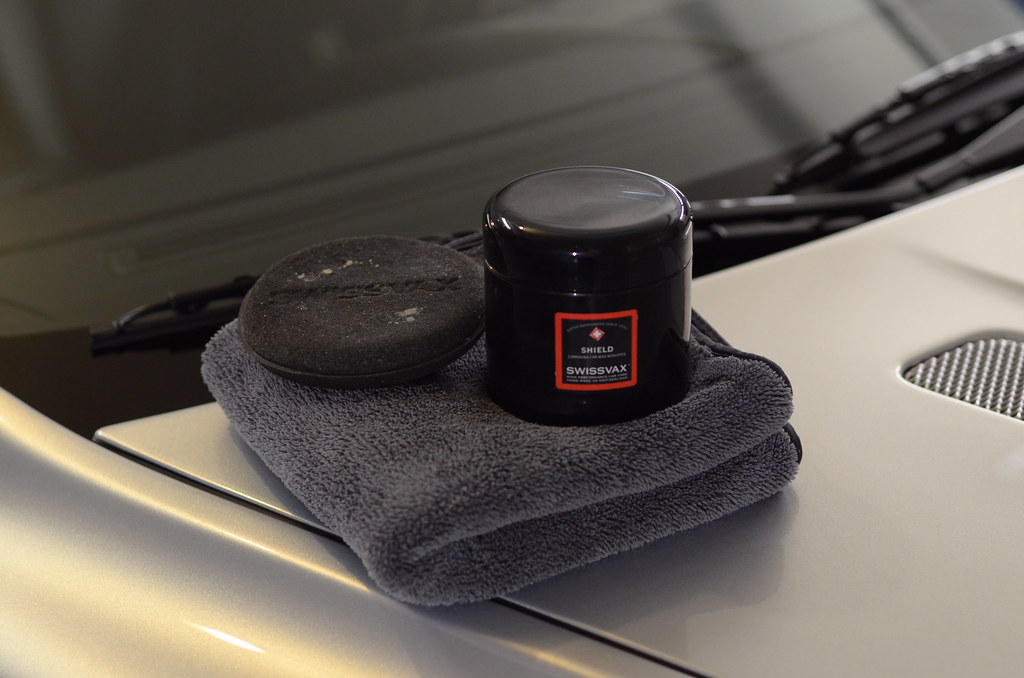
When opening your car door you really want those first impressions to stand out. The rubber molding on this particular vehicle is rather noticeable with the door open and needed something to fit the rest of the mold. After cleaning the trim I protected it with Swissvax Nano Express. A great product for multiple uses.
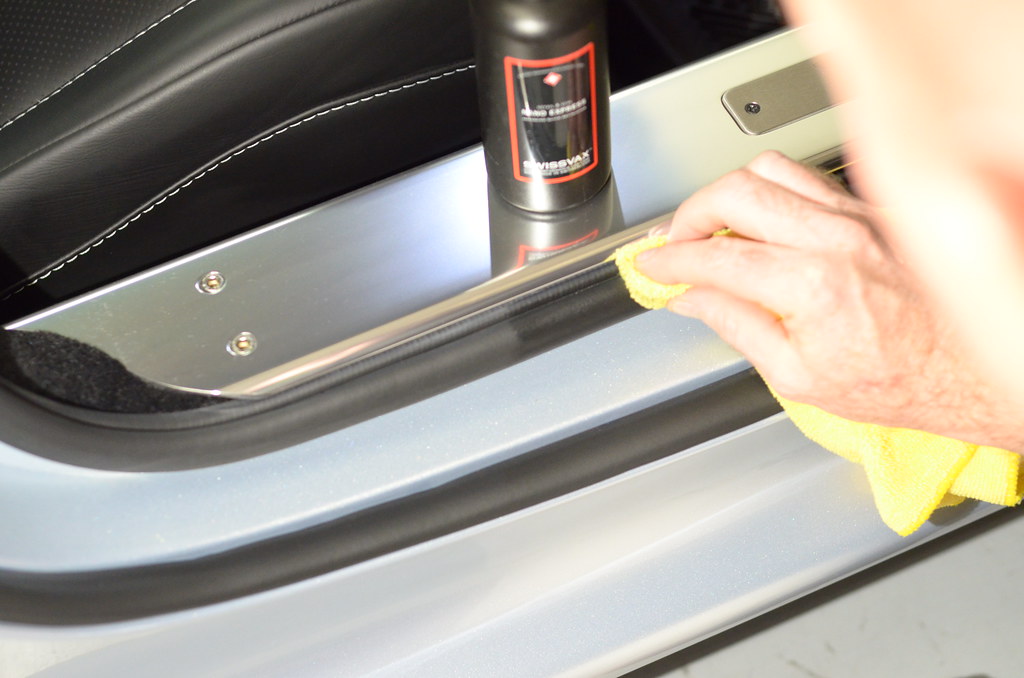
Swissvax Nano Express is by far one of my favorite dressings for details like this one. As I’m looking to achieve a very clean look on the car with no overly dressed, oily types of appearance. This is a great product and offers a very natural clean look.
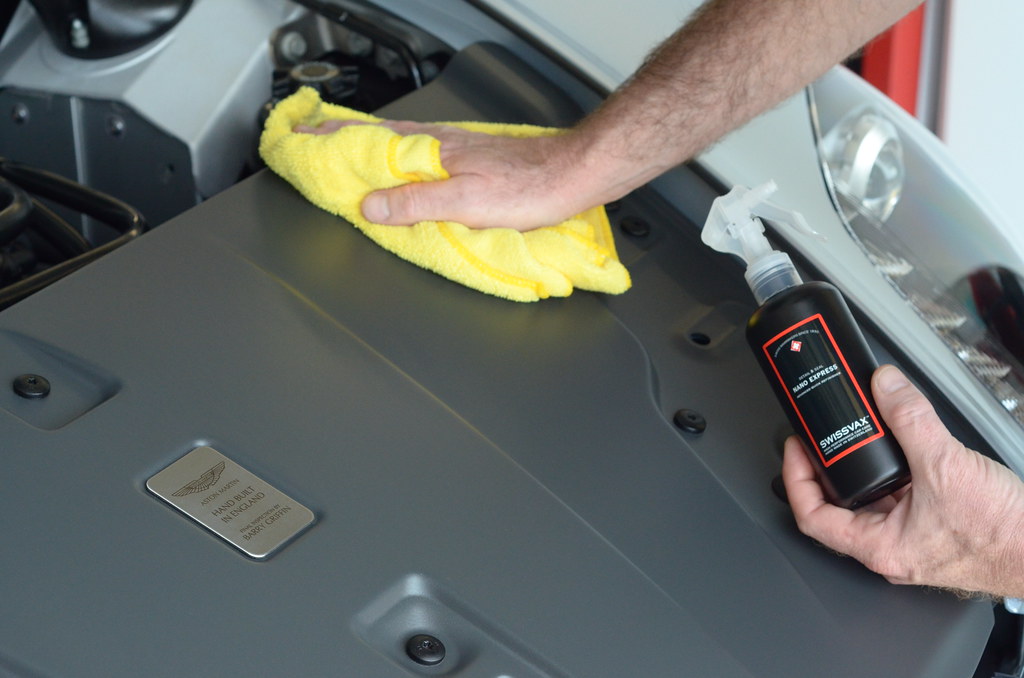
All water spotting and dirt was cleaned from under the bonnet and then waxed. If it was painted, it was cleaned and waxed in this detail. Being sure to clean and protect every piece of material with nurturing products for that piece of material.
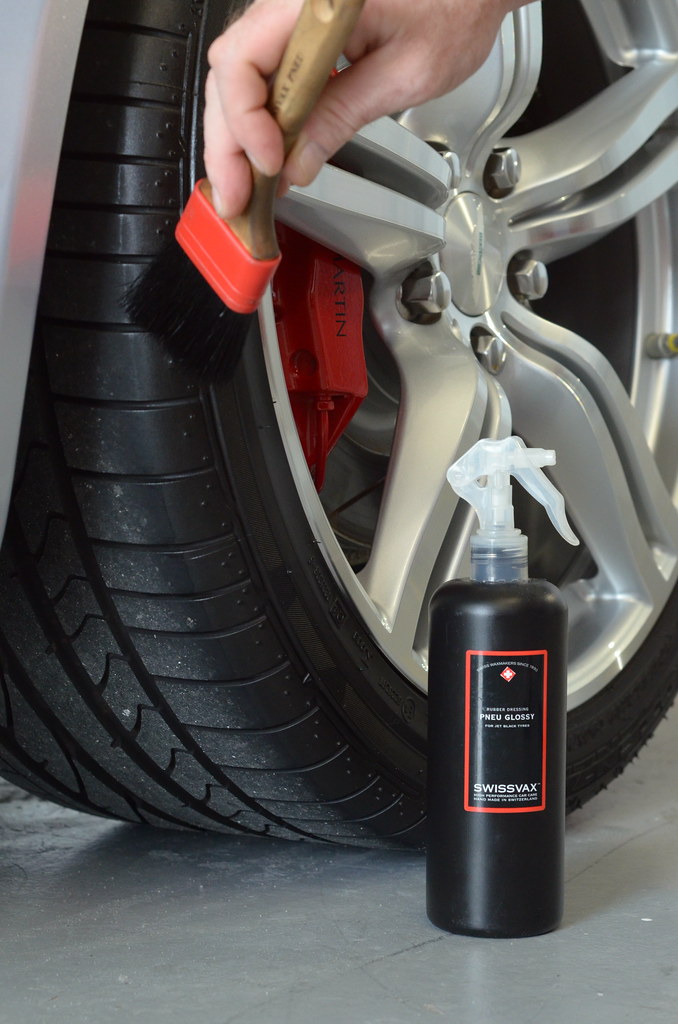
Love this tire dressing, not overly shinny. But offers a very nice clean look.
It’s all about the details
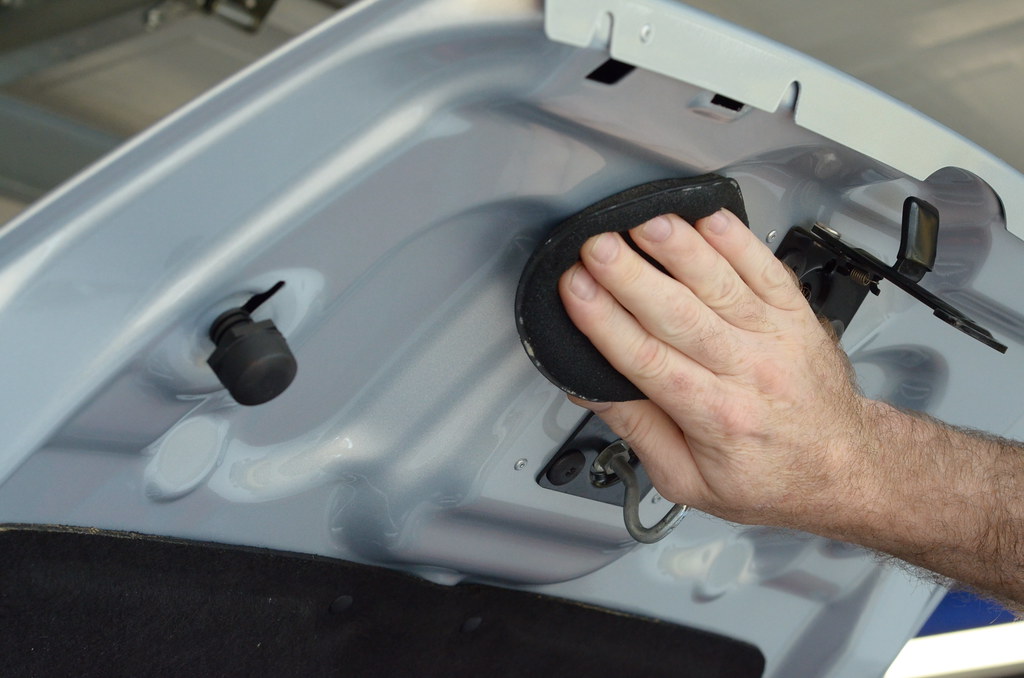
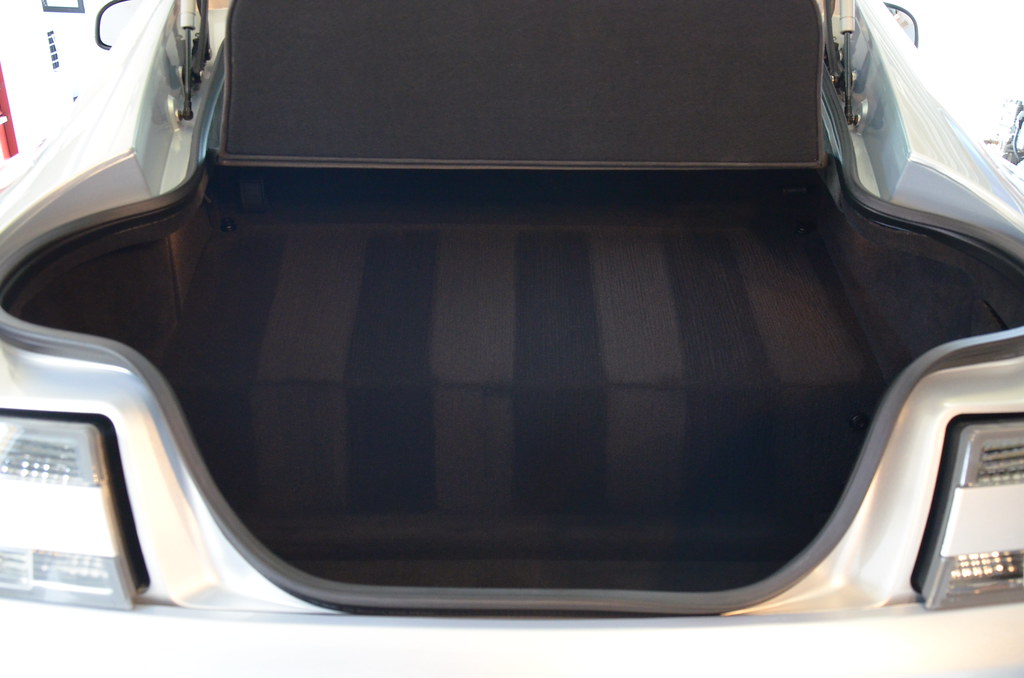
A glance under the trunk lid, carpet striping.
Final pictures before delivery
One of the points I would like to make about this detail is: Even a very beautiful car that’s in excellent shape can benefit immensely from some extra TLC. DA sand marks are found on most all exotic vehicles and can be corrected to achieve a better than factory finish. If you’re in the Florida area (or not) and have questions or concerns about the condition and protection of your car, give me a call! We can put together a detail that suits your driving habits and needs.
Buy Products From This Article
Purchase the products used in this article individually or in one convenient package here!


Very nice! Thanks for sharing.
Thank You Shawn!
Nice job!
I know I be p*ssed if I took delivery of a $100k+ car that had been prepped so badly that it was covered with sanding marks and what looks like orange peel.
Gary, It happens… But the end results after a good detail are completely worth it!
Gorgeous work, Brian!
Thank You Zach!
Hi Brian,
I’m just curious, why did you choose to use a rotary backing plate with the adapter? Is it more flexible than a DA backing plate? I already have a 3″ plate for my Griots and am wondering if it’s worth it to also buy a rotary plate of the same size? By the way, beautiful work on that Aston! You produced a truly stunning finish on that silver paintwork.
Peter, Thank You for the kinds words!
I like the extension this plate gives. I could have used an exact fit backing plate but find it more difficult to scalp the angles that way. With the 3″ rotary backing plate and the Megs 3″ cutting disc. The cutting disc has about a quarter inch of pad that is not attached to the backing plate. I find it more easy to file into the contoured areas.
Amazing work and a really thorough enjoyable write up. How many hours total did you have in this detail?
Thank You Eric! The detail was around 25-30 hrs.
Great job. Awesome car.
What kind of MF are you using to remove your LSP? There a photo of it under the wax. It’s black/grey…
Thanks!
Dan
Dan, Thank You!
It’s a micro fluffy towel from swissvax. 1300 gsm. Excellent Microfiber!
I get a tear in my eye when I see such tremendous work!
As I understand it, the car had a (3M?) product protecting the Part of the paint that you removed? I had this product put on The front bumper of my white metallic daily driver and it turned yellow. I have it on other cars and it didn’t change colors? A Ferrari Dealer in Florida told me about the product as it seems to be used on a lot of exotics to protect the paint from rocks and bugs. How did you get it off without damaging the car? How long did it take to get the product off?
Amazing detail on the vehicle and this blog post. The number of pictures was impressive and the quality of the work appears to be exquisite. The 25+ hours that you put into this service paid off well because I don’t think the paint ever looked as good as it does in some these pictures. Bravo!