
Another super car with the normal factory defects. Much like the Lamborghini Murcielago Paint Correction article. Getting a new car prep and coating done for a car like this consists of more than just a single step polish.
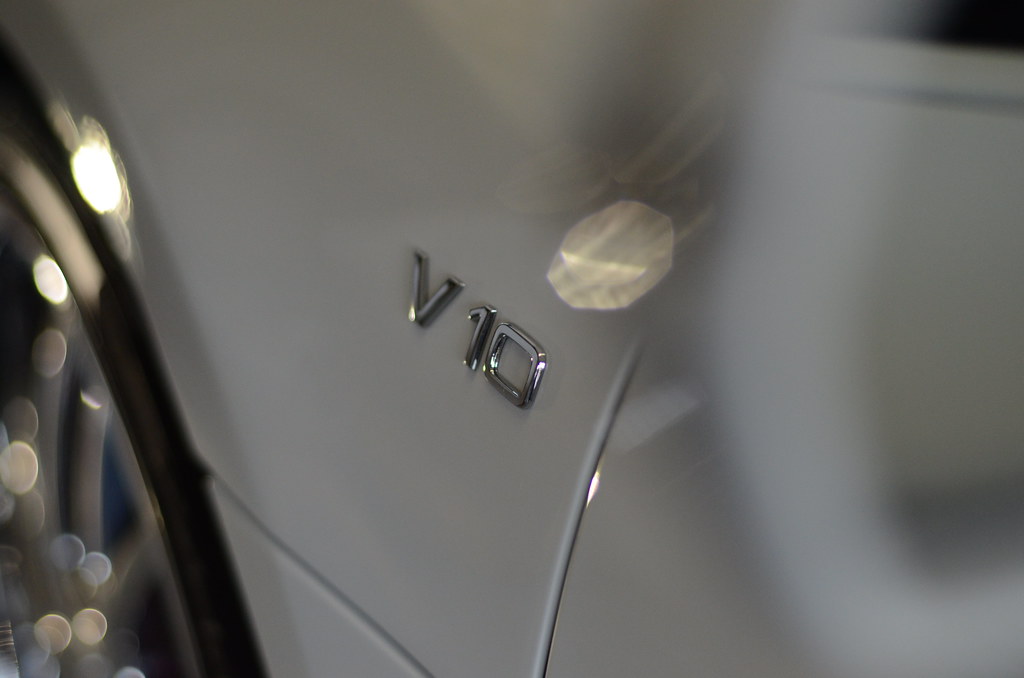
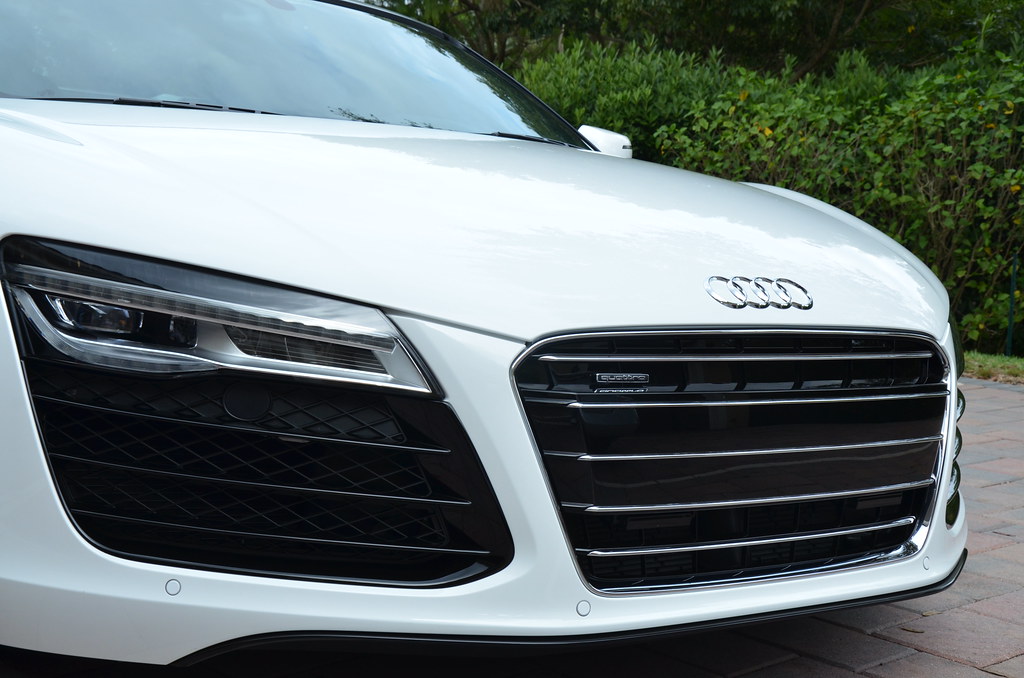
White cars being the more difficult to notice pigtails and sand marks from factory, this car could have been much worse (I’ve seen much worse on white before). So this tells me that Audi did a rather exceptional job on this new 2014 R8 Spyder. Correction and Polishing on Carbon Fiber will be at hand here in this detail!

The pigtails and sand marks on the car were vary minimal. Most were found at the rear of the vehicle and in small batches. Other than that, the car was amazing to work on! The paint was very easy to work with for the areas that needed “not so much” polishing. Rupes 15 and Meg’s Cutting Disc’s w/ M105 handled it with ease on the large panel sections and Porter Cable w/ 3″ cutting disc’s did perfect in the corners and tight area’s. Flex Rotary and foam pads were also used in the assist of finishing down in the more contour areas.
Meguiar’s M205 and a white Rupes pads were used in the polishing stages after all correction work was complete.
IPA wipe downs are very important in this detail. In between every pass a IPA wipe was being done. And 2 full IPA wipe downs were done after the car was finished down. When doing your wipe downs I would suggest wiping in one direction without dragging the towel back in the opposite direction. Using two towels to complete the final wipe down (One that has the moistness from the IPA and the other being dry and clean). Going back and forth with the same towel will pull the oils back and forth as well. Kinda like smearing it across the paint. It is important to use 2 towels on the final IPA passes.
With the car being coated the above IPA wipes are very important.
First “optional” step in a Modesta Coating is the P-01A Primer. I applied the primer to the paint with a white Rupes pad and the Rupes 15 at a very slow speed setting (speed 2 or less). Going over the entire paint surface then allowing the P-01A to haze for a few minutes before wiping it all down. This primer will need to set for 180 minutes before I can apply the Glass Coating. The use of the primer will make for amazing looks and allow the BC-05 coating to go on and off a little bit easier. Mostly I just love the looks this product puts off!
Lets get on with some pics of the detail!
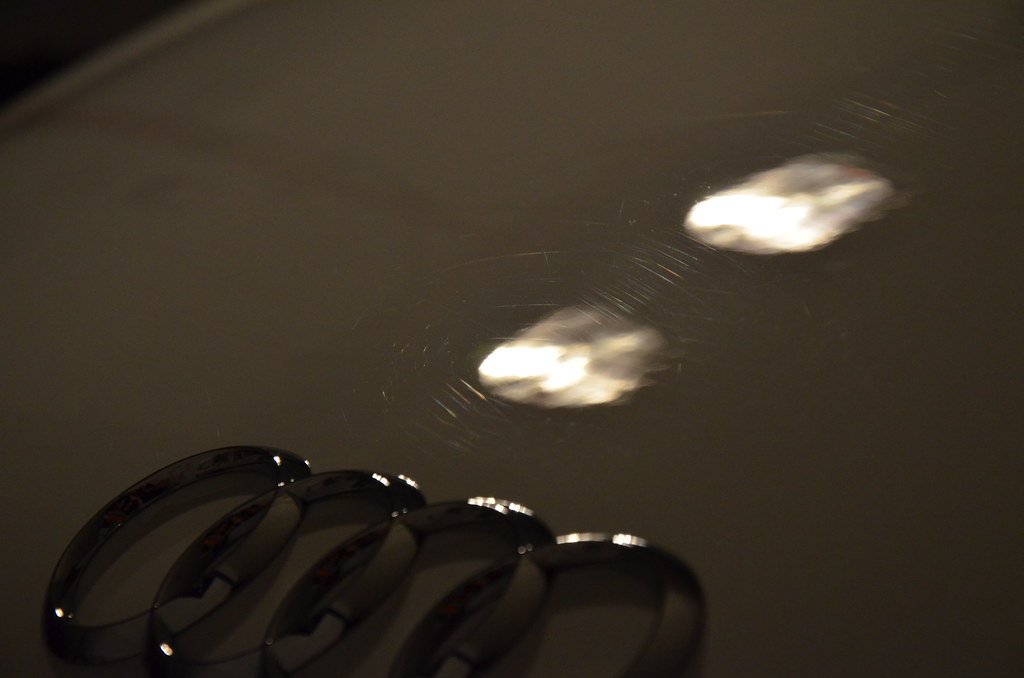
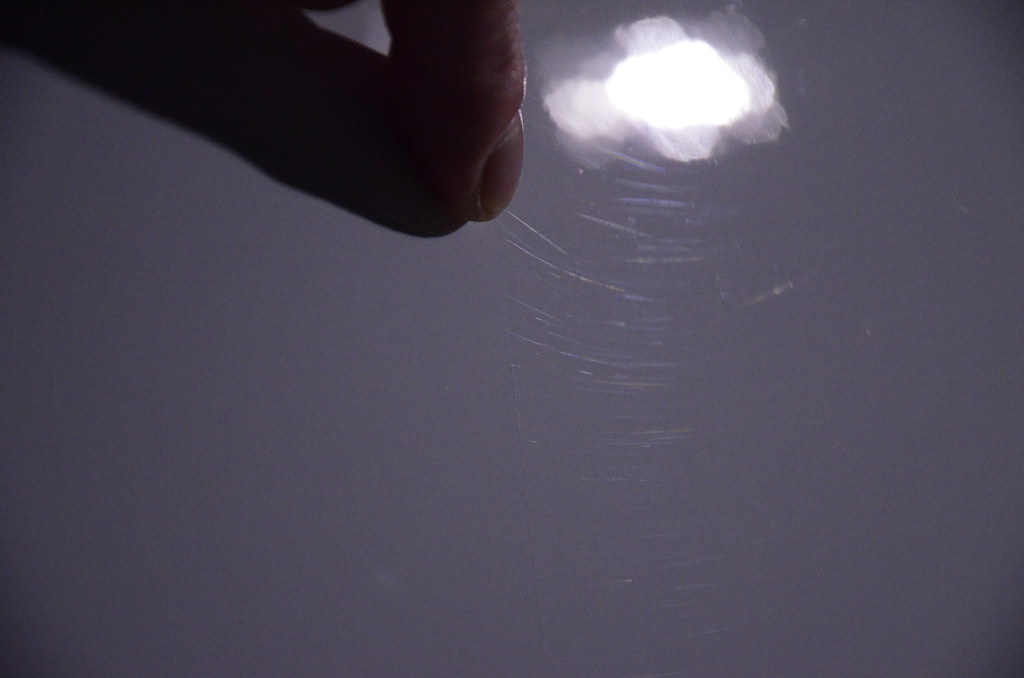
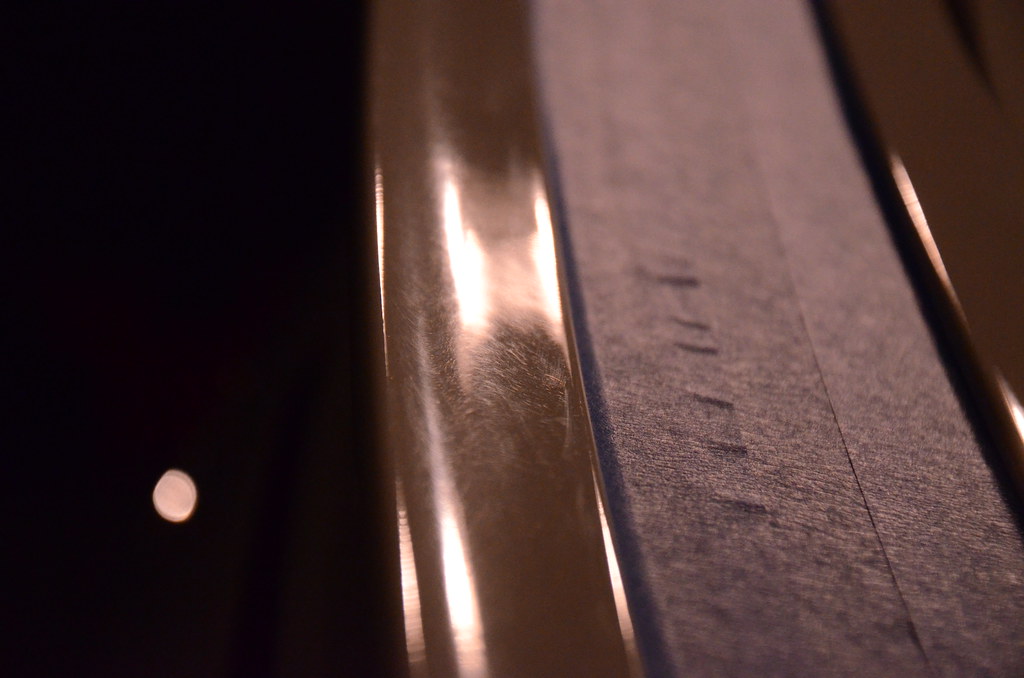
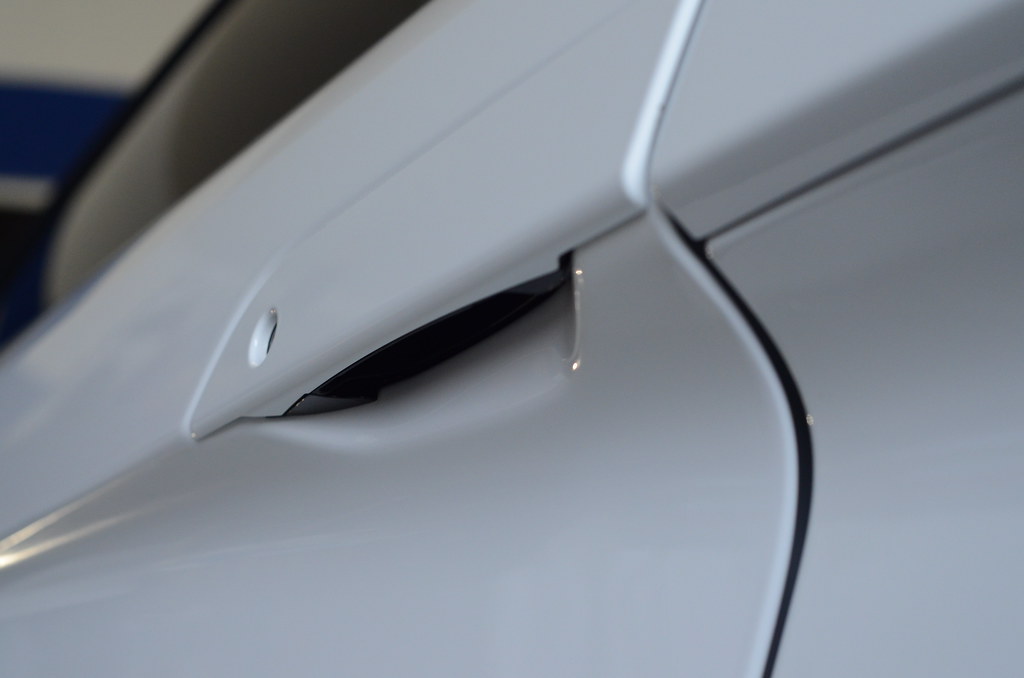
It’s always difficult to capture white on camera. Above: I’m using my finger as a focus point.
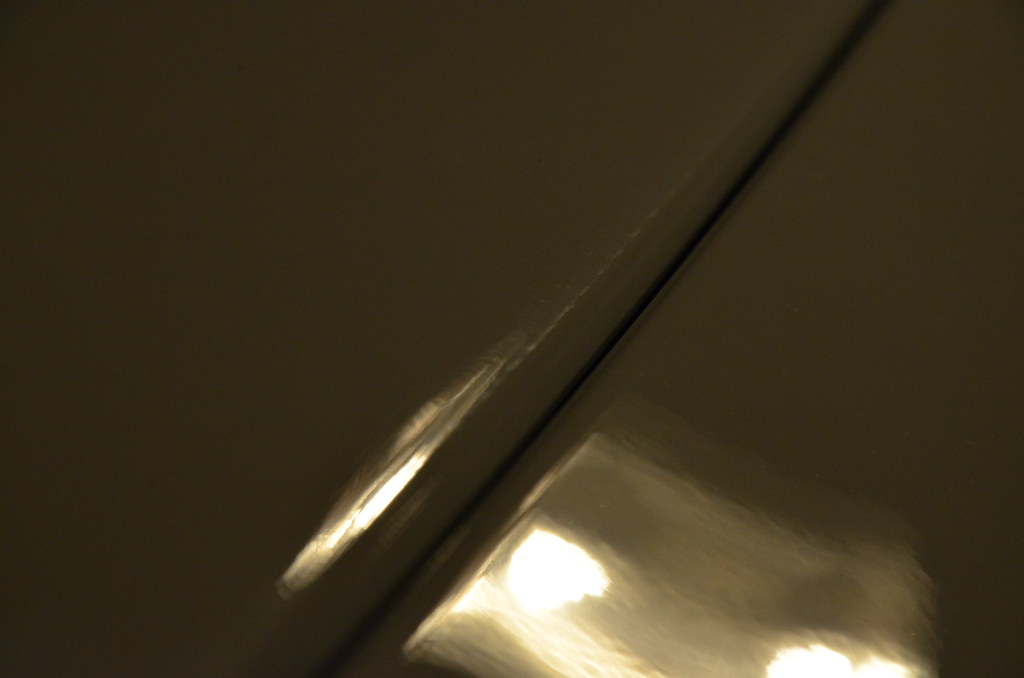
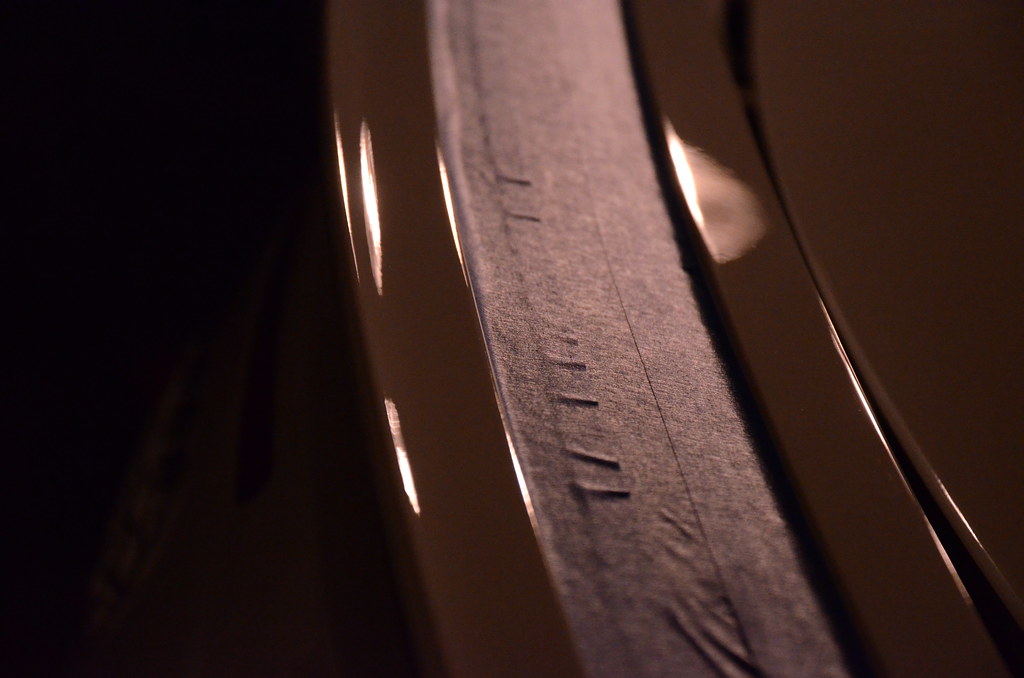
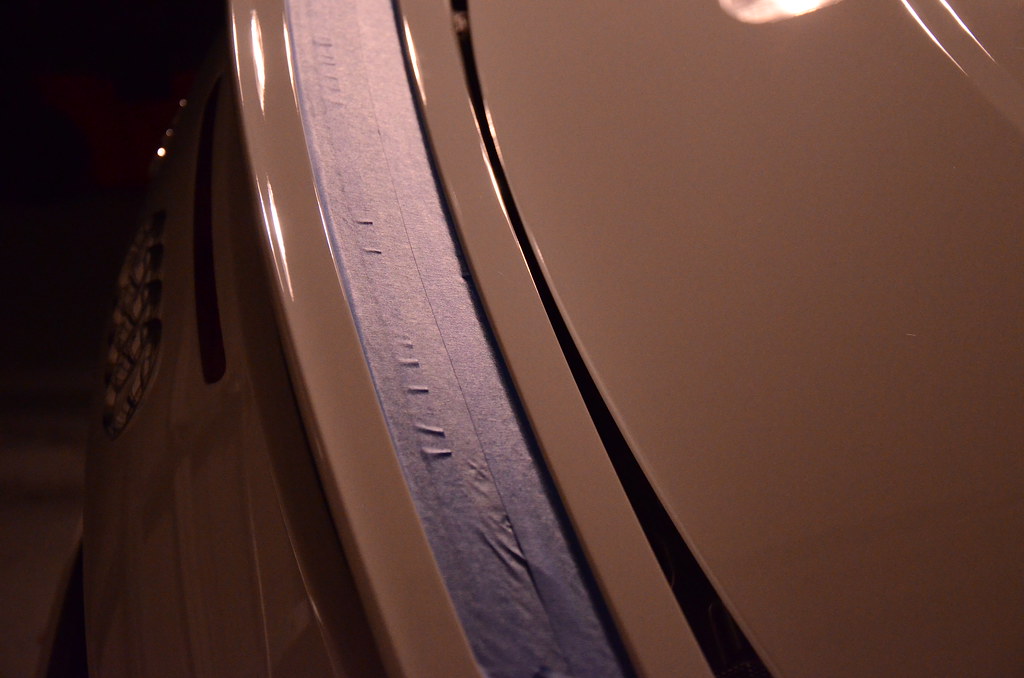
Below: Some very small pigtails along the door creases were handled with 3″ cutting disc and Porter Cable at speed 4 w/M105.
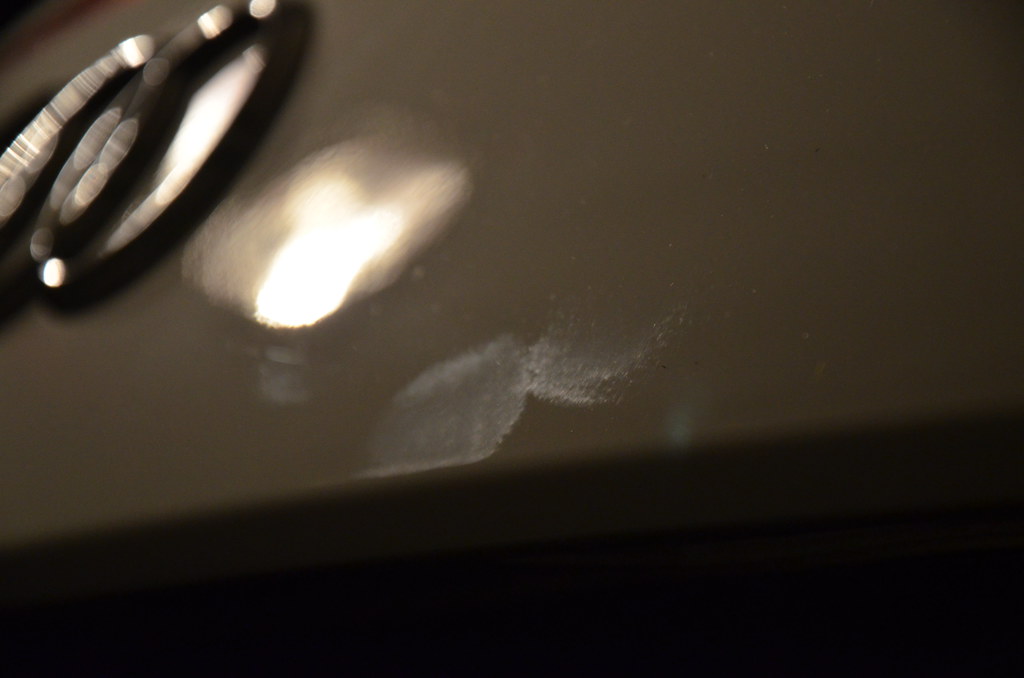
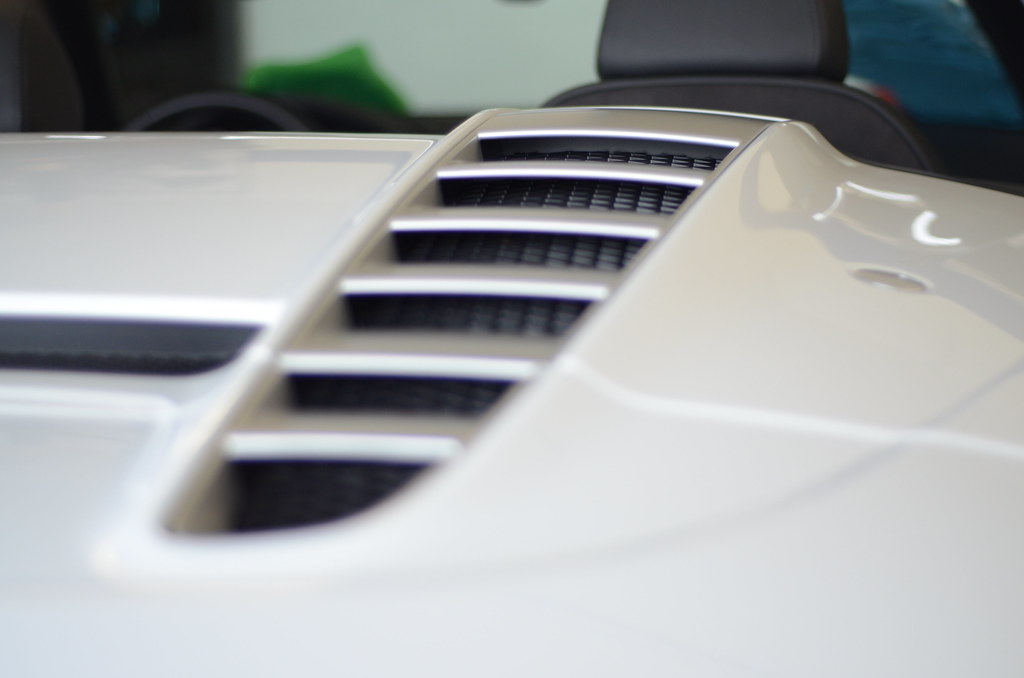
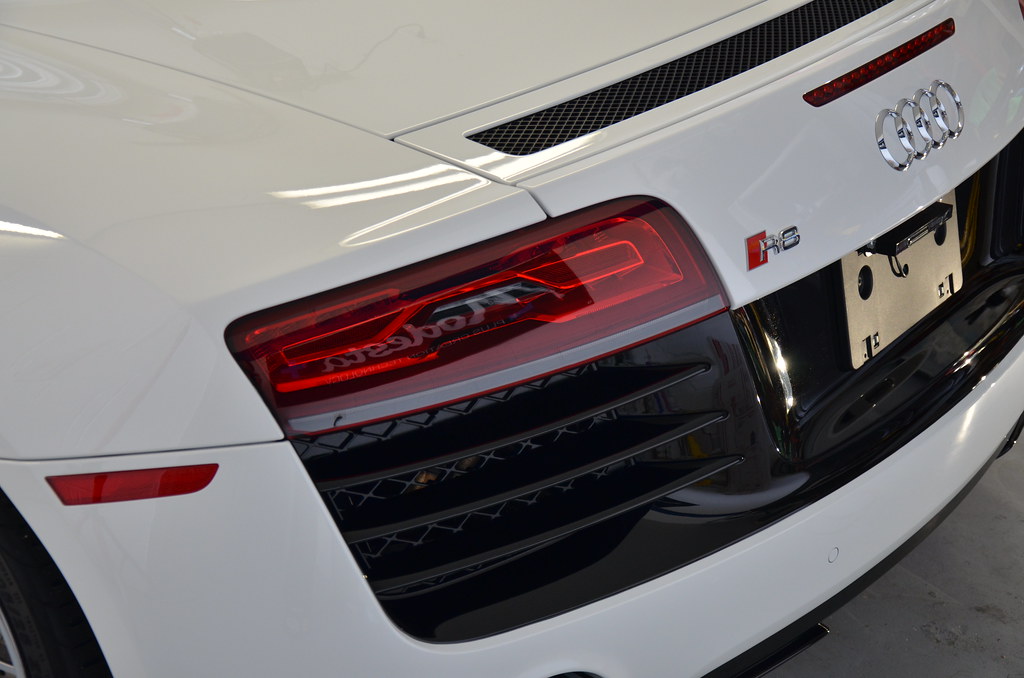
The wing of the car was by far the worst area, that’s really rather good considering …

The tail lights needed some TLC if the rear end of this car is going to pop! They had a dreadful loss of luster to them … 50/50

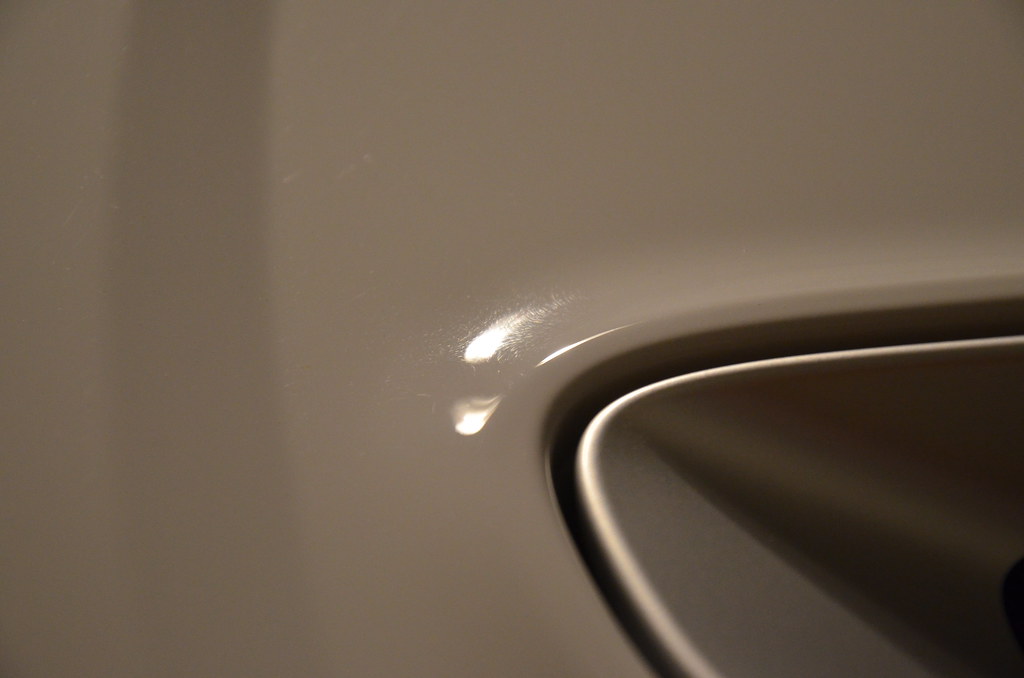
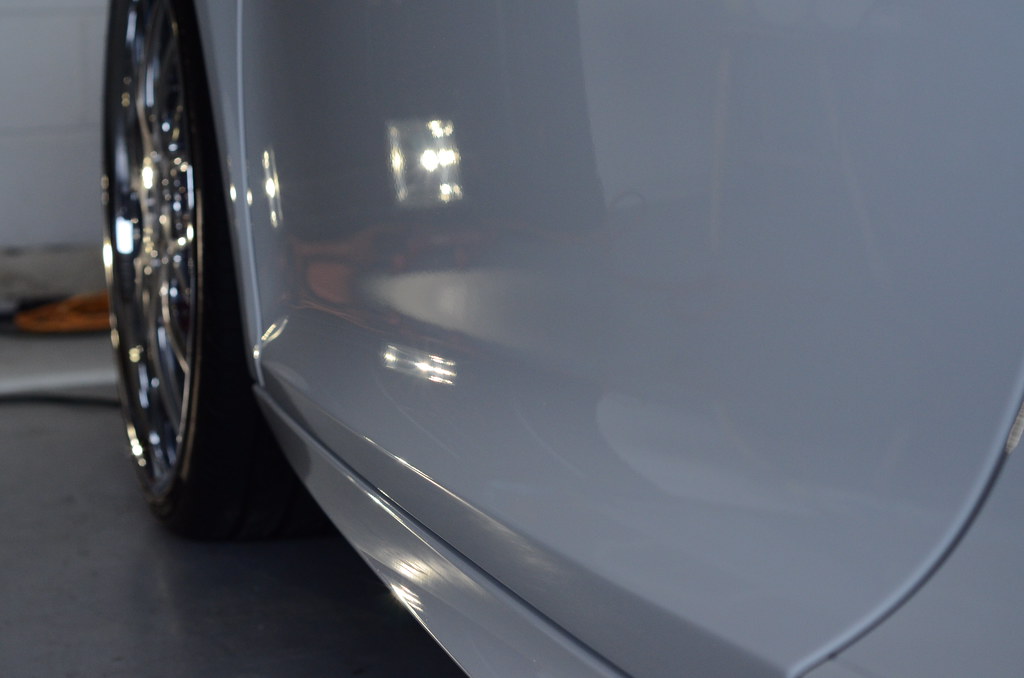
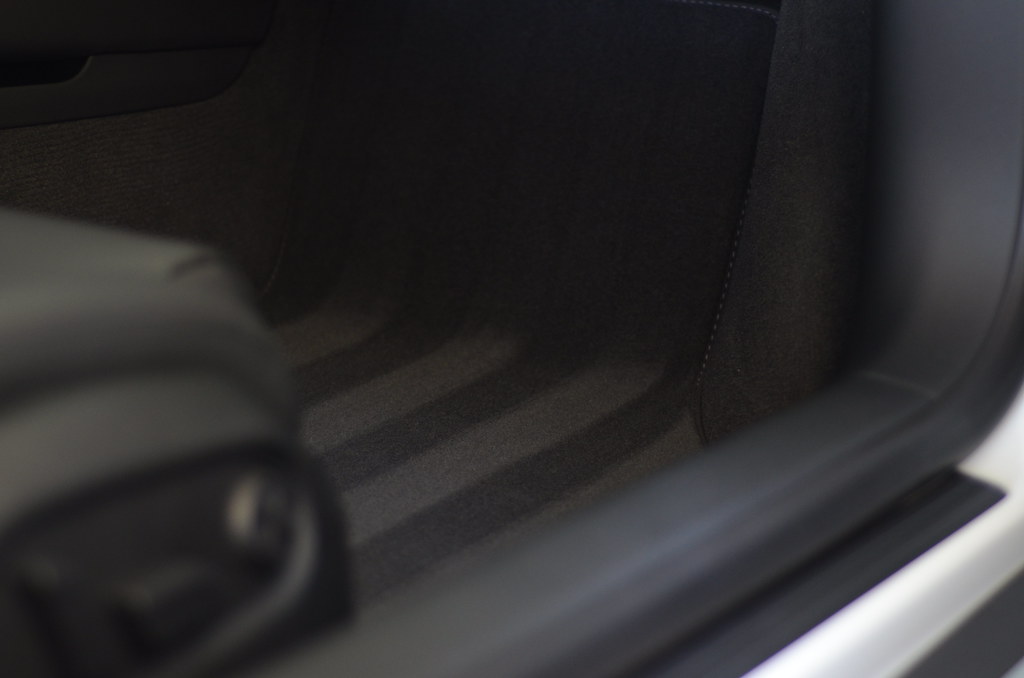
The lower rockers of the car were time consuming and very very large as you get further to the underside. After this detail, the thought of getting a small lift …”+1 again, not a bad idea”

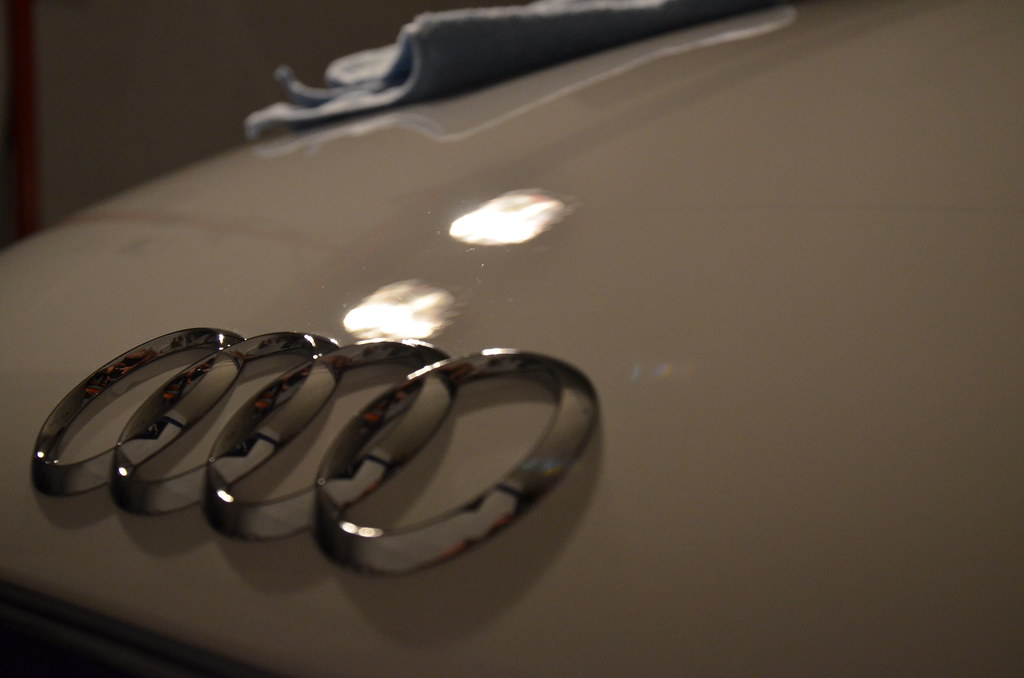
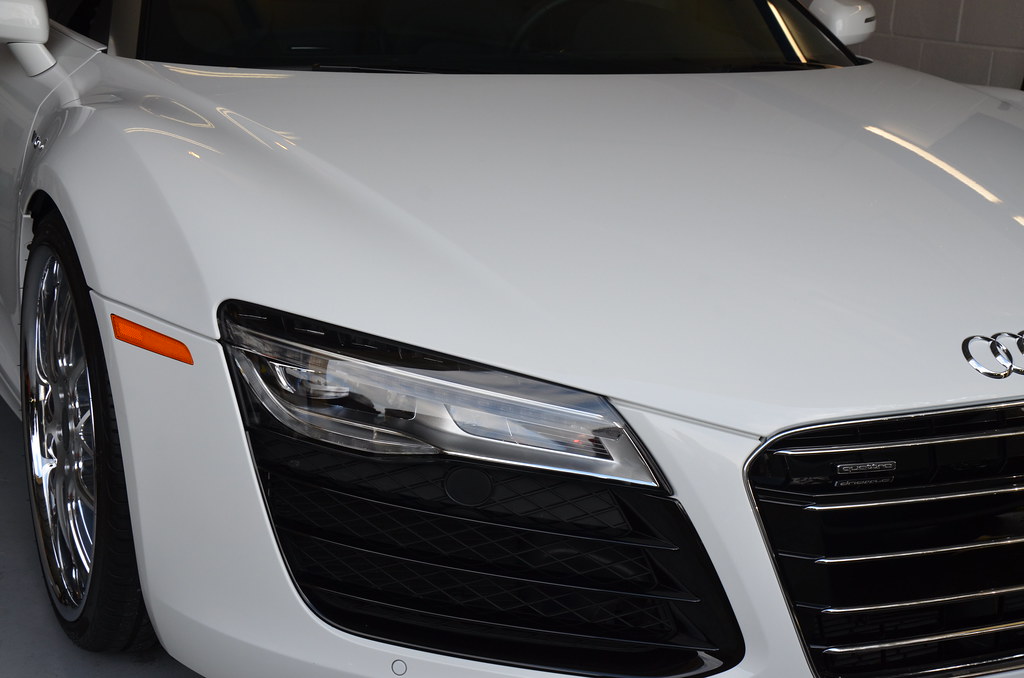
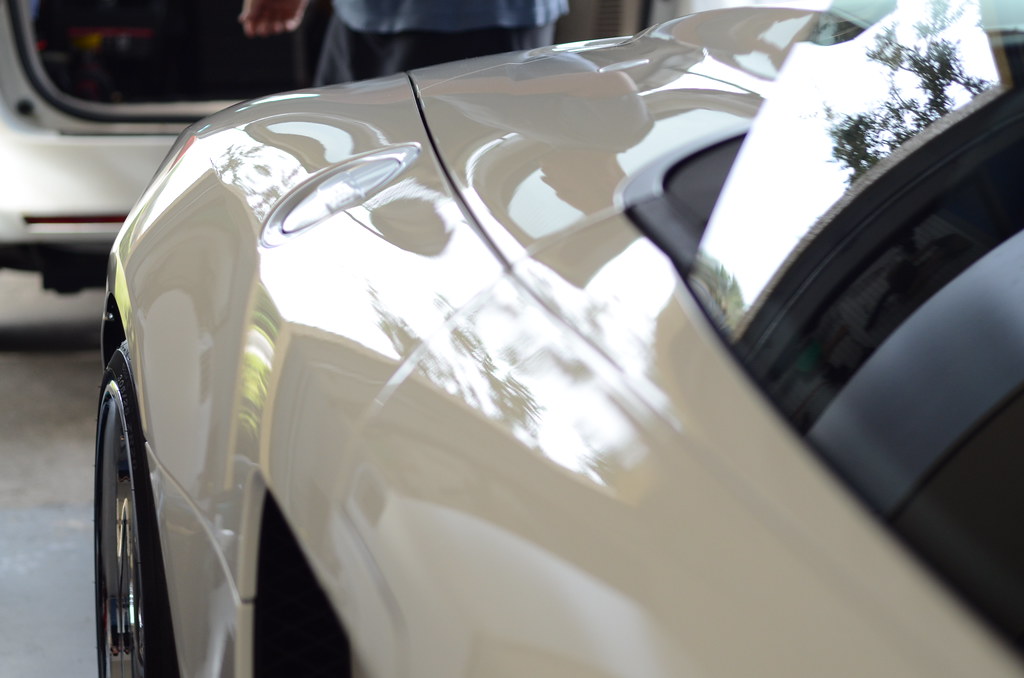
Looking great and ready for coating!
In between cure times is a good time to continue with the other details to ensure no UN-wasted time.
By the time the coating was down I was greeted by Daniel at Clear Detail who actually took care of the interior for me. During the course of this detail I took myself to the hospital, to make a long story short, they kept me for a few days and I was most grateful for Daniels help!


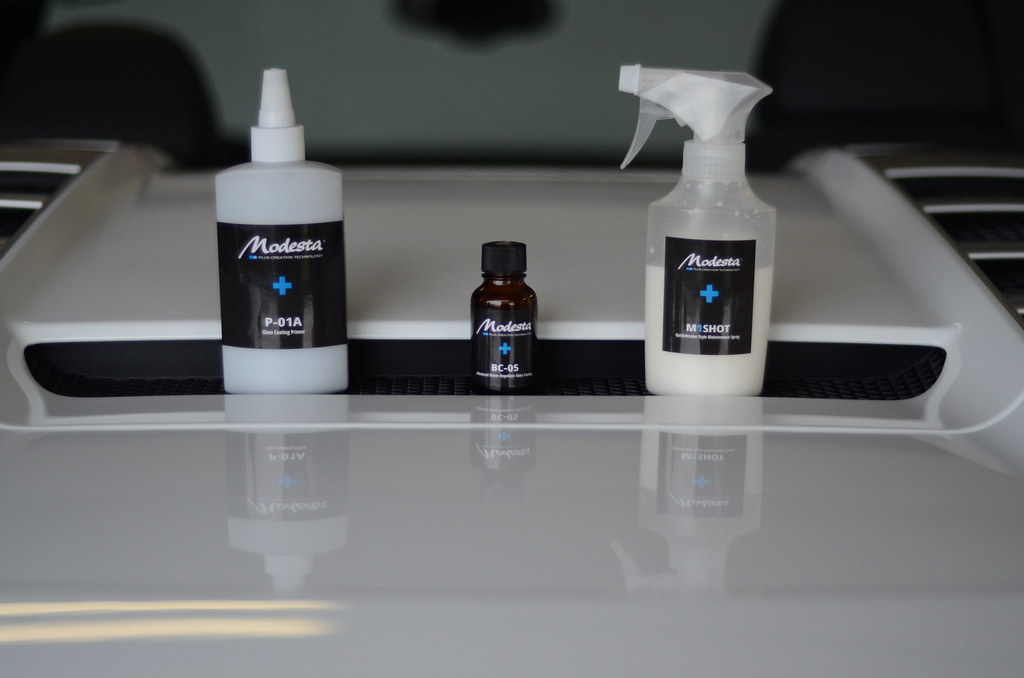

After the BC-05 Modesta Glass Coating was cured, M1shot was then used as the final wipe down to complete the detail!
Buy Products From This Article
Purchase the products used in this article individually or in one convenient package here!