
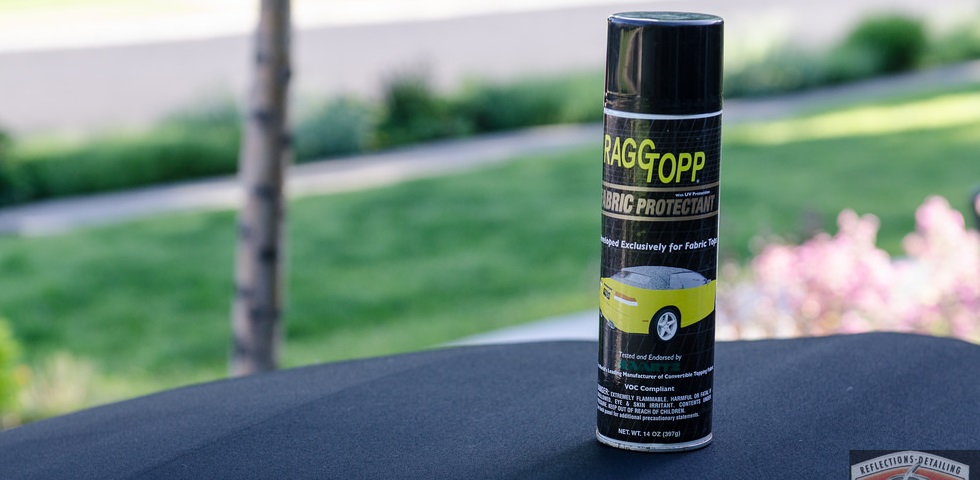
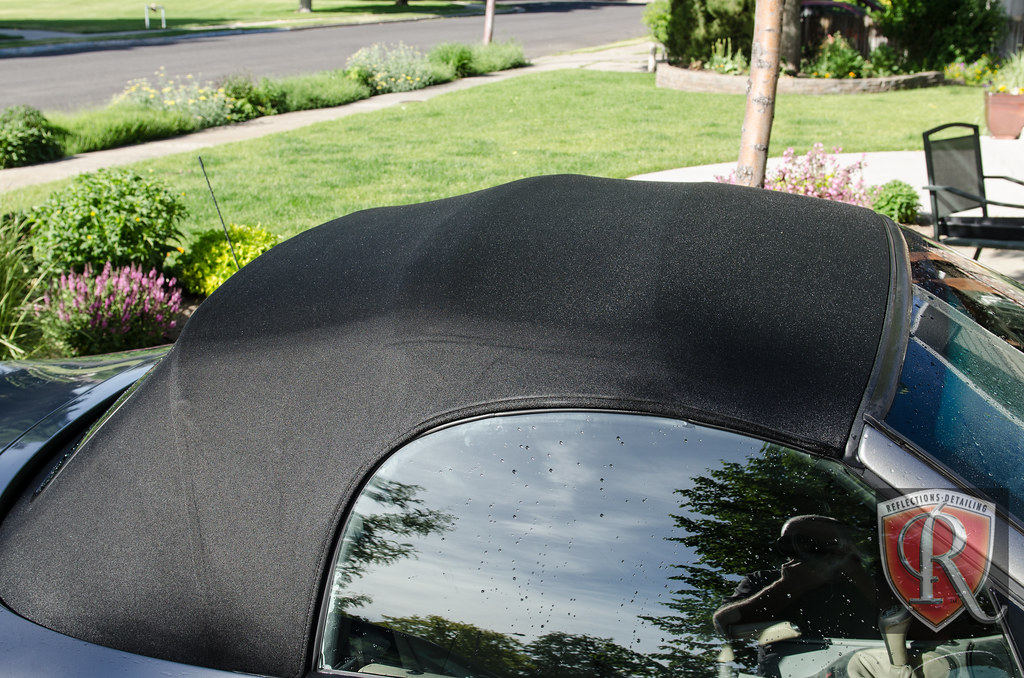
While I don’t get a lot of Convertible cars here in Utah, Reflections Detailing usually get them when they are in dire need of some care. I recently had a buddy call me up and needed some scratch removal done on his Z4 BMW, and general “get her shiny and clean” type detail. When the car showed up I could see the Fabric rag top needed some love also, and this was confirmed in the wash process too. I figured this is the best time of the year to clean and reprotect your fabric convertible car, I decided to make an article out how to do this. I love RaggTopp, as its the approved cleaner and protectant for a vast majority of the rag top makers in the world.
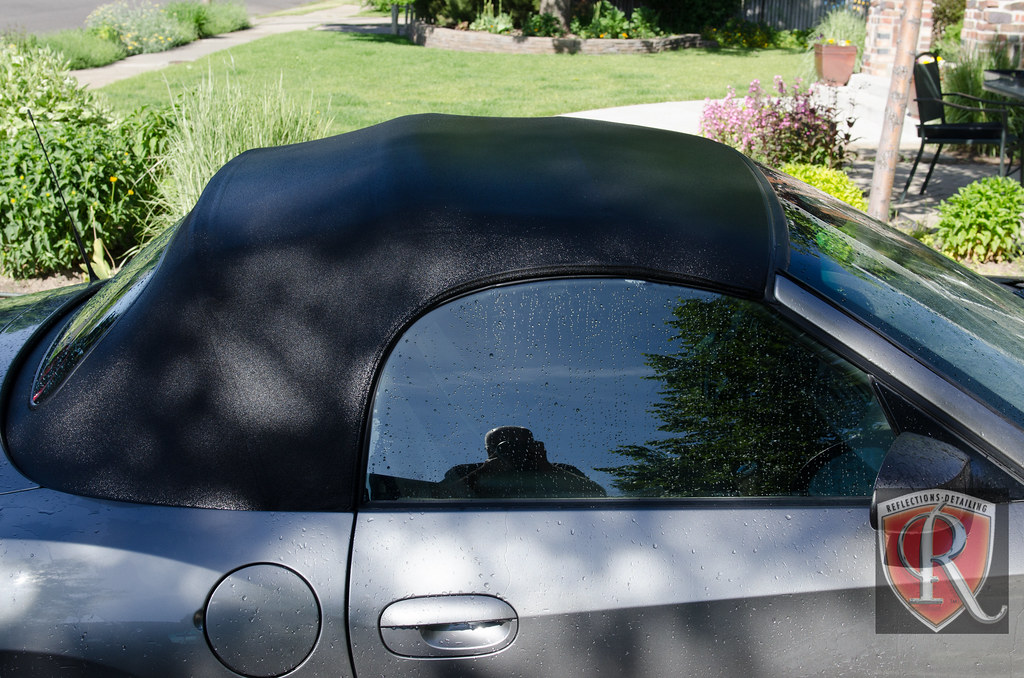
First things first, find some shade and wash up the car. During the process assess the canvas rag top and see how is cleans up, and secondly check for stains. This top was free of any stains but it oozed dirt, so I continued to flood and brush the canvas till it rinsed clear and clean. I would also take a towel and use it to get into the area between the canvas and the body panel. This is a hard area to get to on some tops and it holds a lot of debris run off.

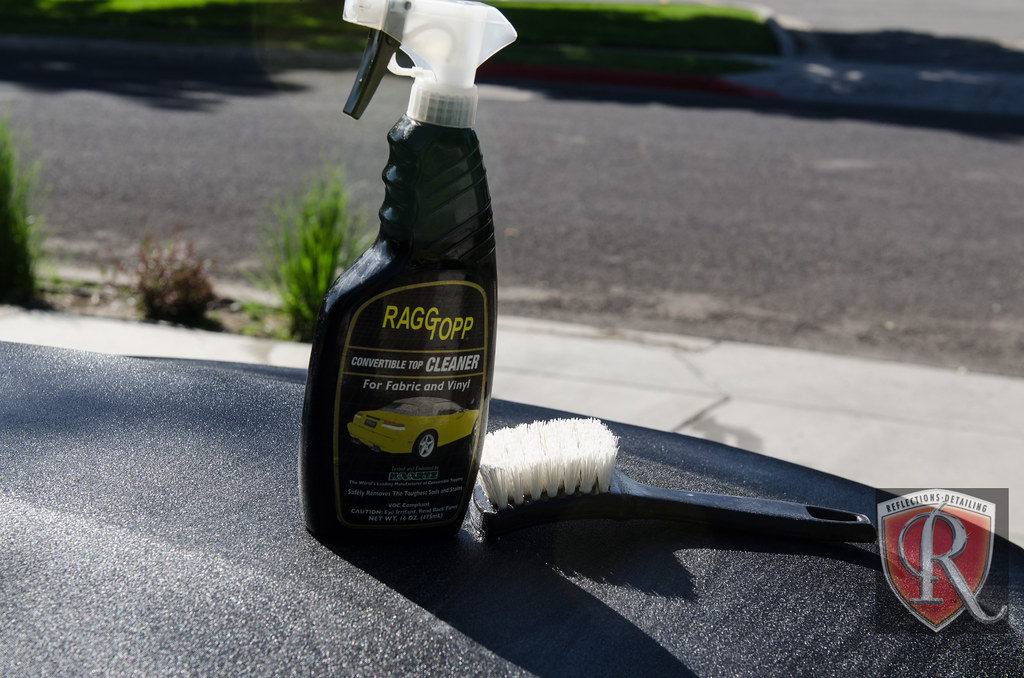
Next in the process is to use the dedicated cleaner and spray that on to help release the dirt and prep the surface for the protection. Yes, I’ve tried other “degreasers” out there for cleaning tops, but I have found that IF I follow up with the RaggTopp Protectant, their pre-cleaner likely allows the protection to have greater durability. I did an informal test a few years ago with a degreaser and RaggTopp Convertible Top Cleaner, then used the protection spray over both areas. The area with the degreaser didn’t hold up as long as the other. Not knowing the chemistry of the products, I attributed the cleaner to leaving a property behind that interfered with the protection product. I like the Tuff Shine Brush as it’s flexible and yet stiff enough to agitate the surface.
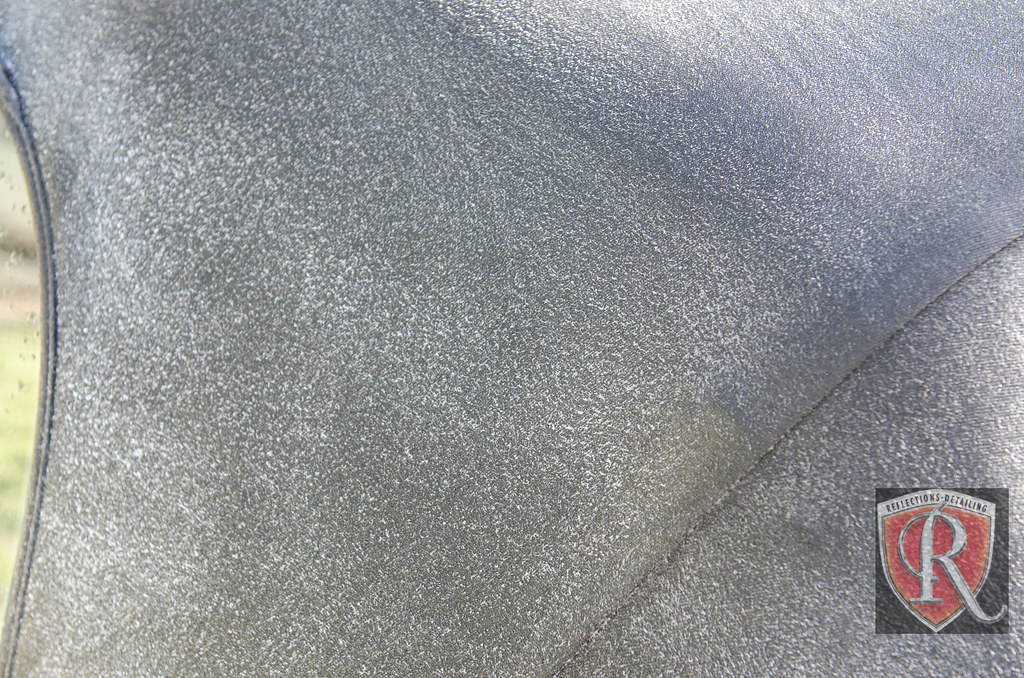
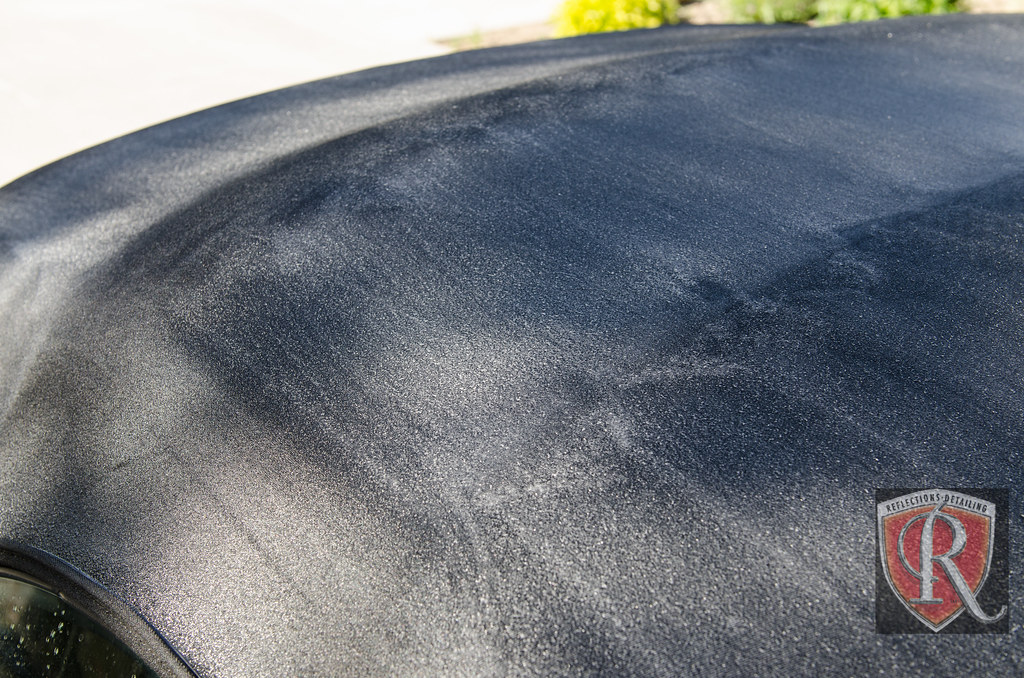
I allowed the product to dwell as long as I could (in the shade) before rinsing well with water. Once was assured the fabric was rinsed well, I moved the car into the sun to help dry out the fabric. You will want is SUPER dry before you spray on the protection. After the cleaning steps, I noticed the fabric was darker in color too.
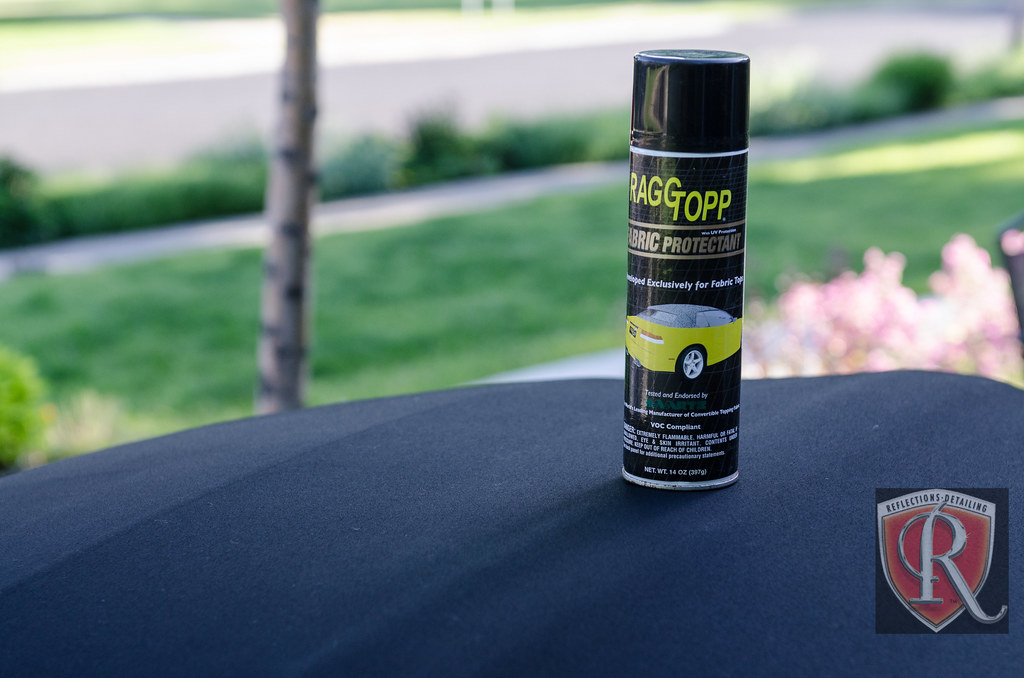
After a few hours of drying in the sun, I move the car into the shop to cool down. I had to pick off some debris that landed on the fabric. I would suggest you not pick a day when the pollen is flying! Once the fabric was cooled, it was time to mask off any areas of the car you wouldn’t want overspray onto (there is usually limited amounts). I also did the rag top before any polishing, so if I did get some overspray it would be easier to remove and not mess up my finish. I would suggest you cover the fabric top (after its fully dried again) with plastic during the polishing phase. This is an aerosol and has a pretty wide pattern IMO, so I tend to spray it closer to the fabric than the directions call for. Overlap your spray pattern and also go side to side, get maximum coverage! I work it into the fabric while wearing gloves as well, to get down into the fibers on the first coat. My second coat I work it in again and allow to dry for a period of time. Whatever is my final coat I just spray that coat on and allow it to dry. You will notice the fabric darkens some. I then gave it one more sun drying session, and make sure it’s dry before you cover it with plastic for the polishing phase of the job. Give the protection as many hours as possible before you get it wet again. Once the protection is set, I usually only need soap and water to clean it, and most times its just water.
Easy peasy and now is the time to get this job done!