
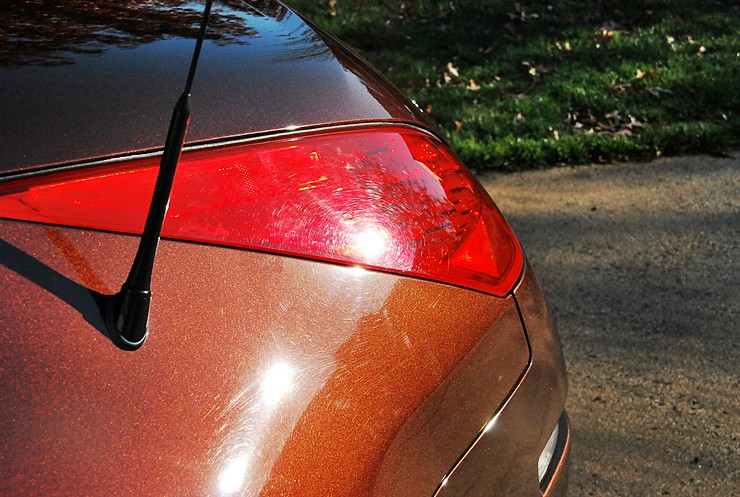
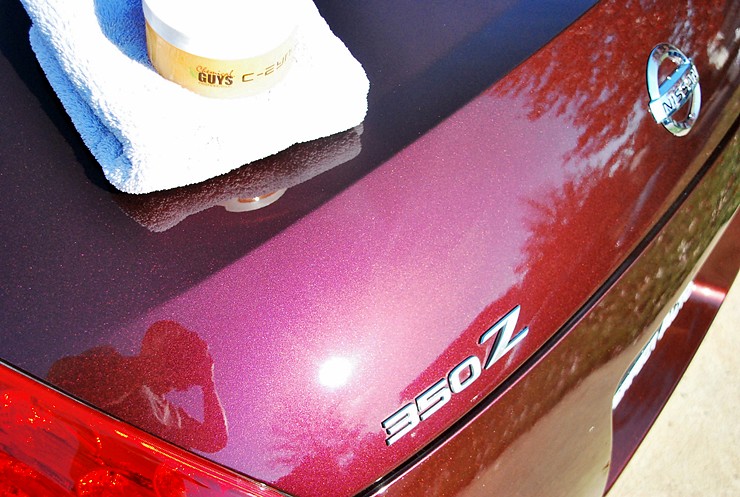
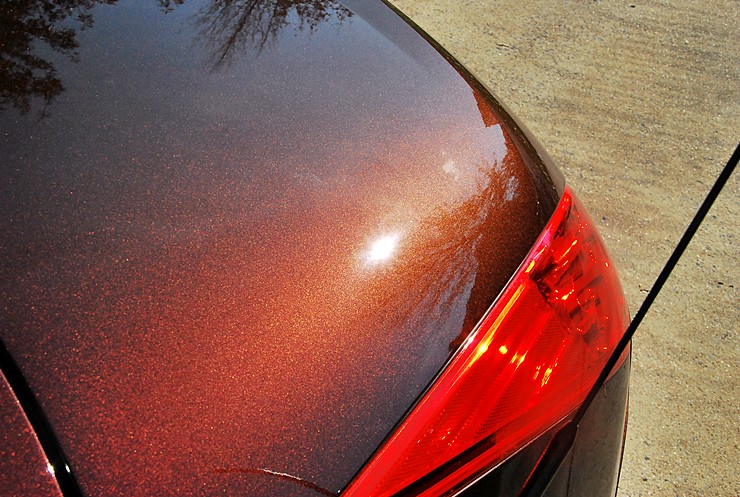
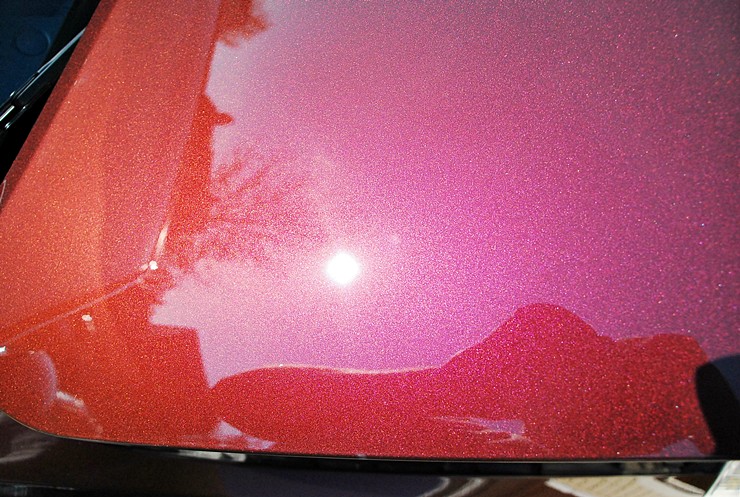
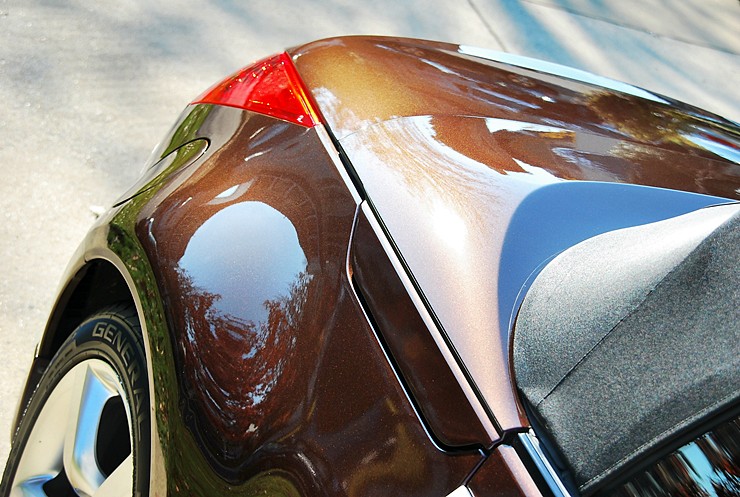
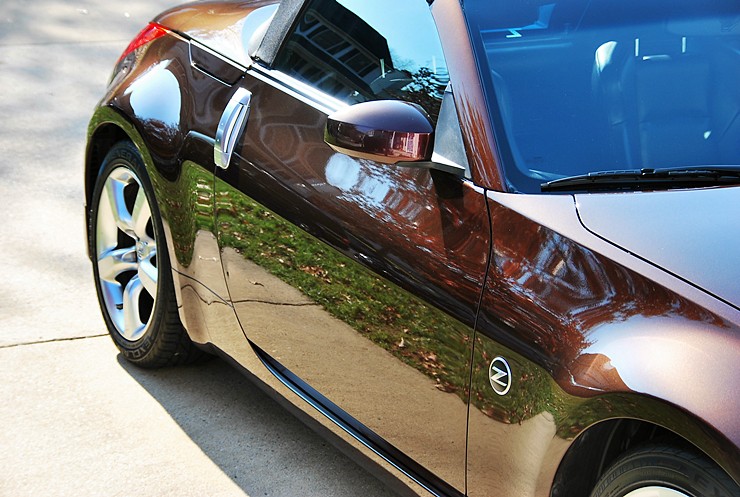
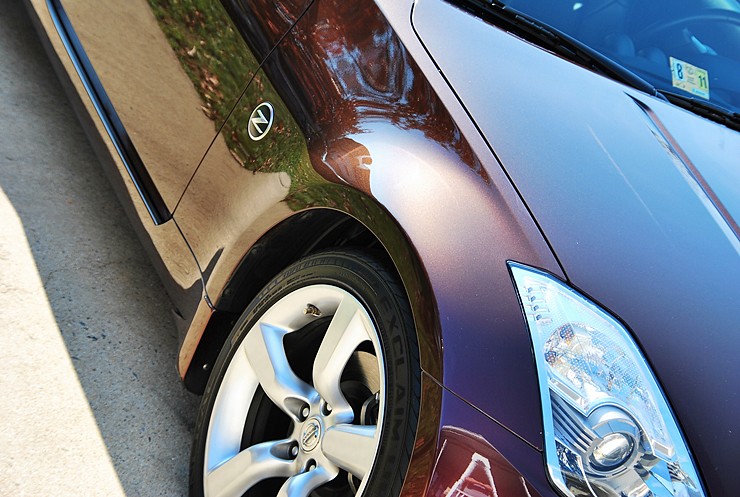
Majority of times, the cars we work on are constantly black, red, blue, etc. Not in this case. This color gave me several different shades depending on the lighting. Sometimes it was brown, orange, and sometimes purple. The pictures will highlight the color change from the various angles. What this color does have in common with others is that it shows defects the same way. This client picked the vehicle up and immediately scheduled to have the vehicle worked on. After doing a thorough inspection and agreeing on what level of service, I spent 2 days refinishing the paint work and making sure the clients used vehicle, would be better than new upon pickup. This paint was pretty straight forward and corrected well.
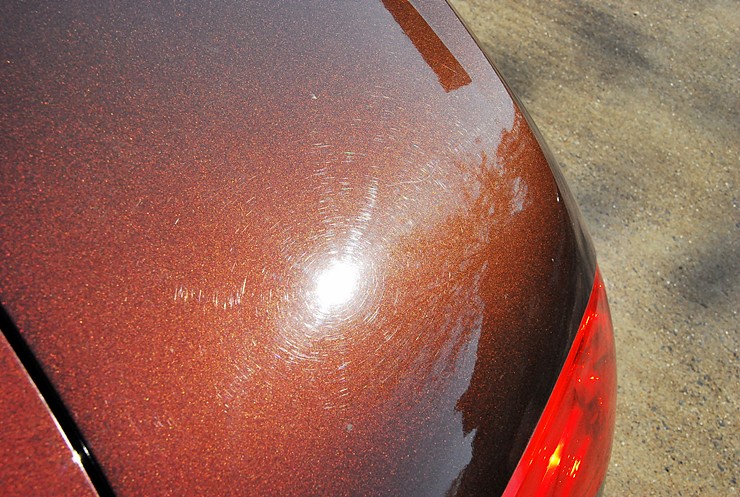
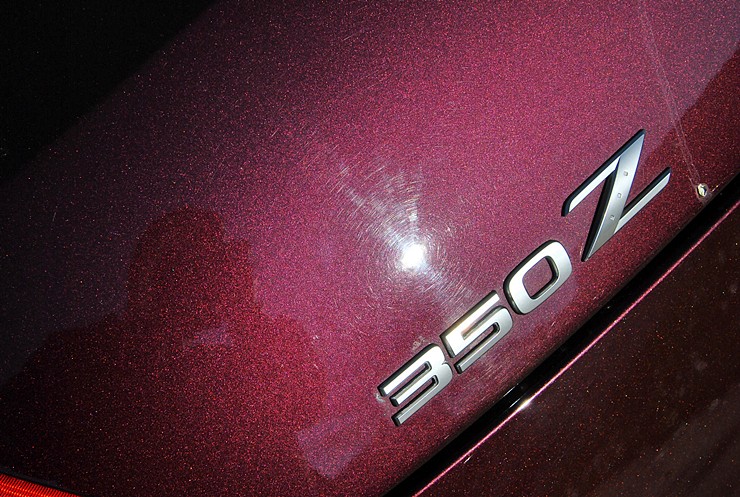
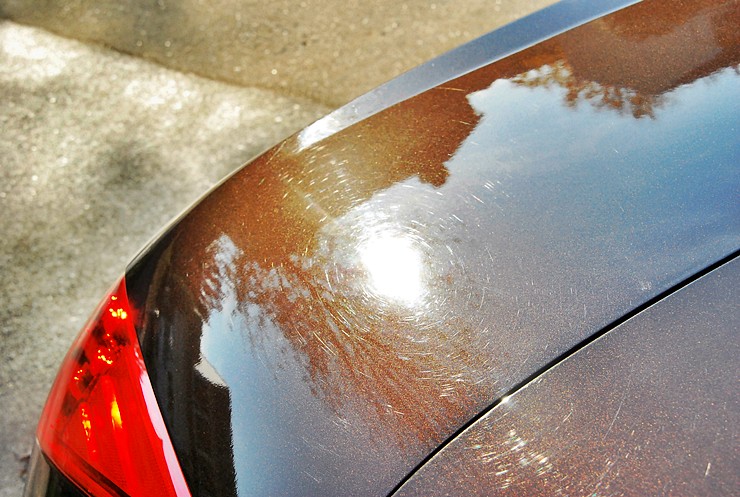
Here you can see an attempted machine polishing job that left holograms from improper buffing / and or using too aggressive of a compound without finishing down the paint correctly.
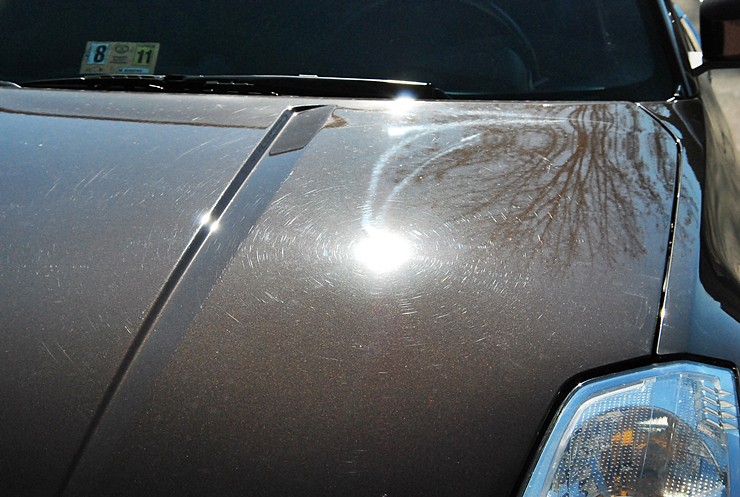

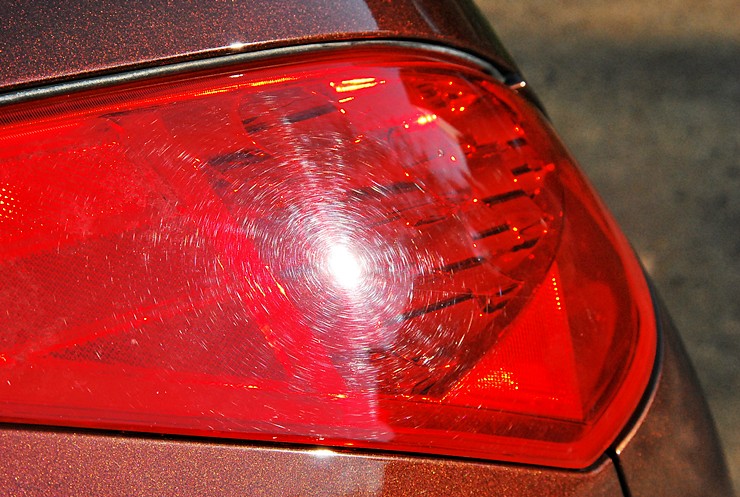
In direct lighting, you will notice the color change varying from the different angles as well as plenty of other swirl marks and scratches.
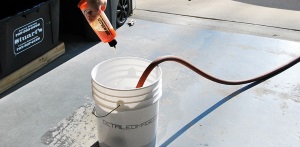
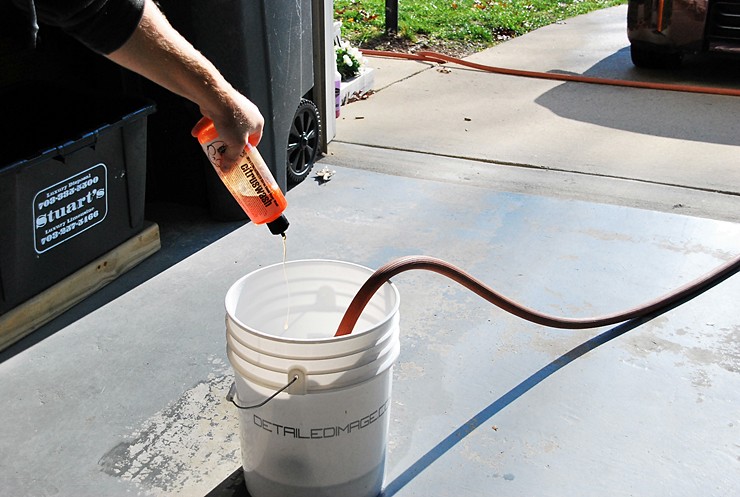
Before any polishing takes place, it is very important to remove any old sealants or waxes from the paint so you have a fresh base to work on. I’ve always told people, “you can’t fix, what you can’t see”. For this step, using a strong yet safe citrus wash such as Chemical Guys Citrus Wash will help prepare the vehicle for paint correction work.
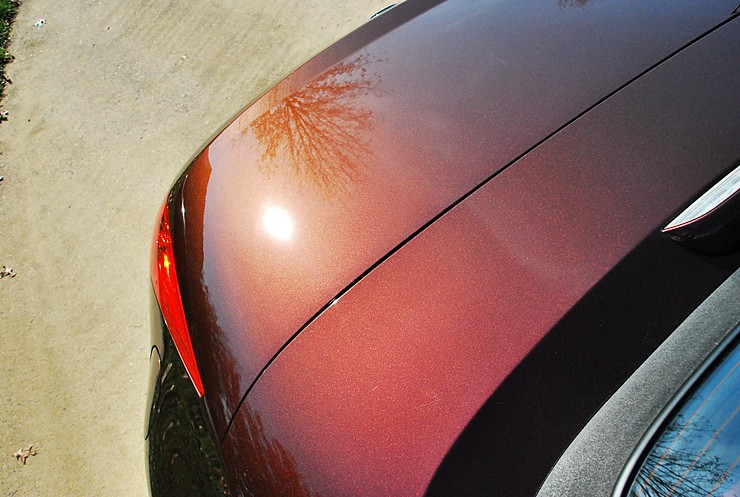
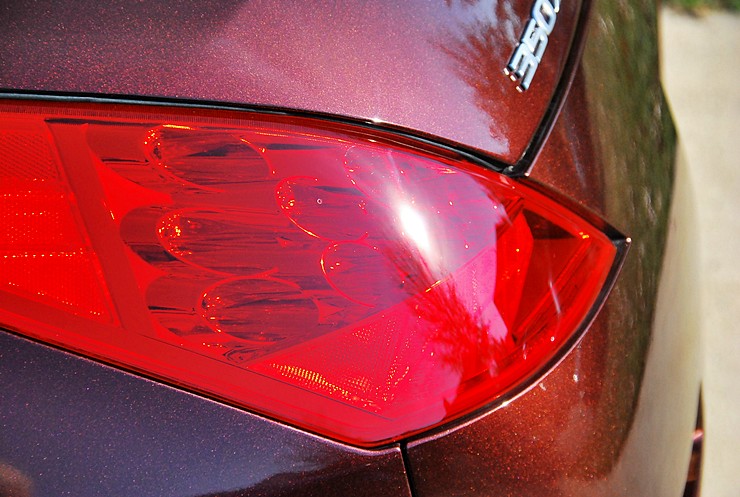
I’ll show you a few direct before and afters as I know most of you enjoy seeing them.
The process for this vehicle was as followed:
Meguiar’s D300 Microfiber Compound using a Micro Fiber Cutting Pad on speed 5-6.
The 2nd step in the correction process was done using a Makita Rotary and Menzerna 106FA Super Finish Polish. Some of you may ask why did I switch to a rotary? For this particular vehicle, the rotary with a nice polish gave me a better result with a more even and crisp finish than the DA. The type of clear on these vehicles more often than not is typically a little bit soft so you can really pull some gloss out while providing a great finish.
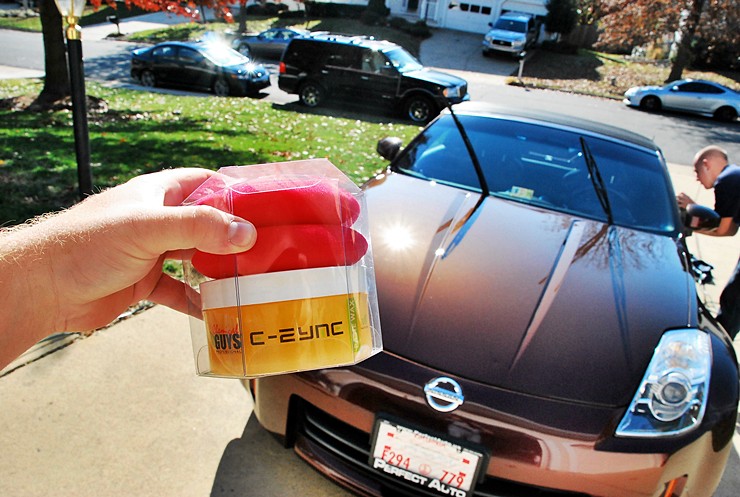
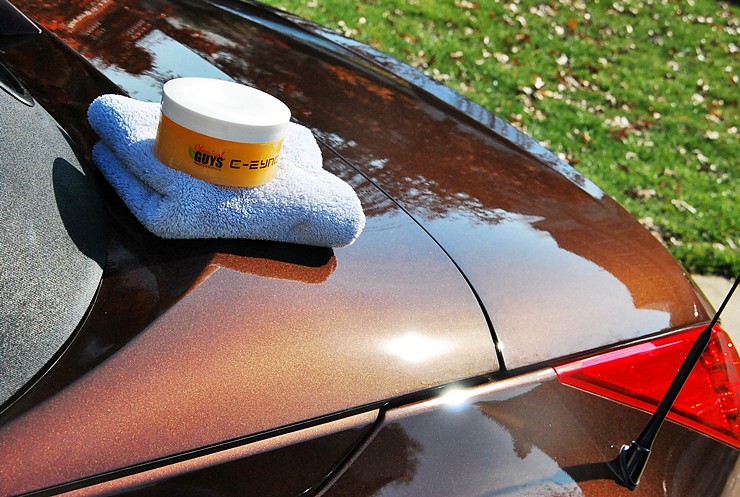
The next step is often overlooked but yet very important to me. Cleaning the paint to give your protection a nice base to bond to will not only allow for better durability, but will prove easier to apply and remove. Let’s face it, at the end of a paint correction job that runs many hours, the last thing your looking to do is fight a product on application and removal stages. Using a product like Chemical Guys EZ Creme Glaze will not only remove any polishing oils left on the paint which could effect the bonding of your protection, but it provides a smooth surface and adds a great look of it’s own. After applying this on a DA machine at speed 4 using a soft blue or red pad, the product will nearly work into the paint with nothing to wipe away. You can go straight to your protection product which saves time. Knowing this car is garage kept and would be looked after, I went more with a beauty product instead of full out durability. For this choice, it was no other than Chemical Guys E-Zyme Natura. The application and removal process is no effort and gives a nice dark look to the car which on this color made stand out even more.
With dedication and patience, you can go a long way.
Once again, thank you for taking time to view my work. If you have any questions or comments, please submit them below.
Buy Products From This Article
Purchase the products used in this article individually or in one convenient package here!
Related Posts
- Full Detail and Paint Correction: Ferrari 458 Italia by Todd Cooperider of Esoteric Auto Detail
- Hybrid Polishing Process featuring a 2004 Dodge Viper
- Ferrari F40: 60 Hour Restorative Detail by Todd Cooperider and Craig Reed
- A Tale of Two Packards
- Italian Excellence: Ferrari 430 Scuderia Paint Correction and Detailing by AutoLavish