
I recently had a Ferrari 348 Testarossa that needed detailing prior to the Cavallino Classics. I had a look at the car a few weeks a head of time and was anxiously awaiting the days of detailing. We had set the detail up so that the car was as clean as could be right before its departure to Palm Beach (where the event took place). This detail consisted of a paint correction, interior detail, motor detail, some paint touch up and convertible top treatment. I’d like to thank Swissvax USA in sponsoring this detail, as all the protection products for the Ferrari 348 were Swissvax products!
A friend of mine Alex Borda, was here to help take part in this detail. Upon quoting the car, I was unsure if Alex was going to be here or not. It turned out he had made it down to assist in the detail. Some of the photo’s used in this write up are from Alex’s camera. Thanks for sharing in this detail Alex!


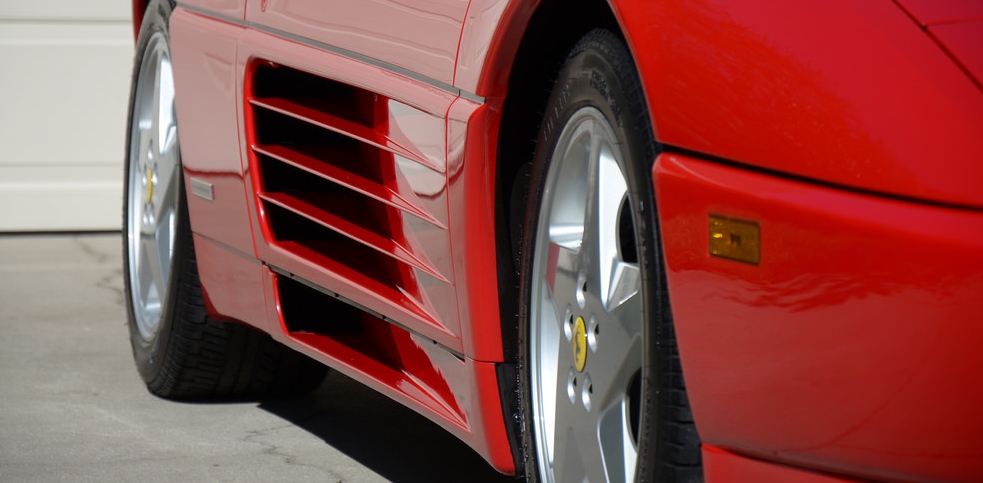
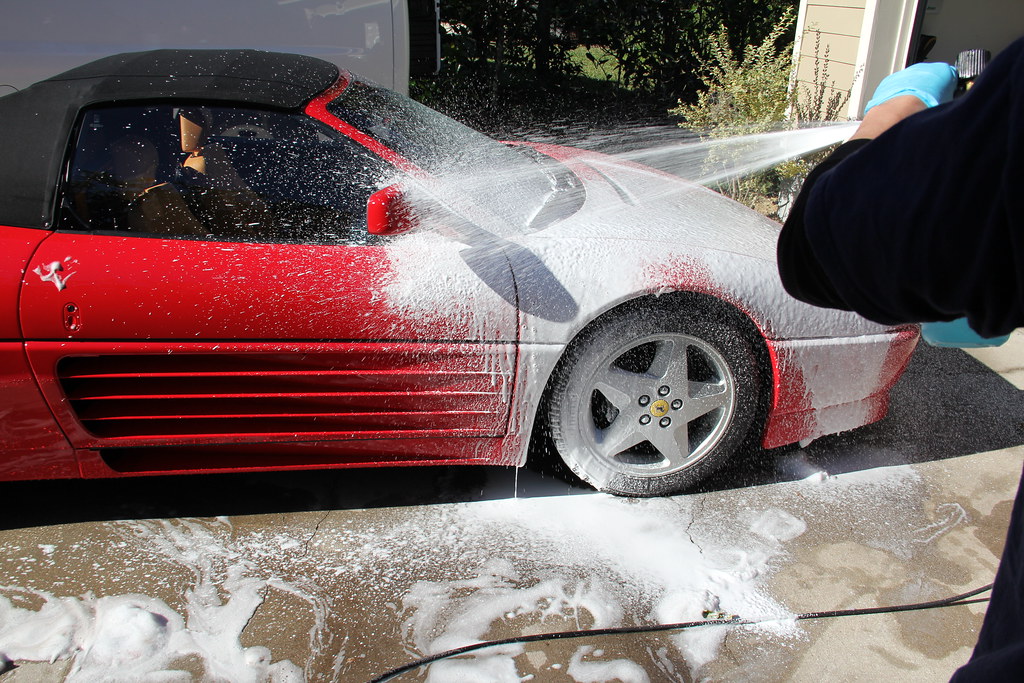
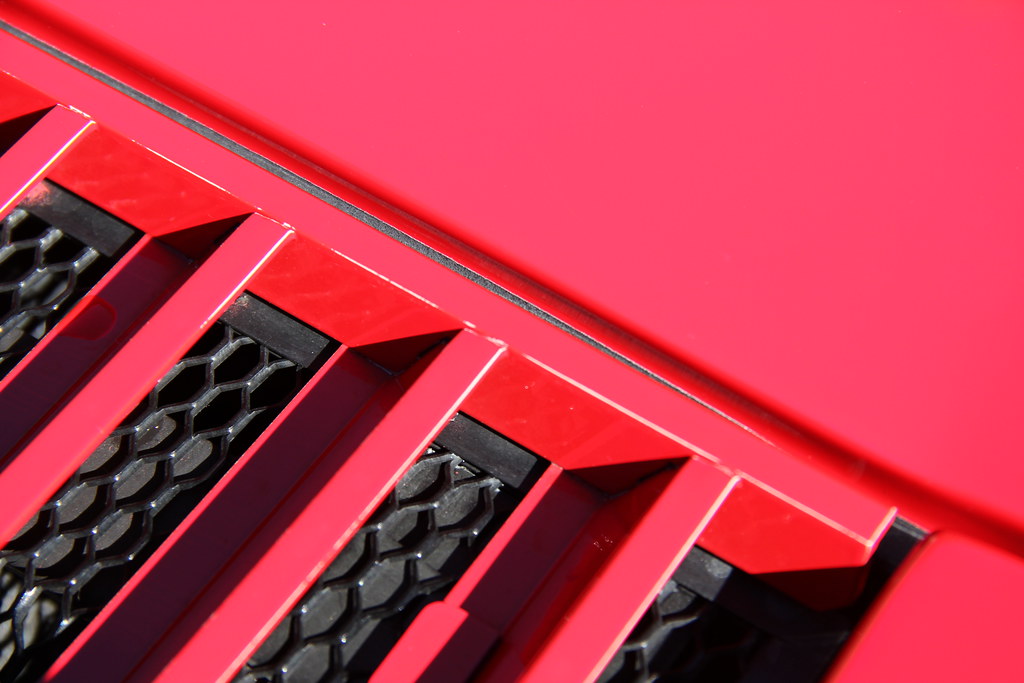
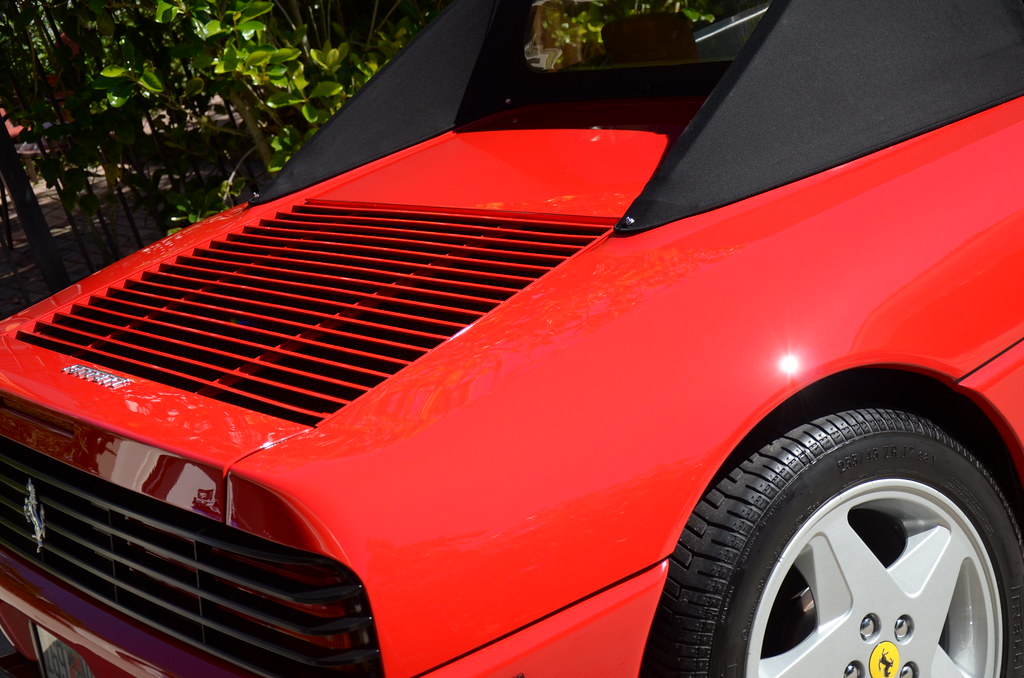
Getting started with the decontamination process we used Dawn soap and P21S Total Auto Wash to strip away any old waxes or oils from the paint surface. Through the wash process we were sure to take a fine brush to all the nooks and crannies. The rear lubbers had a lot of dirt and oil build up due to being just above the motor.

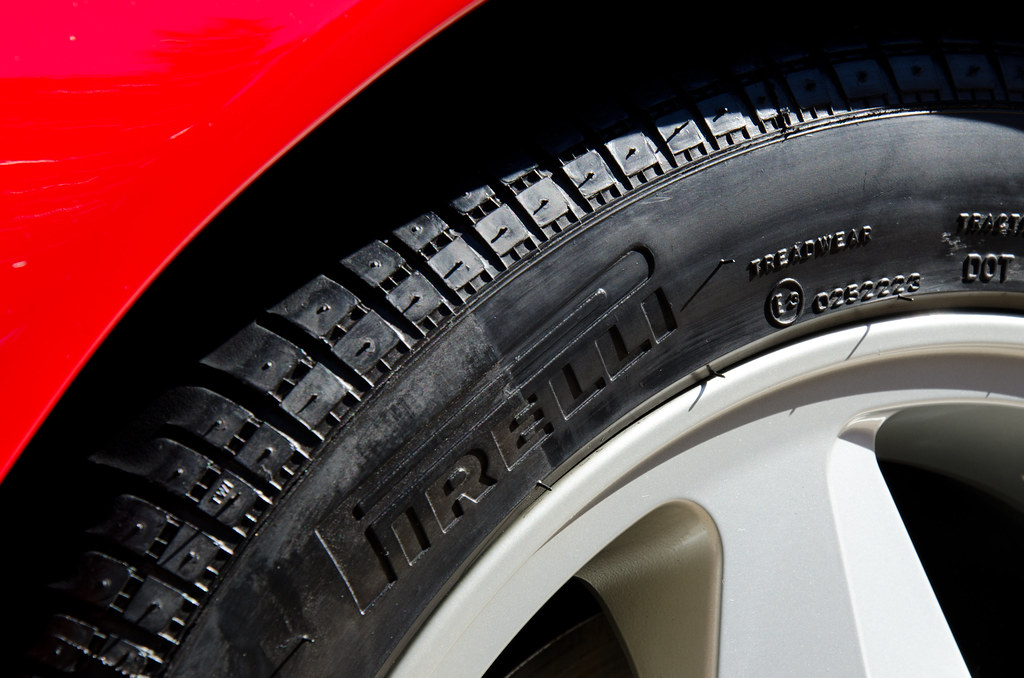
After getting the car dried, one of the first things I tended to was getting the tires completely clean. Using a dry microfiber all purpose towel and more P21S Auto Wash, I took my time in getting the excessive build up cleaned off the tire. This is a huge and very noticeable difference in my opinion for any car getting ready to greet a car show. The tires were later shined up with Swissvax Pneu Glossy. The first coat was put on and allowed to sit over night, then wiped dry. The second coat was put on right at the very end of the detail. Doing the tire shine like this allowed for the first coat to soak into the rubber much like a conditioner. The second coat allowed for a nice shine but not overly done.
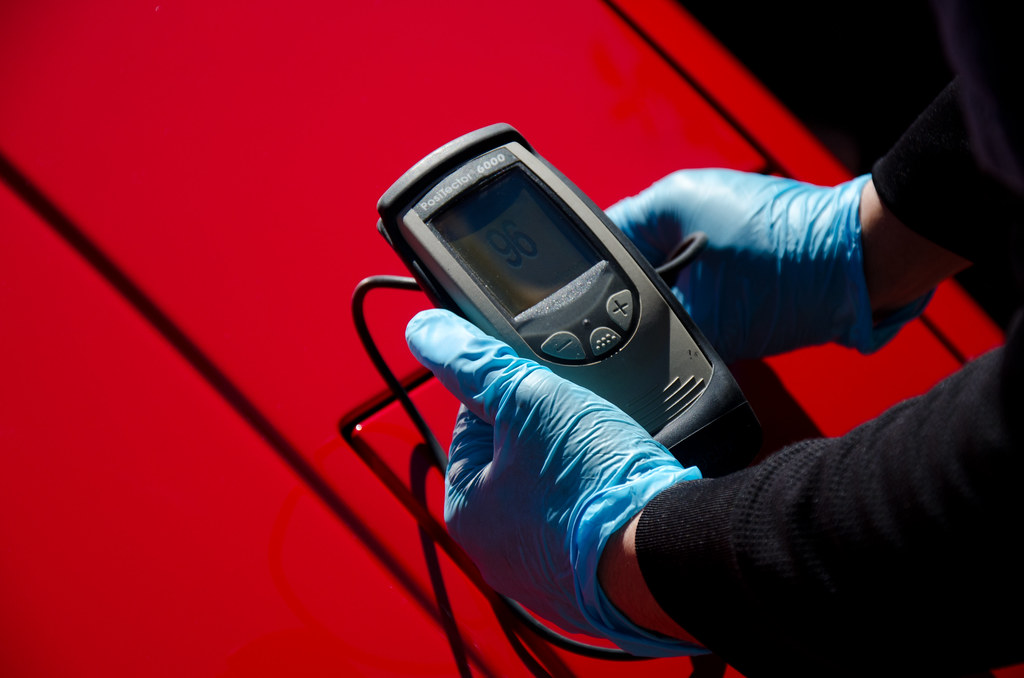
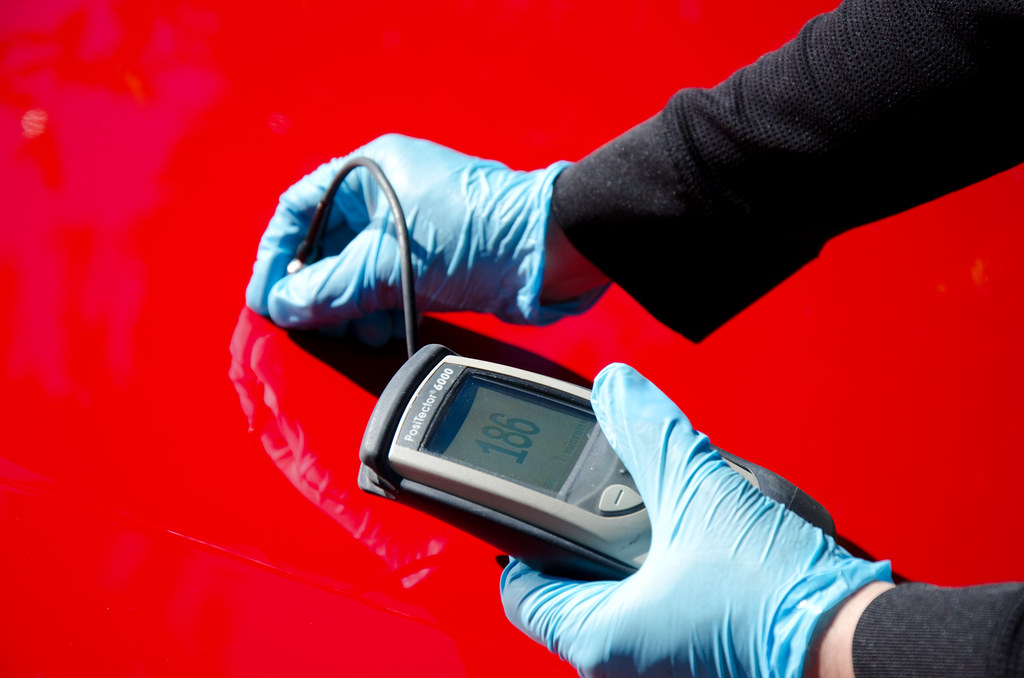
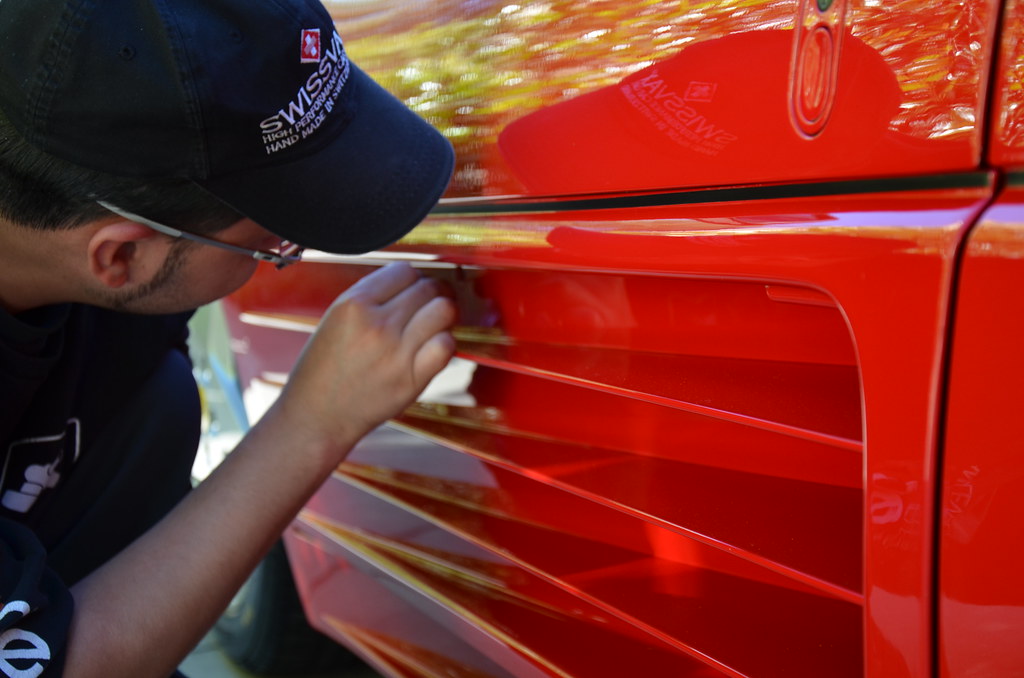
While I was cleaning the tires, Alex was taking paint readings.
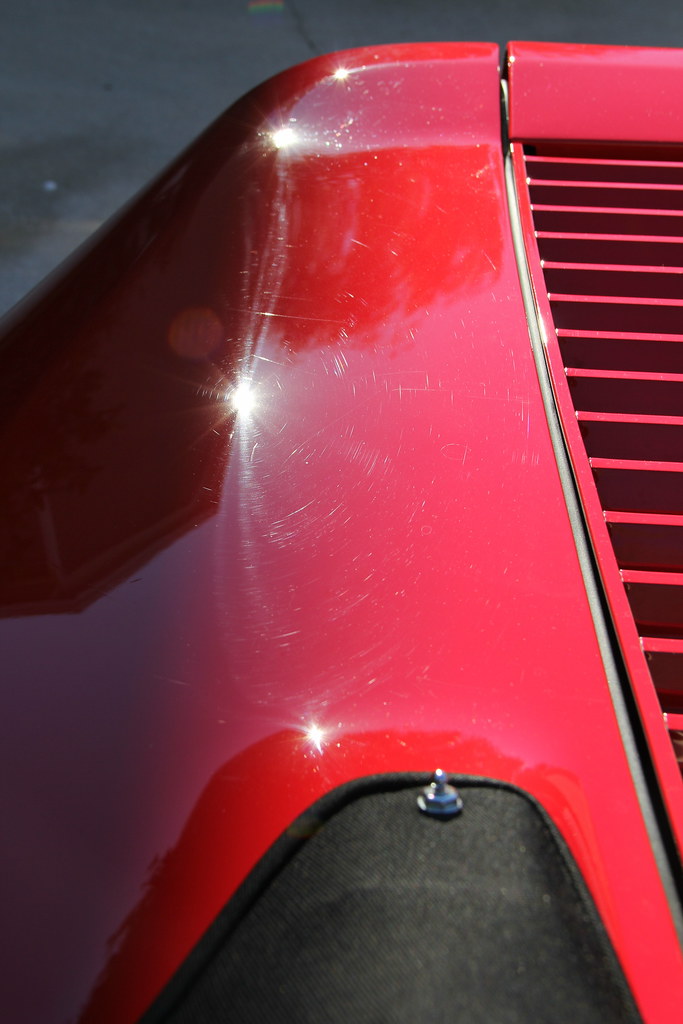
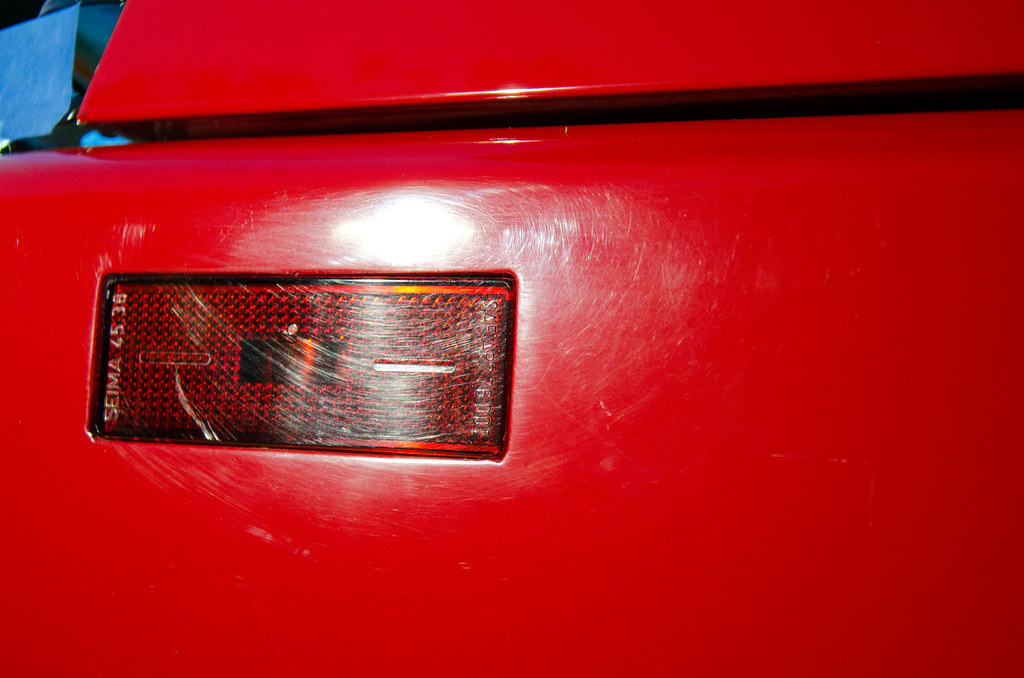
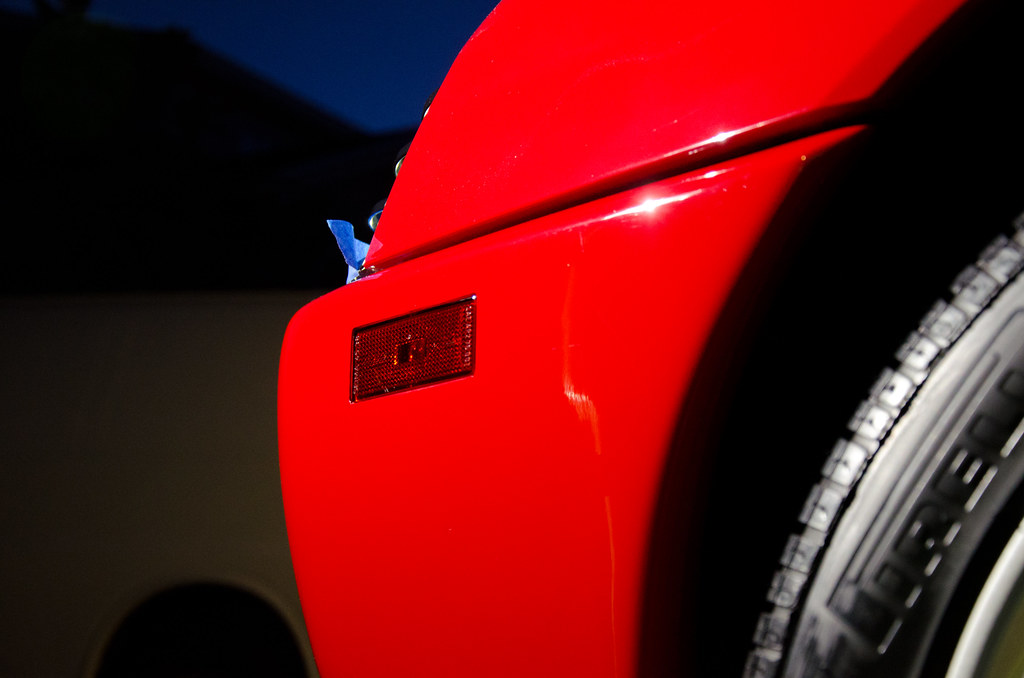
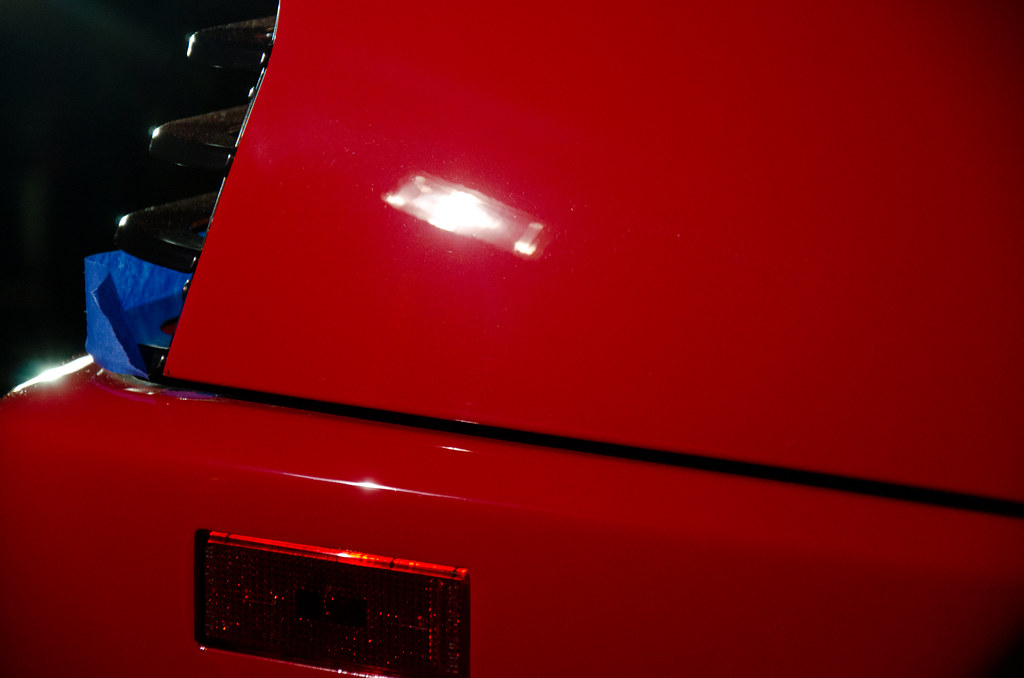
The car had some “buffing” done in the past and we found many burnt edges. Over all it read like a typical Ferrari, paint readings high to low.
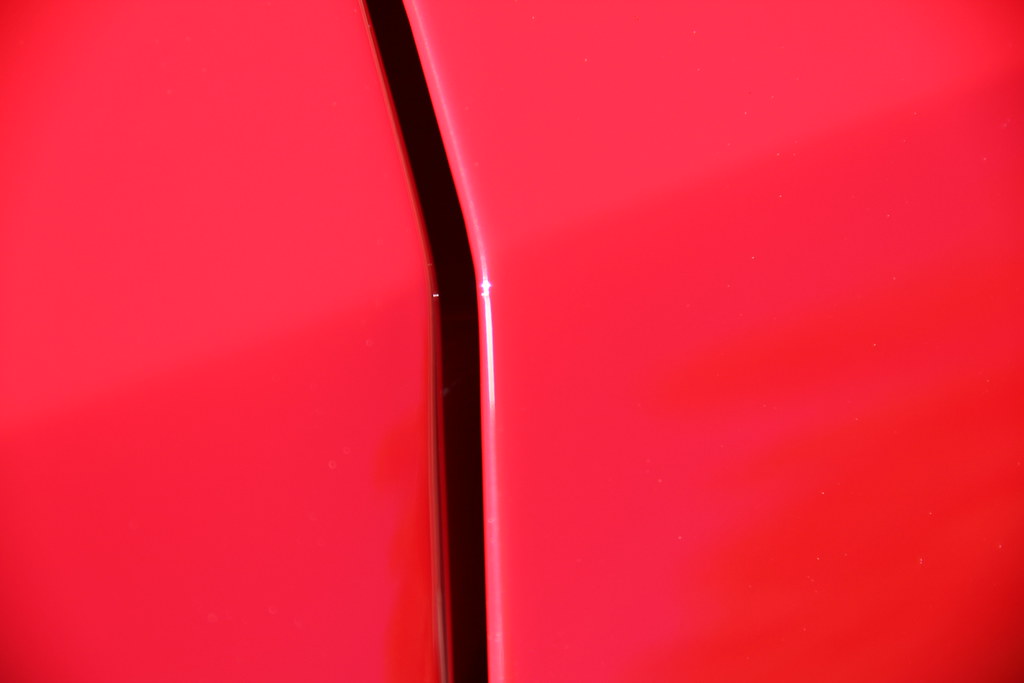
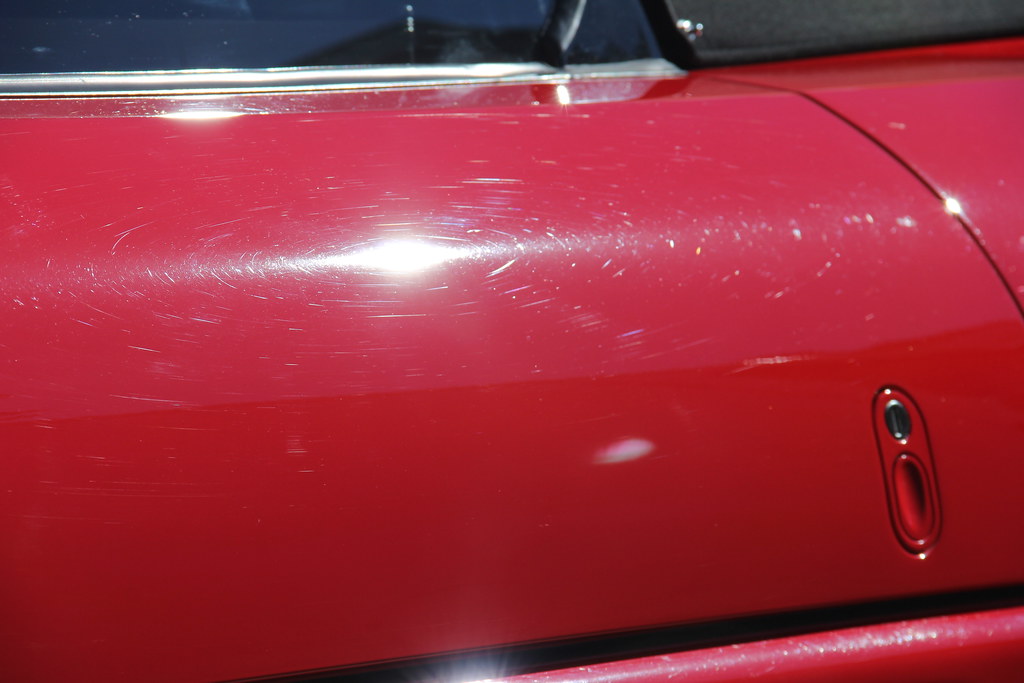
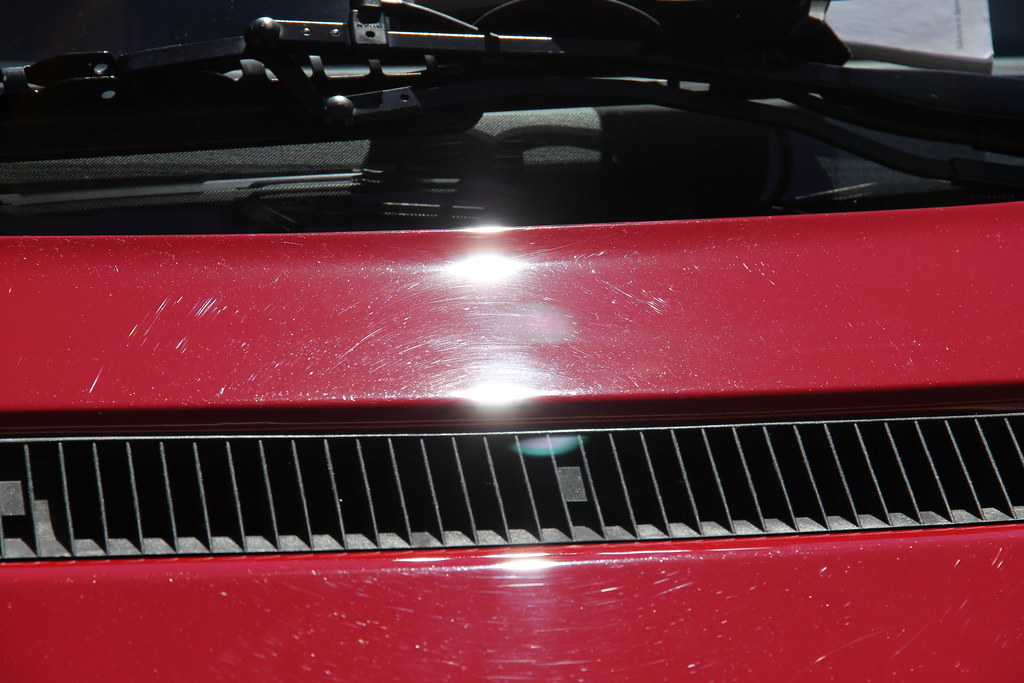
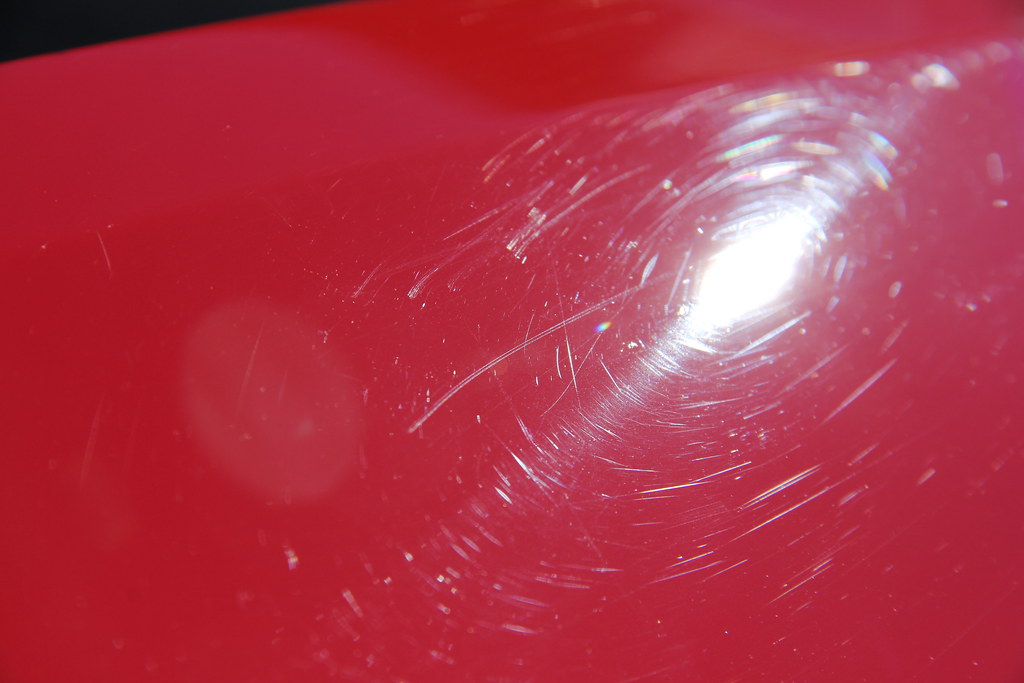
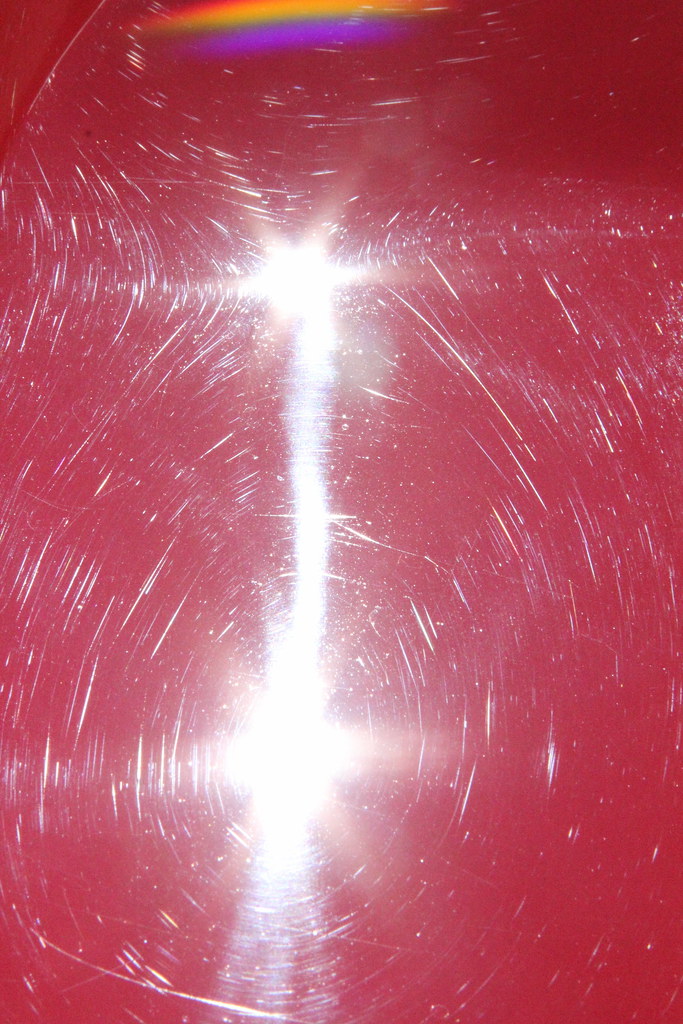
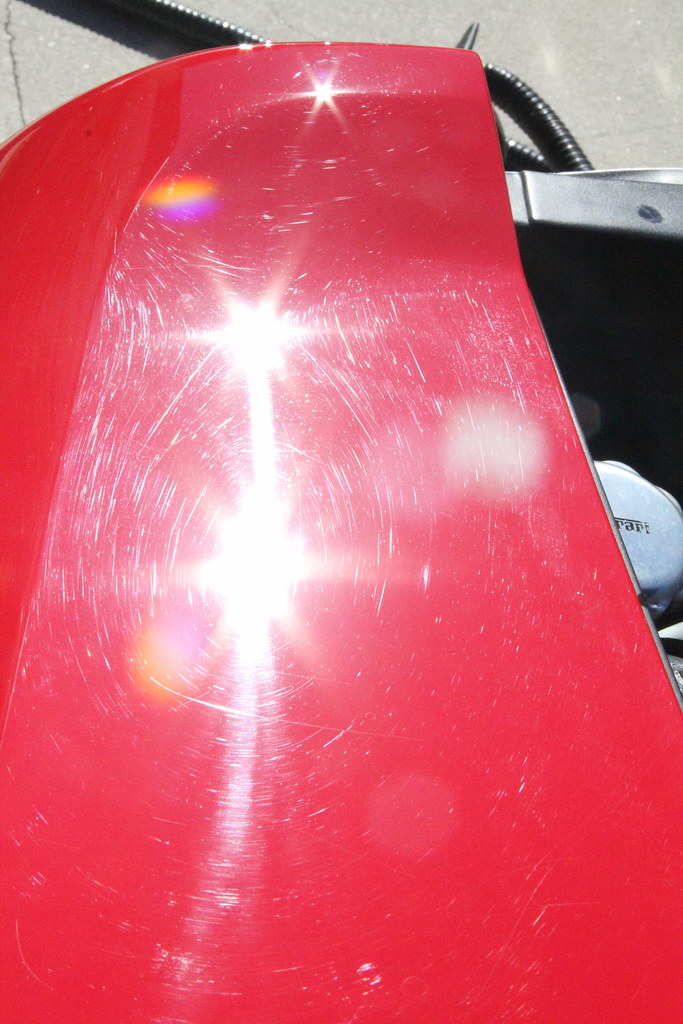
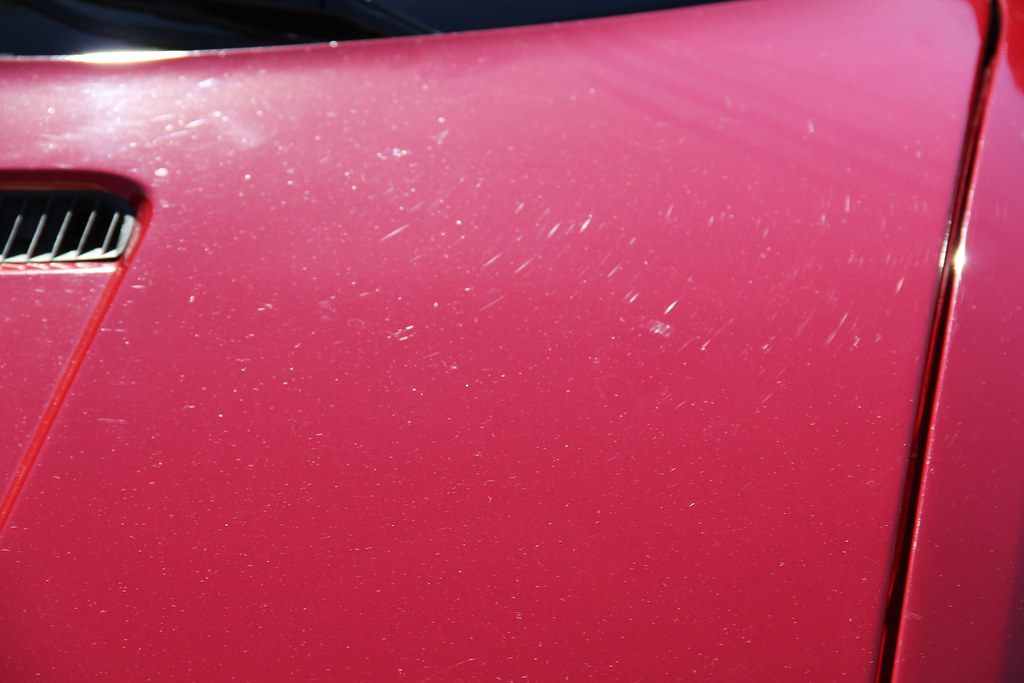
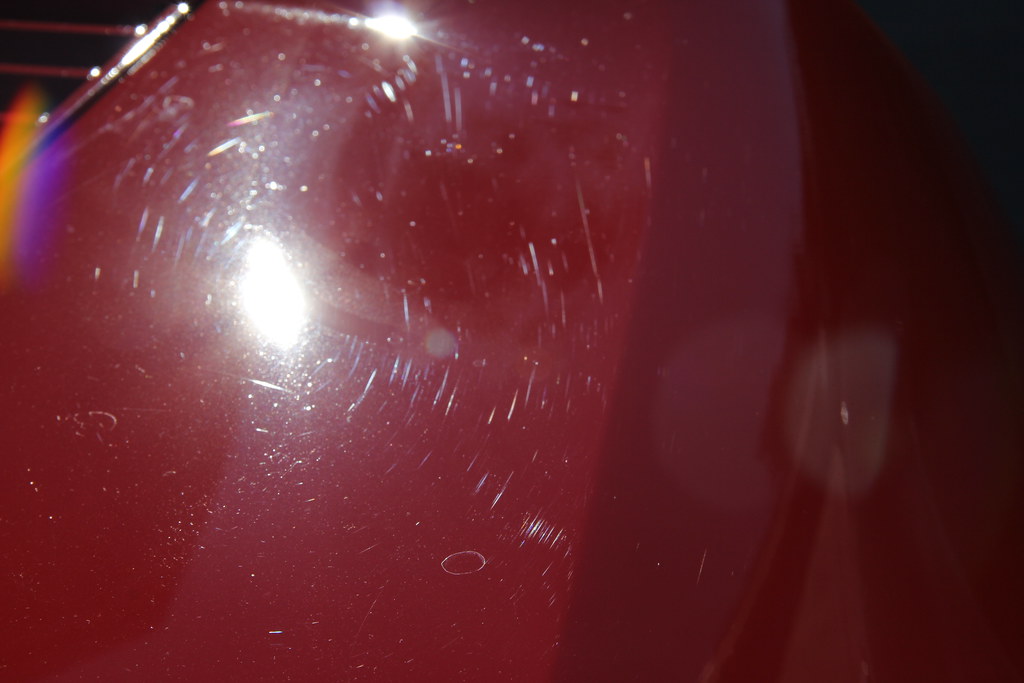
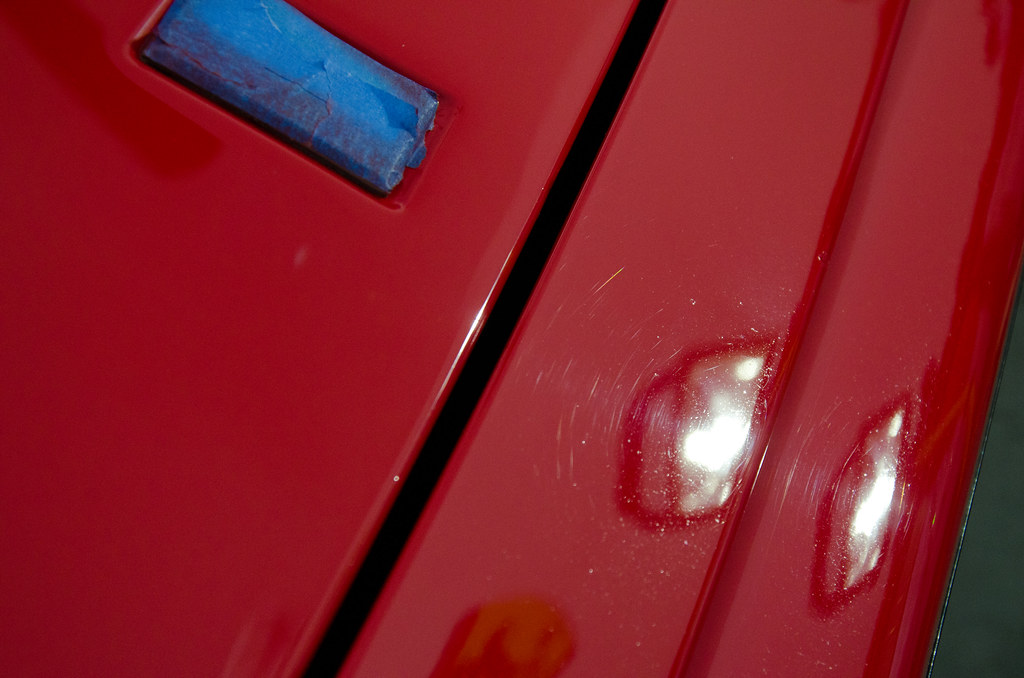
Here is 2 pics of the burnt edges we found and a group of pics of how the paint looked prior. The burnt edges were also found around the headlamps.

After our full assessment of the car we got down to the best part of any detail, polishing!
We decided to go with the Meguiar’s DA Microfiber Finishing Disc and M105 for the correction.
A softer finishing pad and the aggressive nature of M105 was enough to correct Ferrari’s single stage lacquer paint. Working on many other Ferrari’s in the past I knew 100% defect free was not going to happen on a 1995 paint job. Getting the paint as close to perfect as it would allow without jeopardizing the car in the long term is a goal when doing these types of details. Ferrari’s are cars with character and each is different from one another. Keeping the cars character through not overly polishing (searching for 100% defect free) is again, in my opinion, something to consider before sending the car off to be judged.
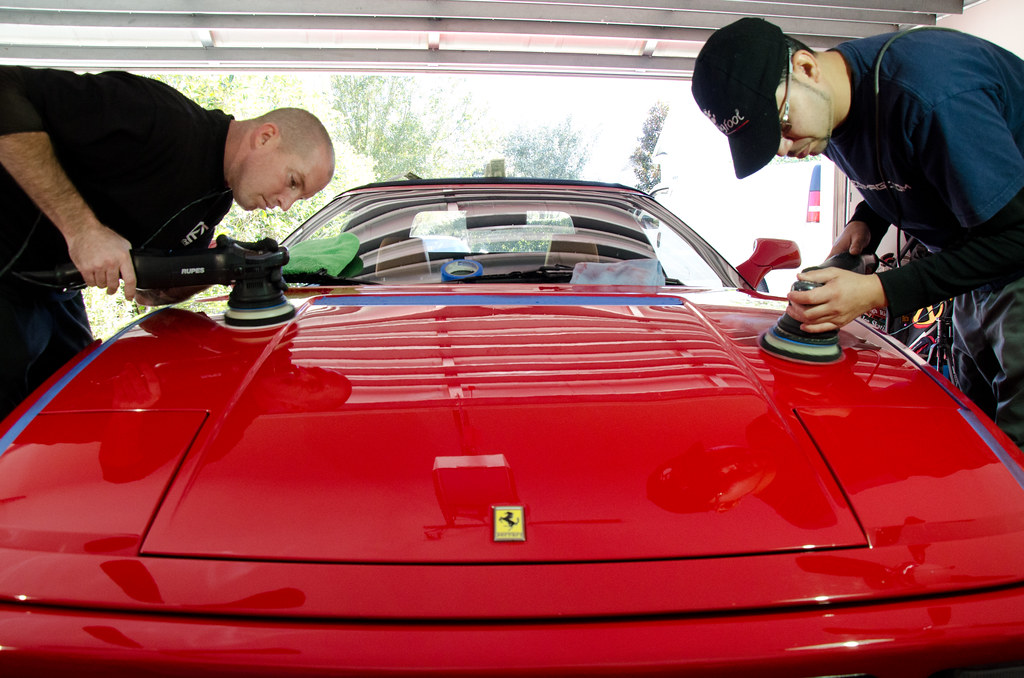
3″ Meguiar’s DA Microfiber Finishing Disc and the Porter Cable was used for the smaller, tighter areas.
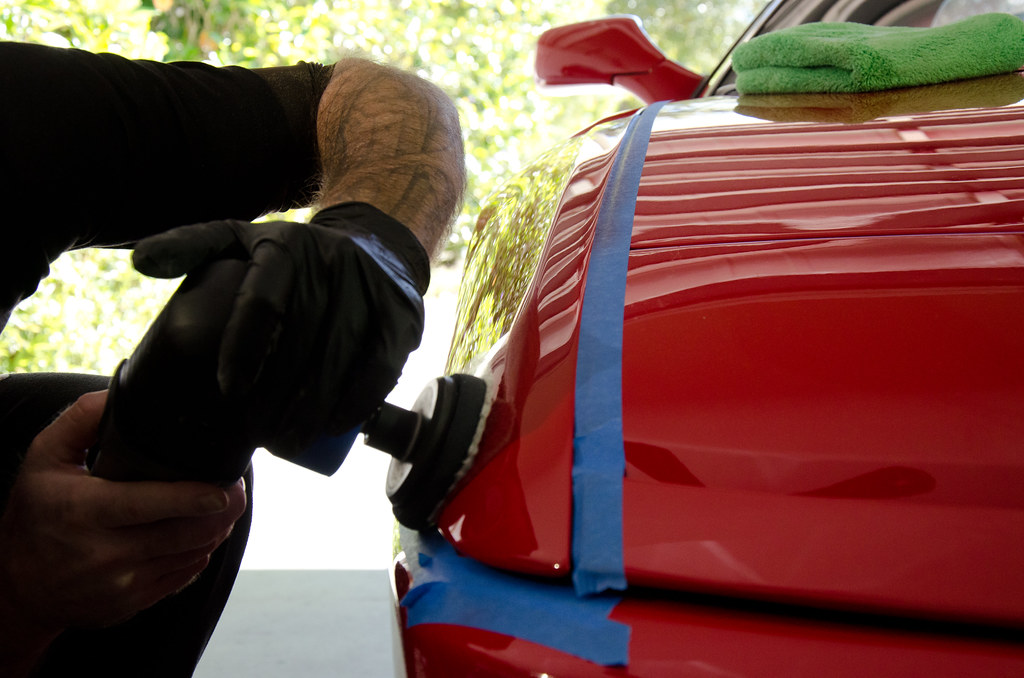
Rupes Machines always make the job that much better!!!
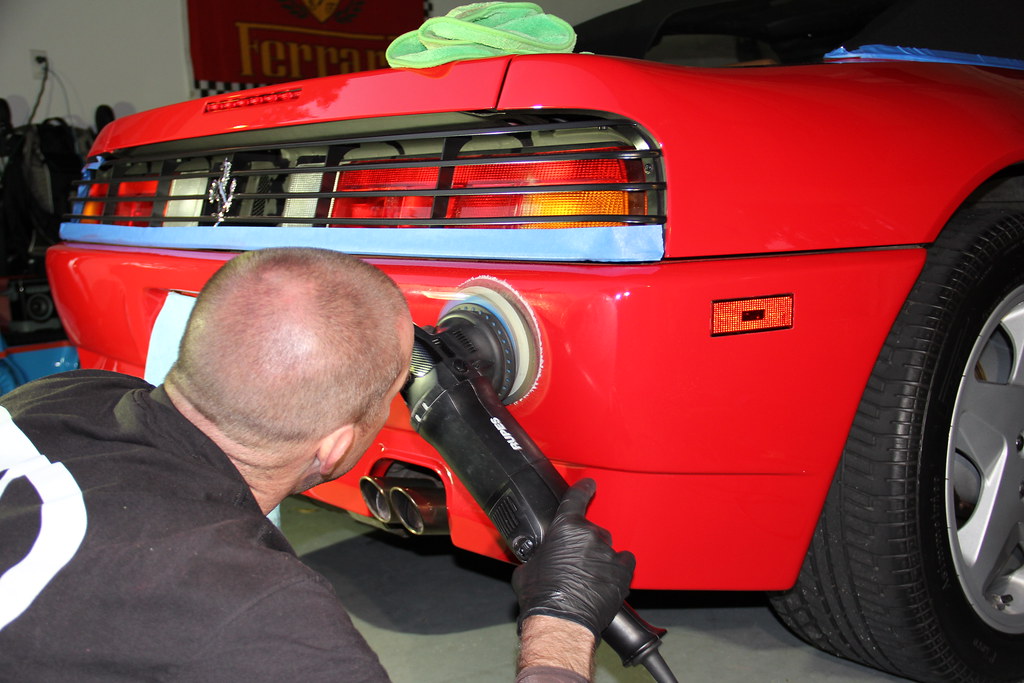
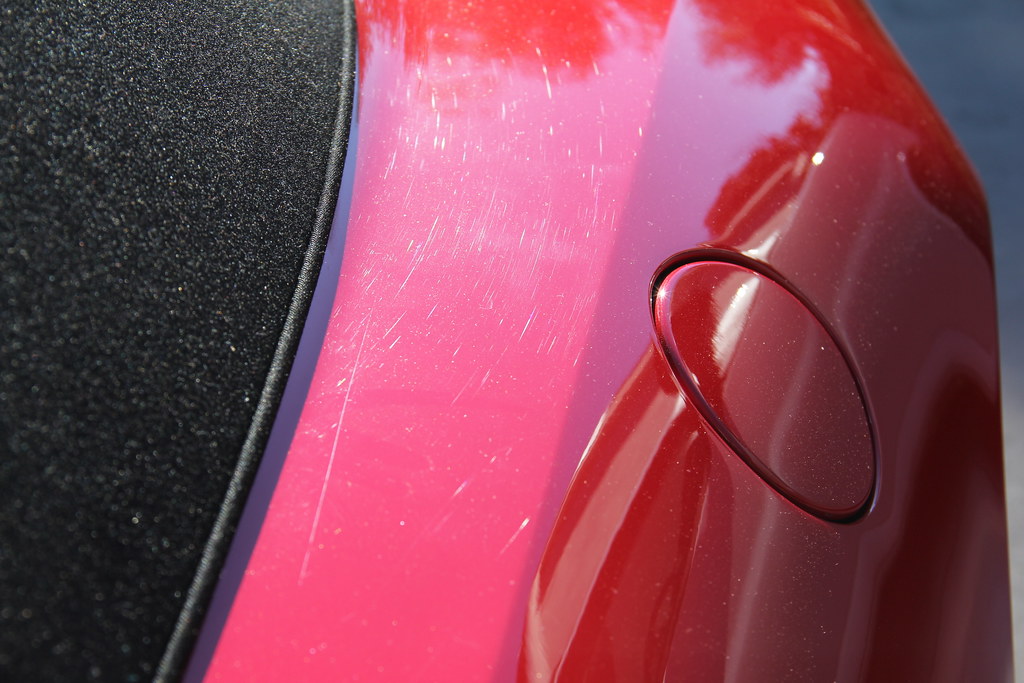
Many defects along the lower bumper …
Some more work in progress along the front bumper.

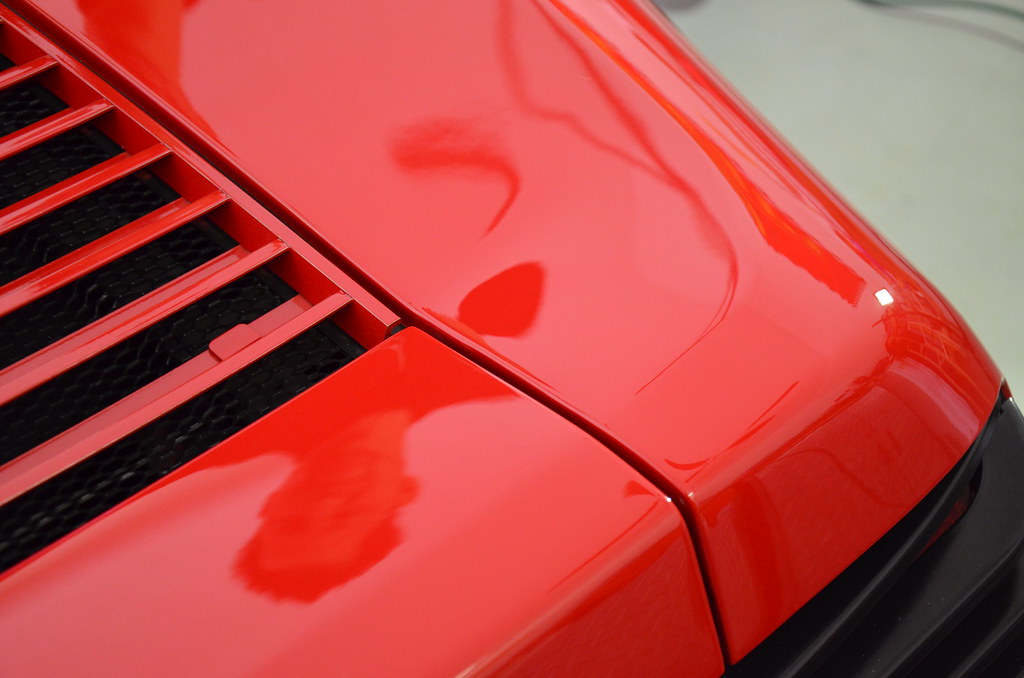
After the correction process with M105 and Finishing Disc’s we finished the car down with M205 and soft black foam pads on the Porter Cable.
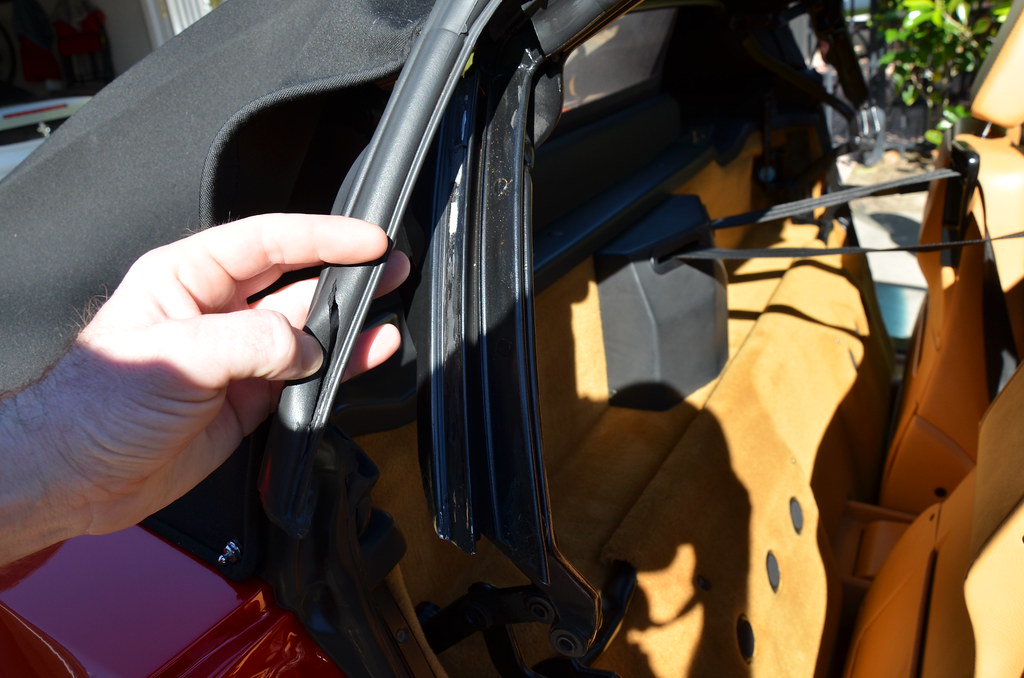
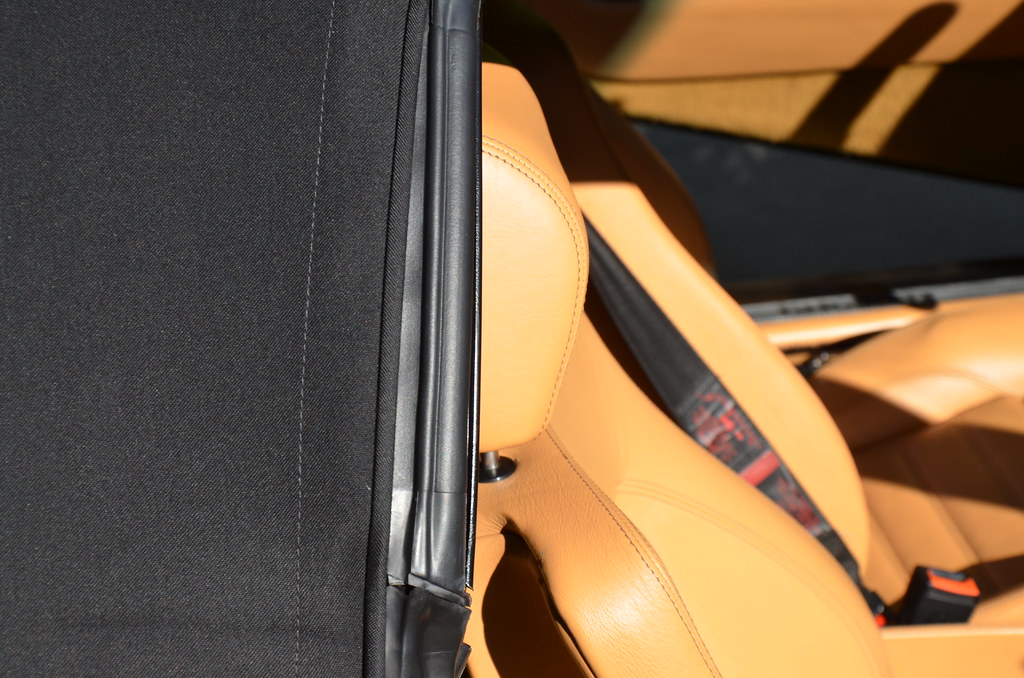
The owner had picked up a new piece of rubber trim for the convertible top. The old piece was not allowing the top to go up, well not without finessing it back into place. Also, it had a small rip in it (as seen below).
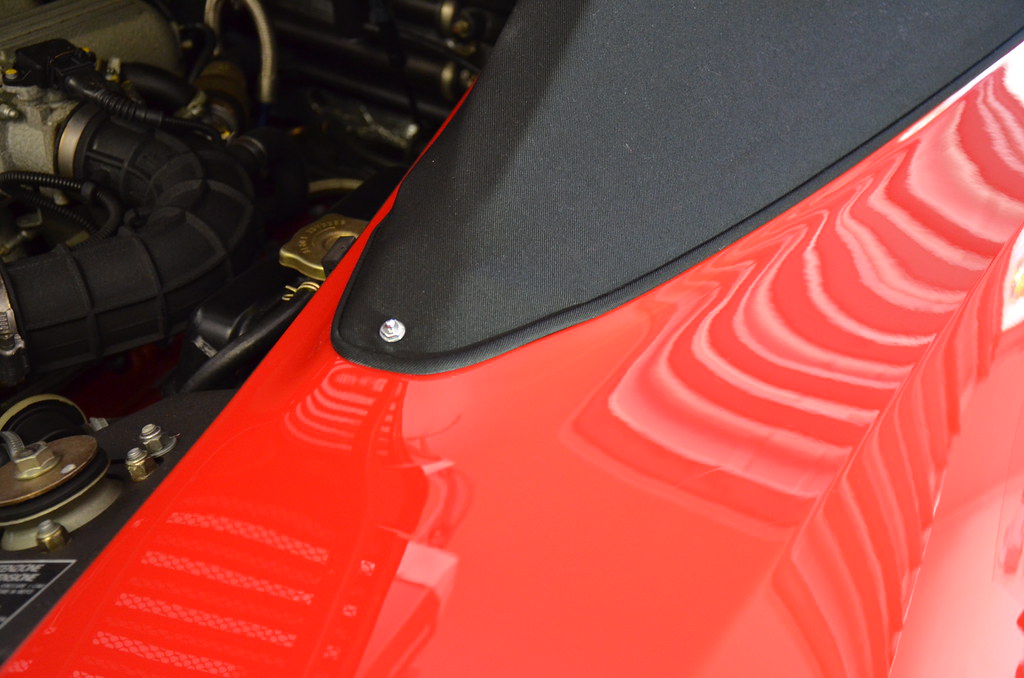
Before installing the new section I took some go gone to remove the old adhesive residue. After the residue was completely cleaned off I took many passes with rubbing alcohol to remove any oils from the go gone. To be sure the section was clean and would allow the new trim piece to adhere properly, an additional added strip of 3M double sided tape was needed. Fit like a glove once installed. The door shut on it just fine and the top went up with no complications! Nice little added bonus for the owners piece of mind, and for the event and judging!
After the install, all the trim (interior and exterior) was treated with Swissvax Nano Express.
Looking Fresh!!!
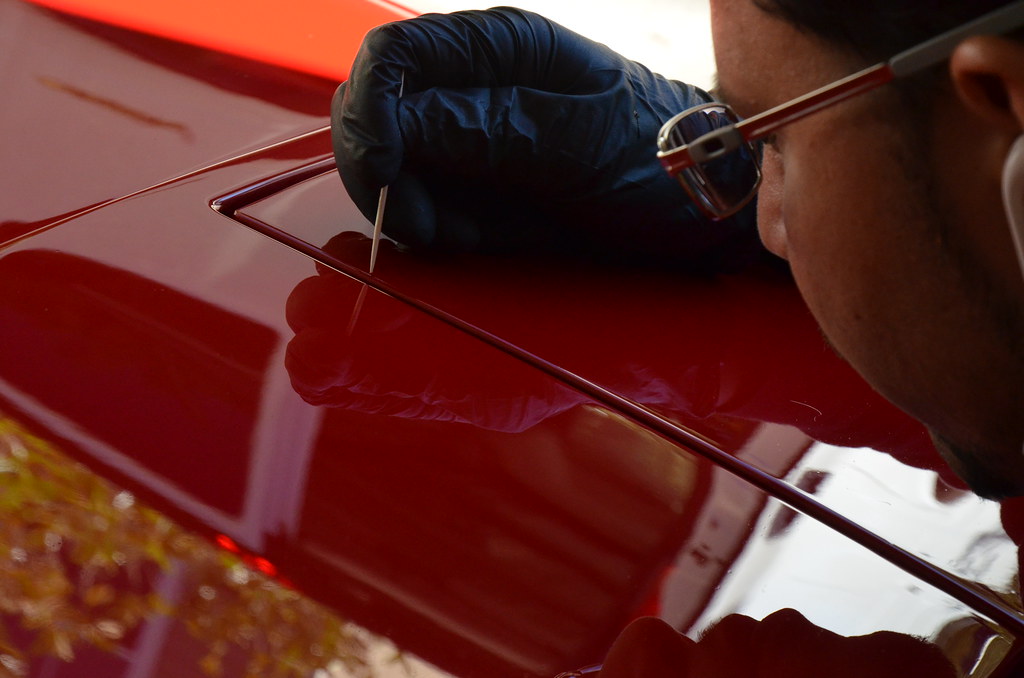
While I was getting this piece fitted, Alex was doing some touch up work to some of the chips and burnt edges with fine brushes and toothpicks.
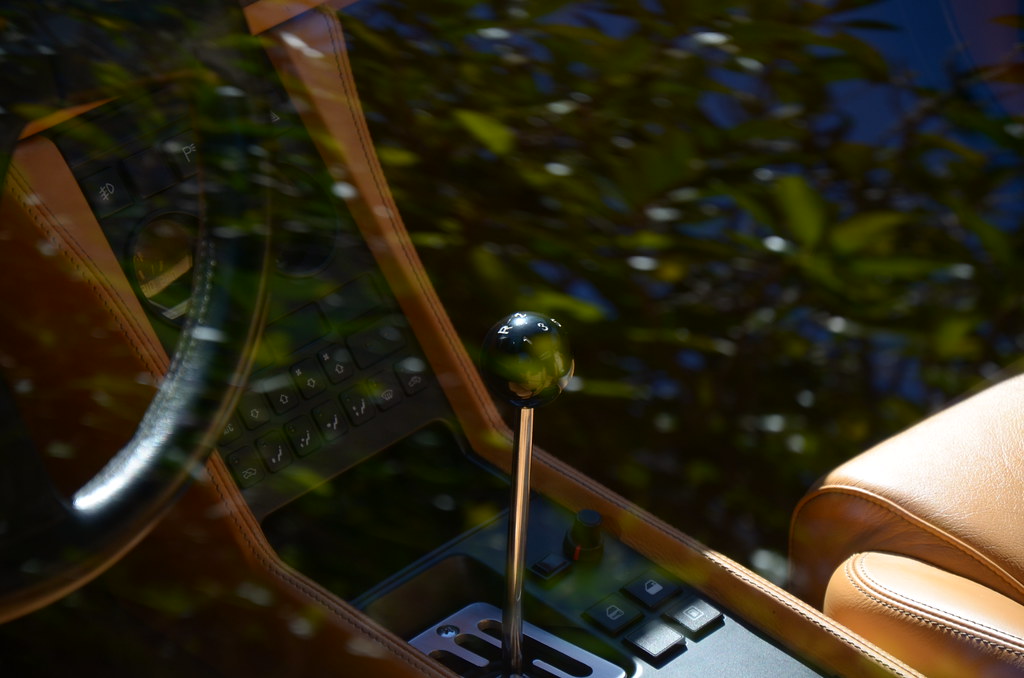
A proper gear box and a full Leatherique Treatment was completed to the interior leather.
Finishing up with the detail!
The protection of the convertible top was Swissvax Lotus Protectant, as seen below. The car had to be masked off from the over spray. Included with the Swissvax Lotus kit is a cleaner, a protectant and the taped masking material. Everything need to do the top correctly!
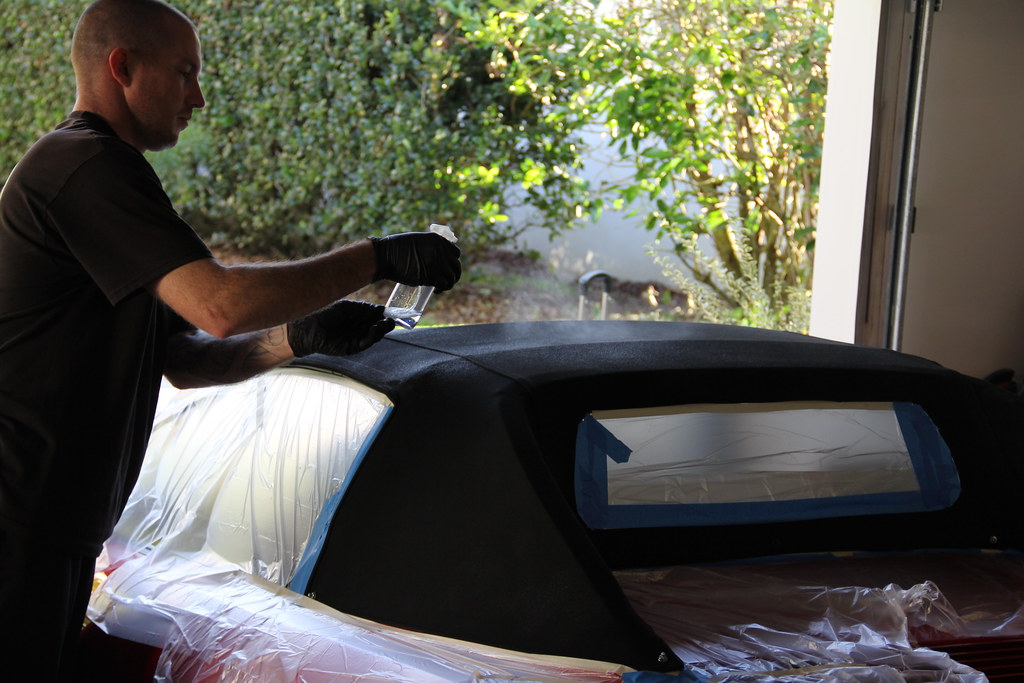
Once done, the top was looking fantastic!
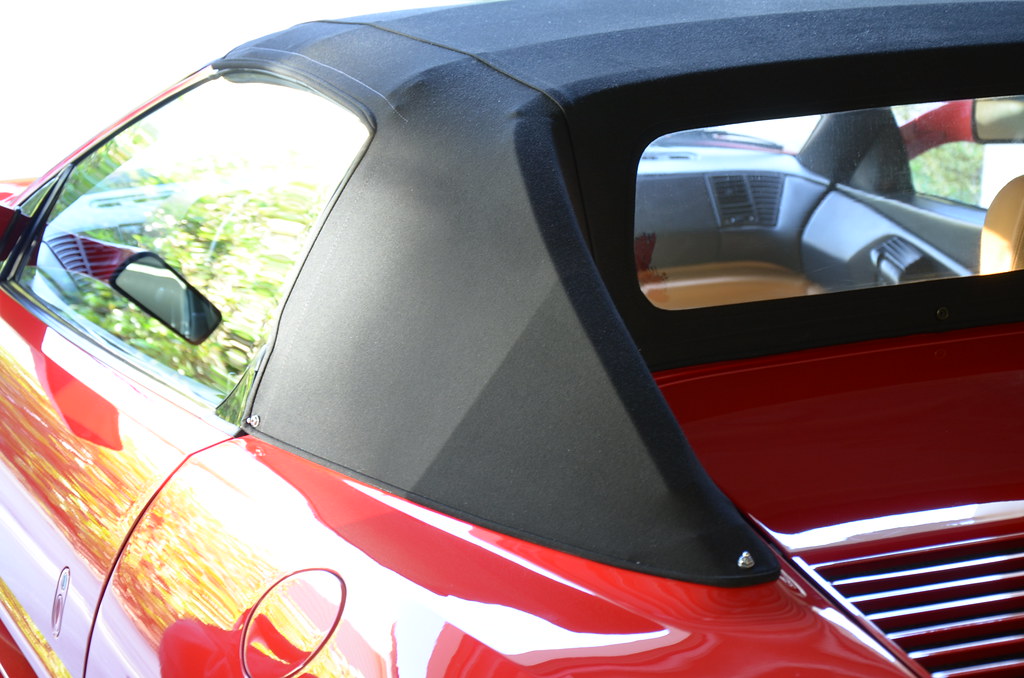
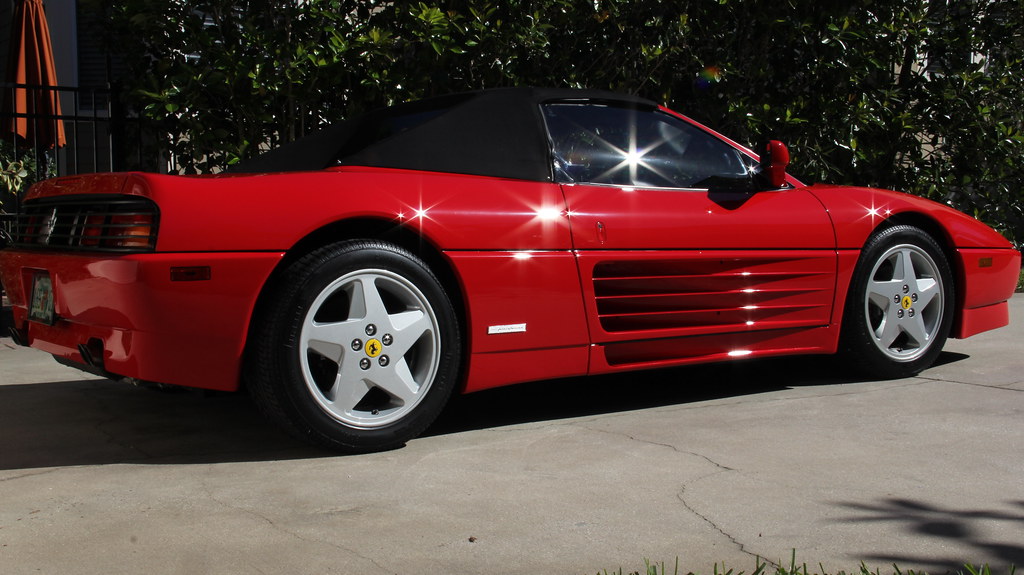
Beautiful 348 ready to go!

The car was waxed using a developmental Swissvax Wax! I’ve used this wax many times for other red Ferrari’s and was always happy with the results. I did not have enough of my own left, so I called Darren at Swissvax and he had me another pot at my door step the very next morning! Thank you Swissvax!
Many of you who follow my work will see that I use these products regularly and for a car making its way to Cavallino to be judged, a fine coat of wax was the only way to go here!
The car ended up winning the Platinum award at the show!
Buy Products From This Article
Purchase the products used in this article individually or in one convenient package here!