
This is the first of a 3 part series, bringing my user experience with the new Gtechniq Halo to the blog. Included will be initial impressions, some salt testing on PPF, and an aesthetic test on a vinyl wrapped Nissan 350Z.
Throughout the past year or so, we have seen more and more coating manufacturers bring to light a ceramic coating for film. Both vinyl wrap and PPF are very commonly used in the automotive industry, so a designated protection product for these situations is a great tool in your detailing arsenal; Whether you’re a professional or the DIY weekend warrior type. Gtechniq has been the latest to announce their film coating, Halo. Previously, as an Accredited Detailer we were told to use C1, an over 20-year-old coating on these softer substrates such as film. Although C1 is a fantastic coating, there was without a doubt a hole missing for a designated film protectant.
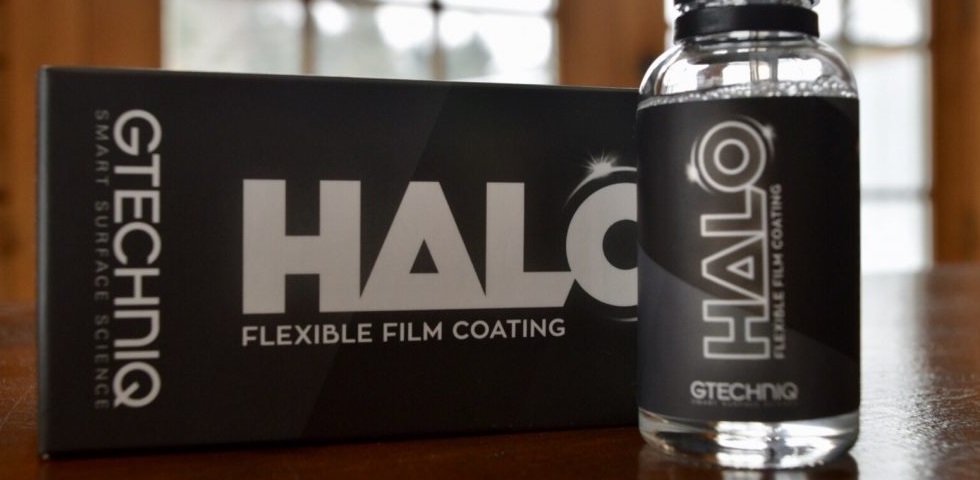
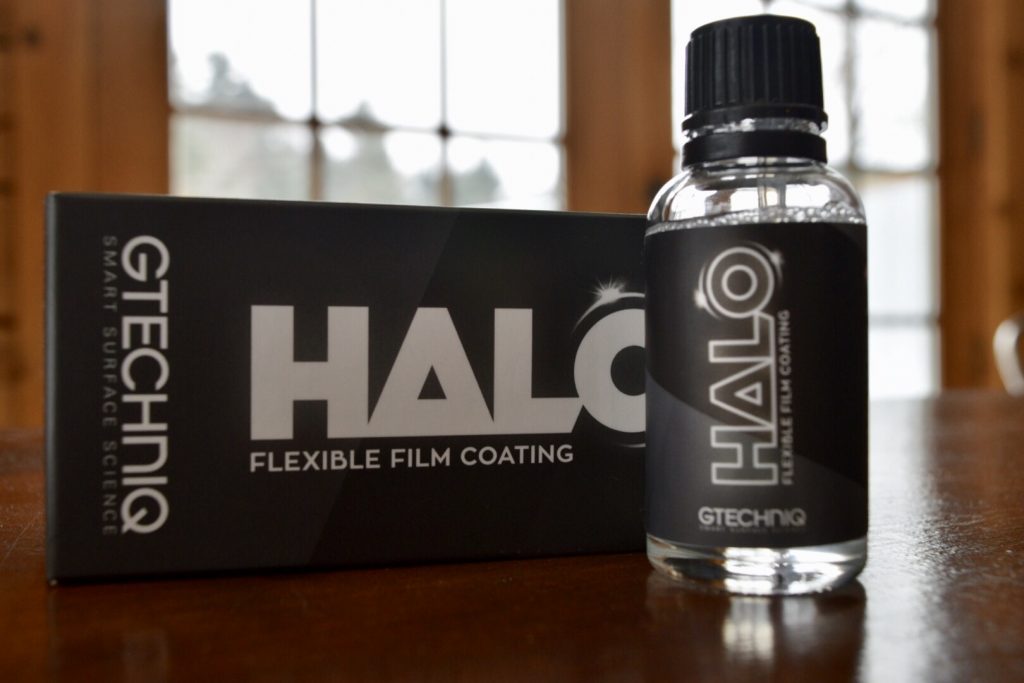
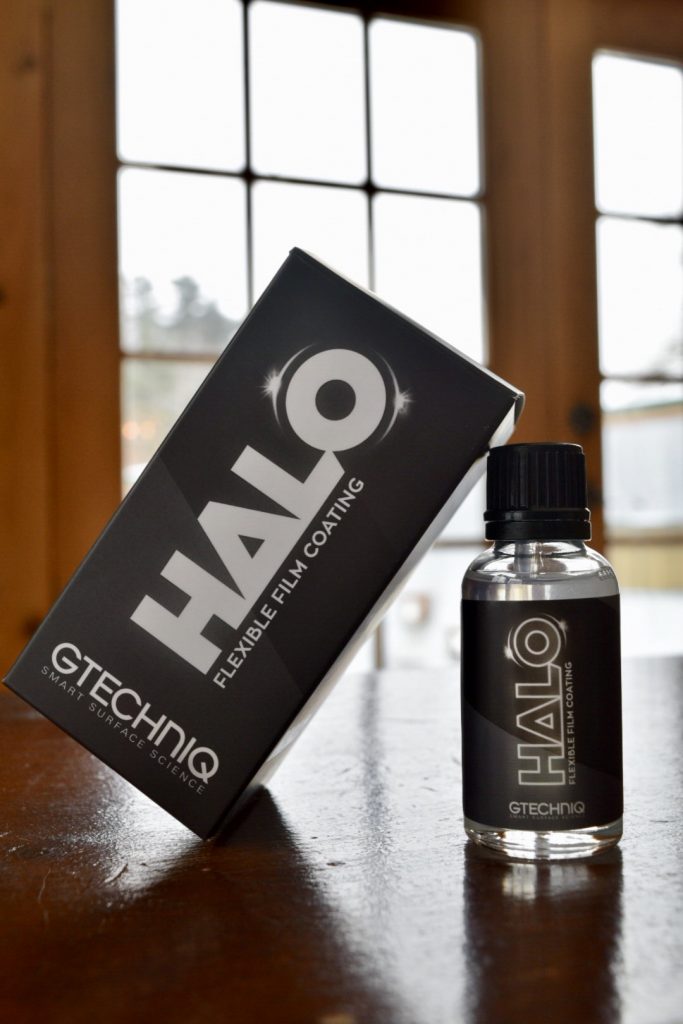
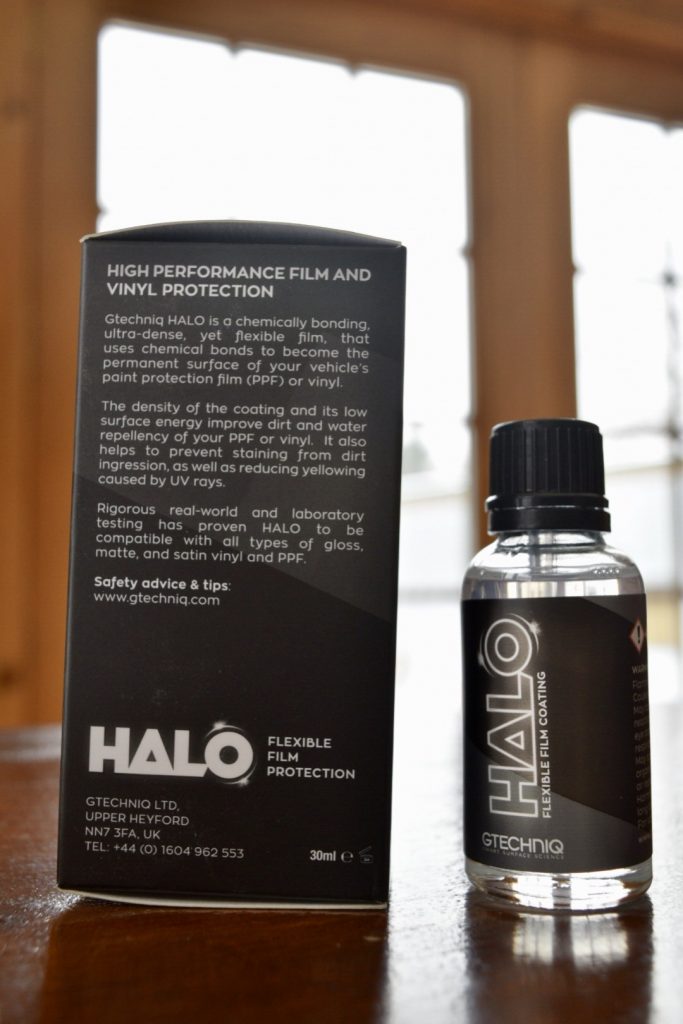
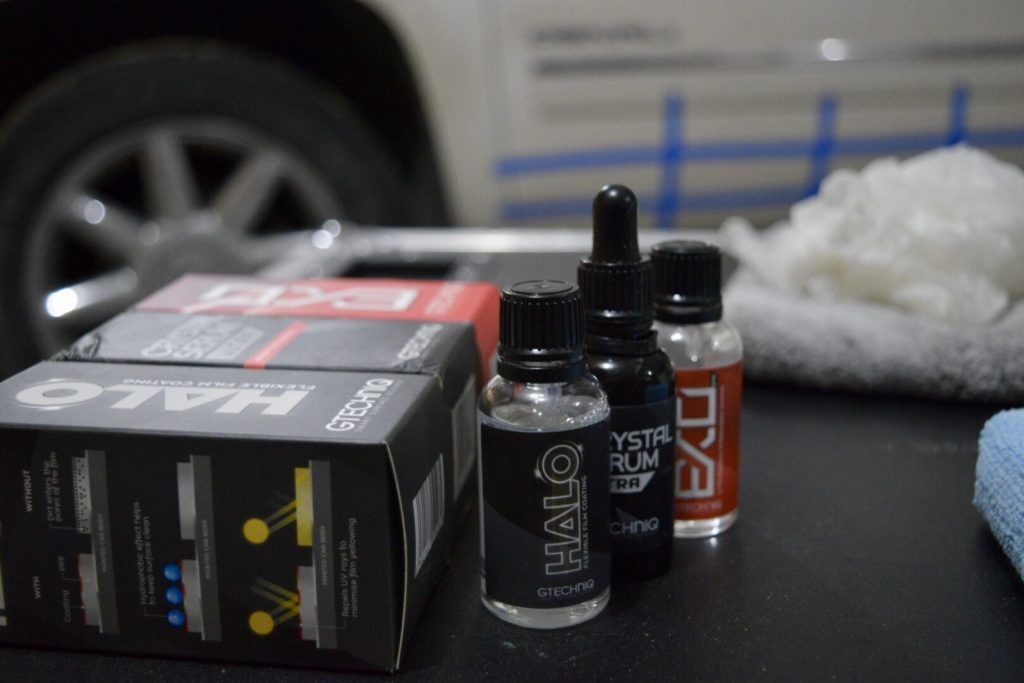
Right off the bat, the overall design of the box and bottle of Halo are very appealing. The box is the same size of all their other coatings, and the bottle is the same as EXO. I personally love the black and white design. It’s clean and simple, but bold.

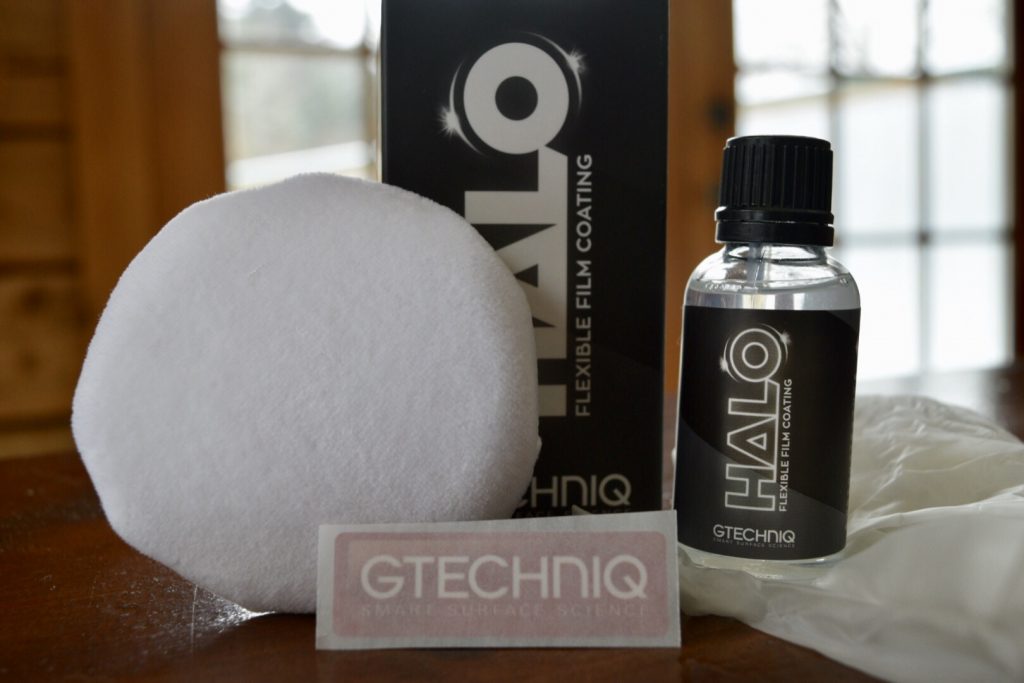
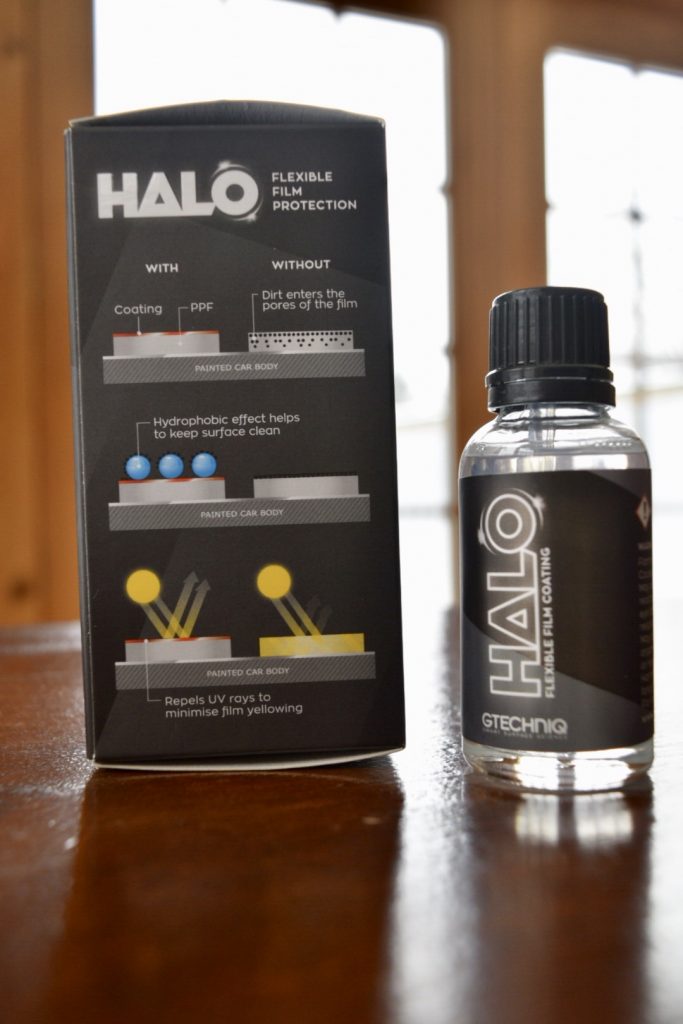
As per all of their coatings, included in the box is a white suede applicator, latex gloves, instructions, and the Gtechniq window sticker as seen above. Below, you see a view of each side of the box. All text is easy to read, and they also give you the illustration to show what the coating is doing after applied to film.

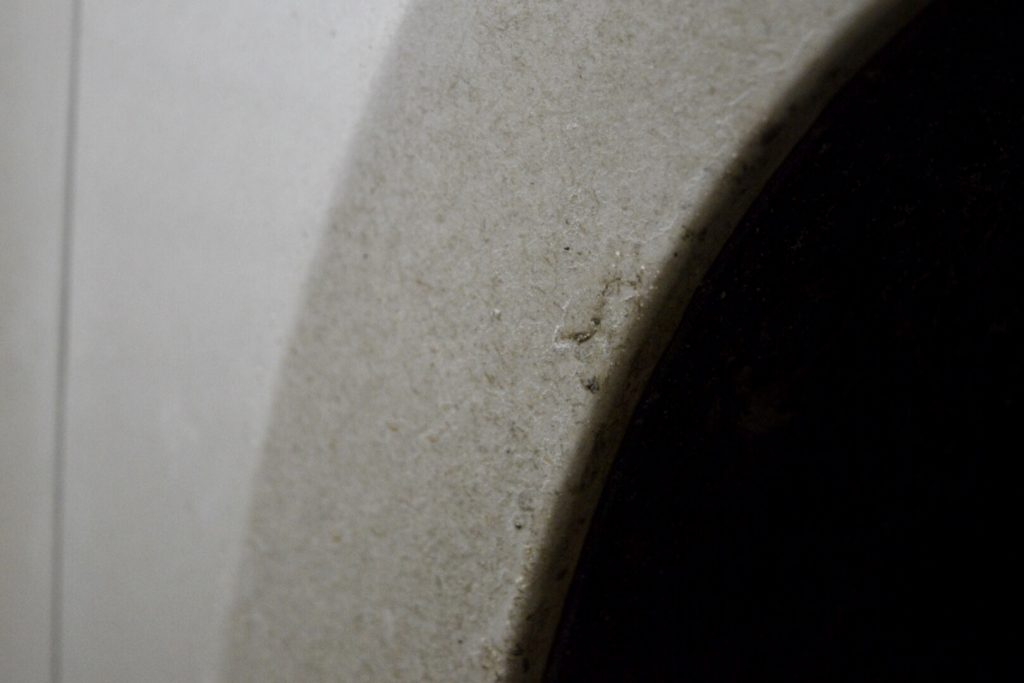
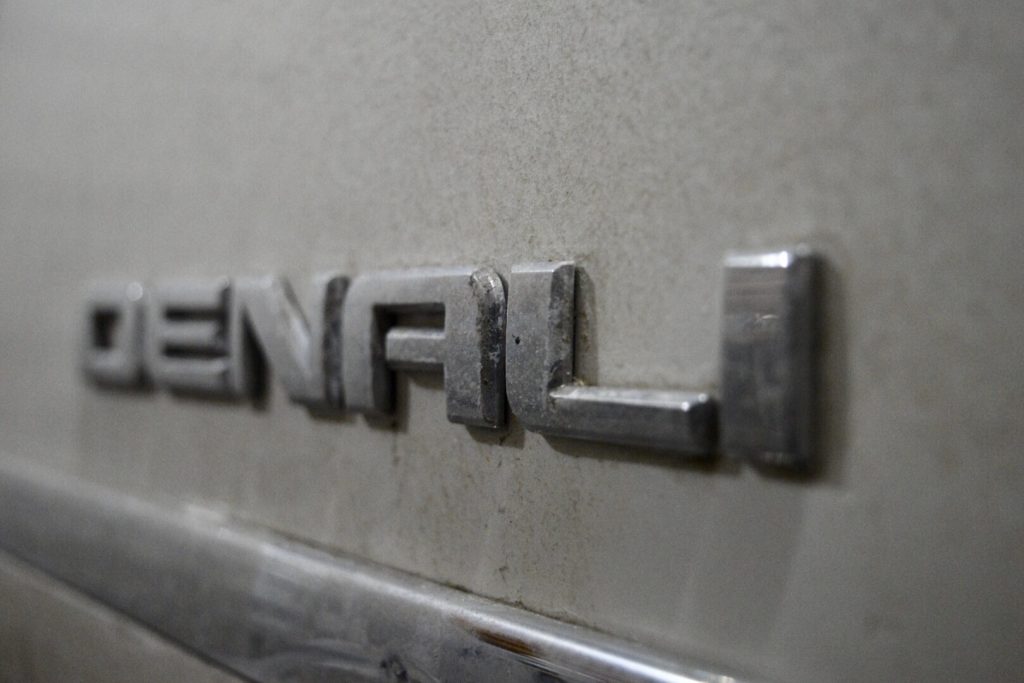
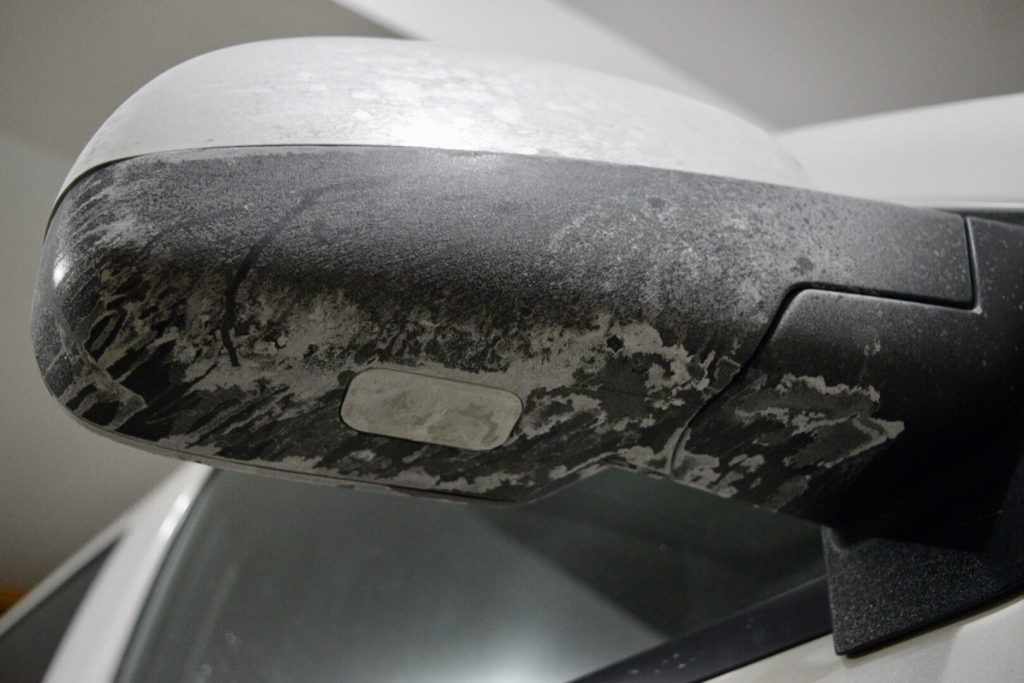
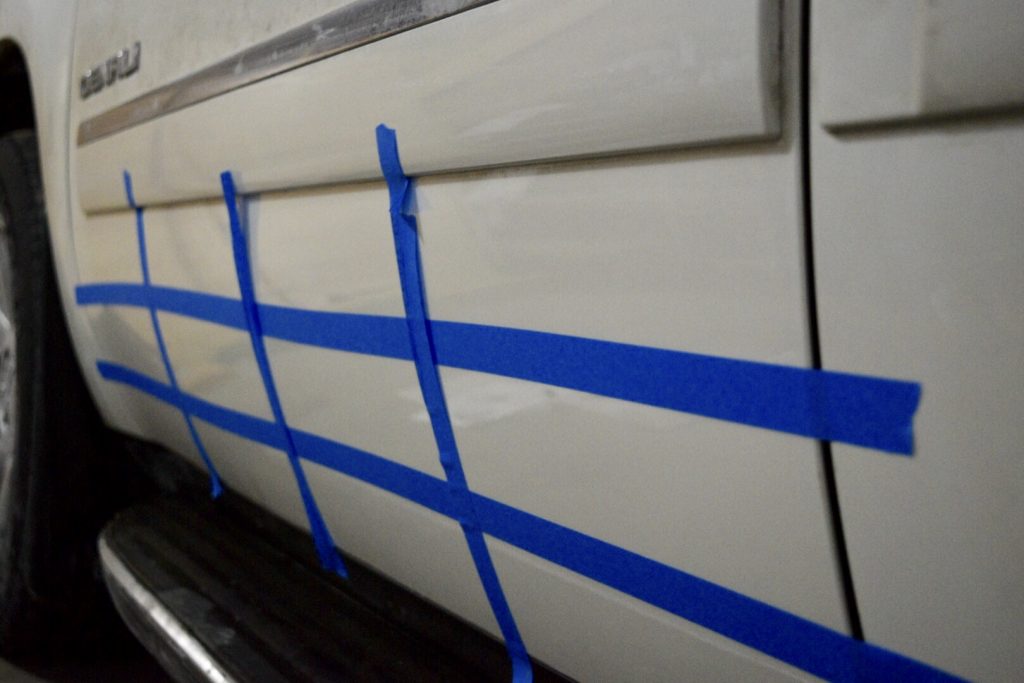
For testing, I applied 2 pieces of Hexis PPF on the lower doors of a 2011 Yukon Denali. This is a daily driven vehicle that gets washed rarely, and abused through the roughest weather Wisconsin can bring. Notice how dirty the vehicle is in the pictures. I only cleaned the area of, and around the installation. I taped off a multi-sectioned area to coat, comparing Gtechniq EXO, Halo, and CSU on the PPF. I used this pattern of taping to try and give each coating the most even exposure to the elements, to create the most fair comparison possible. (see below) When revisiting this vehicle for durability, I will show you the labeled diagram for each square being coated/taped off. One layer of each coating was used in it’s appropriate square. Warning: Graphic Content. Welcome to Wisconsin. As you can see, this vehicle rarely gets washed, so it’s the perfect candidate for a durability test.
The initial application was extremely easy. It reminded me of EXO, which in my opinion is the easiest coating to install on the market. Halo spread quite nicely and buffed off with little effort. This is very important, as vinyl wrap film is quite soft and scratches easily. Vinyl has some self-healing, but not as much as PPF, so an easy installation with minimal effort and pressure is much preferred. Not surprisingly, CSU took the crown in the slickness category. However, Halo without a doubt added significant slickness. When removing the masking tape, it was very easy to tell where on the film was coated due to the slickness of gliding the towel across the surface.
I will be coating a wrapped 350Z with Halo for an aesthetics test and installation impressions on vinyl, as well as posting Part 2 of this write-up, some updated durability tests of the coated PPF installed on the Yukon. Keep an eye out for them!