
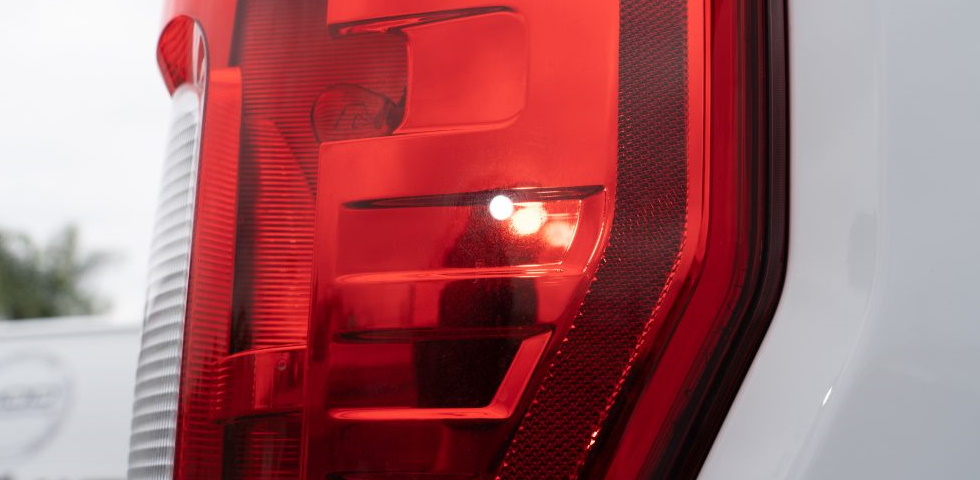

Fixing headlights can make a car look much better than it does, but what about the taillights? Normally they do not get as oxidized as the headlights as they’re not exposed to as much direct sun to being mainly vertical. However, they can be just as important. To me, taillights are one of the most recognizable parts of a vehicle, and is it just me that thinks they make the back of a car look like a face? Just me? Ok cool. Regardless, making them look good and having that red color really pop really brings the look of a vehicle to the next level.
Luckily, due to them usually not having oxidation, it just swirl removal, which is much easier. If you do have oxidation, treat them the same as headlights (click here for a past article I put together). Swirl removal on taillights is simple but can be tedious if they have a lot of angles and unlike headlights, the angles are often inward, making them hard to reach with a machine.
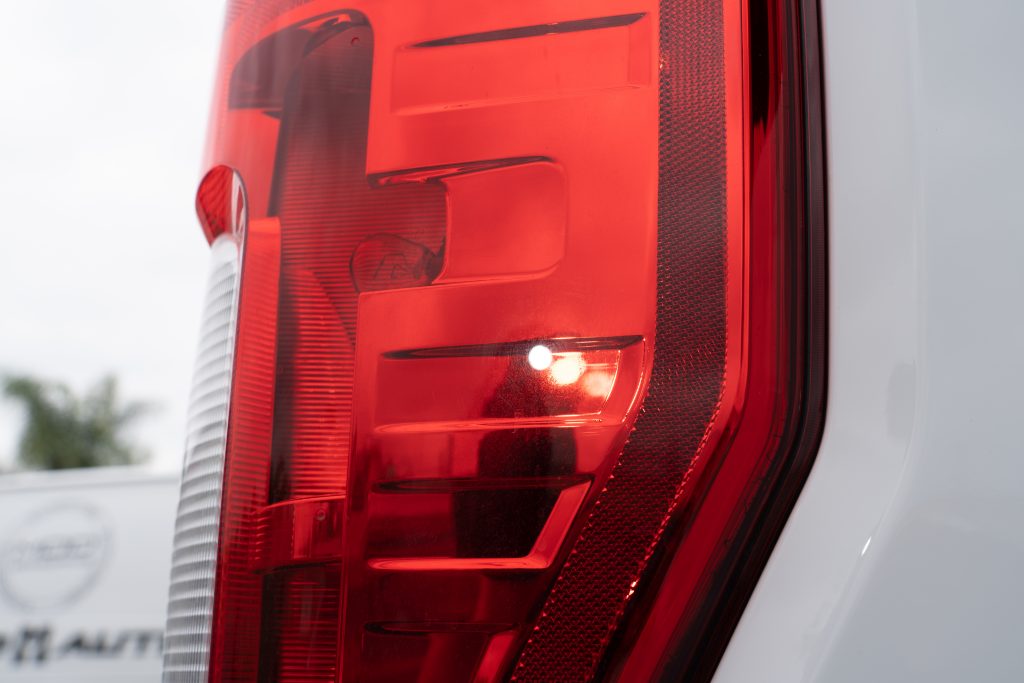
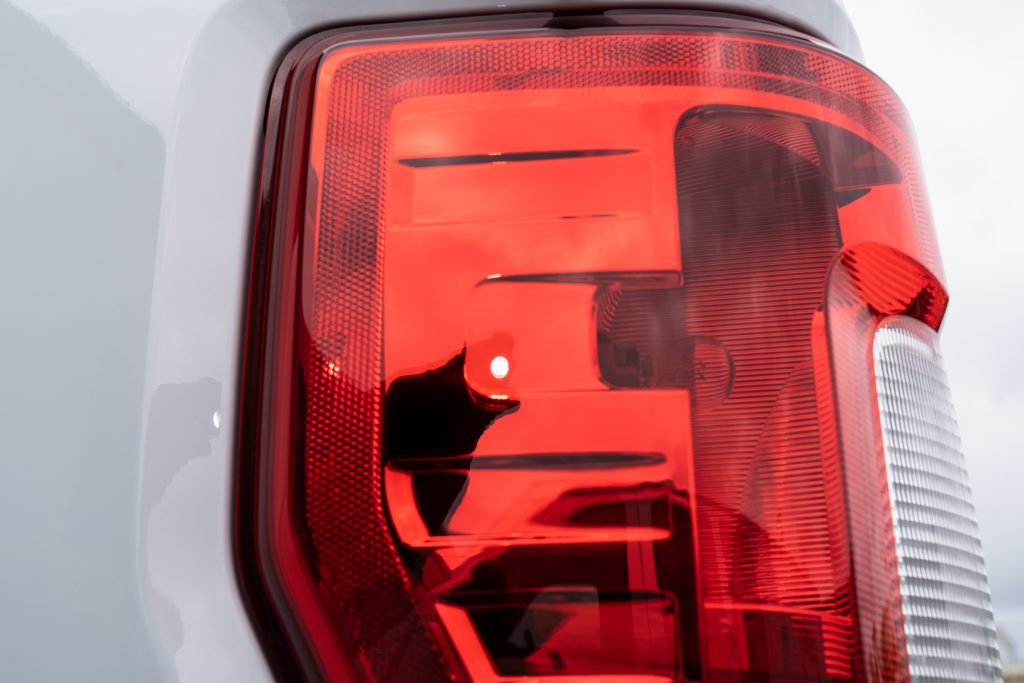
Normally a Rupes Yellow Pad and some polish such as Griots PC or Menzerna SF3500 is enough. Sometimes you need to step it up to a compound like Griots FCC pr Menzerna HC400 and a Microfiber Cutting Pad if they are bad. One thing I like about taillights is the surface is much more consistent across brand and models than paint, meaning they all use a similar plastic. So, finding a combo that works for you is much more applicable across the board.
I would recommend using a minimum of a 3″ backing plate and your hand for the tight spots. If you have a Rupes iBrid this is an area where it would shine.
Luckily taillights are pretty forgiving and generally easy to correct, but that red glow of the taillights when they are properly polished is really the cherry on top of a detail.