

More often than not, your new car will come with factory defects. This is due to a handful of things whether it’s an untrained employee, or an unfortunate incident in the building or transportation phase. In most cases, these problems are caused from “over detailing”, especially on your more expensive vehicles. Factories and dealerships attempt to prep the cars for customer pickup but end up doing more damage than good. The other common problem is when something more serious happens during the building and transportation phase it becomes a “quick fix” and results in paint not matching, uneven amounts of clear from panel to panel, dull areas of sanding marks, and even at times thin edges where precautionary steps were not taking. Although a lot of this can not be avoided, remember when purchasing a new car, please inform that you would not like the car prepped and you will take it as is. Doing this step and sending immediately to your paint correction expert will start the vehicle off the right way. For several well respected guys, it’s not uncommon to have new cars that come in for this service before the owner ever takes delivery of their new purchase.
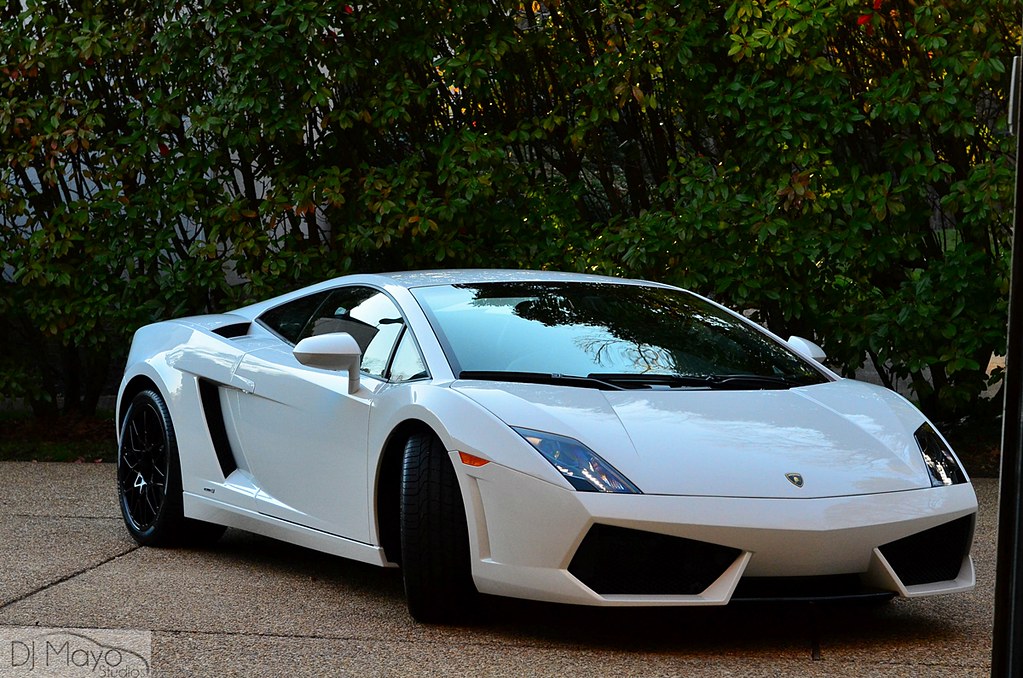
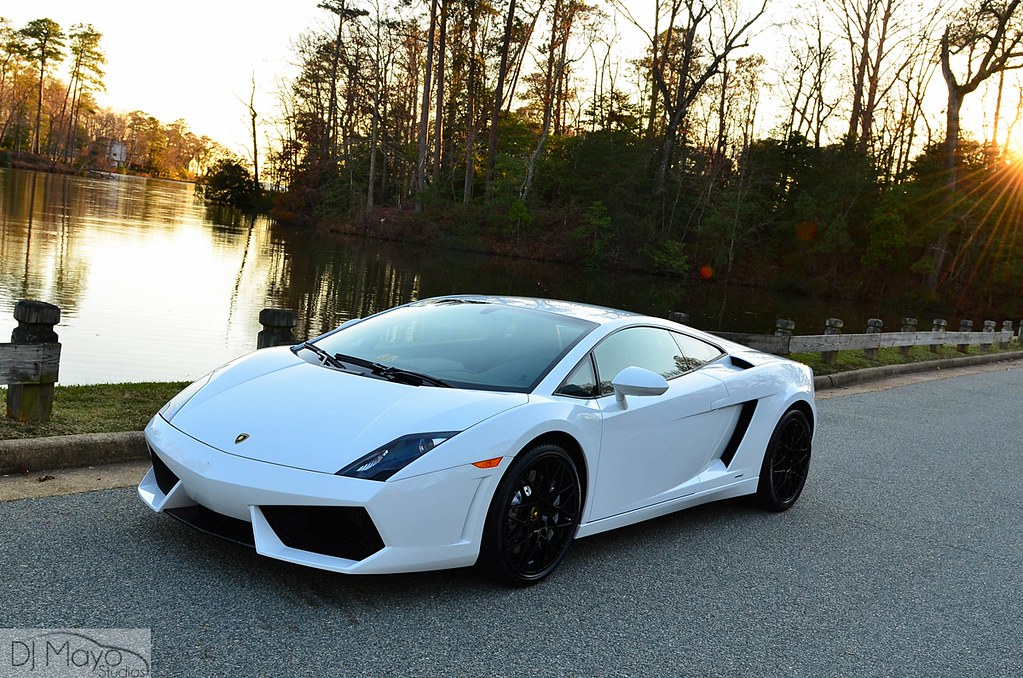
For example, let’s take a close look at this brand new LP550. Even with the car being white these defects take away from the gloss and the overall appearance of the car, not to mention driving new owners crazy knowing about the problem areas.


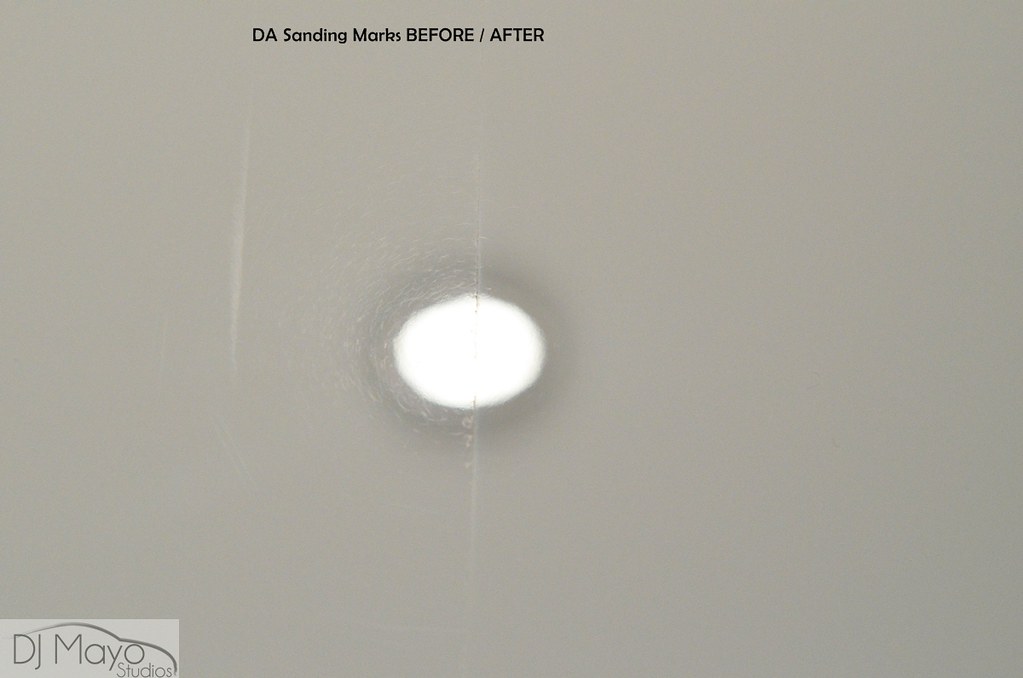
After measuring the amount of clear, I proceeded onto the test section as always to find the least aggressive method that allowed for complete correction of the sanding marks and other defects. Also notice the very strict tapeline on the edge. Since the sanding marks were right up to the edge, that tells that the sanding was done while overlapping the edges with no caution. Sometimes you have to tape, correct the area, then re tape the opposite side to correct the area that was tapped first.

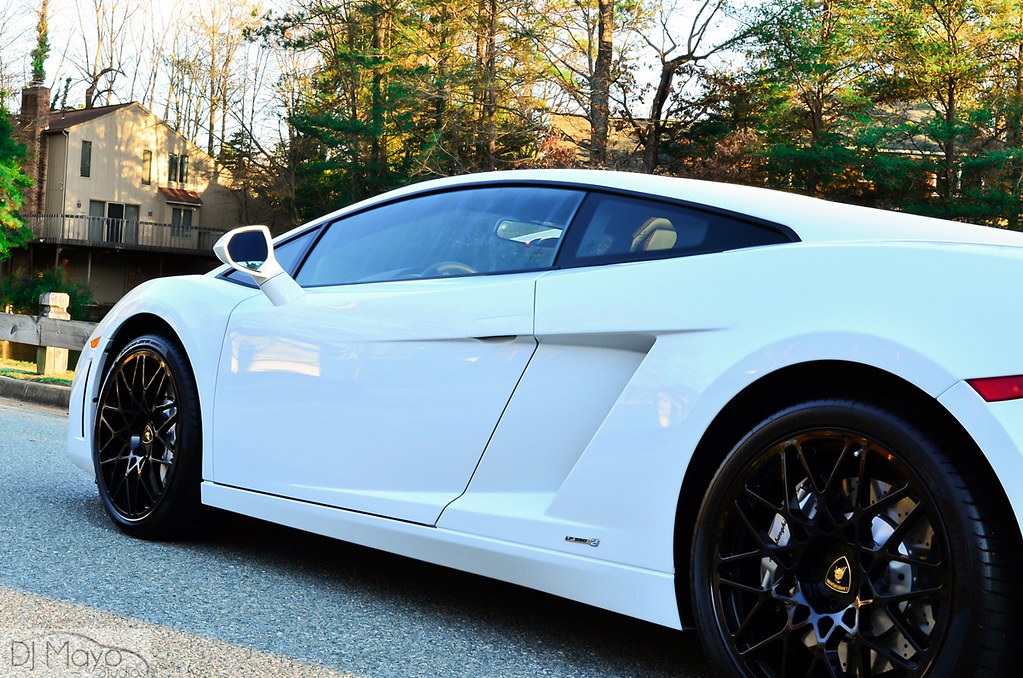
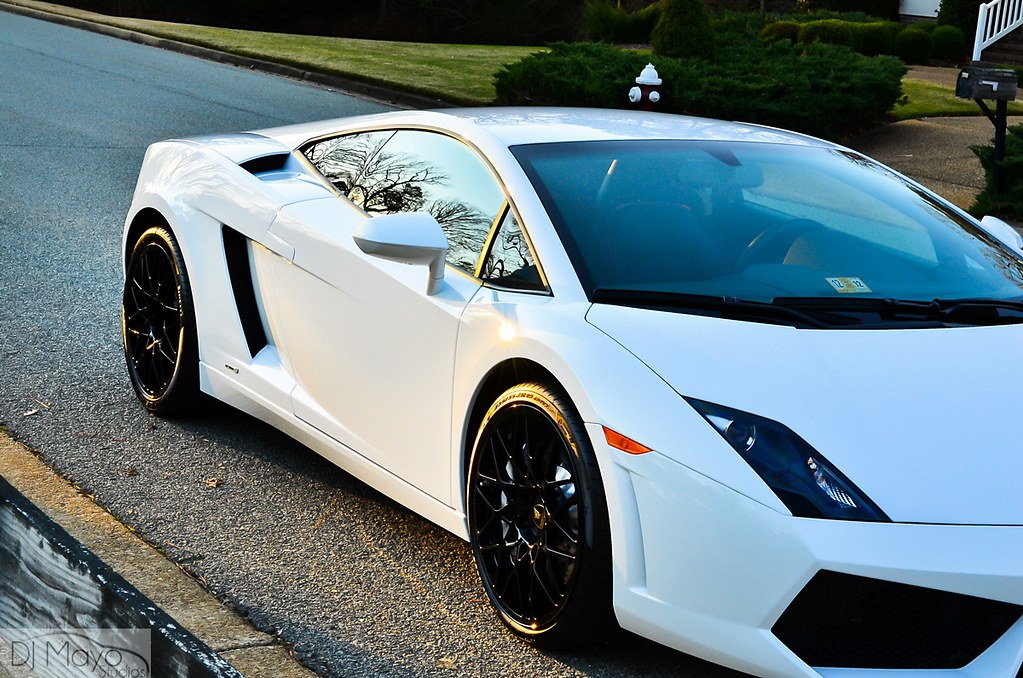
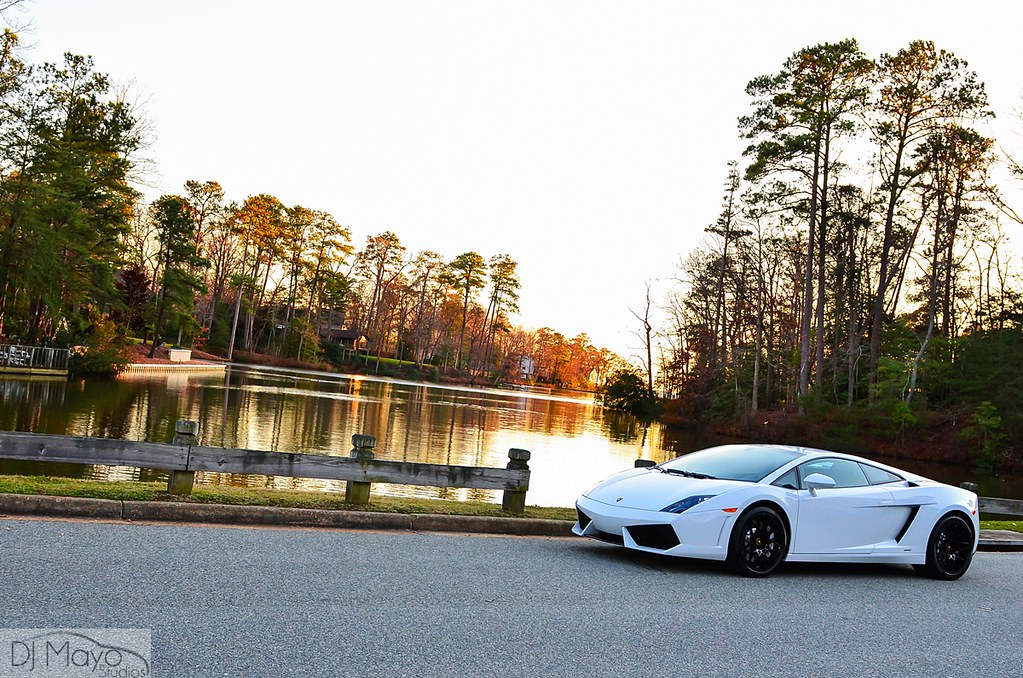
The transformation in person was a completely different white that was now up to our standards.
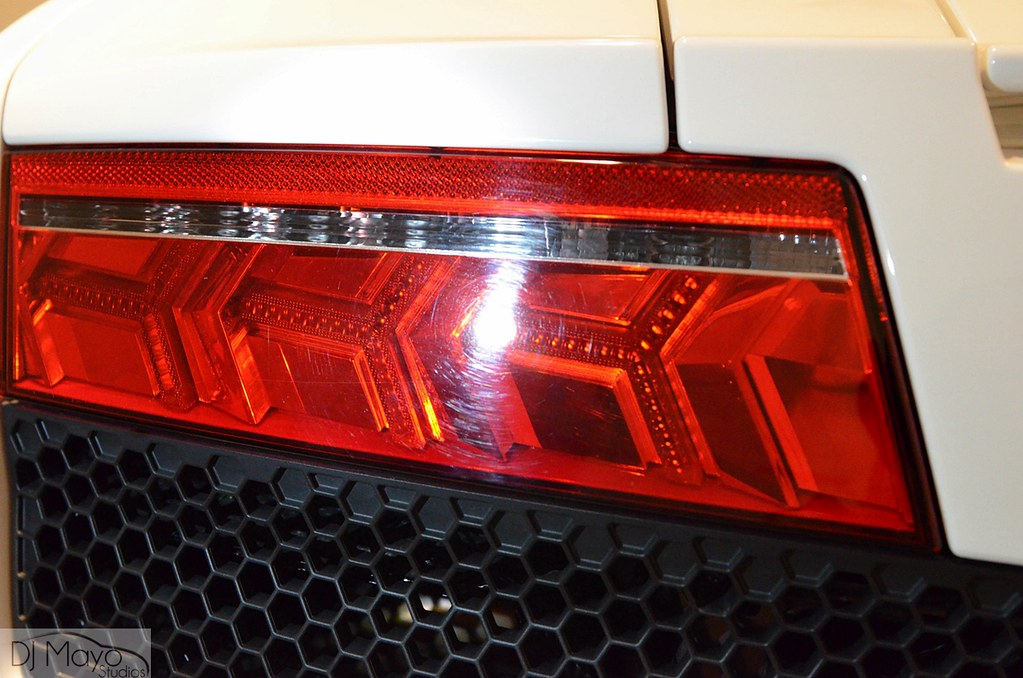
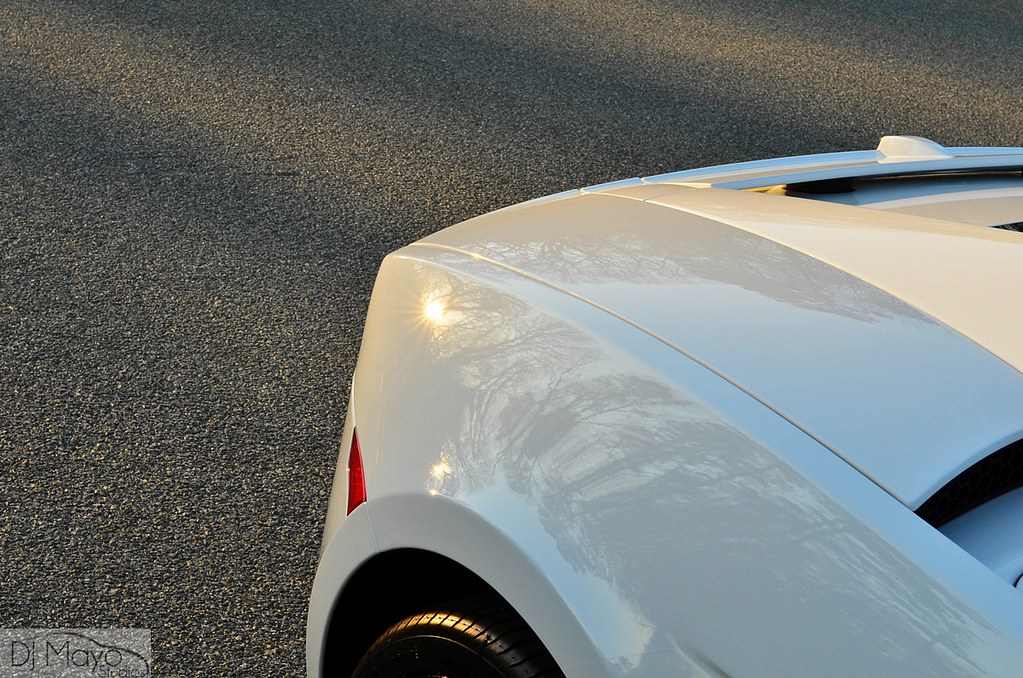
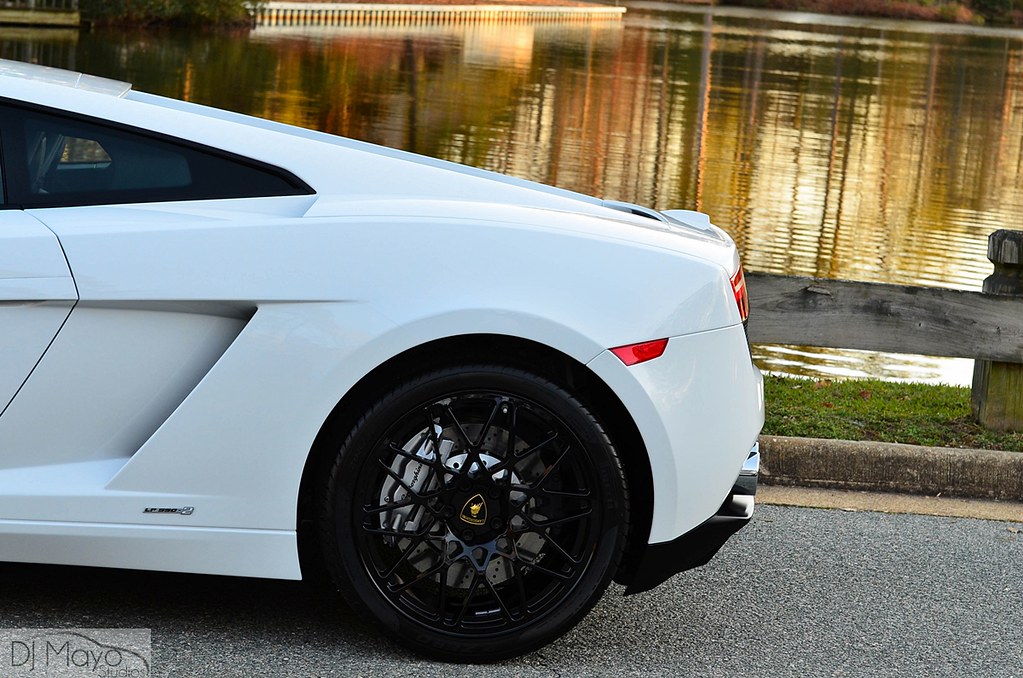
Also be sure to check your tail lights, they always benefit from the same treatment that is used on the paint. Lights before.
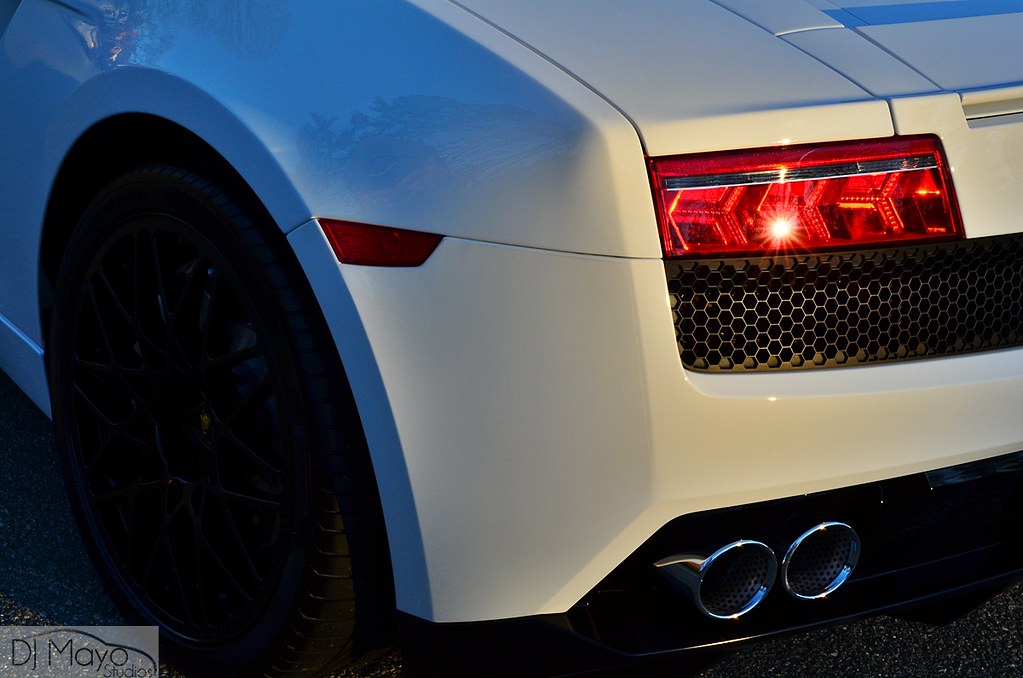
Lights after.
The overhead studio lights were perfect for spotting the defects in the white Lamborghini paint.
Now with the beautiful area I was in, I knew the surroundings would make for some great after photos. Please enjoy and feel free to share with your automotive forums and social media!


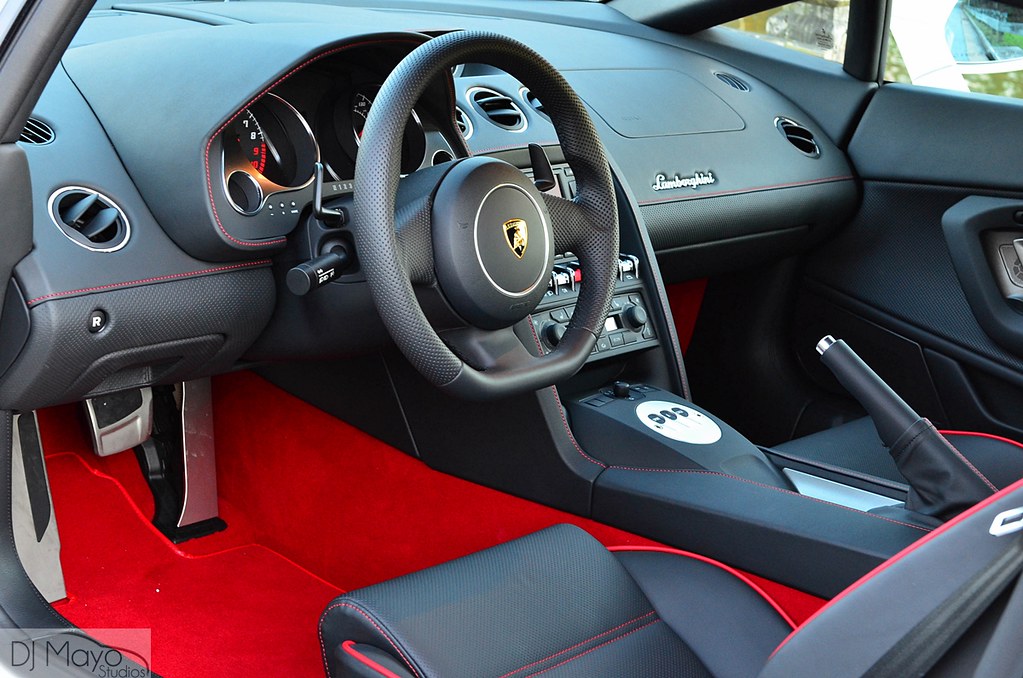
The interior was only giving a quick wipe down and interior glass treatment.


List of products used:
Meguiar’s M105
Meguiar’s D300
Menzerna 106
Chemical Guys Blacklight
Chemical Guys E-Zyme Natura
Chemical Guys VRT
Optimum Metal Polish
Sonax Glass Cleaner
Surbuf Pads
Meg’s MF Pads
LC Black Pads
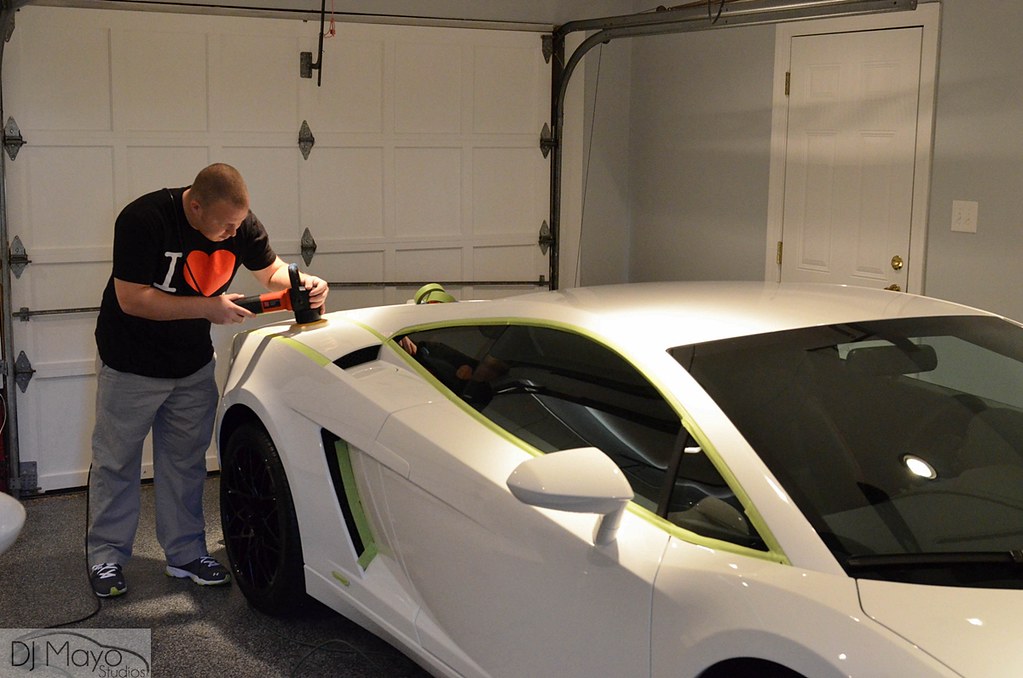
A special thanks to Eric Schuster for the referral and my close friend and part time help Kyle Benton.
If you or anyone else has any questions or comments, please reply in the comment box below, thank you!
Buy Products From This Article
Purchase the products used in this article individually or in one convenient package here!