
This Lexus IS250 was down visiting Orlando from South Carolina and stopped in for a visit to get the paint corrected. Simply put, it was one of the most damaged white cars I have ever seen.
The nice gentlemen who I arranged the detail with a few weeks prior, made it down to Orlando around mid day. I was not able to actually see the car till later that night, so I was having a look at the car in the evening. For light I was using the parking lot lights we parked under and the Brinkmann I brought with me. The damage to the hood, front bumper, trunk and rear passenger side door was standing out like a sour thumb. Heavy spider webbing, deep rids, circular patterns, etc. It was all there and incredibly noticeable for a white vehicle.
The next morning I picked the car up and began my process of decontaminating the paint work. Once I finished and brought the car in and under my lights, my jaw dropped. I’ve never seen a white car so badly damaged. The rids (Random Isolated Deep Scratch) I saw the night before turned in to one big rid by itself. The panels I mentioned were just that, one big deep scratch. The paint had zero visibility as far as reflection in these sections. It would appear to me that it could have been caused from a number of things. First thought, turtle wax rubbing compound by hand, second thought was scotch bright pads by hand, and third thought was. it didn’t matter anymore, just fix it!
Two different base coats of some type of “high resin based paint” cured to a very hard material is the detail at hand, aka self healing paint. These types of paints respond to heat and while being extremely thin, Japanese Lexus paint is extremely durable. This is not your cut and buff scenario for the most part. Wet sanding would not be a recommendation from myself with this detail and the damage that needs to be fixed. I feel they’re safer ways to going about such paints (Lexus, Mazda, Infiniti, Honda, Acura etc.), depending on the condition or unique situation. These paints are pretty much 2 parts, 2 base coats as mentioned. The first coat being a large flake and non-reflective layer and the second being the smaller flake reflective layer. If you have ever purposely stuck through these paint types (without hitting the base structure), you would see it looks similar to base coat clear coat, but not necessarily so.
These paints are very heat tolerant but can be burnt. Generating heat for this correction without burning the paint was achieved by Meg’s D/A cutting disc’s and Rupes D/A Polisher. I worked the paint on this car at a higher speed than usual, it could have even been dangerous for the pad at this speed. I used Megs 105 and utilized very slow passes with 5″ and 3″ disc’s. I also applied extra pressure here and there where needed.
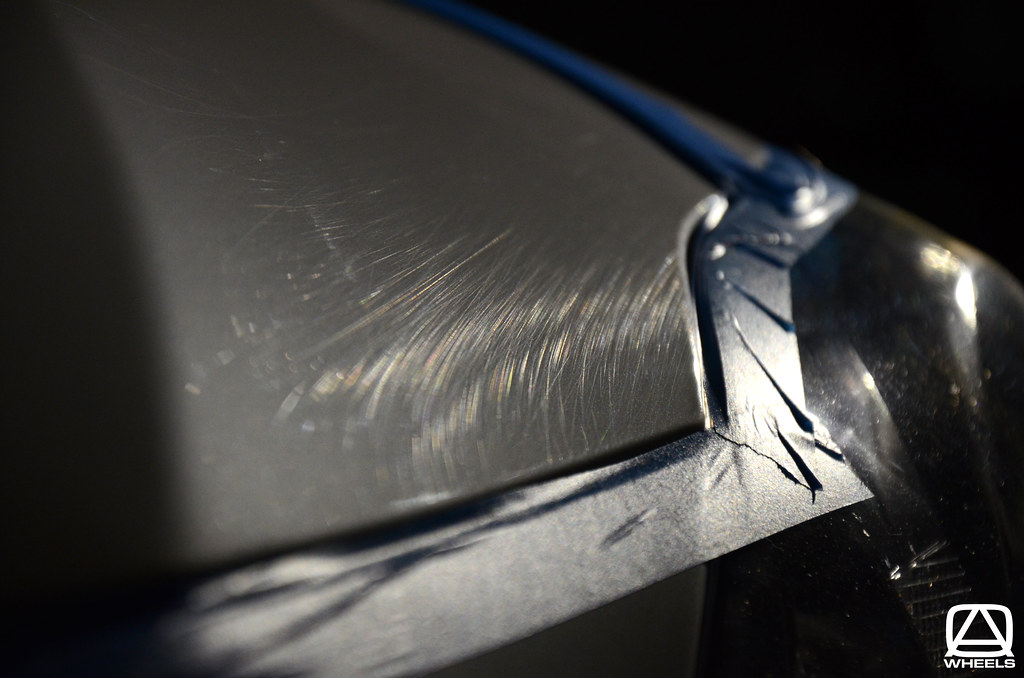
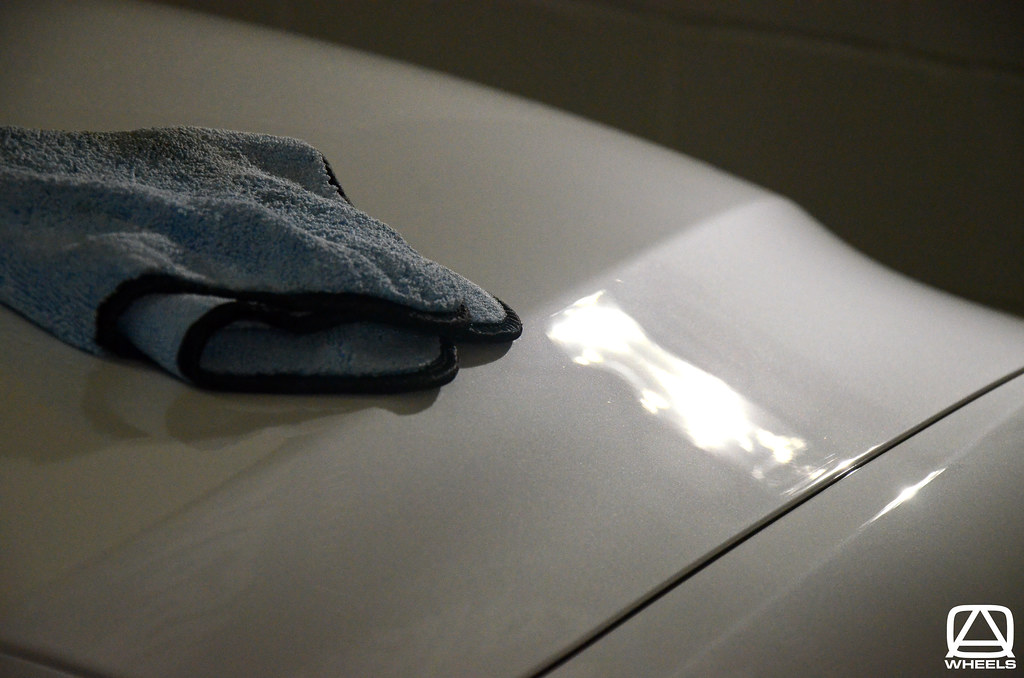
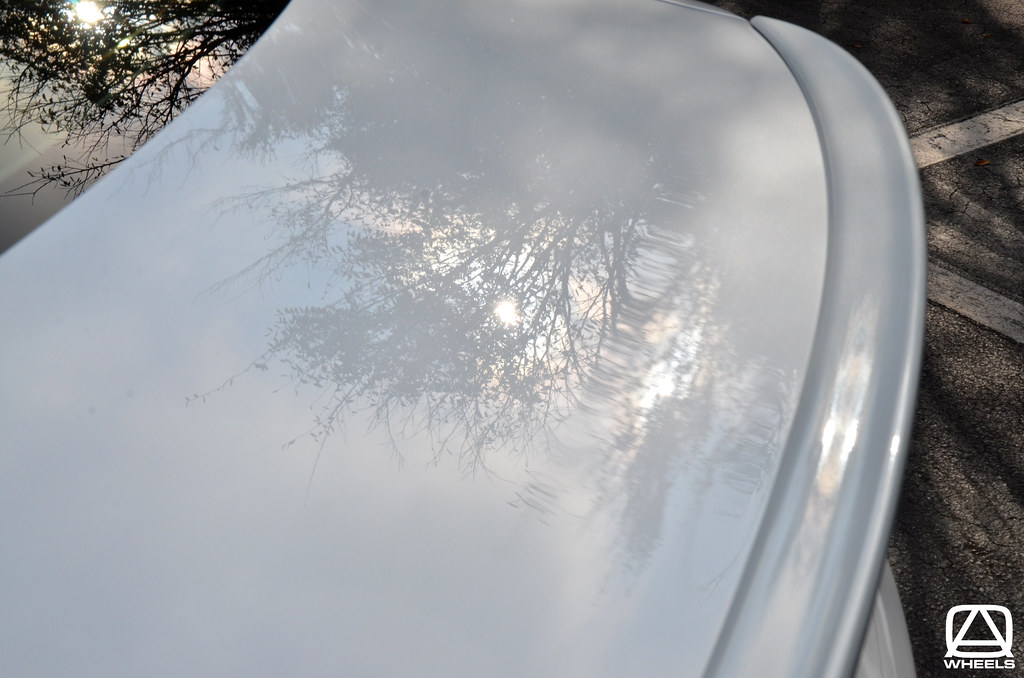
Before I got on with cutting a 50/50, I grabbed a few shots with the Nikon D7000 on manual focus (using the tape line to better focus the camera for close ups).
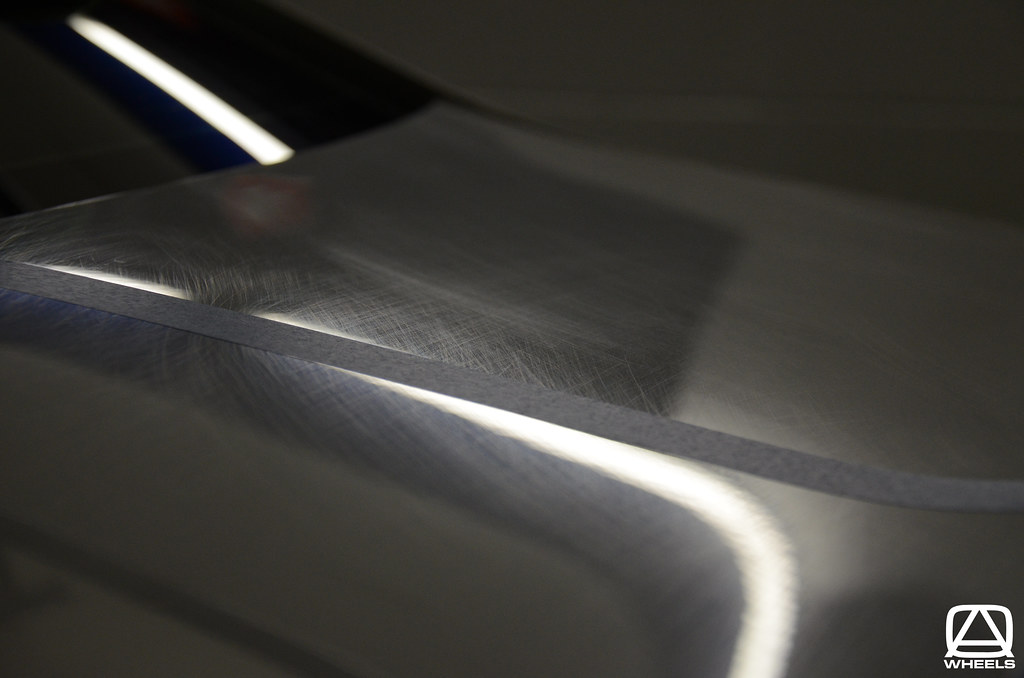


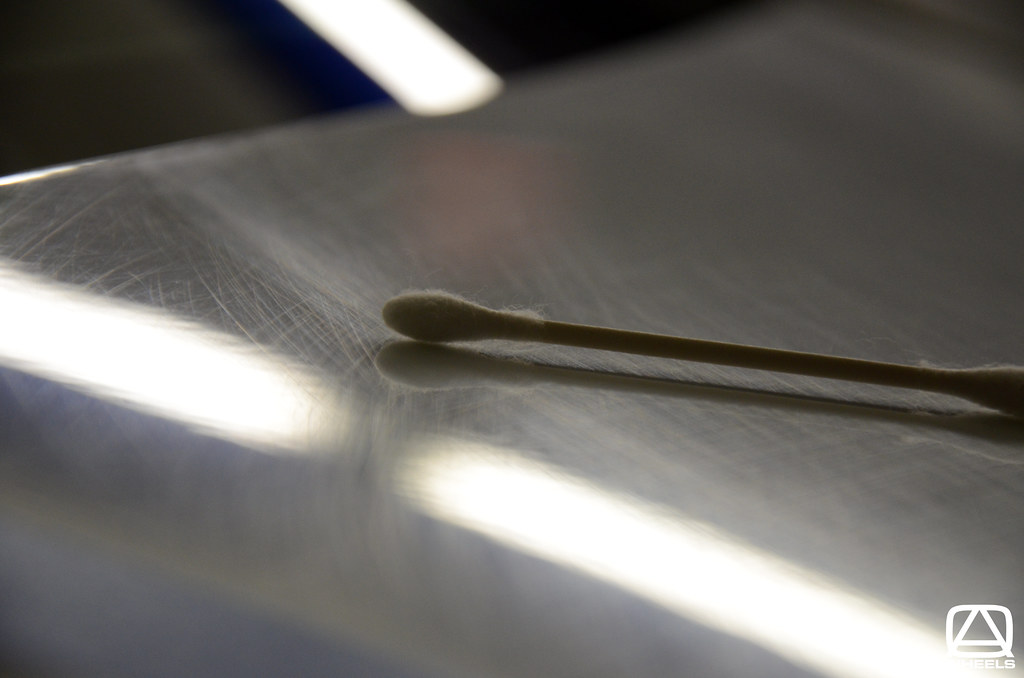
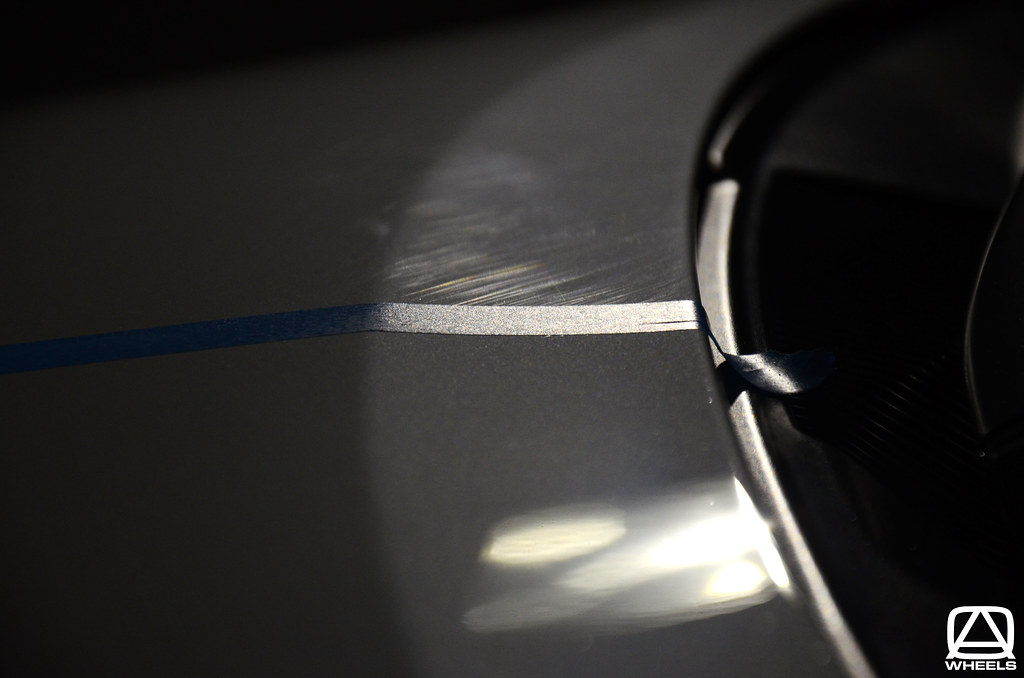
I tossed a Q-tip on the trunk to get a better idea of size and the amount of severe scratches that consumed this area.
Below you can see the heavy damage to the hood on the passenger side.

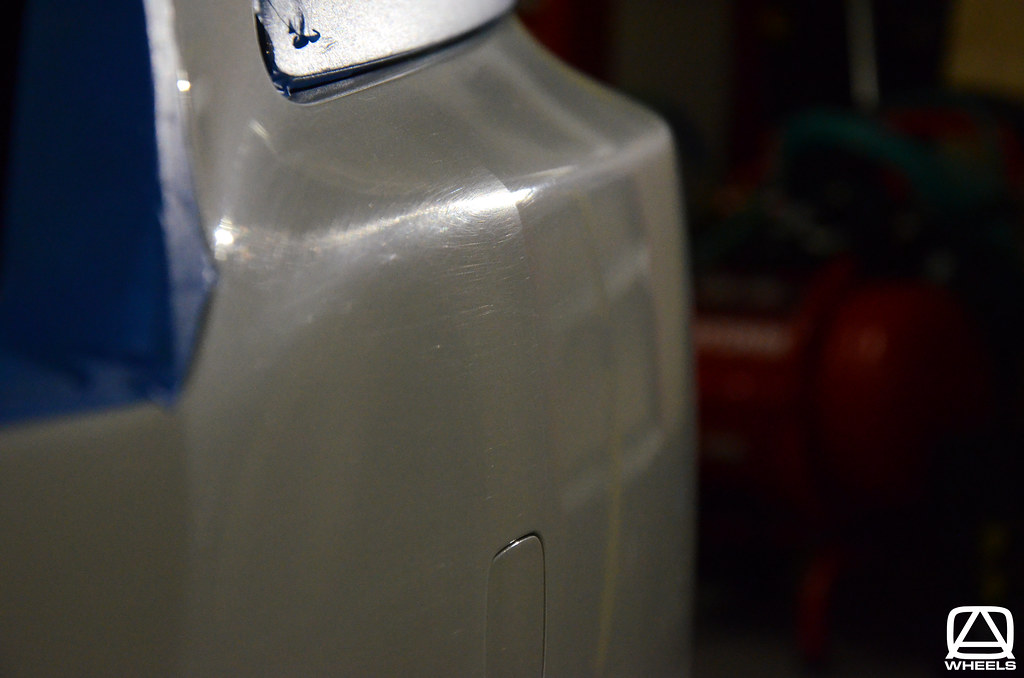
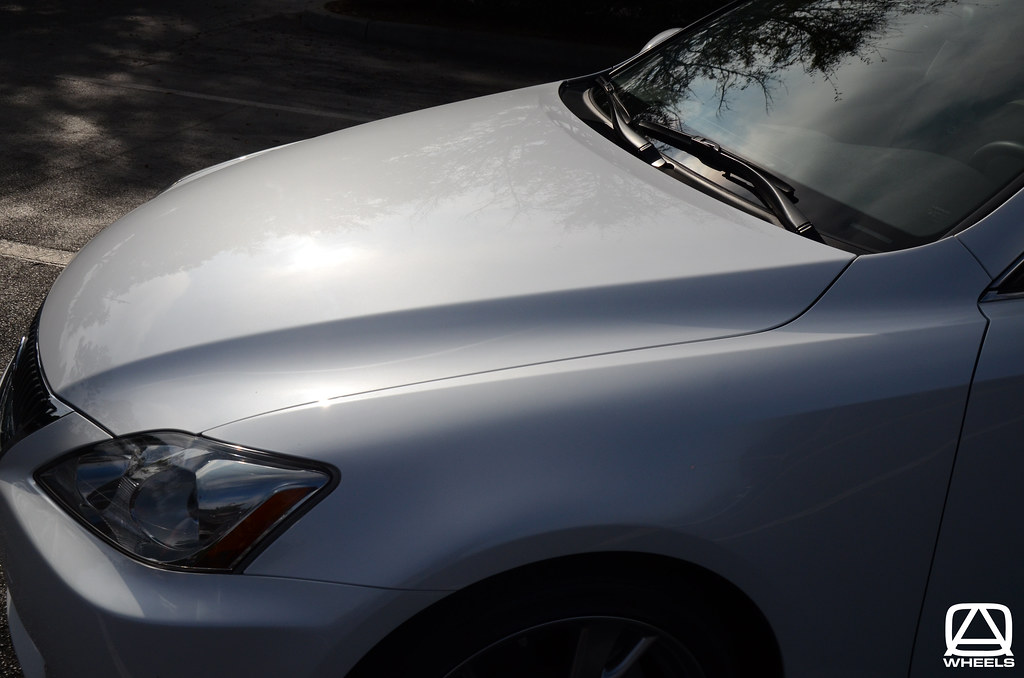
Drivers side of the hood just above the headlight, which is not as bad as the passenger side, although working at the edges required some finessing. I used 3″ cutting disc’s with a Porter Cable, working at above average speeds.
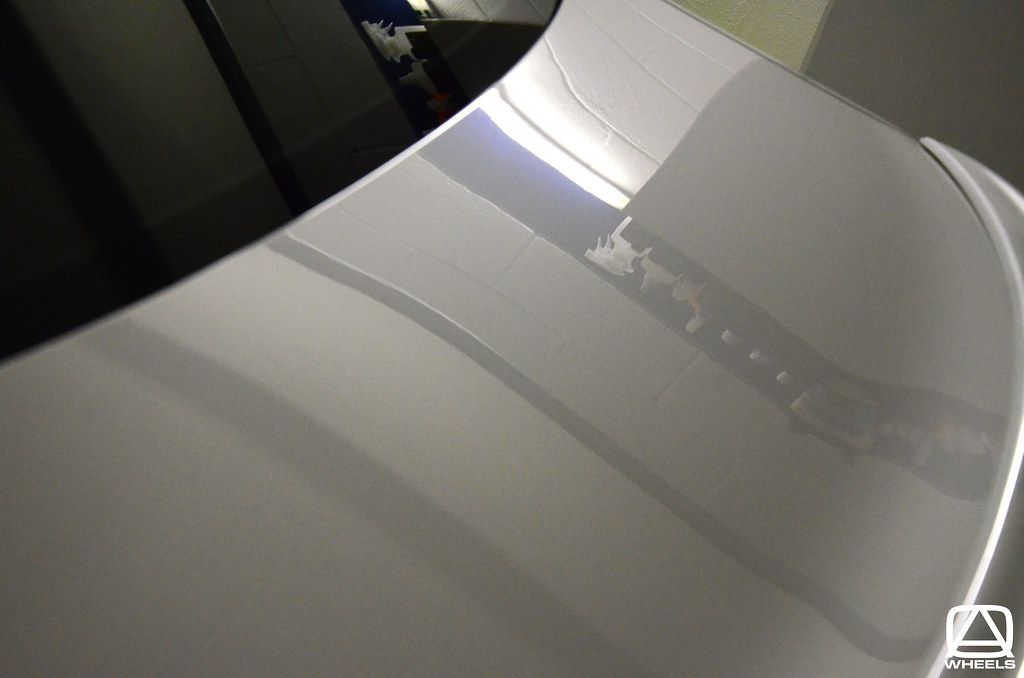
50/50 on the top portion of the hood.
50/50 on the front bumper. You would go through the paint on this one if searching for perfection. In my opinion it was about an 80% improvement to the front bumper.
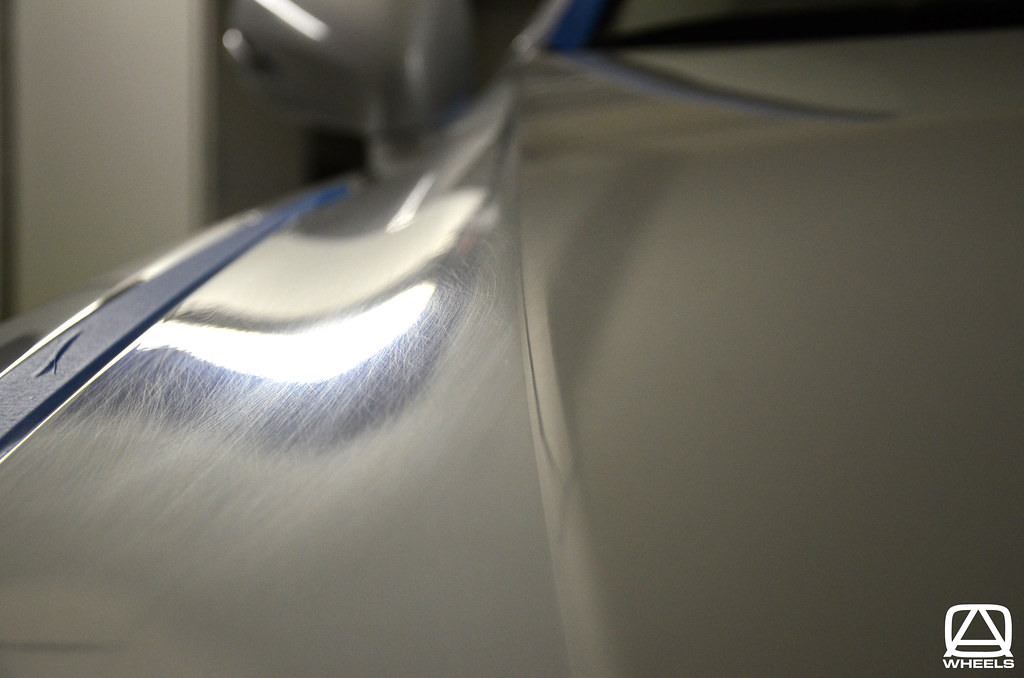
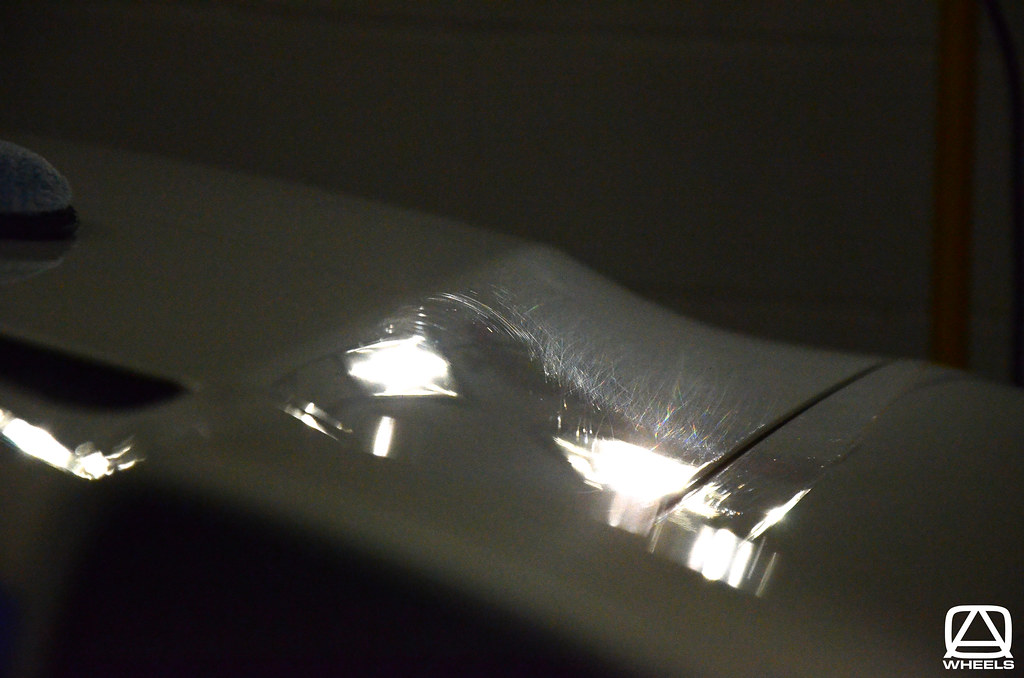
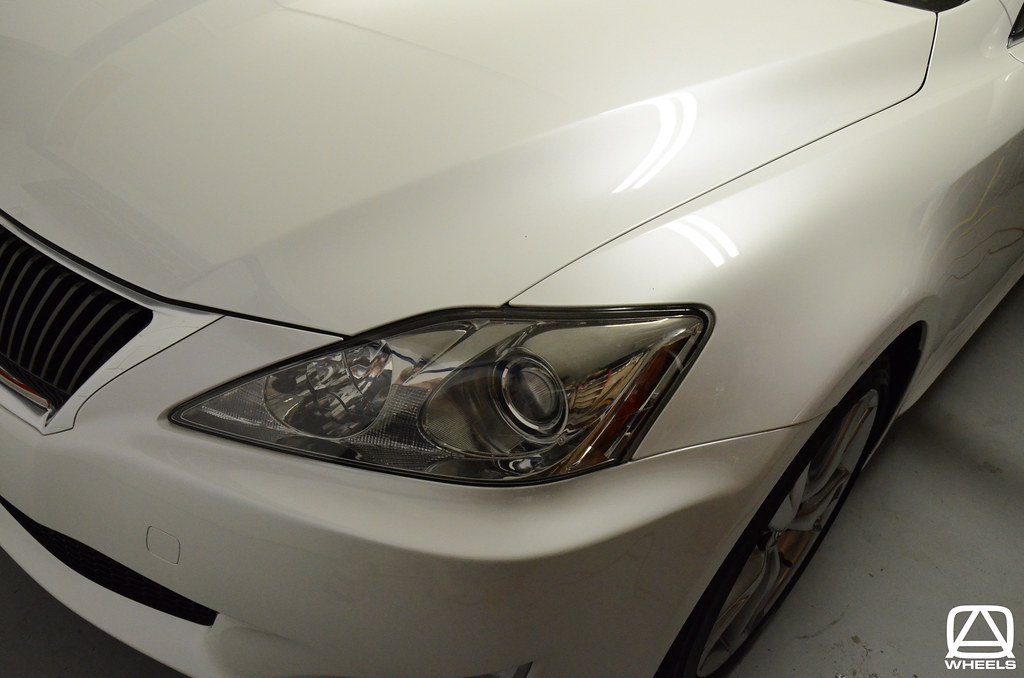
Below is one of my favorite pics from this detail! It really shows how much clarity has been lost on the damaged side. It also shows how bad this car has been racked prior to detail. The corrected side or “partially corrected side” shows the remaining deep rids and would be found in and average type of correction.
Handled with the best it could be. This is after compounding. with polishing and refining still remaining to be done.
After some final attention to detail, the car started to look alive again!
I was extremely happy with the results. I was also extremely happy that it was only a few sections of the car that were really tore up. The roof, both driver side doors and front passenger side door was fine and much easier to work out. Overall it was fun! I really like the IS models and had been itching to do one for a while. Hope you enjoyed this detail with me!
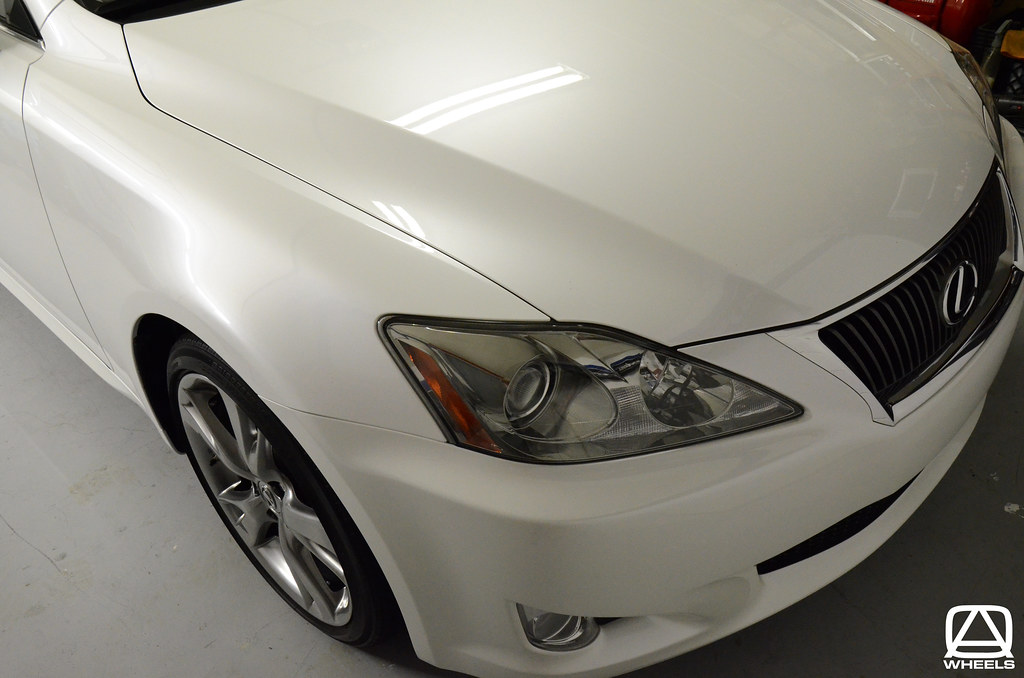
Clarity restored.

Check out the 50/50 view on the trunk in the below YouTube video:

Buy Products From This Article
Purchase the products used in this article individually or in one convenient package here!