
Several weeks ago I was contacted by a potential client about 75 miles north of me who has a collection of cars and will continue, to buy, sell, etc. The first car out of the group that would be worked on would be a like new 2009 Porsche with only 1800 miles. After prepping the paint for polishing, you could clearly see that this car has had a rough life for only 1800 miles. Not only were there the normal swirls from improper washing and drying but excessively deep scratches throughout the vehicle and a 2 square foot area on the roof where a previous detailer or dealership attempted to fix a defect. It showed evidence of heavy wool compounding which is completely unnecessary giving that the Porsche clear is a majority of the time, very soft.
After taping up the needed areas, I proceeded to start with a mild process to see how that worked. I used Menzerna SIP and a White LC Pad on the PC @ Speed 6 to remove the deeper defects and properly level the paint. This step worked perfect, but would need further refining with the softer Porsche paint. For a majority of owners, this would of been plenty but when the maximum results are demanded, the next step is a must. Switching to the Makita rotary polisher and a Blue LC Pad using Menzerna Super Finish 106FA left the paint flawless with a new gloss that only Menzerna finishing polishes provide.
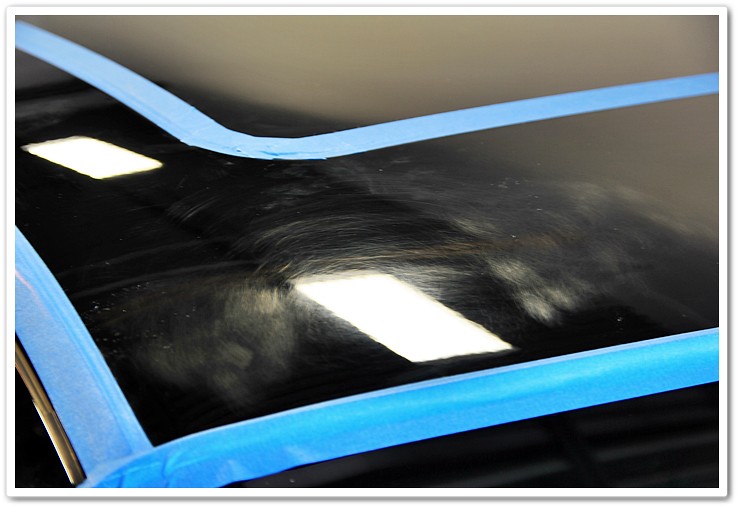
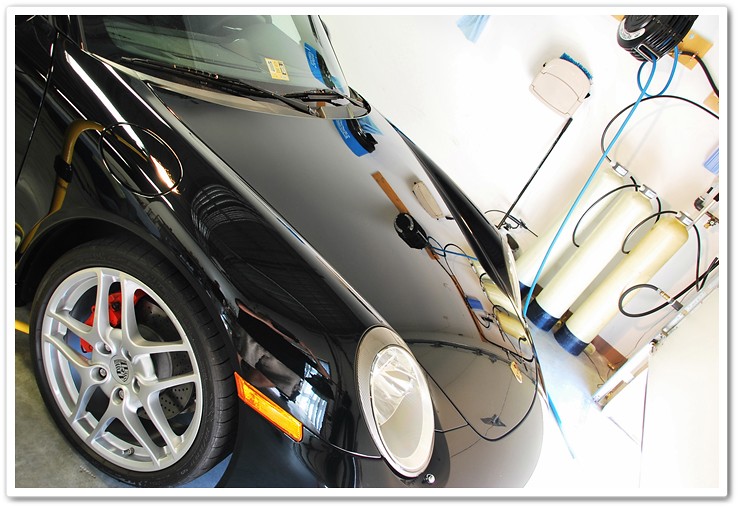
Let’s move onto the defects as you can see what I was working with. Now remember, only 1800 miles and this is where we’re at. This is what they let cars go out the door looking like…not acceptable.

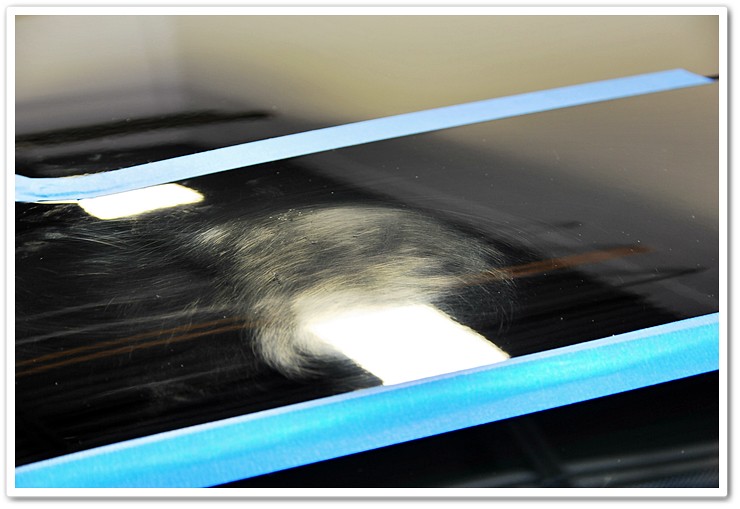
Taking a closer look at the wool pad, sanding marks, etc.
Immediately after the process stated above. Now we’re getting somewhere.

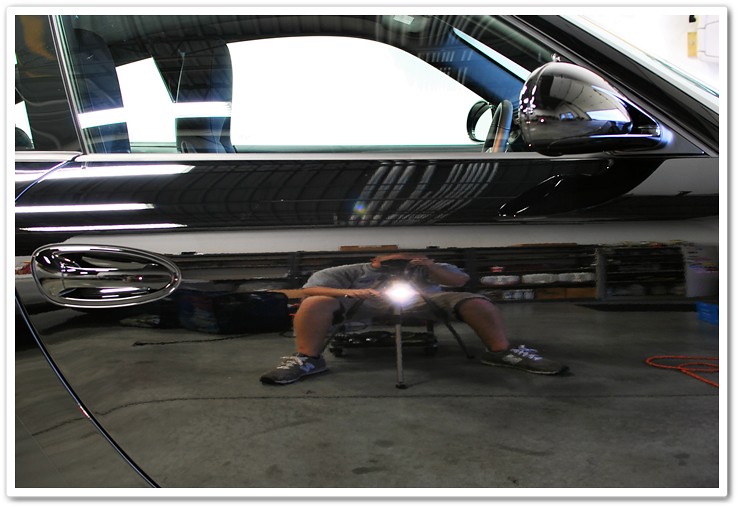
Now let’s walk around the car and snap a few shots of the defects using the Brinkmann TuffMax Dual LED Pivot Spotlight
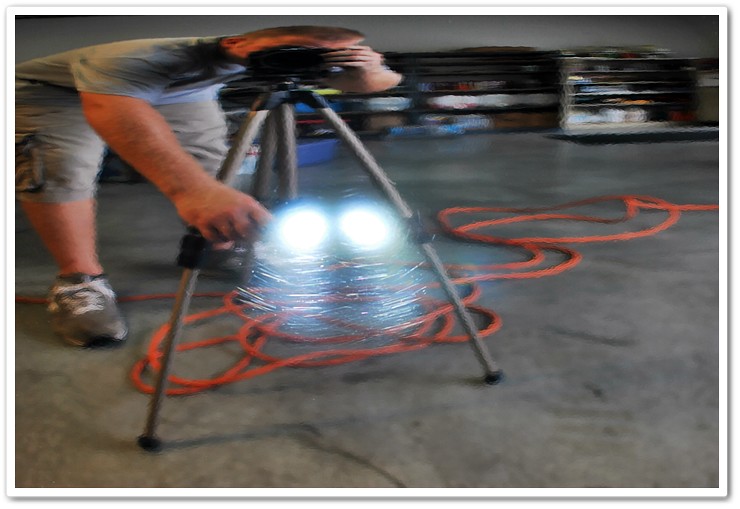

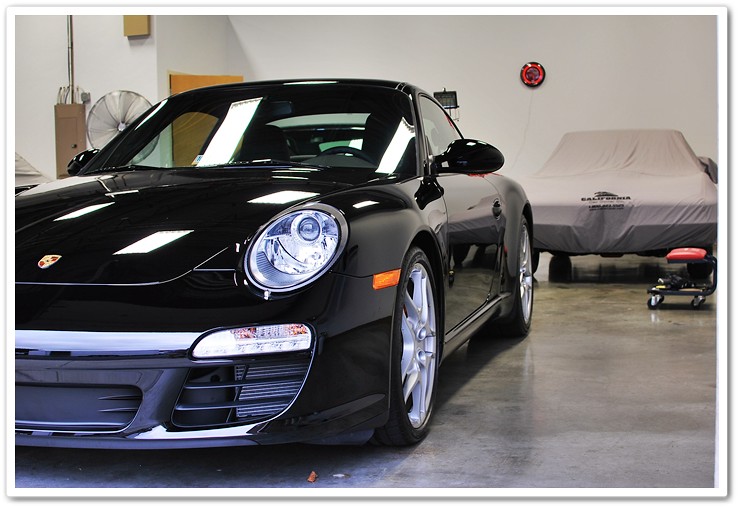
Now in some of the after pictures, if you look closely you will notice future write-ups in the background. As the sun wasn’t out for the completion, I snapped a few indoor shots using the Halogens and the Brinkmann before taking it outside for final pictures.

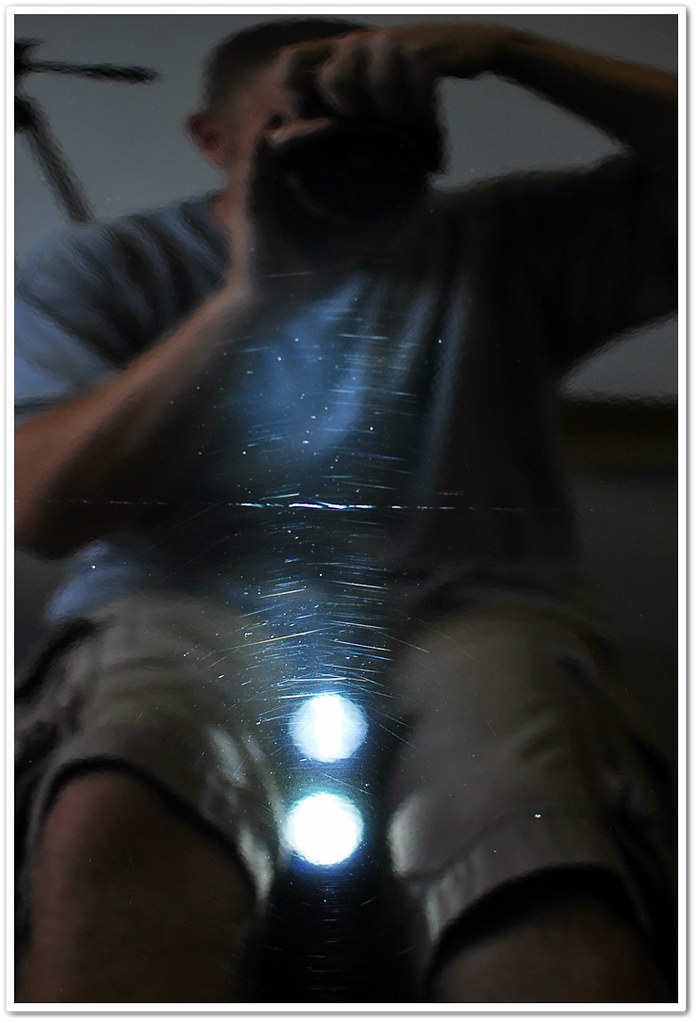
Don’t forget to use your flash occasionally for checking your correction.
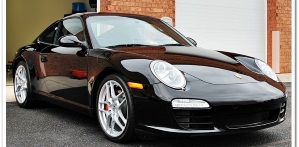
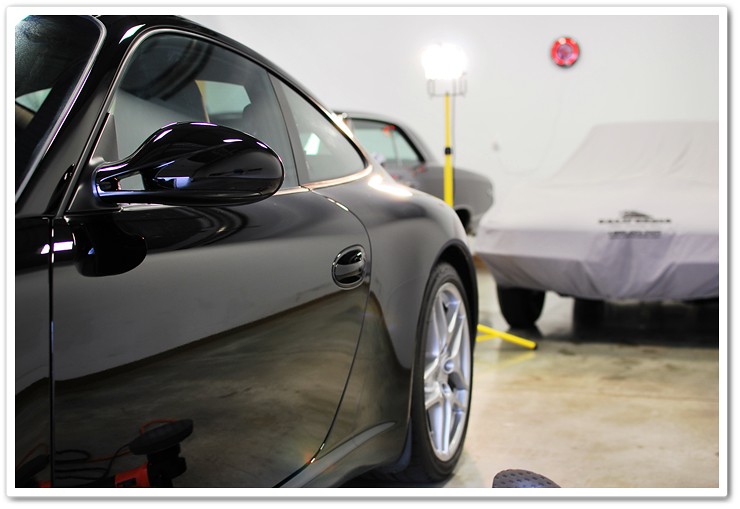
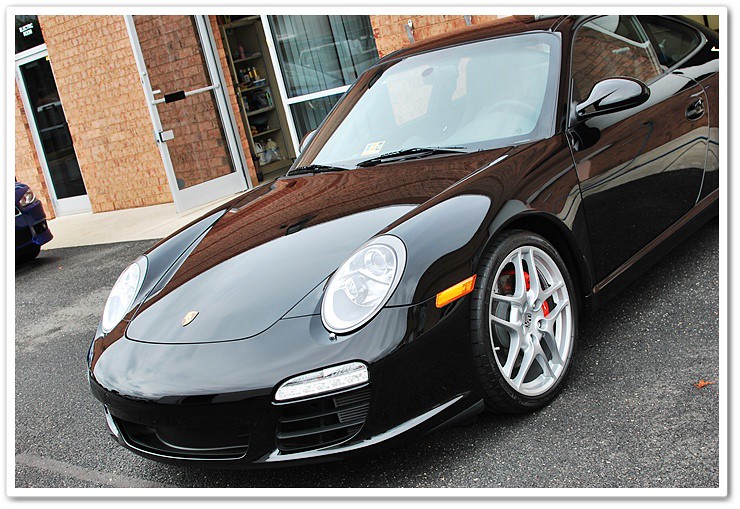
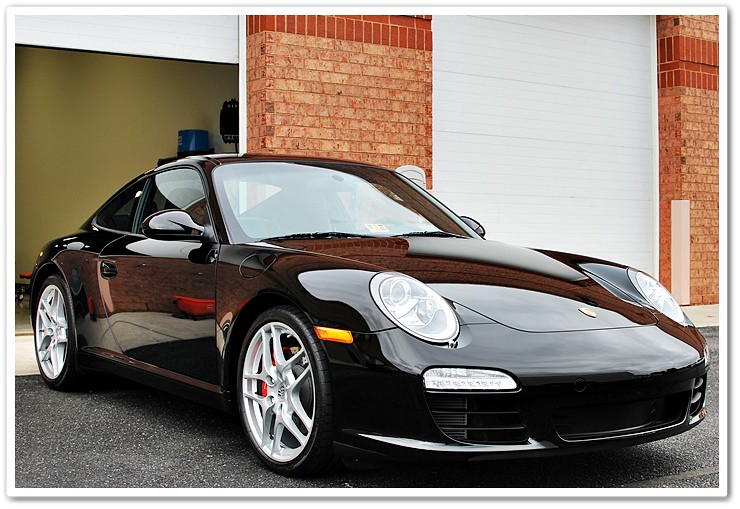
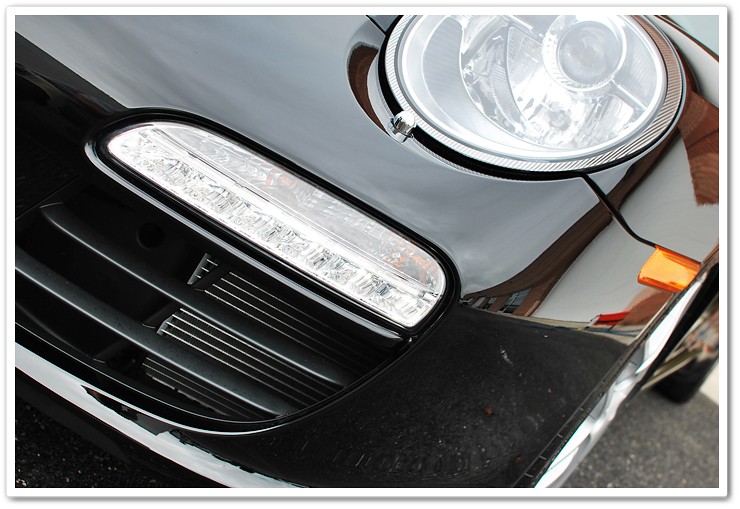
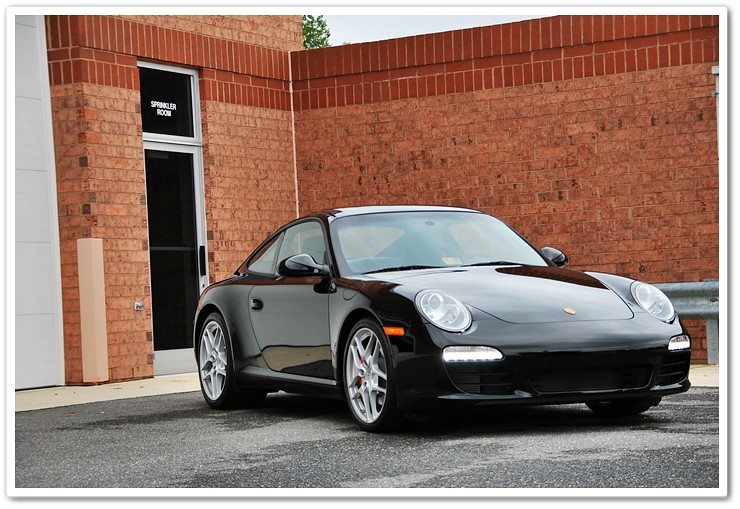
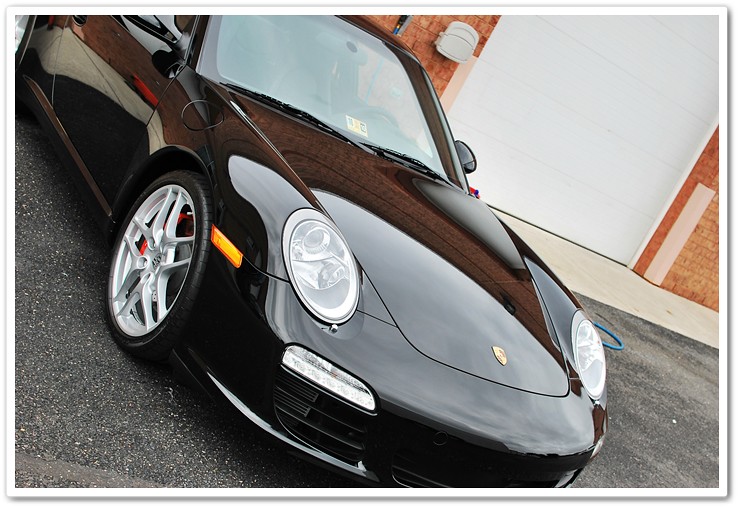
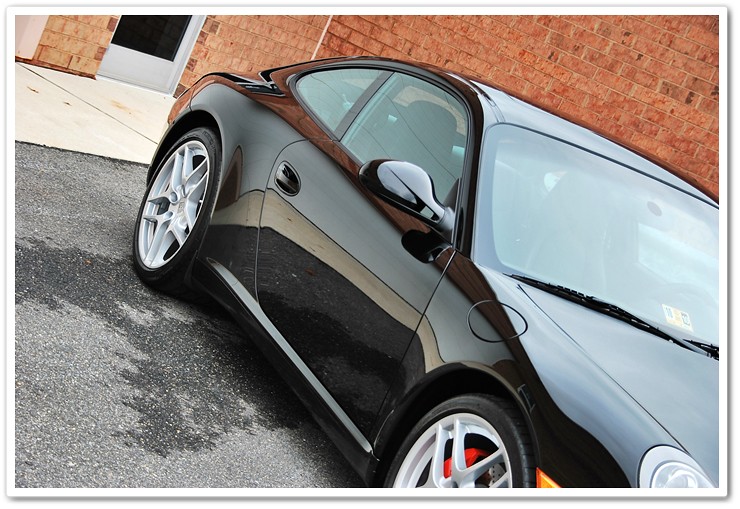
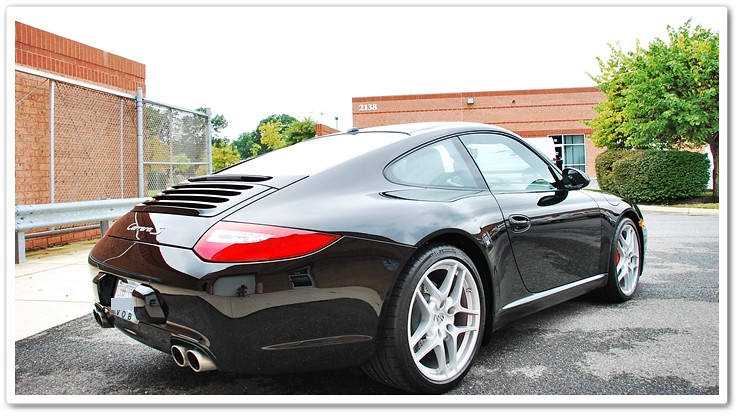
Now how about some after shots to show the glossy black Porsche paint? Enjoy!

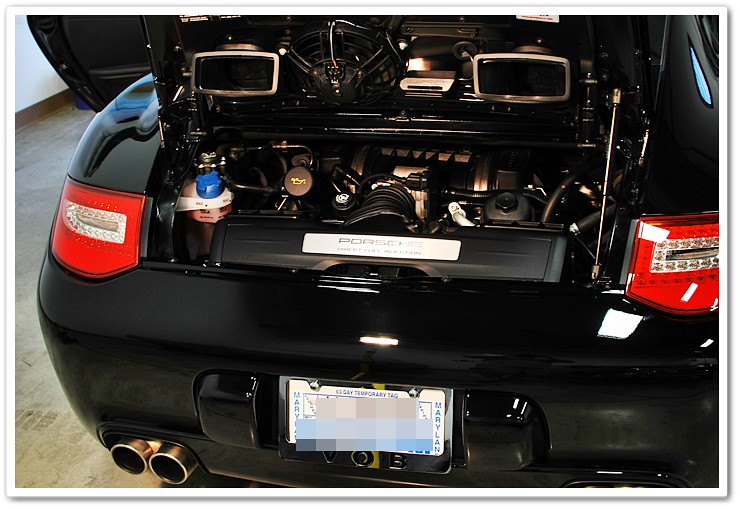
Using 303 Aerospace Protectant to treat the plastic and rubber on the rear mounted engine.
After final polishing is completed, using Chemical Guys EZ Creme Glaze to further clean the paint with a Black LC Pad and Porter Cable on speed 5 before applying Blackfire Wet Diamond that gives you a slick, glossy, and durable surface. You be the judge.


Remember, to achieve this level at the end, it all starts from the beginning.


Thank you for taking time to view my work, if you have any questions or comments, please submit in the box below.
Thanks,
DJ Mayo
Related Posts
- Full Detail: Ferrari Challenge Stradale in Rosso Scuderia
- Ferrari 458 Italia Paint Correction v2.0 by Todd Cooperider
- 2008 Z06 Vette in Velocity Yellow Tintcoat by DJ Mayo of Reflections Detailing
- Ferrari F40: 60 Hour Restorative Detail by Todd Cooperider and Craig Reed
- Full Detail and Paint Correction: Ferrari 458 Italia by Todd Cooperider of Esoteric Auto Detail