
Cleaning your fender wells is an often overlooked step when washing a car. However, it can make a huge difference in the end look.
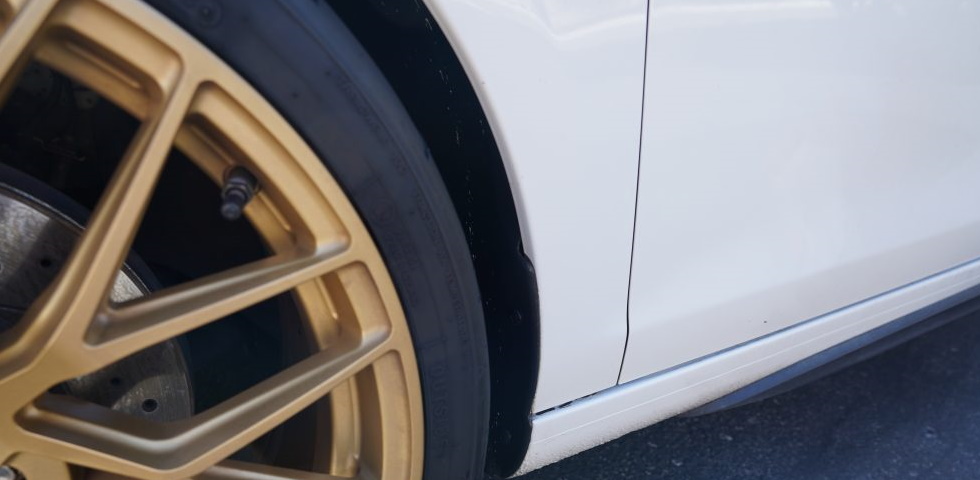
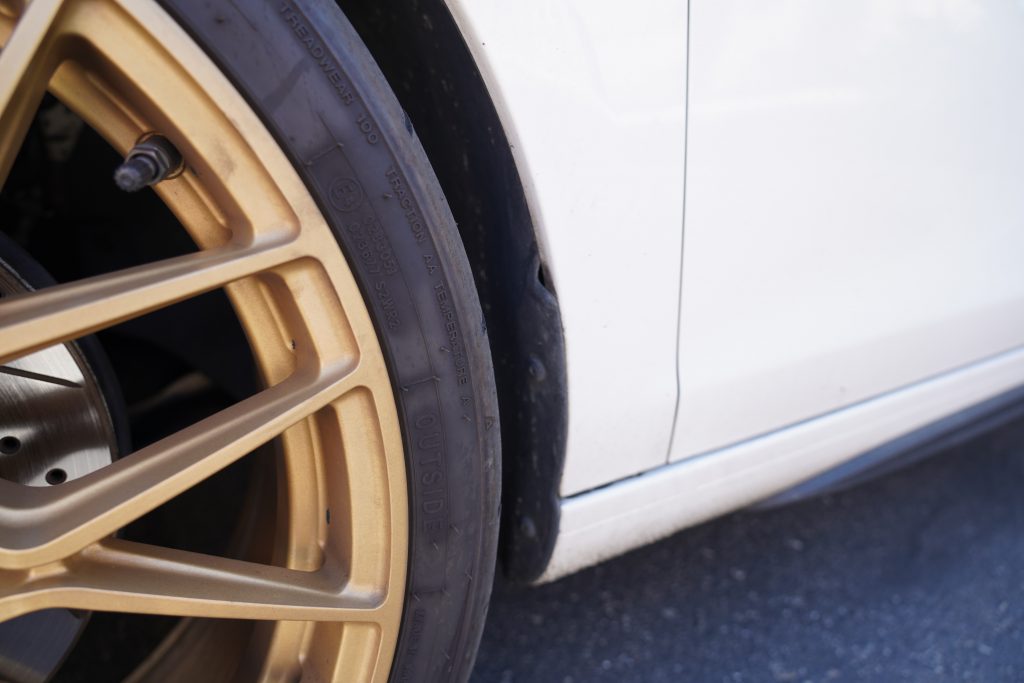
Here is a clean car without the fender well properly cleaned.


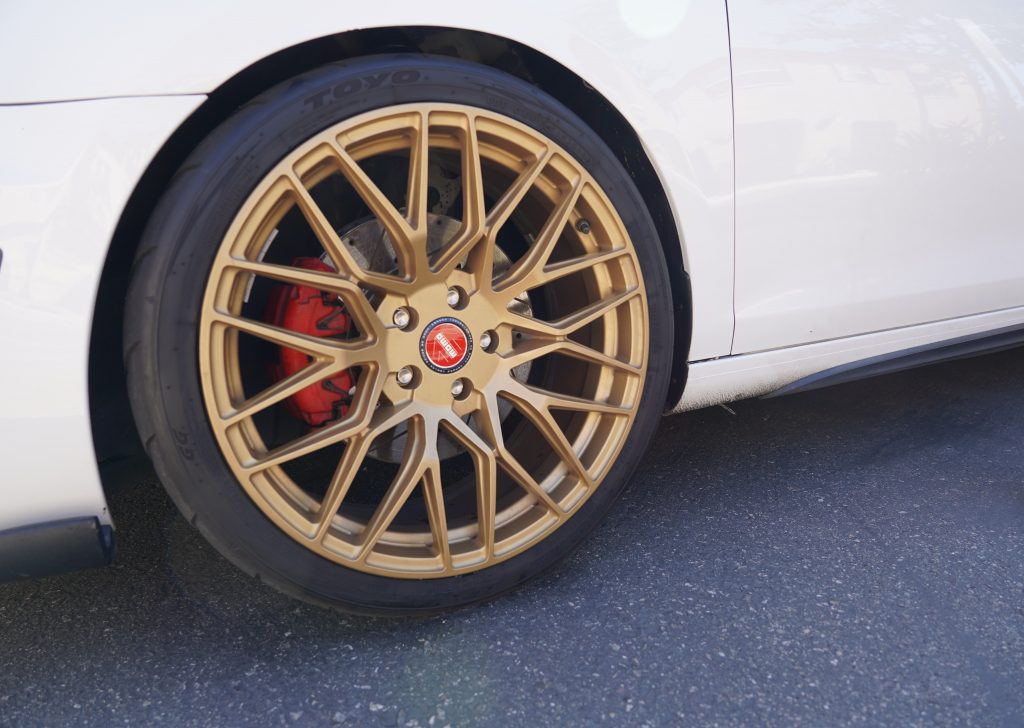
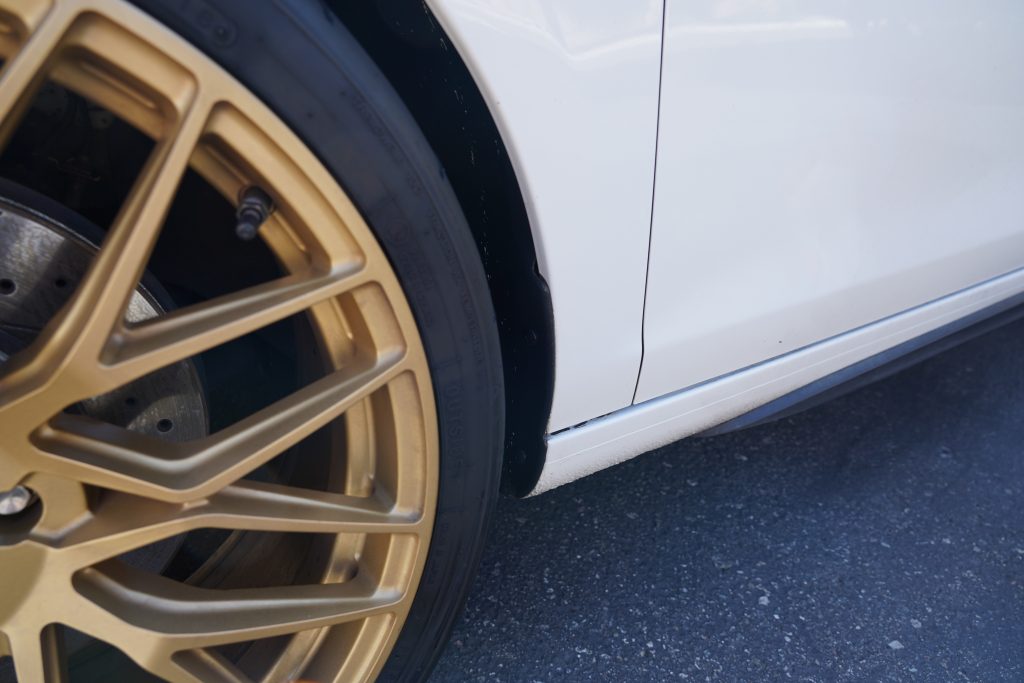
Now here it is with them cleaned, see how much better it looks?

It is very simple to add this to your wash regimen with just a few simple steps.
- Rinse them down. A strong stream of water will help loosen all of the dirt, rubber, etc that has caked up on there.
- Spray it all down with a good all purpose cleaner like Meguiar’s D101. Since they are plastic you should treat them the same way you would exterior plastics, and an APC is the best way to pull out the dirt as well as any oxidation.
- Use a good fender brush. You need something with bristles that are stiff enough to clean, but not too stiff where it wont conform to the round shapes and edges of of the fender well.
- Rinse again. You need to make sure you get all of the APC off as if it site on the plastics it can dry them out.
- Let dry. You need to make sure these are dry for two reasons. One, make sure it is clean. It can look clean, but once it dries see the extra dirt that did not get removed. Since it is dark and hard to see, letting it dry allows you to see it easier. It also ensures you can apply your protection and have it soak into the plastics.
- Protect them. You can use the same dressing you use on your exterior rubbers and plastics, like CarPro PERL or Chemical Guy’s VRP. Either apply by hand, if you can reach, or you can cut it 50/50 with water and you can spray it on. You can also use Meguiar’s D45 for the tight, unreachable areas.
- How to Quickly and Safely Clean your Off-Road Vehicle
- Projects: 2019 Subaru WRX, Swissvax Detail
- Projects: Lotus Evora GT, Paint Correction, Clear Bra, Ceramic Coating
- Detailing Projects: Ferrari 488 Pista #2 Paint Correction, Clear Bra, & Ceramic Coating
- Product Review: Meguiar’s Wheel & Paint Iron Decon D1801
If you have fabric liners, because those exist for some reason, you would do the same thing except for the protection step. Just leave them clean and your good to go.