
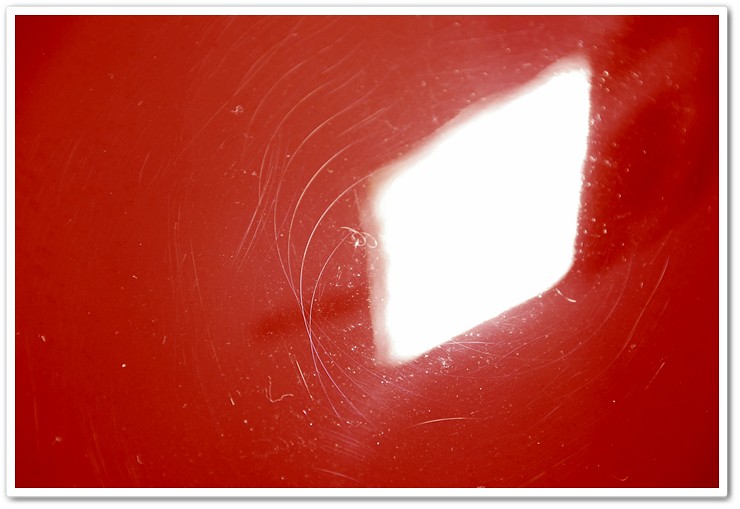
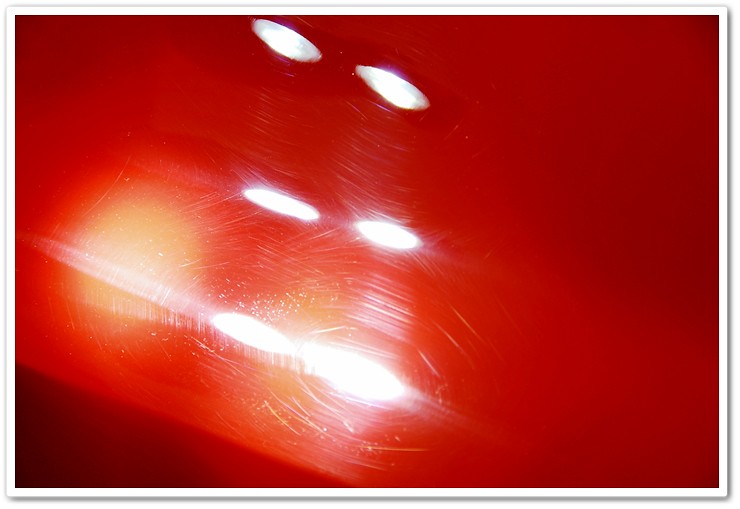
This beautifully restored Corvette comes from the same owner as the recent Porsche Article I posted. You will also see another older vehicle that I have spent several hours with. Coming into this detail the plan off attack would be much different than the Porsche. With the harder clear and the fiberglass panels, would make for a longer more extensive job to achieve the same results. After doing an evaluation of the vehicle, there were several areas on the car that had some DA sanding marks, deep scratches, and some heavy wool pad marks from a previous job. This would require a rather aggressive approach to refine the surface to the desired level.
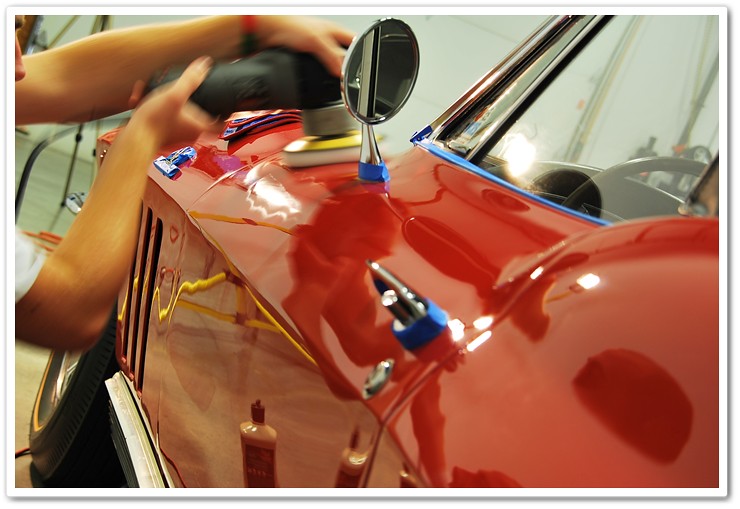
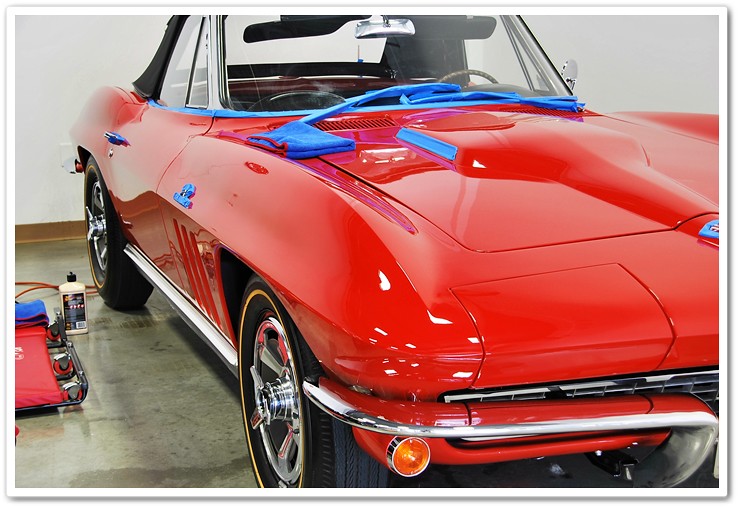
After spending some time prepping the vehicle for polishing we got started right away using the Surbuf R Series Pads and Meguiars 105. (Please refer to my How-To Article using the Surbuf Pads)
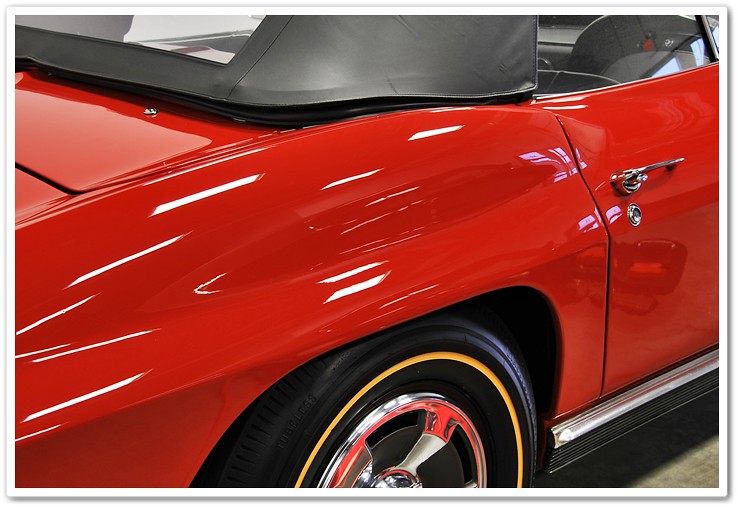
Spending most of the day making our way around the vehicle fully leveling the paint using both 5.5 inch Surbuf pads and 4 inch for the tighter, more hard to reach spots. This left the paint leveled nicely but would require an additional step to refine the clear. Switching to Optimum Hyper Spray Polish and a white pad using the Porter Cable cleaned the paint further, removed the compounding haze and marks and left us with a defect free finish. At this point, the gloss that was already revealed was night and day from when we first started. Remember, proper prep is the key to your finish.
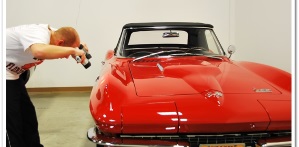
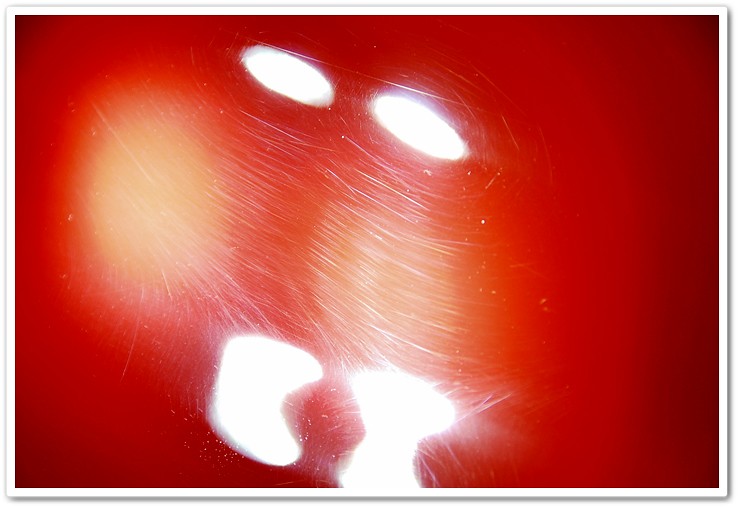
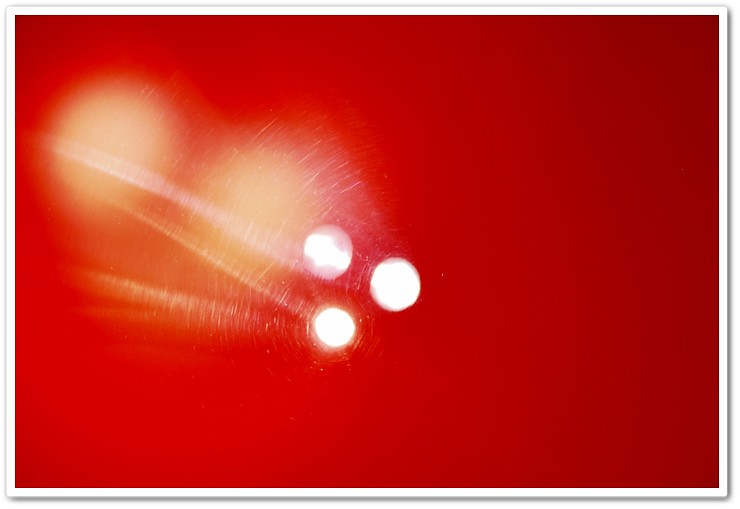
Using both Brinkmann lights to see the different degrees of defects.
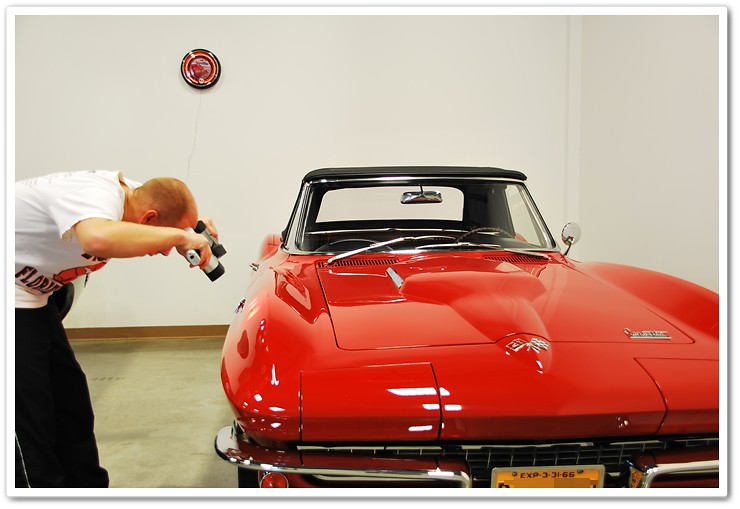

Here in the next few pictures you will notice the degree of some of these defects. They were deep and very stubborn.
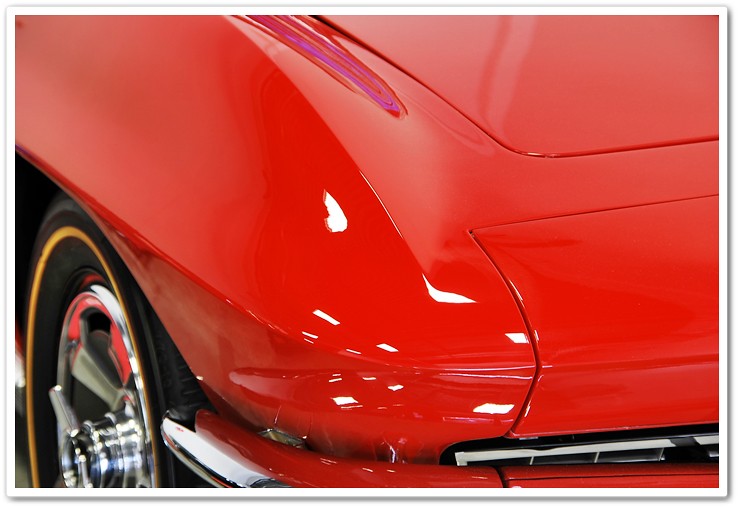
Finishing down with the white pad on this hard clear coat. On softer clears, a black or blue pad is recommended.
After all polishing was completed, all wheels, chrome trim, etc were treated using Optimum Metal Polish. This alone will make a big difference in the overall quality of the job. After this is done, I then did the usual which is cleaning the paint with Chemical Guys EZ Creme Glaze before applying Blackfire Wet Diamond Paint Sealant.
Have I ever mentioned how this leaves a super slick finish with tons of gloss?
This area required the same steps but the top had to be removed in order to reach it.
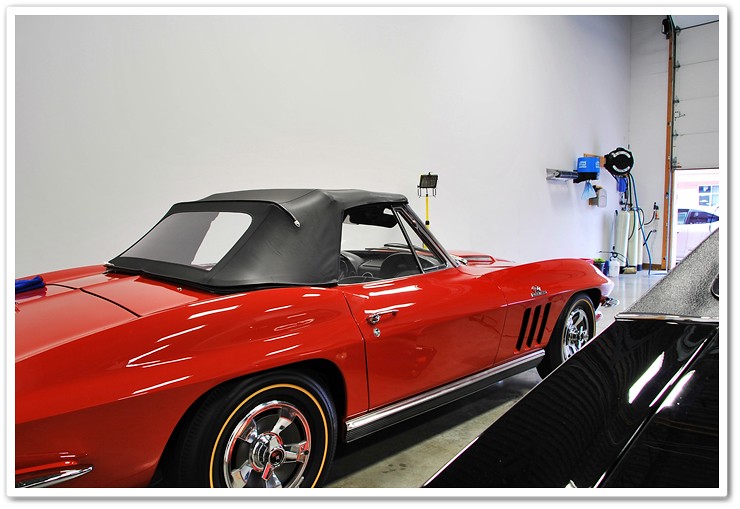
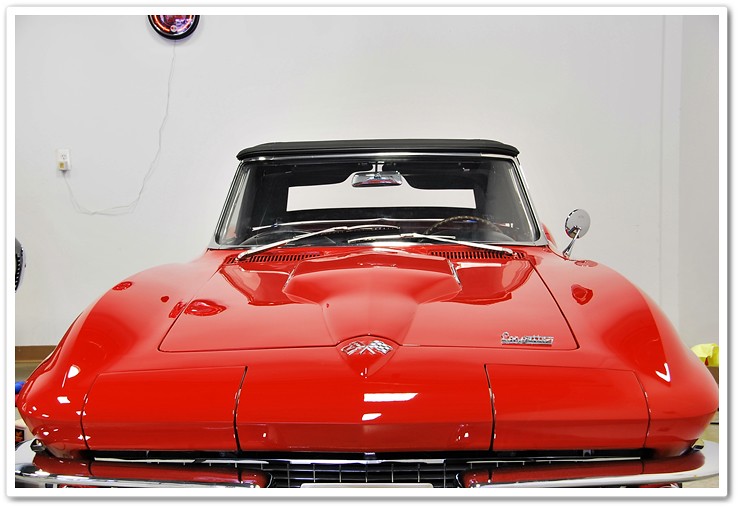
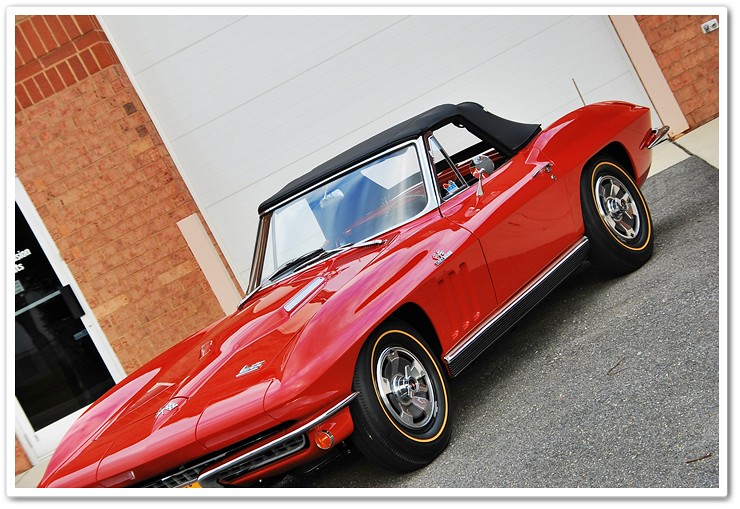
A couple final indoor shots before pulling the vehicle outside
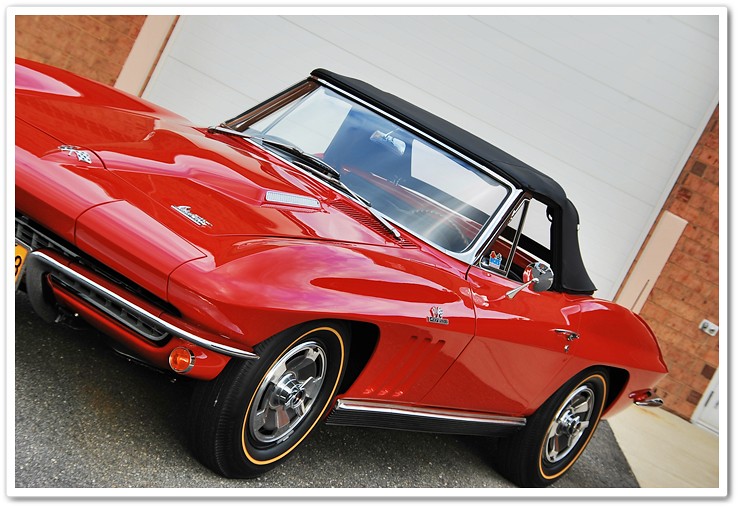
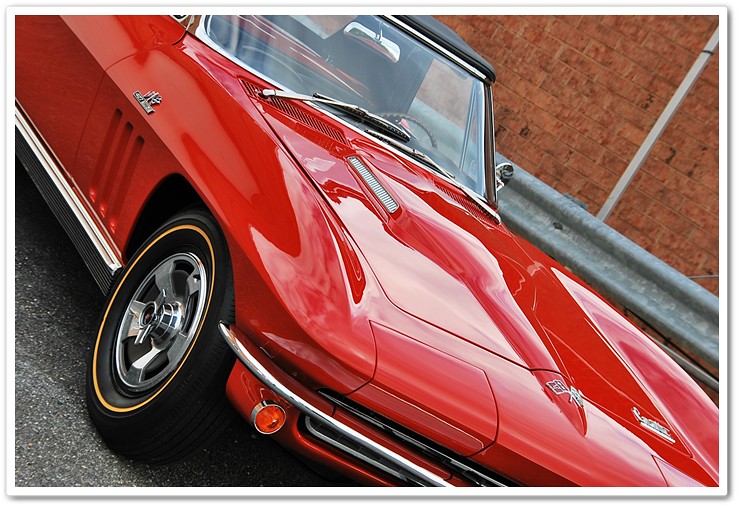
Here is the final product


The 427 Turbo-Jet
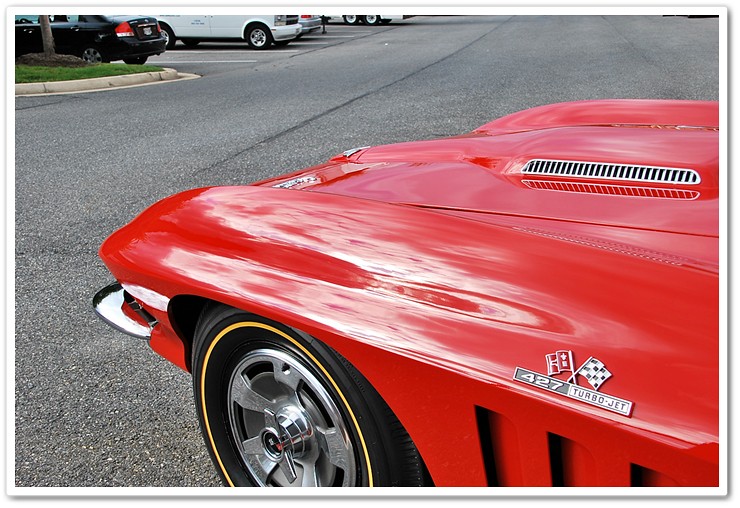

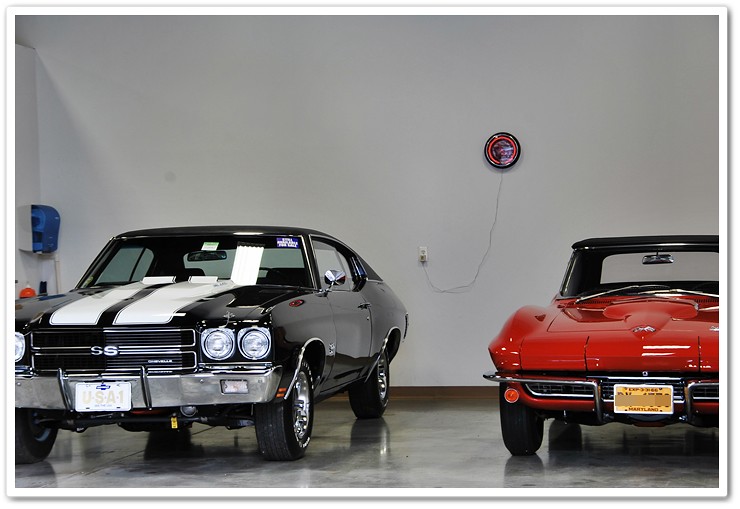
A little preview of what is next from 19 hours of polishing.
As always, thank you for taking time to view my work. If you or anyone else has any comments or question, please submit in the comment box below.