
In part 1 we got a good sense of the condition of the Stingray as it arrived. We reviewed the removal and coating of the wheels and calipers, carbon fiber inserts/accents and a very thorough breakdown on how we made the tail lights look better than new.
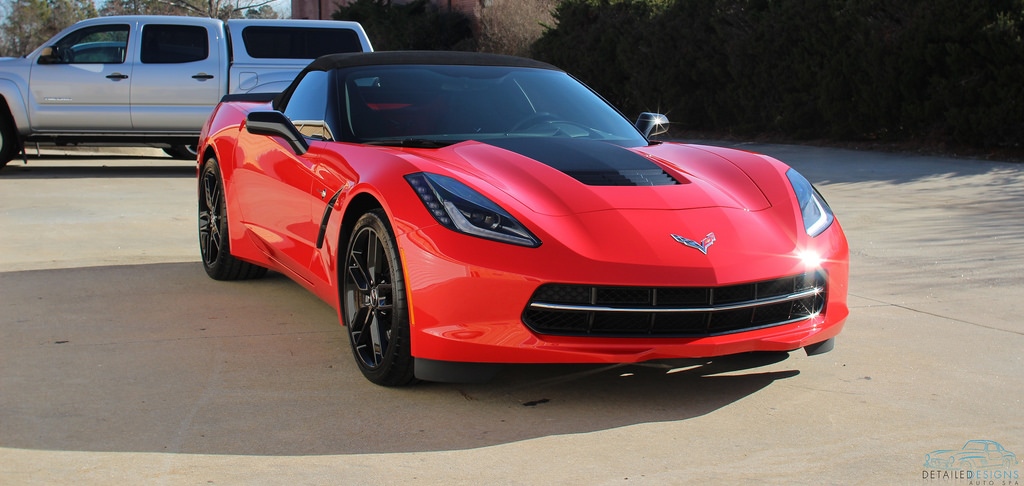
Welcome to part 2. We will show the true condition and restoration of the paint, paint protection film/clear bra installation and the finished product with cQuartz Finest on the paint and Opti-Guard Leather and Fabric coating applied.
We measured the composite panel finishes with our Defelsko Positector 200 b3 Advanced. Paint work had approximately 26-31 microns of clear coat. Well within a safe range to work with.


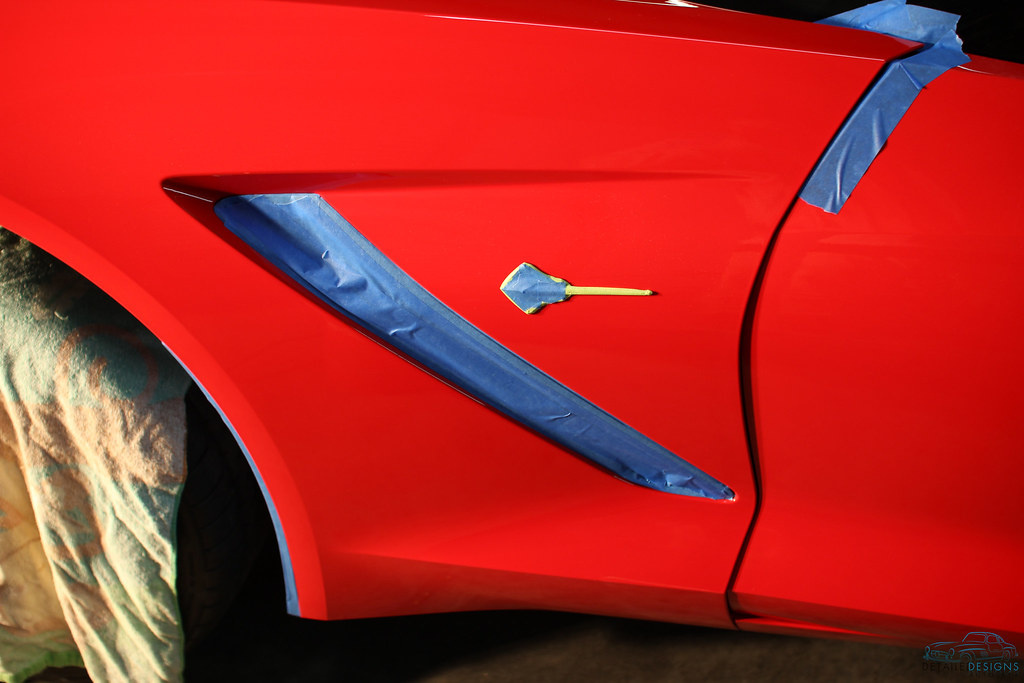
Preparing a surface for restoration is far too underrated in my opinion. Properly taping off sensitive areas will do a few things.
- Obviously, it helps to protect a surface from the mechanical abrasion of the pad and machine. My approach is to tape off an area and treat it as a back up in case you overshoot the panel you’re working on. It should not be used as a crutch to lean on. Even the best taping job could peel up in a spot. Better safe than sorry.
- It allows you to more thoroughly work a panel. When we are restoring paint, our goal is to restore the edge of a panel as much as the middle of the panel. Taping off nearby panels and surfaces allows someone to focus on one edge, the important one…the one you’re working on. By nature, working an edge or a high point on a panel tends to be a hot spot, or rather, an area prone to excessive heat while correcting. Taping off the edge of a nearby panel gives you one less area to be overly concerned with while working towards those more demanding results.
I think it’s worth noting that thorough taping takes a long time. Which translates to a higher cost on a project. If you are doing this for yourself, understand that there is an art to taping and you can waste a ton of it to get the right protection without being sloppy and taping too much over the painted surfaces. I’ve seen detailers take as long as possible and still not do a great job. Be patient while learning how to do this step, it will pay off.
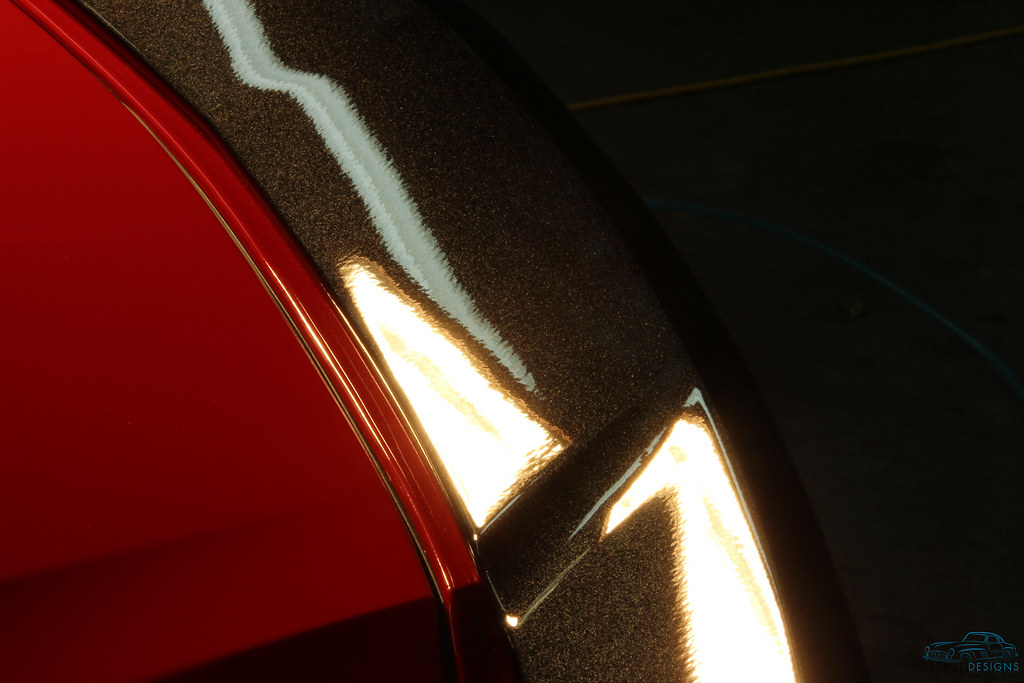
We aren’t joking when we talk about protecting surfaces.
The hood had already been restored in this image. We were moving towards getting results on the fenders here. Generally, bumpers are done last on our projects.
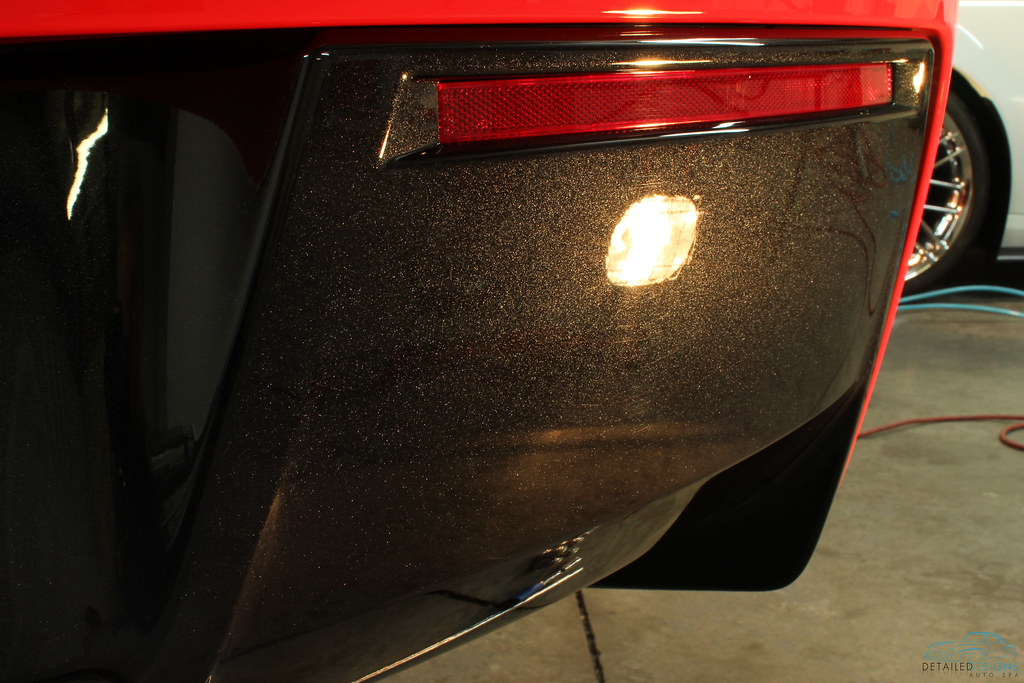
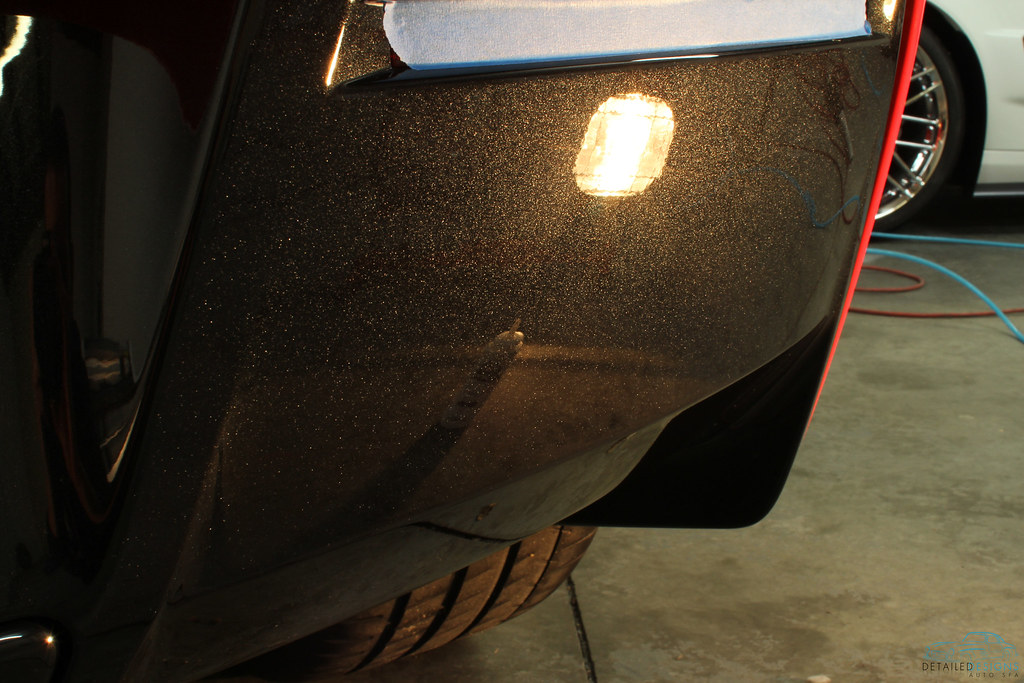
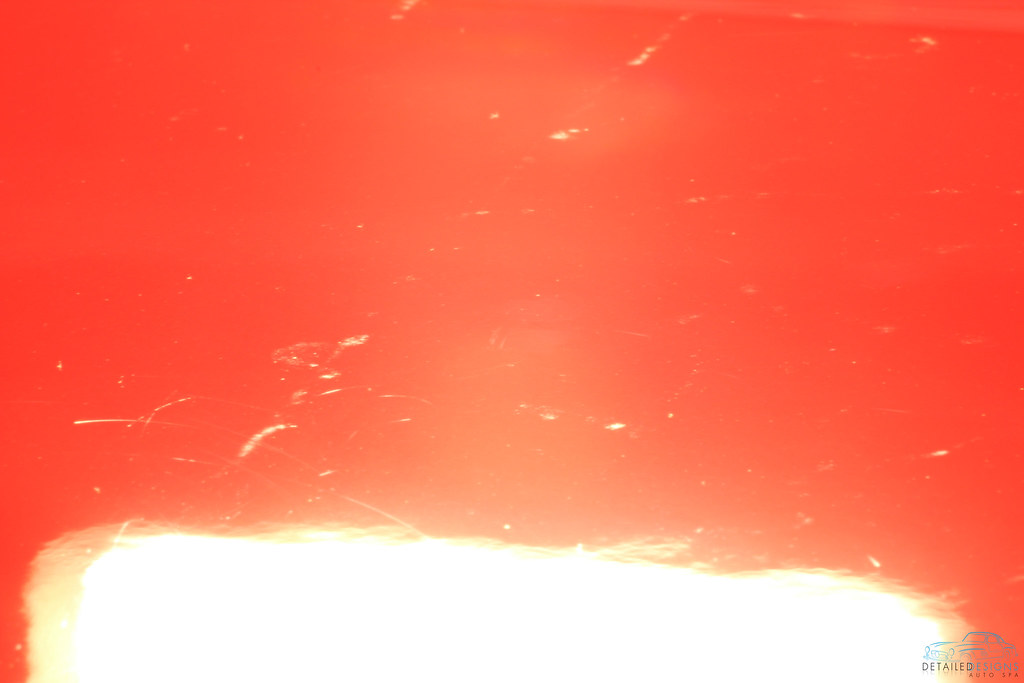
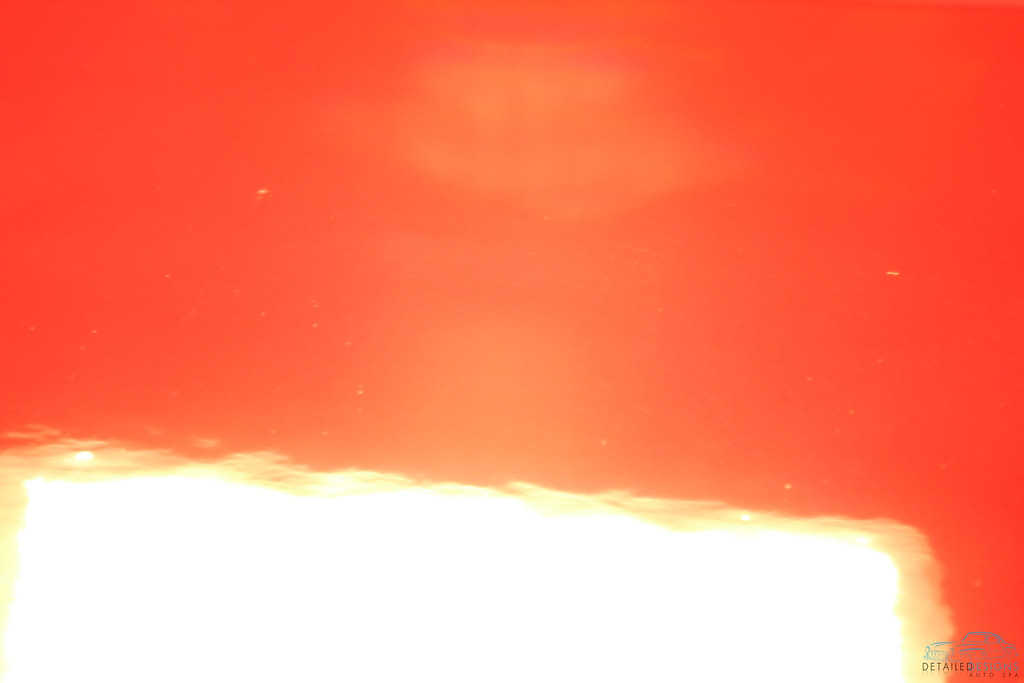
The paint was far from new looking despite the Stingray’s age. Deep scratches, swirl marks and factory DA sanding marks were all present on this brand new car that had never seen a hand or machine wash outside of the factory or dealership. Our silver level paint correct was still able to take make a huge impact in the paint’s appearance.
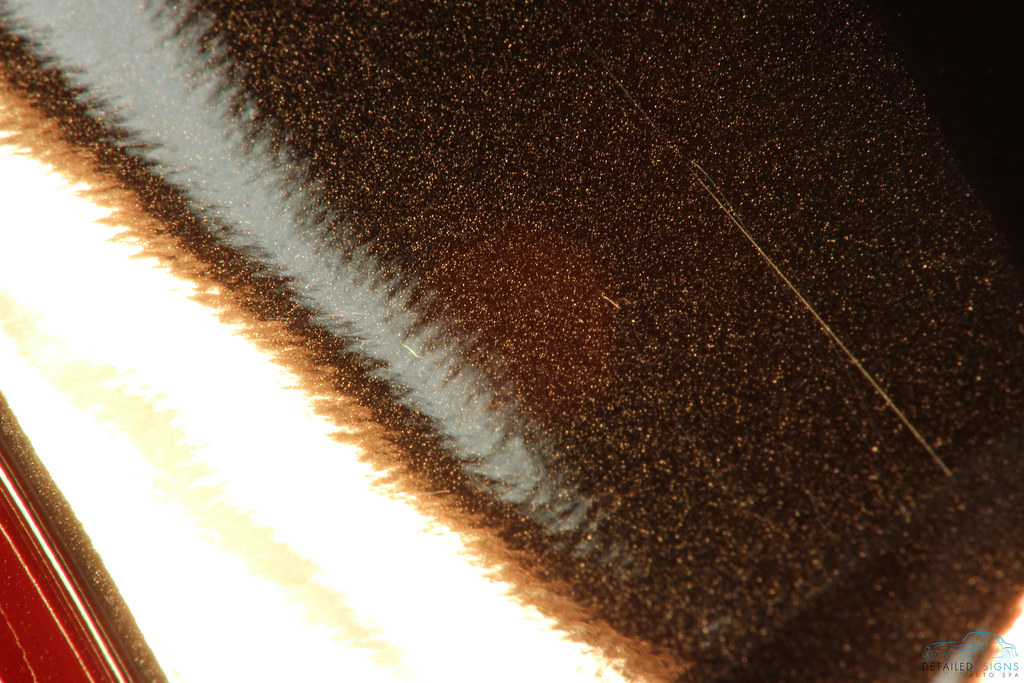
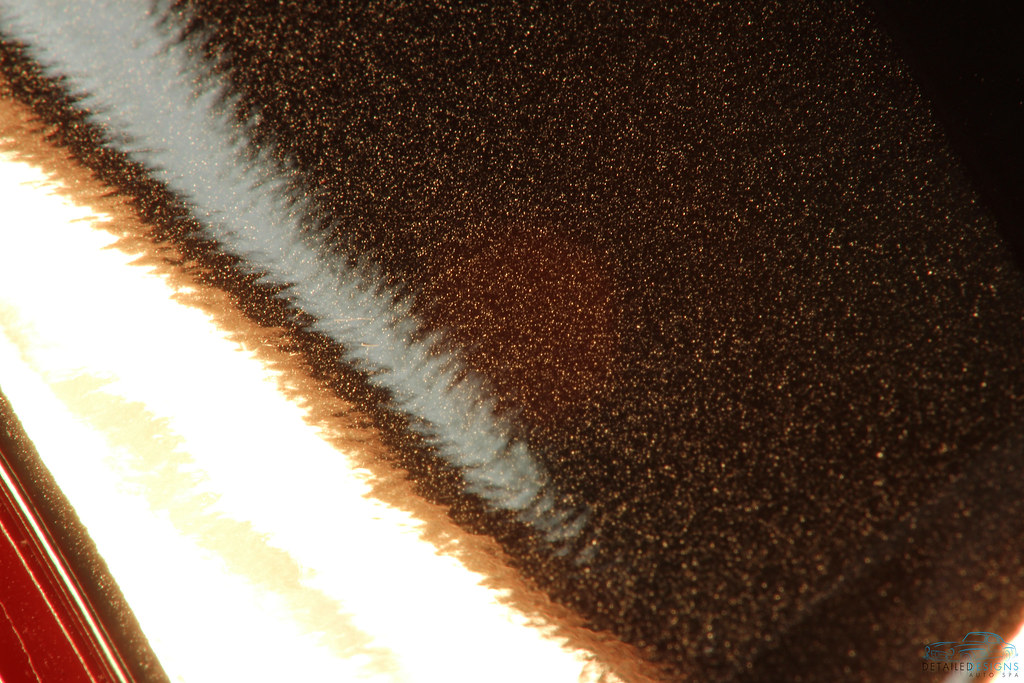
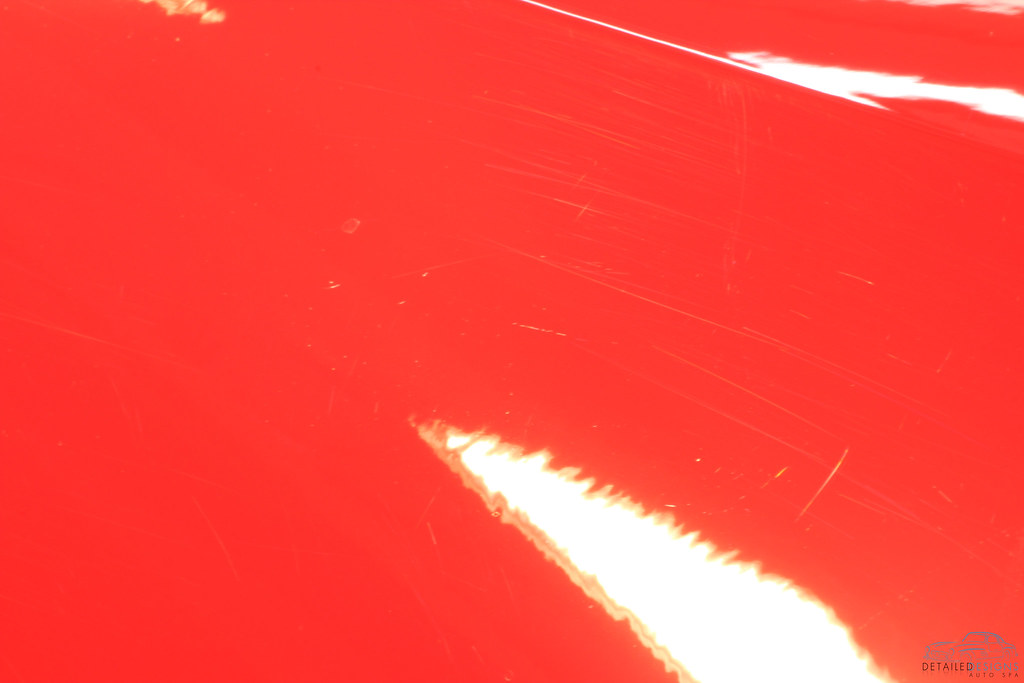
One of the many examples of deep damage we found and repaired. You will probably notice the lack of swirl marks around the heavy scratch. This picture was taken after our initial cut phase but before we did spot heavy scratch removal.
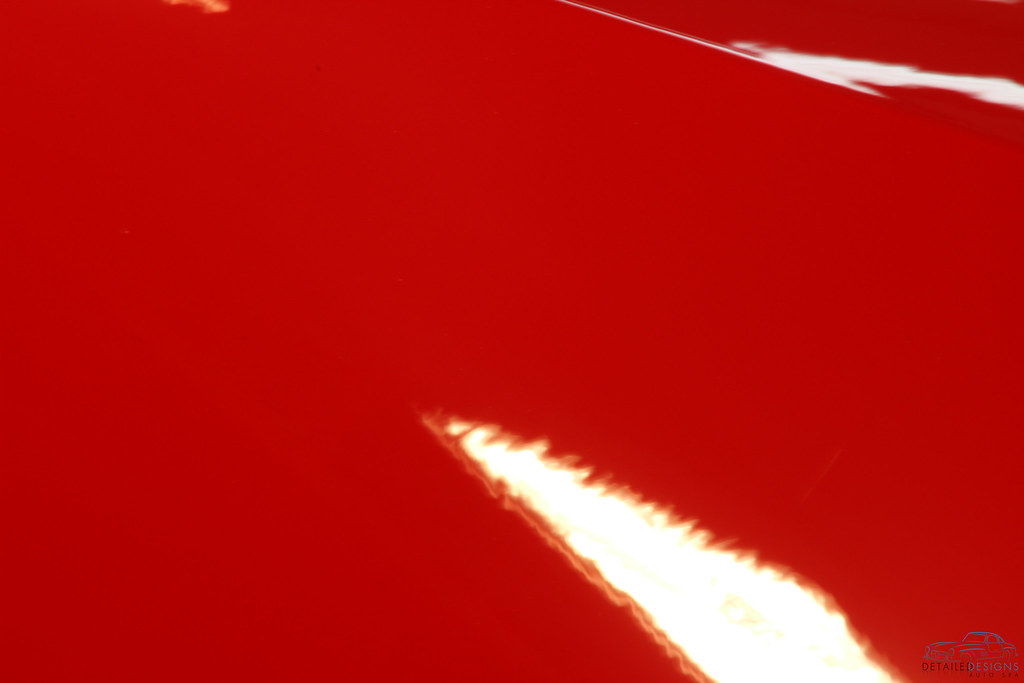
After

Rear diffuser before correction
After
Rear spoiler before
After
Rear side of rear spoiler before
After
Gnarly deck lid damage
Beautiful

Another before
After
Getting after it with a Flex 3401

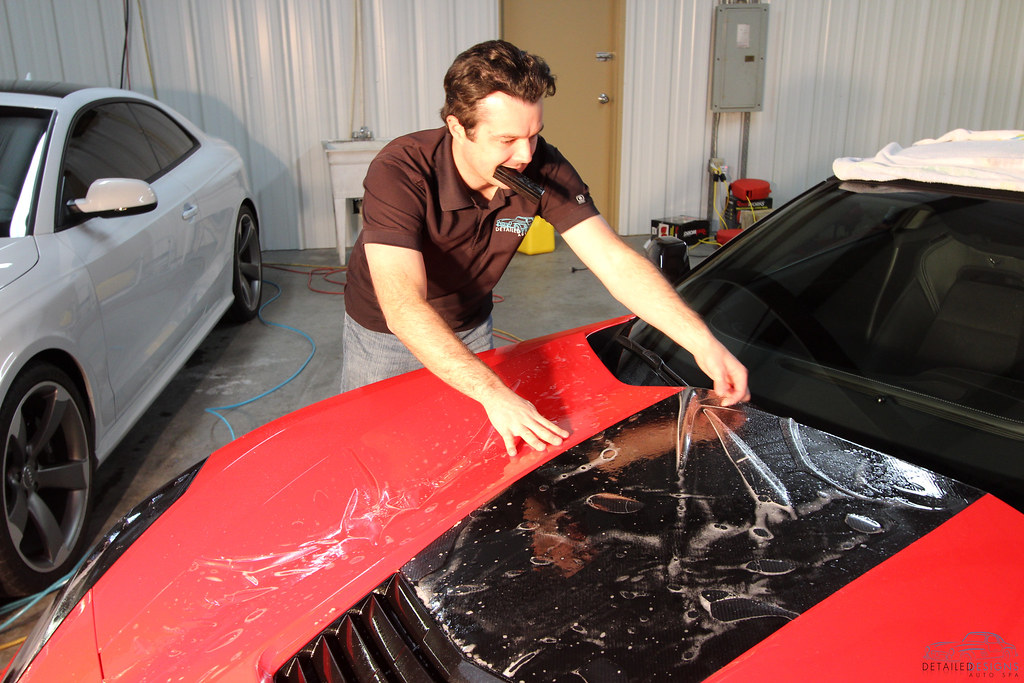
Sure, we are going to install clear bra and carbon fiber vinyl film on the front end of the car. But not cleaning up the paint prior to protecting it is not an option! Looks like she’s ready for paint protection film and carbon fiber vinyl film.
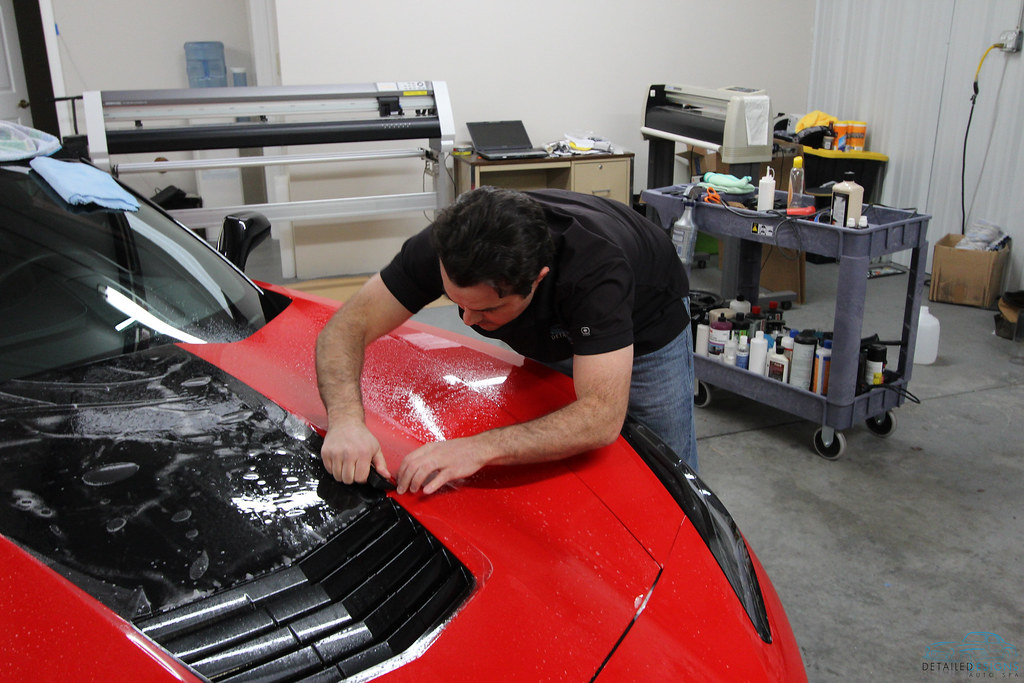
Carbon fiber vinyl is installed. Here I am installing the full hood clear bra piece. We use wide format plotters to cut precision patterns designed for the exact panel we are protecting. The Stingray had clear bra installed on the whole hood, whole front fenders, front bumper, side mirrors, a-pillars, door cups, rocker panels and a strip on the trunk lid. The owner was so happy with how it came out that he wants to come back to have the rest of the car protected with clear bra in a month or so.
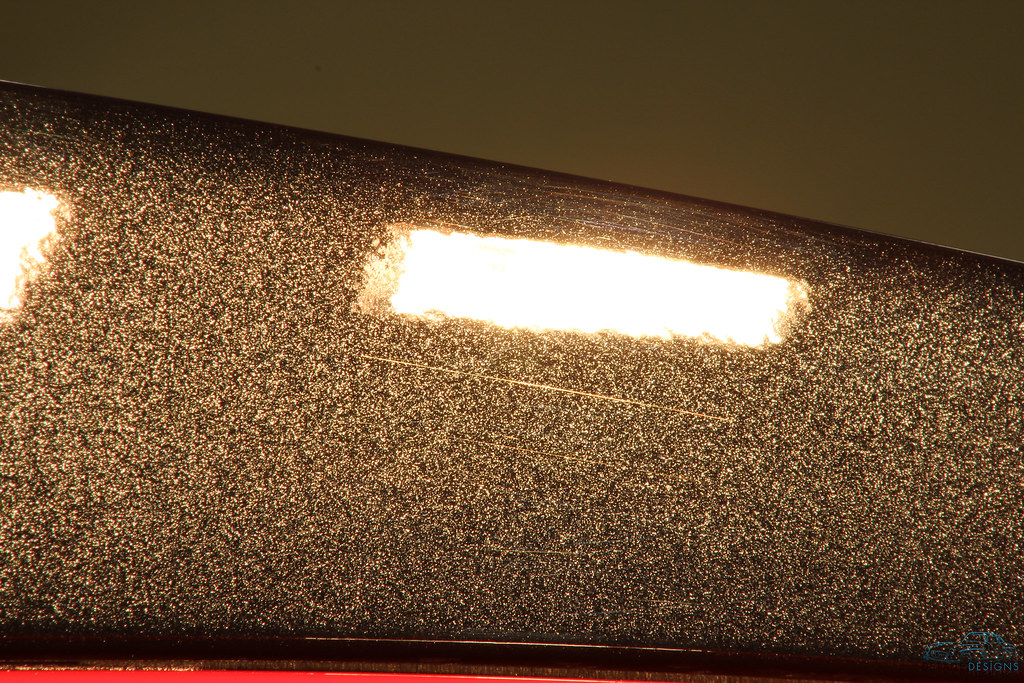
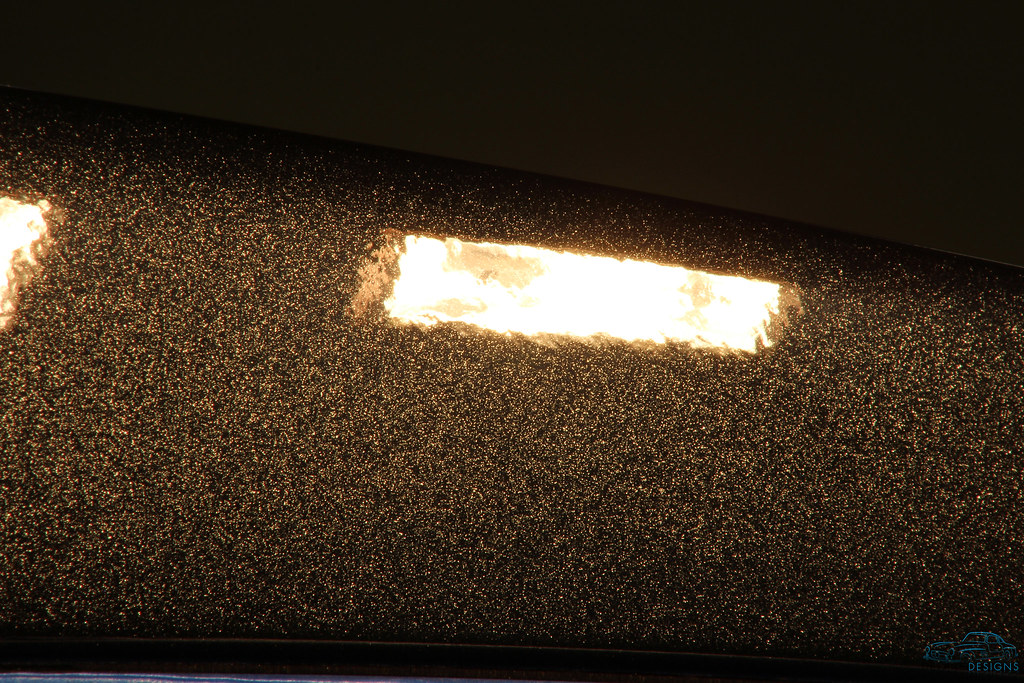
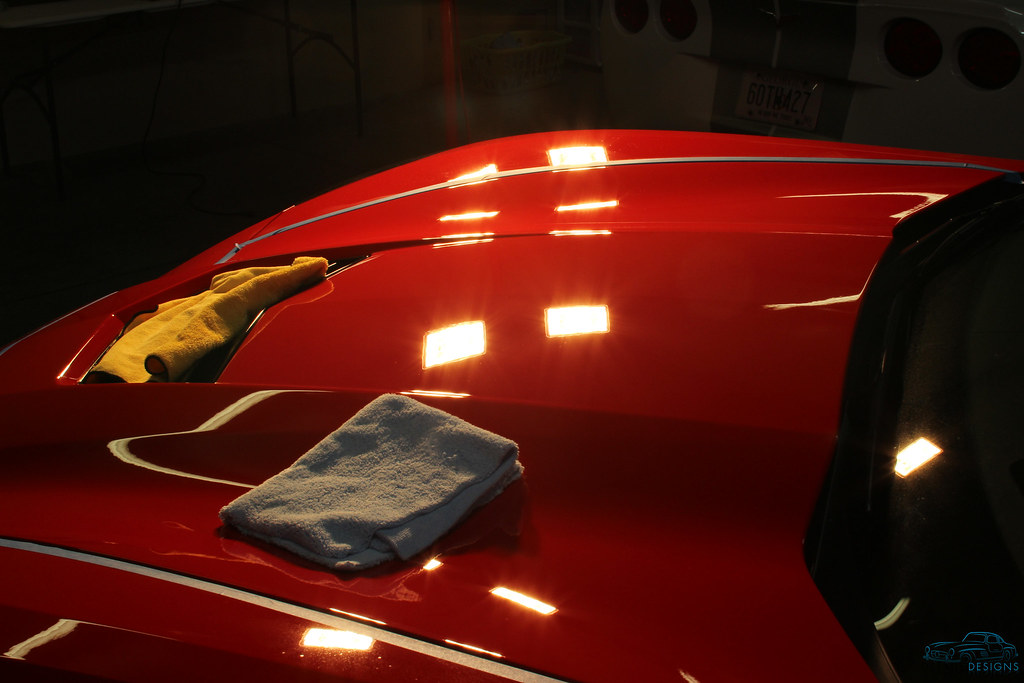
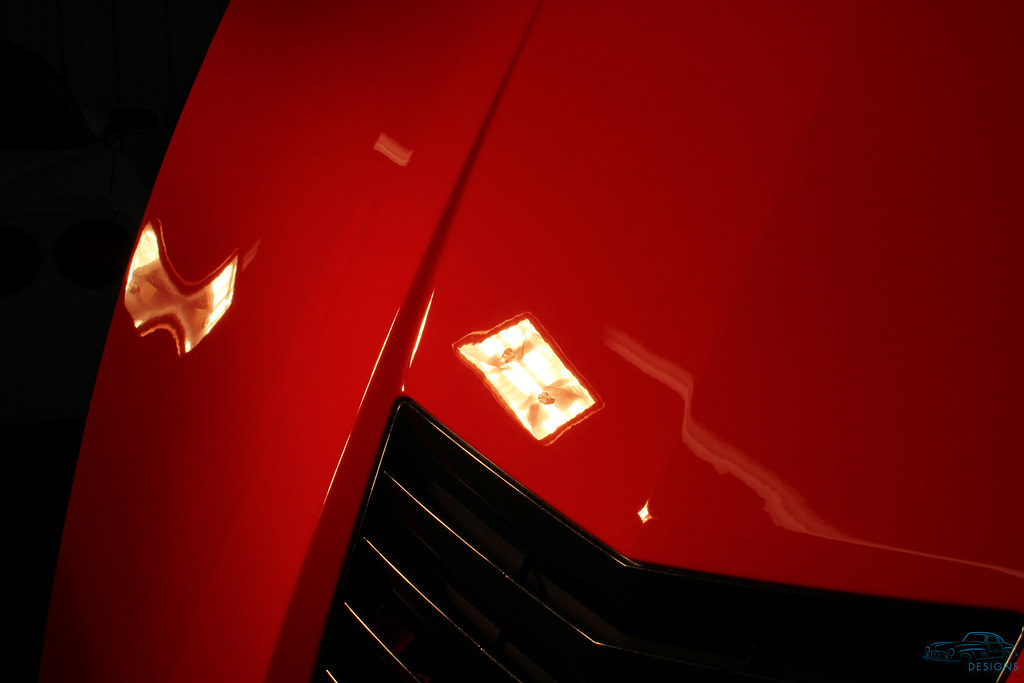
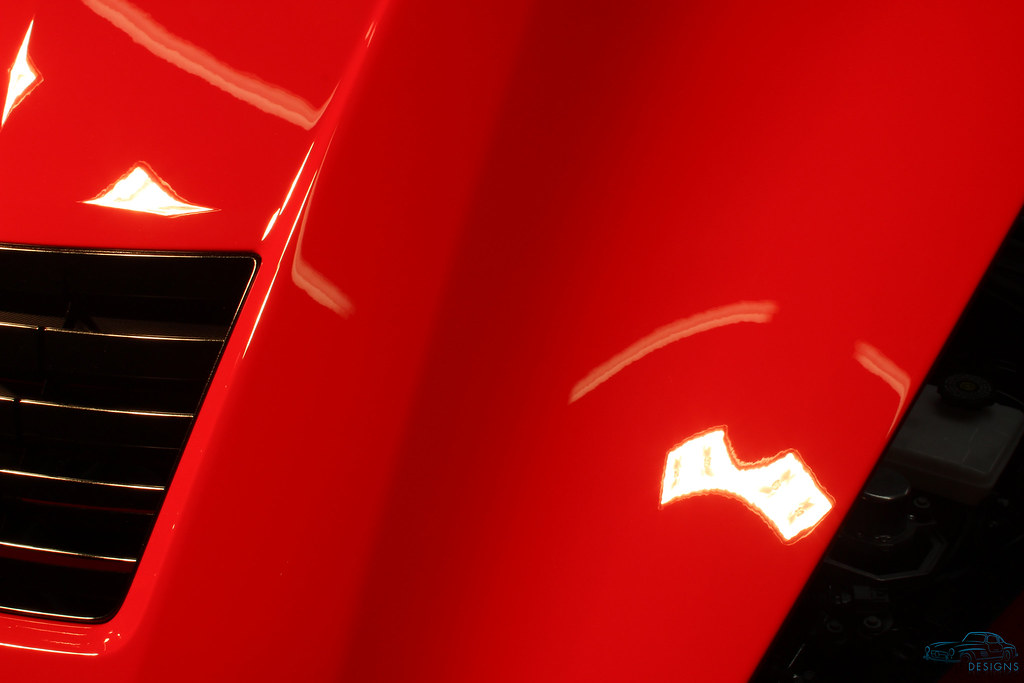
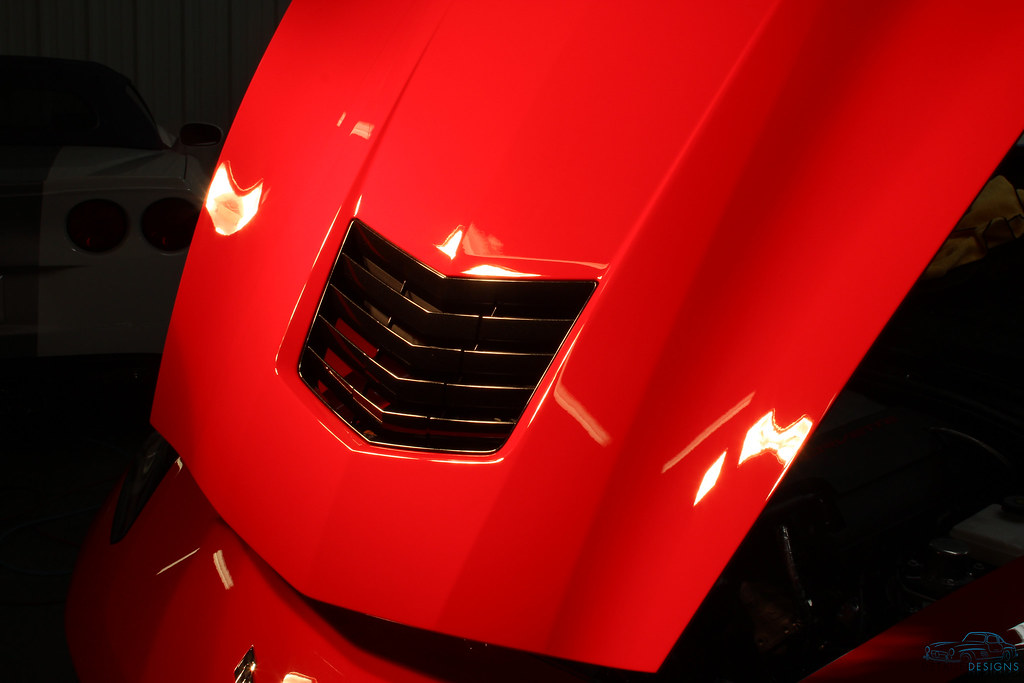
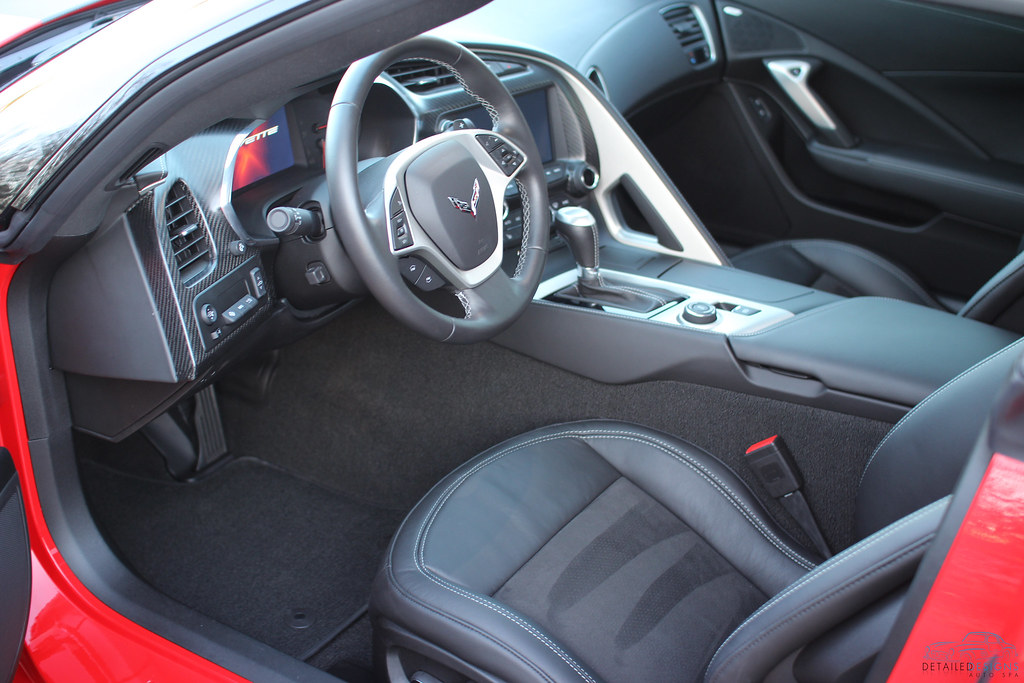
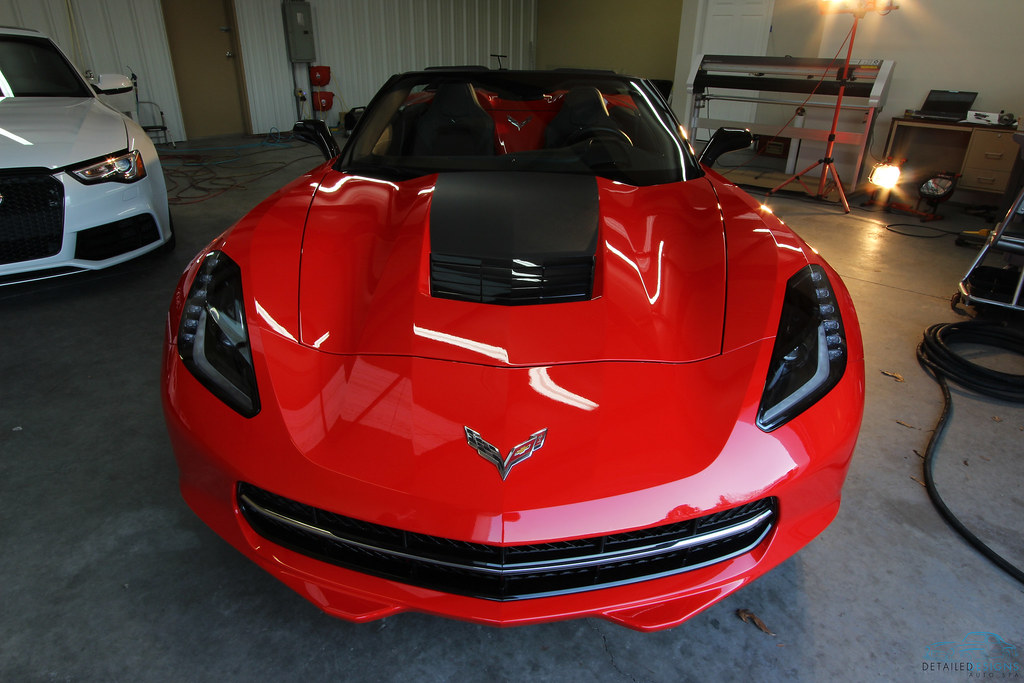
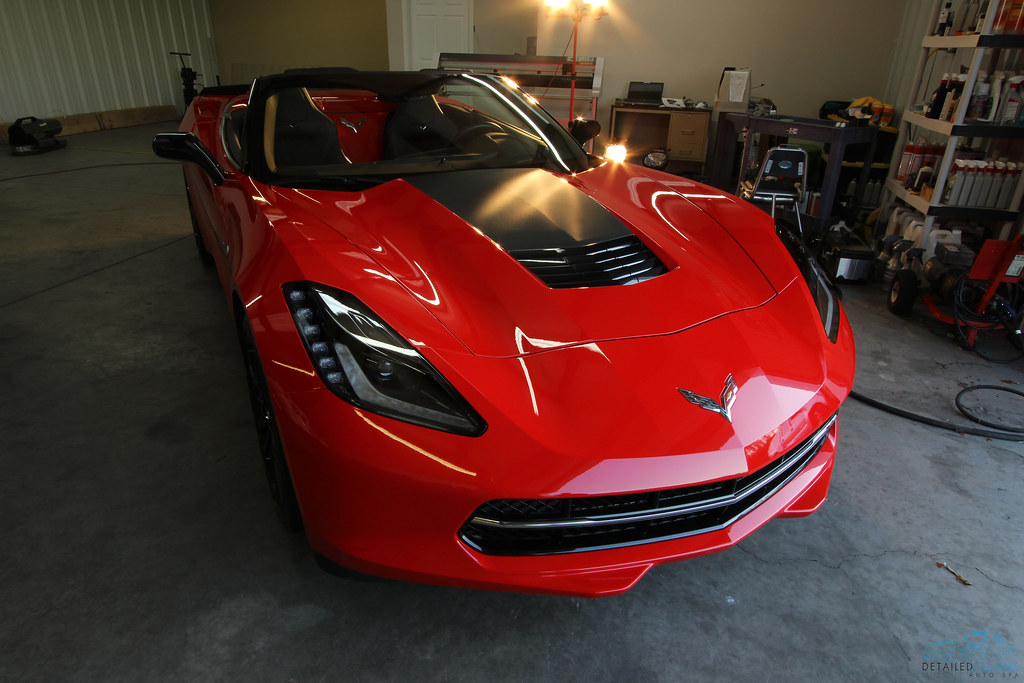
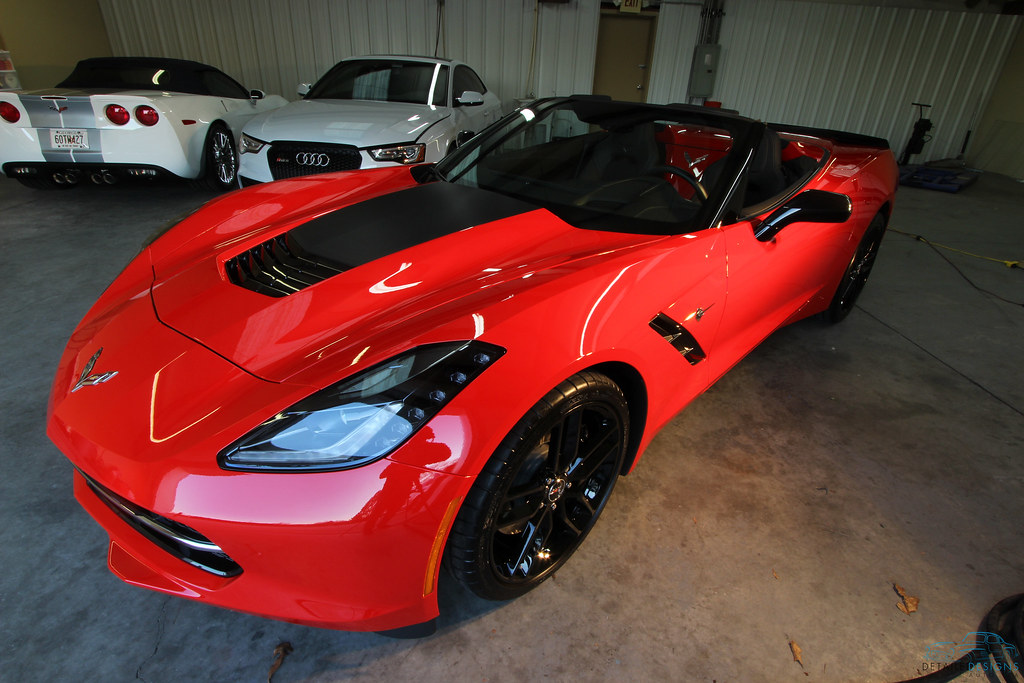
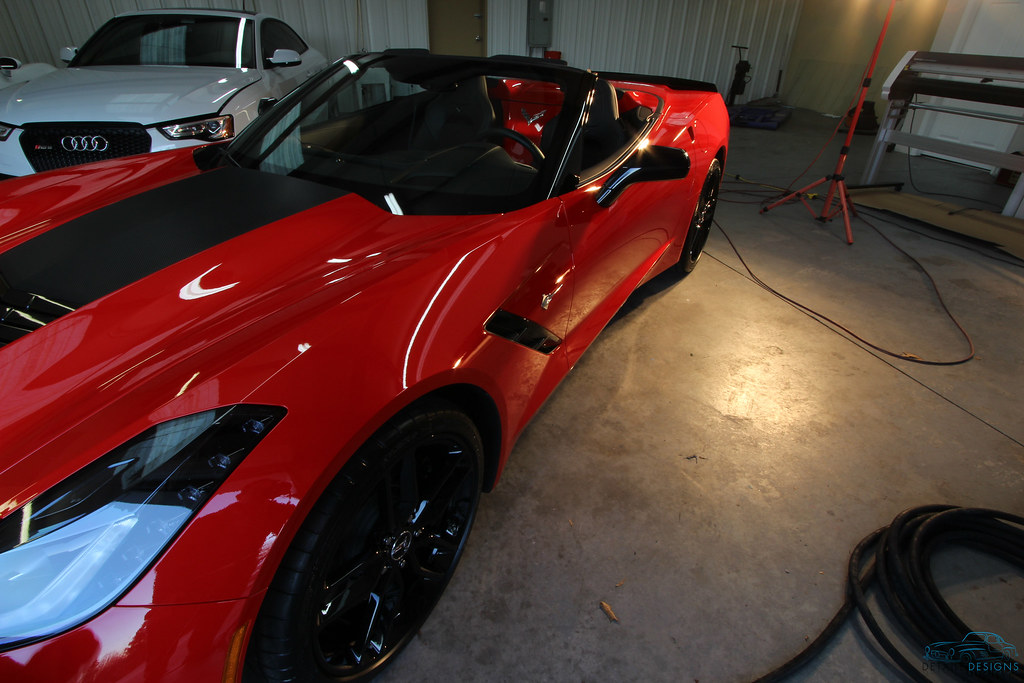
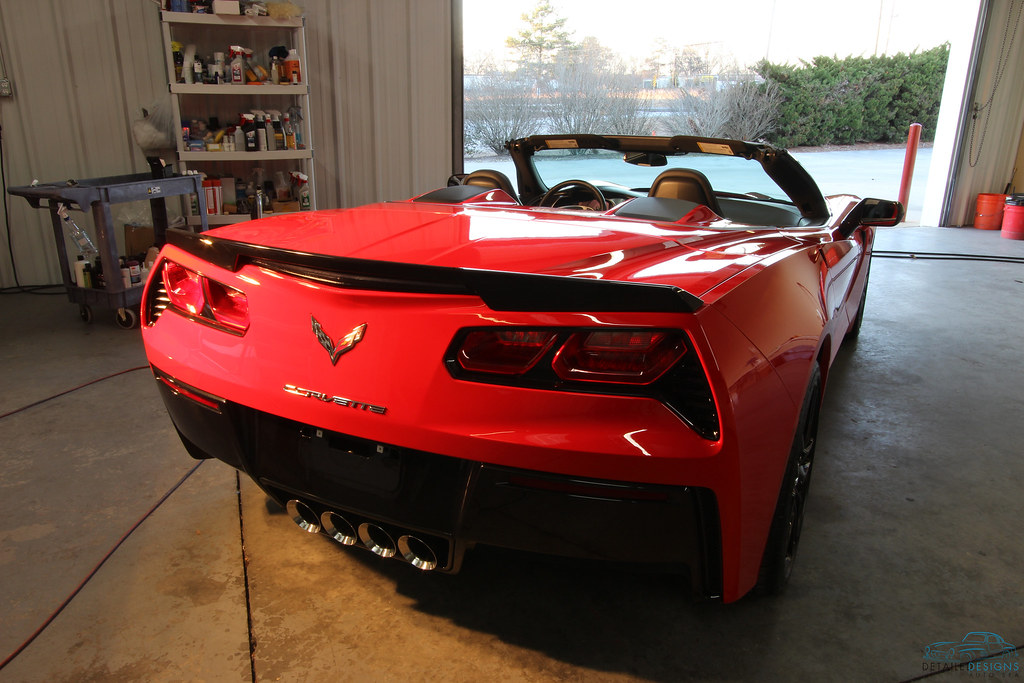
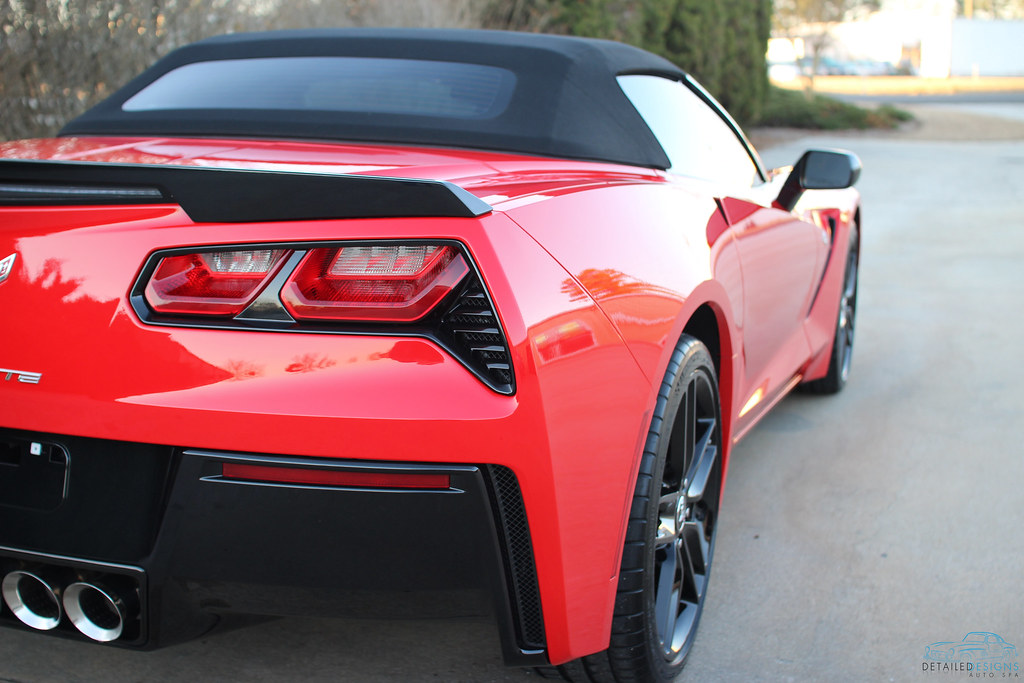
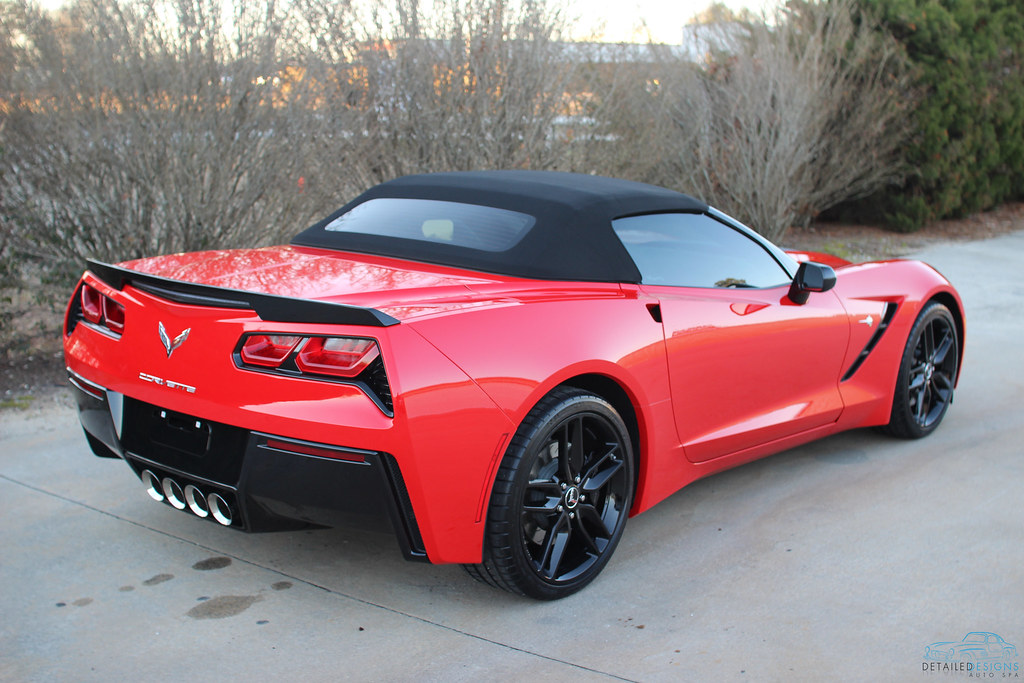
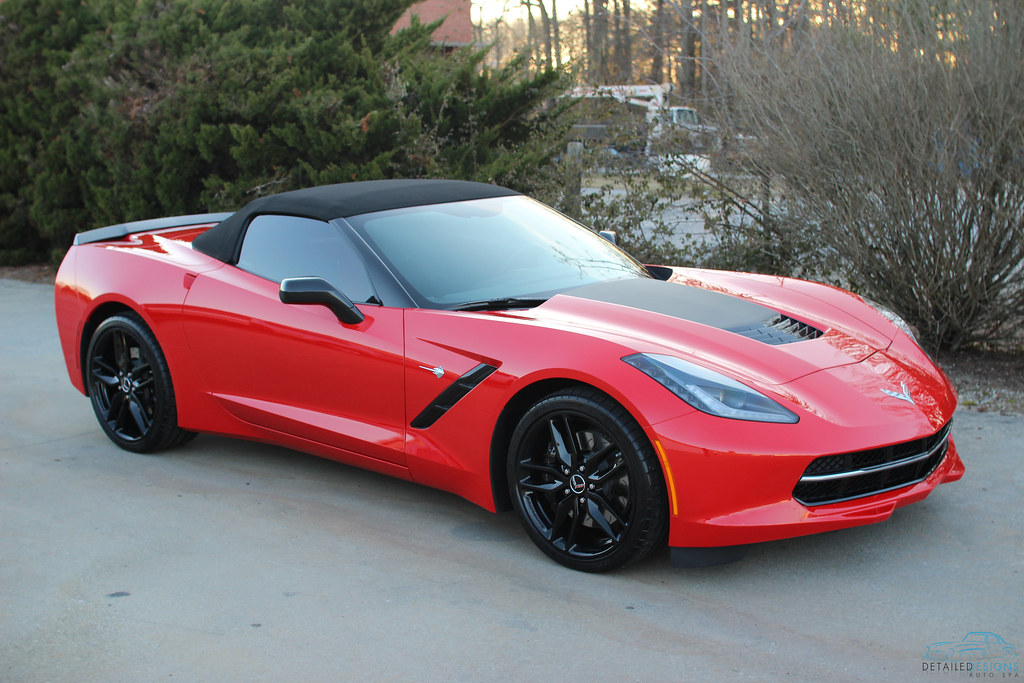
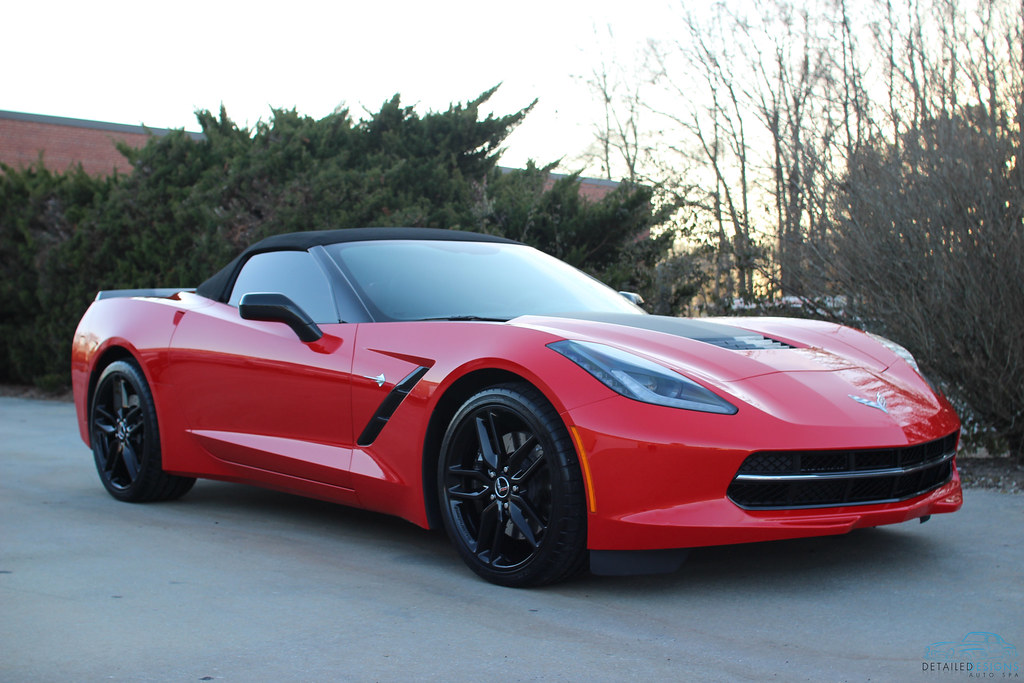
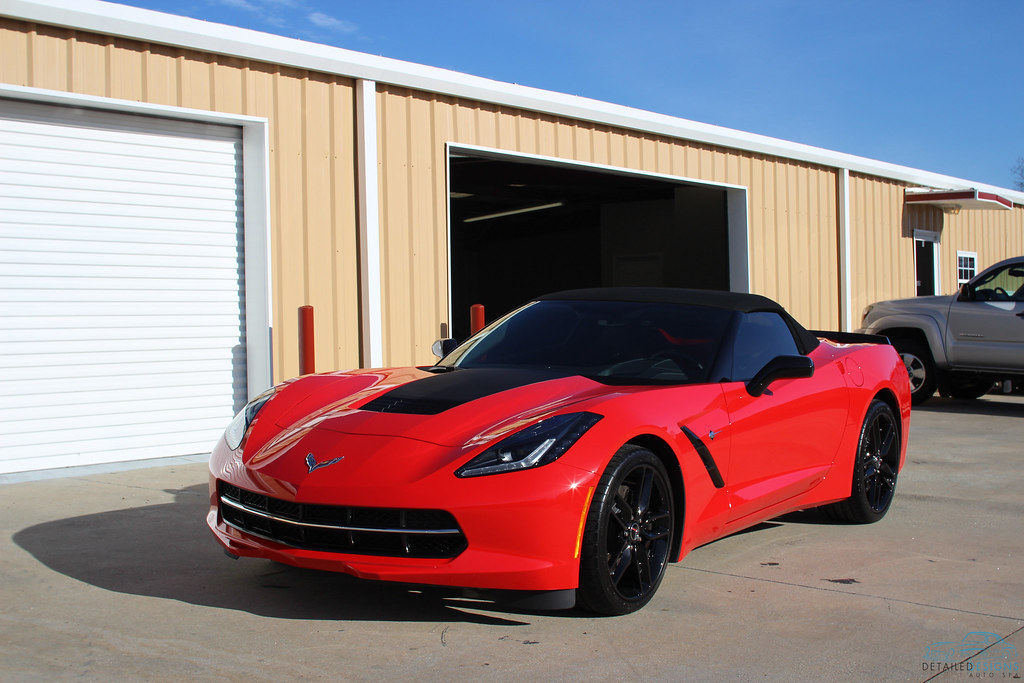
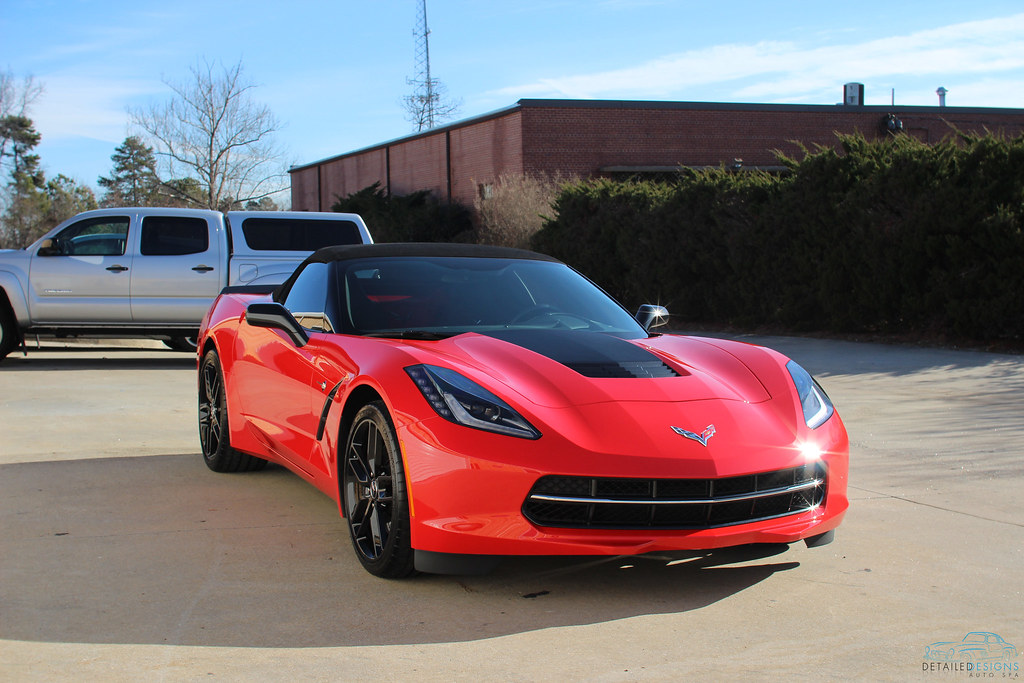
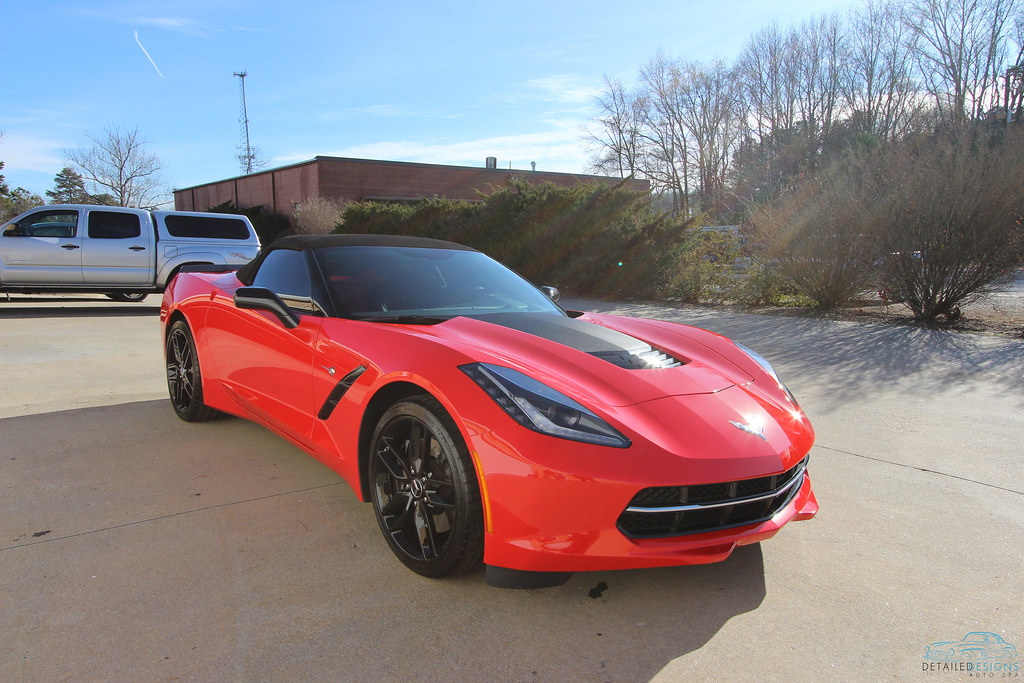
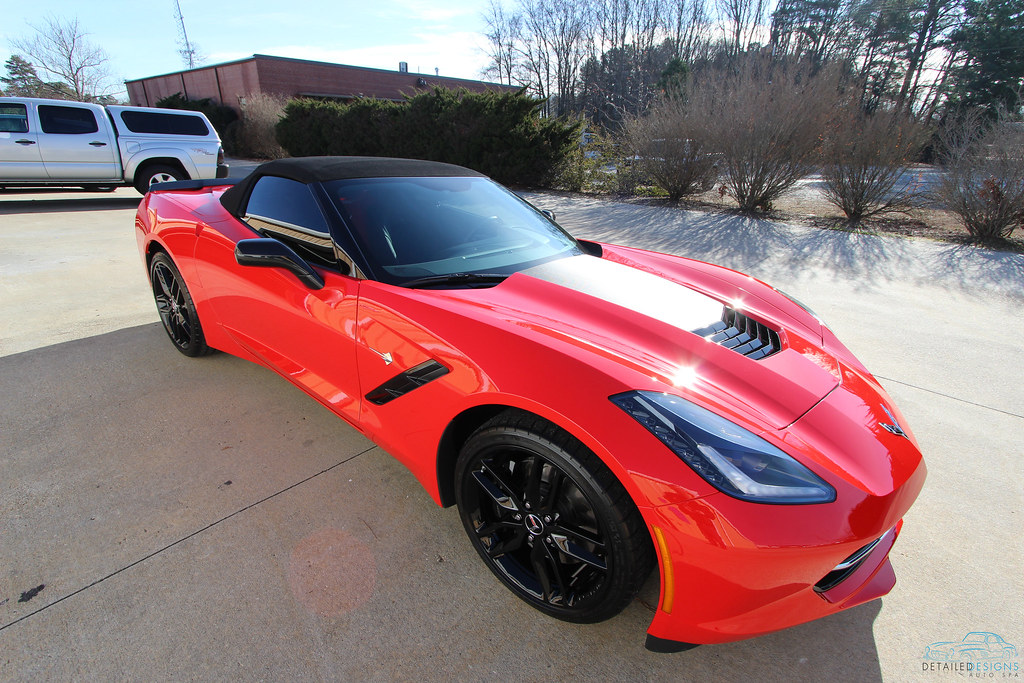
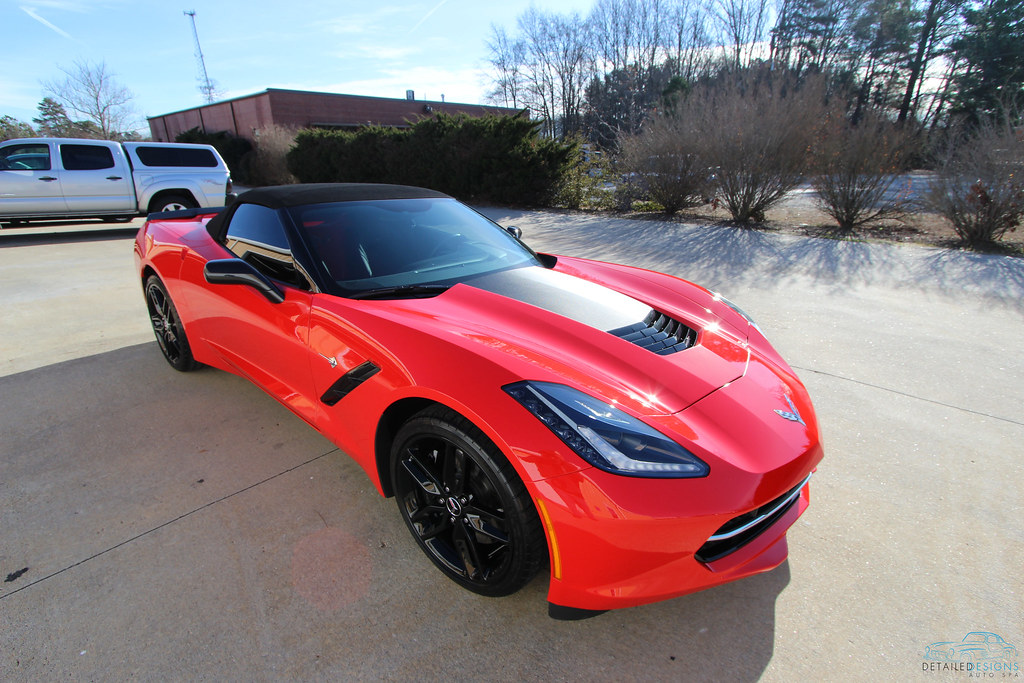
After all of the detailing and restoration for the exterior we topped it off with 2 coats of cQuartz Finest. Our final product was exactly what the client was looking for. The automobile was cleaned, decontaminated, restored and protected. The interior was thoroughly detailed. The seats were protected with Opti-Guard Leather and Fabric coating. Finally all of the exterior glass was treated with a long term water repellant coating.
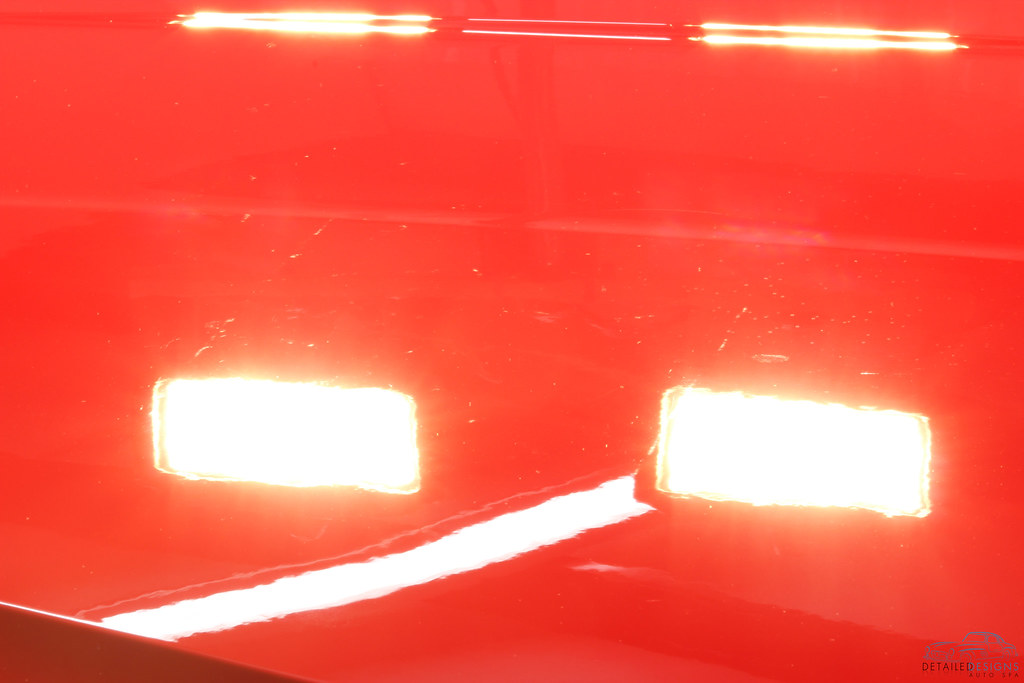
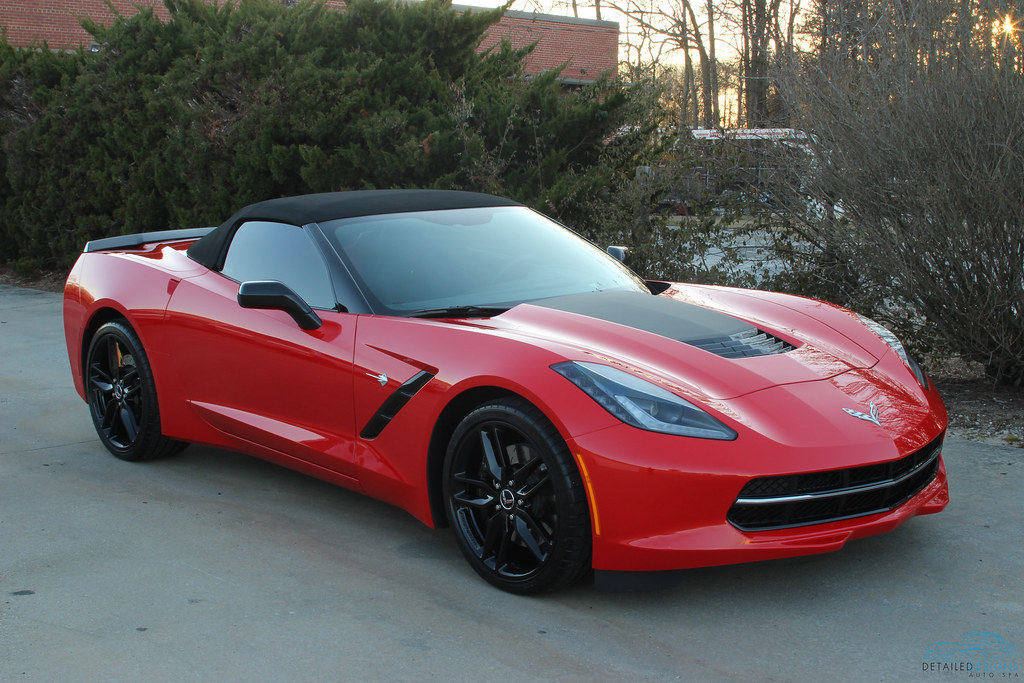
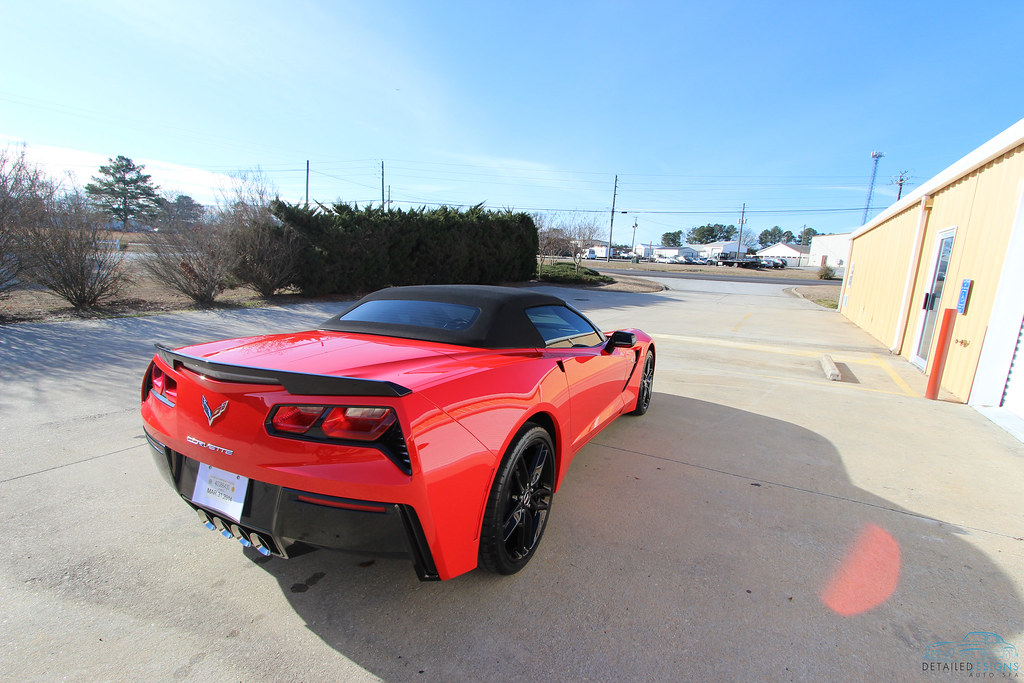
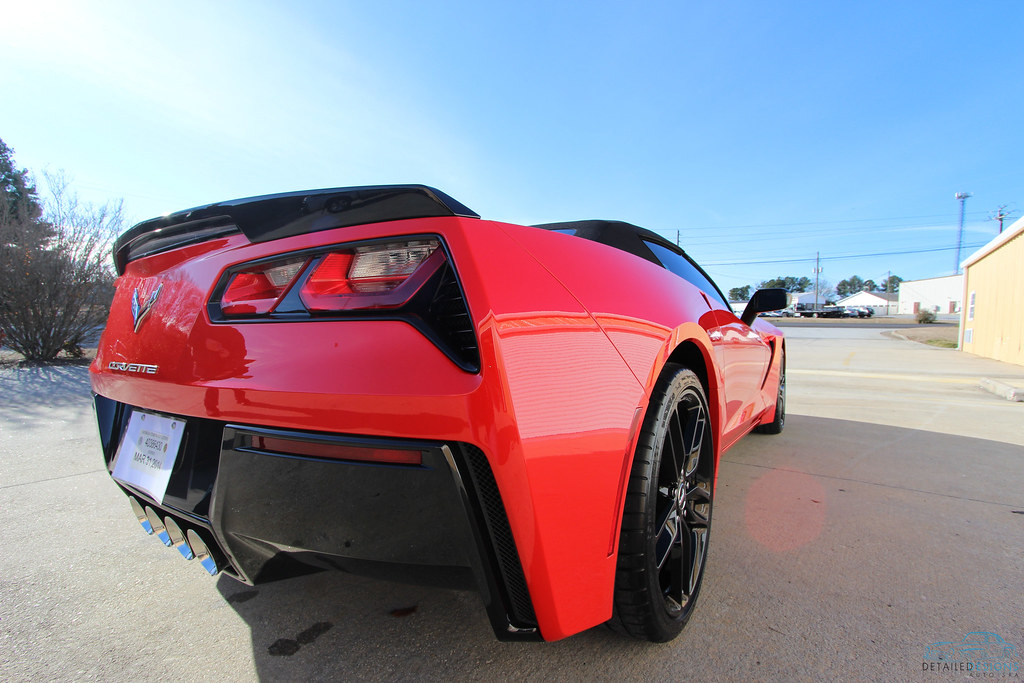
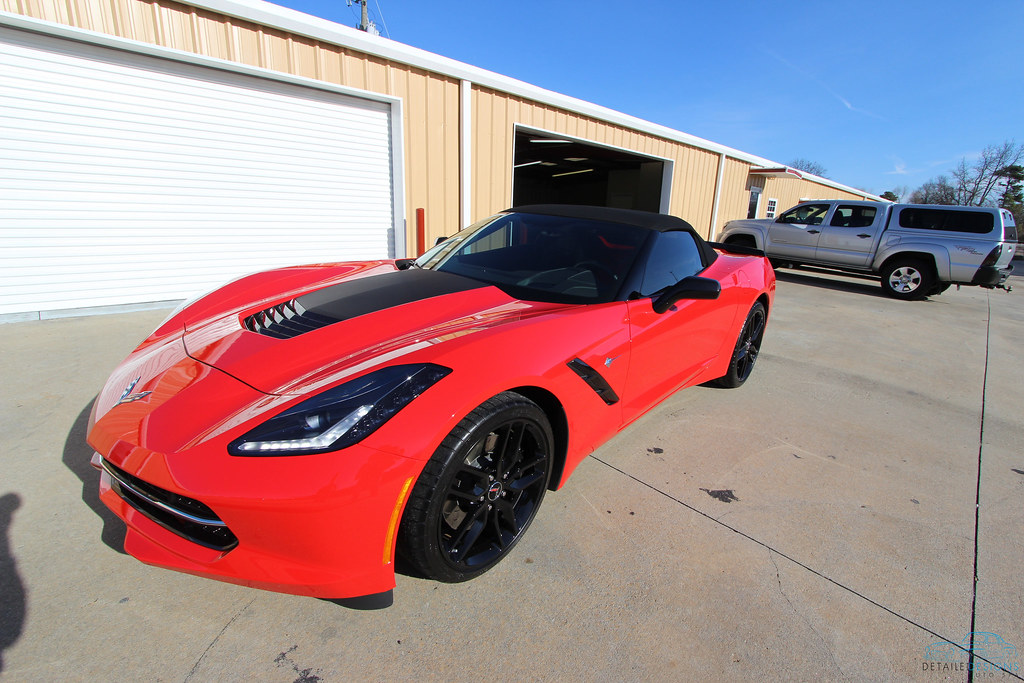
Do you like finished detail shots? How about shots showing off the project in three different types of lighting? We have that.


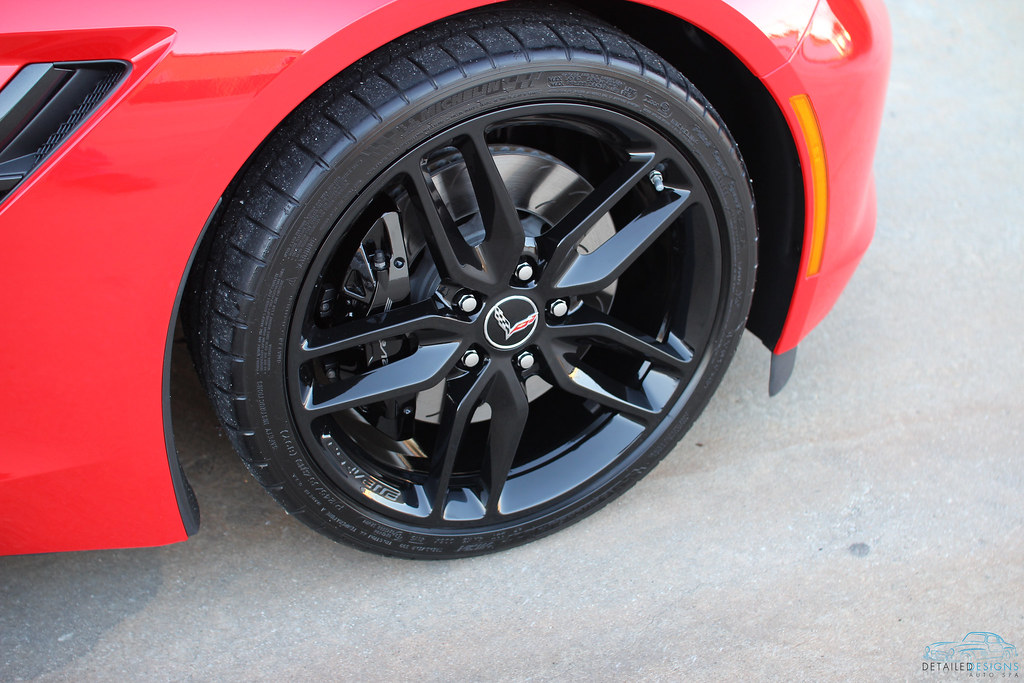
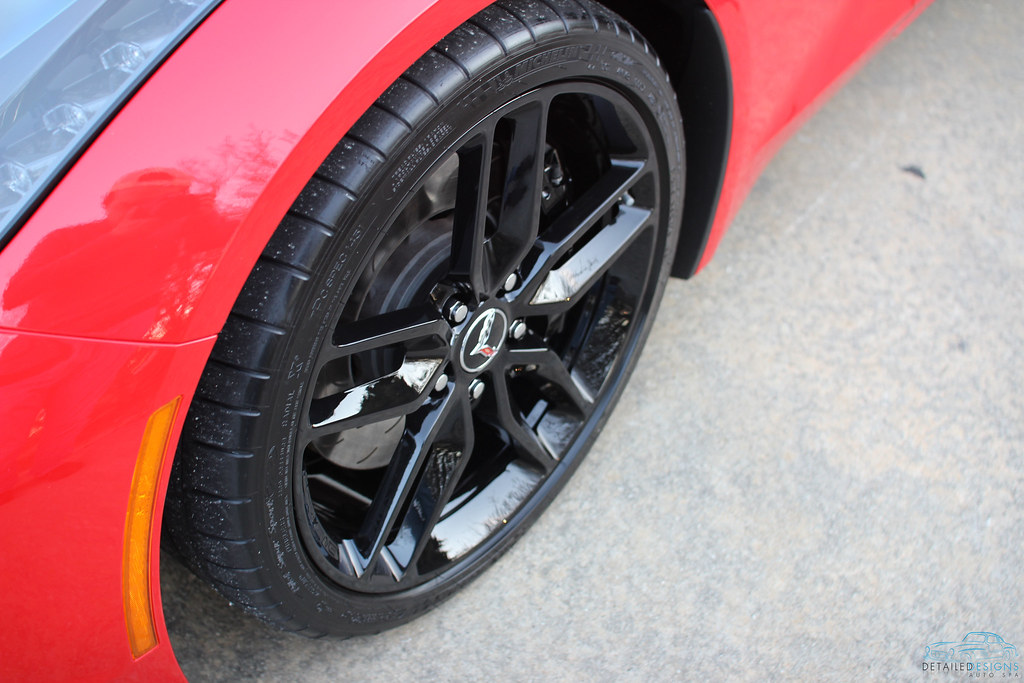
Remember those hammered wheels?
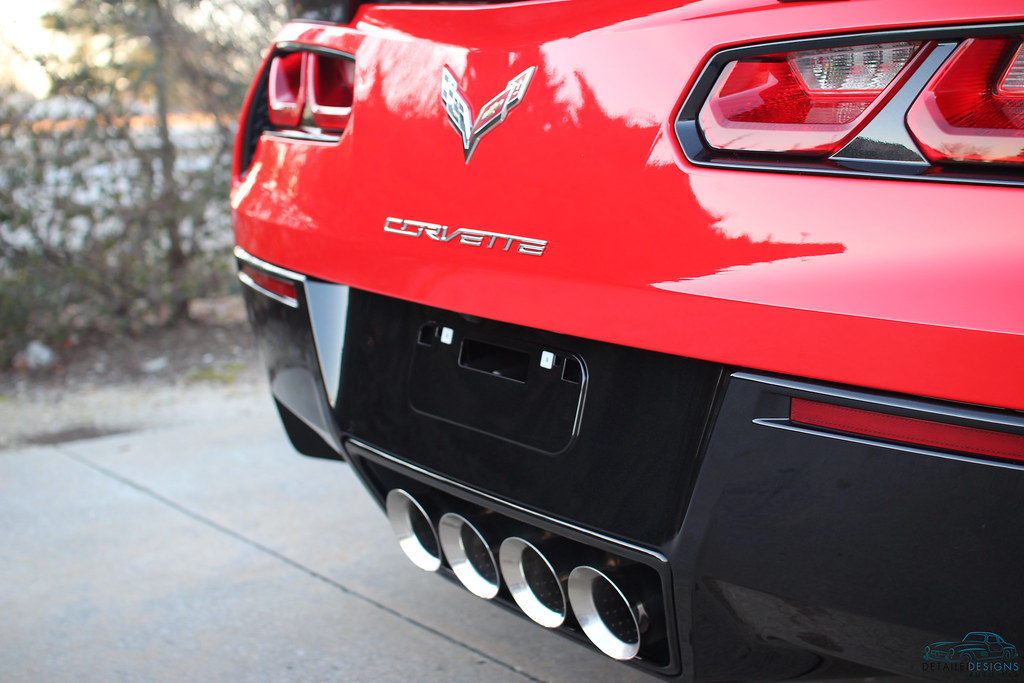
Tail pipes are spot on!
Thanks for taking the time to read about this project and learn about what we do at Detailed Designs Auto Spa. We work hard at bringing something special to the table for our clients in Atlanta and all the southeast and hope you can find value in some of the techniques we use in your own detail projects.
Related Posts
- 2014 Corvette Stingray Complete Detail with Clear Bra and Vinyl Wrap Install: Part 1 of 2
- Can I Use Products from Different Brands?
- Detailing Projects: Ferrari 488 Pista Paint Correction, Clear Bra, & Ceramic Coating
- Ford Maverick Hybrid XLT – New Car Detail
- Full Detail and Paint Correction: Ferrari 458 Italia by Todd Cooperider of Esoteric Auto Detail