
Detailing Projects: Ferrari 488 Pista Paint Correction, Clear Bra, & Ceramic Coating
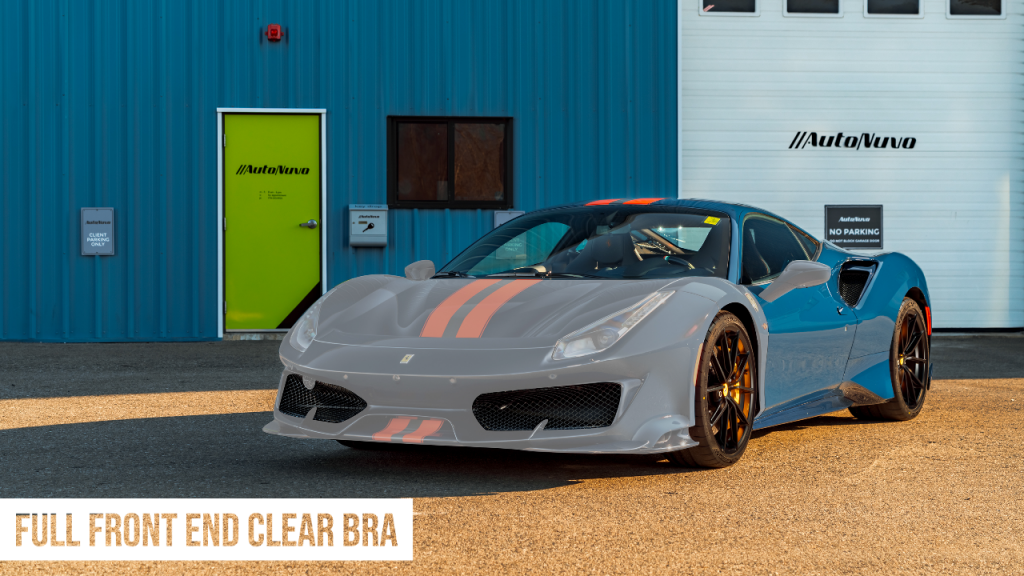
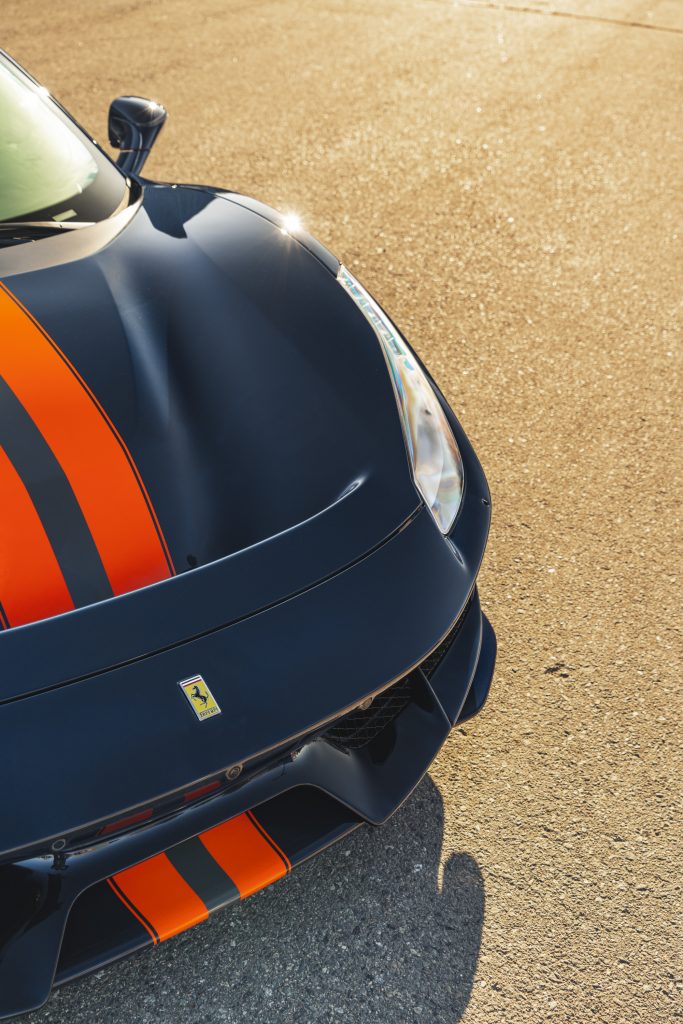
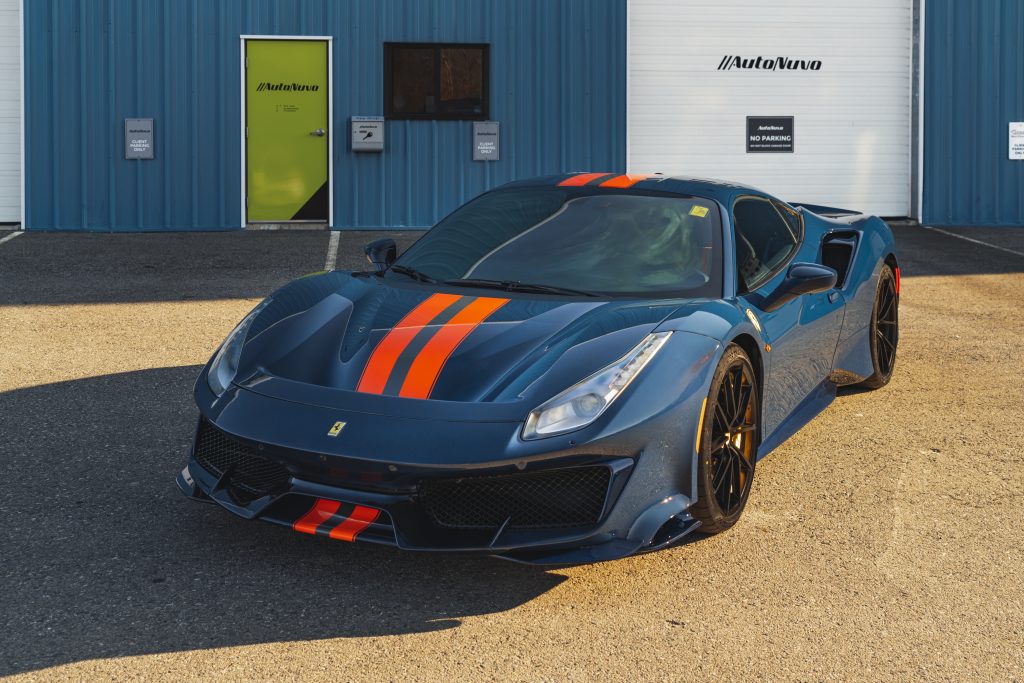
by James MelfiIt has been some time since I put together a full project writeup, but here we are with the next Projects installment. This time featuring a beautiful Blu Scozia Ferrari 488 Pista. The Pista is the high performance variant of the 488 featuring a 3.9 liter V8. This Pista, though brand new was riddled with sanding marks, scratches and factory haze. The plan was to correct the paintwork, apply clear bra and top it all off with a ceramic coating. Lets get to it!
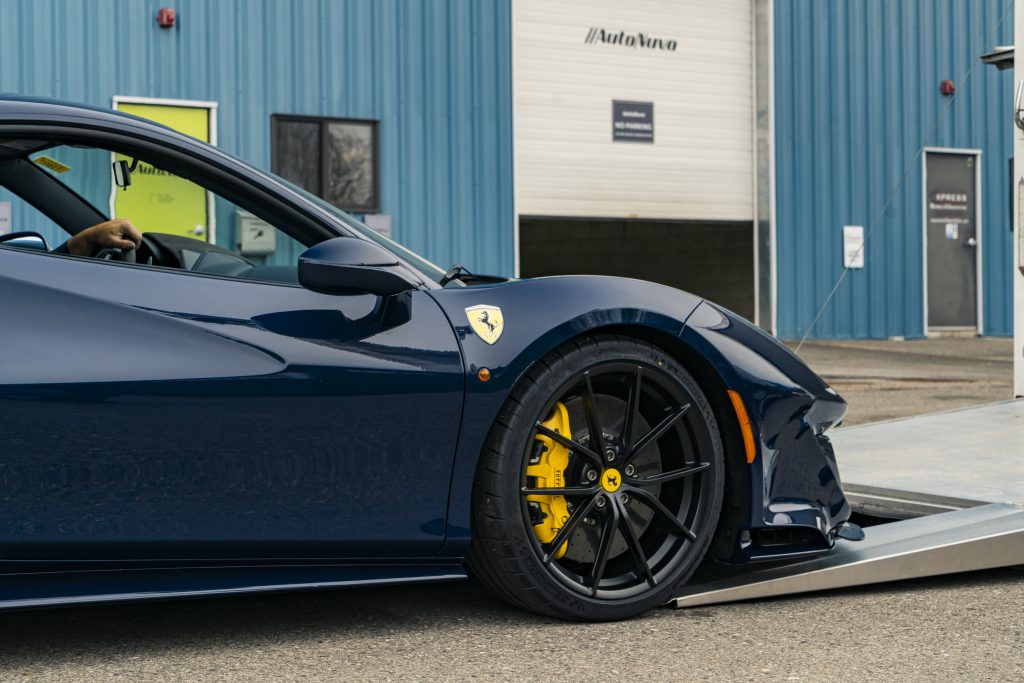
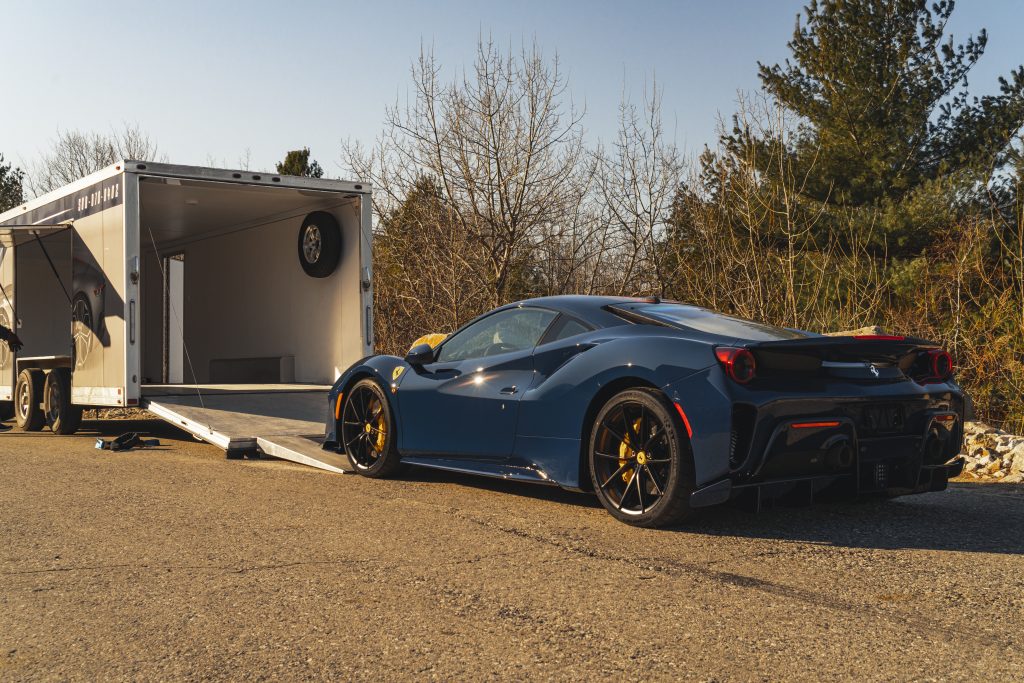
The Pista arriving from the dealership in an enclosed transport.
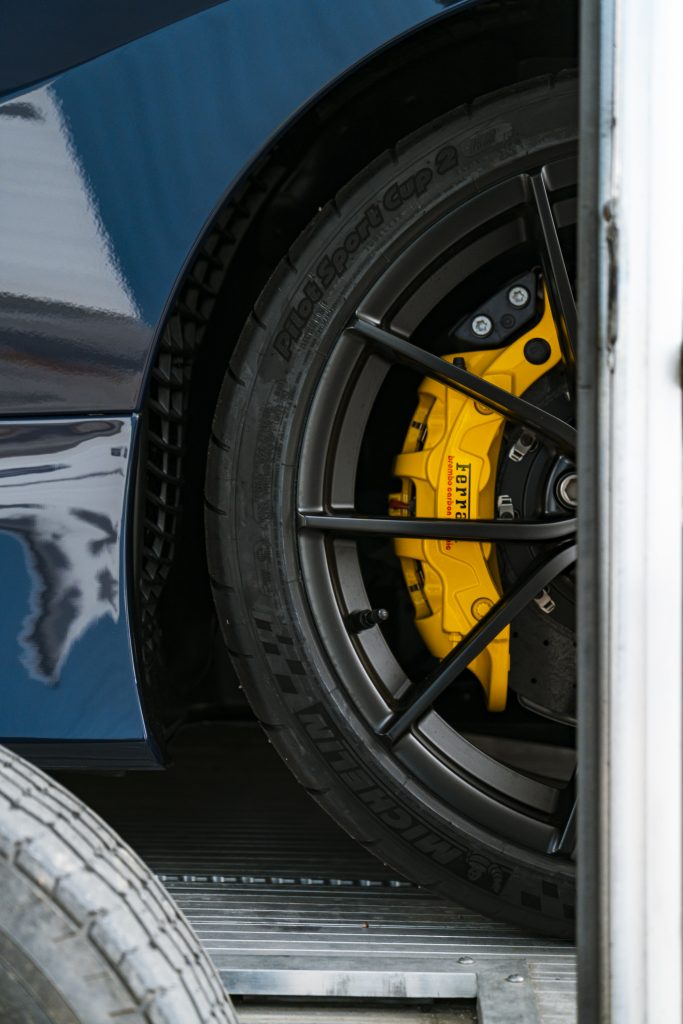
We start ever project with the decontamination stages. Given the sensitive nature of the carbon ceramic brakes, the wheels were given a thorough cleaning with Chemical Guys HoneyDew Snow Foam. The tires and wheel arches were cleaned with Sonax MultiStar APC.
First rinse stage
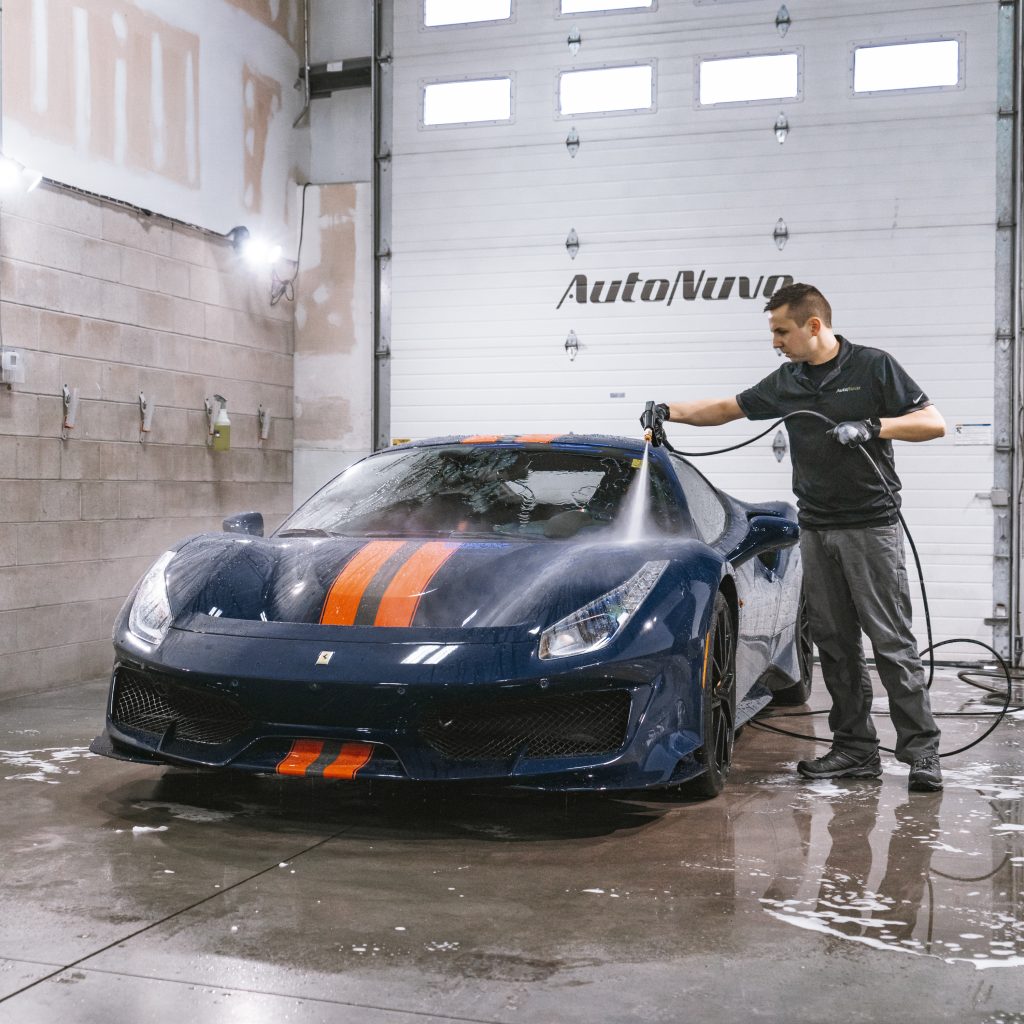
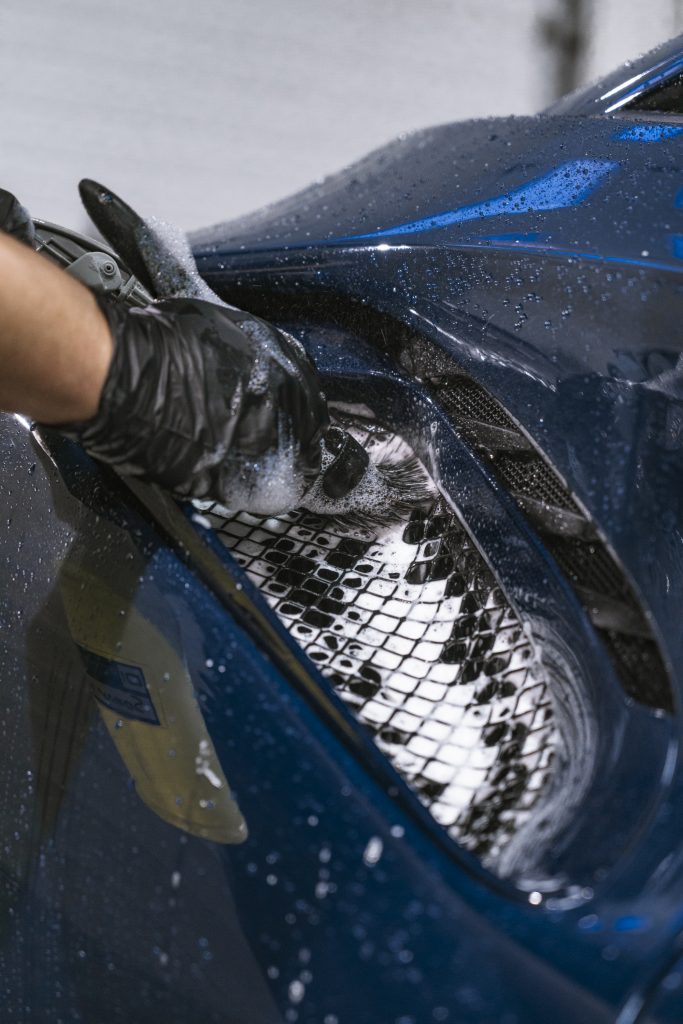
Ian giving the body its first contact-less foam bath with Gtechniq W4 Citrus Foam
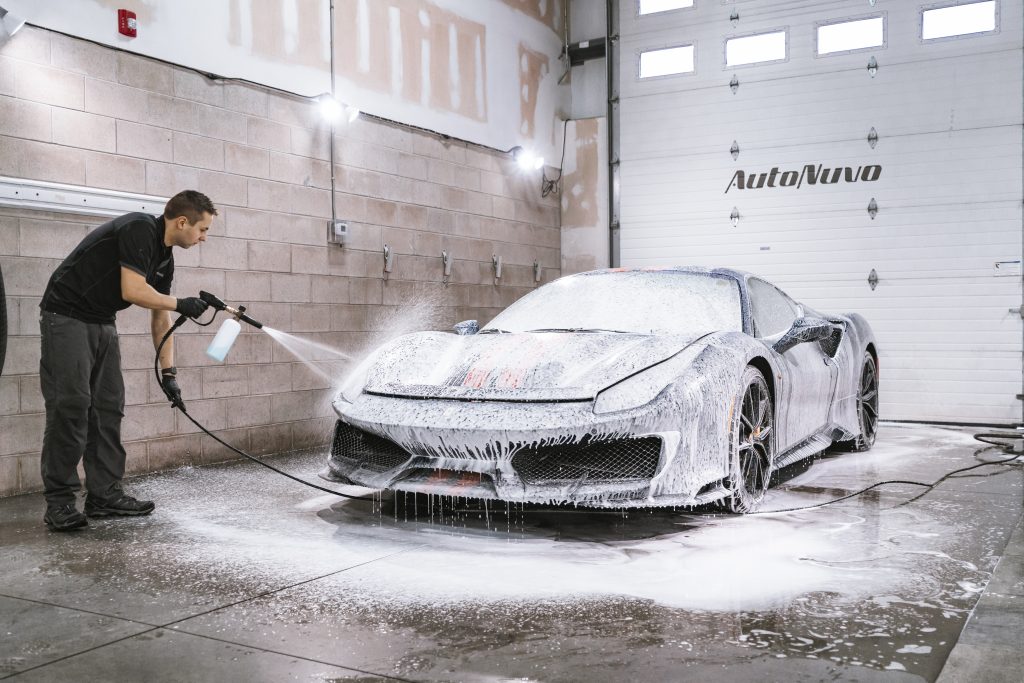
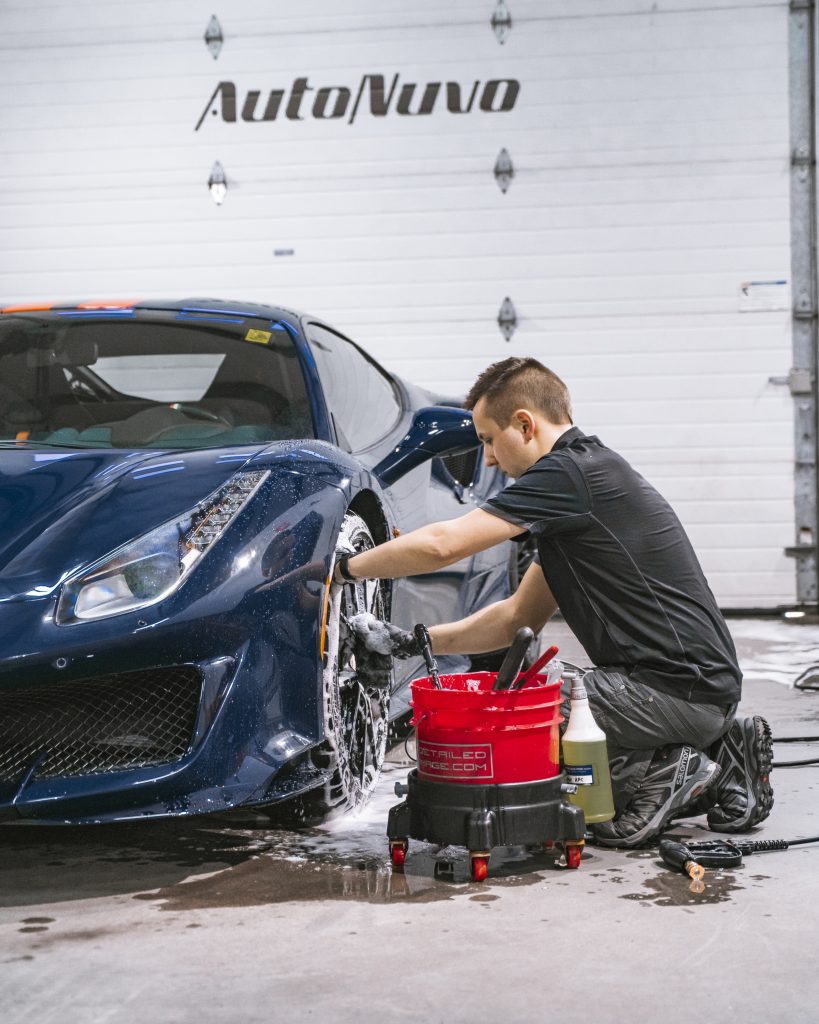
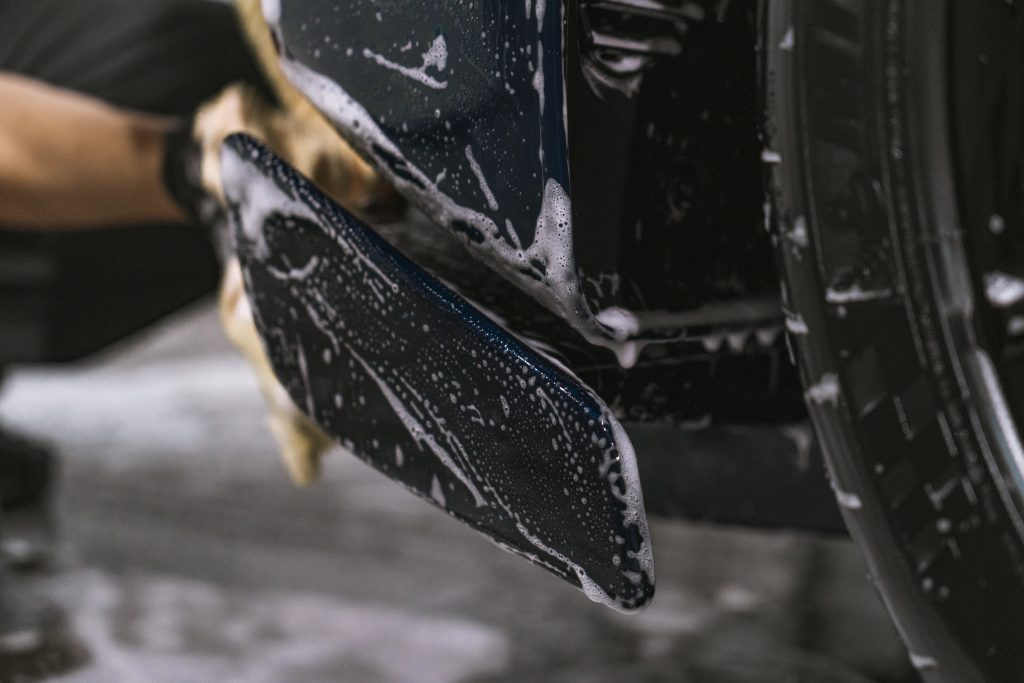
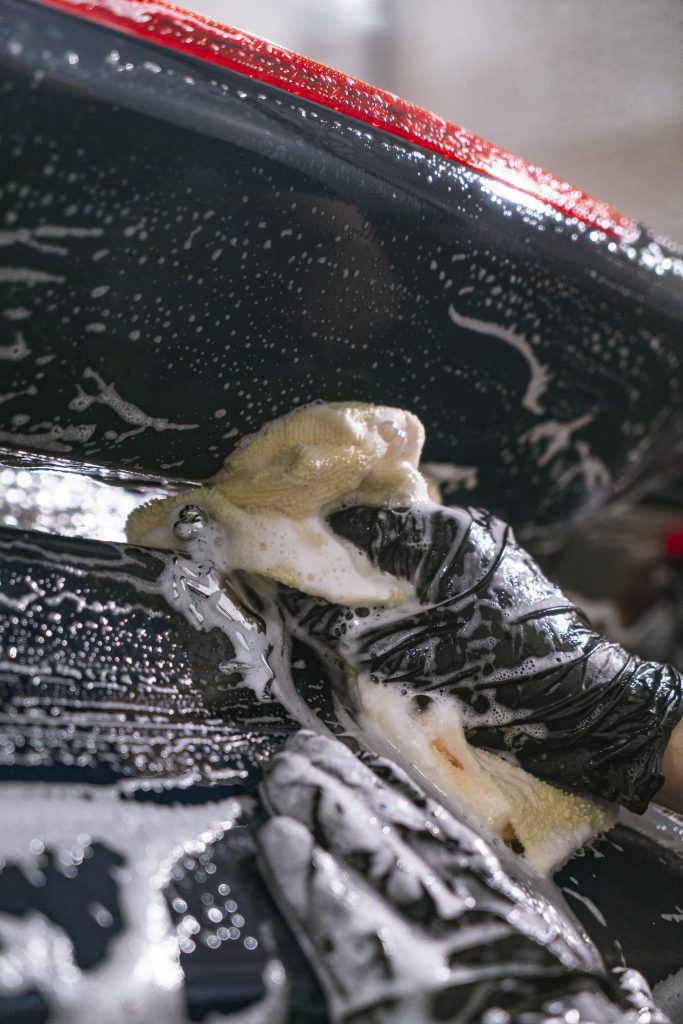
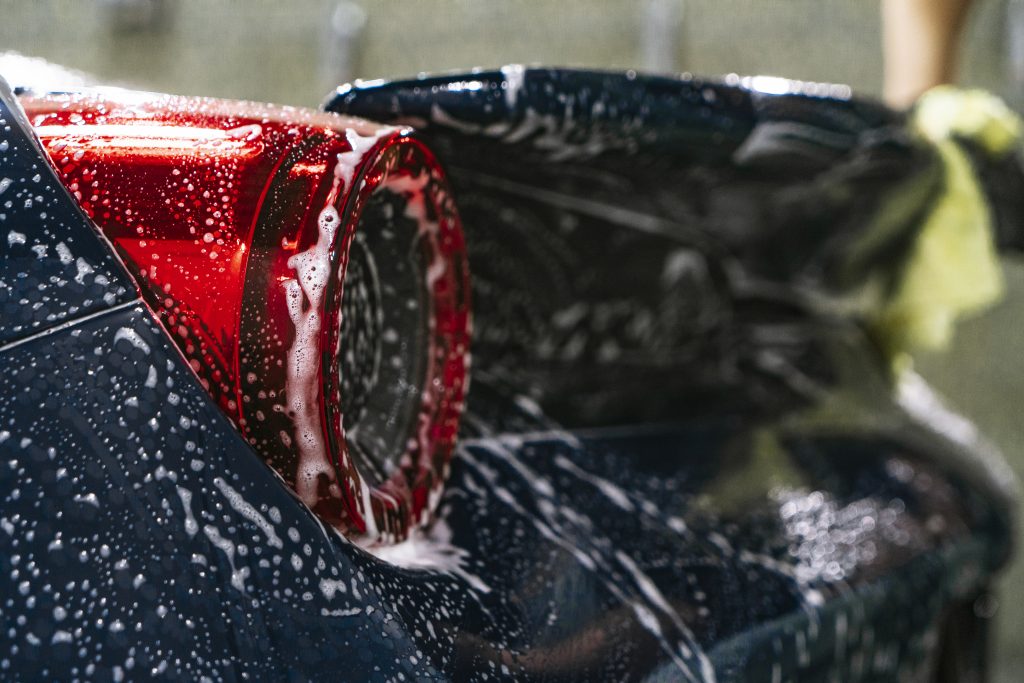
After rising off the W4, we foamed the vehicle down again and started our traditional wash process. We used our favorite Rag Company Edgeless 300 Microfiber Towels as our wash media. These microfibers allow us to visibly see the dirt being removed on the towel, as we move from panel to panel. After all sides of the towel are soiled, a new one is used.
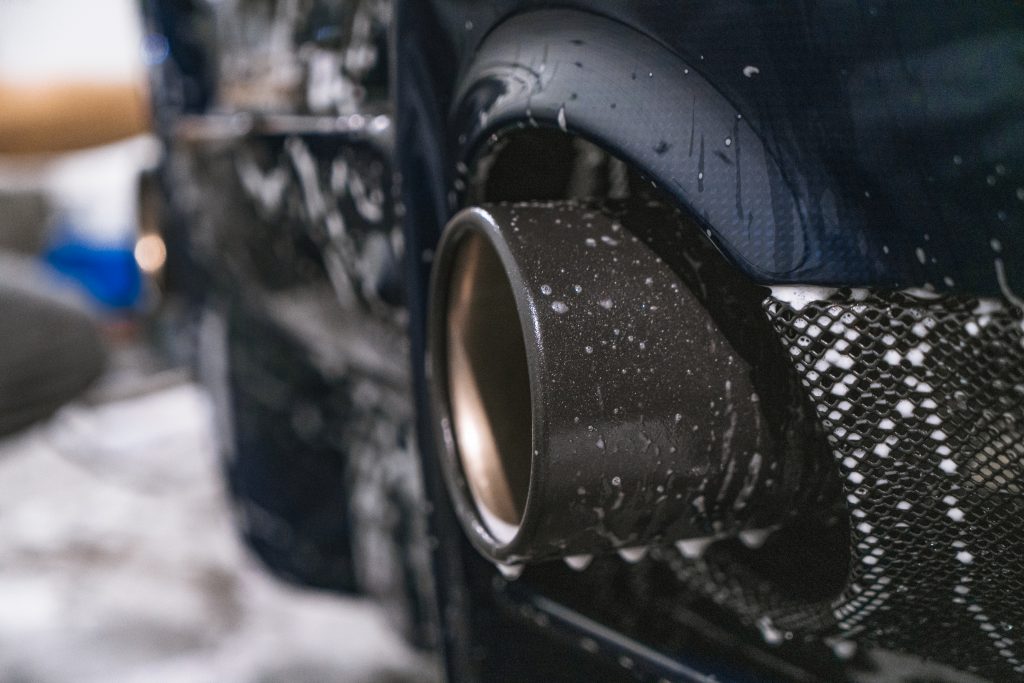
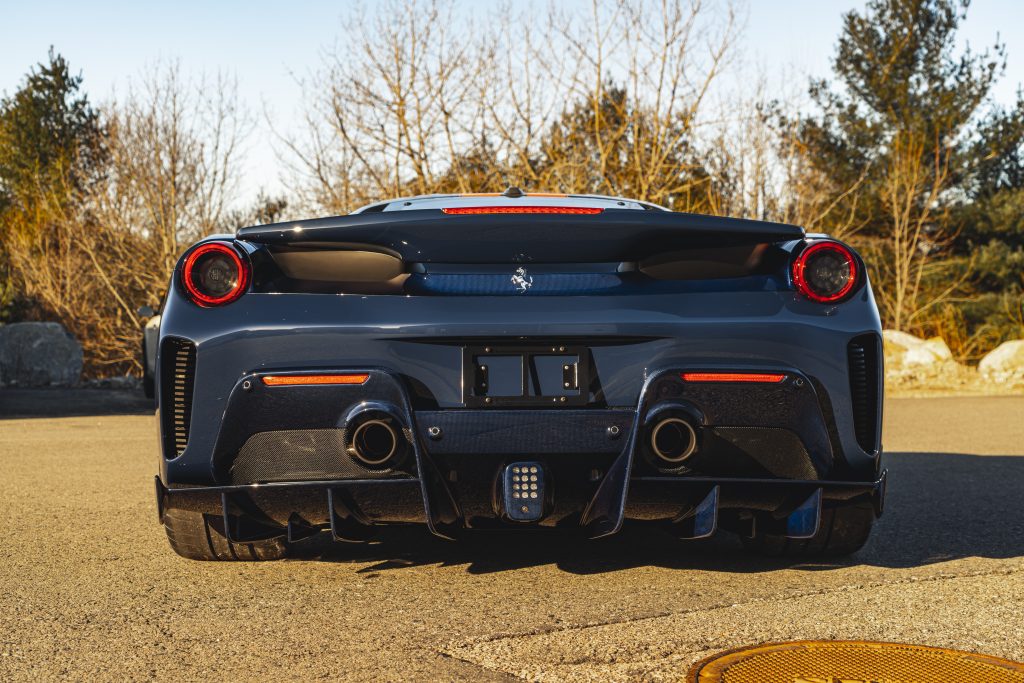
Cleaning the impressive exhaust tips with some Sonax MultiStar APC and a Full Size EZ Detail Brush
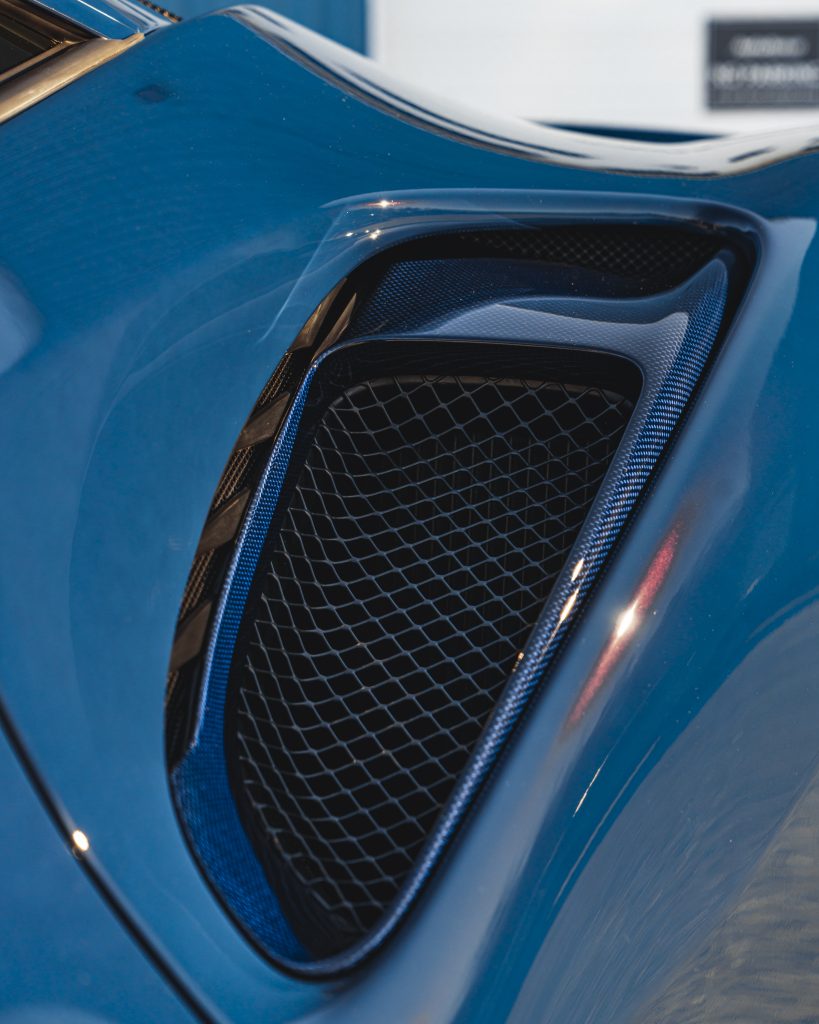
All of the intricate areas were cleaned with Sonax MultiStar APC and a DI Boars Hair Brush 1.25.
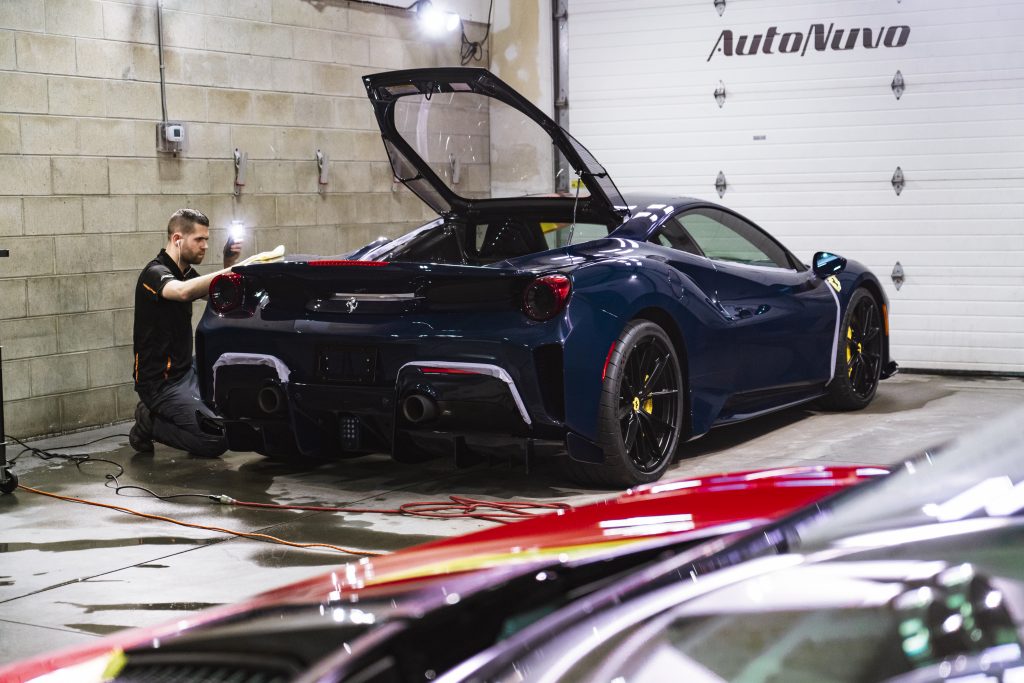
After the wash process, we dried the vehicle with our Master Blaster Revolution and a few Rag Company Gauntlet Microfiber Drying Towels. We pulled the vehicle into the paint correction bay and gave the paintwork a pre-correction wipe down with Gyeon Prep.
The Pista had a variety of factory defects, sanding marks, holograms, overspray, dirt nibs, and a general lack of clarity. The first step required the use of Meguiars M100 Pro Speed Compound paired with a Meguiars Microfiber Cutting Pad on the Bigfoot Mark 3 21mm.
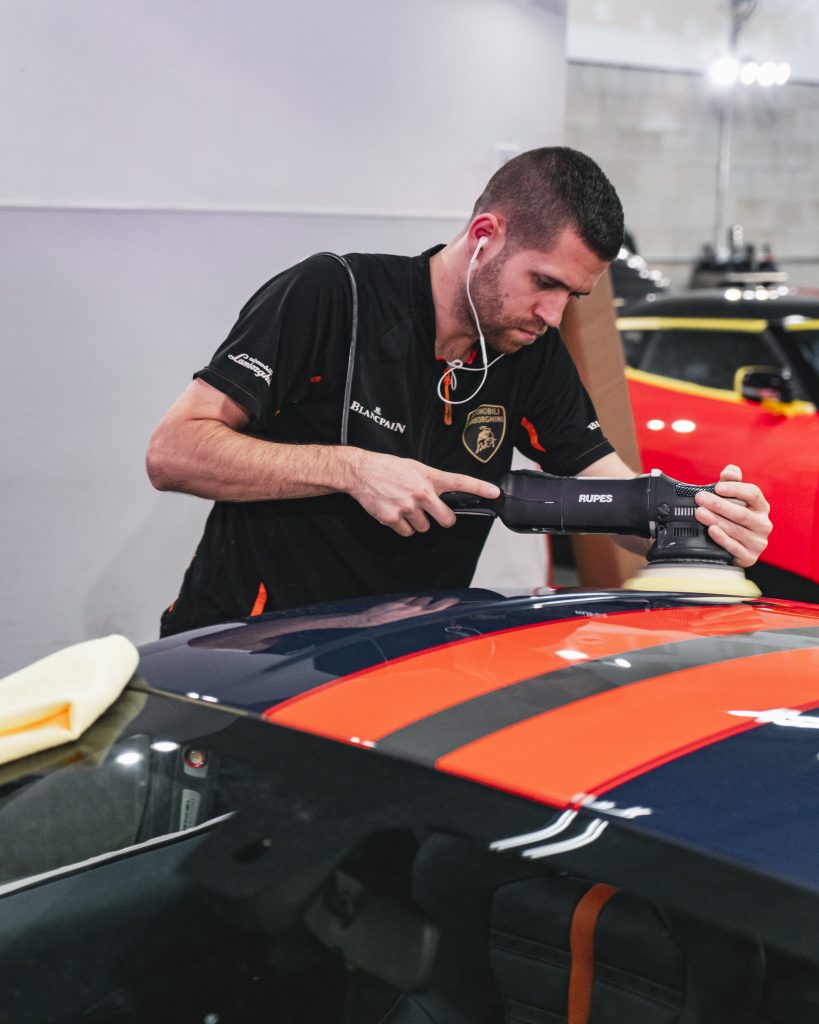
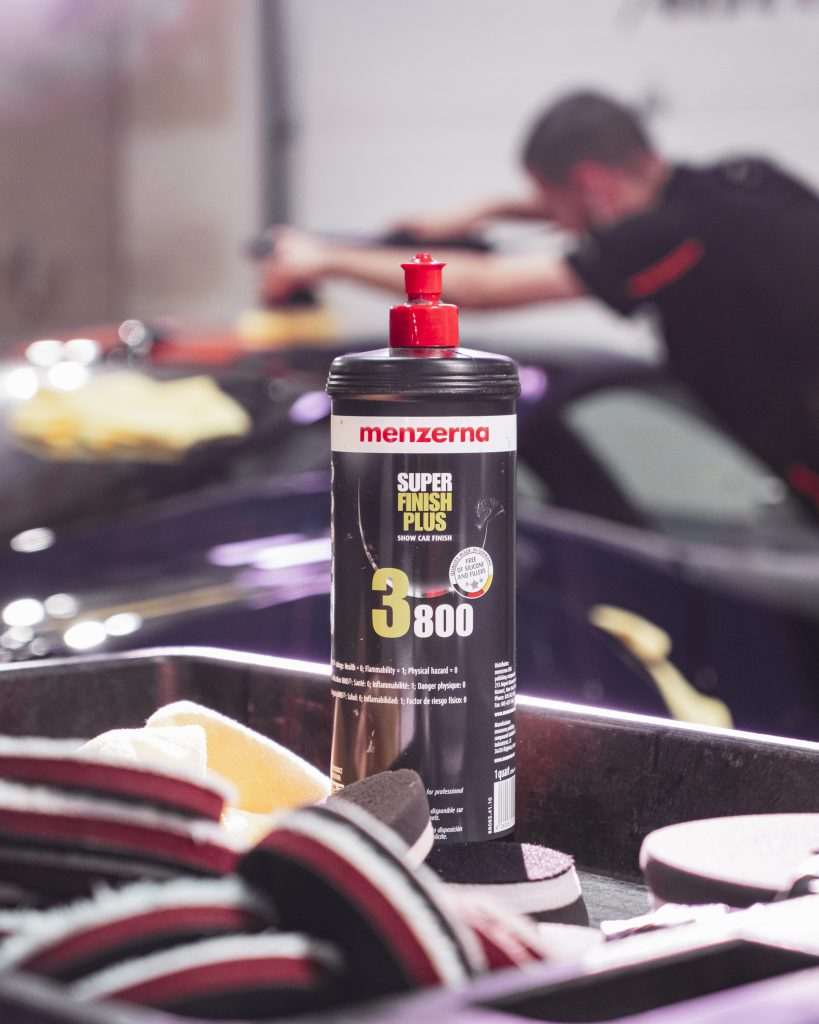
After the compounding stage we refined the finish with Meguiars D300 paired with a Rupes Yellow Polishing Pad on the Rupes Mark 3 21mm. This left the finish with a manageable mild haze. Pairing Menzerna Super Finish Plus 3800 with a Lake Country HDO Black Finishing Pad eliminated any micro marring and unveiled a vibrant glossy finish.
We cleaned and inspected each panel periodically with Gyeon Prep and Scangrip lighting sources. Once the correction was complete the vehicle was rewashed and brought into the film installation bay.
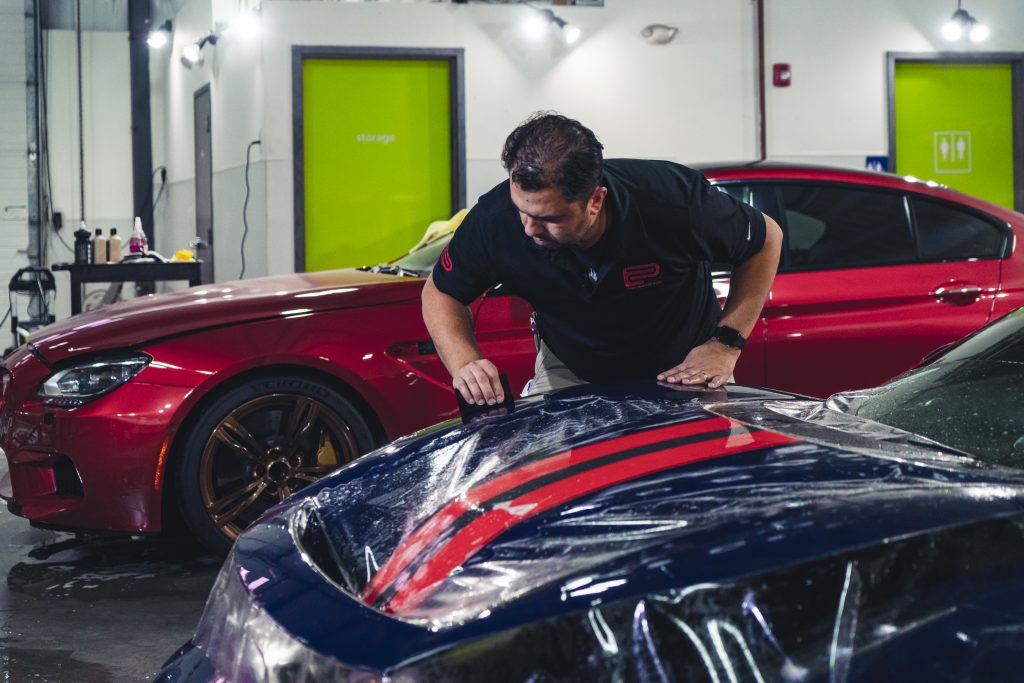
Installing LLumar Platinum clear bra to the entire front end. The coverage included the hood, fenders, front bumper, headlights, mirrors with all edges extended and wrapped wherever possible.
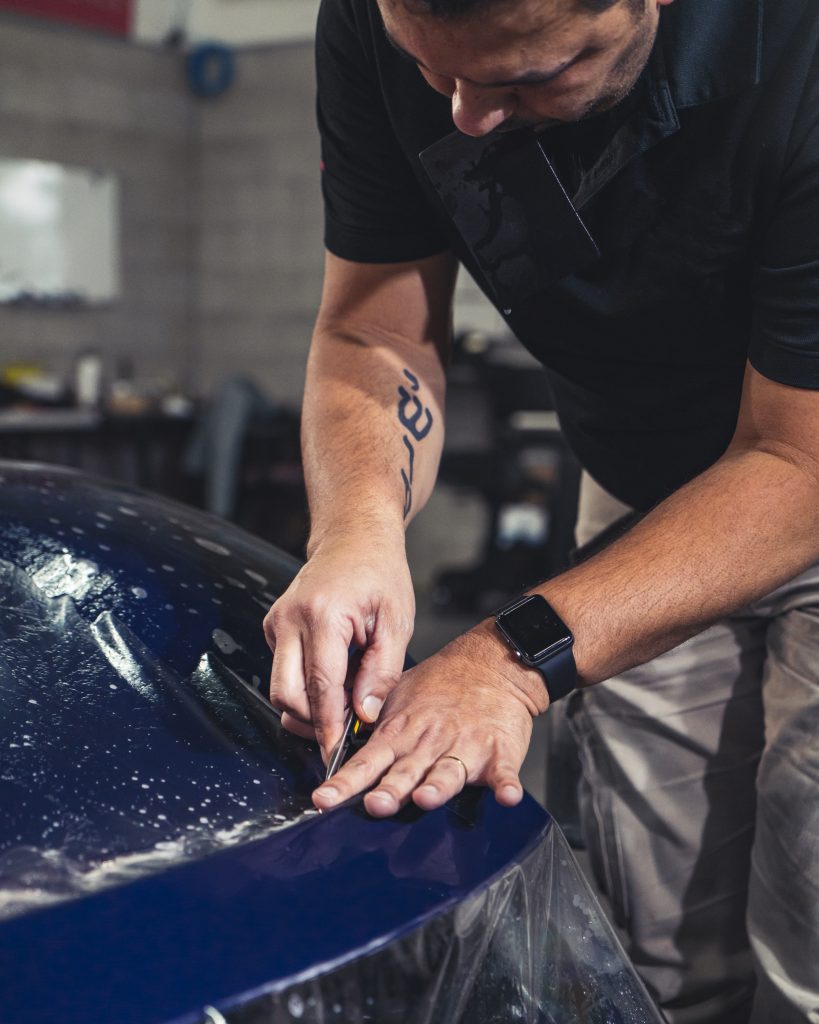
Weslley expertly trimming the challenging Pista hood.
Surface Protection Products
- Paintwork/Film Surfaces – Professional Modesta BC-08 Neo Silica Coating
- Wheels, Door Jams, Engine Carbon Fiber – Gtechniq C2V3 Liquid Crystal
- Glass – Gtechniq G1 ClearVision Smart Glass
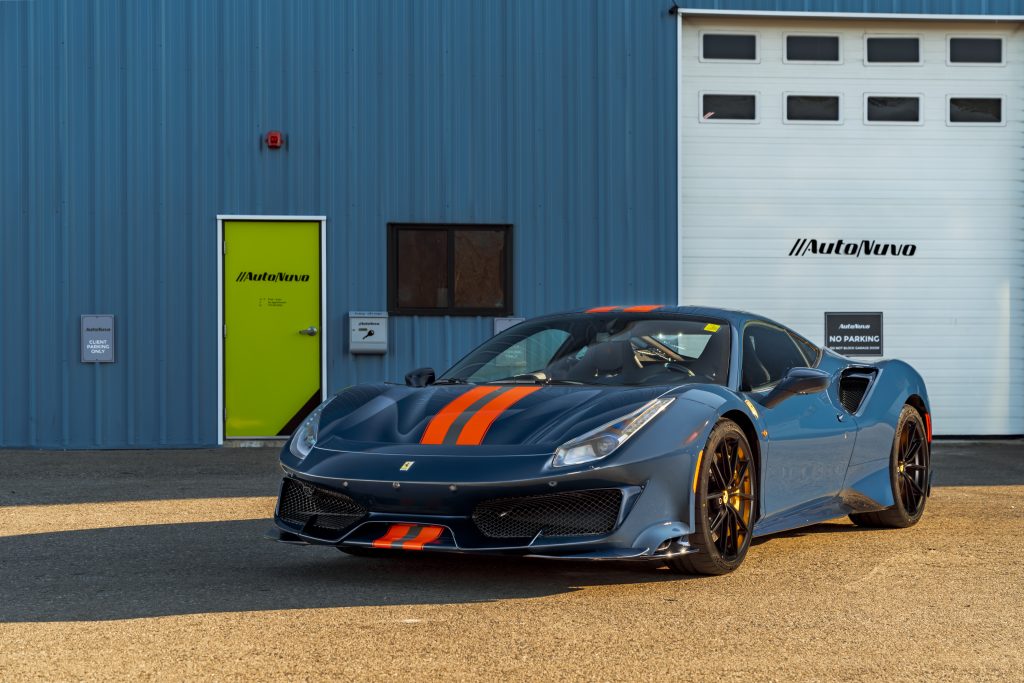
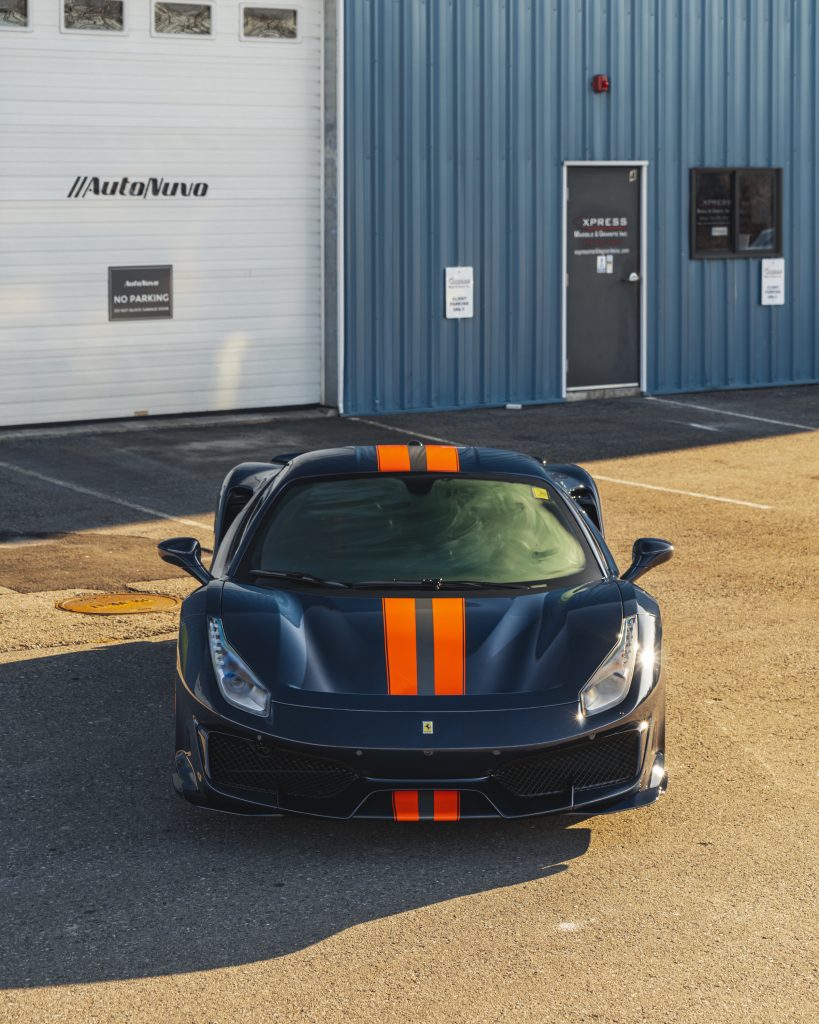
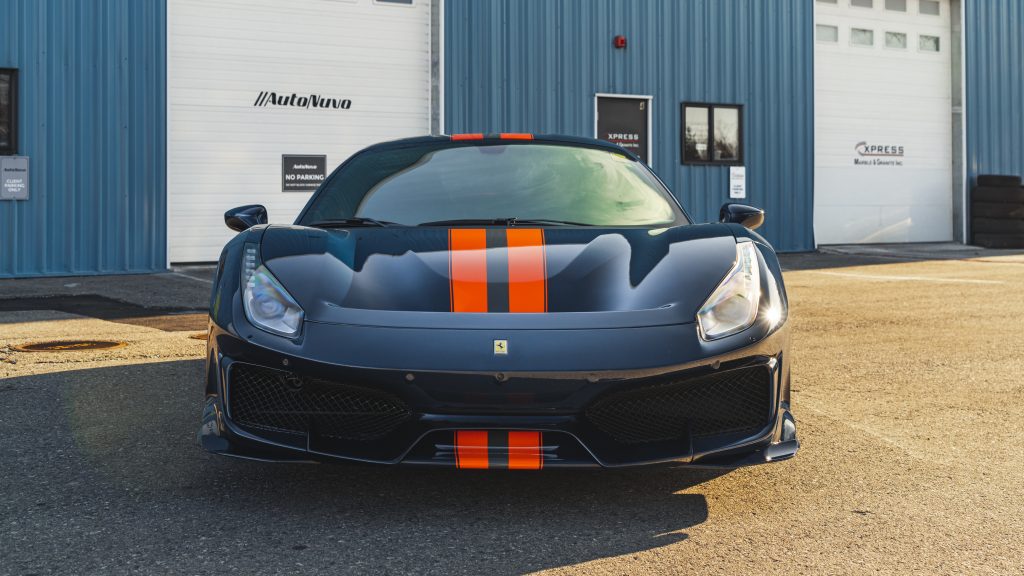
Final photos
The transport home!
Photography: Nick Consentino
Buy Products From This Article
Related Posts
- Projects: Lotus Evora GT, Paint Correction, Clear Bra, Ceramic Coating
- Detailing Projects: Ferrari 488 Pista #2 Paint Correction, Clear Bra, & Ceramic Coating
- Projects: 2019 Subaru WRX, Swissvax Detail
- Can I Use Products from Different Brands?
- Projects l Porsche 918 Spyder l Inspection l Decontamination l Paint Correction (Part 1)


Incredible work James! That color is amazing. :drool:
Thanks JC- it really was a next level spec!
Hi James… can you tell me what the difference is between polishing and compounding a car and what set comes first? And at what stage of Decon are both sets needed. I have a one yearly flat black car with very minor scratches and swirling which are hard to see unless you use a detailing light so not sure both of those sets may be needed.
Thank you
Ken
Excellence as usual!
Thanks Ron- always appreciate the support brother!
Did you remove the orange peel in the paint?
These cars from the factory have a lot of orange peel in the clear coat…….how do you remove it safely as it is typically very thin.
Most people with a lot of experience in paint correction will tell you it’s not worth trying to remove orange peel from factory clear coat. Unless it’s an Acura NSX or something of the like, there just simply isn’t enough clear from the factory these days to be going after orange peel.
Agreed – sometimes its just worth leaving along.
Hey Larry,
We did not remove any paint texture during this paint correction process. Our goal was to remove factory sanding marks, haze and light scratches to best maximize the gloss and clarity.
How do you remove the factory orange peel safely?
La
Amazing work. Car looks amazing..that color with yellow looks amazing.