
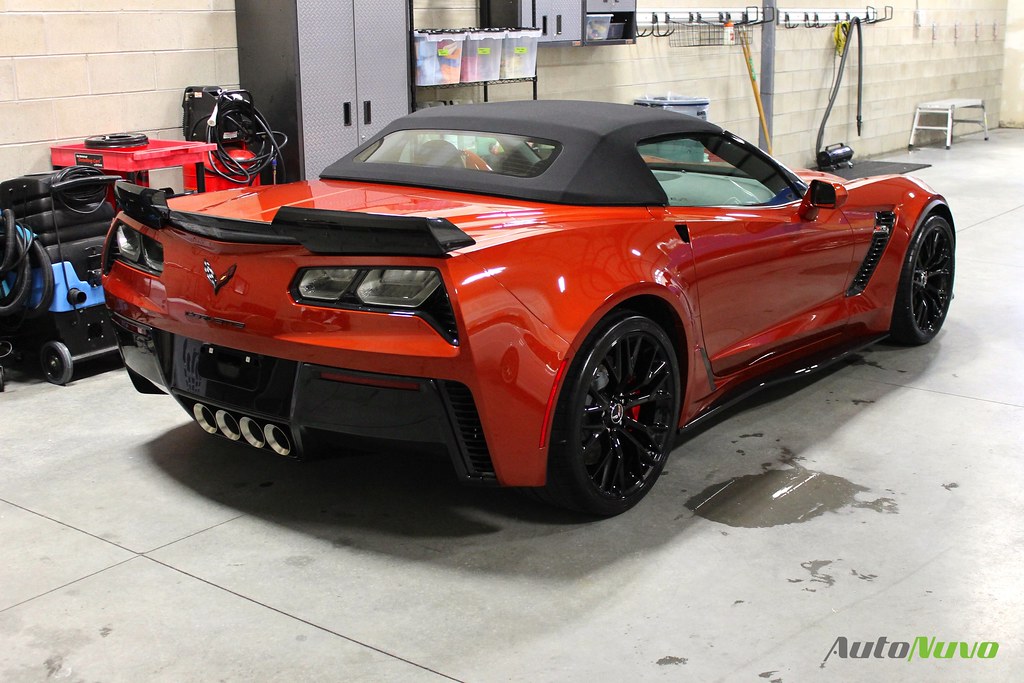
The first day the new C7 Corvette showed up in the shop, we were all a little giddy. The new redesign has taken the legendary corvette to a different level. The aerodynamic pieces and presence of the car really make it stand out. Just when we had fallen in love with the standard car, the new Z06 track package came into our lives and the sound alone had us drooling.
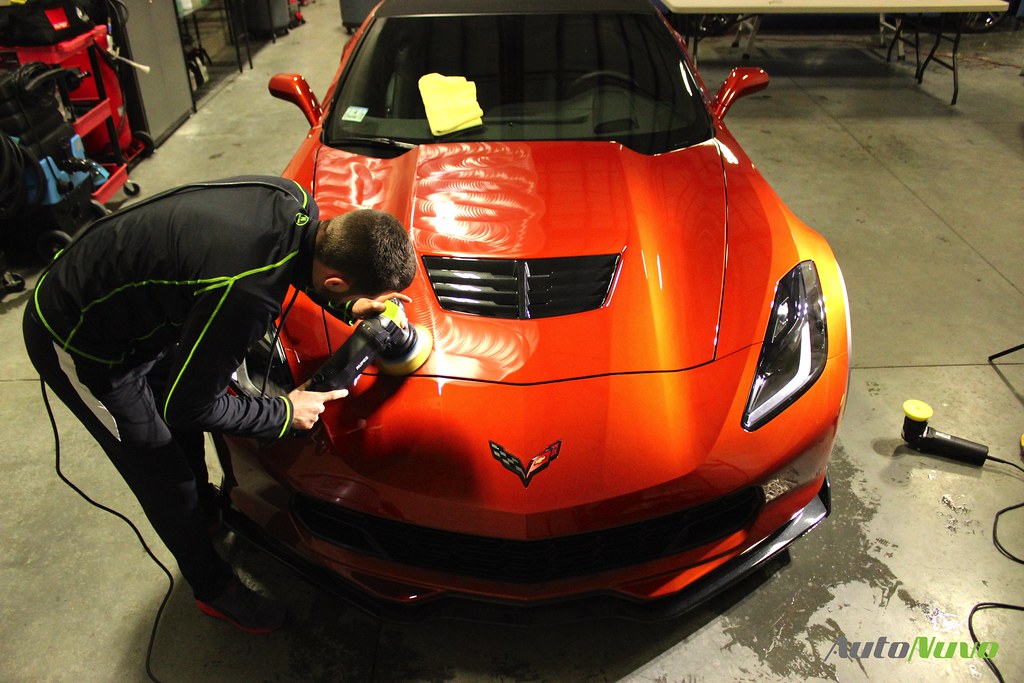
After about an hour of looking at the vehicle, we started to come up with a game plan of how best to protect the car and preserve the finish for years to come. The new Z06 is extremely low and on New England roads, rocks chips are a potential nightmare. After talking the client through all the potential options, we decided that covering the entire front of the vehicle, as well as the rockers and rear quarter panels with paint protection film (clear bra) was the best option to stand up to the constant barrage of rocks. The client did however want the finish in as pristine condition as possible prior to laying the film down which is why we decided upon doing a single stage paint correction to remove minor swirls and scratches, while enhancing the gloss and clarity. After the polishing process and film installation we agreed that installing Cquartz UK Ceramic Coating would really take the metallic flake to a new level and allow for the easiest maintenance moving forward.
We started with a thorough decontamination to prep the surface for polishing. We used Chemical Guys Citrus Wash to foam the vehicle and strip any dealer installed wax, followed by our 2×2 bucket wash. We followed that up with an Iron X treatment to remove any iron deposits in the pores of the paint. We then clayed the vehicle with the NanoSkin AutoScrub Fine Wash Mitt using Optimum No Rinse as our lubrication to further exfoliate the surface and remove any of the remaining tar and bug grime.
We pulled the car out of the wash bay, gave it a pre-correction 50/50 IPA wipe down and inspected the finish with our Flex LED swirl finder and multiple other light sources. We also checked each panel with our paint gauge to ensure a safe polishing process. We started with a test section to determine which machine, pad, and polish combination was going to yield the best results. After trying a few combinations we found that the Rupes 21LHR with a Rupes 5 inch backing plate paired with a 5 inch Rupes yellow pad and Meguiars M205 was eliminating all of the minor defects while enhancing the gloss of the finish. To achieve the level of defect removal we needed, we fully saturated the face of the pad with M205 and after it was allowed to soak in for a few minutes, we applied four more dime sized drops. With the Rupes 21LHR running at speed 3.5 – 4 and slow even arm speed paired with consistent medium pressure we were able to eliminate moderate defects with a buffing liquid that was designed as a finishing polish. Pretty amazing stuff courtesy of a Kevin Brown lesson.

For the smaller intricate areas we used the Rupes 75E Mini paired with a 4 inch Rupes yellow pad and M205.
After we dialed in the paint we gave the car another foam down with a Citrus Wash and Dawn Mix to strip the polishing oils and remove any polishing dust buildup. We then dried the car, wiped it down again with a 50/50 IPA mix, and prepared for the paint protection film installation. We covered the entire hood, front bumper, front and rear fenders, rockers, headlights and mirror caps with top coated, self-healing paint protection film.
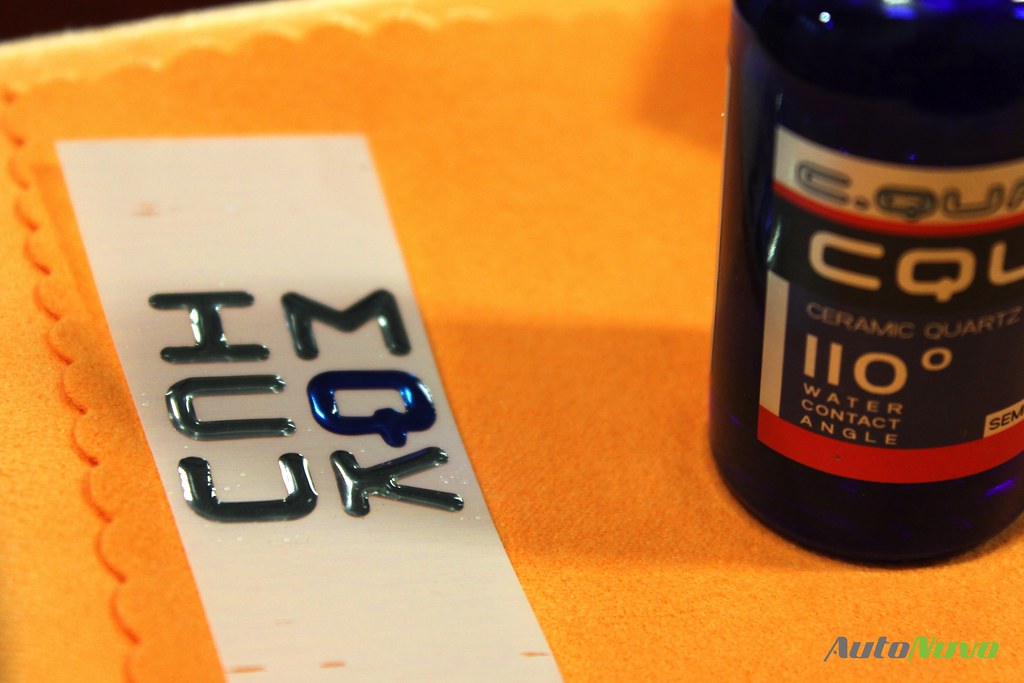
With the film installation done it was time to turn our attention to coating the vehicle and really take the finish to a new level. We coated all the painted surfaces with CarPro Cquartz UK Edition, a two year silica-based ceramic coating. We moved panel by panel applying the coating with a CarPro block and 4×4 suede applicators. We removed the excess coating after 3-5 minutes with a 16×16 CarPro suede towel. This coating will protect the vehicle for years and maintenance will be reduced to simple washes.
We then turned our attention to the wheels which we coated with two layers of CarPro Dlux Plastic and Wheel Coating. After all the surfaces were coated we baked each panel with our IR heat lamp. The lamp creates a harder, stronger coating and amplifies the gloss even further.
After the car was baked and allowed to sit overnight we topped the paint, wheels, trim and glass with CarPro Reload. Reload is a 6 month sealant which we used as a sacrificial layer to protect the coating while it continues to cure over a five day period. Reload is one of my favorite sealants and using it as a topper for glass coatings will prolong the life of the coating and also protect it against water spotting while enhancing the slickness and shine. We applied two coats of Reload thirty minutes apart using the two towel method. This method is great for reducing streaking and any other issues during application. One microfiber towel is used to apply the product, and a second longer nap towel is using to buff the surface and level out any high spots.

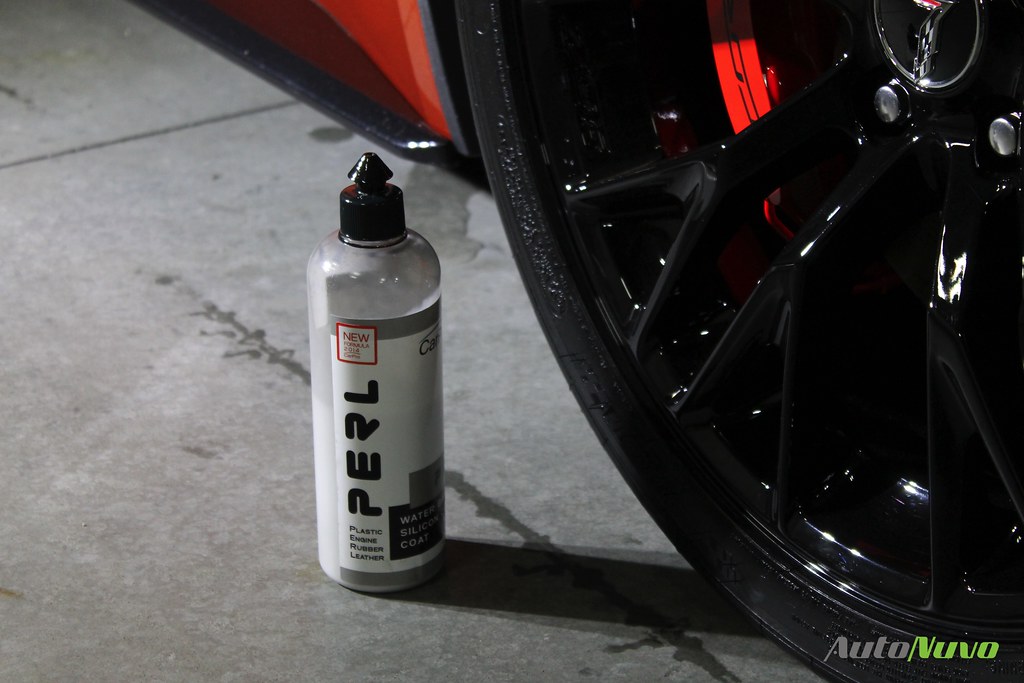
The tires received two coats of CarPro Perl thirty minutes apart.
The pictures really don’t do the car any justice, this particular car absolutely glowed after we were finished.
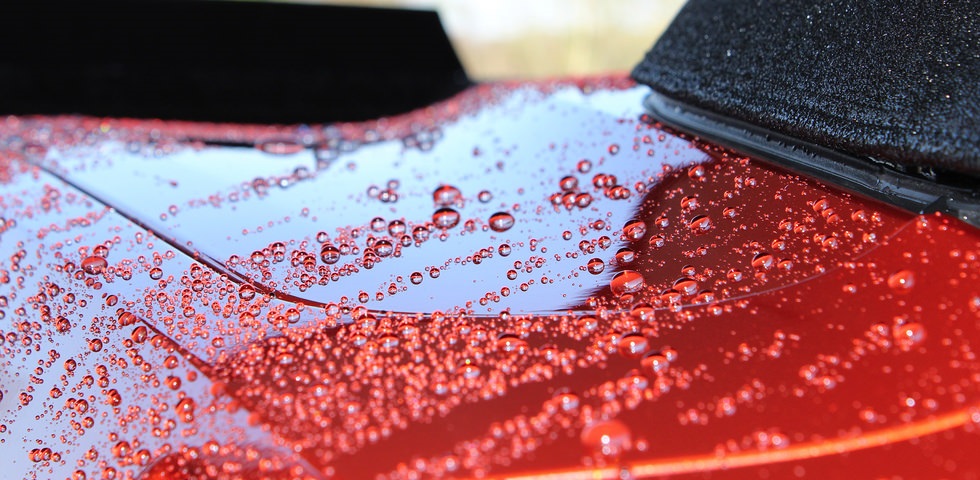
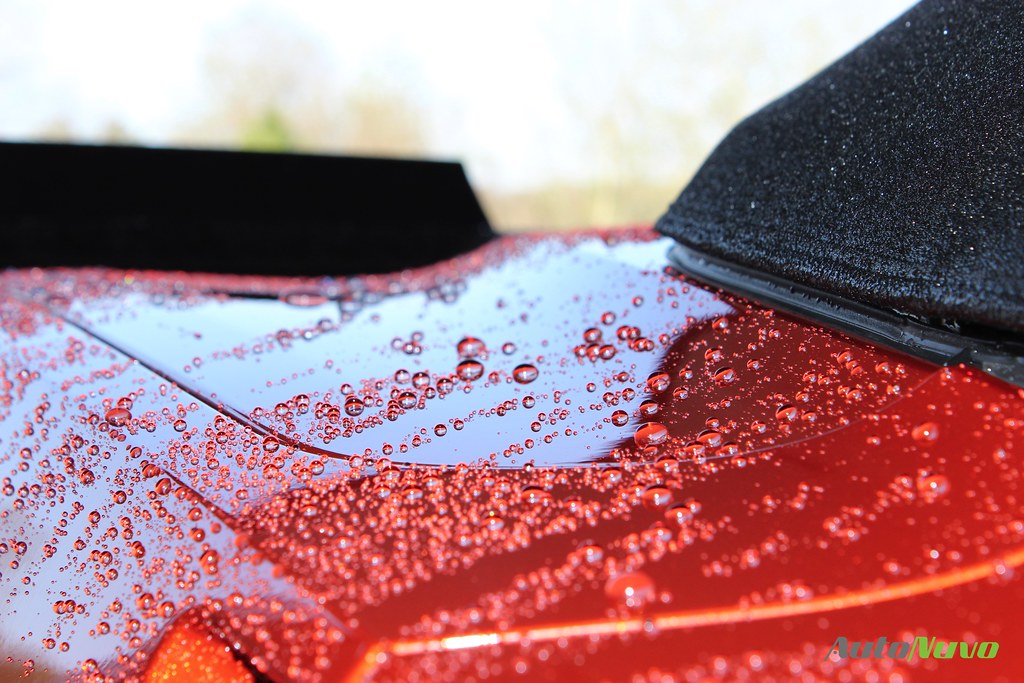
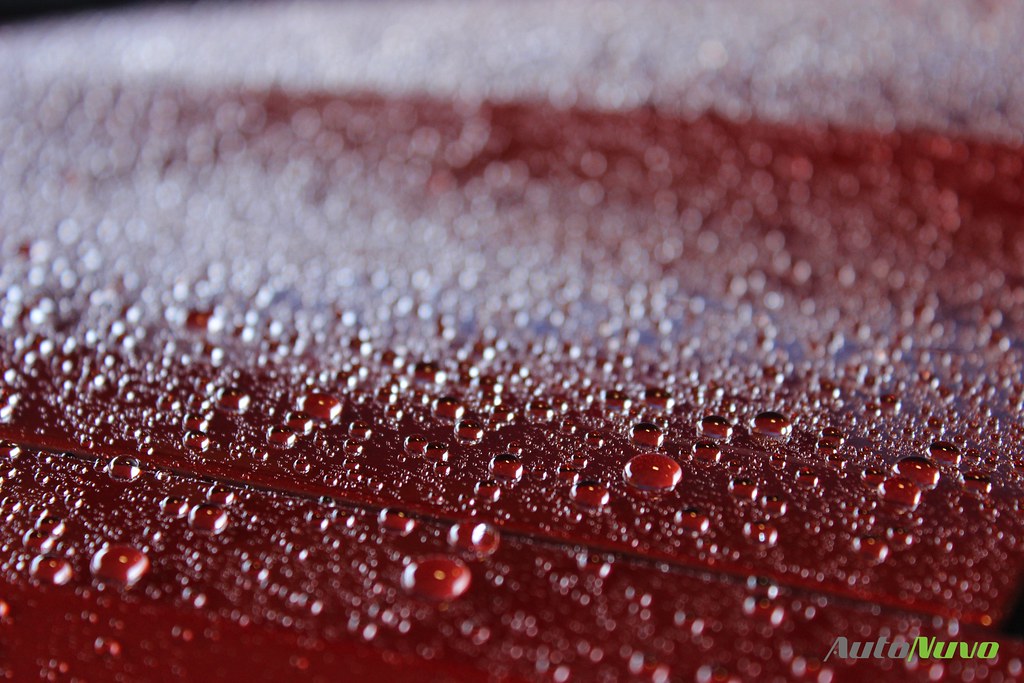
Two weeks later the car came back for a maintenance wash and we just had to take a few pictures of the water beading.
I hope you enjoyed this article as much as we enjoyed working on this beauty.
Buy Products From This Article
Purchase the products used in this article individually or in one convenient package here!
Related Posts
- Projects: Lotus Evora GT, Paint Correction, Clear Bra, Ceramic Coating
- Detailing Projects: Ferrari 488 Pista Paint Correction, Clear Bra, & Ceramic Coating
- Detailing Projects: Ferrari 488 Pista #2 Paint Correction, Clear Bra, & Ceramic Coating
- Removal Of Rear Spoiler / Wings For Full Correction
- Projects: 2019 Subaru WRX, Swissvax Detail