
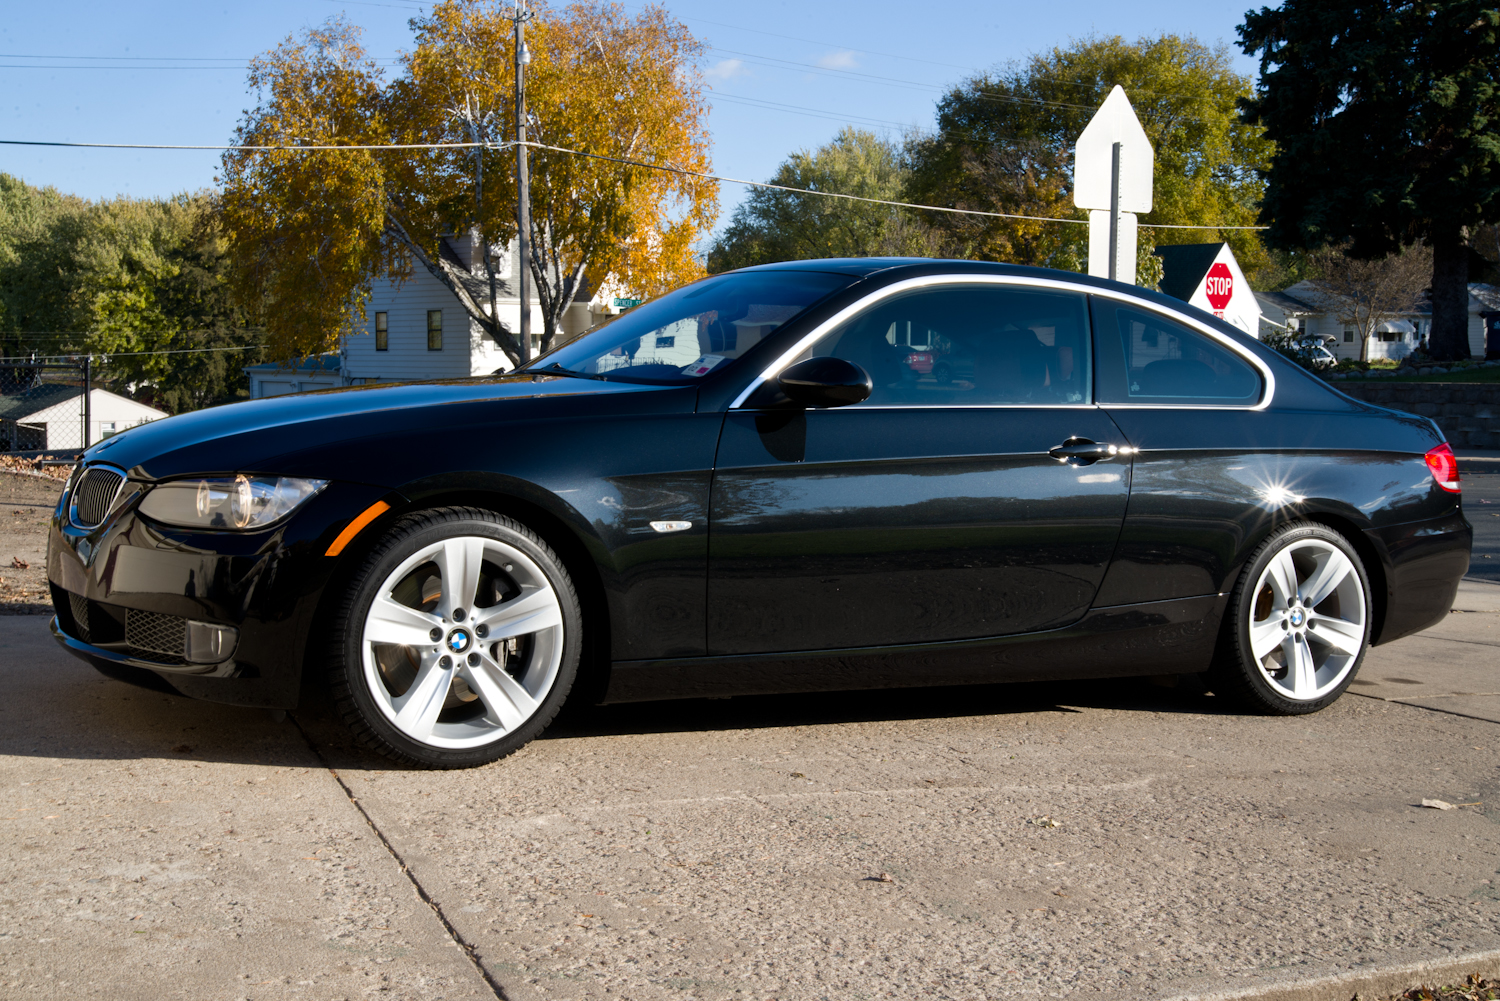
This detail is pretty special in many ways, so when I was contacted about it, I gladly accepted. Most importantly, this vehicle belongs to someone in the US Army, who is currently on his second deployment in Afghanistan. While he is away, he asked his parents to safeguard his dog and this fine example of German engineering, his 2007 BMW 335i. The other reason this detail is so special is that his father has been a leader, mentor, and above all, a very good friend to my wife during her 8+ years at her job. For this, I also consider him a very good friend. When I first evaluated the vehicle with Eric he mentioned that he wanted lots of pictures and possibly some video, which he could later send to him showing the before and after condition. After looking the car over I suggested a 2-step paint correction and a full interior detail to get the car looking better. Secretly, my wife and I had already discussed going “all out” on the car as a surprise for them both.


The condition of the car was pretty rough on the outside with some very nasty water spot etching, heavy swirls, scratches, and door scuffs. The interior was in about average condition but the leather needed a good cleaning and conditioning. Detailing the engine bay wasn’t planned, but after seeing how much dust/dirt was built up, I figured I’d give it a quick once over too.
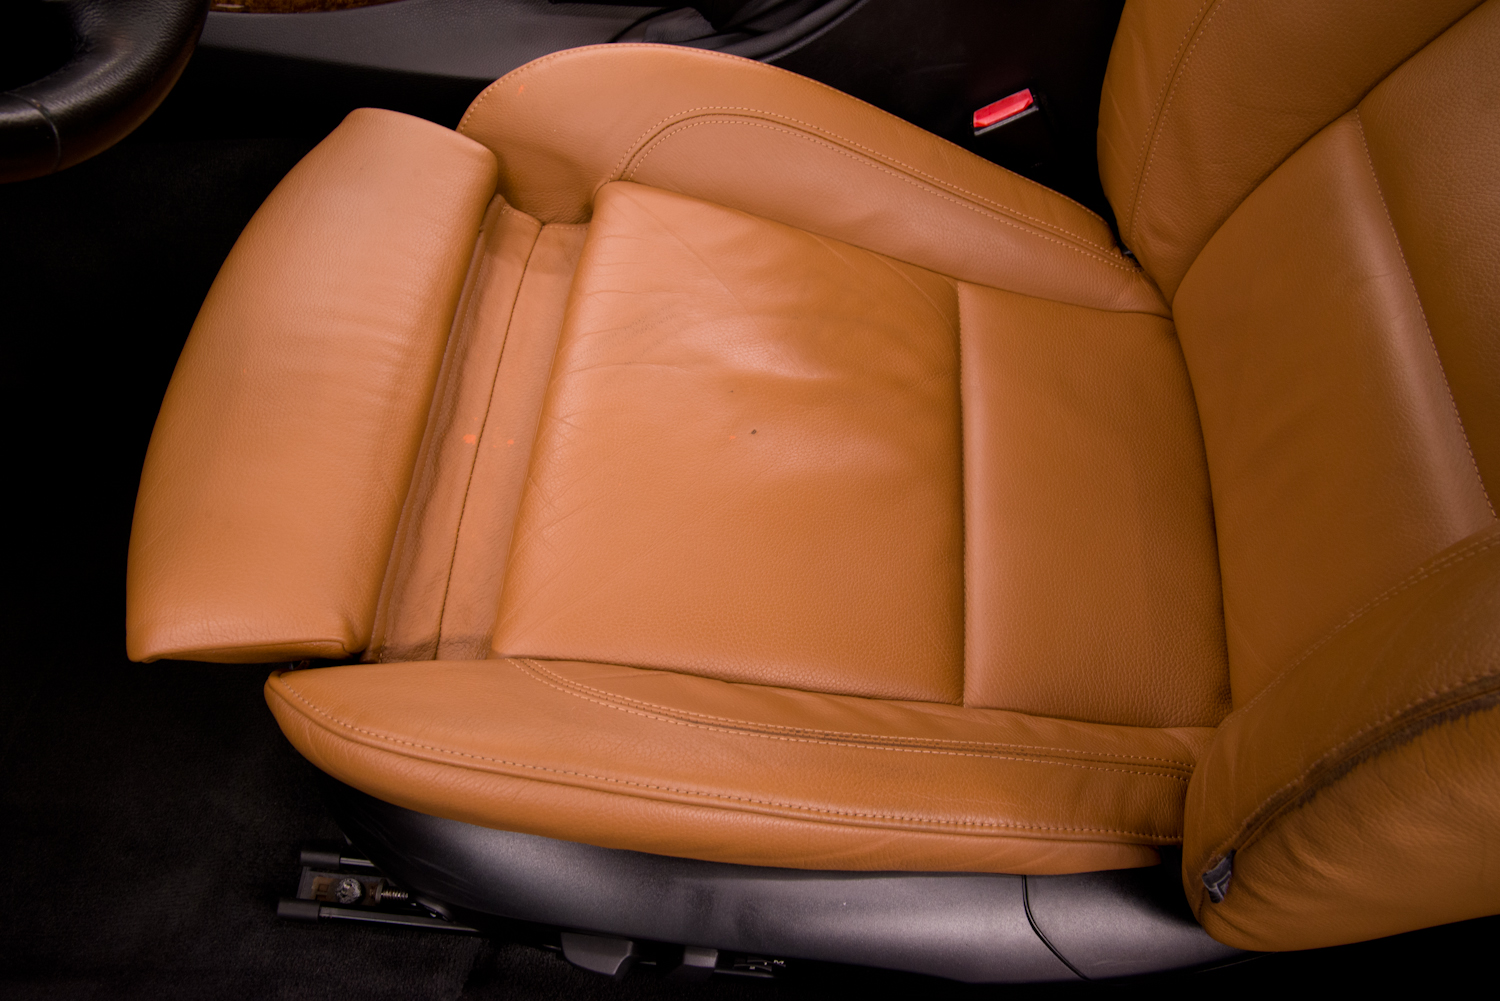
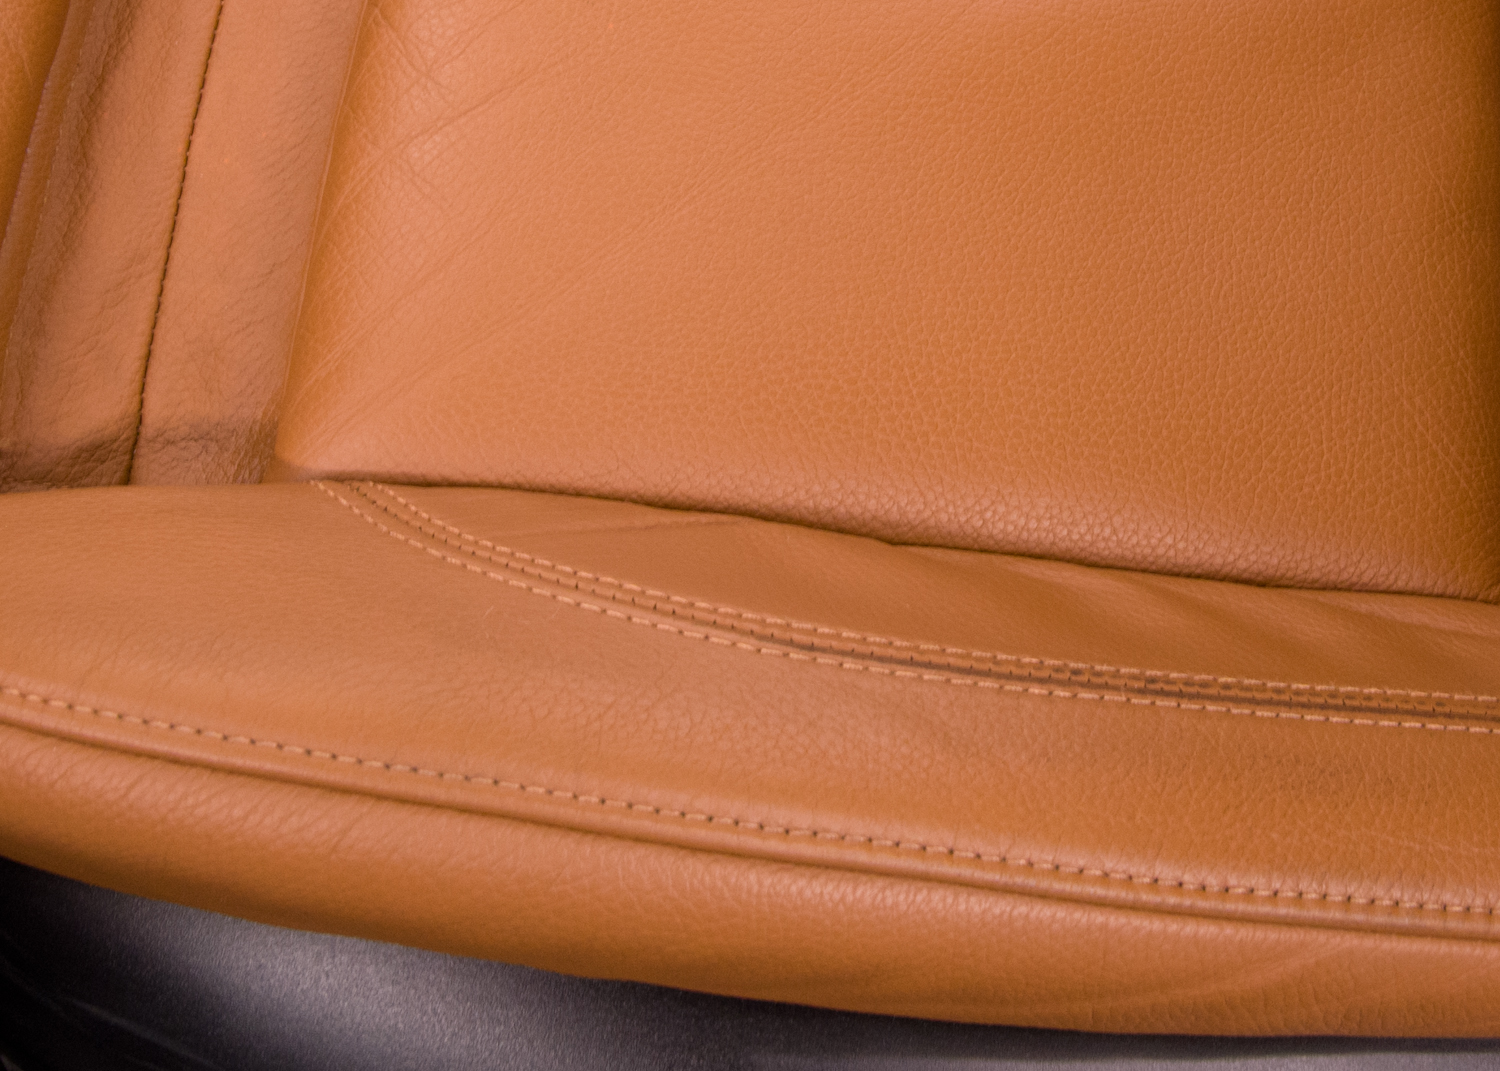
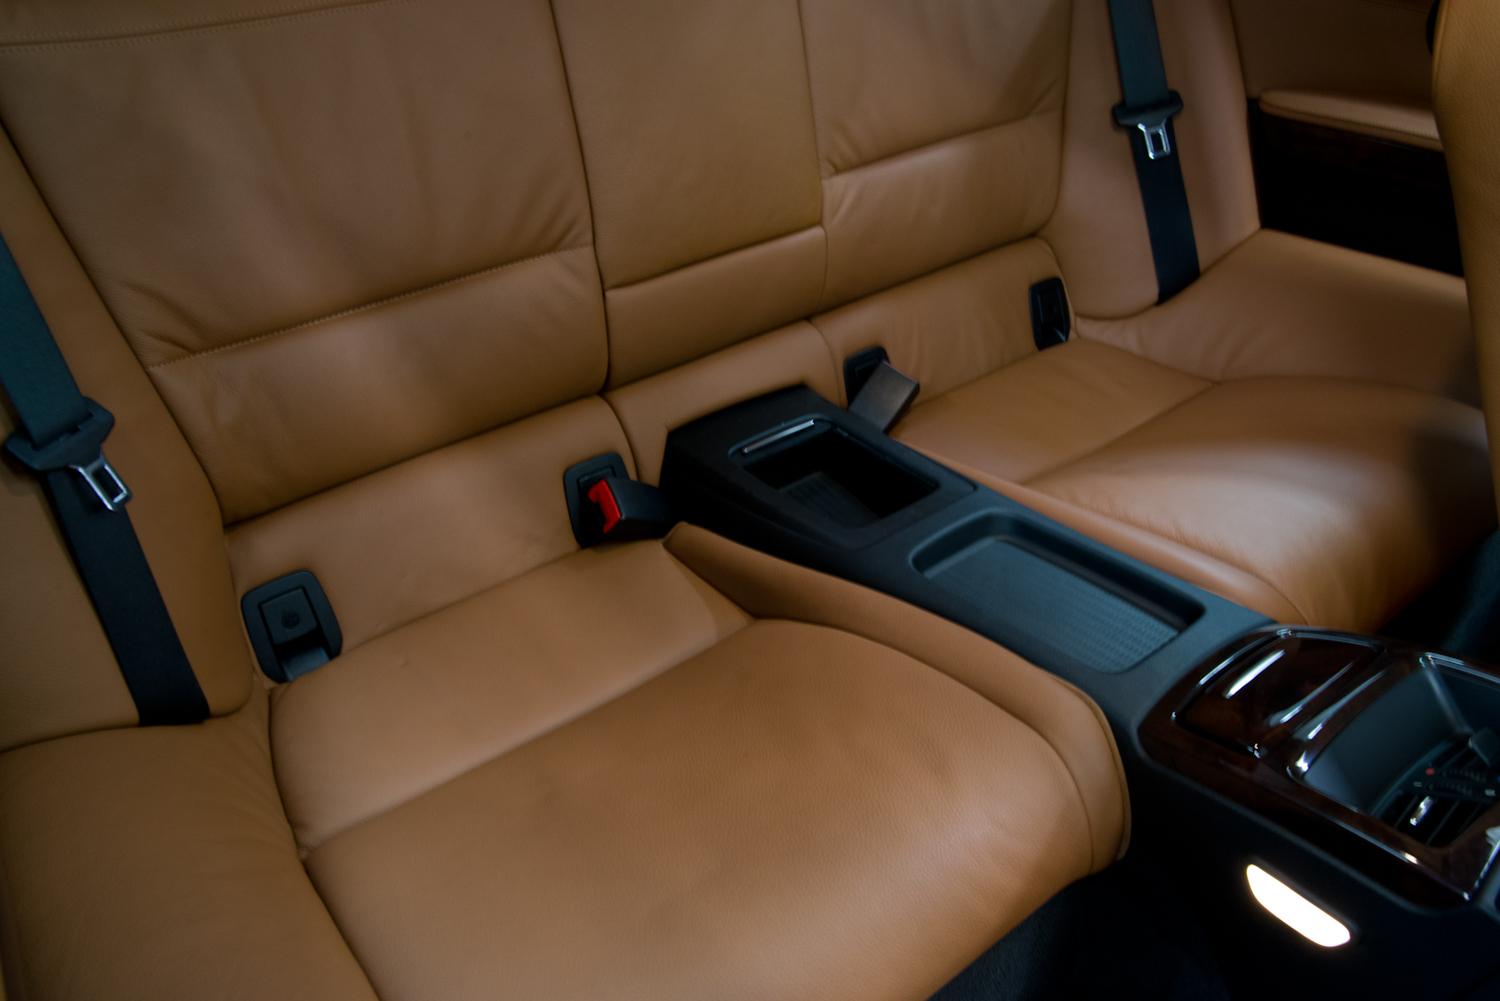
Before Pictures
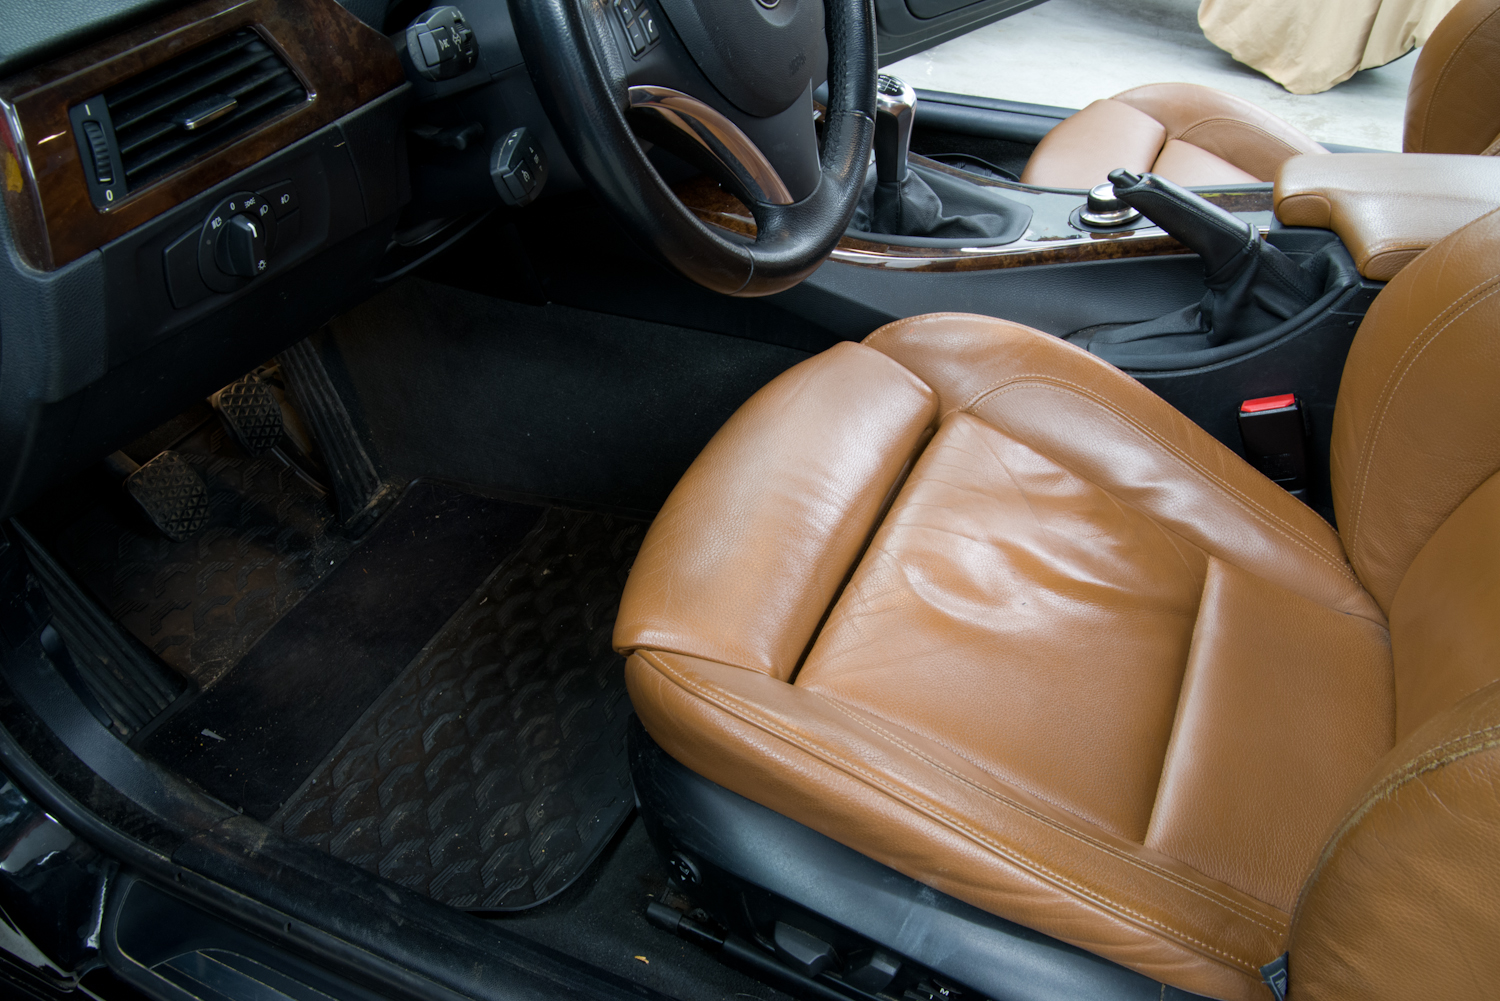

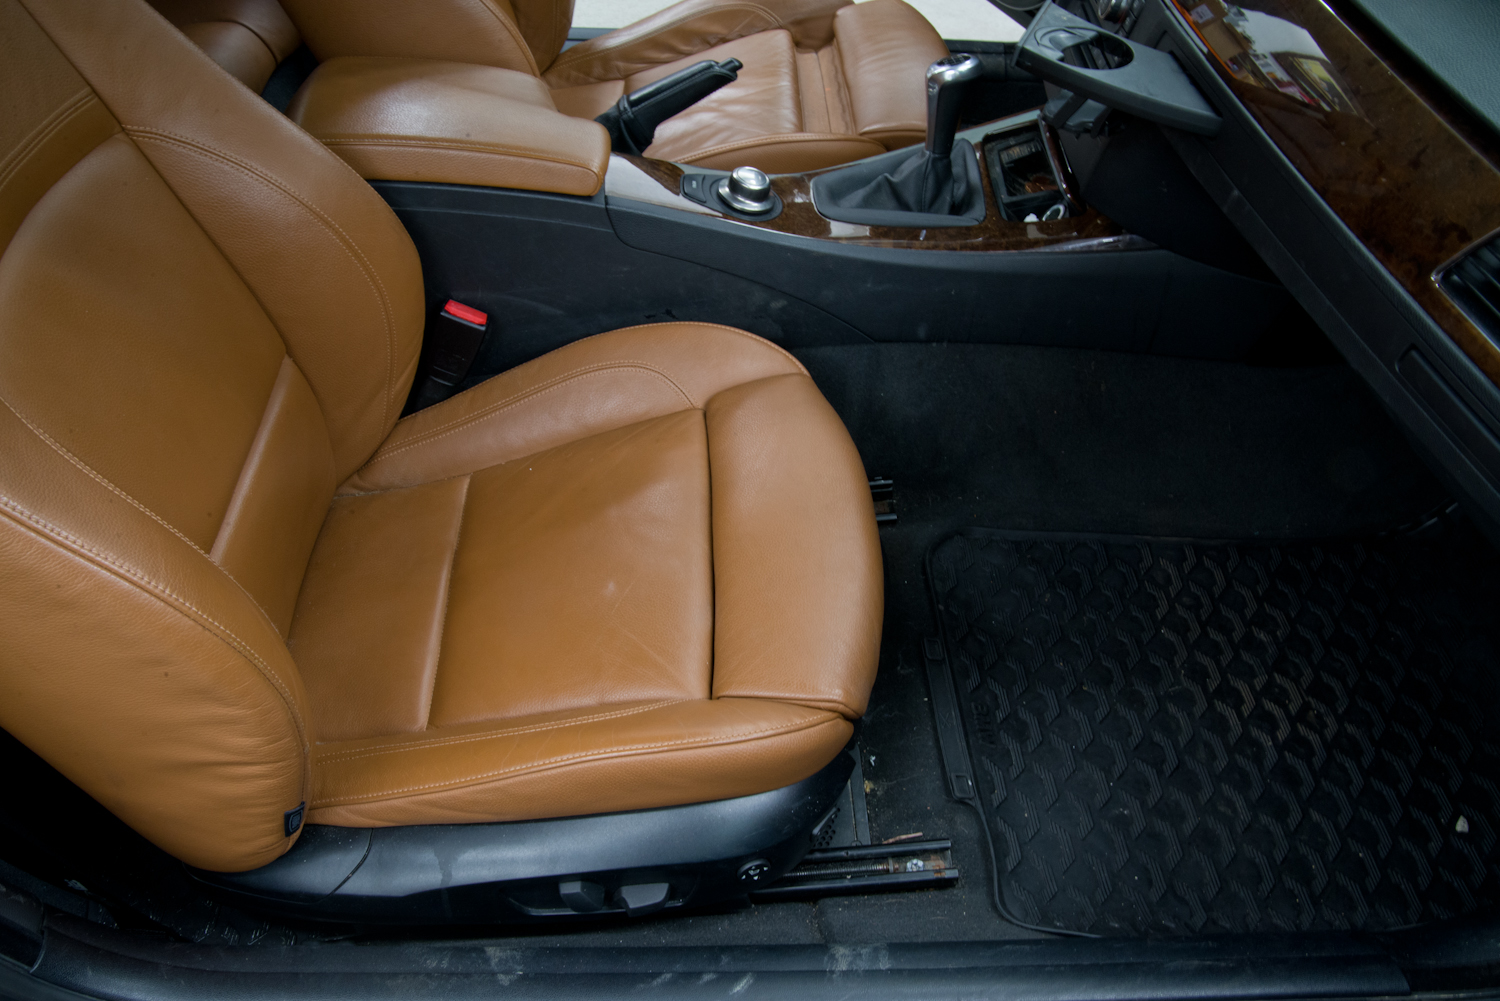
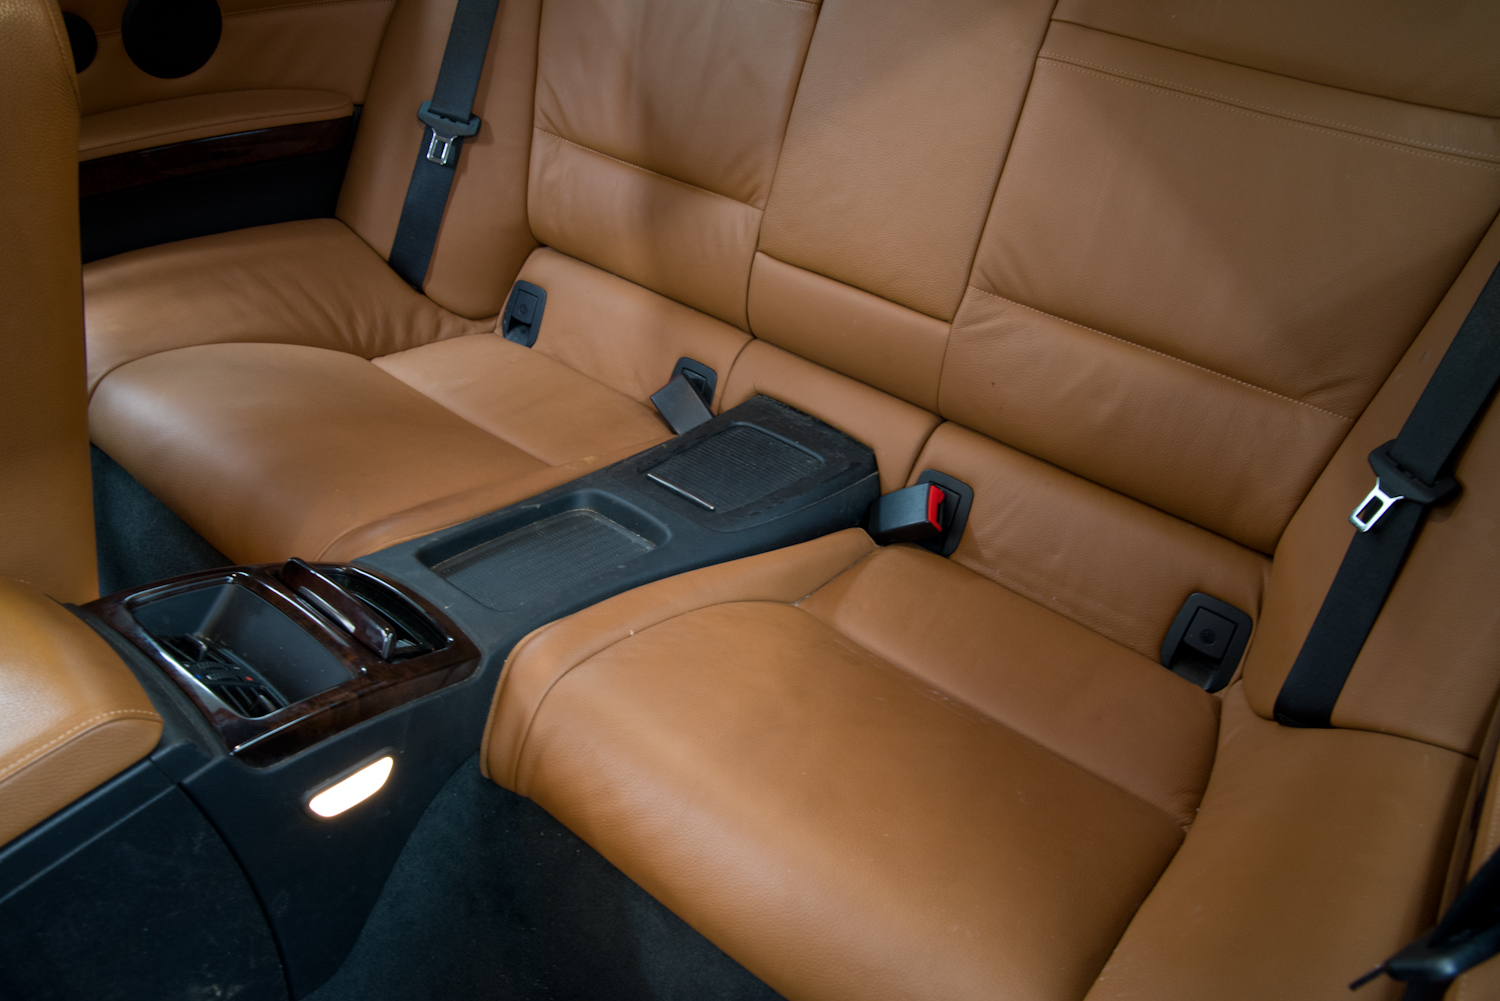

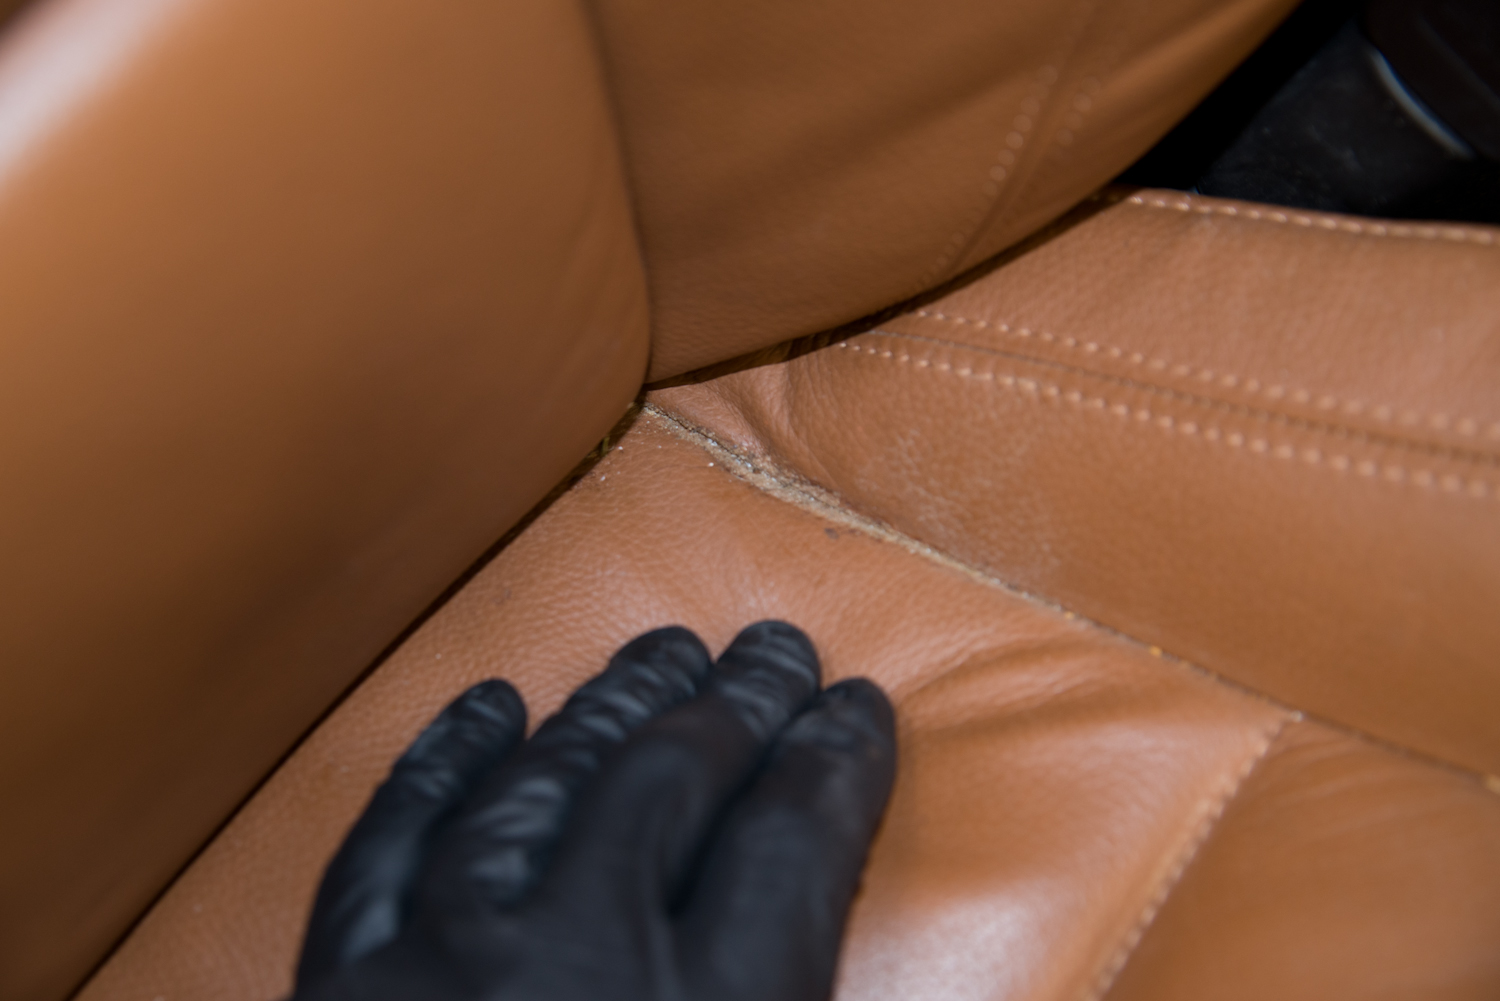
As you can see below, years of dirt and grime had been worked down into all the seams and textured groves of the leather.


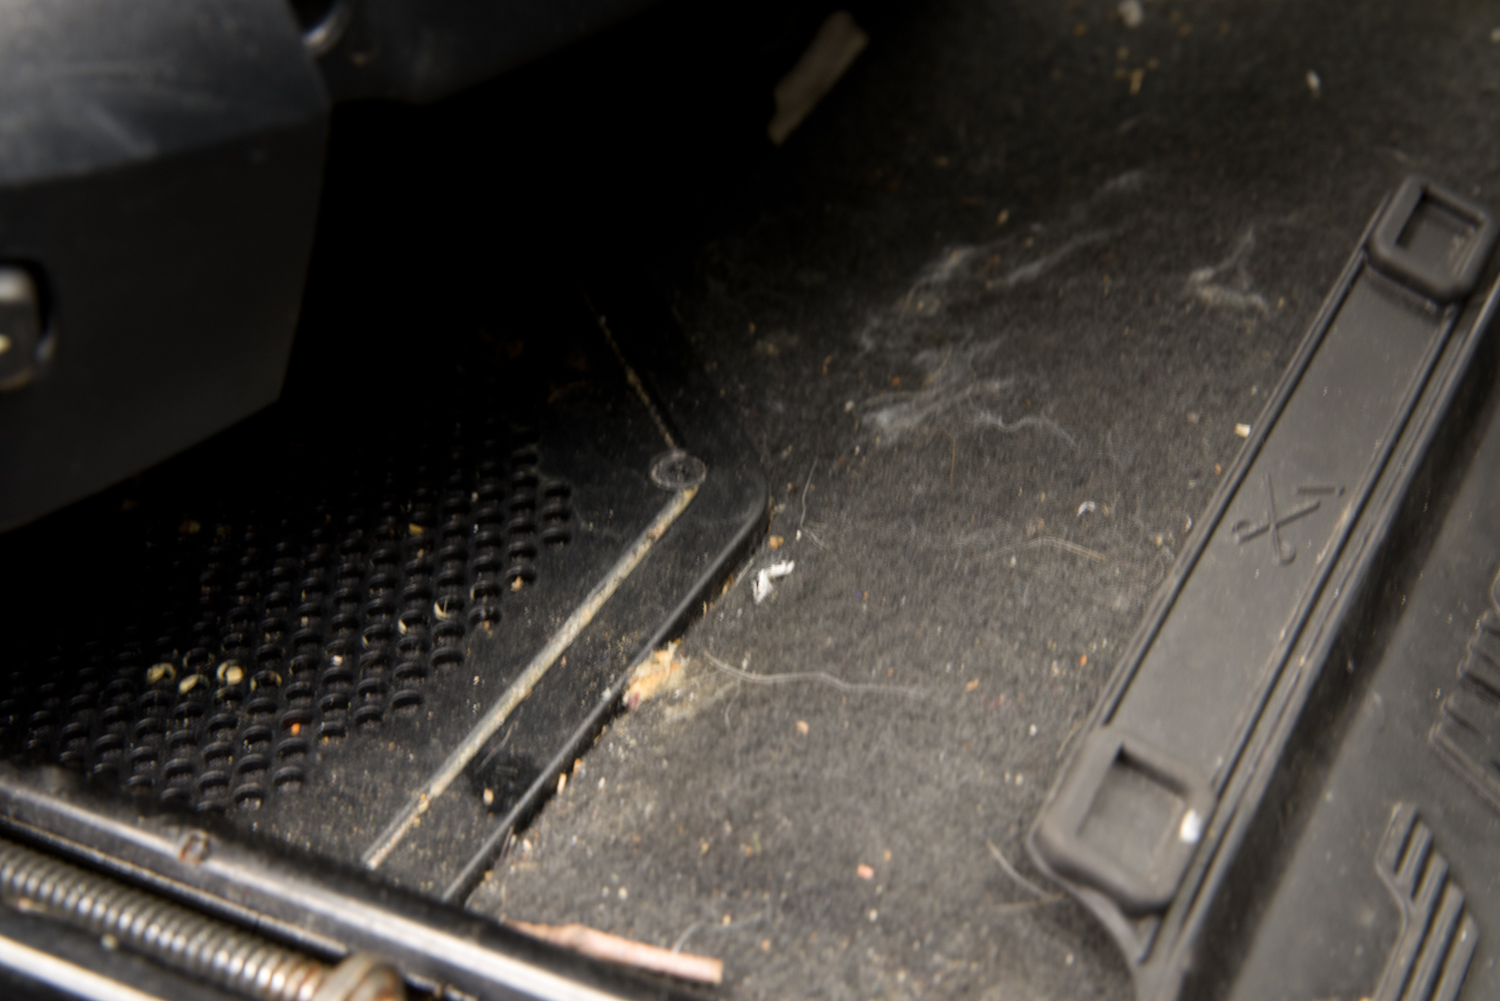
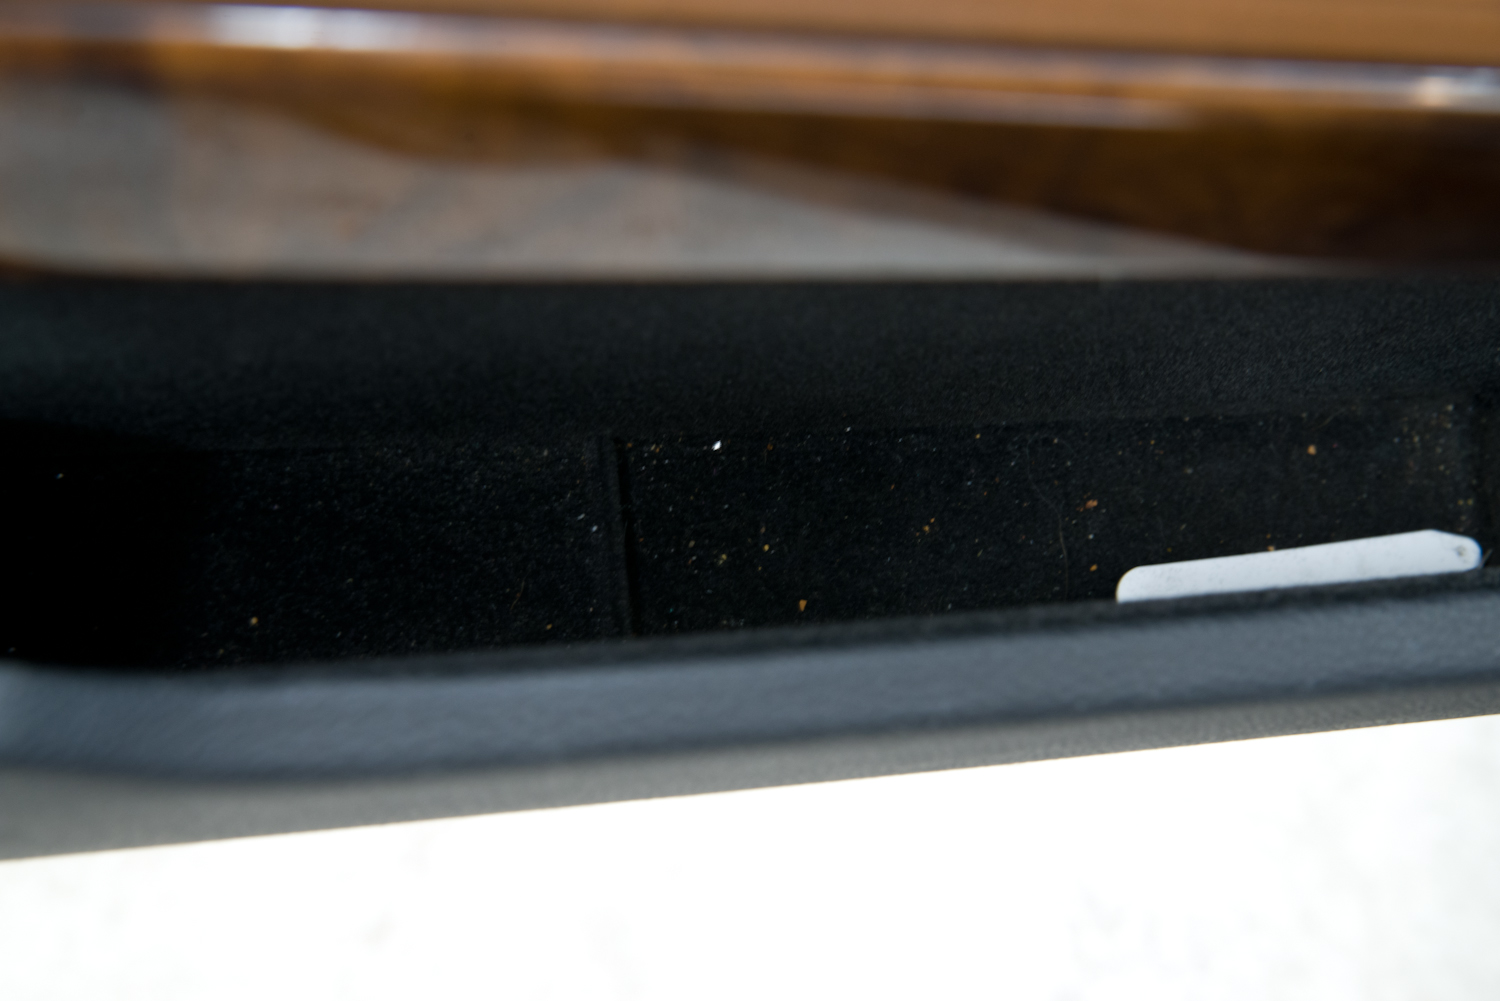
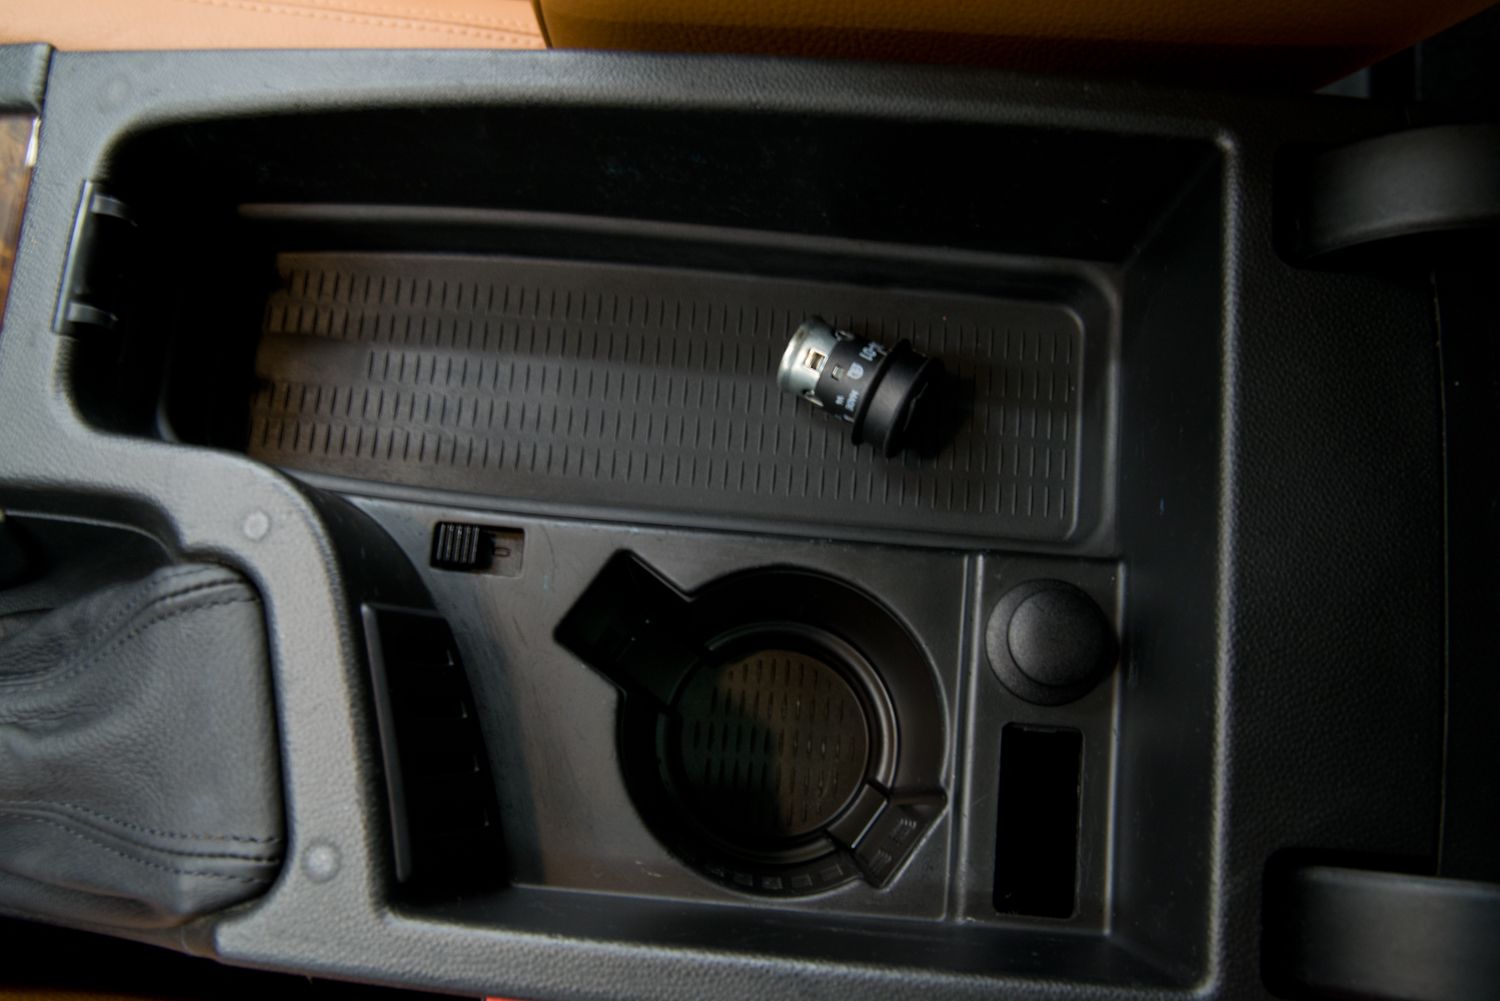
A few other areas that required some attention
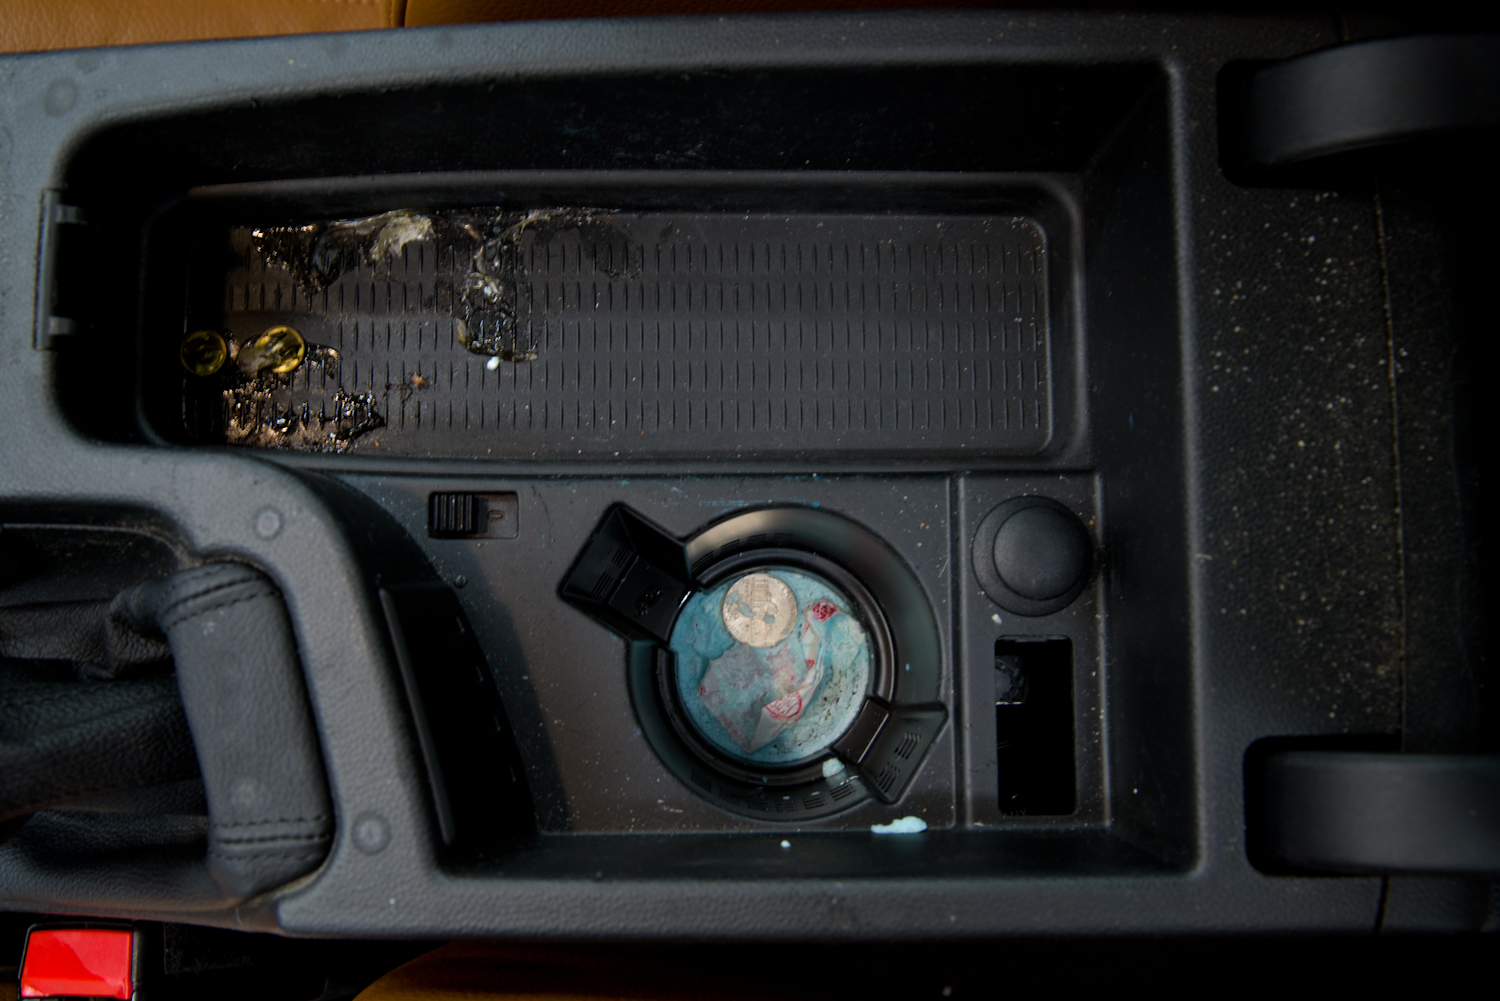
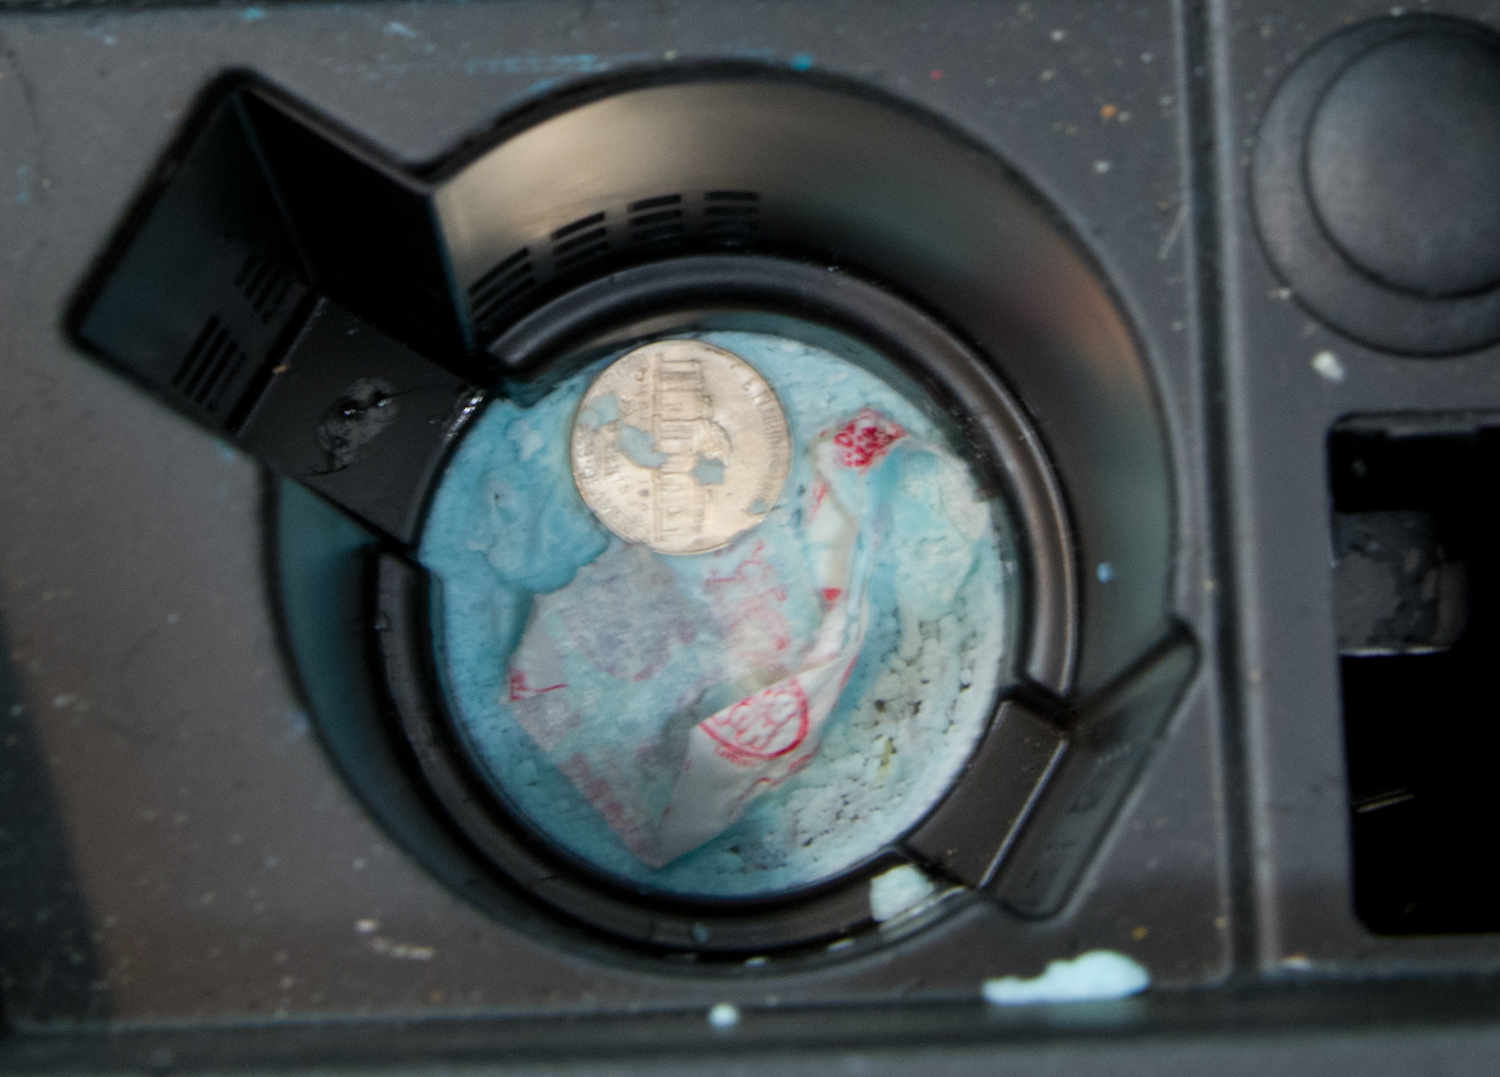
The crustiness down in the cup holder required the power of steam to fully remove.

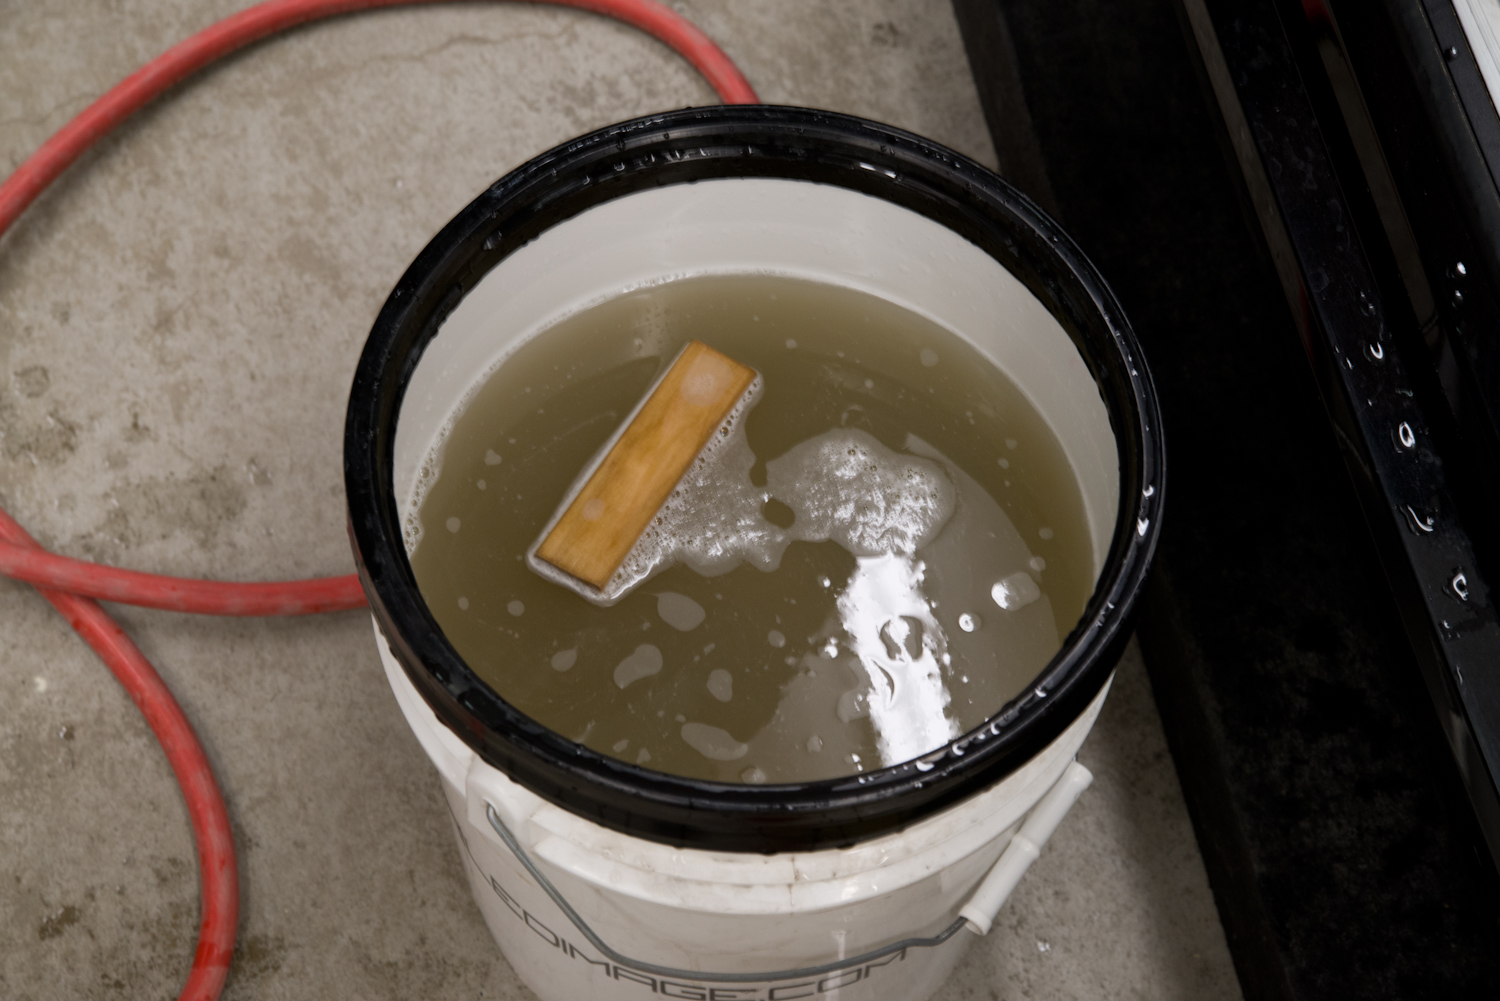
Initial cleaning of the leather was done using Optimum Power Clean at 10:1 with the aid of a leather brush and some soft MF towels. Below you can see my rinse water after doing just the drivers seat.
After I finished the initial cleaning of the leather, I started the Leatherique treatment by allowing Rejuvenator Oil to soak in for 48hrs (Reapplied after 24hrs). After allowing the Rejuvenator Oil to soak in I followed that up by cleaning with Leatherique Pristine Clean.

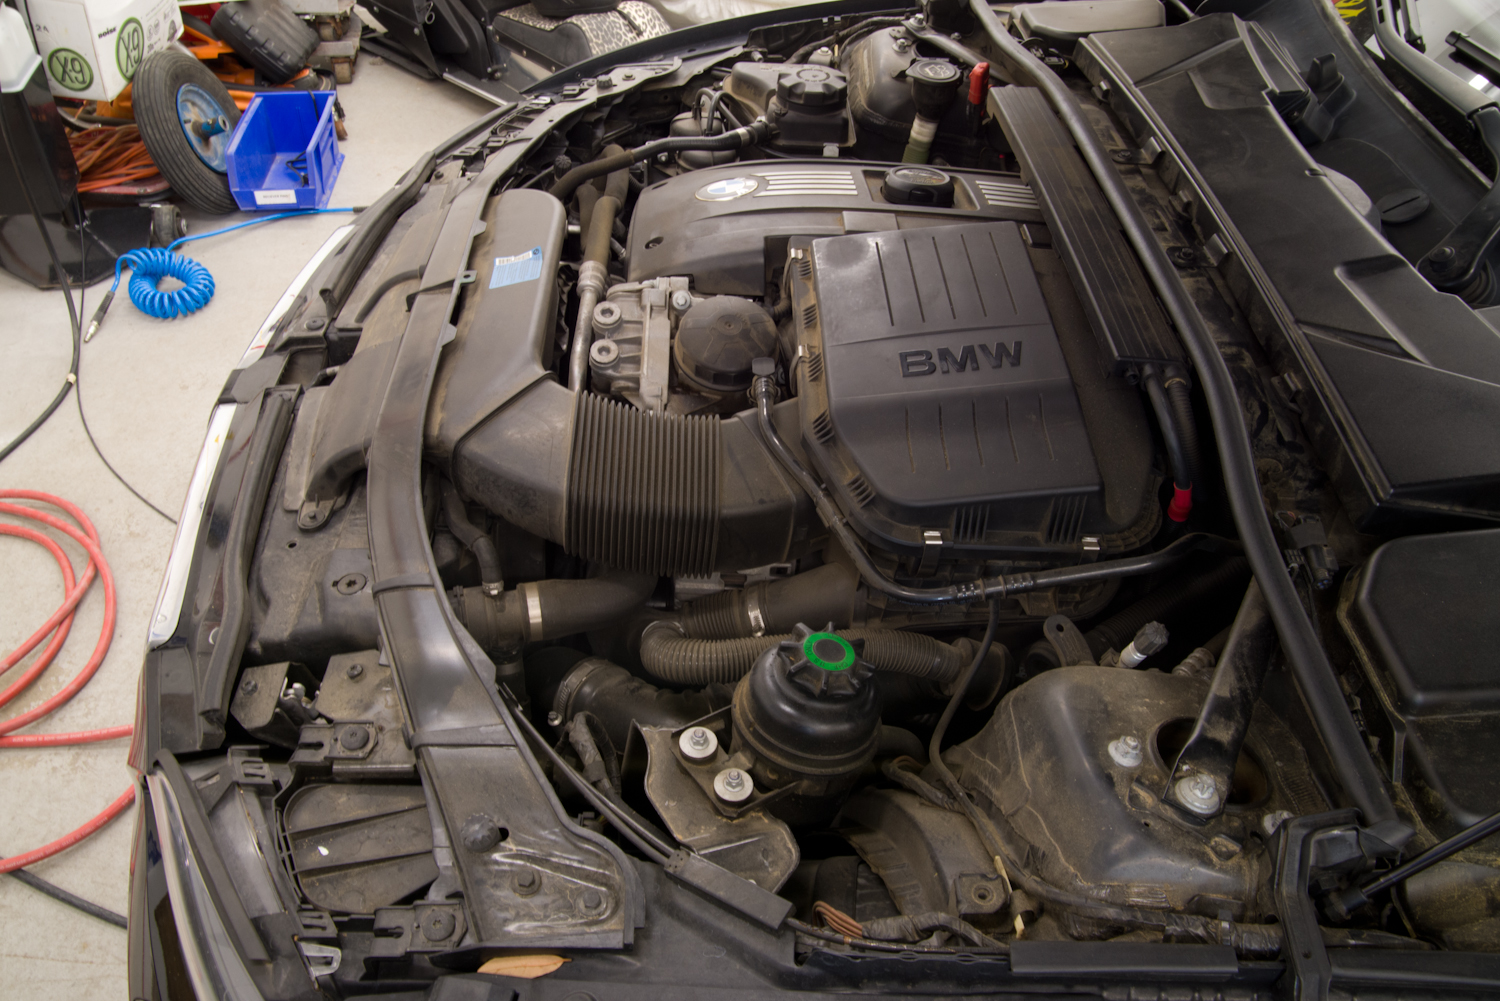
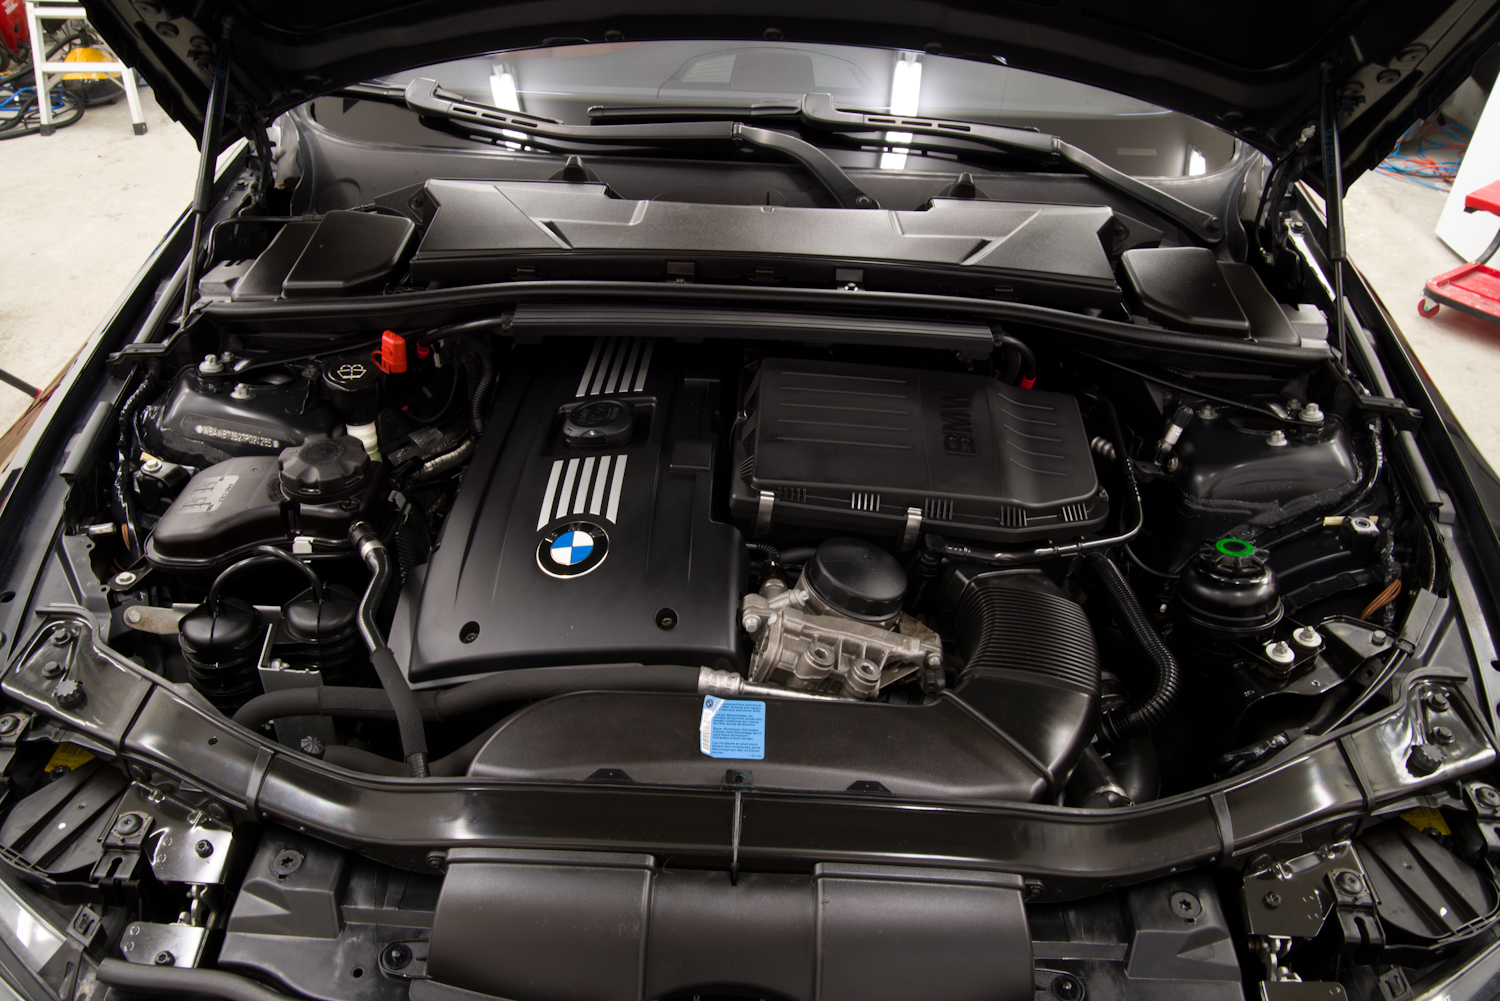
Moving on to the engine bay, you can see why I decided to clean it up a little with all the accumulated dust and dirt. This was done using Optimum Power Clean, agitation with various brushes, followed by a light rinse with the pressure washer. All plastics and rubber were dressed with Meguiar’s Hyper Dressing at 4:1 (Precautions were taken around the sensitive areas).

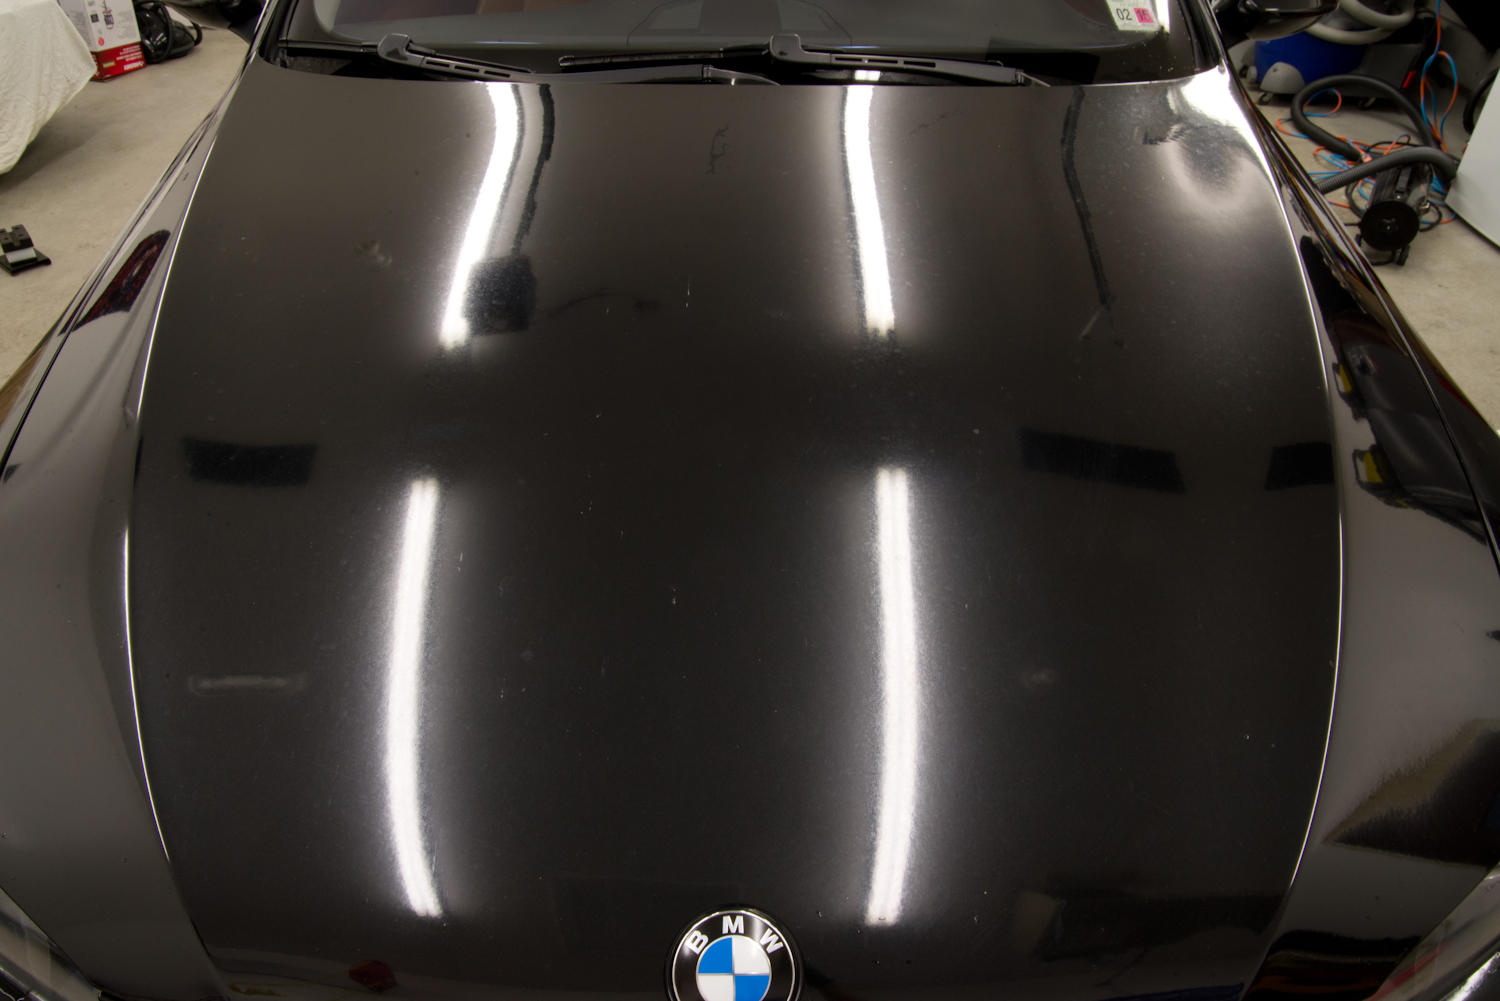
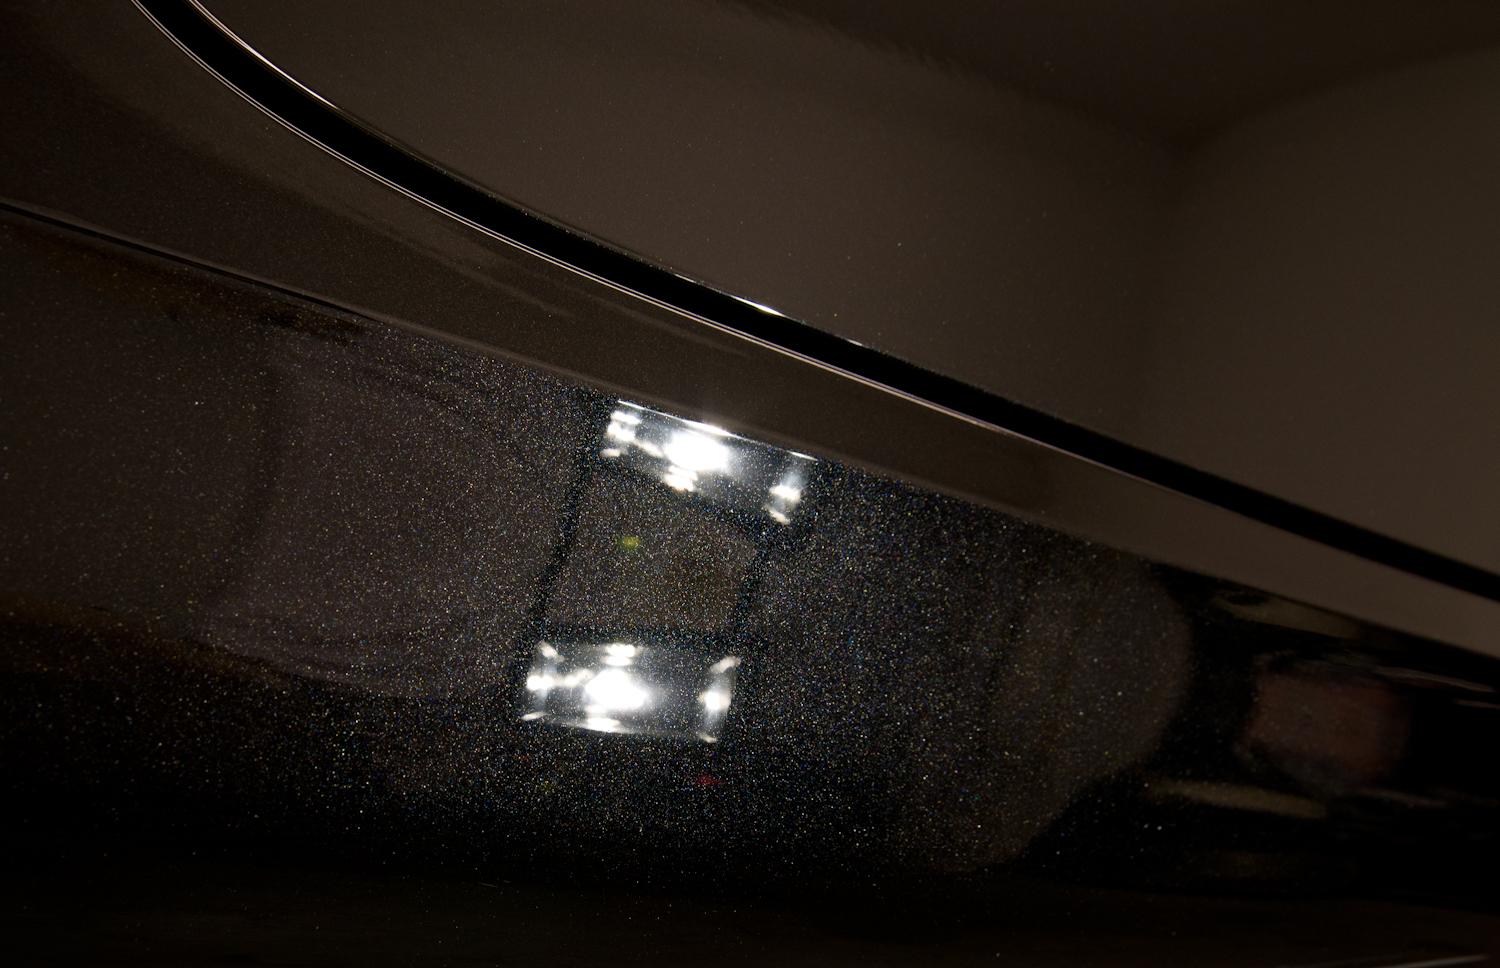
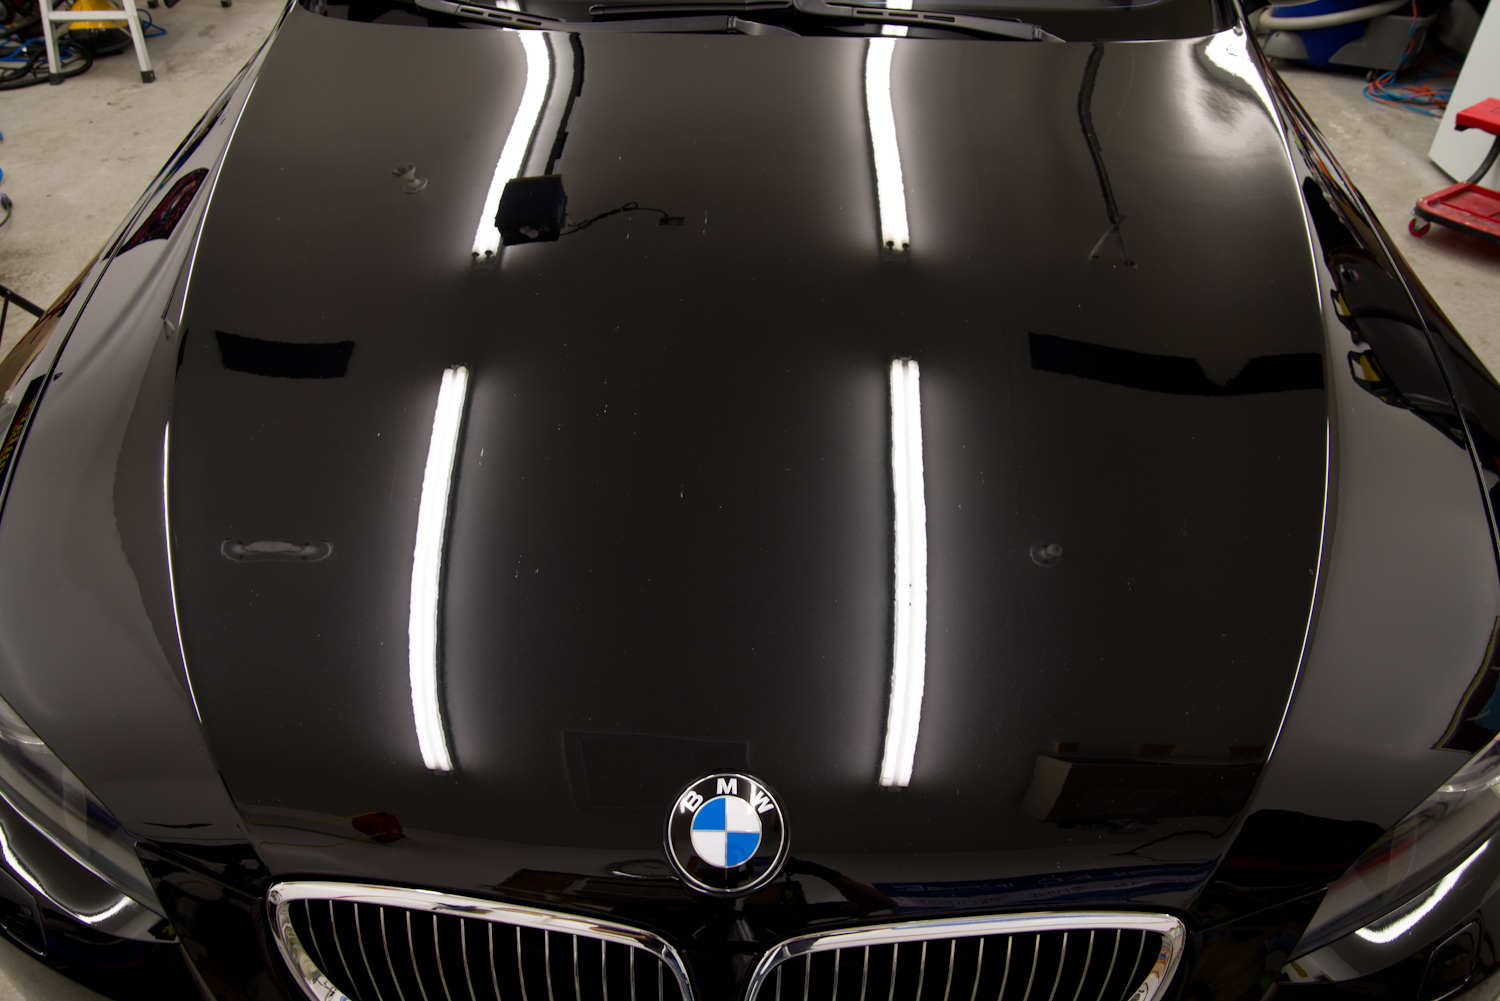
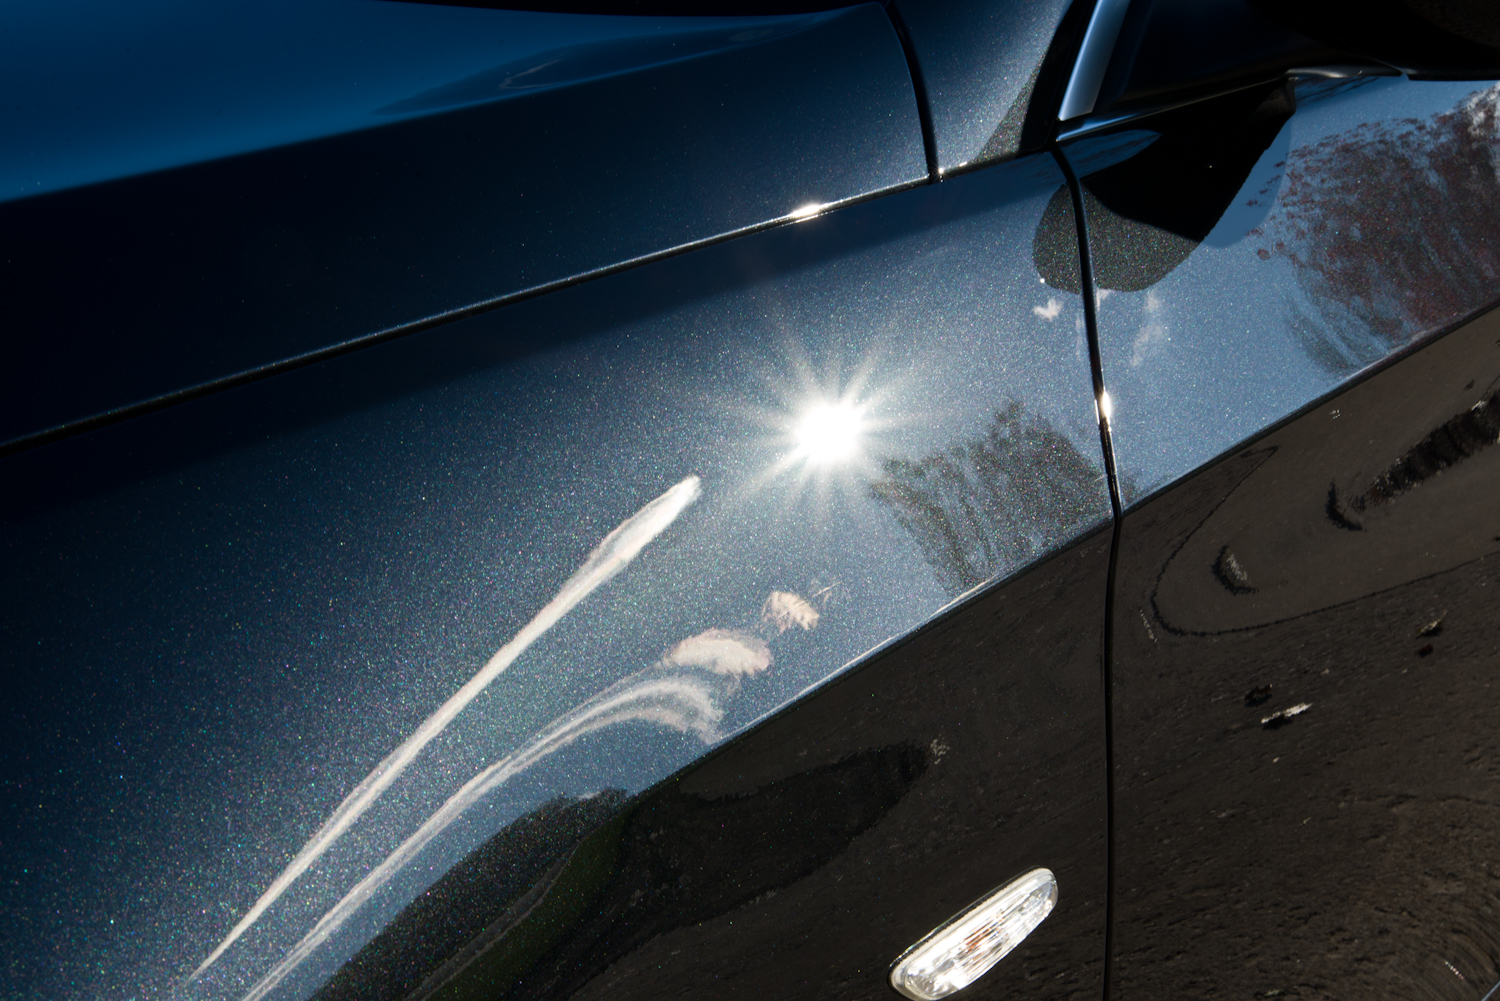
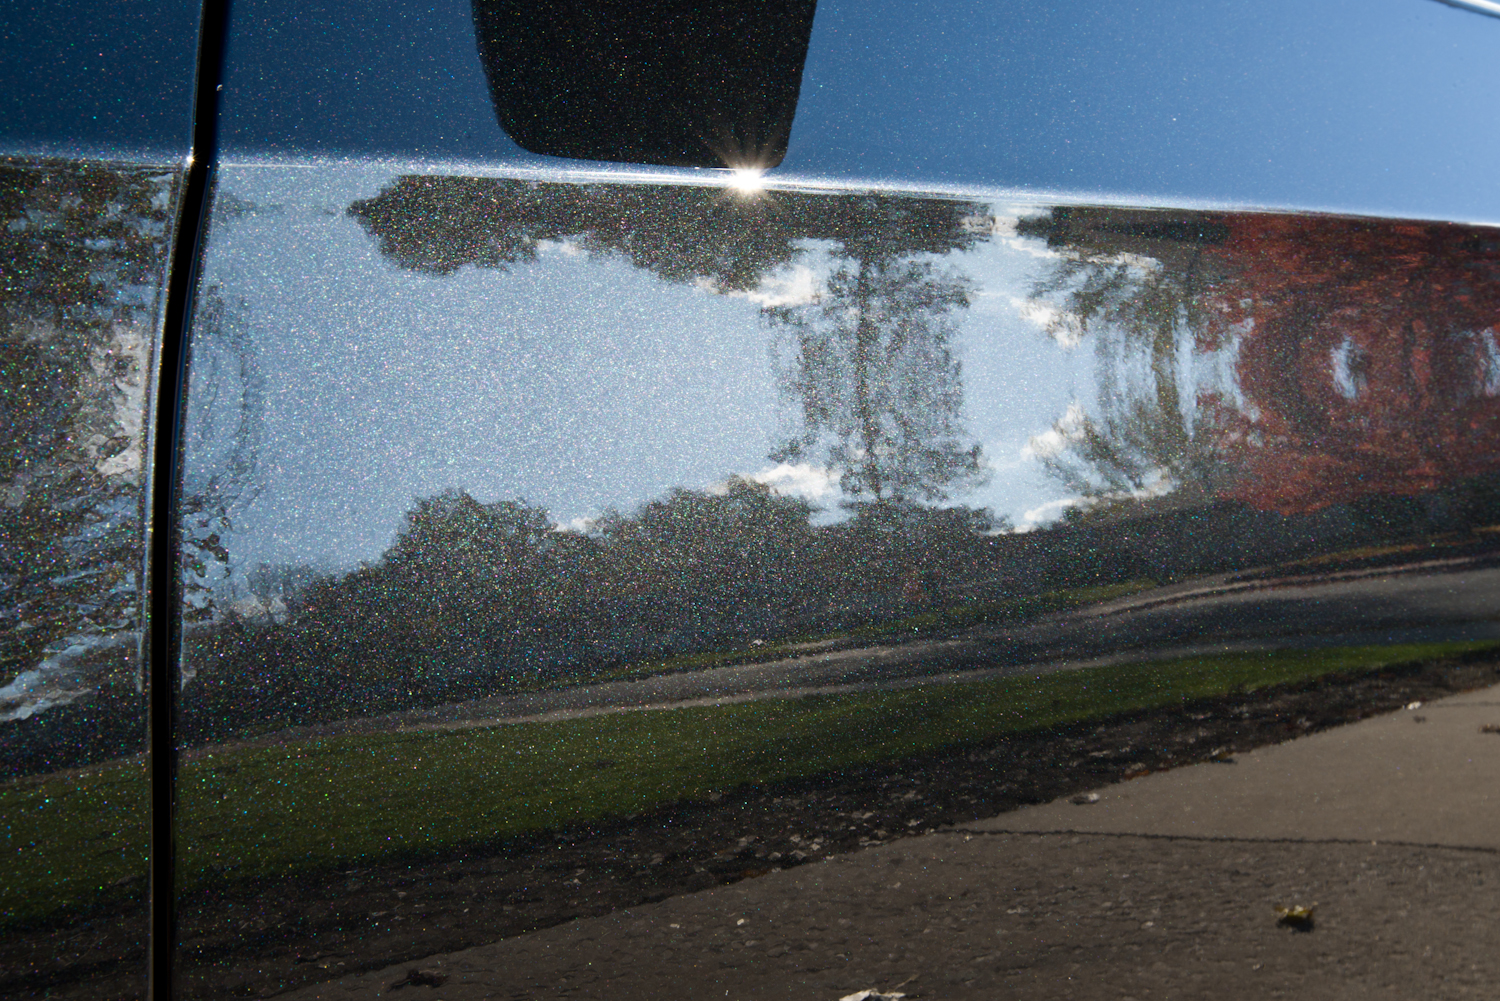
Hands down, I spent the most time on the exterior and addressing the water spot issues. After a good wash with Meguiar’s Hyper Wash and a thorough decon with IronX, Tarminator, and Speedy Prep Towel, I brought the vehicle back in for a closer inspection. The damage done by the hard water spots was some of the worst I’ve ever seen and they literally changed the overall texture on the hood and fenders. If you look at the hood picture below you’ll notice the lack of gloss and the overhead lights look fuzzy/distorted in the reflection.
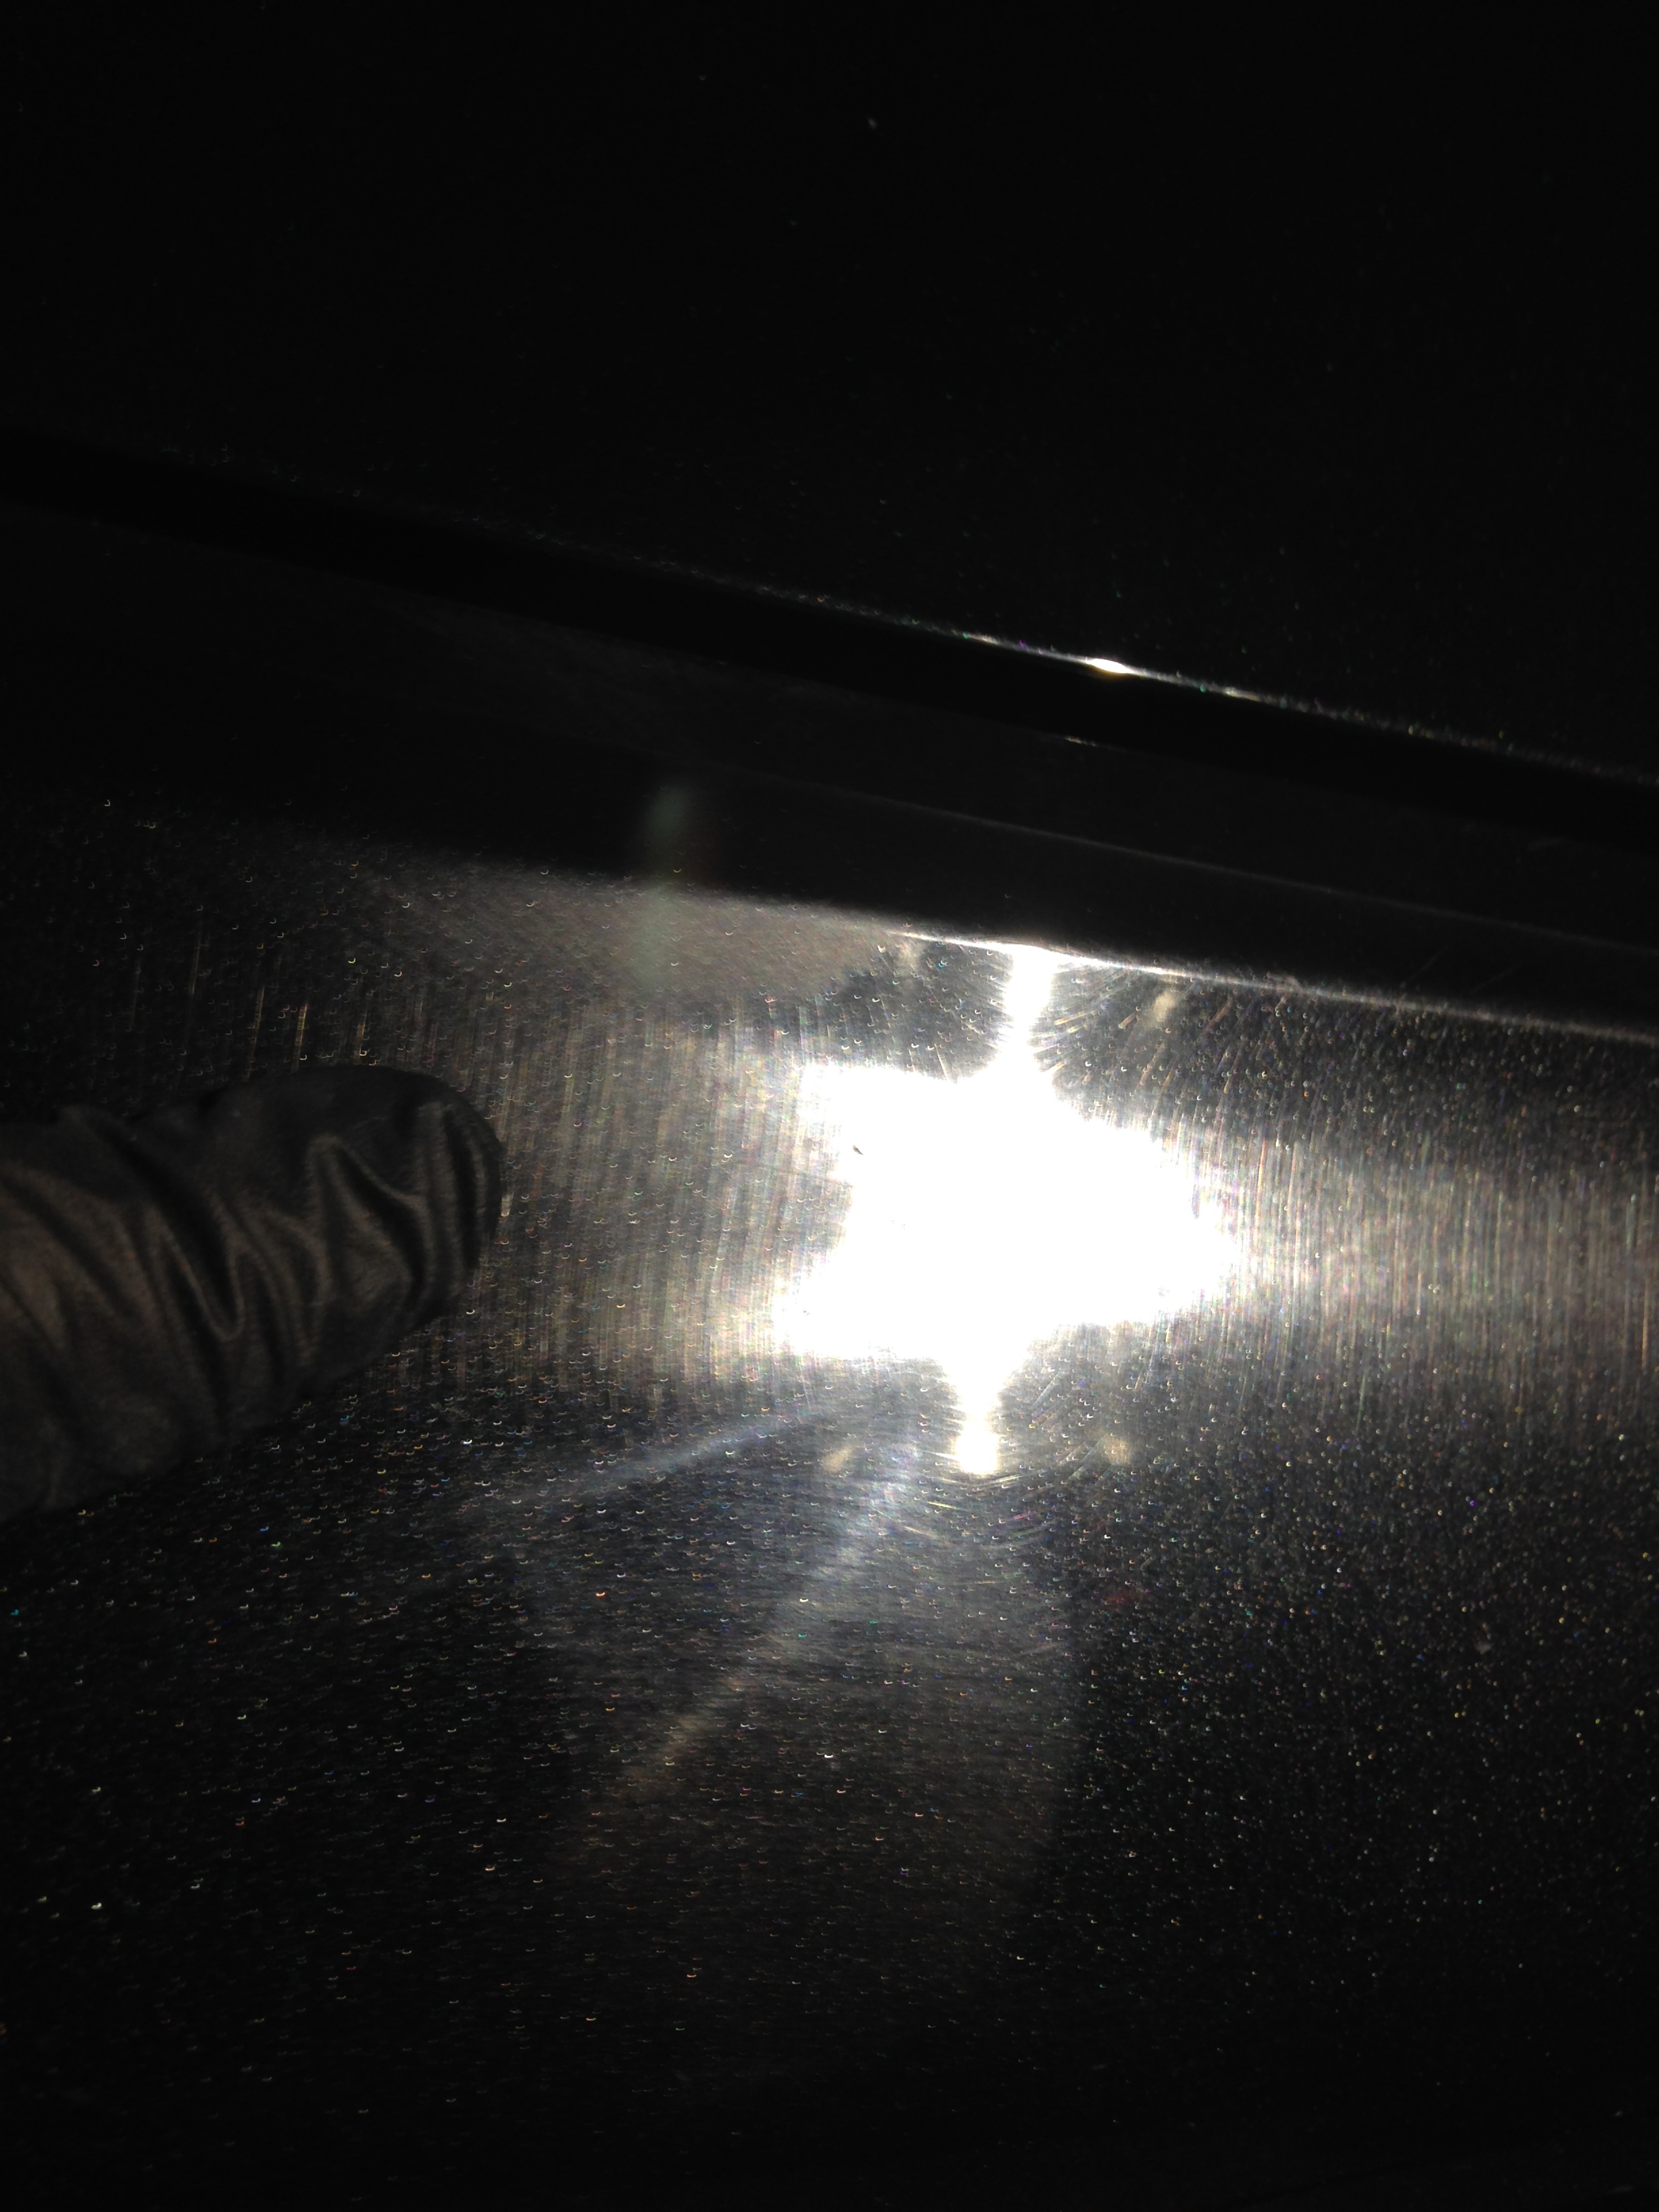
Zooming in closer to the surface of the hood, we get a much better idea of why there was such a lack of gloss and can see why the reflection was so distorted.
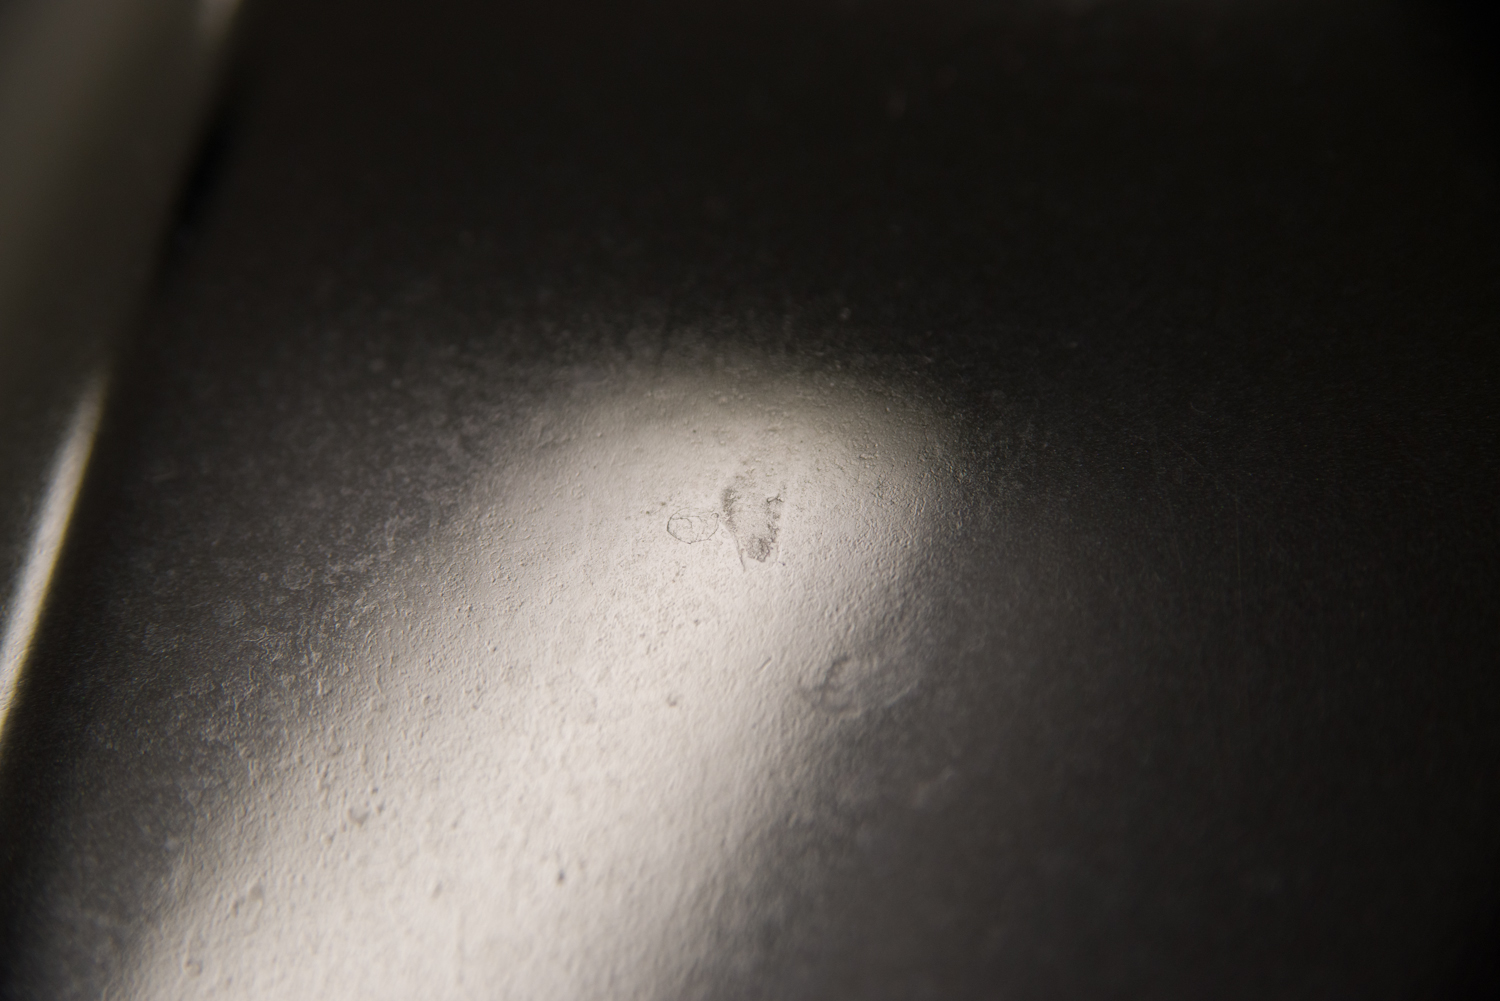
Closer yet (crop of the above pic)
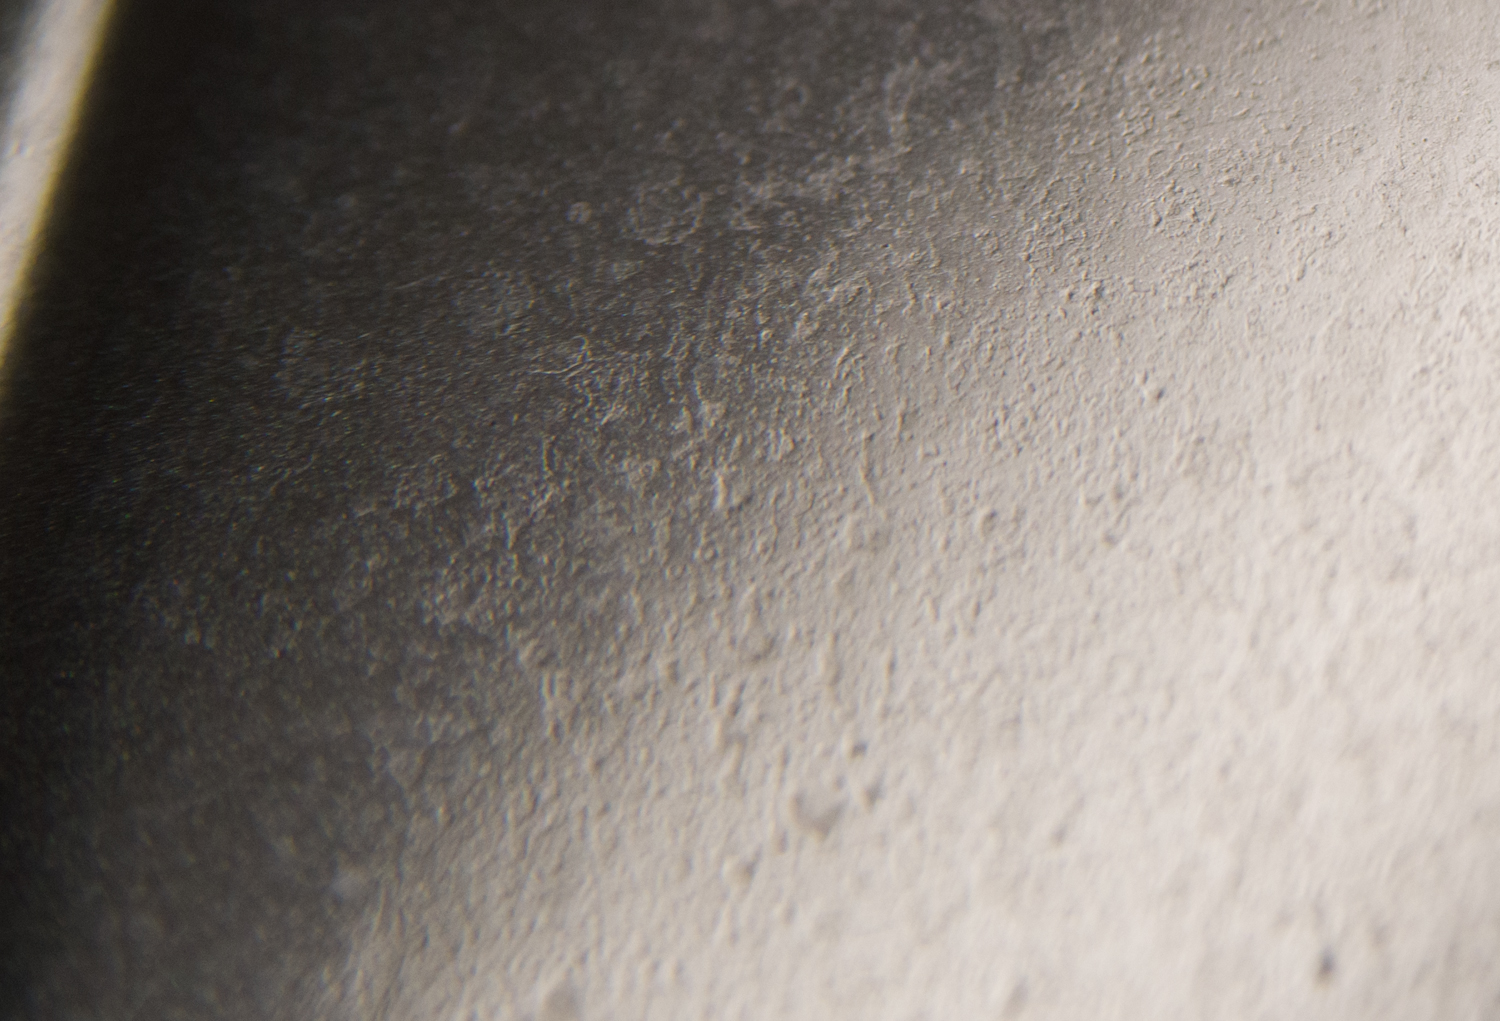

And another taken with my cell phone, which better shows the “vinyl like” texture of the paint after the hard water had wreaked havoc on it.


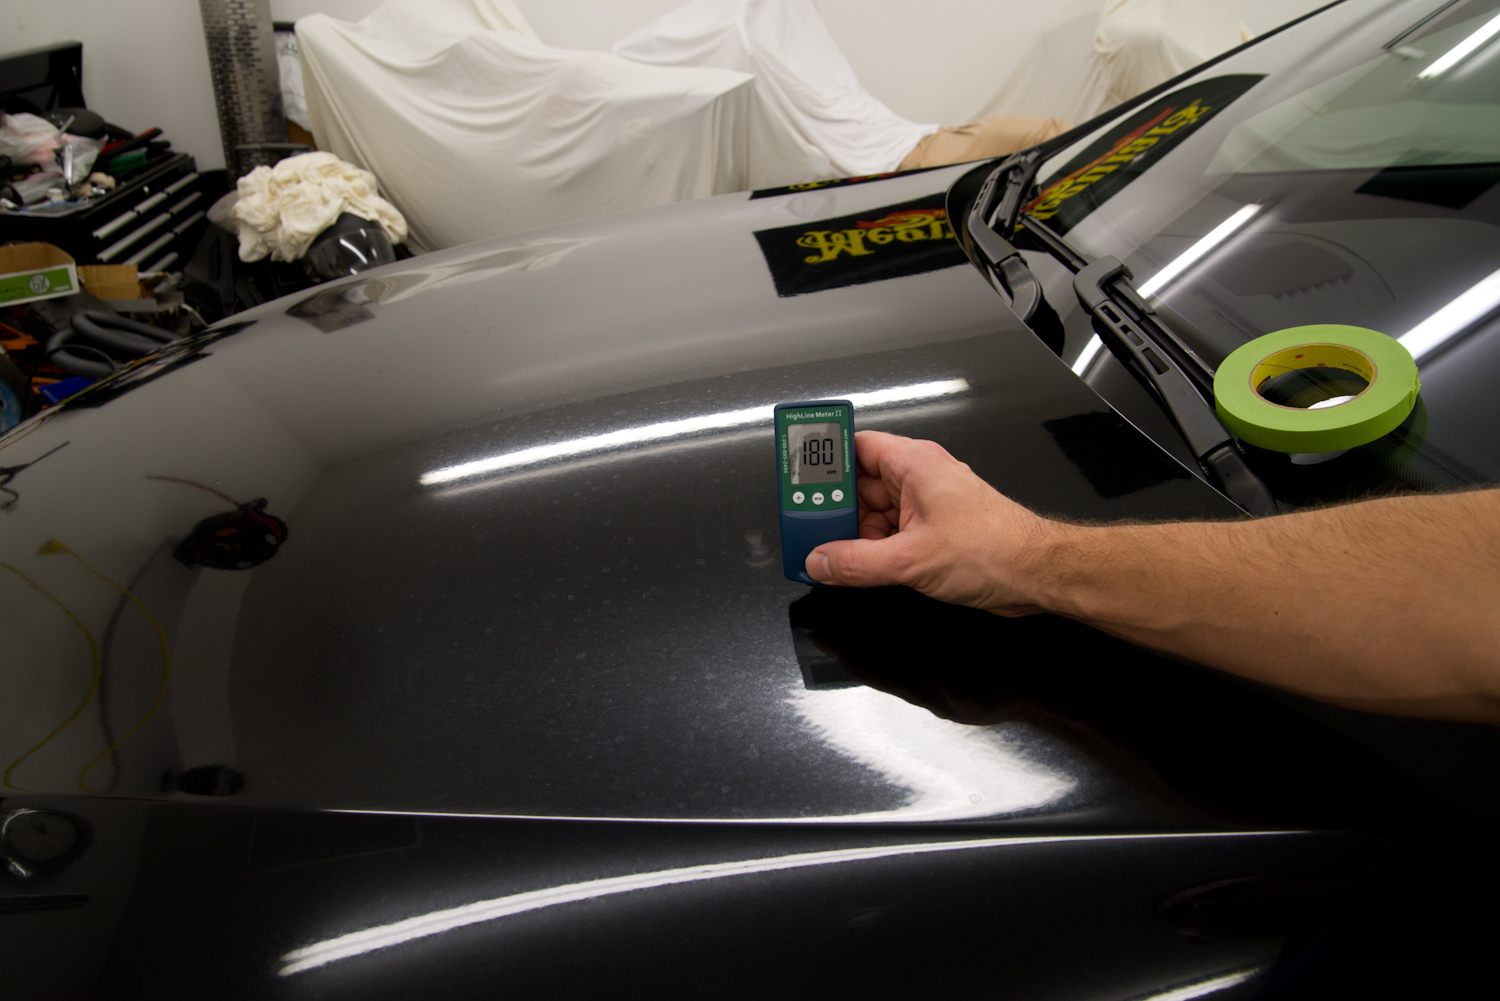
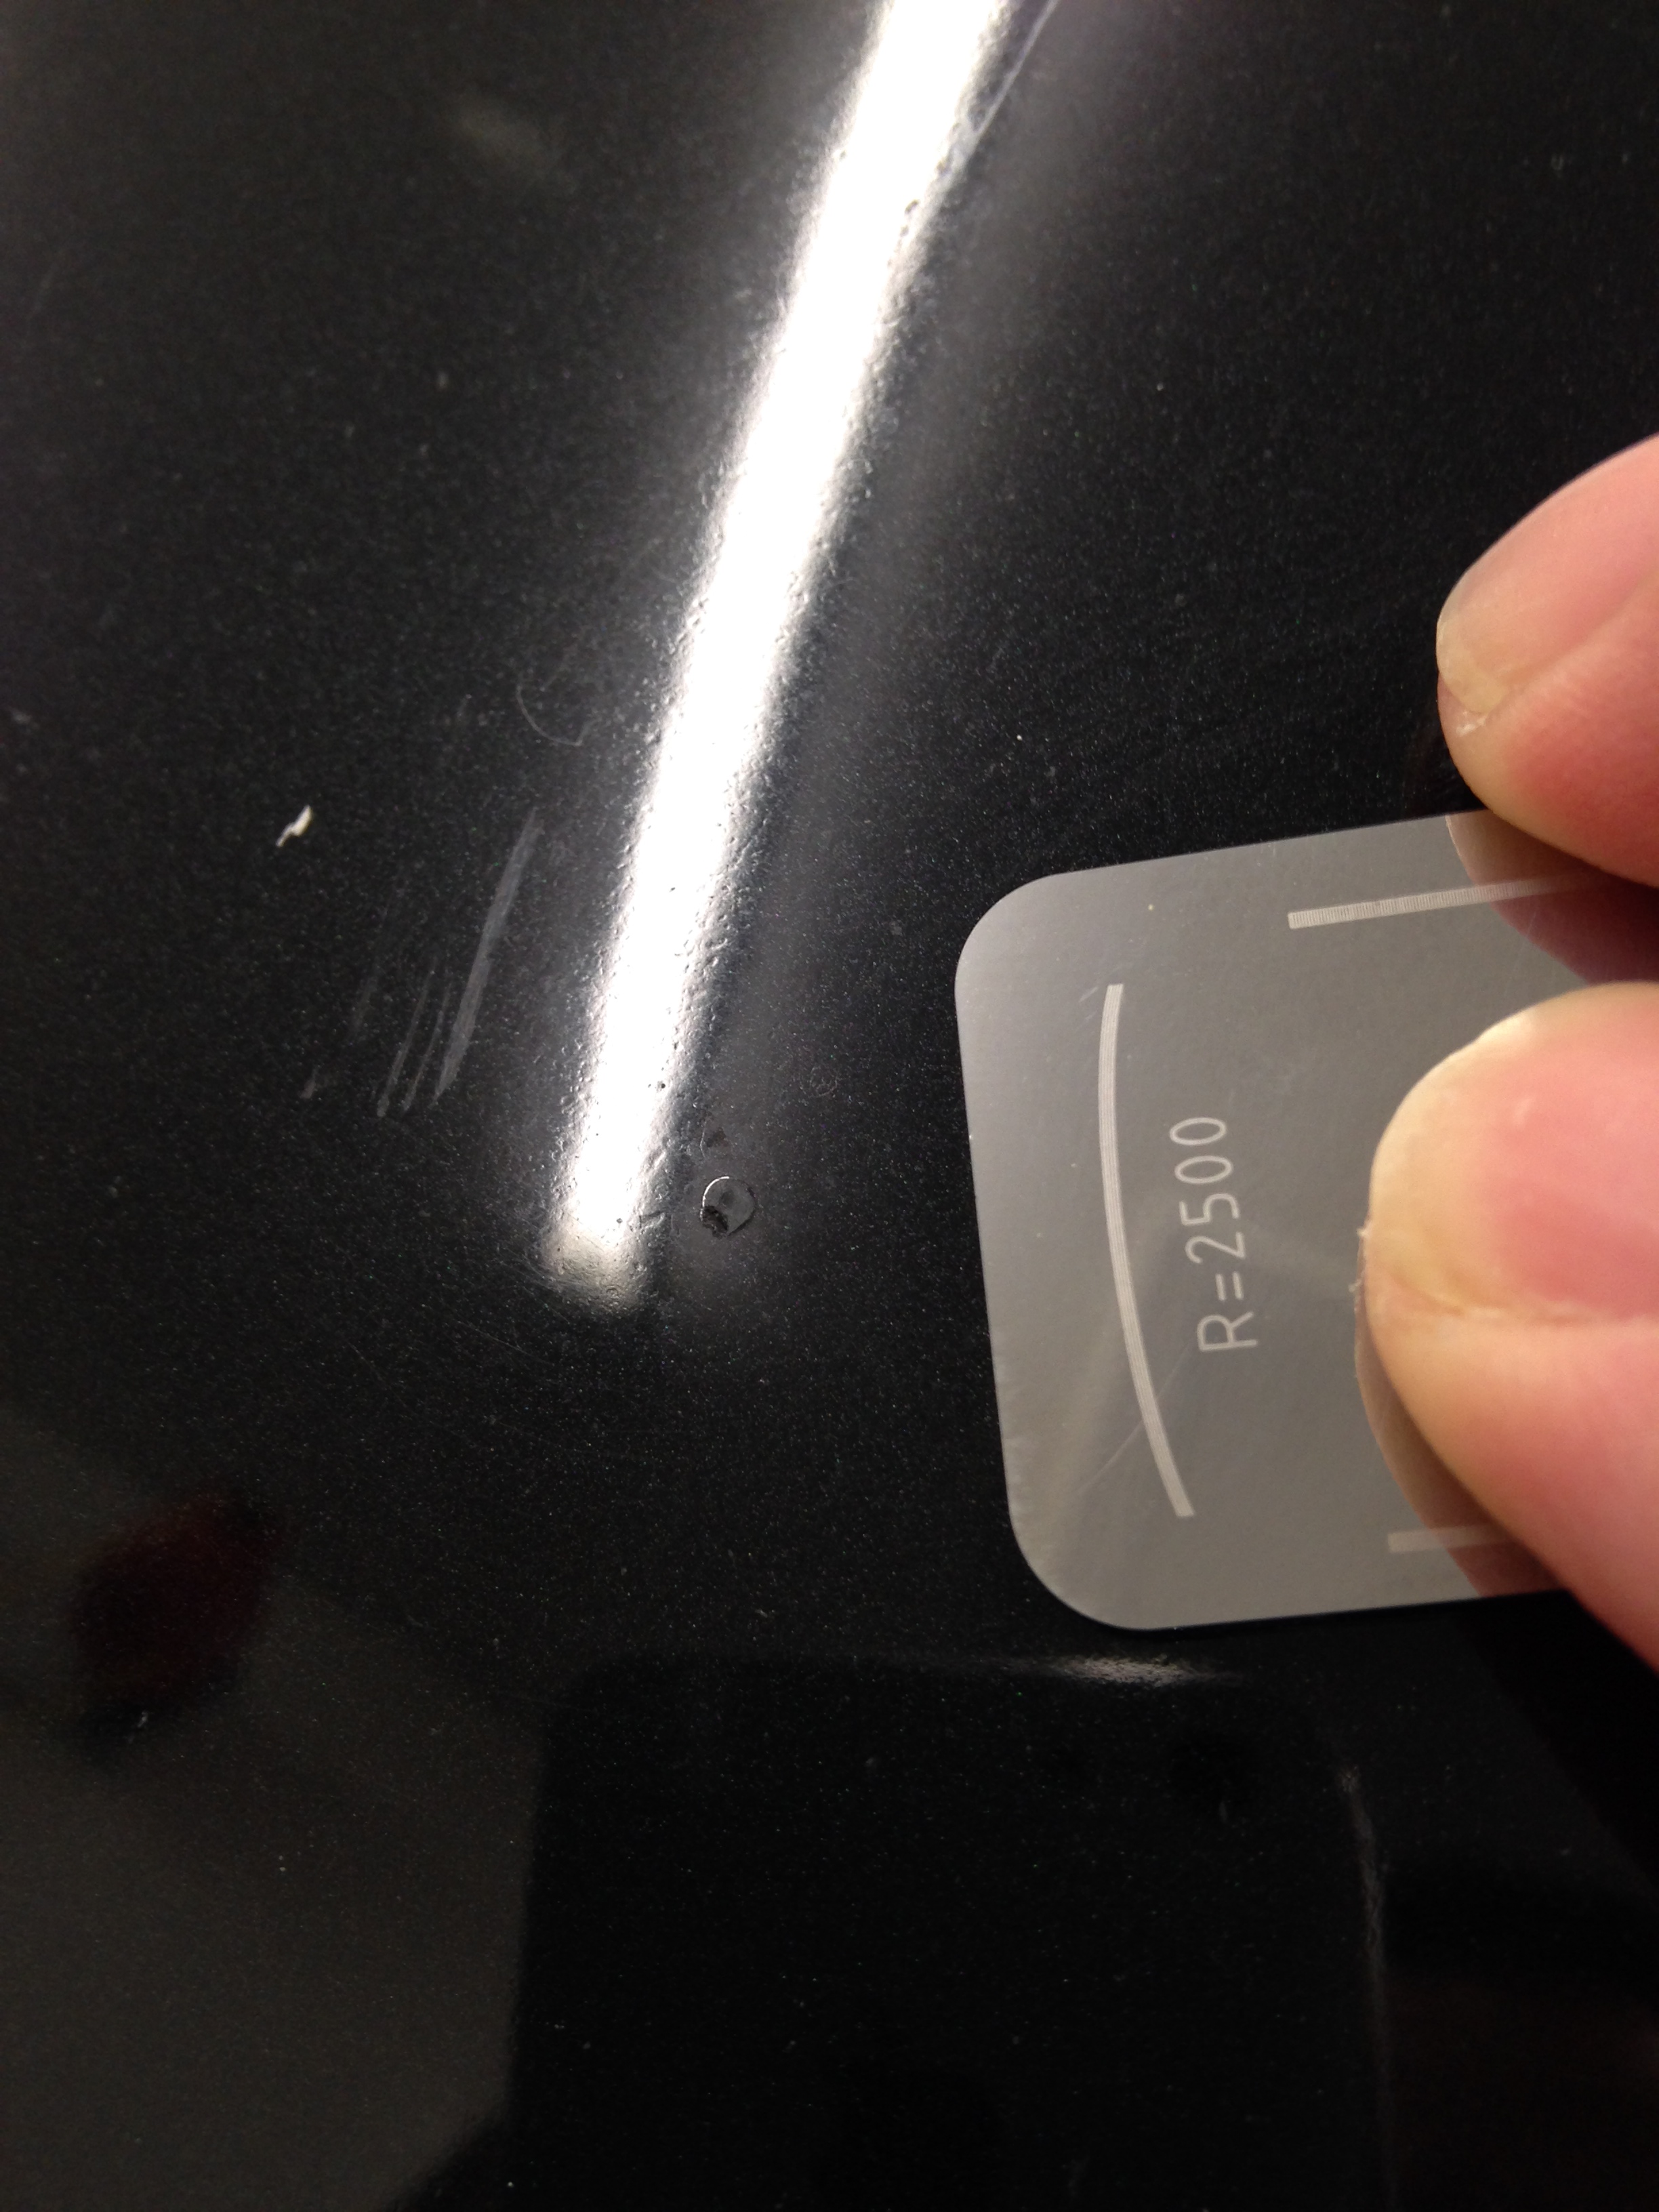
Removing these water spots meant I would have to do a good amount of wet sanding. So, the first thing I needed to do was take some paint readings to ensure there was enough clear coat to allow for such an aggressive correction. BMW’s of this year tend to have a good amount of material on them, which can be seen in the image below. Average readings throughout the car with my PTG were in the 165 to 180 micron range.
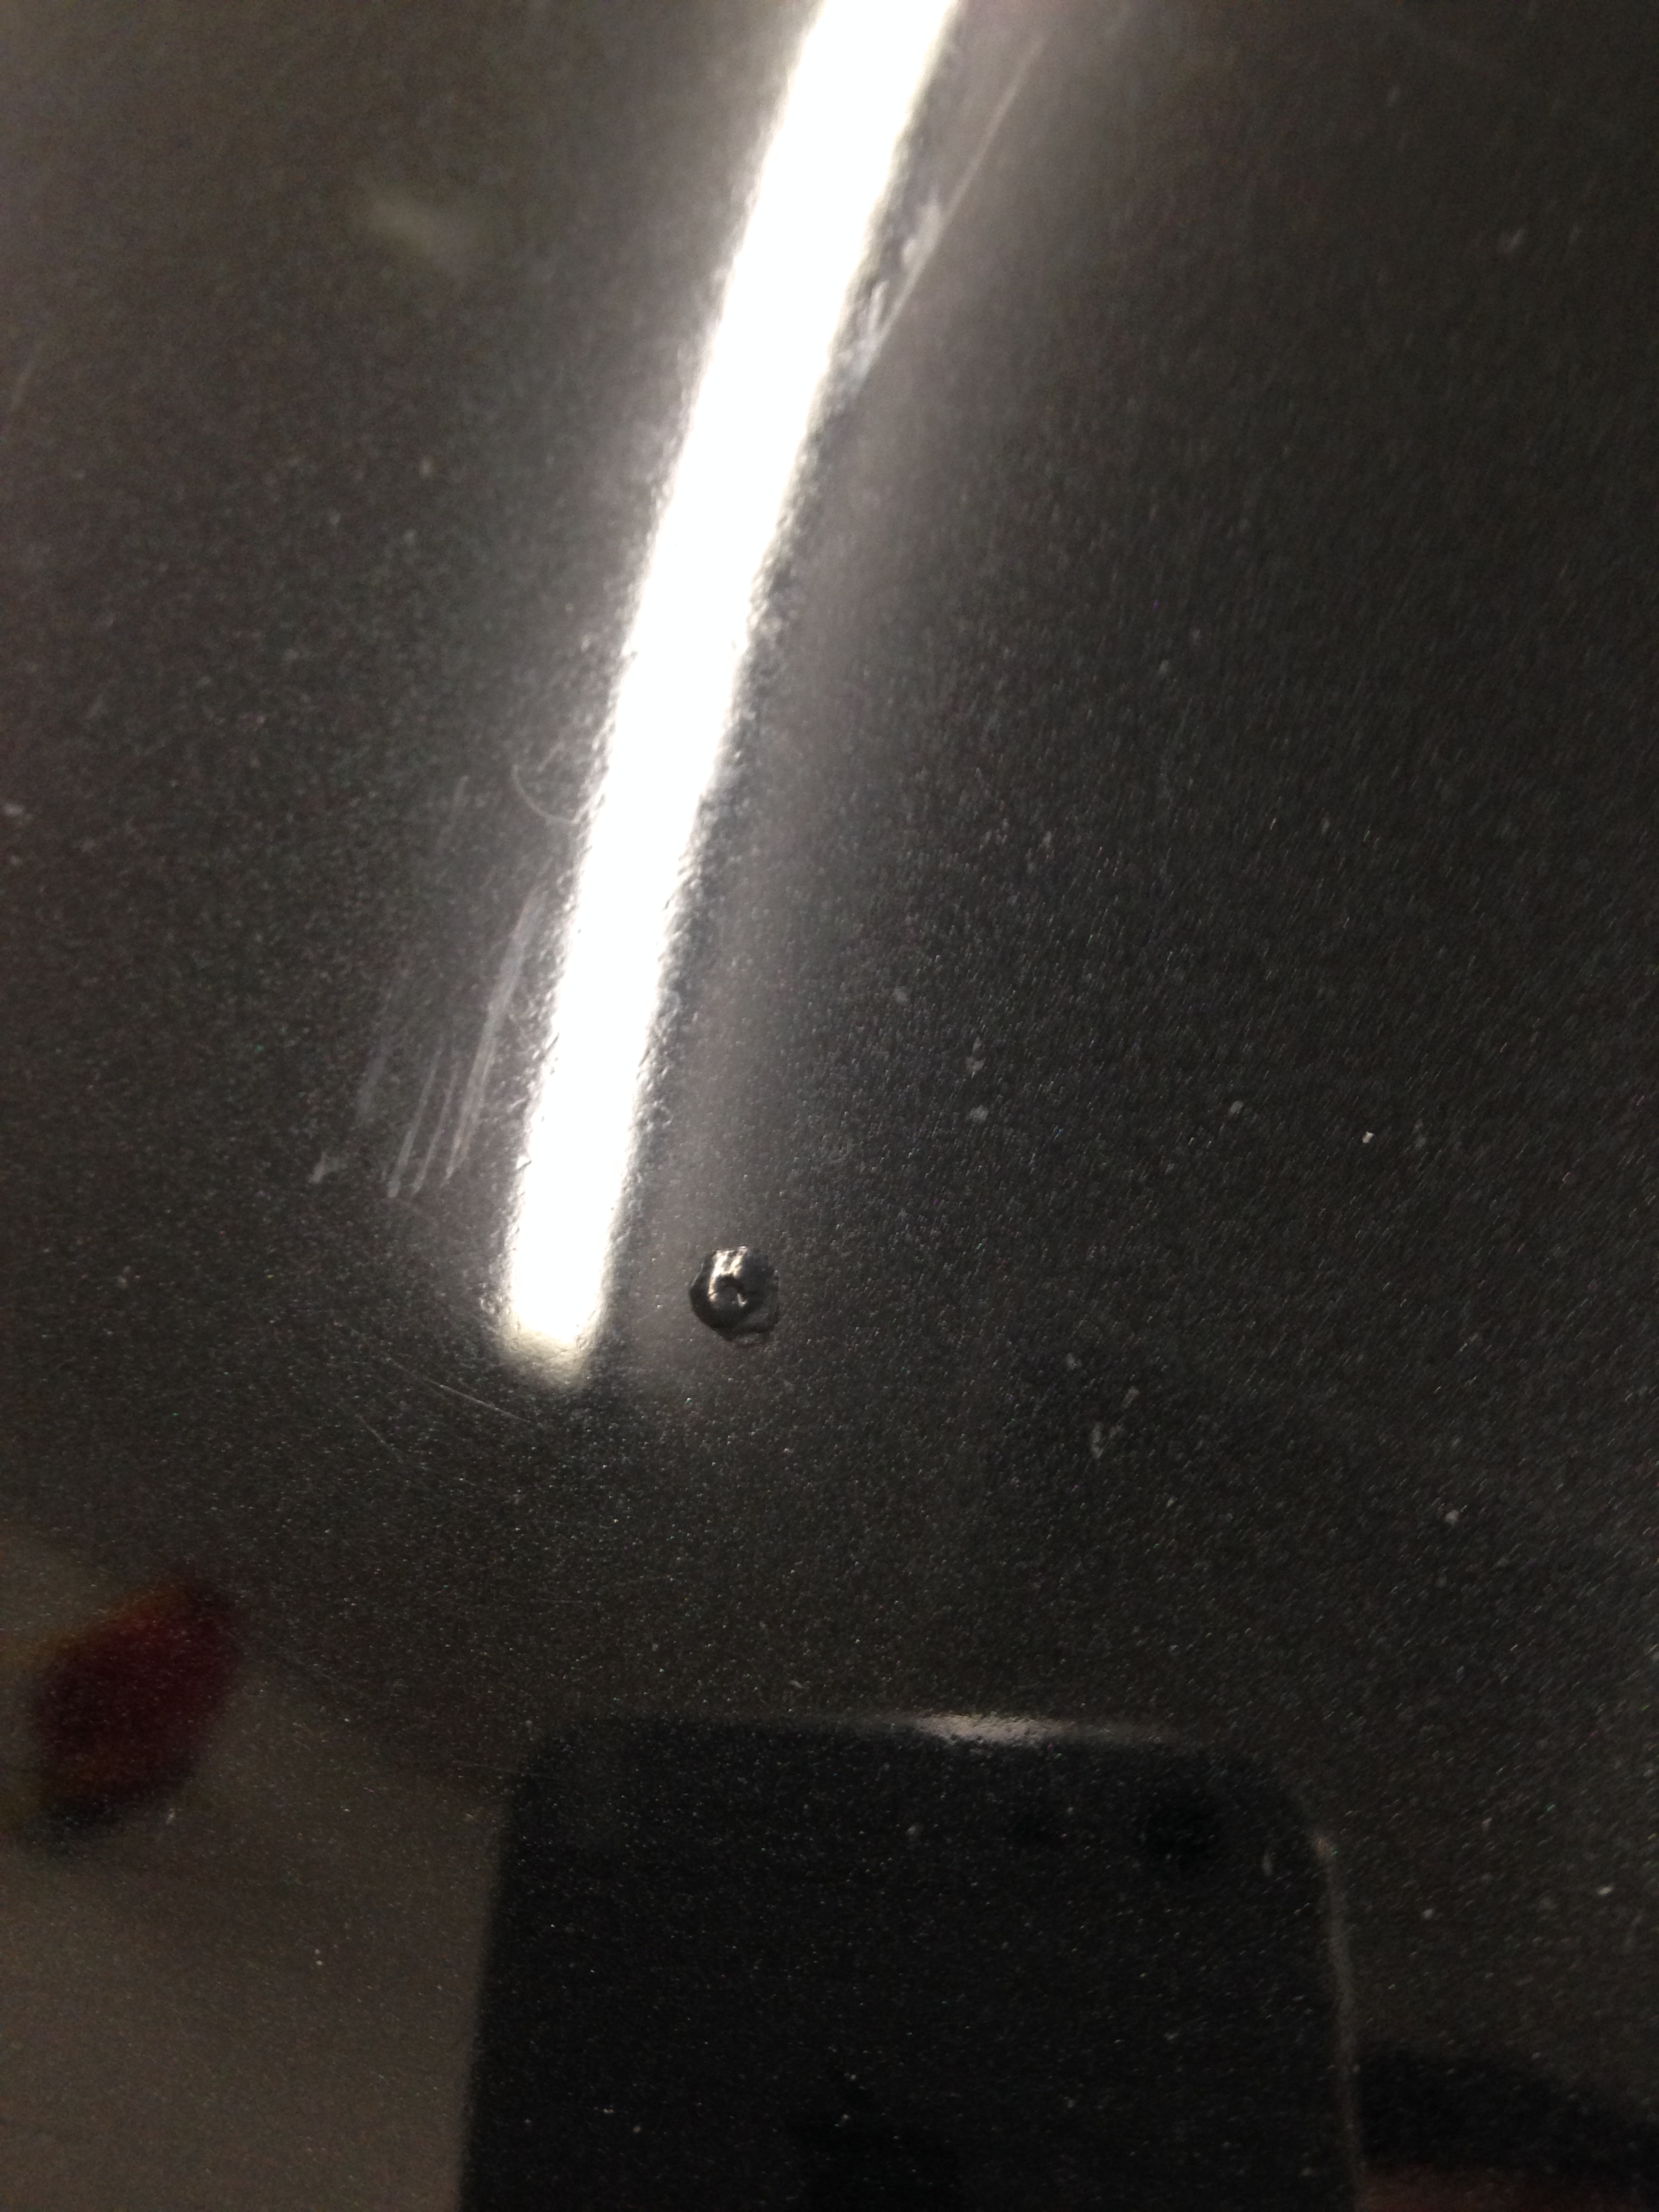
However, before sanding I wanted to address some of the larger rock chips on the front of the hood, which he was concerned with. My method for touching up chips it to build up the paint/clear, then I shave them down with my cool little Festool Denibber, which you can pick up from Kevin Brown.
Building up the paint

Shaving it down level with my denibber
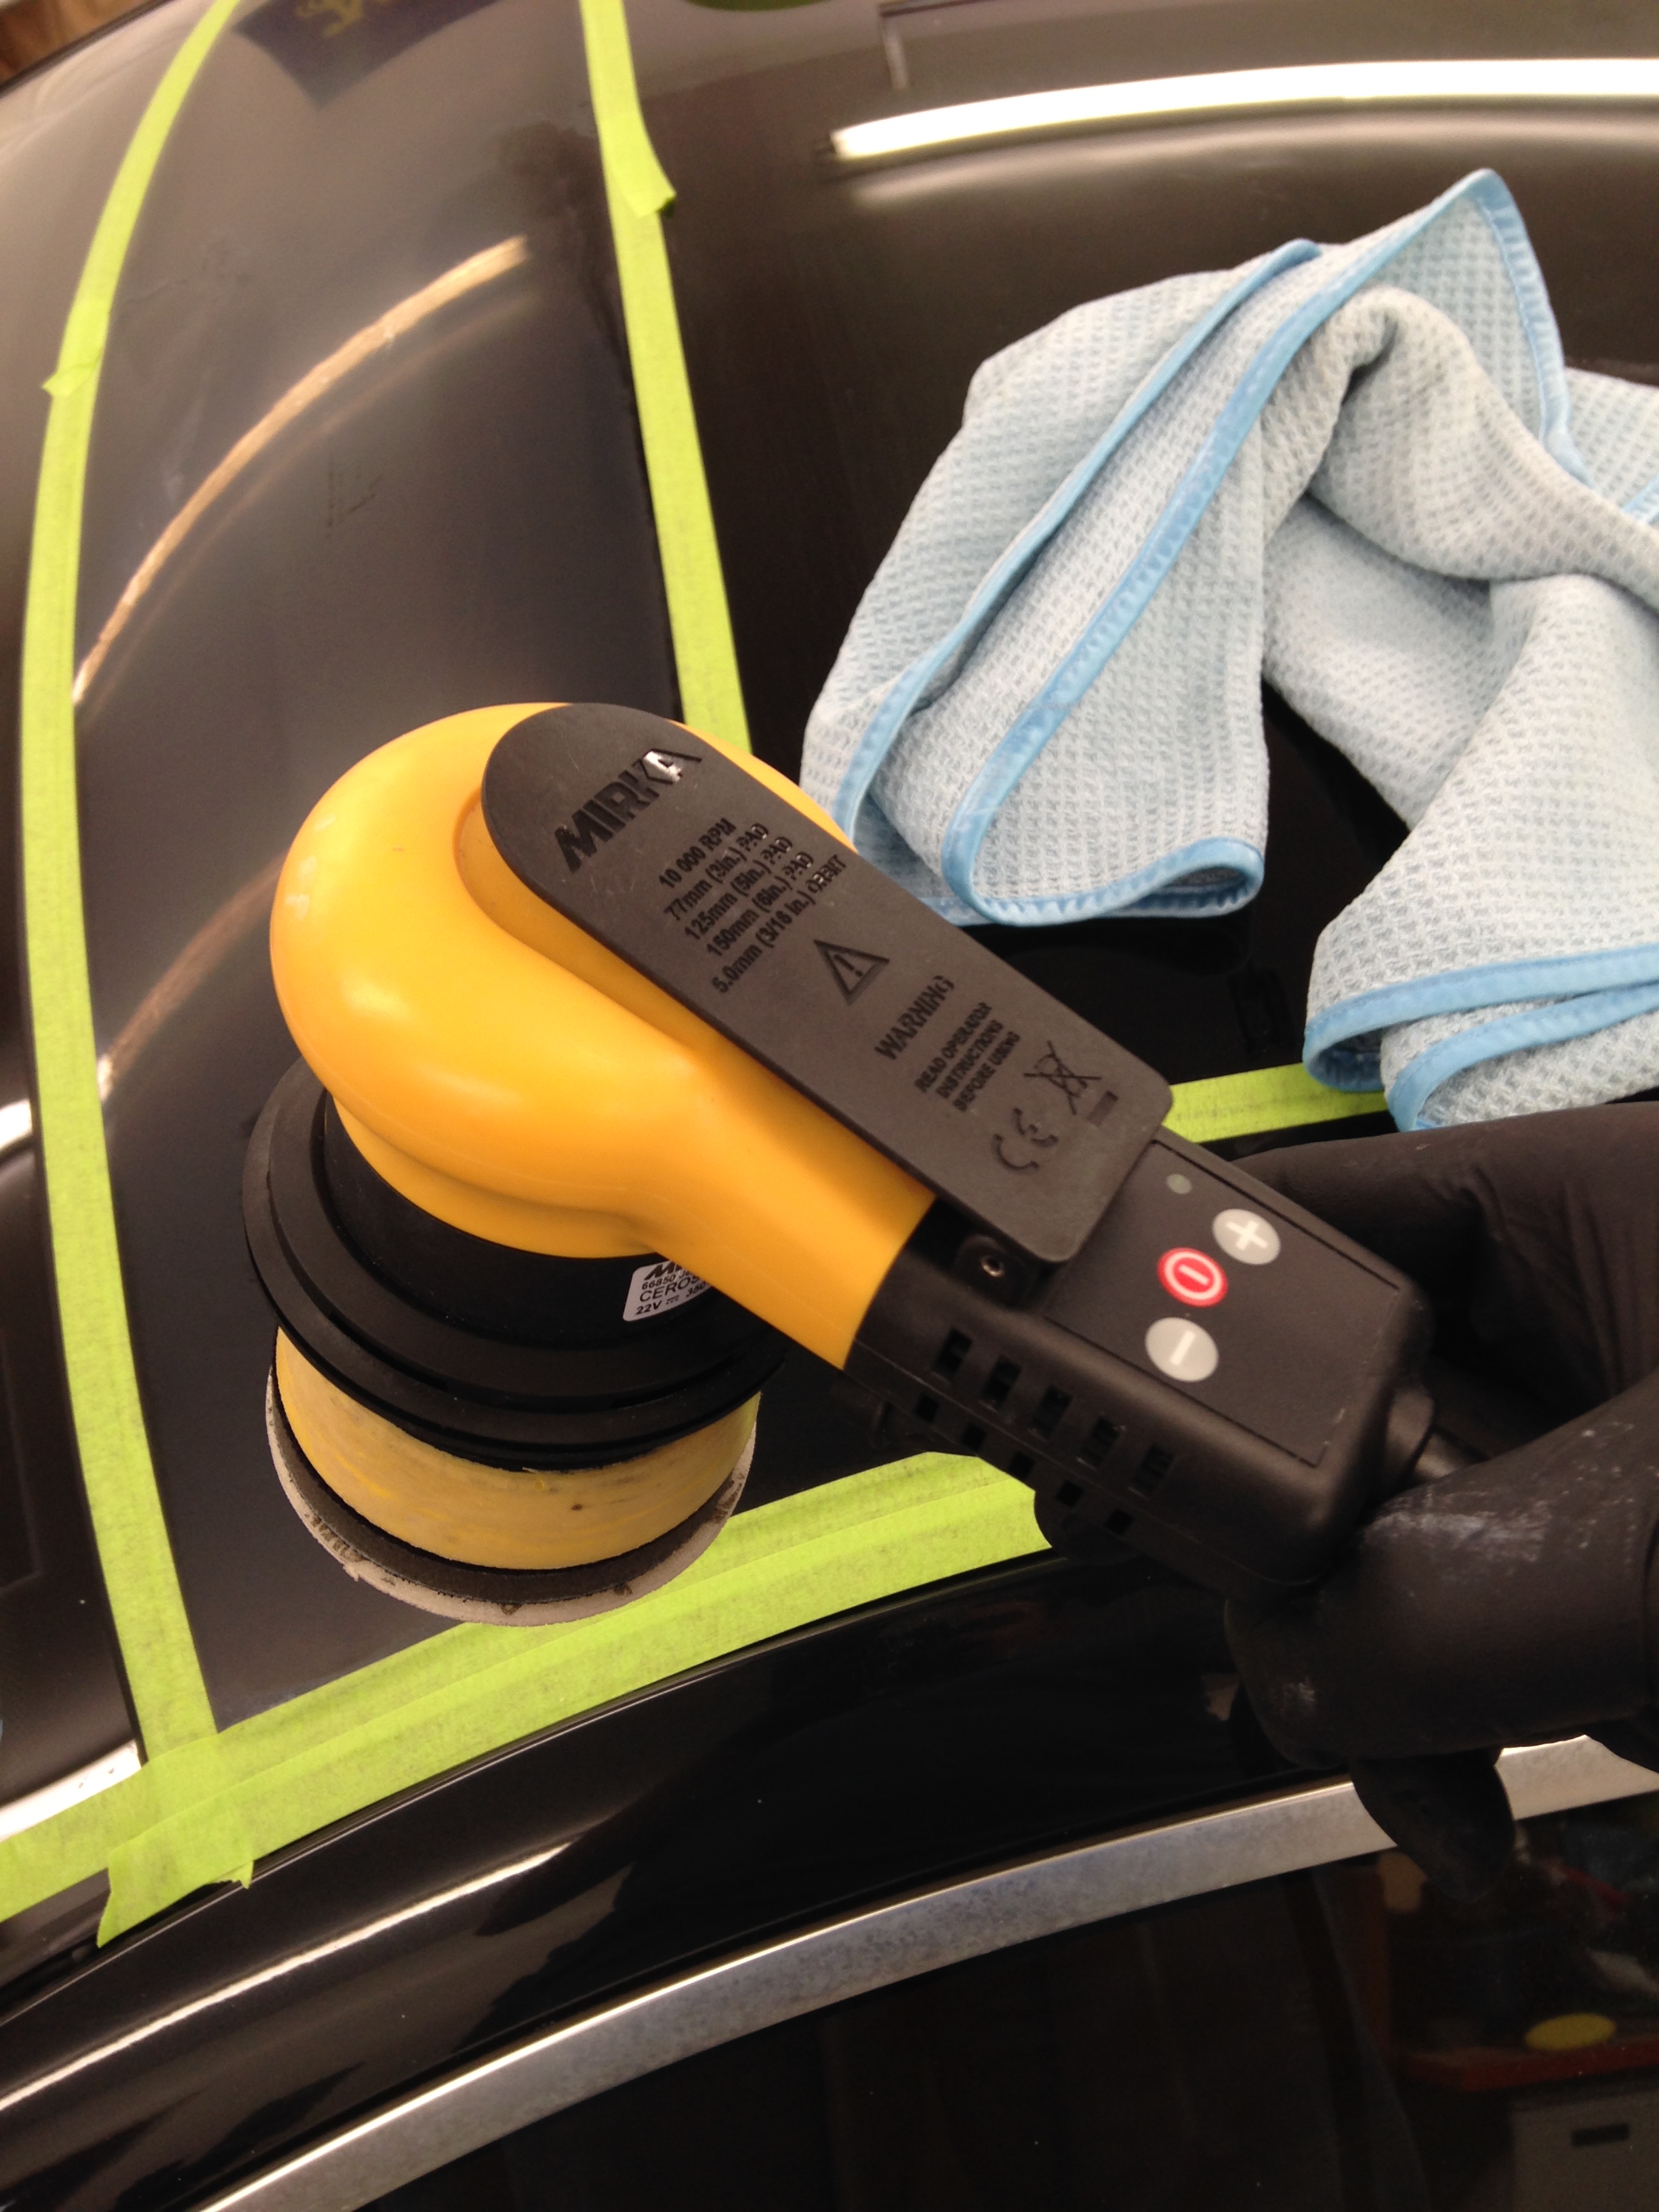
After the chips were taken care of I wet sanded the roof, hood, and deck lid with Meguiar’s 1500 and 3000 grit foam backed “Finishing” discs. I paired each disc with a Meguiar’s Interface Pad, as my intention was to remove the water spots while minimizing removal of the OEM orange peel. The reason being I wanted to avoid a noticeable difference in panel texture/appearance. All sanding was done via my favorite DA sander, the Mirka Ceros, which you can also get from Kevin Brown.

Some etching could still be seen after sanding, but I’d say 95% of it was removed and any remaining etching would be very hard to spot after polishing.

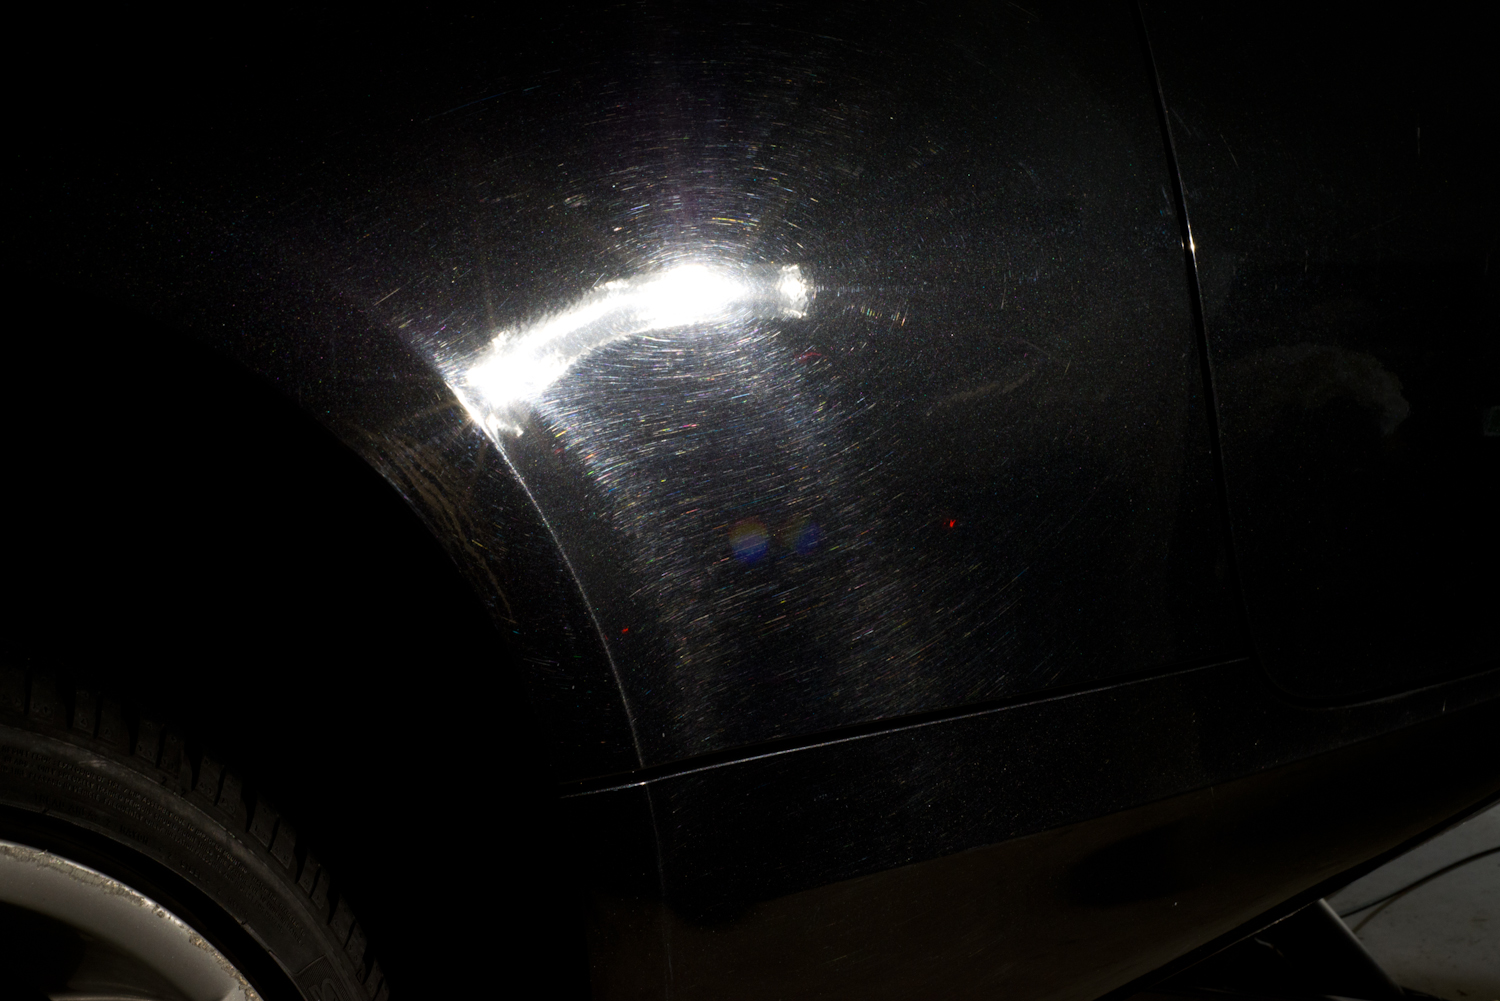
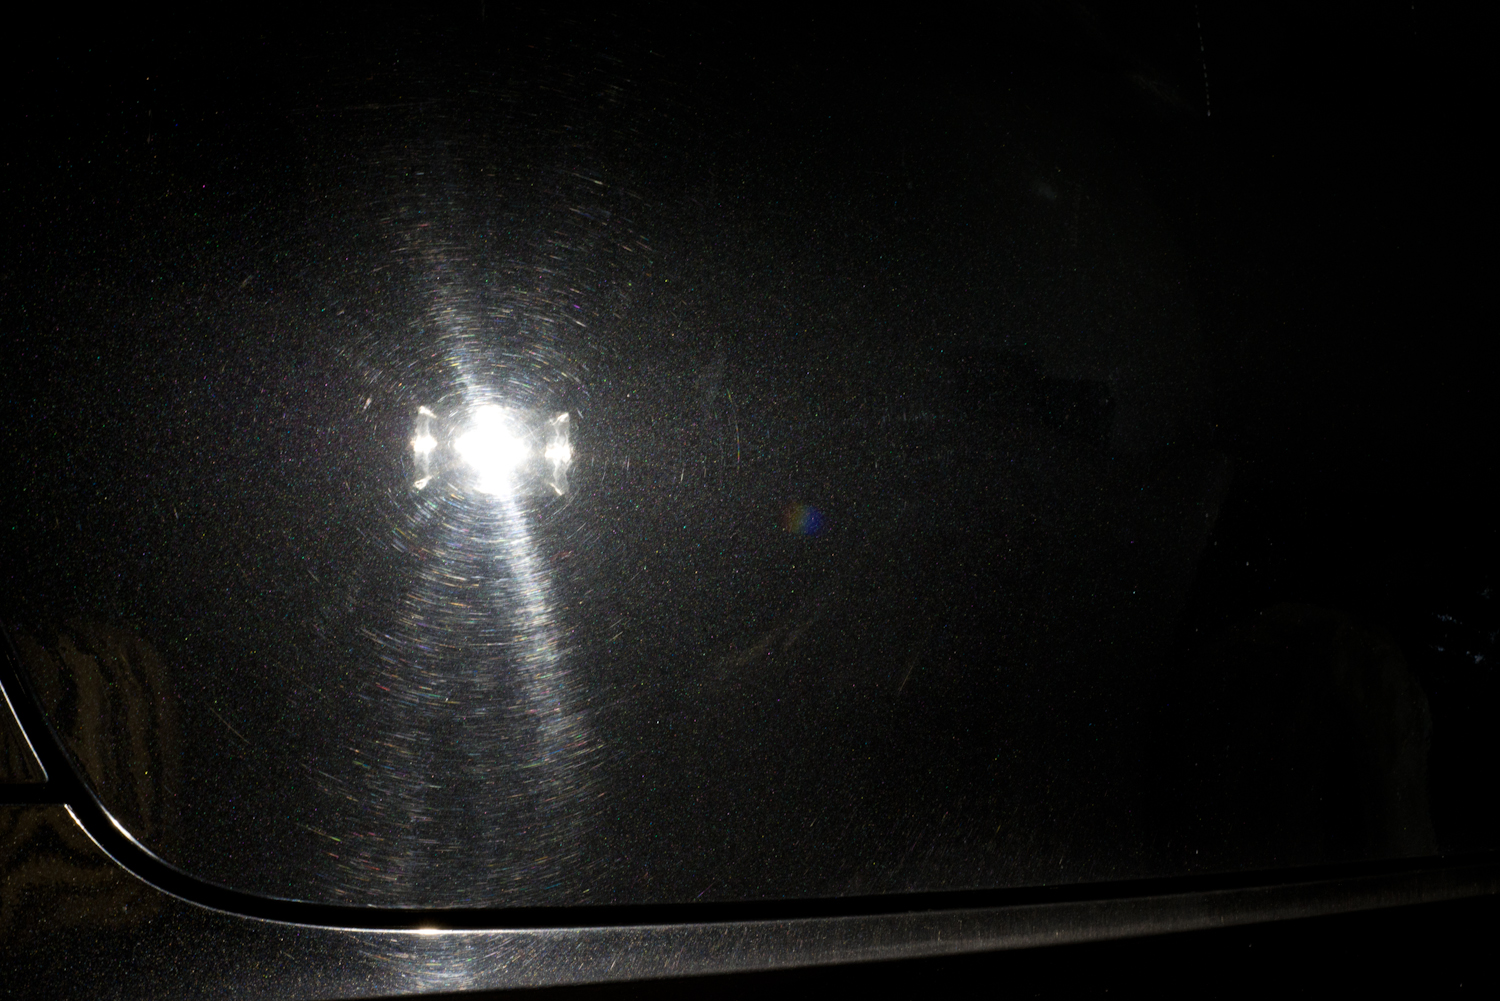
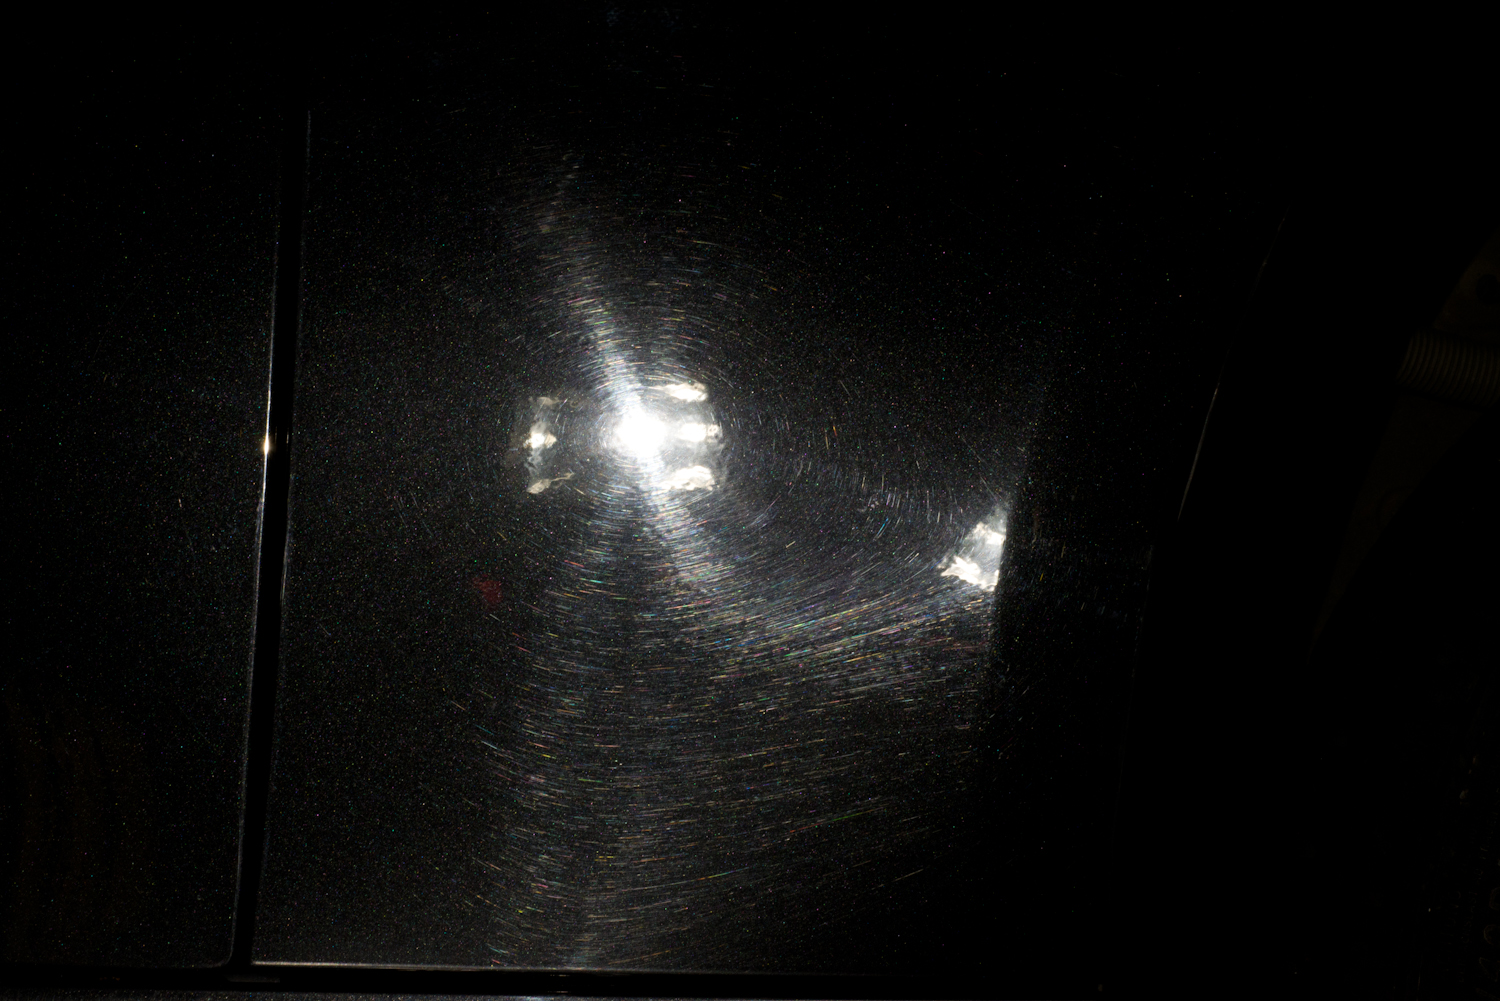
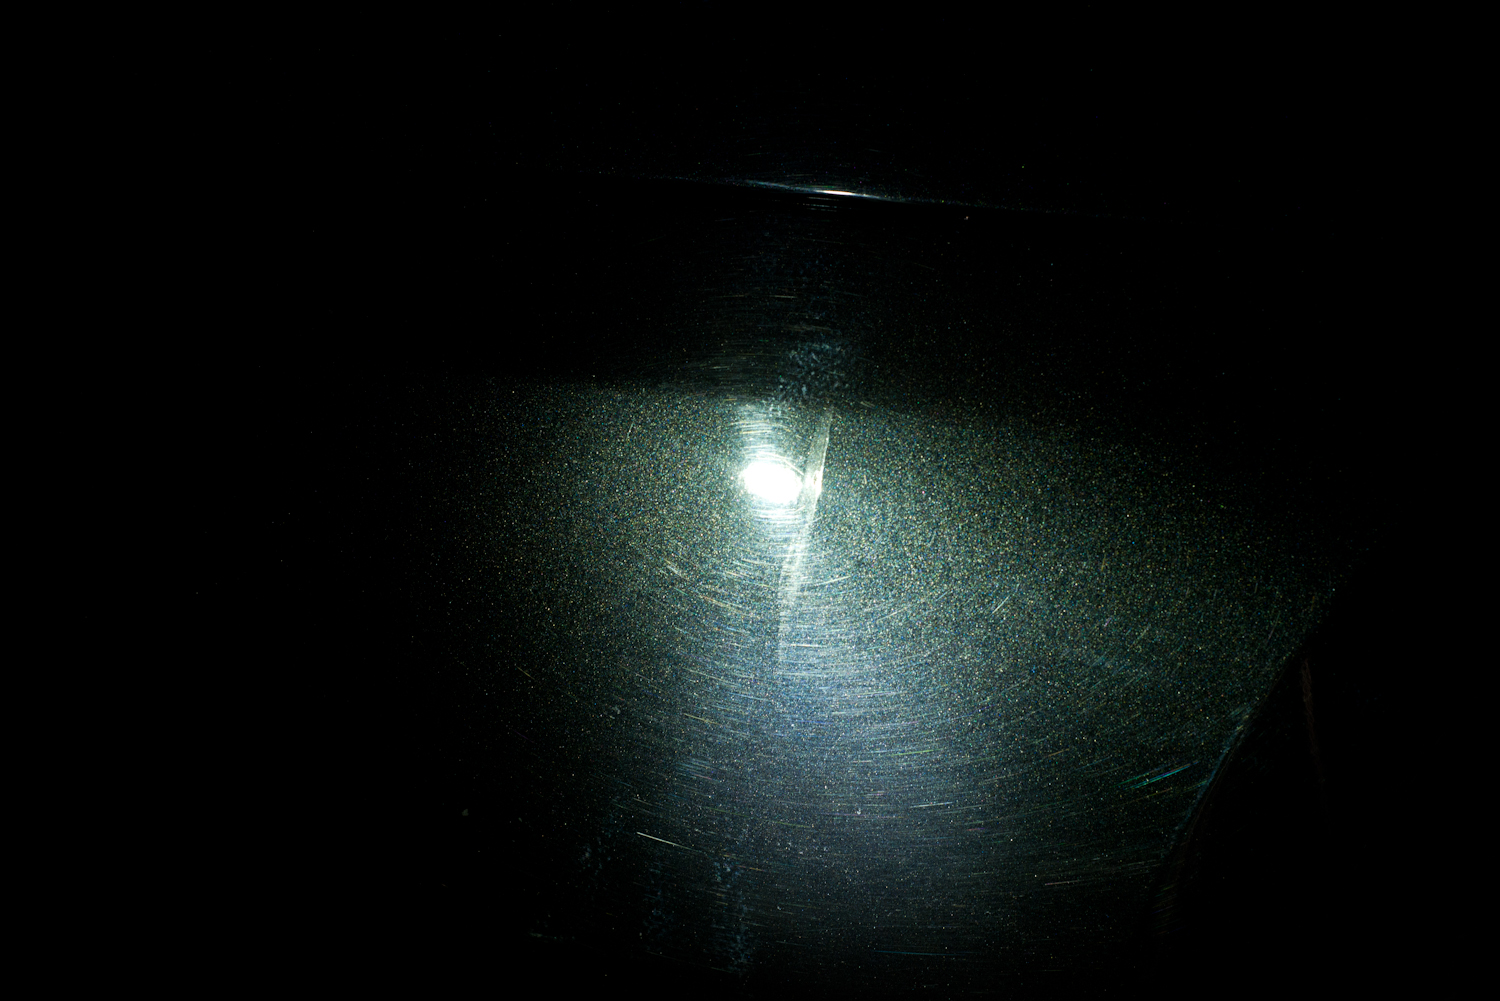
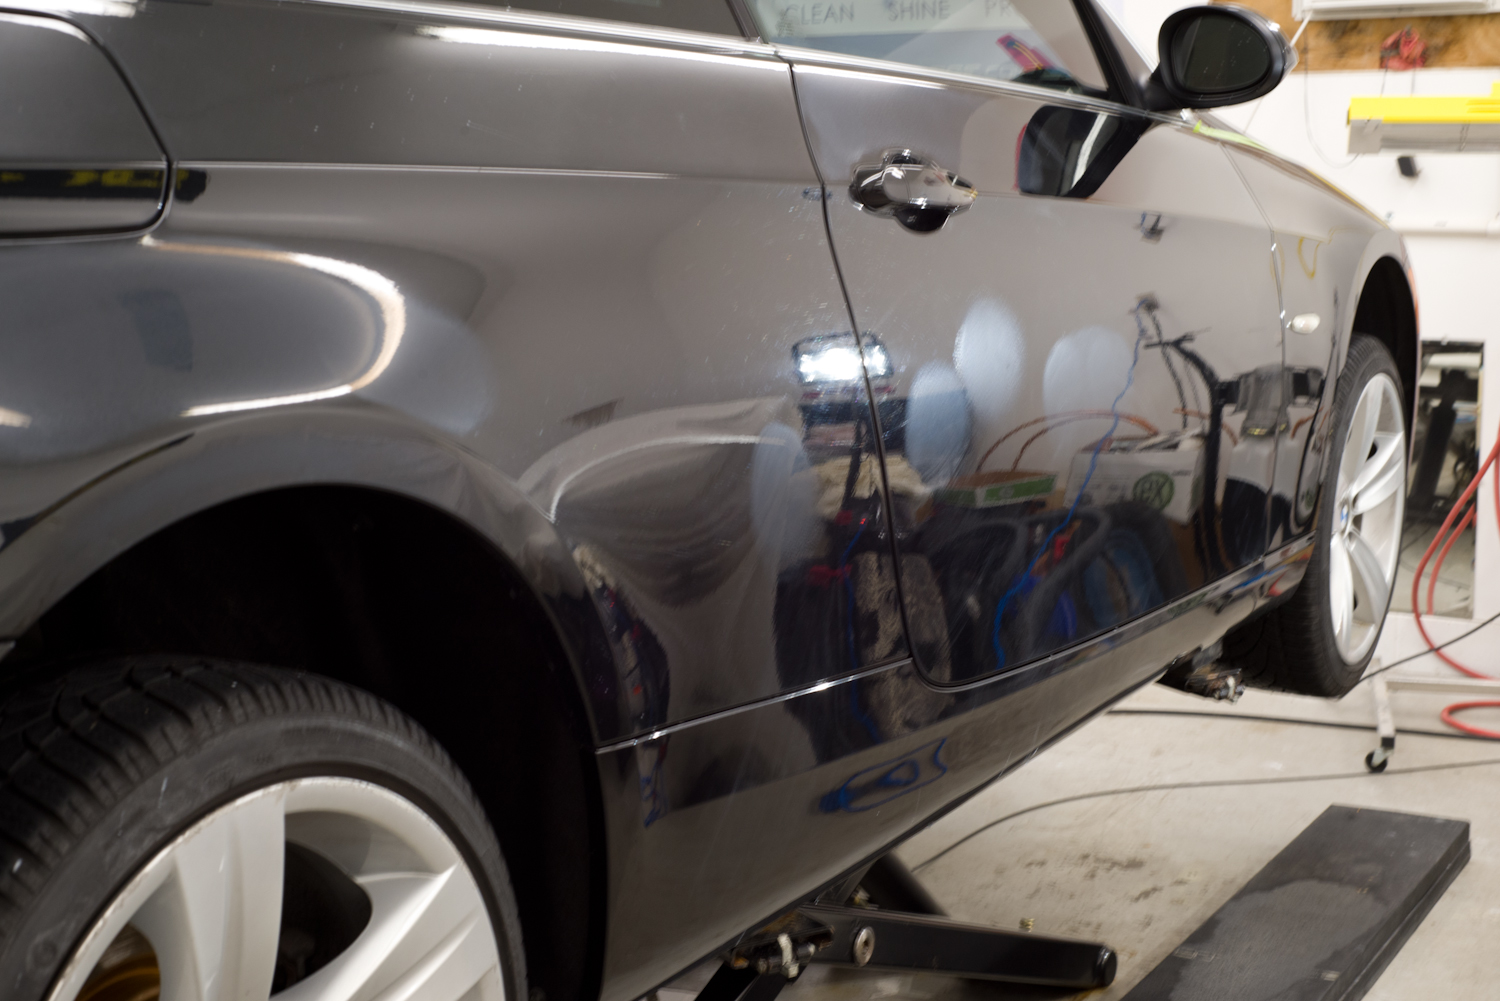
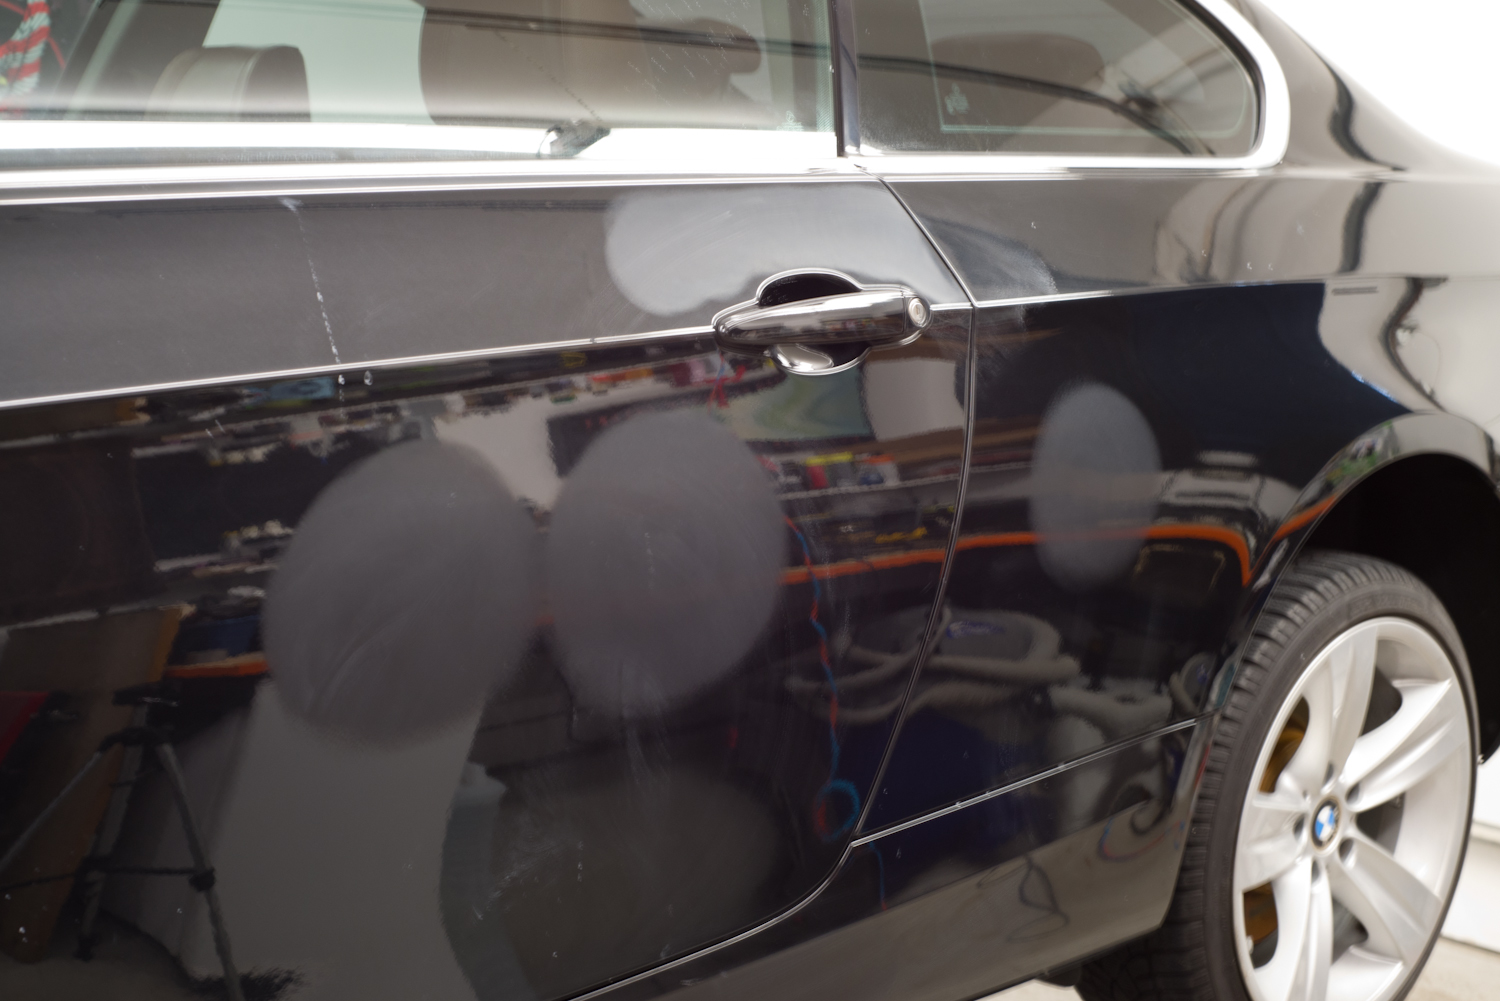
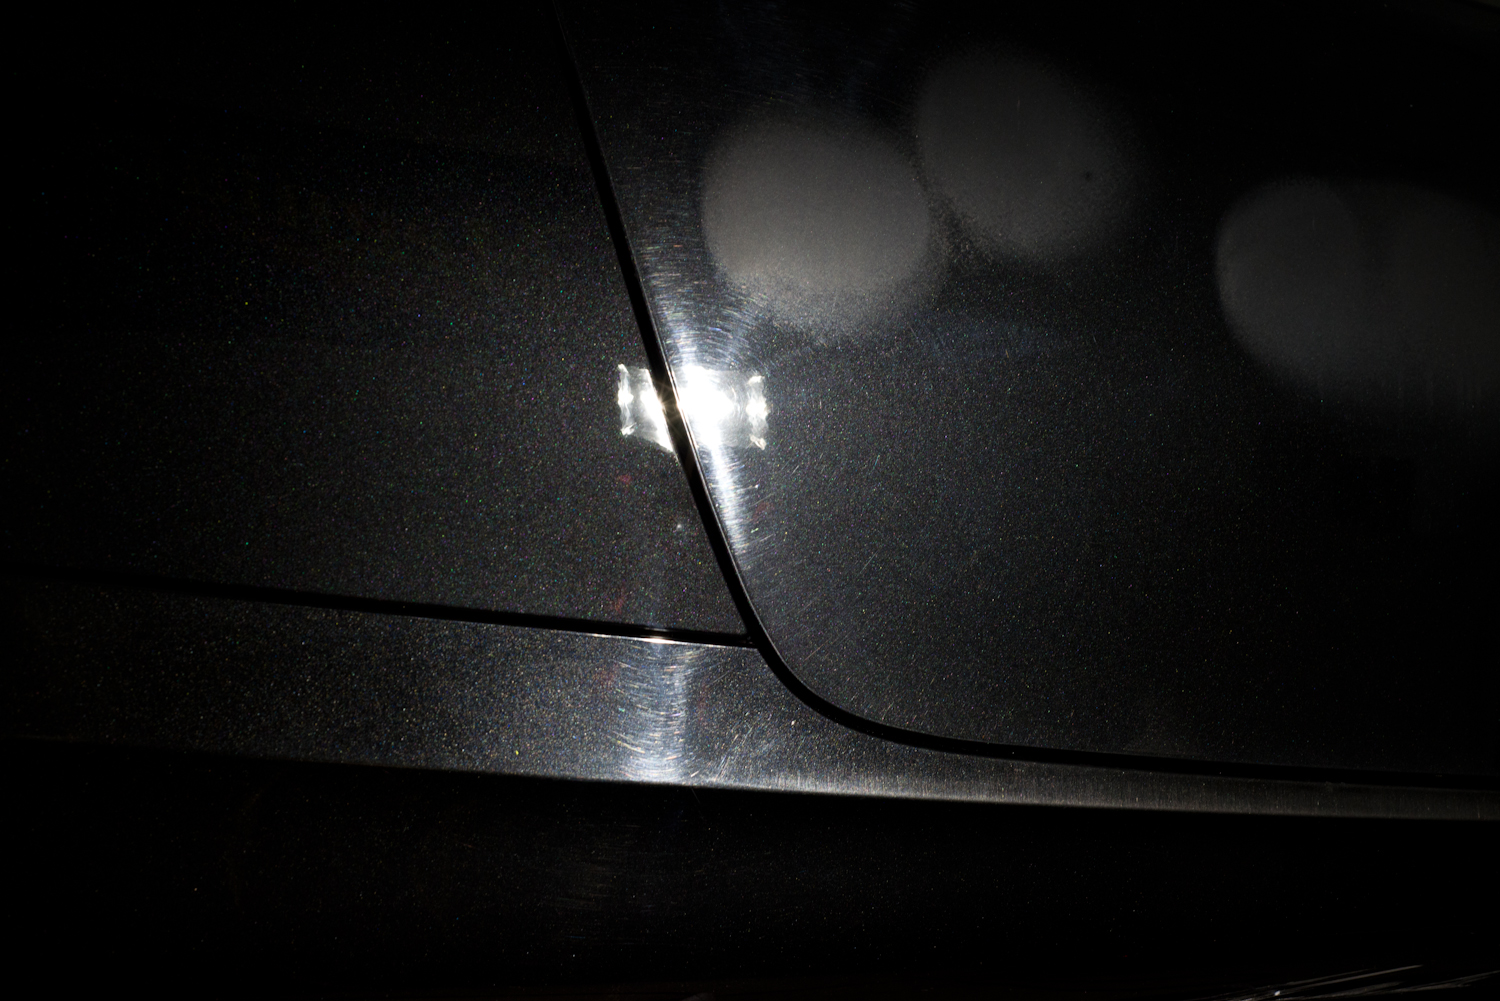
Moving on to the rest of the paint, you can see just how swirled up it was after years of automatic car washes and improper washing.
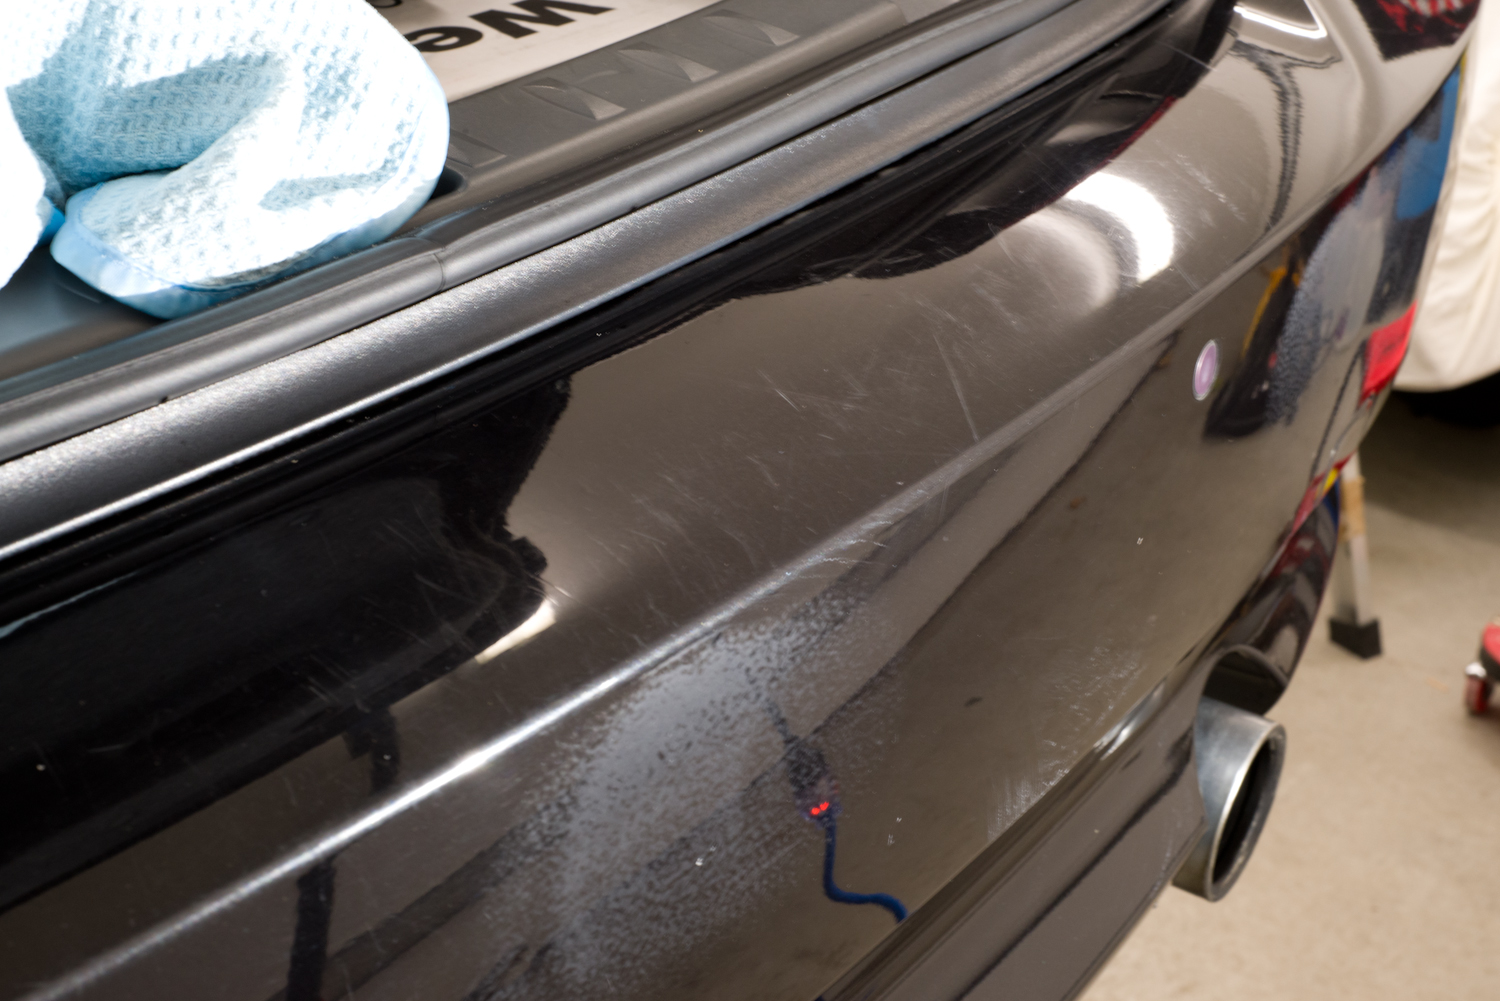
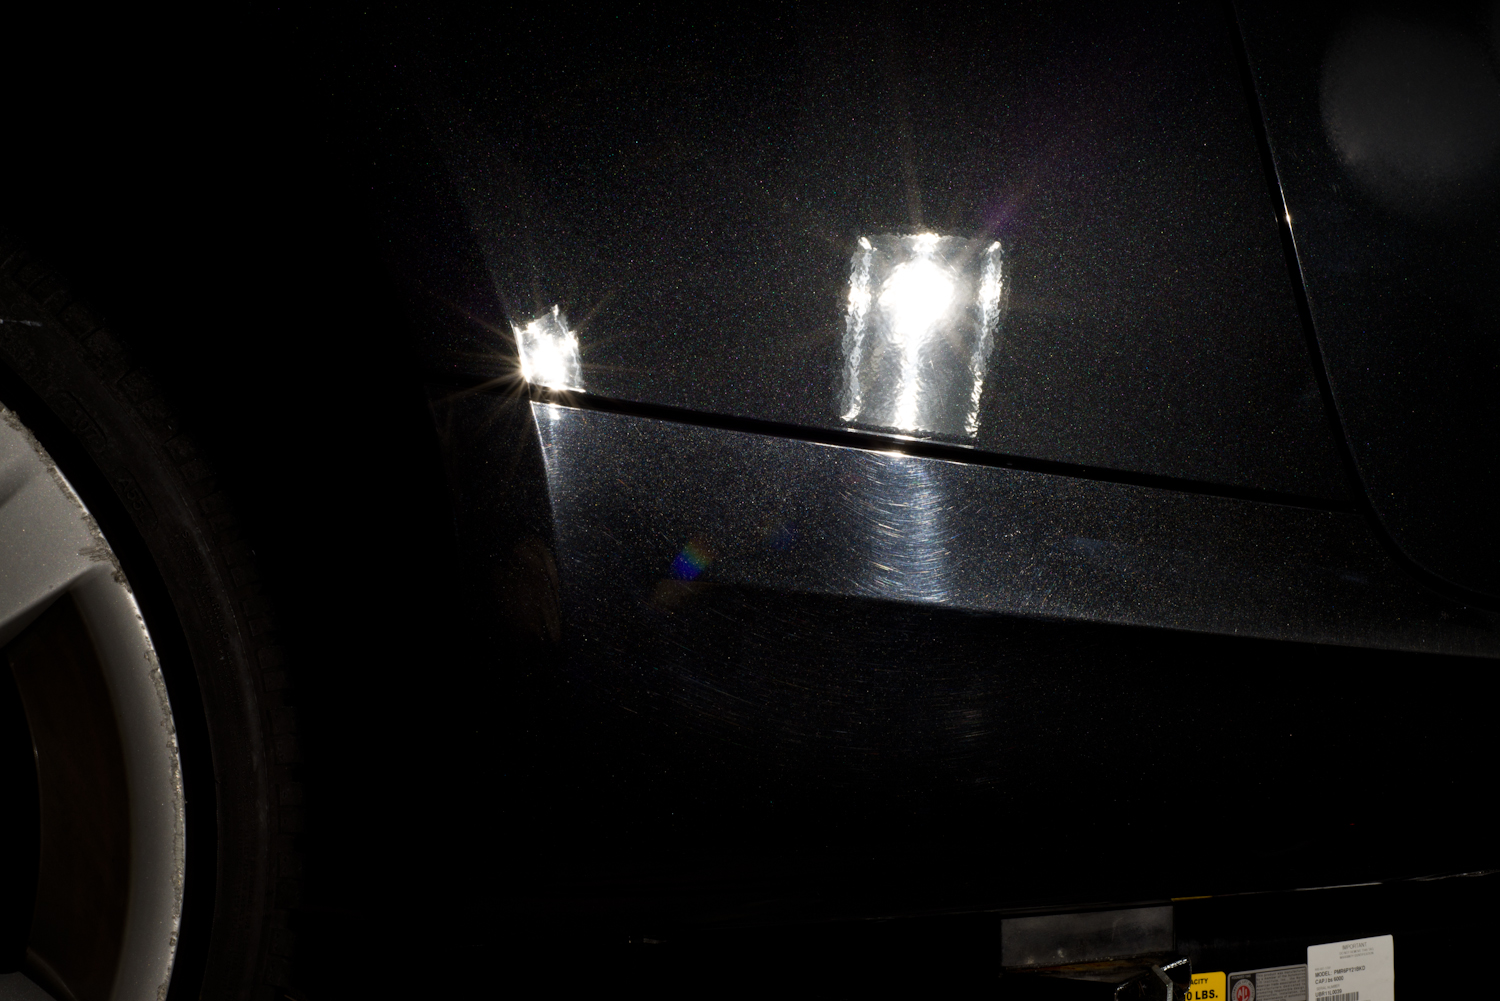
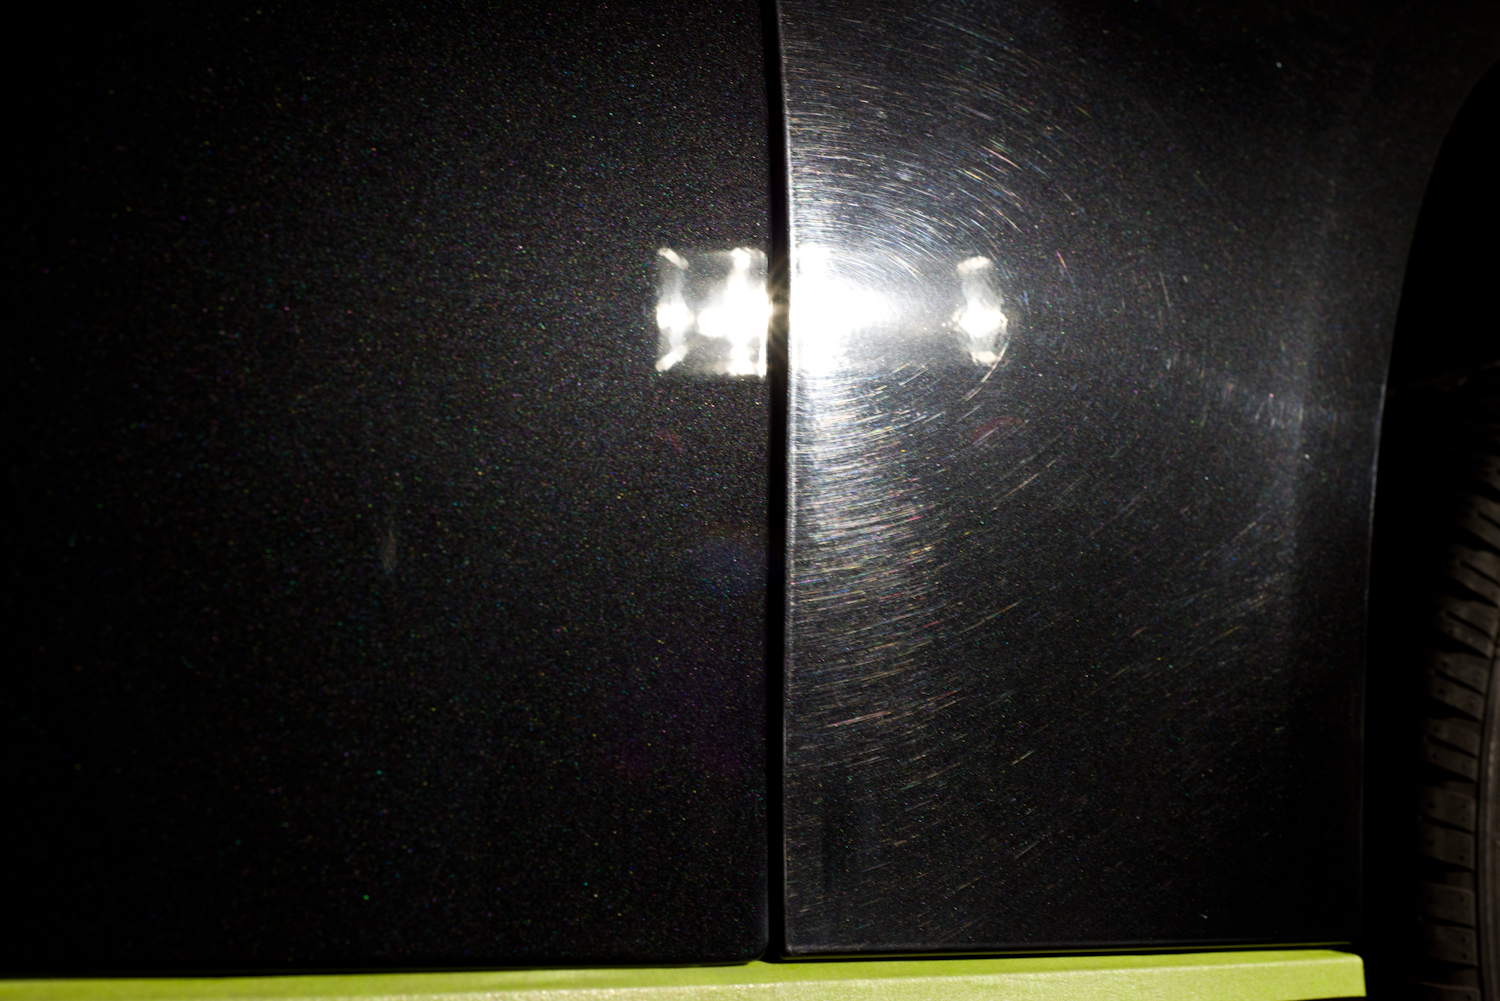
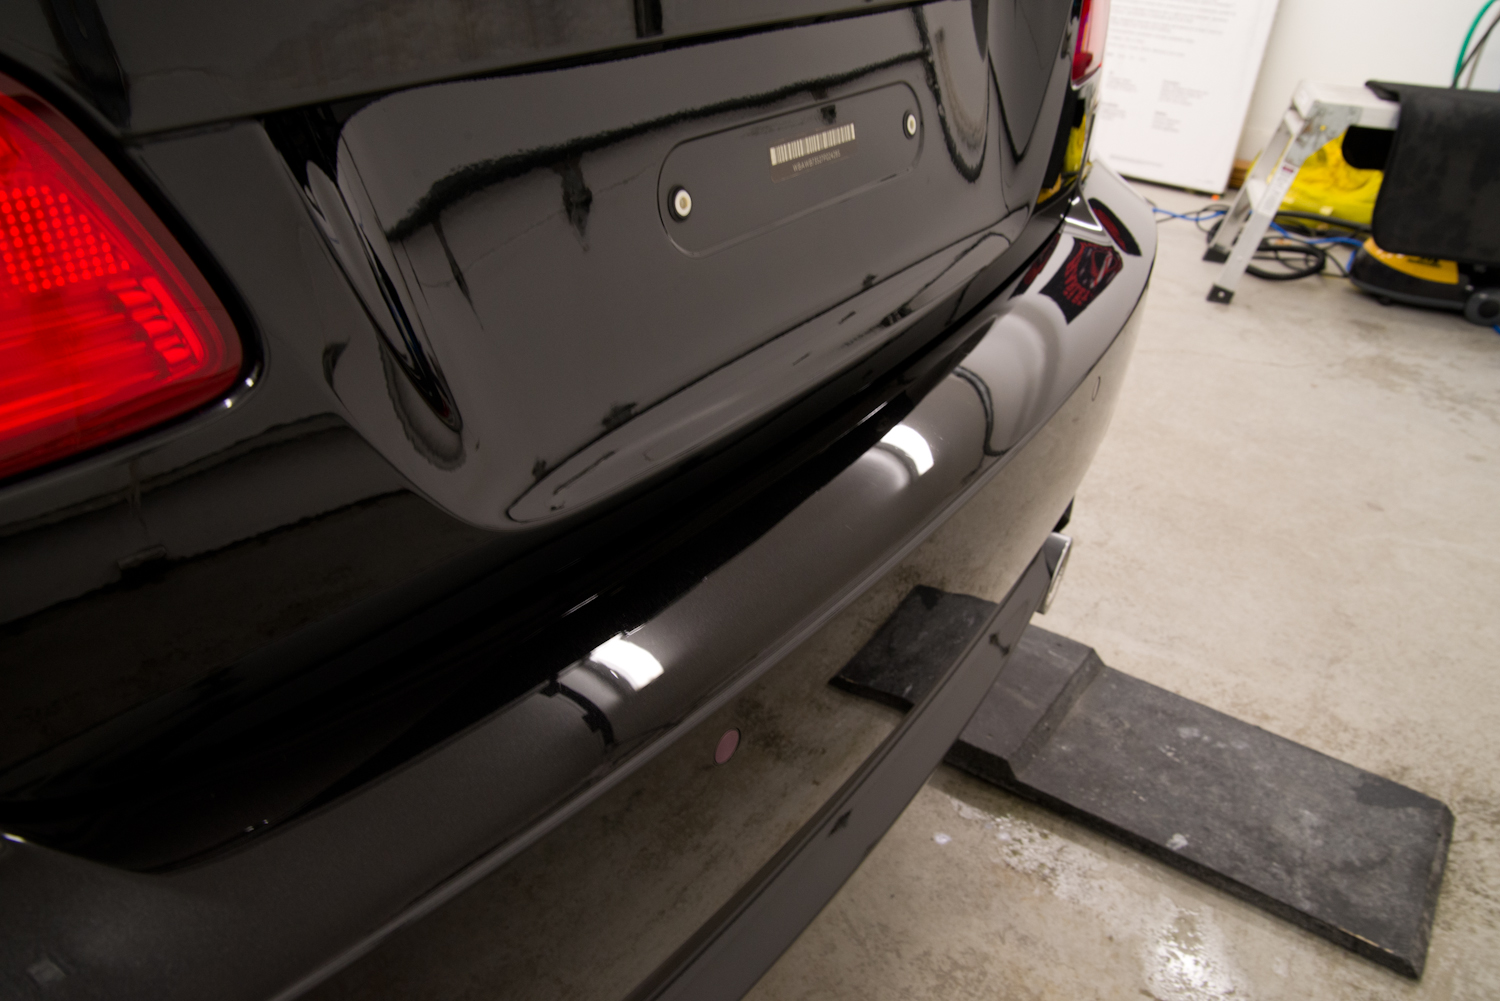
Scratches and Scuffs
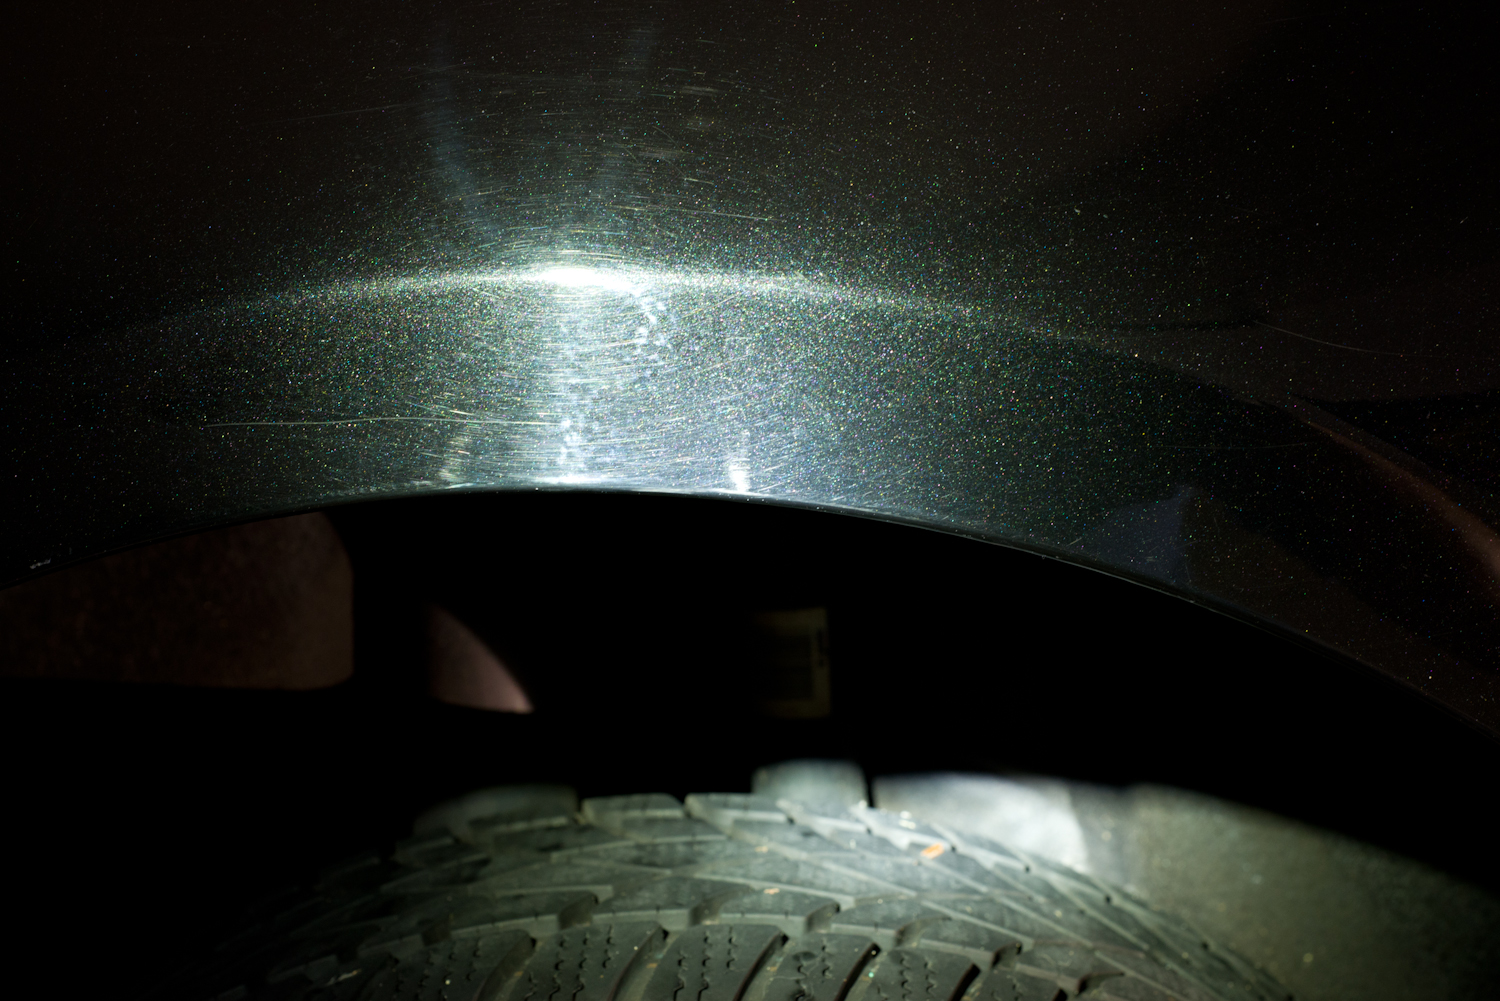
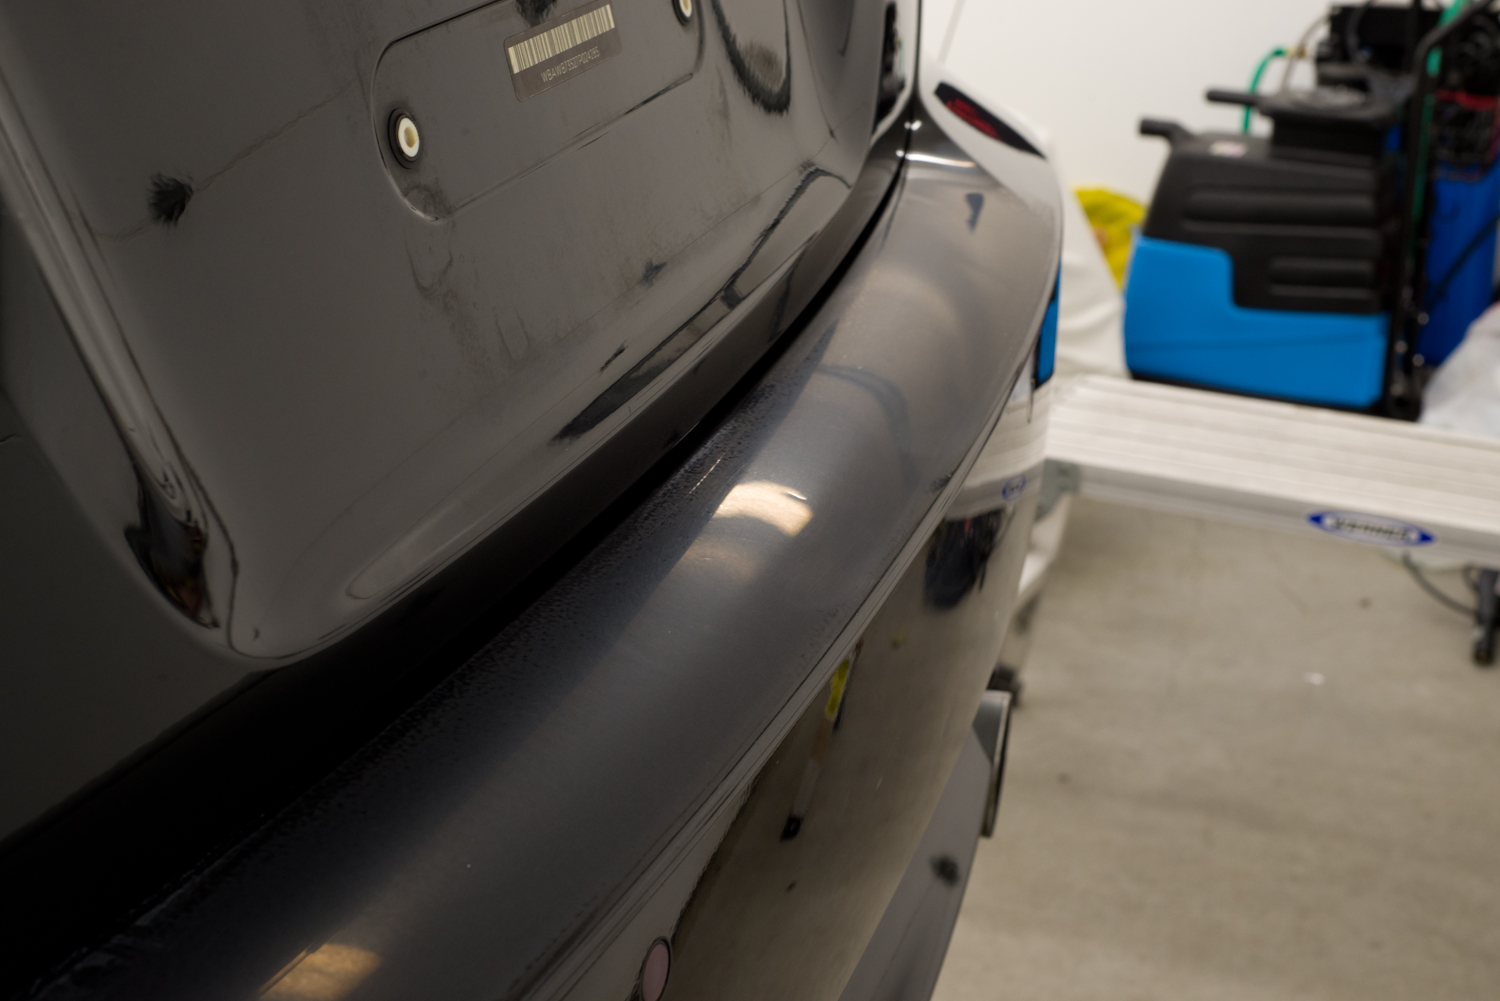
For those of your reading this who have ever gotten the “hub scrub” option at the automatic car wash, this is what that long spinning “street sweeper” brush is doing to the finish on your wheels, and in this case, the paint on the lower rocker panels…notice all the vertical scratches?
I also spot sanded all the deep scratches and door scuffs
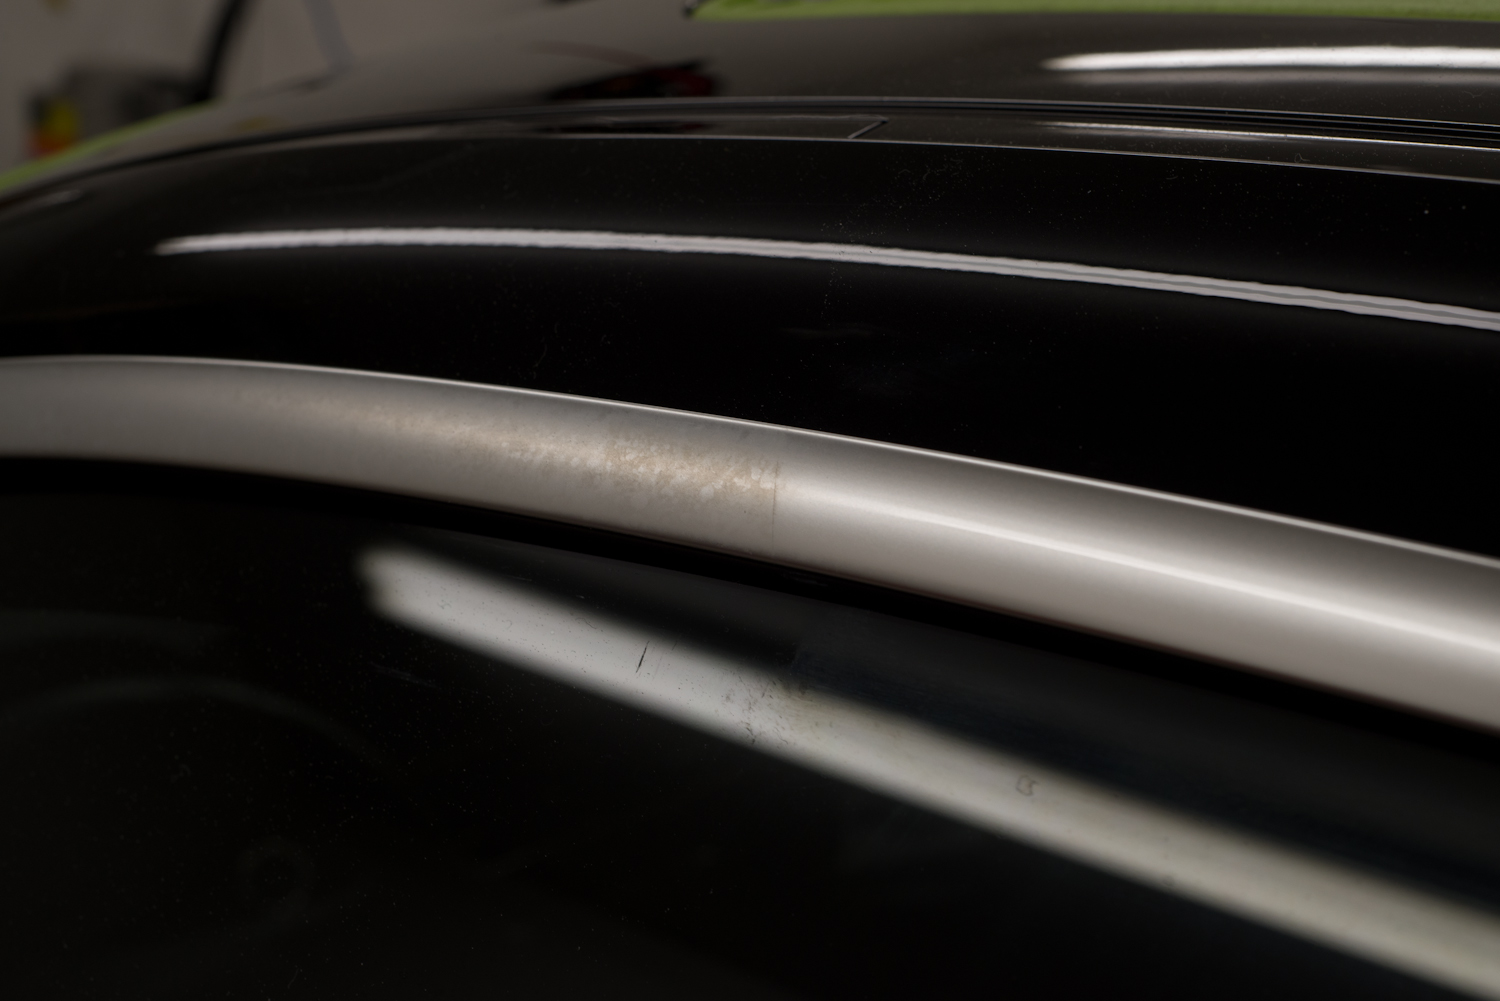
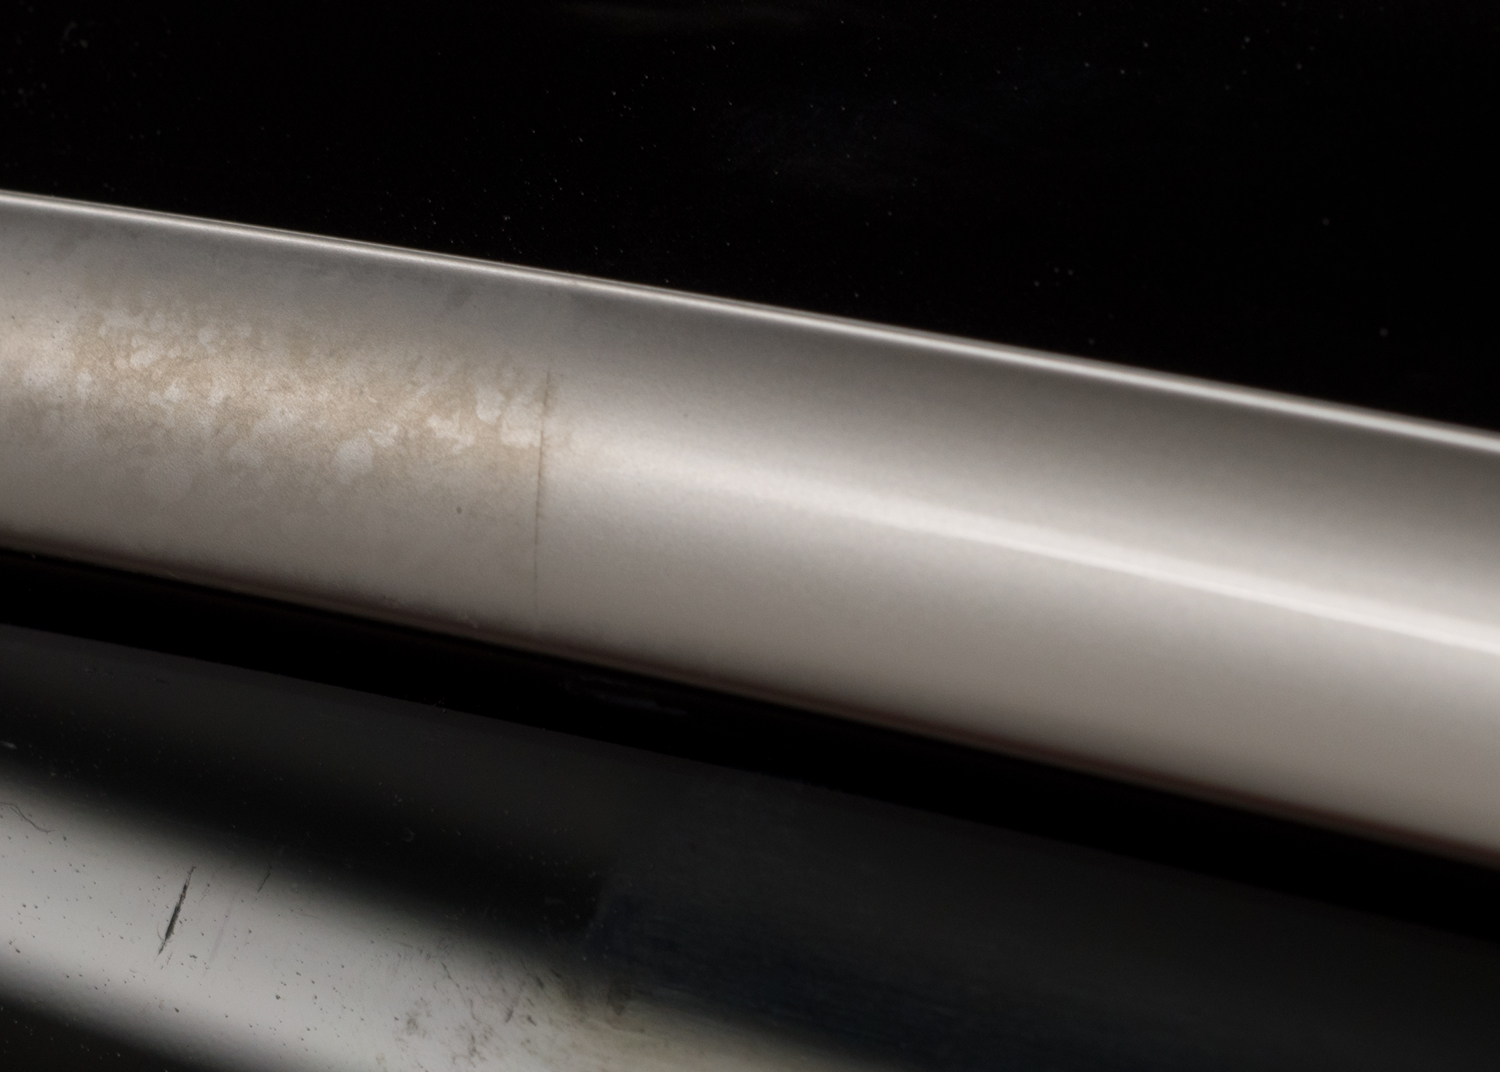
Eric was hoping I could clean up the silver trim, which was also affected by the hard water spots. I’ve not always had the best luck with the various types of BMW trim, fortunately these cleaned up nicely after a few passes with Meguiar’s M101 compound on the rotary using 3″ wool pads.


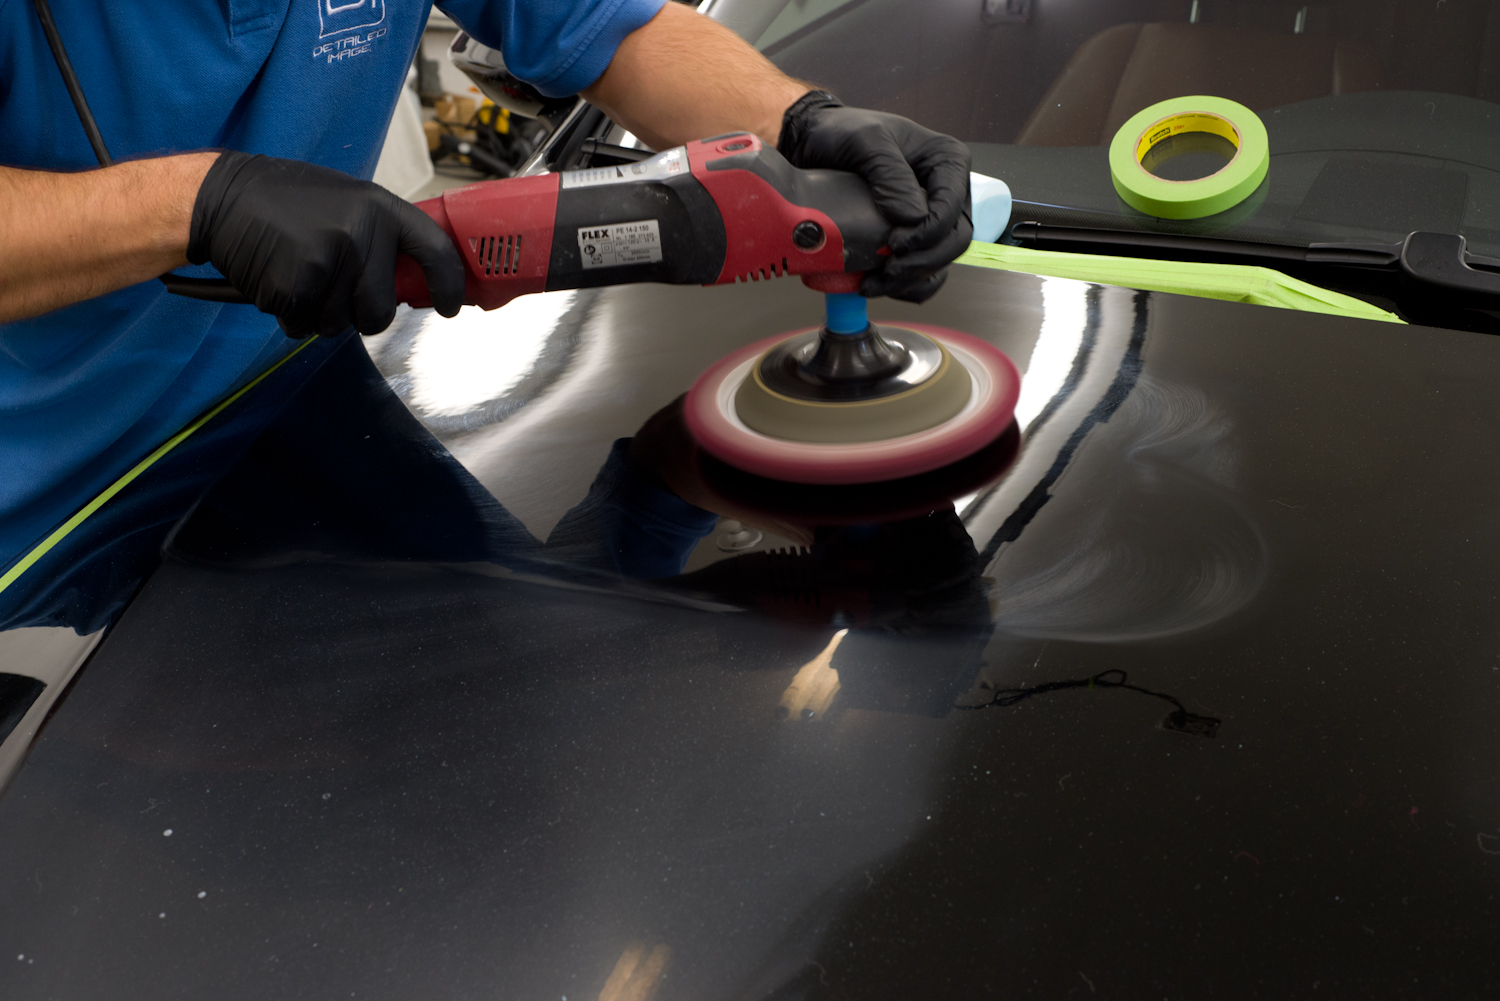
The initial paint correction step was done using the Flex rotary polisher equipped with Meguiar’s Solo wool cutting pads and Meguiar’s M100 compound.
My intermediate correction step was done using the Rupes LHR21 equipped with Meguiar’s MF Finishing pads and a beta sample I had of HD Car Care’s “Adapt” polish.
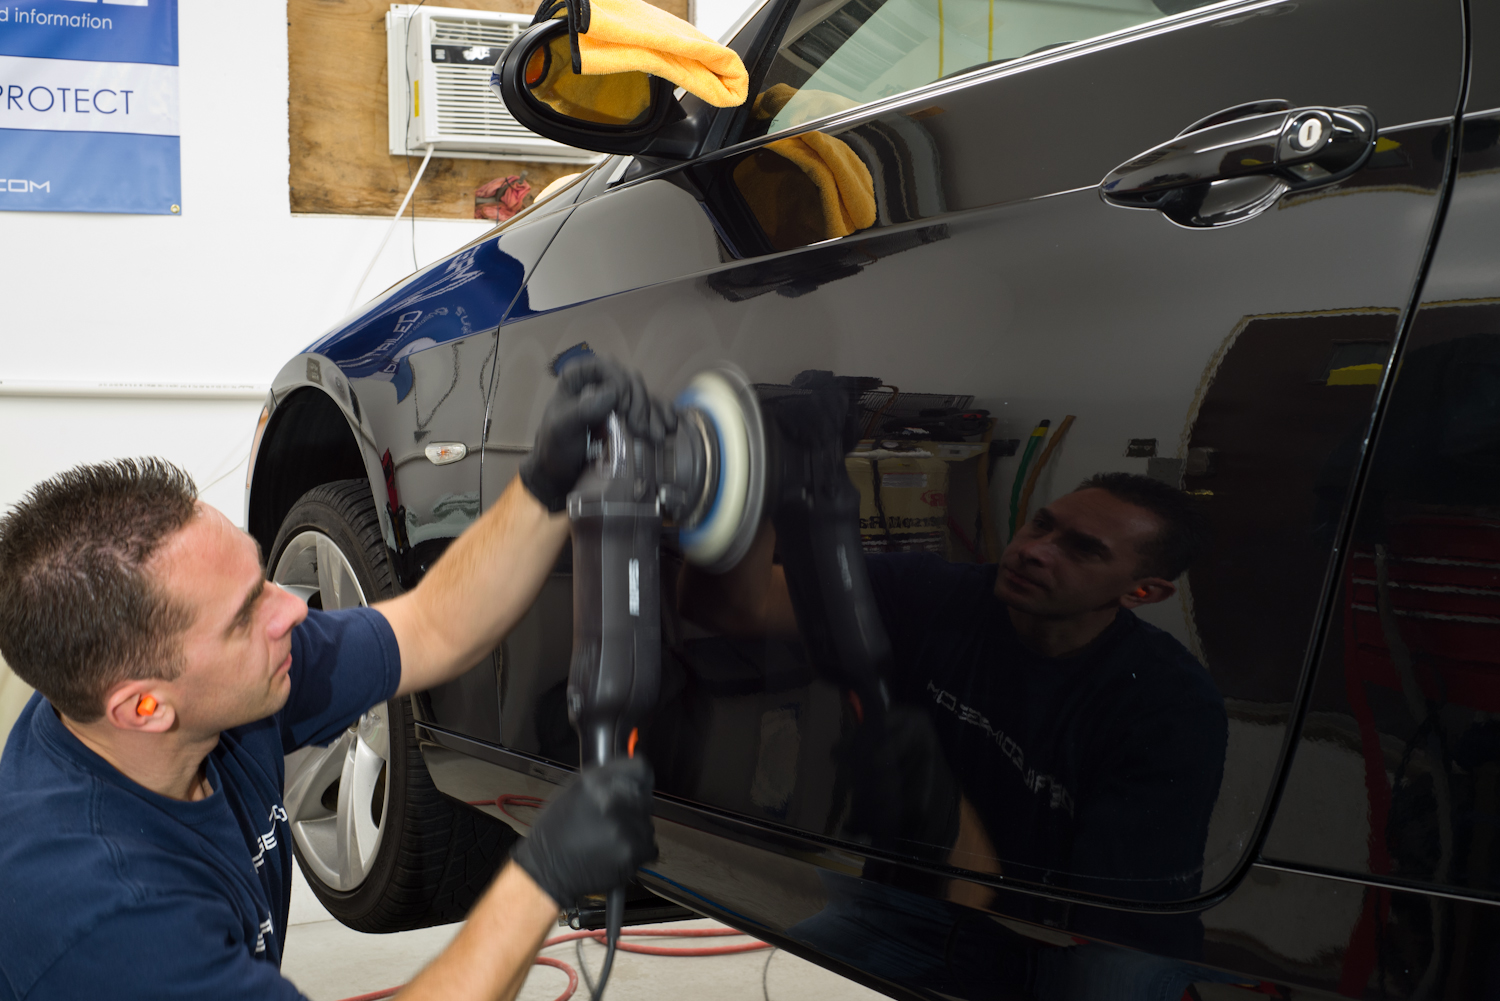
Final polishing was done using the Rupes LHR15 equipped with a foam polishing pad and Optimums new “Primer” polish, which is included with the purchase of each Opti-Coat Pro syringe (Currently not available with Opti-Coat 2.0). This new Primer has the same abrasive package as Optimum Hyper Polish, but with the addition of a catalyst, which aids in the bonding of the coating, but more importantly, eases application of Opti-Coat Pro. While HD Adapt finished down very well on this paint, Optimum Primer brought the gloss up a notch or two.
How about some 50/50 shots?
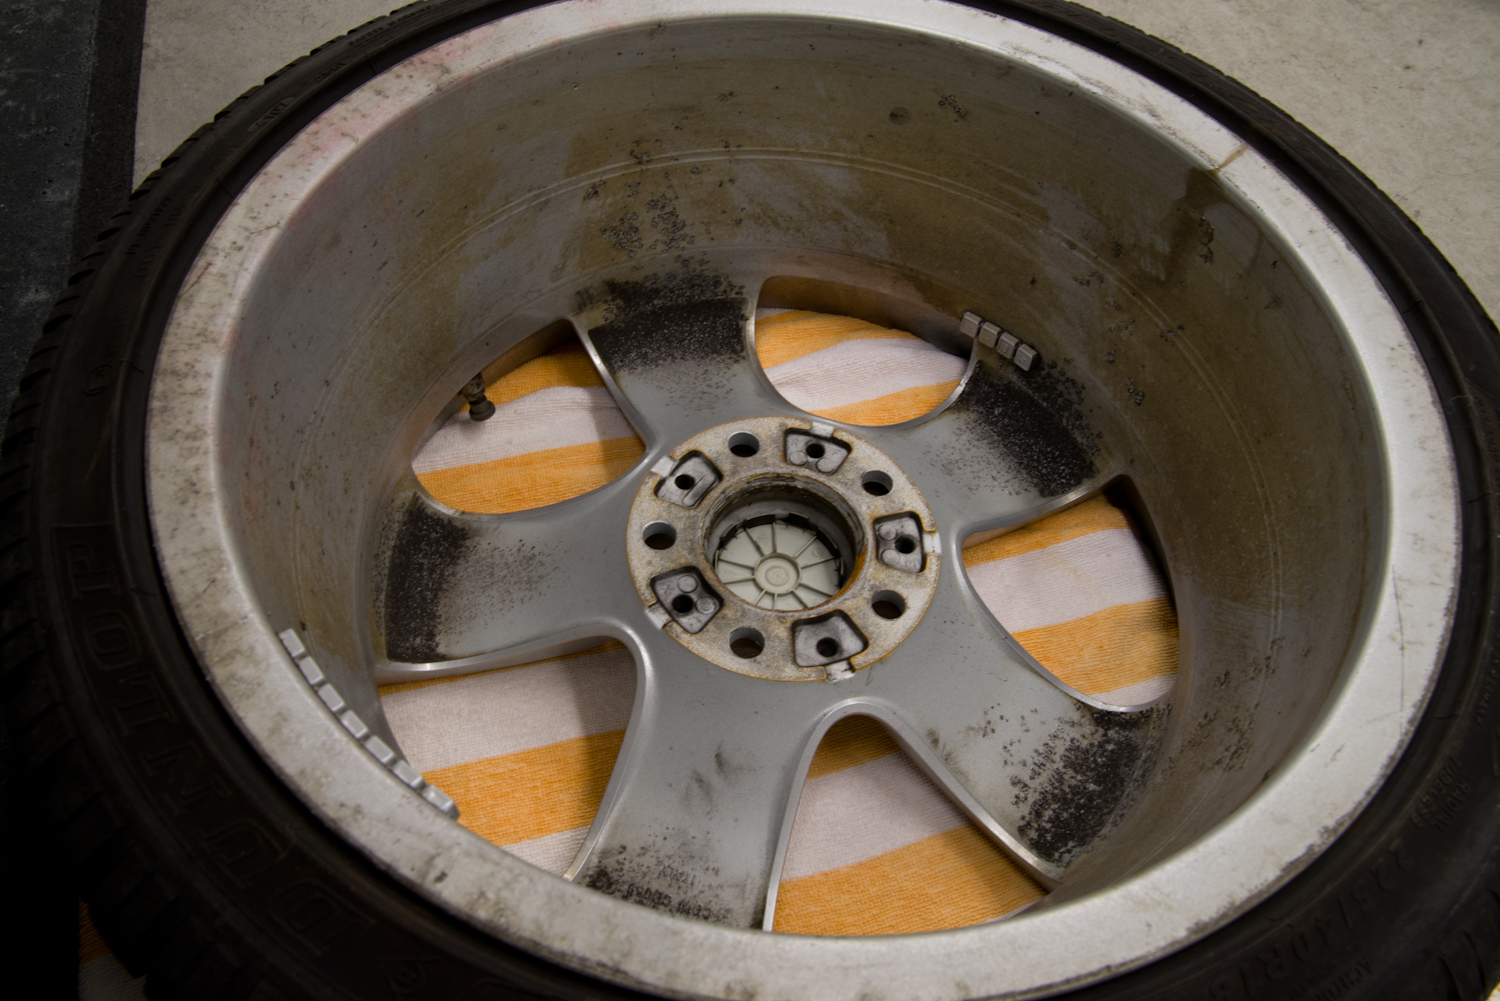
Although Eric recently put the winter wheels and tires on in preparation for our lovely MN winters, but I wanted to get them cleaned up and protected anyway. He’ll come back in the spring and have me clean up the good set of summer wheels and tires. The faces on the winter set were in pretty good shape, but the barrels had been damaged from all the accumulated brake dust eating into the finish. I cleaned them up with Sonax Full Effect, removed all road tar, and then polished them with Optimum Primer polish and Meguiar’s 3″ MF pads on the Meguiar’s G110v2. They were then coated with Optimum Opti-Coat pro and tires were dressed with Meguiar’s Hyper Dressing at 4:1.
I also cleaned up the wheel wells a little, nothing crazy though.
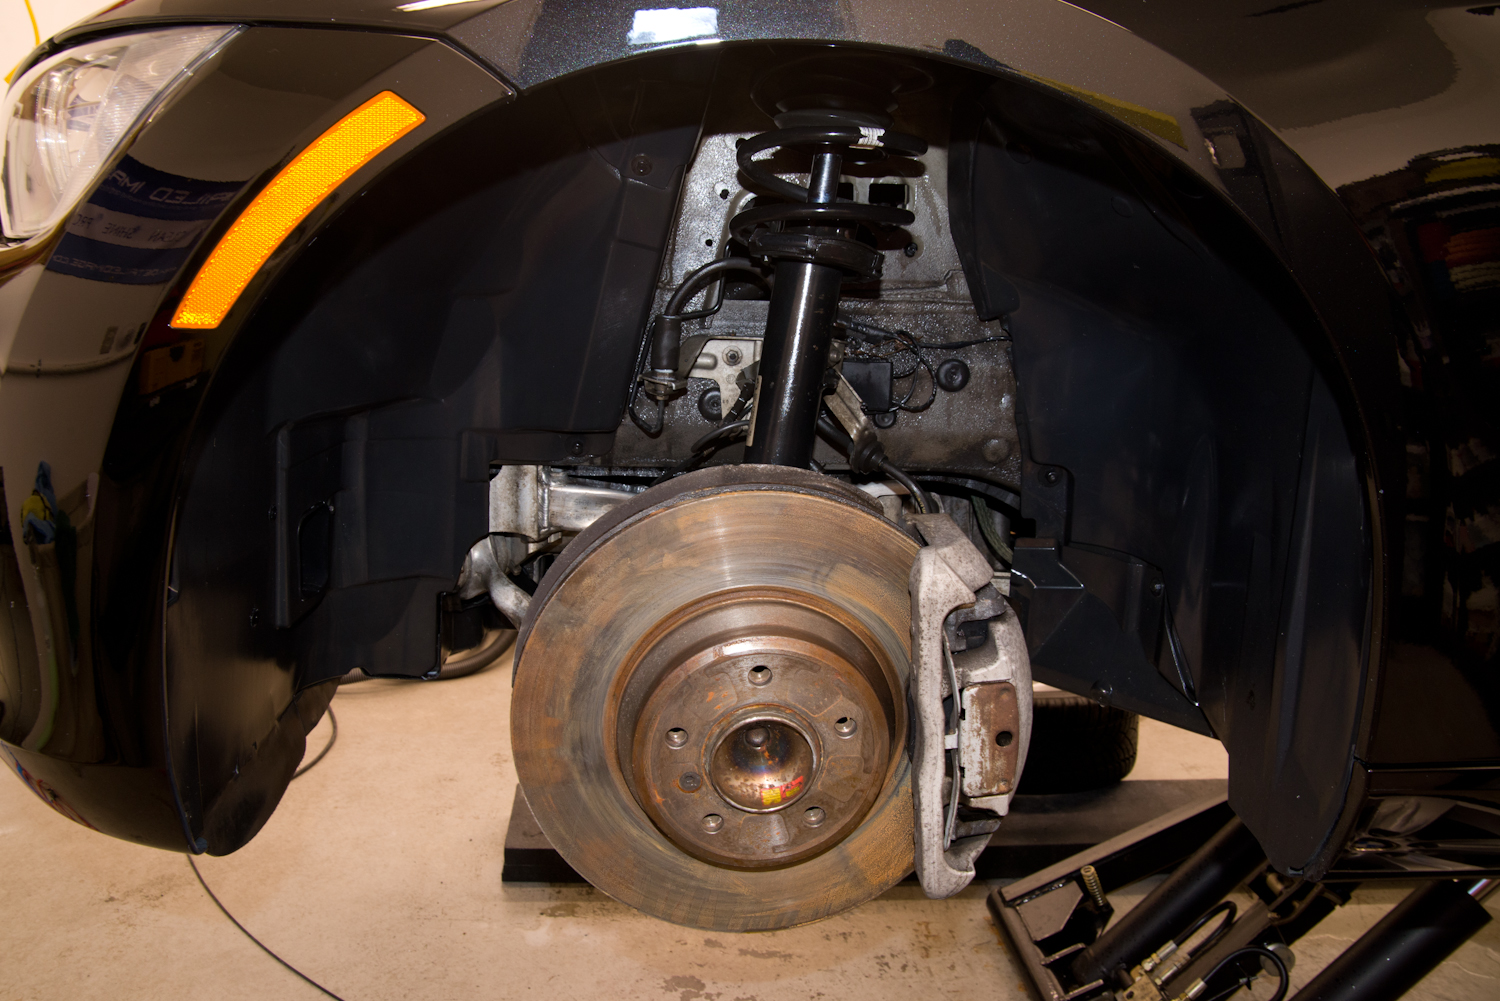
Wheels all coated and ready to be reinstalled.
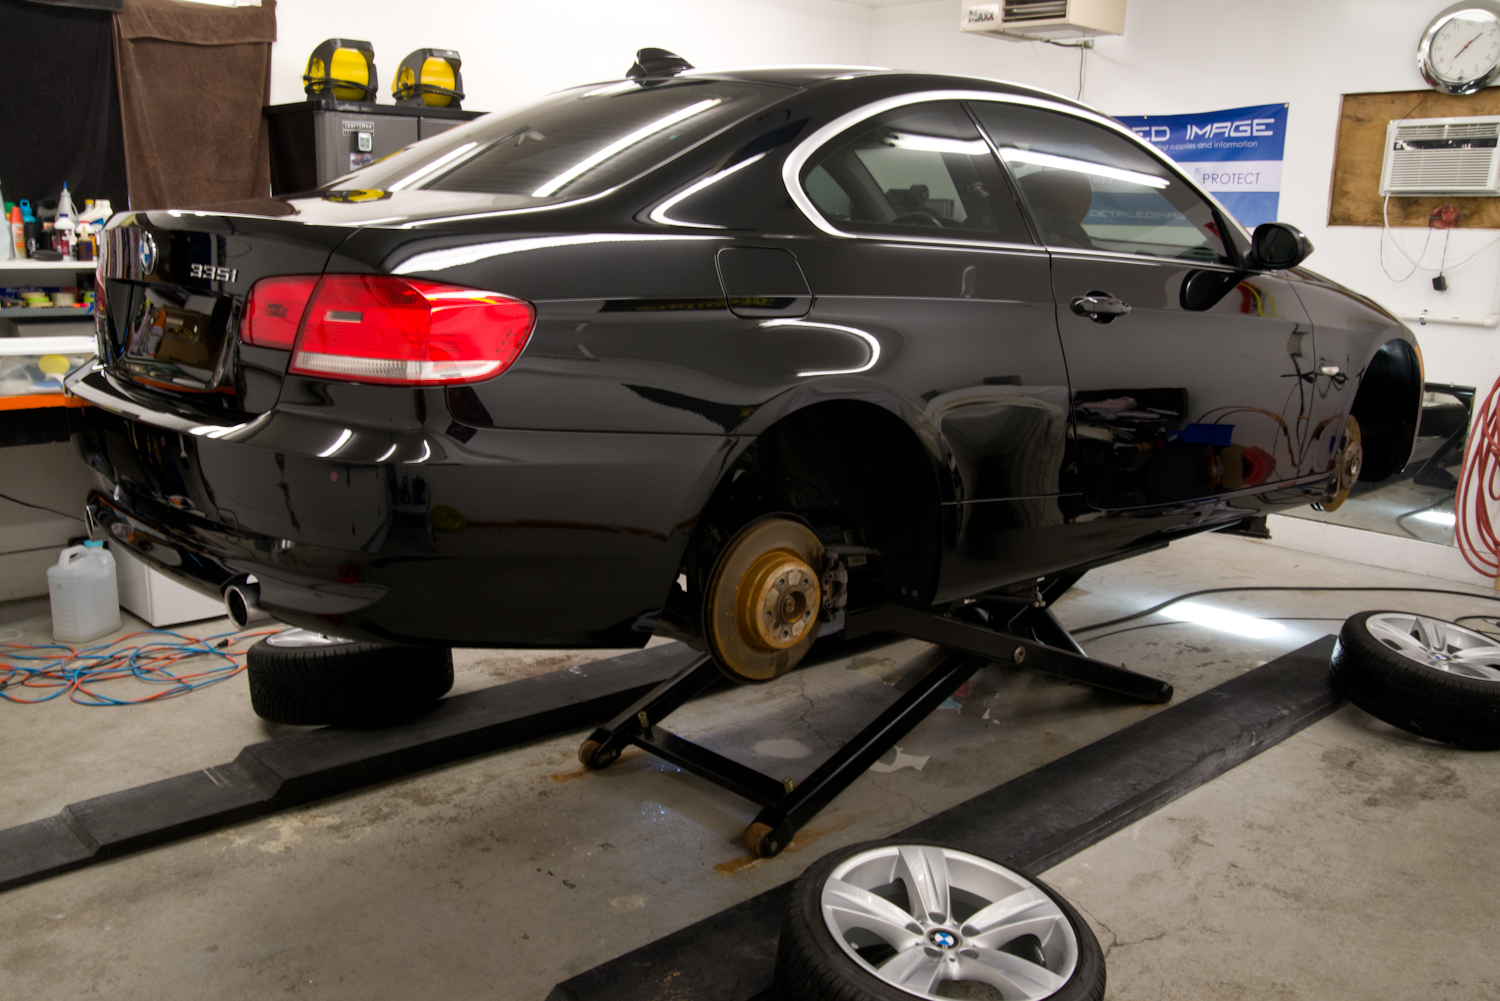
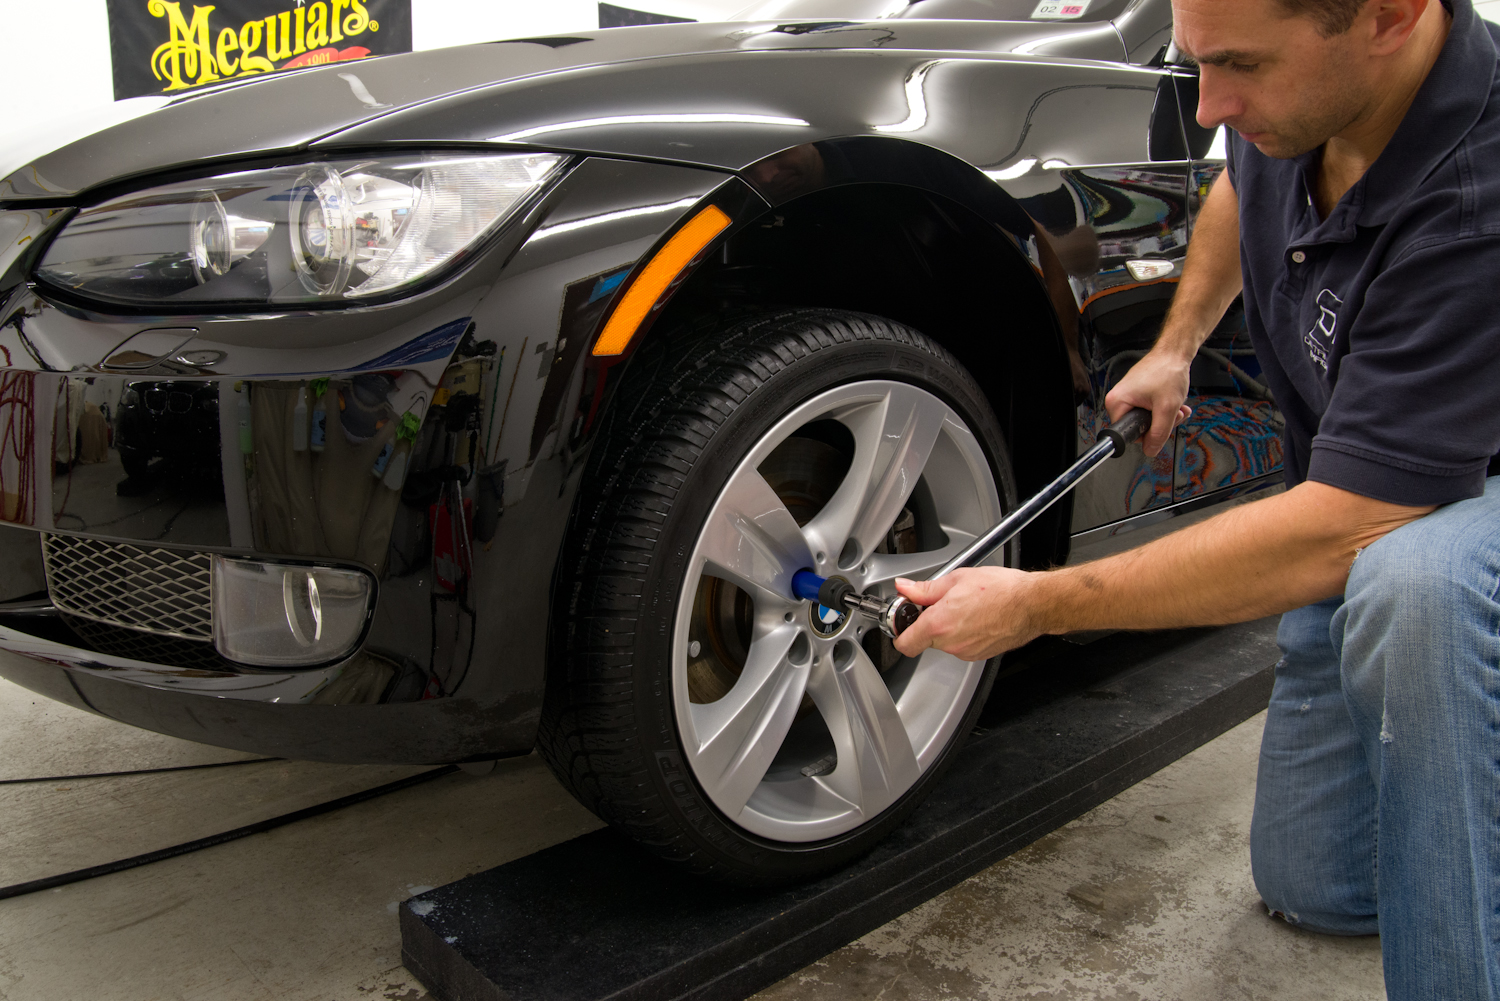
Wheels were torqued back to factory specs
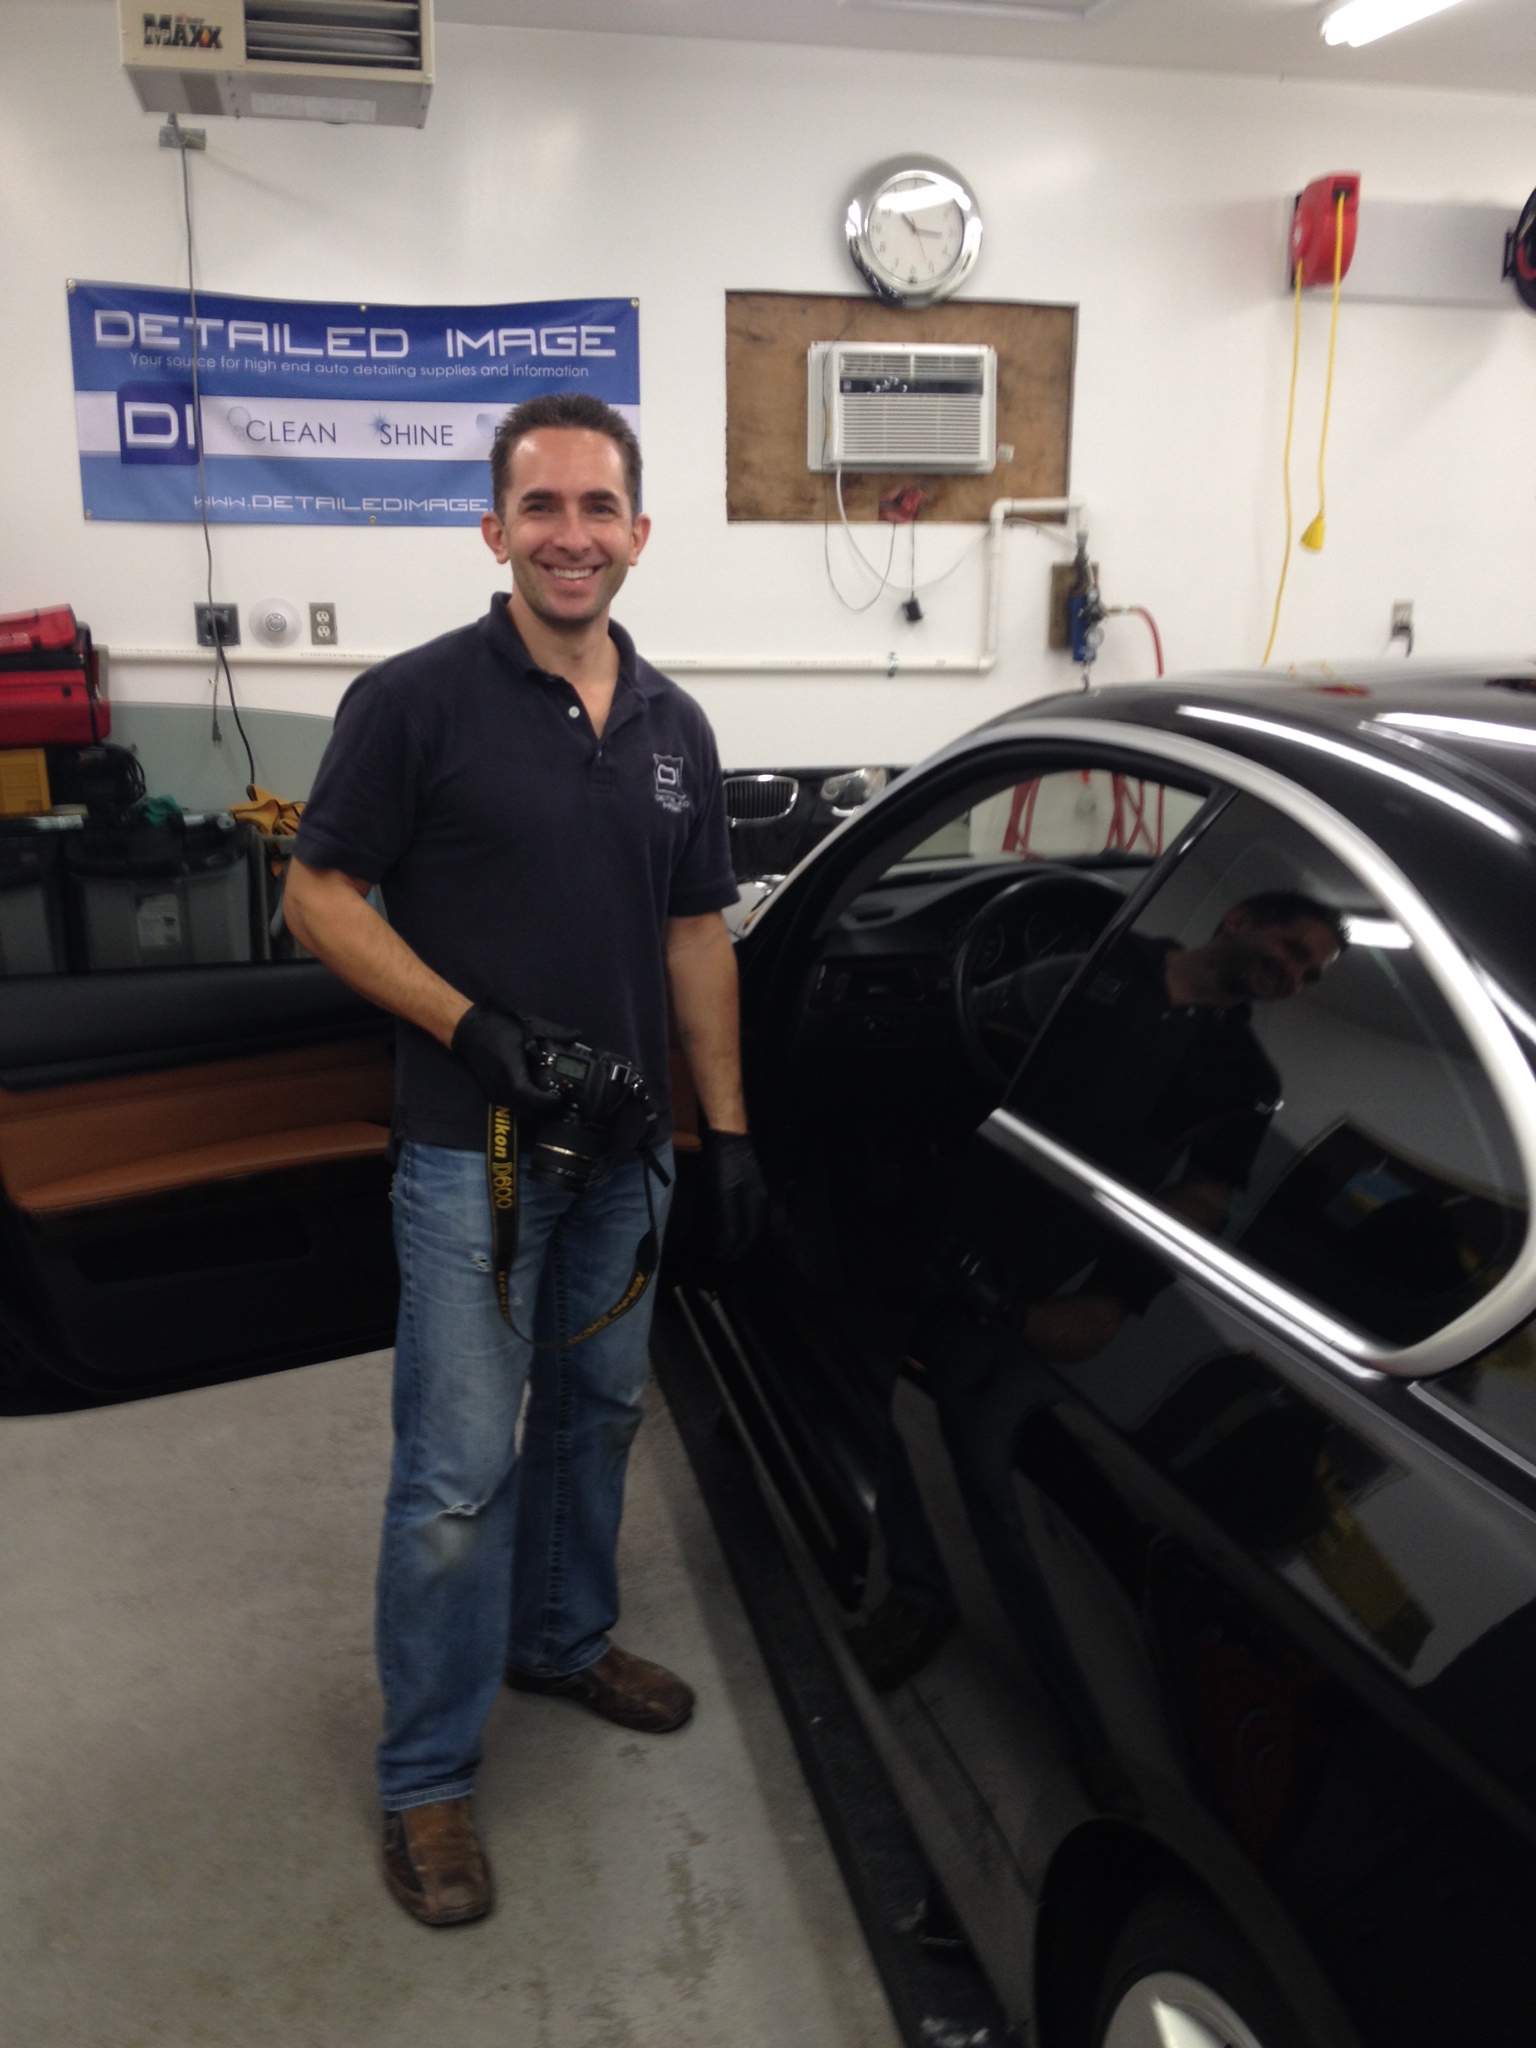
As per my usual, I was working down to the wire and Eric arrived before I had a chance to get all the after pictures I wanted, though I feel I captured enough. For some reason I have a hard time remembering which shots I need to take when someone is waiting for me. Eric was very pleased though and as I went around the car getting my pics, he kept snapping his own and wanted one of me next to the car.

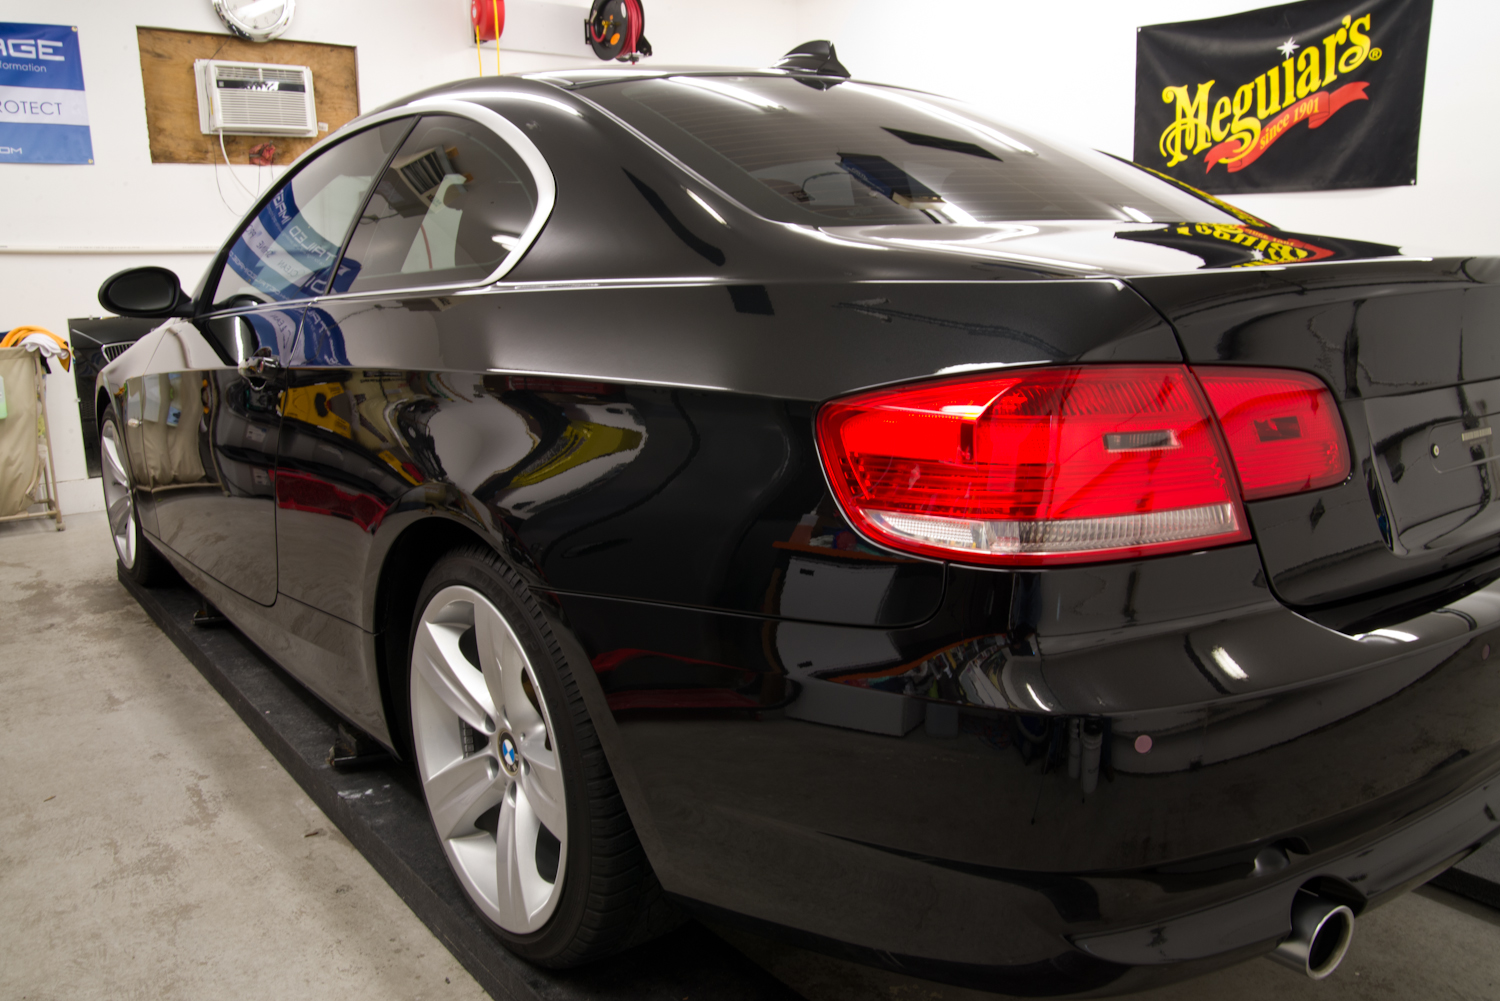
Time for some after pics!


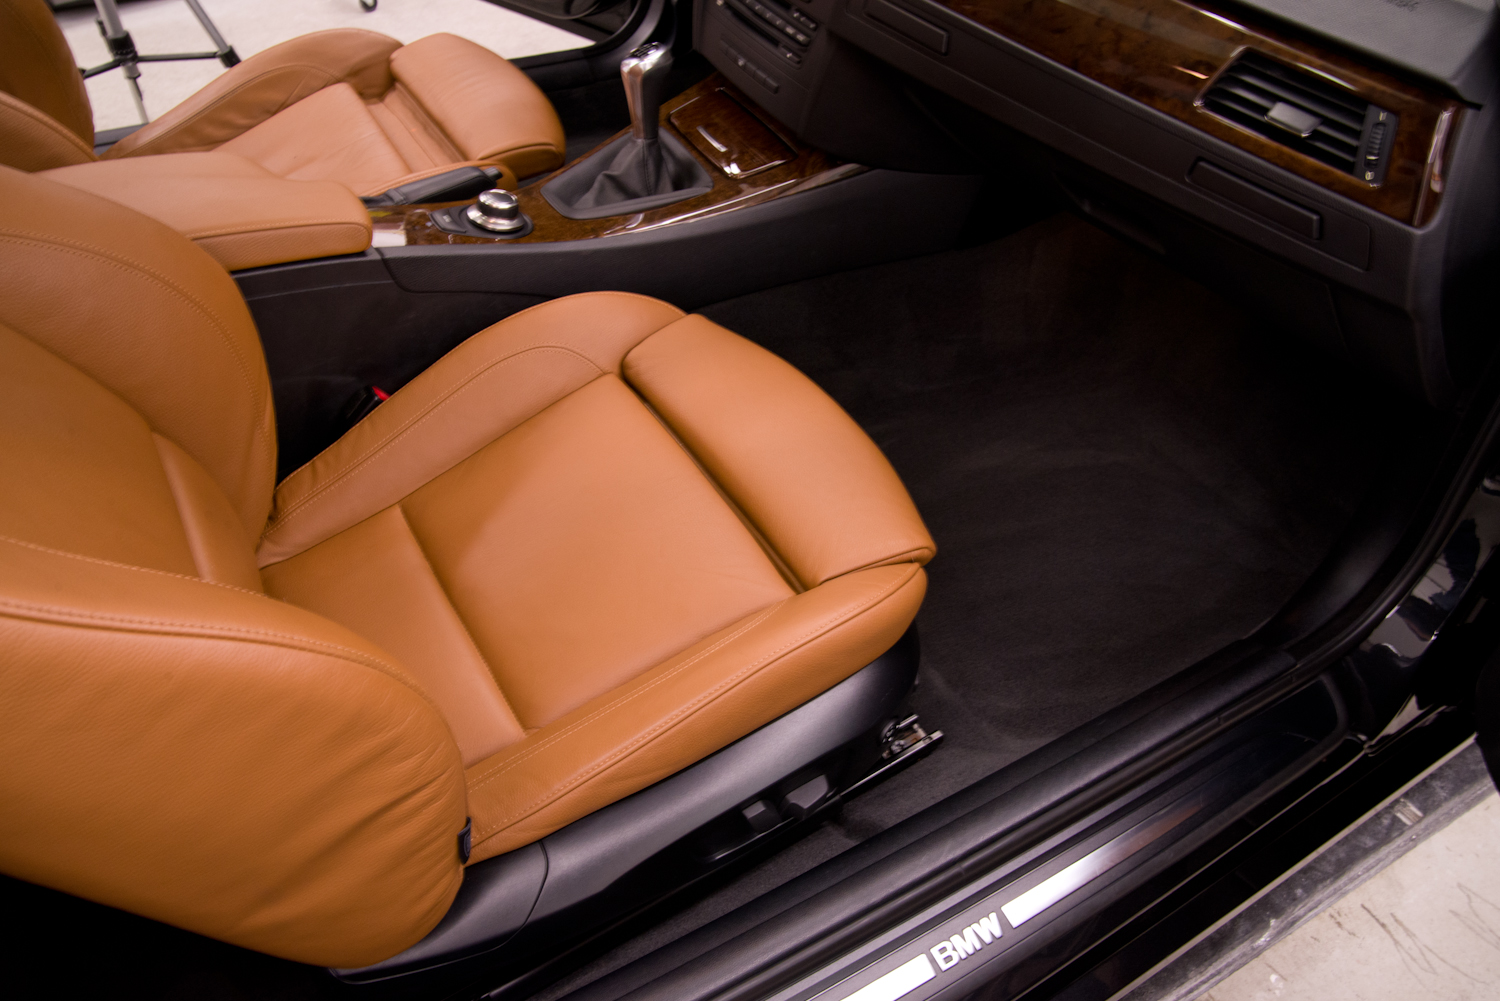
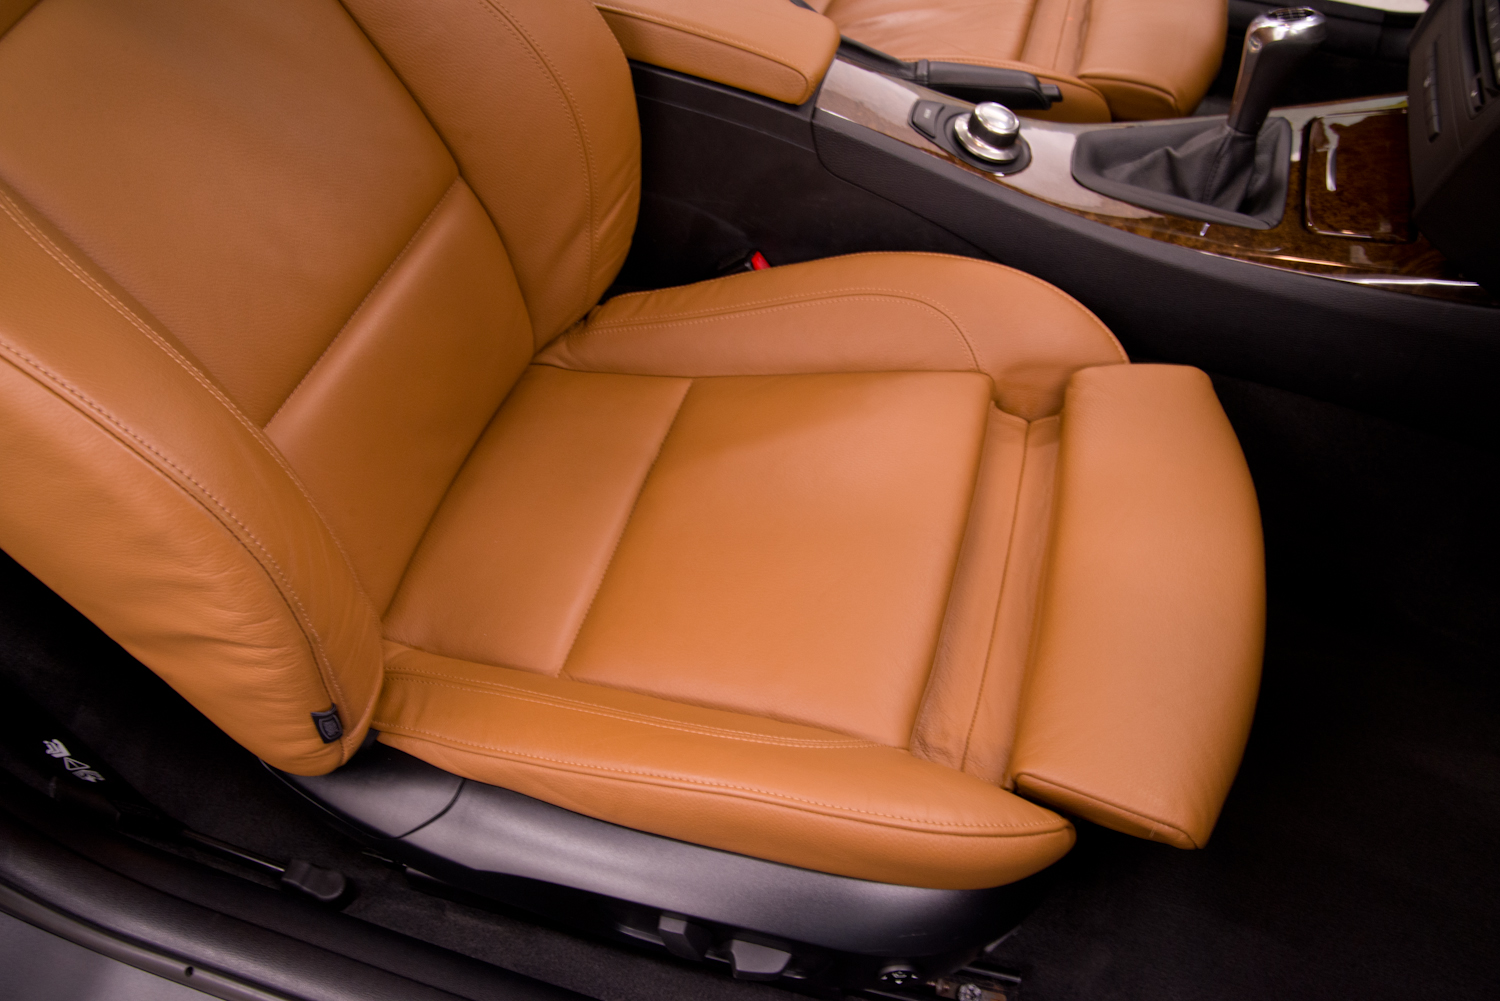

All paint was corrected to the same level, even the lower rocker panels. Vertical “hub scrub” scratches removed! 😉

The hood turned out great, aside from a few bug splatters which had etched through the paint.


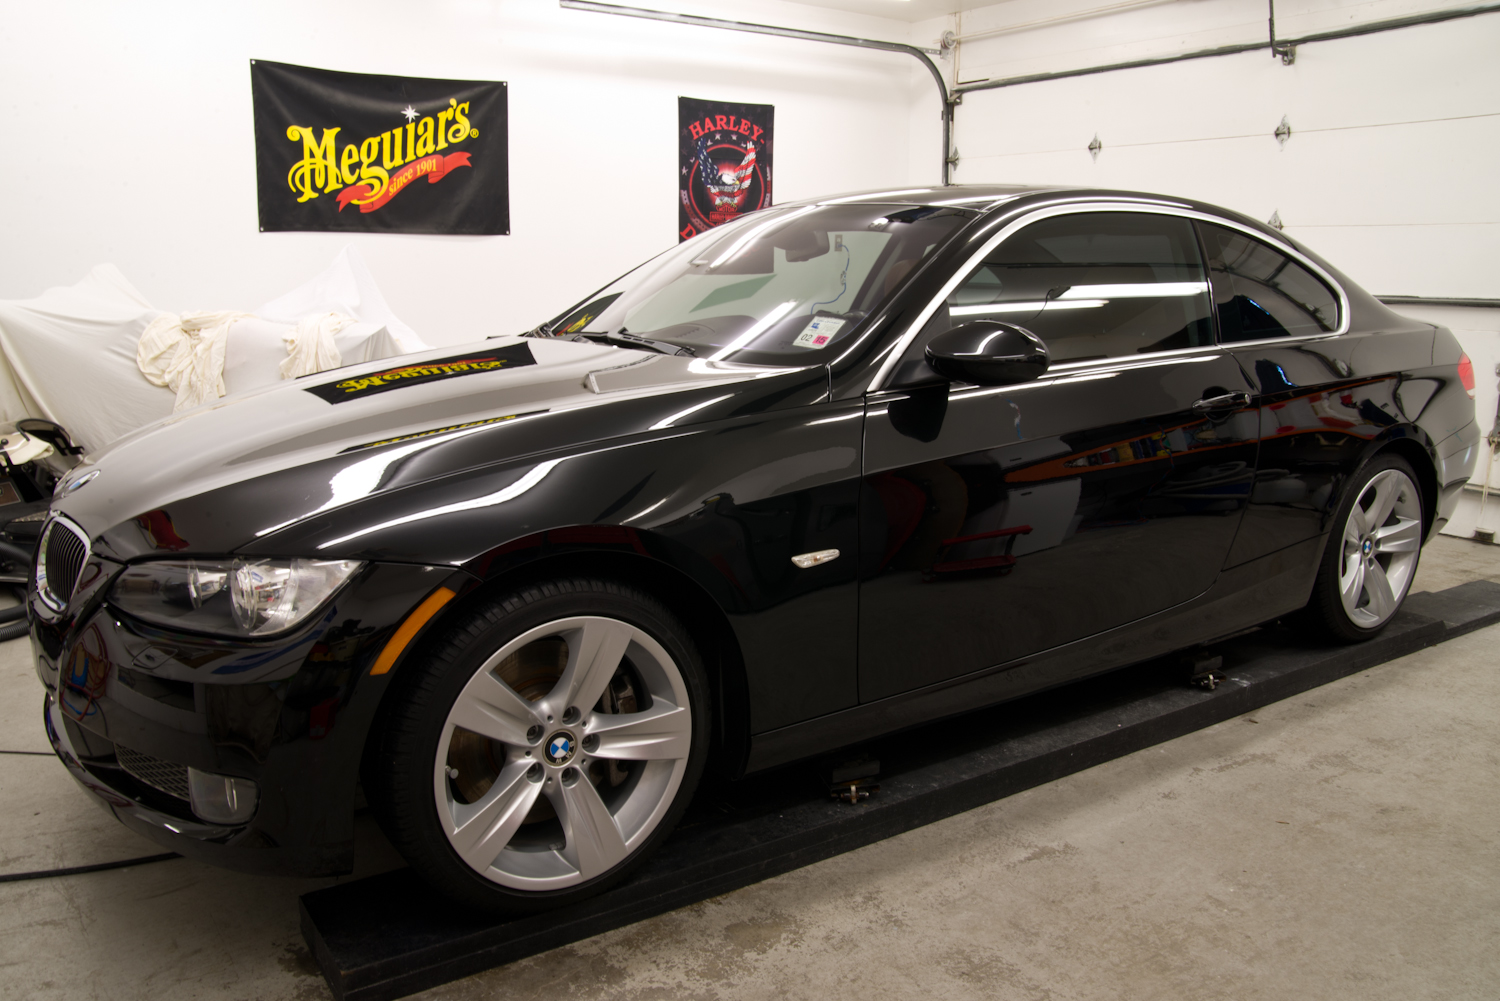
I love Black Sapphire Metallic! 🙂

A proud father giving his approval!


The father sent me over several pictures when he got home, but I really feel this last photo sums up the whole job! I hope you enjoy your reconditioned car and, most importantly, Thank you for your service!!!


I hope you’ve enjoyed reading this article as much as I did creating it. If you have any comments, please feel free to and them in the comment box below. 🙂
Buy Products From This Article
Purchase the products used in this article individually or in one convenient package here!