

Cleaning Pads While Polishing
Cleaning your pads while you are polishing isn’t WASHING your pad but I just wanted to add this section because it is still some very useful information. In Ivan Rajic’s article “Pad Cleaning During and After Polishing“, he explained that it is important to not only clean your pad after use but also while you are polishing. This will help to maintain the pad’s cutting ability leading to consistent results throughout your paint correction process. All you need is a DI Brushes Foam Pad Cleaning Brush or a Rupes BigFoot Claw Pad Tool, press firmly on your pad while it’s still on the polisher and let it spin, clearing any dried up polish on the surface of your pad. Below is a quote from Ivan himself on why this process is so important.
Due to their nature, polishing pads will absorb oils and abrasives from the polishes used with those pads. Over a certain period of time and after a certain number of polished panels on the vehicle, the pads will get saturated with both the contents of the polish as well as paint removed from the vehicle during polishing. Due to this saturation, the pads will not only lose their corrective ability, but we’ll also see splatter coming out of pads due to all the polish and paint residue sitting within the pads’ pores. Dusting at this point is almost a sure thing with most machines.
This step is something that I never did when I first started detailing but after reading Ivan Rajic’s article and applying this technique, I noticed a considerable change in performance.
Washing Your Pads After A Detail
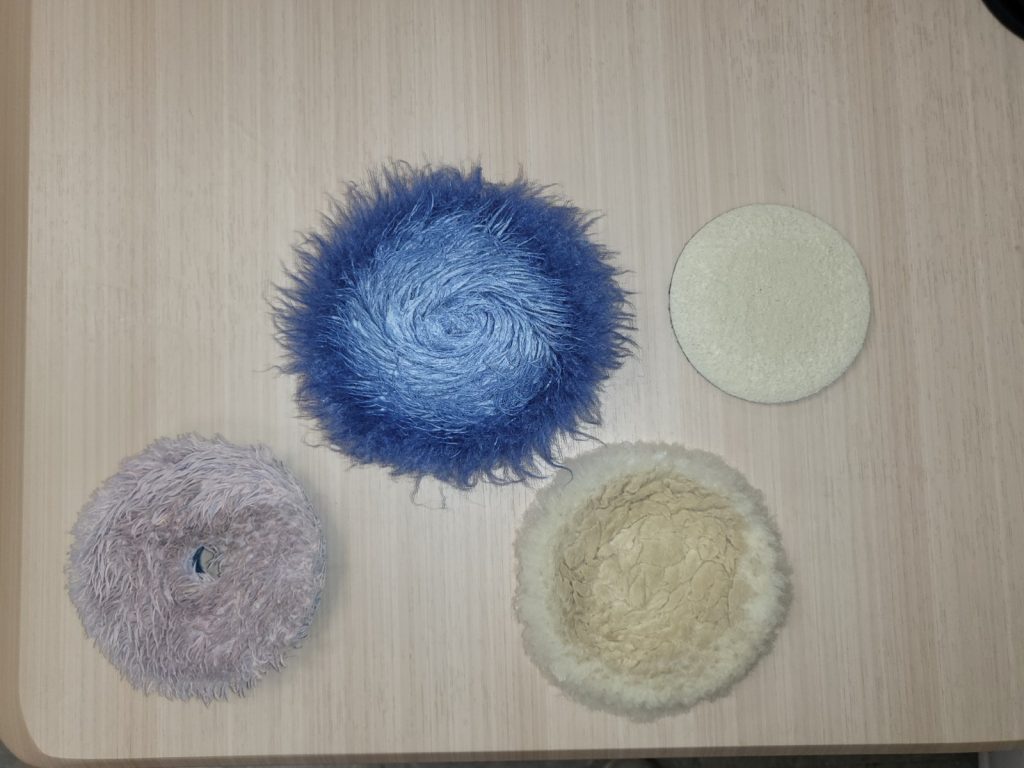

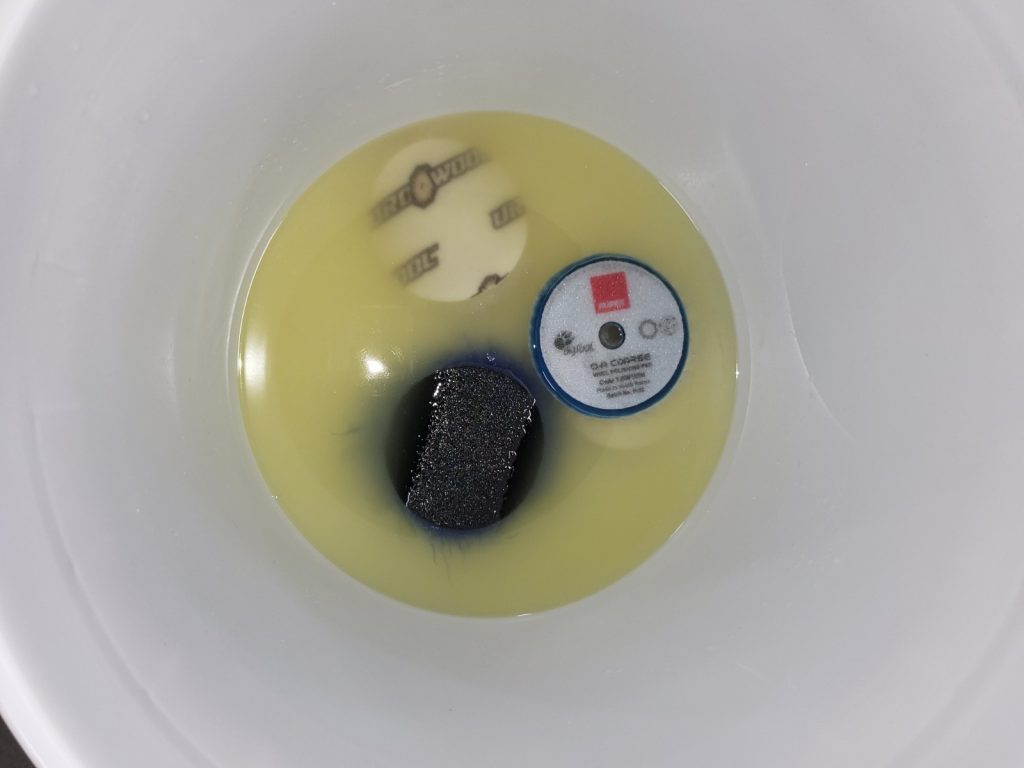
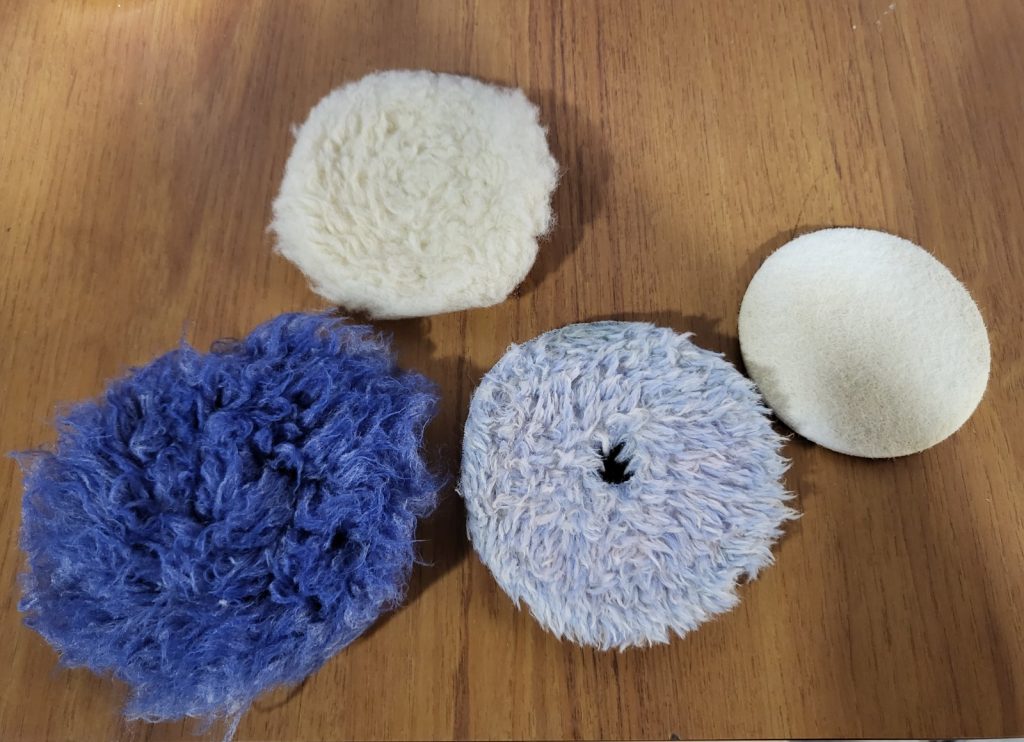
The pads in the picture above are the ones that were used in our Ask DI: How to Restore Your Headlights article. They are in desperate need of cleaning and my go-to product for this process is the Lake Country Snappy Clean Boost Pad Cleaner. To start, you want to grab a bucket of water, pour in about half the packet for 2.5 gallons of water, throw your pads into the bucket facedown and just let them soak for about 15 minutes.
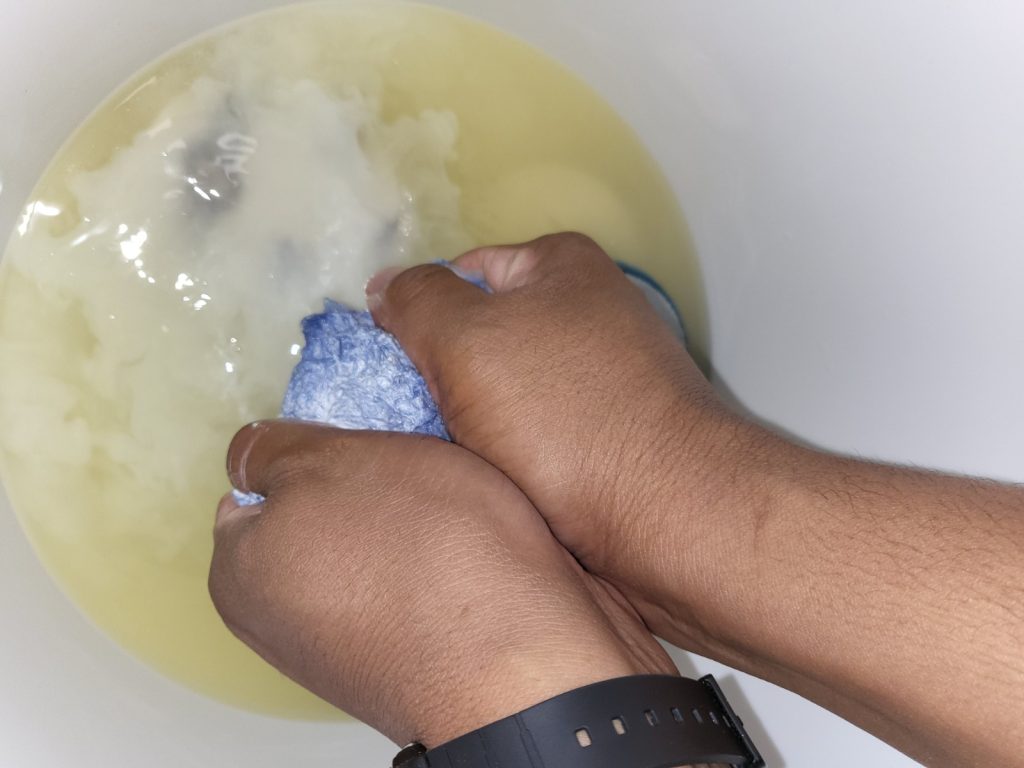
After letting the pads soak you want to start to agitate the pads with your hands to get all of the built up polish. A pad cleaning brush could also be used on this step. After making sure that you have gotten all of the polish off of your pad, you are going to want to rinse the pad off with some water while still agitating it. If you weren’t able to get everything loose, there is no shame in rinsing and repeating these steps.
After giving those bad boys a nice rinse either under your sink or with a pressure washer (pressure washer really isn’t needed it just makes things a lot faster), you are going to want to squeeze out as much excess water as possible and let them air dry. Now you are ready to use them on your next polishing endeavor!

Other Methods
There are a few other great methods for cleaning your polishing pads spanning from using a power washer to using a pad washer system like Lake Country’s Pad Washer System or Detail Guardz’s Dirt Lock Pad Washer. In my opinion, it’s best to find out exactly what works for you!