

This article has been on my “to do” list for a while now and I finally got a car to go through the process and take some photos. I also got a bit lucky because this badge removal showed both the good and the bad you can end up with when going through the process. It’s basically a lot of step by step photos with brief descriptions and any advice I have for that step.
To begin, I used the following tools and products:
- Optimum No-Rinse (ONR)
- Microfiber towels
- Heat gun
- Plastic razor blades
- Goof Off Degreaser
- Clay Magic Clay Bar
- Flex polisher
- Lake Country Pads
- Meguiar’s Polishes
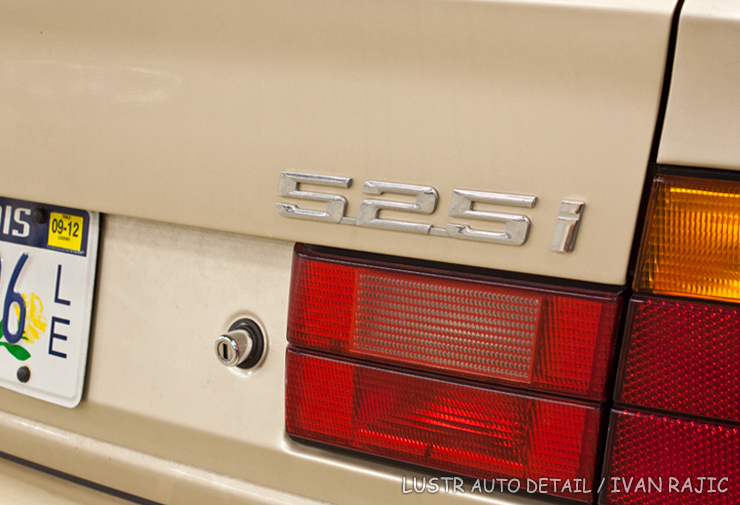
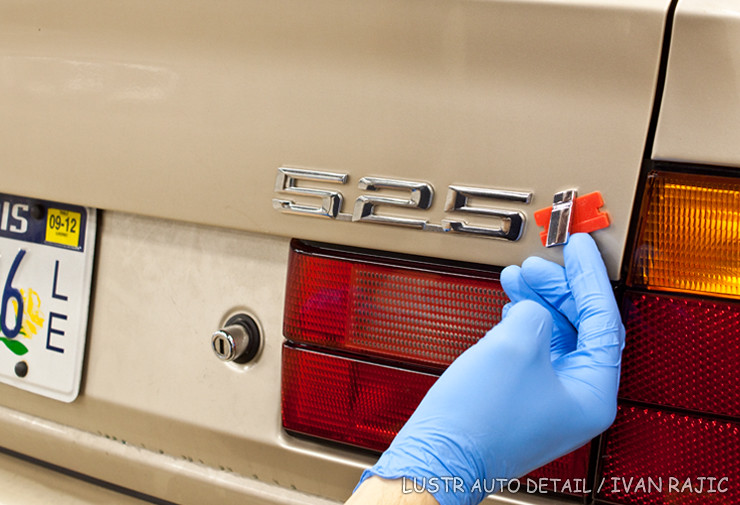
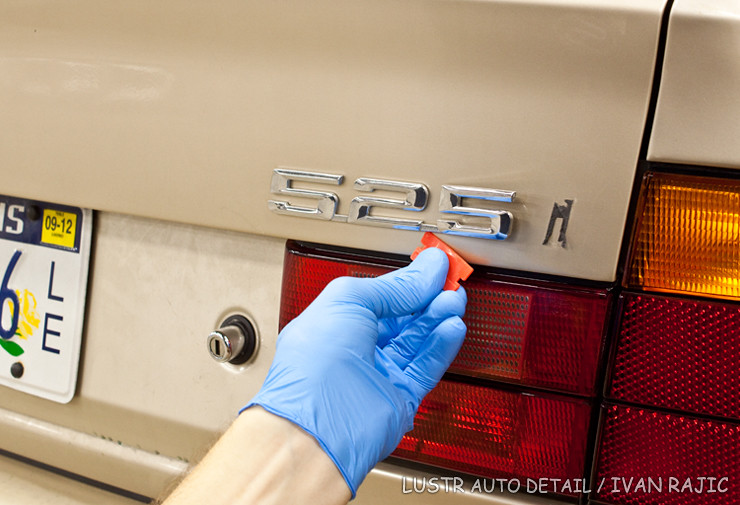
Badge to be removed on my daily driver/winter beater 95 BMW 525i…

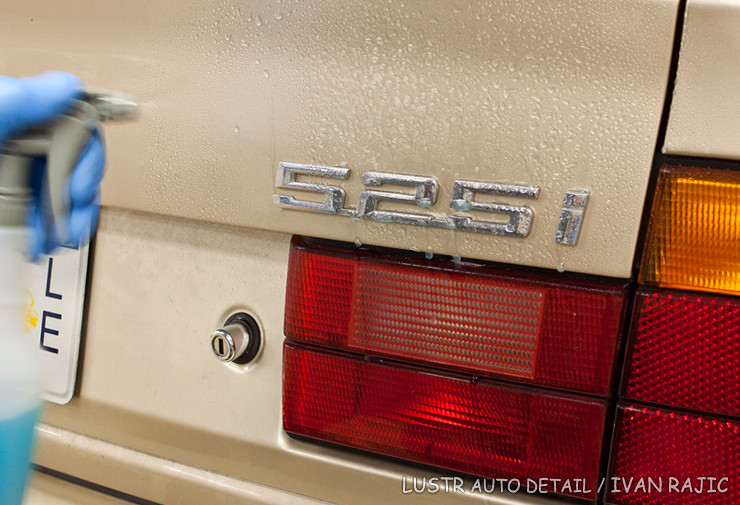
I started the process by thoroughly cleaning the area around the badge, first with a rinseless wash process, then a simple wipe down using ONR and a microfiber towel…

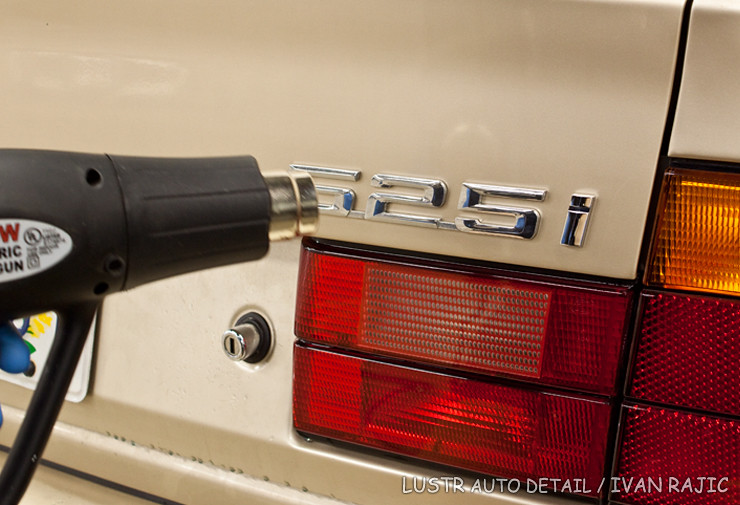
After the area is thoroughly cleaned, you want to heat up the badge enough for it to start moving a bit when you push on it. This means the adhesive in the back is starting to give and you can start the debadging process. Just a heads up, a regular hair dryer will work wonders here, especially for those who never used a heat gun because not only will the hair dryer do the job just fine, but you won’t risk badly burning the paint, the badge, or your hands with improper use of a heat gun. With a good heat gun, it usually takes only 10 seconds or less to warm up the adhesive enough and start removing.
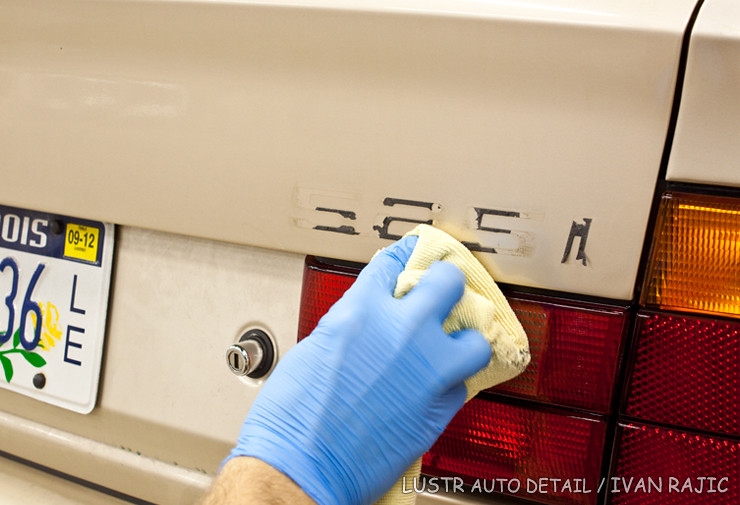
Once warmed up, I like to start pulling off the badge using a plastic razor blade by inserting it level with the paint and starting to cut through the adhesive in the back…
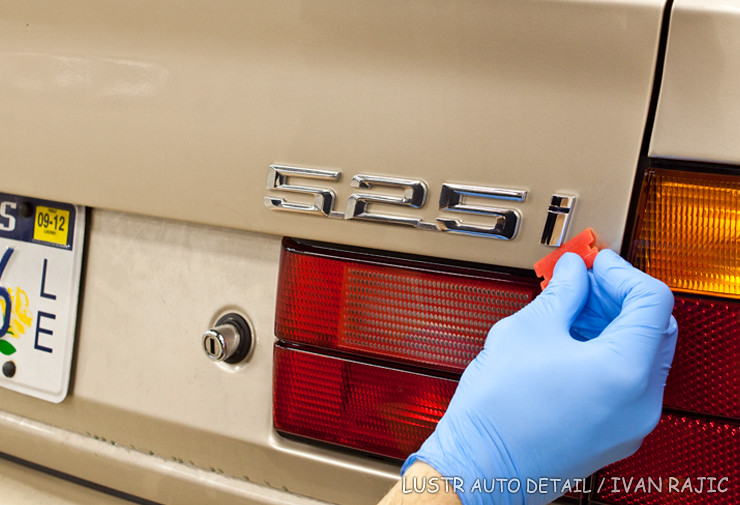
If necessary, you can reheat the badge a bit to make the adhesive easier to cut, but for the “i” it was pretty simple and it only needed a quick swipe of the plastic blade to remove. A word of caution, you want to be extremely careful when using the plastic blade as you can easily scratch up the paint below and have a lot of unnecessary polishing to do later. Many people also utilize fishing line or even some strong sewing thread, so that’s definitely a great alternative to the blade. I like to use the blade mainly because it helps me start removing the badge in certain areas where a thread will be worthless, as we’ll see a few photos below.
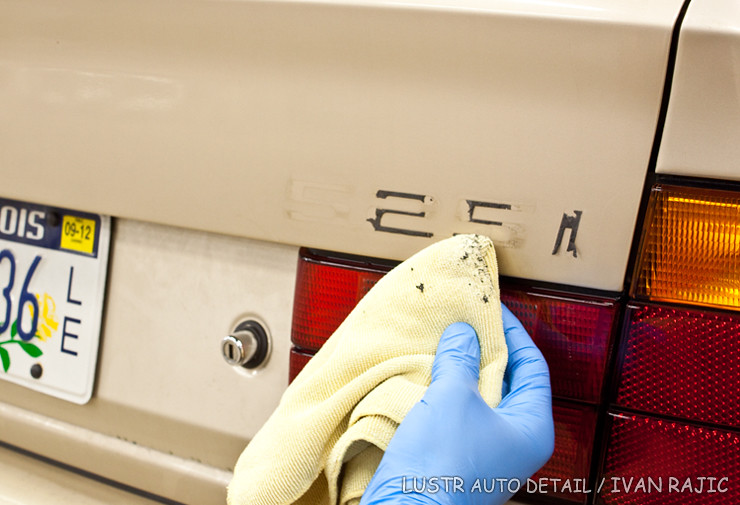
Once enough of the adhesive is separated from the back, you can simply pull off the badge piece away from the paint.
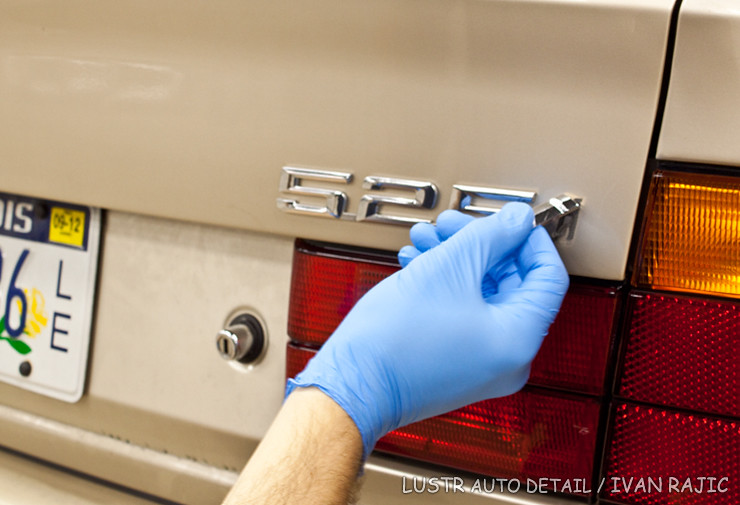
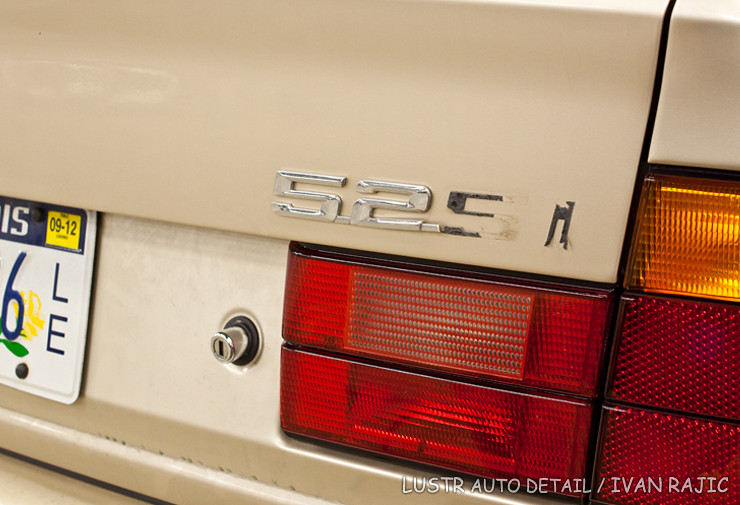
This particular badge obviously has two parts, so once I was done with the “i”, I just kept going onto the “525”…
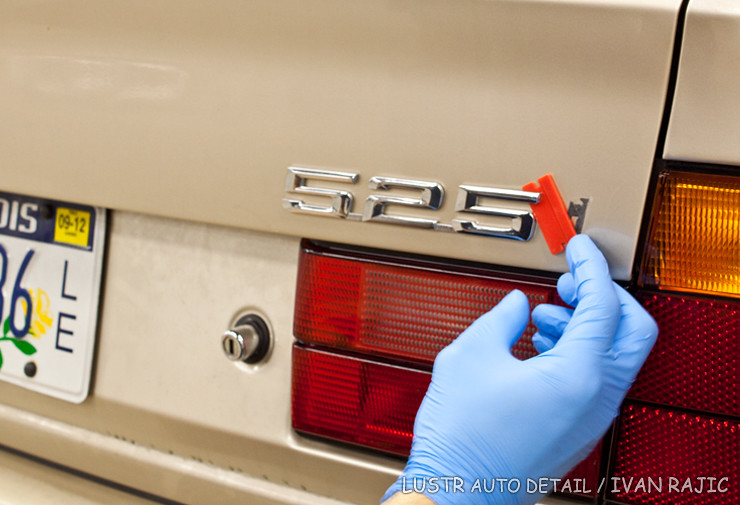
Here you can see me reheating the badge a bit more to loosen up the adhesive and keep pushing the blade through. I believe this was only the 2nd time I reheated the badge.
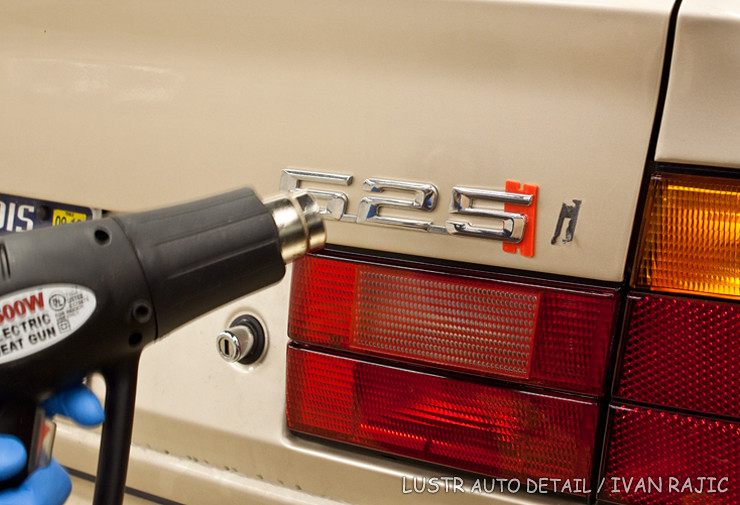
A very important thing to remember if you want to keep the badge intact… be mindful of the small connecting pieces, such as the little tabs between the numbers in this “525”. If you don’t use some common sense and patience as shown in this photo…
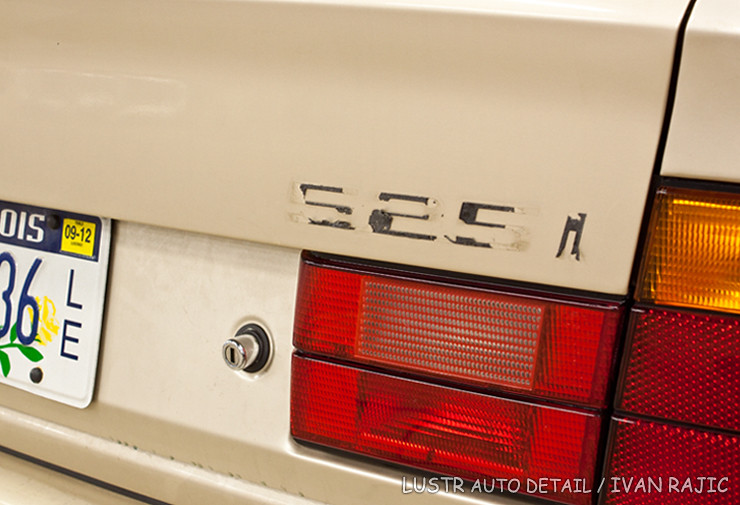
you’ll end up with a broken badge piece such as this…
As I said above, you simply want to work your way from the outside in and carefully peel back the badge slightly until it comes off evenly and in one piece. Here’s the badge fully removed…
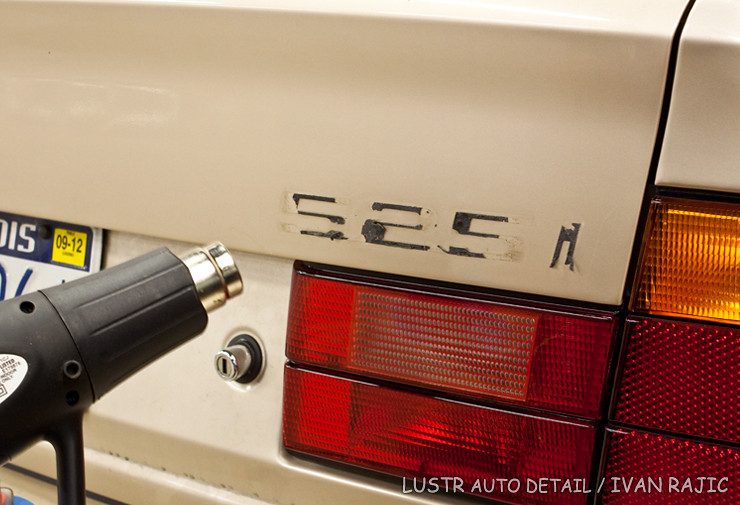
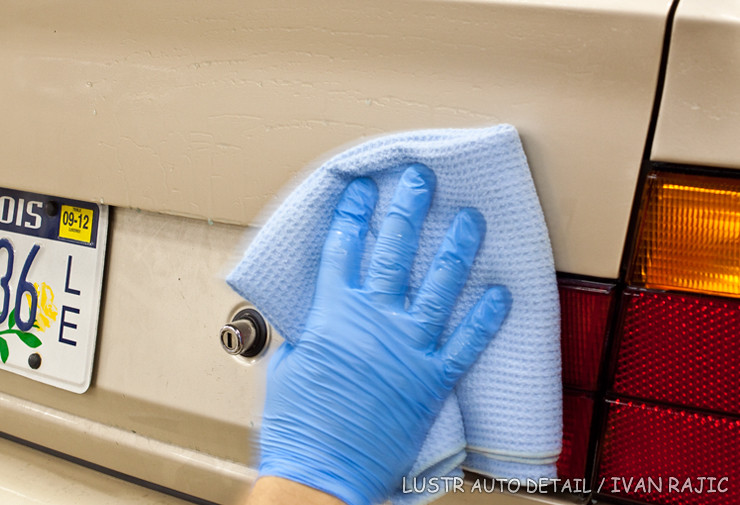
To get the remaining adhesive off, I once again used the heat gun to warm it up…
Then a microfiber towel to wipe it off…
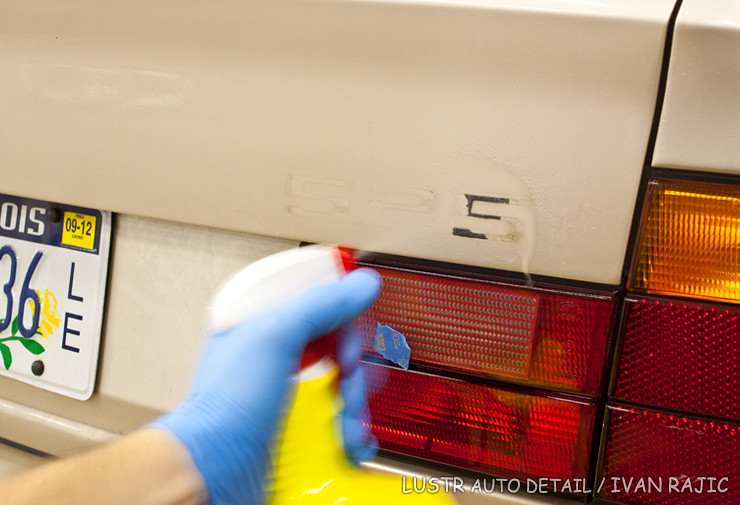
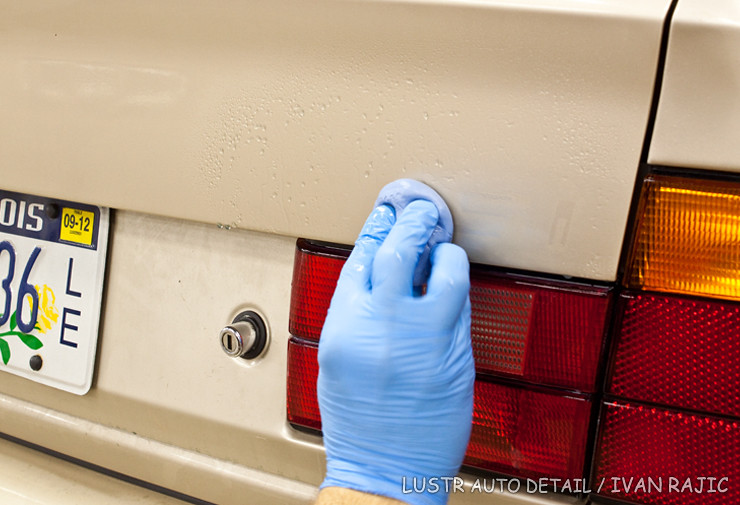
At this point, almost all the adhesive came off fairly easily with some heat and light wiping, but there’s almost always some remaining adhesive that will require some sort of grease remover and elbow grease. I always keep some Goof Off handy, so that’s what I chose to utilize here. After a few sprays over the entire area covered by the badge…
I simply used a microfiber towel to pull off the loosened adhesive…

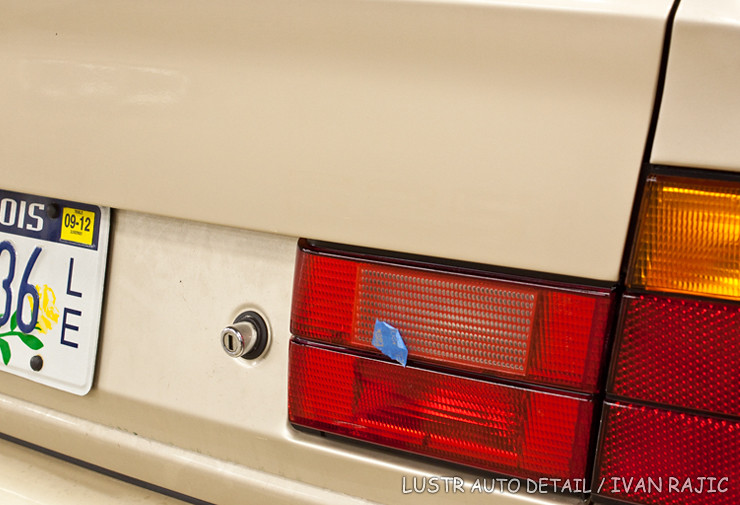
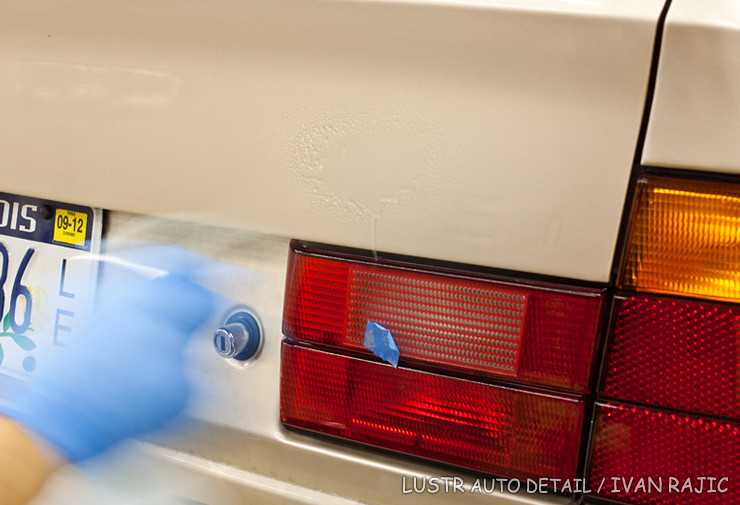
Badge and adhesive all gone!
After removing all the adhesive, I like to use the the Blue Clay Magic clay bar to ensure a smooth surface…
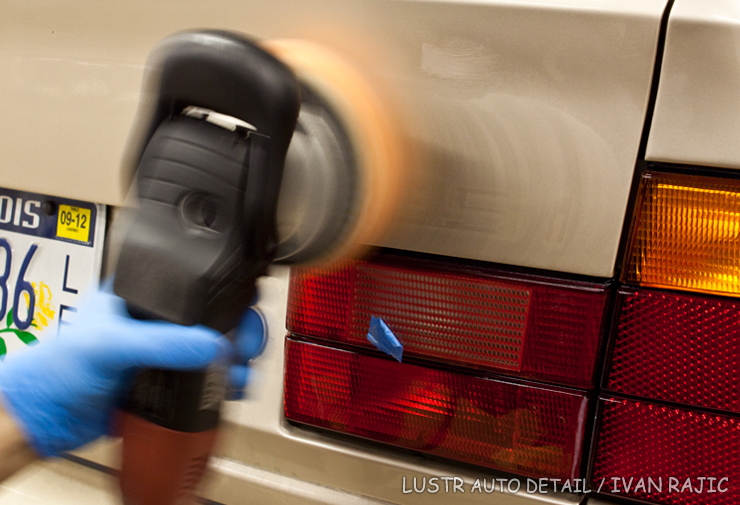
Once that’s done, we have to do some polishing to try and remove some of the “ghosting” left over by the badge. Measuring the paint…
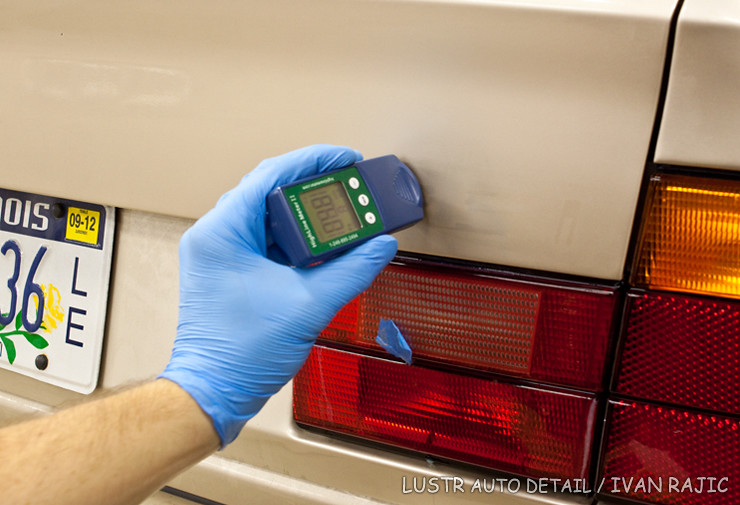
I first did 3 steps of polishing using Meguiar’s 105 and Lake Country Orange Pad. After, I used Meguiar’s 205 and a Lake Country White Pad to refine the paint a bit.
The polishing definitely leveled the paint and removed a lot of the “ghosting”, but due to the age of the paint there was still a difference between the area previously covered by the badge and the rest of the paint. This photo only barely shows the difference…

but from certain angles and under certain light, you can easily notice how the paint looks different…
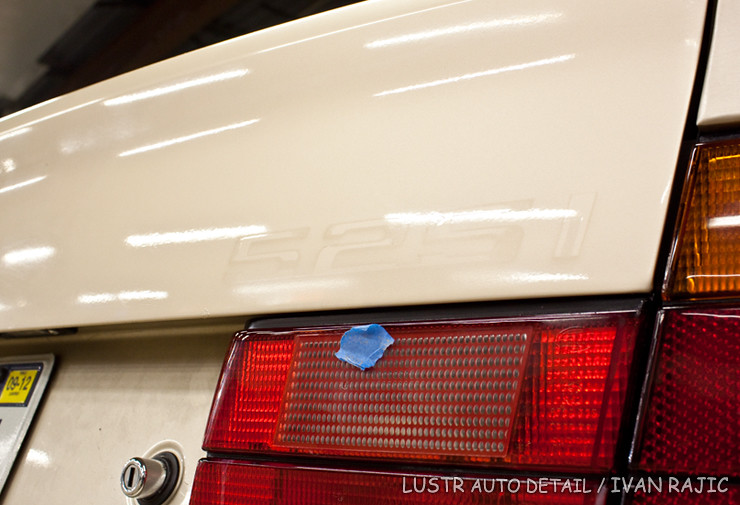
I decided not to polish any more because it wasn’t making a difference and I didn’t want to go through too much of the clearcoat, so I called it quits at this point.
That brings me to the good and the bad mentioned above. As you can tell, the badge removal went well in that the paint wasn’t scratched at all and the rear end looks much cleaner overall (in my opinion at least). On the other hand, once you get up close to the car and look at it under some light, the ghosting will be apparent so it’s one of the bad consequences on removing the badge from an old car. On newer cars, this is almost never an issue BUT it can happen, so always keep that in mind.
Well that’s about it. Hopefully it has answered some of the questions that readers asked about badge removal and as always, please feel free to leave any comments or questions below.
Buy Products From This Article
Purchase the products used in this article individually or in one convenient package here!