
I was recently asked by Detailed Image to review a coating and jumped at the opportunity considering I have never tried the Gtechniq line of products. This Crystal Serum Light (CSL) is a “light” version of the professional only Crystal Serum. According to Gtechniq, CSL offers 80% of the performance of the Crystal Serum.
The durability should be 3-5 years and CSL does well at resisting swirl marks, adding gloss and keeping the paint clean. As you can imagine, I’m unable to test all those characteristics within only a few weeks of testing, so this article will mimic my recent “application and review” articles of other coatings (22ple VX3, CQuartz and Gloss-Coat).
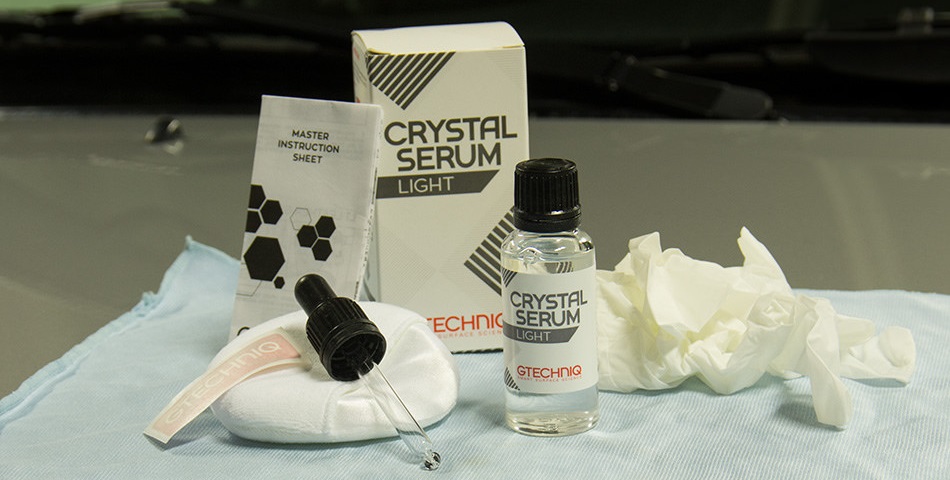
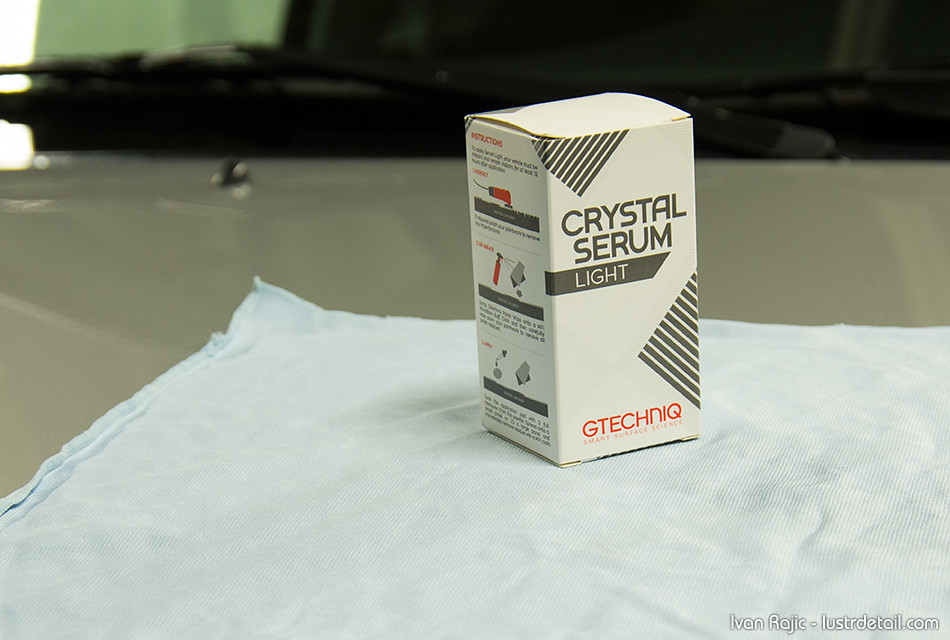
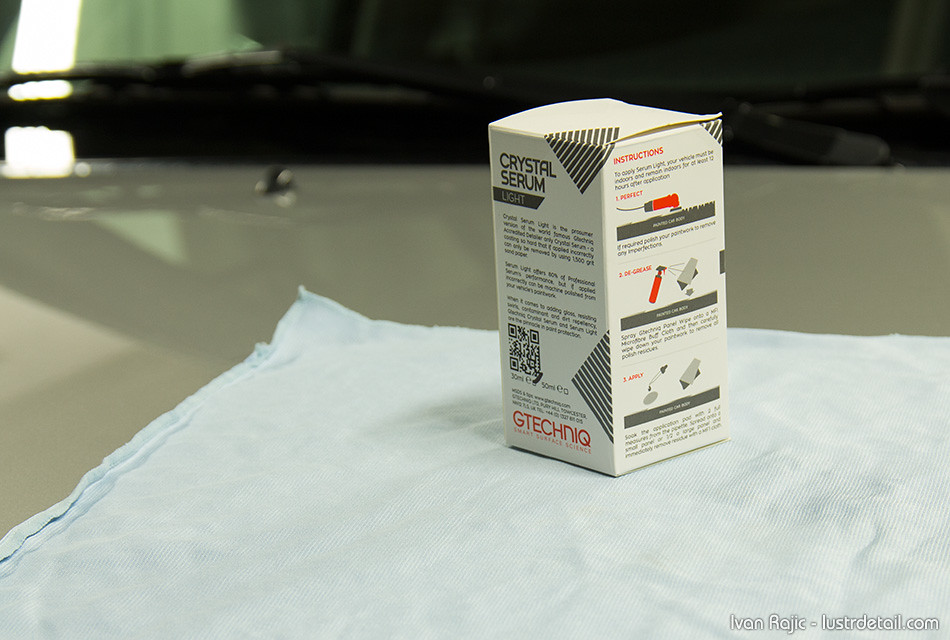
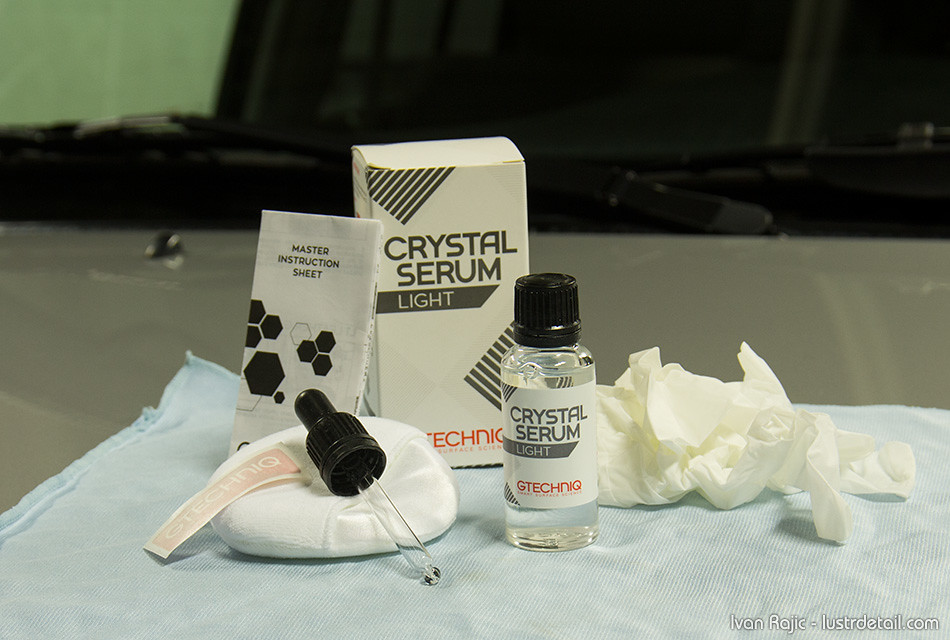
Initial observations were that the packaging is very clean and informative. The box is white with grey with red writing and accents, making it very appealing to the eye as well as easy to read. The box contains information on the product, instructions and benefits. All are clearly outlined and to the point, so it eliminates guesswork for the installer.

Inside the box are quite a few, very helpful things. The bottle, dropped/pipette, applicator pad, gloves, instruction/info sheet and a GTechniq sticker. The master instruction sheet contains information for their other products as well as detailed instructions for the CSL application.
I went straight to the application on a test panel we have at the shop (I did this on a section that’s still in decent shape, away from where we shot at it with a BB gun to test how much PPF/clear bra protects the paint). Since I was doing only about 1 sf area, I only filled about half the dropper and applied to the applicator pad (instructions say to apply 2 full measures from the dropper, but that’s for doing an actual panel)…
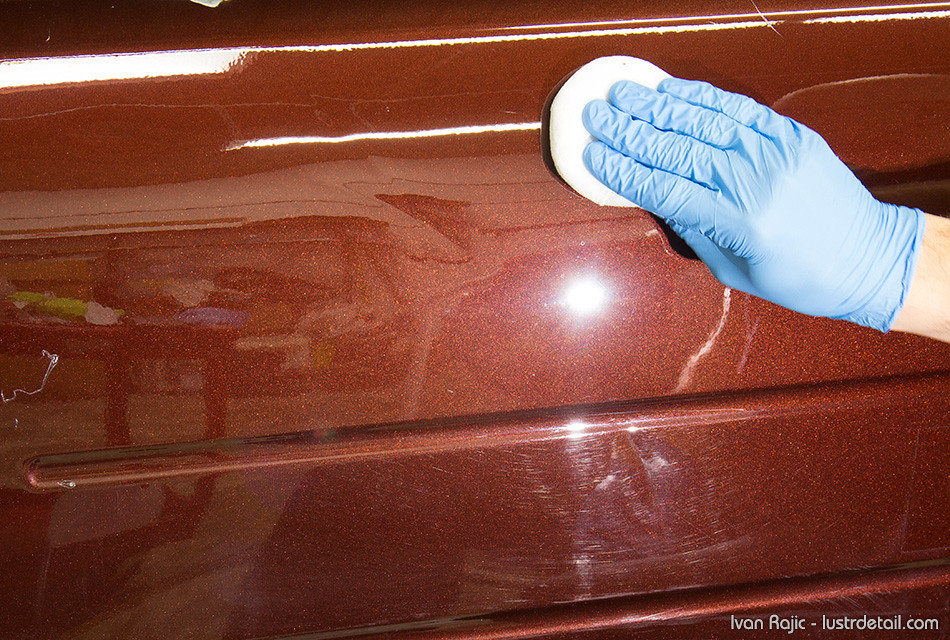
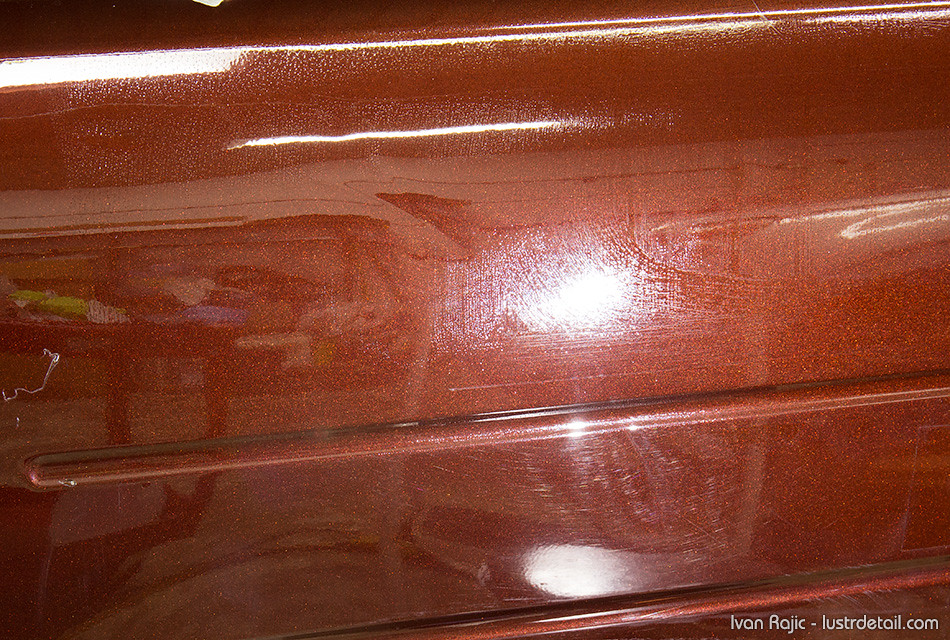
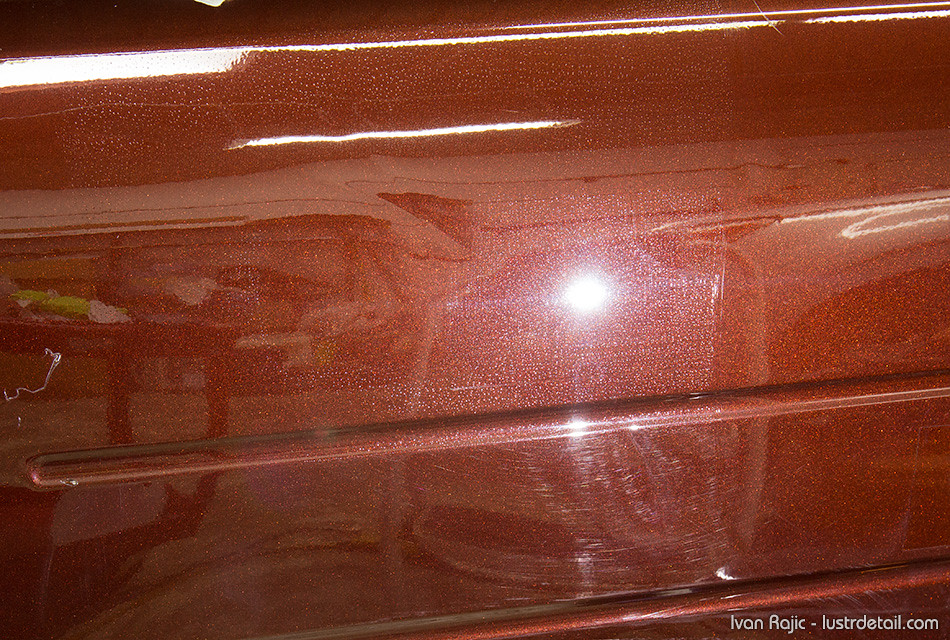
It went on very easily and was smooth to apply. I applied it liberally but not dripping wet. Next I wanted to wait and see at roughly what time the coating should be removed. The instructions say to apply to “a small panel or 1/2 a large panel” then remove residue with a microfiber cloth. Based on my findings on two test panels, that would go by too quick and you may be removing uncured coating, but that’s just my opinion. The temperature at the shop was 65-70 and no humidity at all, so obviously your times may vary based on that. Below I’m showing photos of the coated section at 30-60 second intervals to show how it looks as it dries…
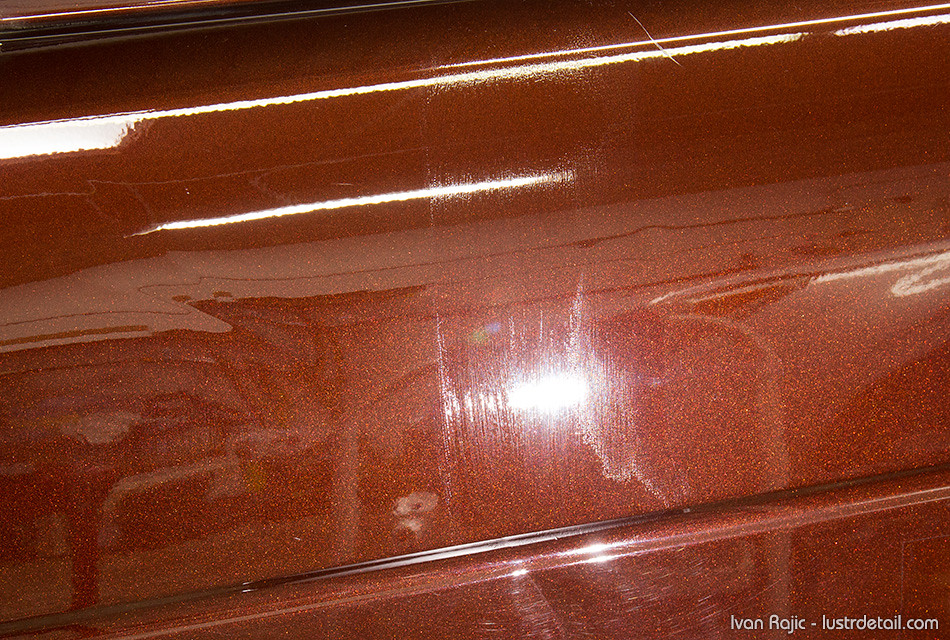
At ~2 minutes, it was still very wet but showed clearer signs of the applicator strokes…

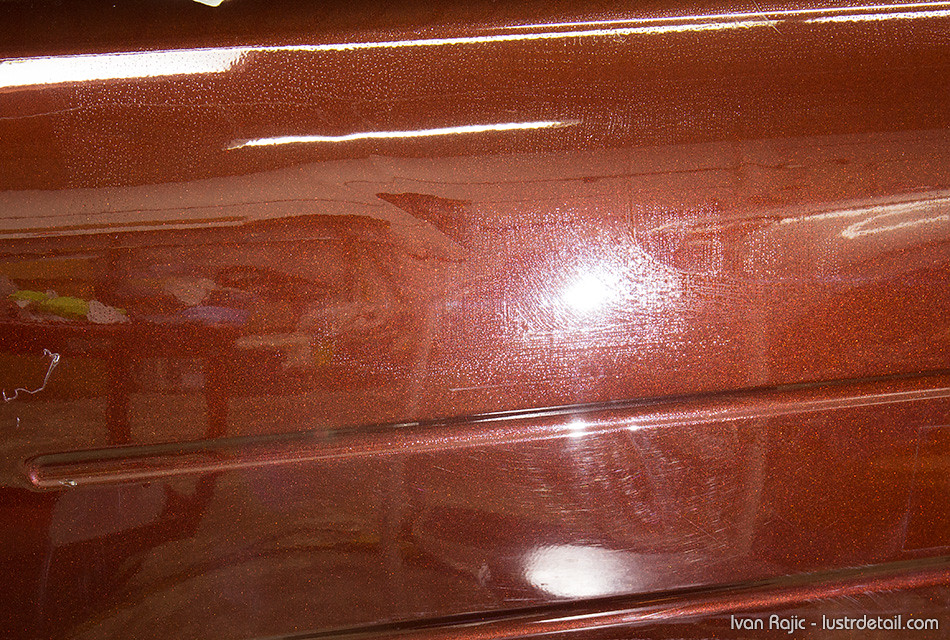
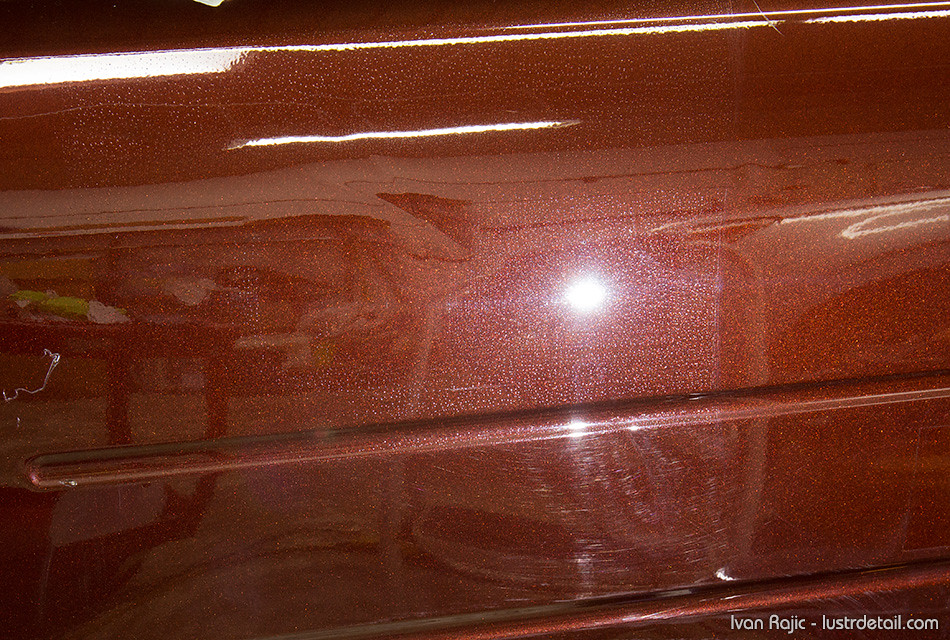
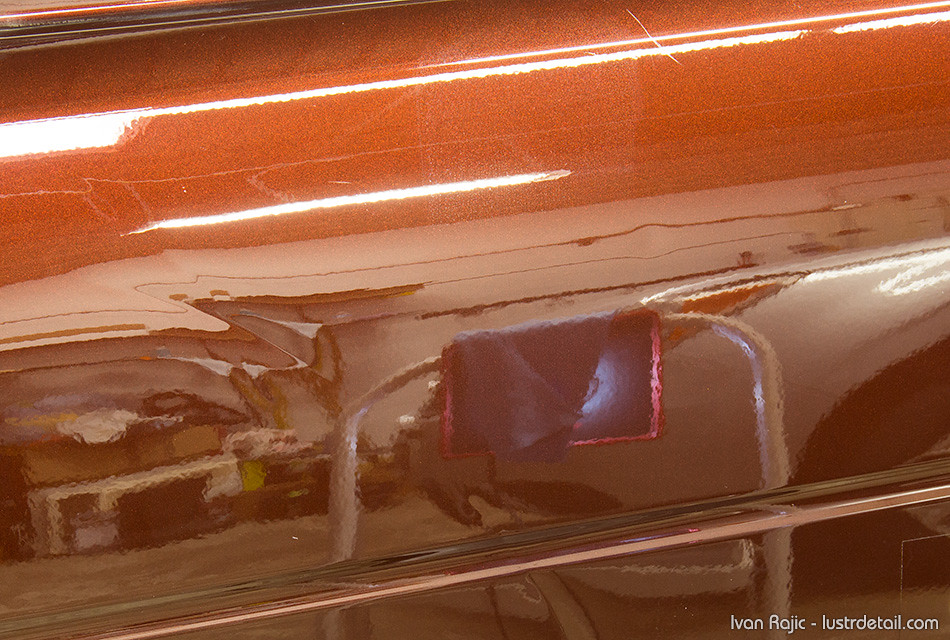
At ~3 minutes the strokes became even more apparent and small sections started to show up as dry…
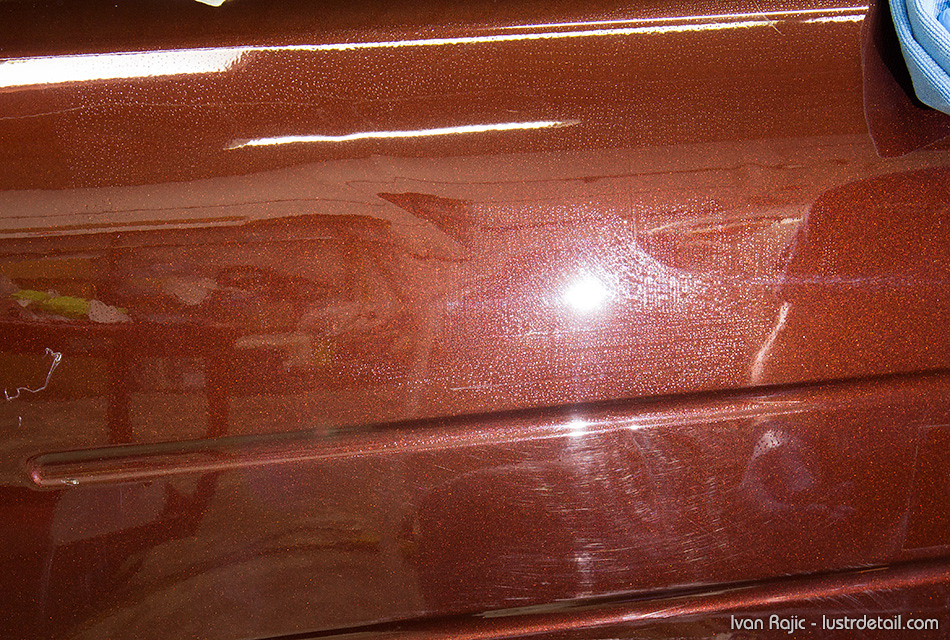
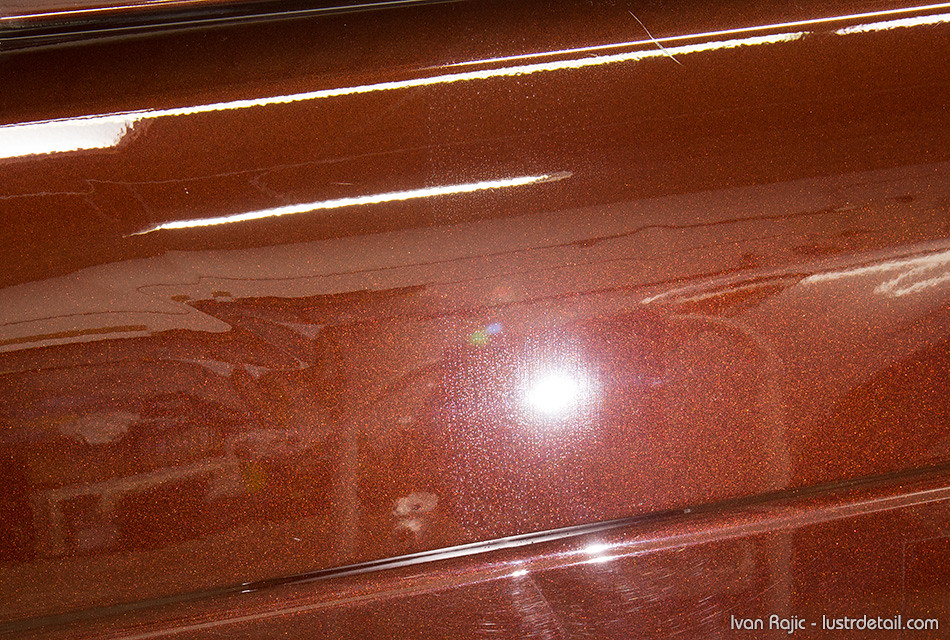
At ~4 minutes it started drying a lot more and showing up as “sweating”, very similar to the CQuartz coating…
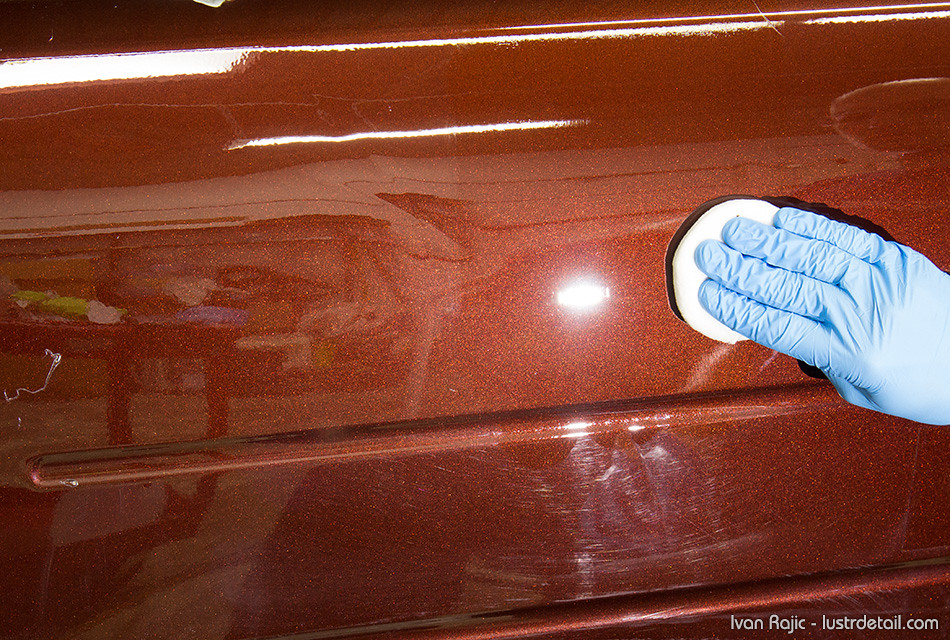
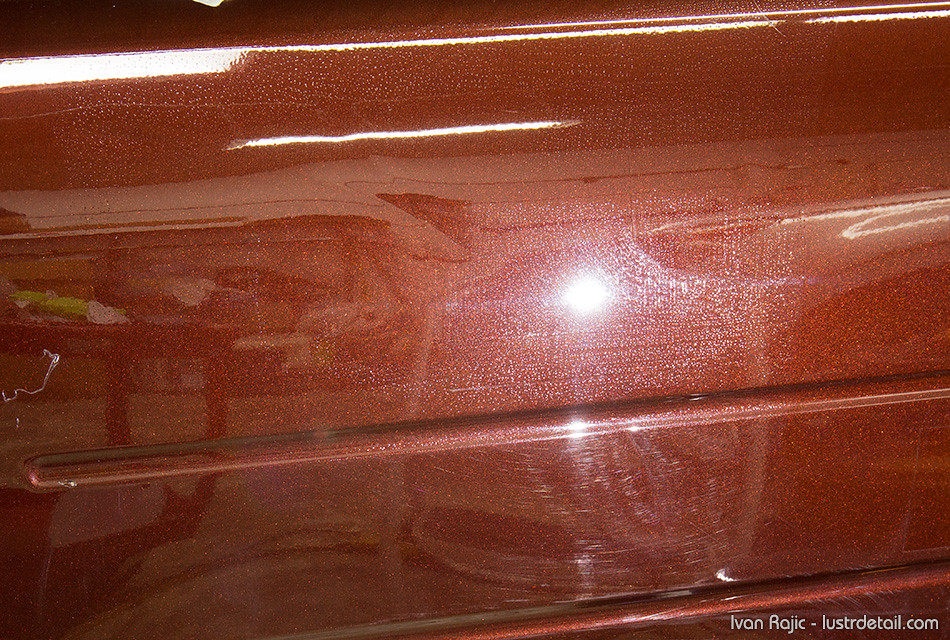
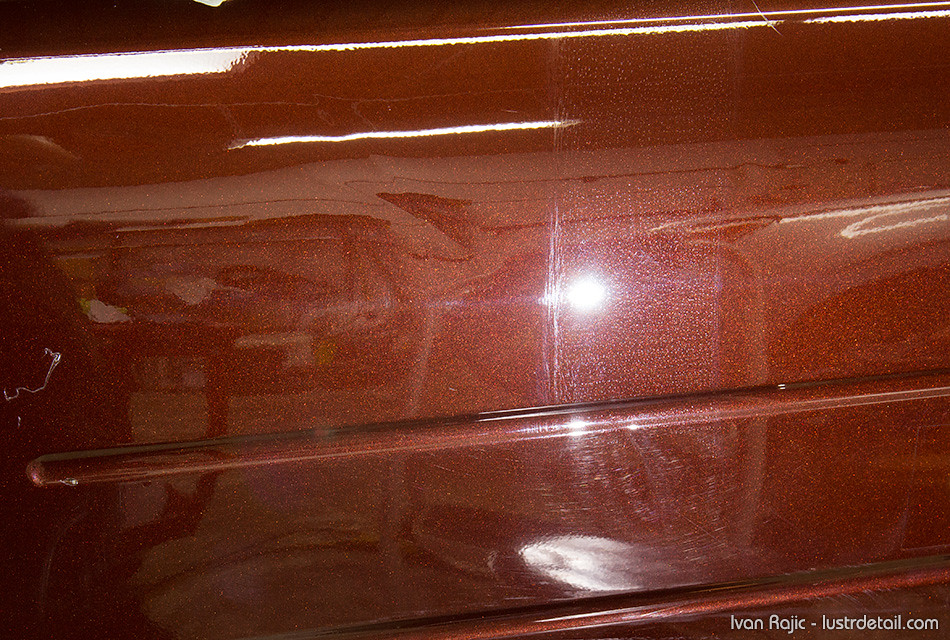
At ~5 minutes the small beads became more apparent as the area around them dried even more…
At ~6 minutes a lot of the applied coating seemed to be dry and even the small beads were starting to dry, so I decided to wipe a section at this point. It wiped off effortlessly and there was no streaking left behind. It simply took a couple of back/forth wipes with a clean towel and the residue came right off.
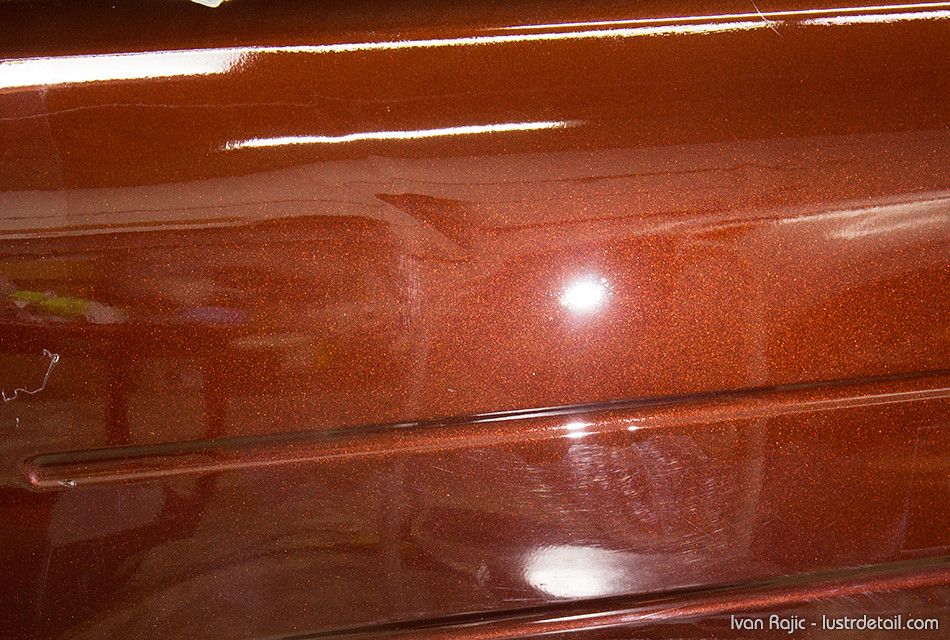
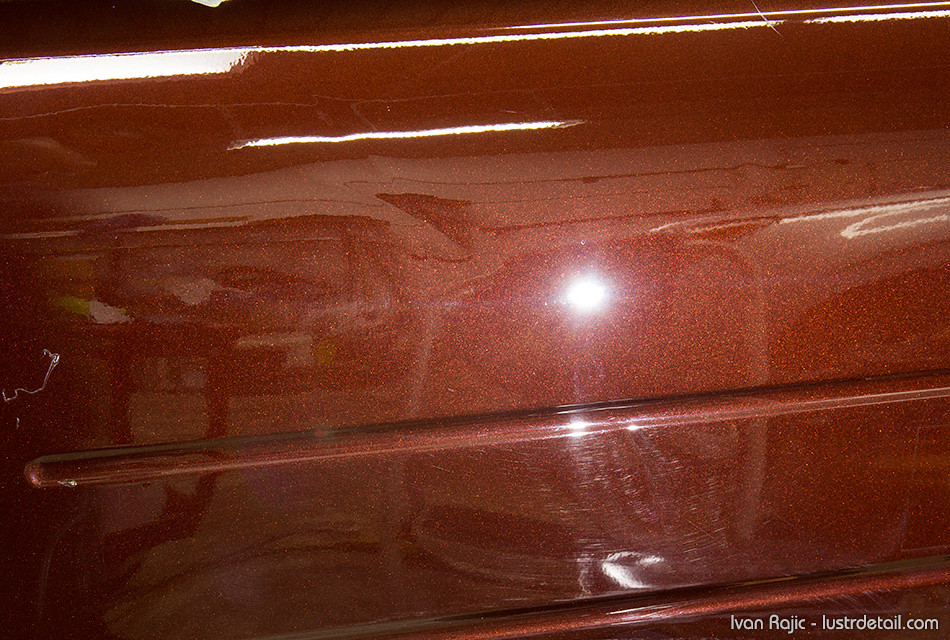
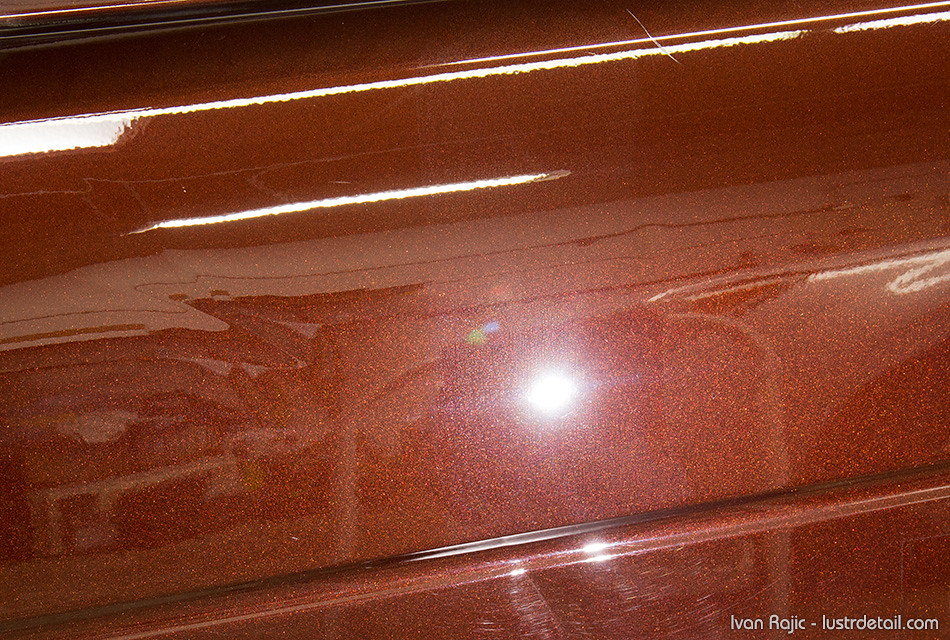
Based on that, I decided to wait even longer. At ~7 minutes the coating looked just a bit more dry than 6 minutes…
At ~7.5 minutes pretty much all the beads were becoming dry specs on the paint…
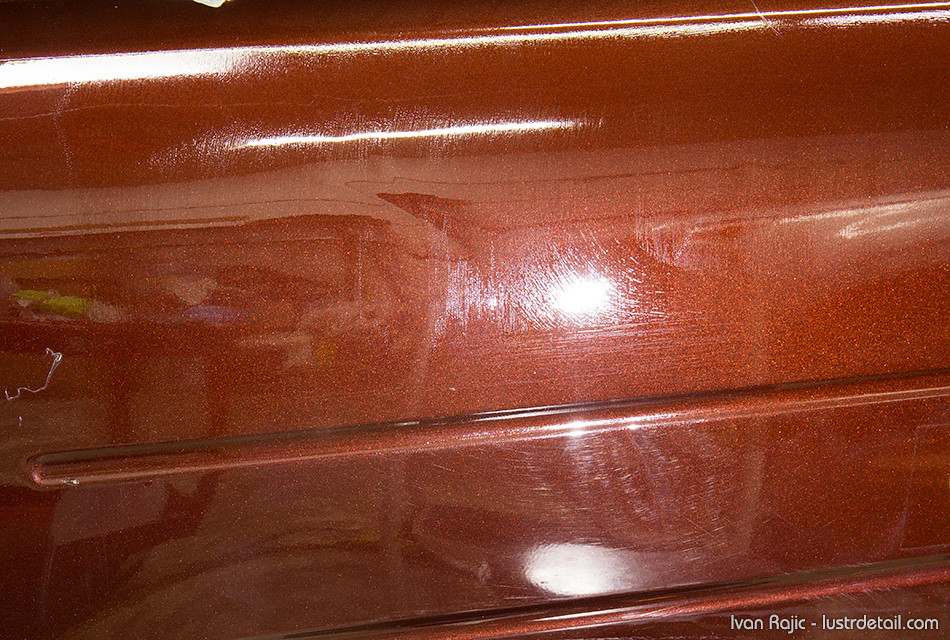
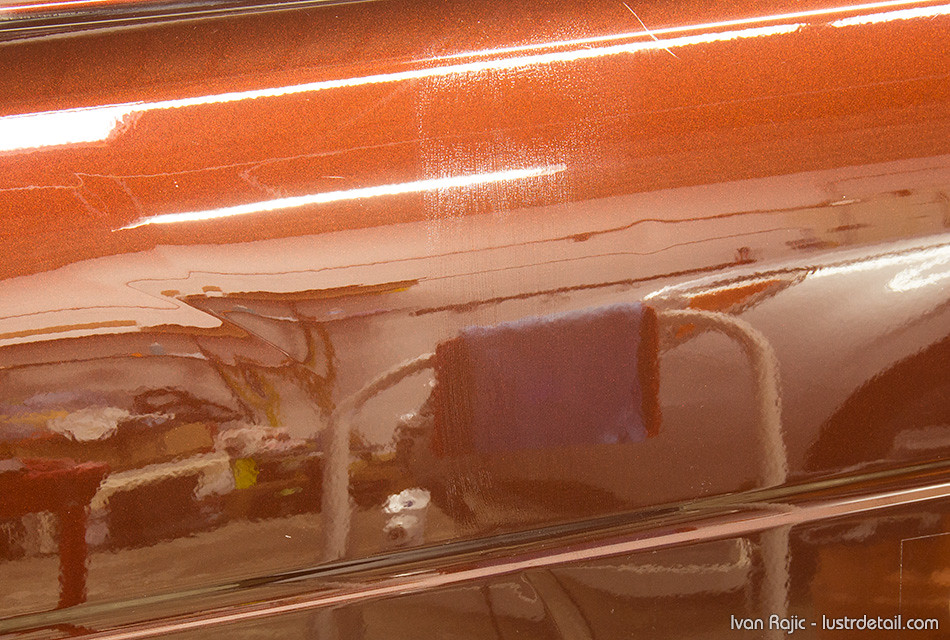
At ~8 minutes I decided to remove some more of the residue and this time it was a bit grabby. This left a few streaks (if you look to the left of the light reflection it’s easily noticeable when compared to the right). These streaks came out fairly easily with a few light wipes of the section, but I left them in order to show it in the photo below.
About 30 seconds later (about 8.5 minutes overall) I removed the final residue and, while grabby, it came off just as it did at around 8 minutes. You can see in the photo below how I removed the streaks from around the light reflection, but left those to the left where I removed the residue around 8 minutes.
Based on all this, I wanted to try and find a time where removal is too late and coating cures on the paint. In addition, I wanted to see how the coating looks when dried/cured but residue not removed. The below photos show a small section where I applied it and never removed it…
After about 8 minutes…
After about 10 minutes I decided to wipe it as everything looked completely dry, and it was. I barely removed any residue as the rest was cured and bonded to the paint. The coating cured just as I thought it would, in the same pattern as when it started drying up at roughly 4-5 minutes after application…
The 3 photos below show the same process but without the direct light…
~8 minutes…

~10 minutes and residue wiped off…
Overall, I’m very happy with the application of the Gtechniq CSL coating. It is fairly effortless if you remove it within the right amount of time and if it performs as advertised, it will be a competitor to the other coatings on the market.
I hope these photos serve as a guide to how the coating cures, but as with anything it can vary based on temperature and humidity. May be best to do a small strip on a bumper of the car you’re coating, wait until it looks like it did for me at about 7-8 minutes and remove it. If it’s too late, you’ll only have a small section to polish off the cured coating and simply remove 1-2 minutes earlier.
I’ll be sure to update this article or post a follow-up after 6-10 months to show how it’s holding up and how much it actually resists swirls and other damage. In the meantime, the product went on VERY easy and looks great!