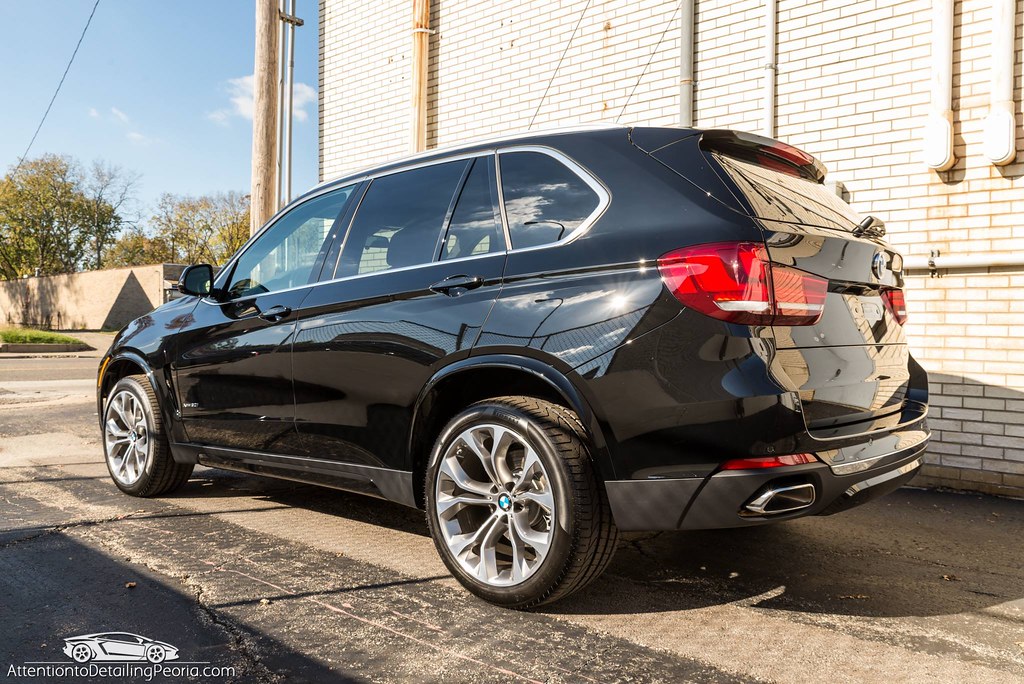
Nano coatings are a great way to protect your vehicle and simplify maintenance. Coatings provide exceptional durability, and can perform as if they were brand new for many years with proper maintenance, but how do you know when it is time to apply a new coating to your vehicle?
This topic can create a bit of a debate as some brands or installers may argue that their products are “permanent” and some may even include “lifetime warranties”, therefore the coating never needs to be reapplied, however it is my personal opinion that regardless of how long the coating might be able to last, if you want to keep your vehicle looking its absolute best, the paint will need to be polished at some point in time (especially for daily driven vehicles), which means a new coating will need to be applied.
When to Reapply
This will depend on several factors including how often the vehicle is driven, what type of environment the vehicle is exposed to, how often the vehicle is cleaned, whether or not proper maintenance techniques & products are used, etc.
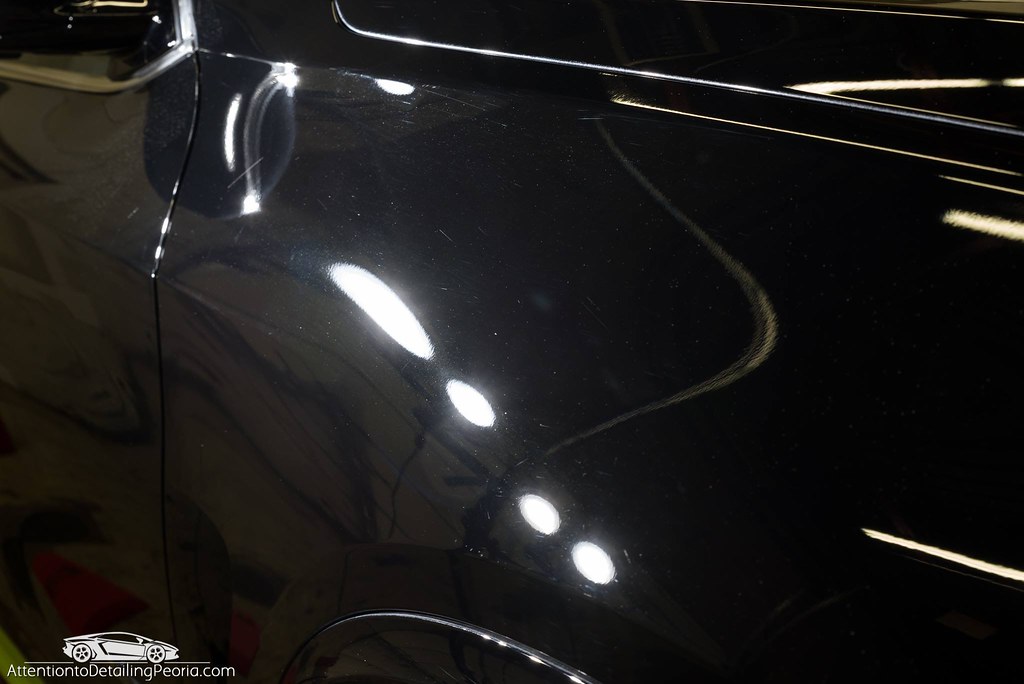
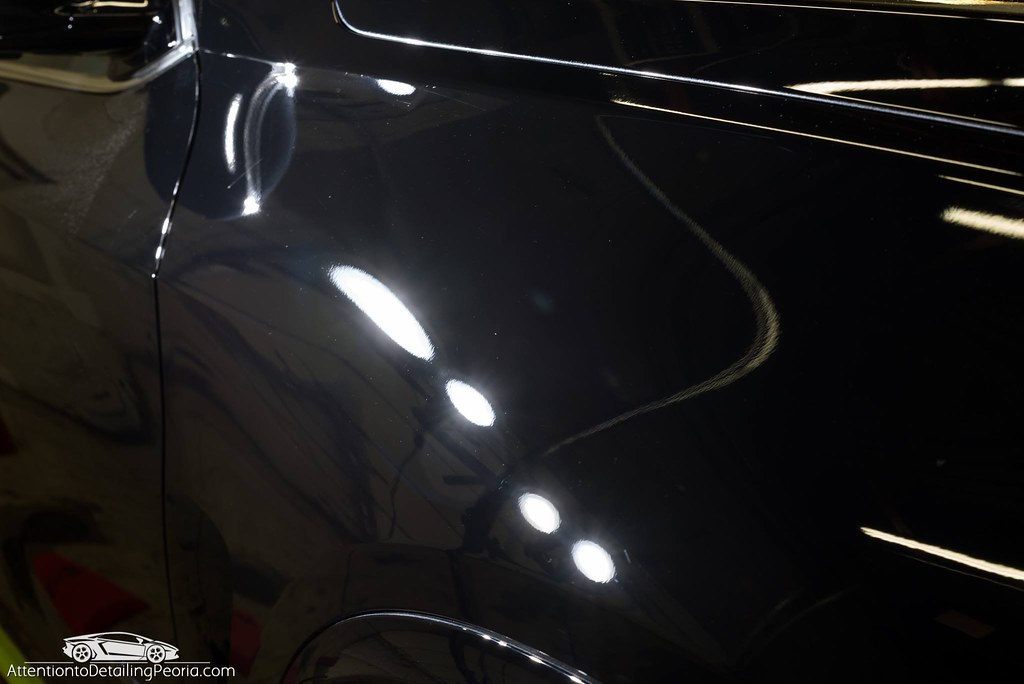
Assuming a vehicle is driven daily and maintained properly, I often suggest going through the motions of recoating the vehicle every 2-3 years. I make this suggestion because regardless of how careful you are, I have found it to be impossible to keep a vehicle completely free of surface defects. After a couple of years of frequent washing and upkeep, I feel like it is expected to see some “love marks” or light swirls/marring as seen below.

If the vehicle lives in particularly harsh environments or is not maintained properly, then you may want to do a full detail and recoat more often. On the flip side, if the car is seldom driven, and does not see poor weather, it may be able to go many, many more years before it needs to be polished. Use your best judgment here and determine what works best for your specific needs.
How to Reapply
If you are maintaining the vehicle properly, there should be no need for any real invasive paint correction work. A well-maintained vehicle should still be mostly free of swirl marks, but will likely have some light marring from general washing and drying as I mentioned earlier. It is also very common to have some light staining/haziness from general dirt and road film buildup on the car over the years that leaves the finish looking at bit dull (most noticeable on darker colors).
The preparation process for reapplying the coating is more or less the same as the hard work you put in when the initial installation was performed, however if you have been able to maintain a generally swirl-free finish, and do not need to perform a paint correction, the prep and reapplication is a relatively quick and simple job. The workflow follows the standard clean, decontaminate, polish, and protect steps.
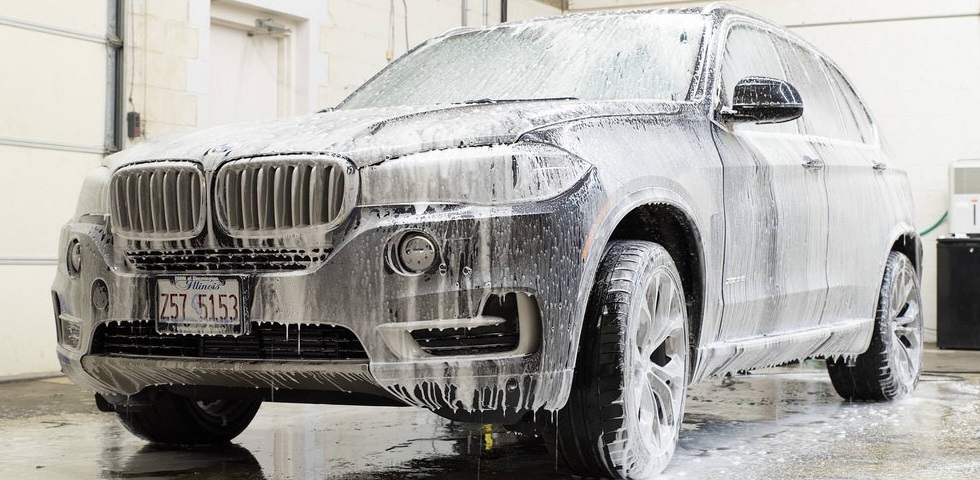
Clean: Begin by performing a thorough hand wash to remove all loose dirt and contamination from the vehicle (How to Properly Wash a Vehicle, How to Properly Wash Your Car (Video)).
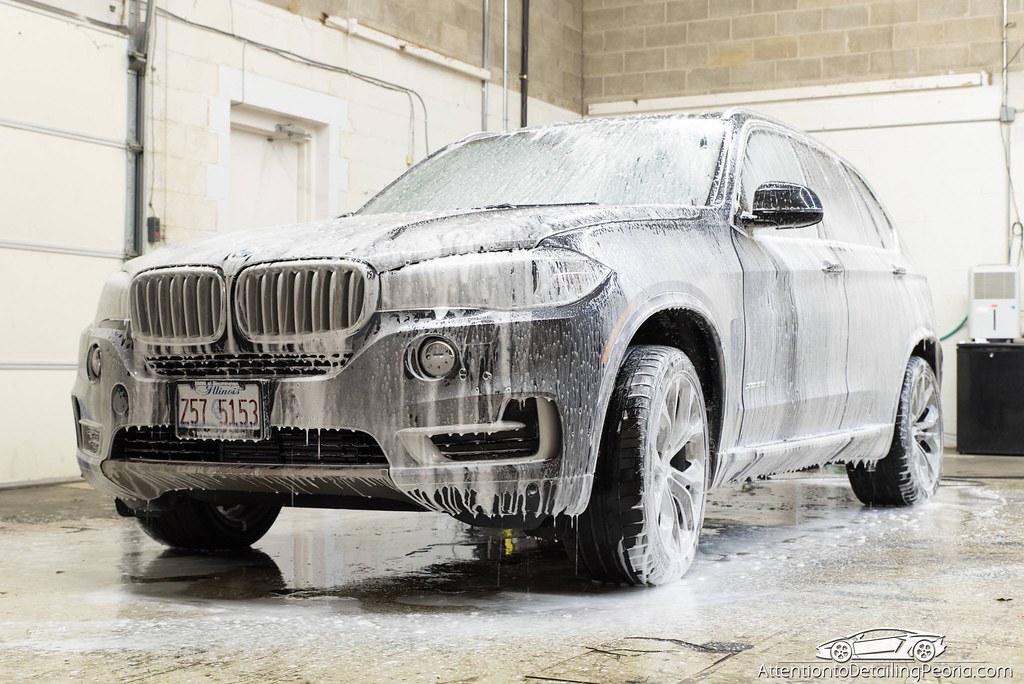
Decontaminate: Next, decontaminate the paint to remove any bonded contaminants such as fallout, tar, sap, etc. This can be accomplished using a variety of chemicals in addition to some type of clay bar or synthetic clay (Explaining the Decontamination Process Part 1 & Part 2, How to Clay and Decontaminate Your Paint (Video)).
Polish: Now that the paint is as clean of all loose dirt and bonded contaminates, we will perform a light machine polish to restore perfect clarity and to ensure any residual layers of coating toppers, spray waxes, etc. are removed. Compared to a paint correction, this light polishing process should be very quick and easy. Generally all that is needed to restore the gloss and color is a fine polish such as Meguiar’s M205, CarPro Essence, or something similar paired with a polishing pad like the Rupes Yellow Pad, Lake Country White Pad, or your favorite polishing pad.
2 or 3 passes using a moderate machine speed, and a slightly faster arm speed than what we normally recommend for a true correction should make easy work of light marring and surface discoloration. Our working areas are typically a bit larger for this light polish than when we are performing a paint correction, and as a personal preference, I will often polish an entire panel or several panels before going back and removing the polishing residue as it seems to speed up the process. I can generally complete a light polish on a medium sized sedan in just a couple of hours, which is a fraction of the time it takes us to perform a multi-step paint correction.
Light Polish Summary:
- Use finishing polish on your preferred polishing pad
- Make 2-3 passes over your working area to remove marring, light haze, and other minor superficial defects
- Utilize a moderate machine speed and quicker arm speed than you might use when trying to maximize defect removal during paint correction
- Consider expanding your working area to be slightly larger than the general 2’x2′ section often recommended for defect removal during paint correction
Note: if your vehicle has acquired swirl marks, scratches, or other types of superficial defects that are more extensive than light marring and discoloration, you will need to take the time to properly analyze and correct your paint to maximize your results.
Prepare: Once the paint has been polished to your satisfaction, thoroughly wipe the surface with a prep solvent to ensure all of the polishing residue has been removed. I like to perform this wipe down on each panel as I am working. Polish a panel, wipe away the polishing residue with my towel, then spray the panel with solvent and gently wipe it away with a plush towel. Some people prefer to polish an entire vehicle, then do the solvent wipe afterward. The choice is yours, just make sure you take your time and ensure the vehicle has been thoroughly cleansed.
Protect: Now that the paint has been cleaned, decontaminated, polished, and prepped, reapply the coating of your choice according to the manufacturer’s instructions and enjoy easy maintenance and protection for several more years.