
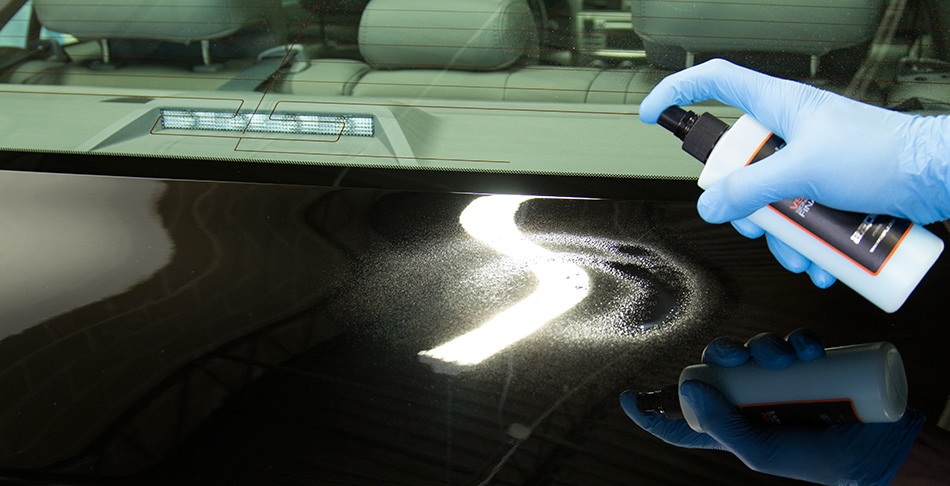
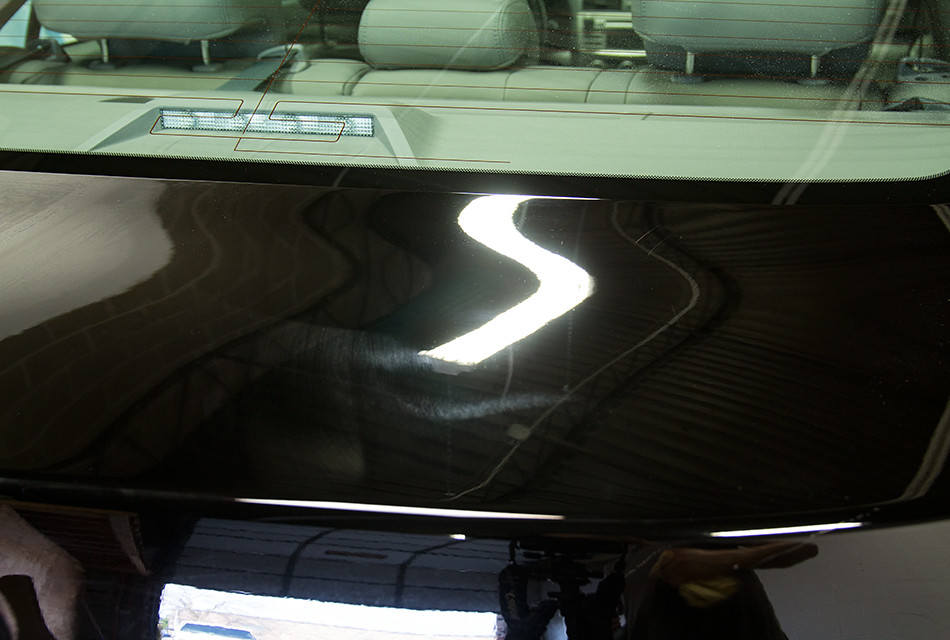
In part 1 of my product review on 22ple VS1 Final Coat, I went over some application testing I performed on a Ferrari F12. Everything went very smoothly and I ended up liking the VS1 Final Coat quite a bit. That said, I of course wanted to do some more product testing and of course in worse conditions, so I decided to try this same test out on a much hotter and humid day, which was around 90 degrees and 80+ humidity. It was done on a freshly polished trunk, right after I used CarPro’s Eraser to remove any oils.
I applied a somewhat heavy coat fearing it would dry very quickly…


Which it surely did! In about 2.5-3 minute it was completely dried and hazed…
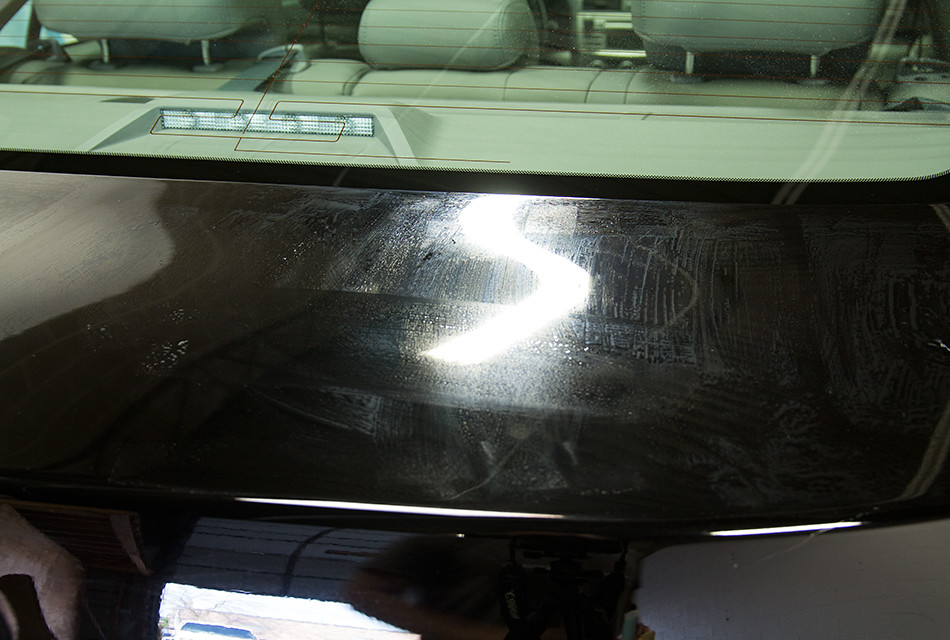
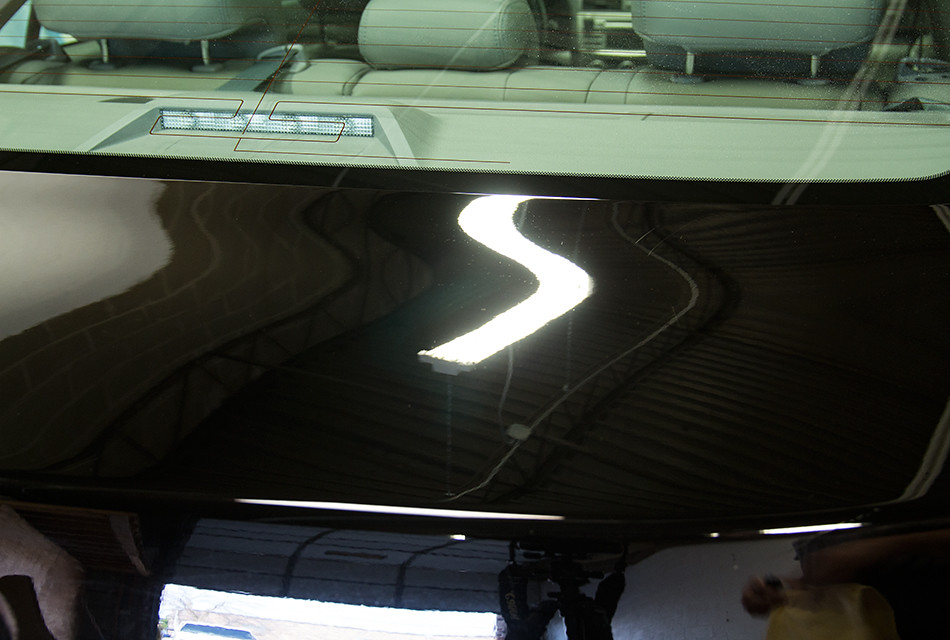
I started to remove at around 3.5 minutes…
And that’s when my assumptions came true. VS1 had completely dried up much quicker than the previous time I used it and it was a pain to remove…
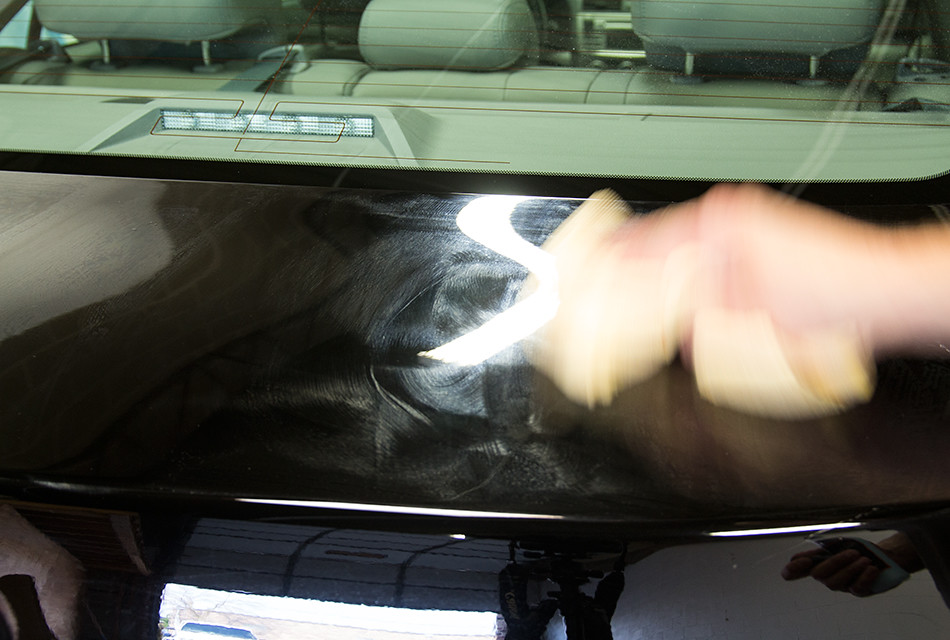
But as before, with a bit more product sprayed onto a clean side of the towel, it easily started to come off and leave a great finish behind…
Soon after I did all this testing with the product, I received instructions stating that you should remove it at around 3 minutes. I believe that roughly matches my findings in that you can probably apply normally (not too thick) and remove at around 3 minutes. In warmer temps, I would recommend doing a test spot at 1.5-2 minutes just so you don’t end up with a headache later on, but then again, it’s extremely easy to remove the dried up residue that it may be just fine to wait 3 minutes to make sure the product settles long enough. In short, I’d follow the instructions, but at the same time do a bit of your own testing if temperature/humidity is fairly low or high.
Next I wanted to briefly discuss the application and amount of product. The applicators have a very nice foam material that easily glides over the paint and gets saturated with product after only a few small sections so that not a lot is needed as you go around the car…

You can either spray onto the paint or the applicator pad. If spraying onto the paint, I like to spray as close as possible to the paint (maybe 3-4 inches away) so as to avoid overspray onto other panels or glass as well as to have a more concentrated amount of product to spread out…
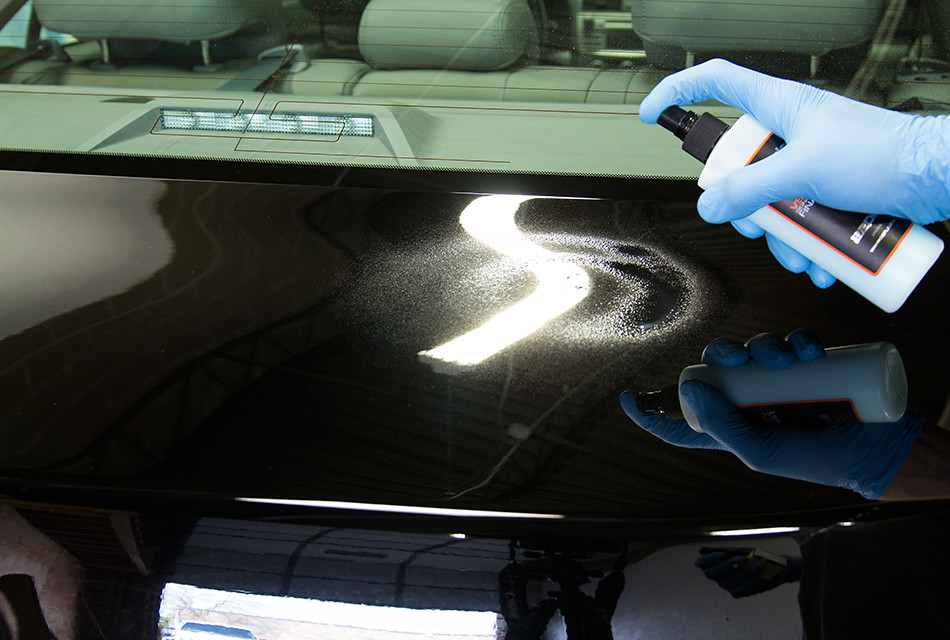
Even if spraying directly onto the paint, I would recommend 1-2 “primer sprays” onto the applicator pad so as to avoid any spreading issues with a dry applicator.
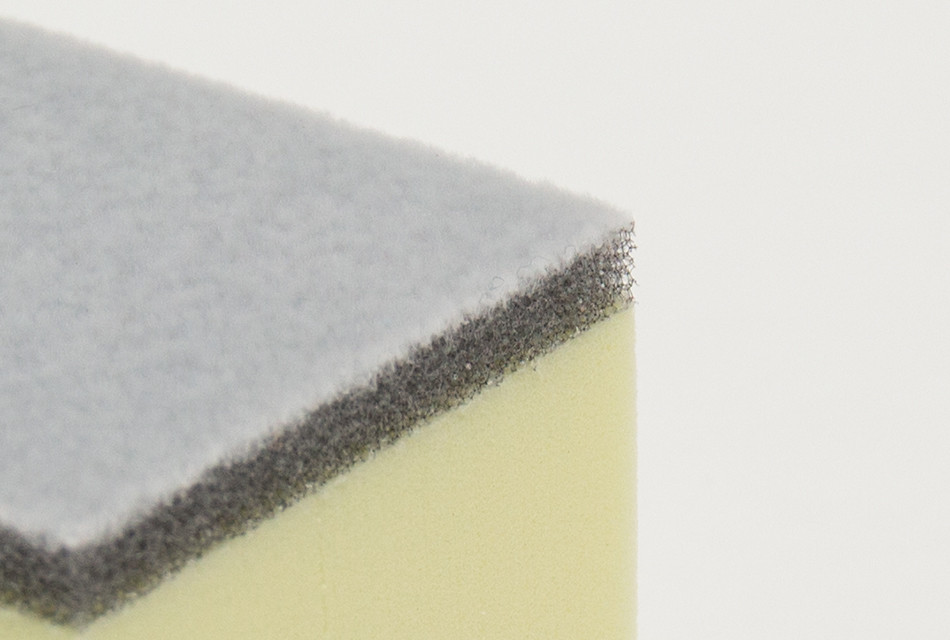
Once the product is on the paint and/or applicator, simply apply with slow back and forth motions to spread it evenly. Faster arm movement doesn’t really work here as the applicator has an edge that doesn’t get saturated (mentioned below in the Pros/Cons section), so moving quickly onto a dry section of paint may result in the applicator block stopping due to trying to spread it too quickly. As mentioned above, after a few panels the applicator foam gets well saturated and you’re able to apply it easier, only having to spray new product onto the paint. Here’s a photo of the edge of the applicator pad…
Next I wanted to give a quick pros and cons list for the 22PLE VS1 Final Coat.
Pros:
- The spray head makes this application a breeze. Whether you decide to spray on the applicator pad or the paint, the product easily goes on and spreads evenly.
- Speaking of spreading, it spreads onto the paint very easily and evenly, especially when you go slow and saturate the applicator well.
- I haven’t performed any full car jobs with the product yet, but based on the amount of experimental applications I’ve done, there is a good amount of product in the bottle and a great value for the price.
- When it dries, it’s very noticeable. It starts wet, then slowly dries to a haze throughout the area to which it was applied. It seems the thinner areas dry quicker than the thicker, which would make sense, so it allows you to see where you may be applying it unevenly to the panel.
- At 10-15 minutes it wipes off just fine when applied thick enough. However, this was at a certain temperature. I want to do more testing to see the durability of the product when applied in different manners and removed at certain times, but I would recommend removing anywhere between 3-10 minutes, after the section fully dries to a haze. Probably 3-5 minutes when it’s warmer or more humid.
- As with the VX1 coating, when you leave it on for too long and it leaves spots, it’s very easy to remove it by reapplying. As mentioned above, having a spray head for VS1 makes both application and reapplication a very easy task, almost as simple as applying a quick detailer or spray wax.
- Long enough dry time where you don’t need to worry about highspots much. I like the idea of using it as a spray sealant on top of a washed car and not worrying about wax grease, streaking, etc. Simply apply to a few panels, go back and remove, then finish the rest of the car in the same manner.
- You can control the dry time with the thickness of applied product. Not sure how much this will sacrifice the durability of the coating, but it is an option if you’re in a rush.
Cons:
- Spray pattern is a bit odd and not to my liking. I’ll have to do some more testing with it and maybe find the sweet spot, but as of now I don’t like how it comes out. Not sure how to explain this best, but I’ll try. When spraying VS1, it comes out in a circle pattern, but it only creates a circle outline where it’s sprayed, without filling the middle of the circle. This becomes an issue less when spraying onto the paint as you can simply spread the product however you want, but when spraying onto the applicator it needs to be really close to the foam or it will spray to the sides/around the applicator, without leaving much in the center. I wouldn’t call this a big Con, just something of mild annoyance I noticed.
- As good as the dry time is, I would prefer a quicker dry time. Considering it’s to be used as a maintenance product, similar to a spray sealant, I would like to be able to spray and apply to an entire hood, then remove right after. Reason being, it was in the 80s and mild humidity when I found it to dry well at around 10 minutes or so. However, I believe that in a colder situation, it make take much longer to dry. This is something I haven’t experienced yet as I have only tried it in 70-90 degree weather, but am looking forward to how it acts when the winter hits in Chicago and I apply it in 55-60 degree weather with no humidity.
- Last of the cons, which is more of a criticism based on my experience, is the applicator pad. The foam on it is great and glides over the paint well once properly saturated. The block is also easy to hold and is perfectly firm, while the interface foam allows for a cushion between the block and the applicator bottom which holds the product. Overall it’s a good design, however, I found two issues that were bothering me. One was that the foam on the bottom didn’t wrap around the edges. As mentioned above, because it abruptly ends at the edge of the applicator, the entire applicator can skip when hitting a piece of dry paint since the edge can’t be saturated with product. I think a solution would be to either wrap the edge of the application material or to simply eliminate it from the overall block and include small “towels” made of the same material that I can put onto the applicator itself, wrapping the edges. The other issue I had was that the block was simply too thick to get into some areas (under mirrors mainly). Ultimately, I would like to see the block around 1/2 the current size to take care of this, otherwise having individual towels that can be used without the block is a solution. To repeat, I really don’t think there’s anything wrong with the applicator and I liked using it (slow arm movement is fine and rarely if ever skips on the dry paint as mentioned), I just feel the design can get better overall.
As you can see, only a couple, if you can even call them cons!
Conclusion
Well that’s all I got, as if it isn’t too much :). Overall, I’m very pleased with VS1 Final Coat and see it becoming a regular for sealing purposes. Whether topping a coated vehicle or using as a sort of spray sealant, it should have good durability and look great, with a completely painless application process. I have since used it a few times as a sealant and it took only 10-15% more time than a regular spray wax/sealant, such as Optimum Car Wax or CarPro Reload. I believe it was because the removal of VS1 is extremely easy, so there’s no time wasted. Again, great product that impressed me very much and I am looking forward to seeing how it holds up in the various ways I’ve applied it. Time will tell!